4 - Rex A & B - Sewing The Legs - Construction
I’ll be demonstrating using Rex A, the ankle pant. The straight and ankle pant are the same in the waist, zipper, and upper thigh. The ankle tapers slightly as it grades towards the ankle. The cuff is added as a design element, but can be omitted if a slimmer pant is preferred.
B, the straight pant has the same construction methods, but includes a regular hem to finish.
There are a couple of ways to sew your legs together - I’m going to demonstrate the one that students love the best here!
I have a sew along in the Papermaple Workroom for the Rex Pants that will start towards the end of April of this month. I’ll use a different technique there for closing the legs and will add those videos once the class is finished.
To begin:
With your front pant legs facing right side up, lay your back pant leg on top - right side to right side.
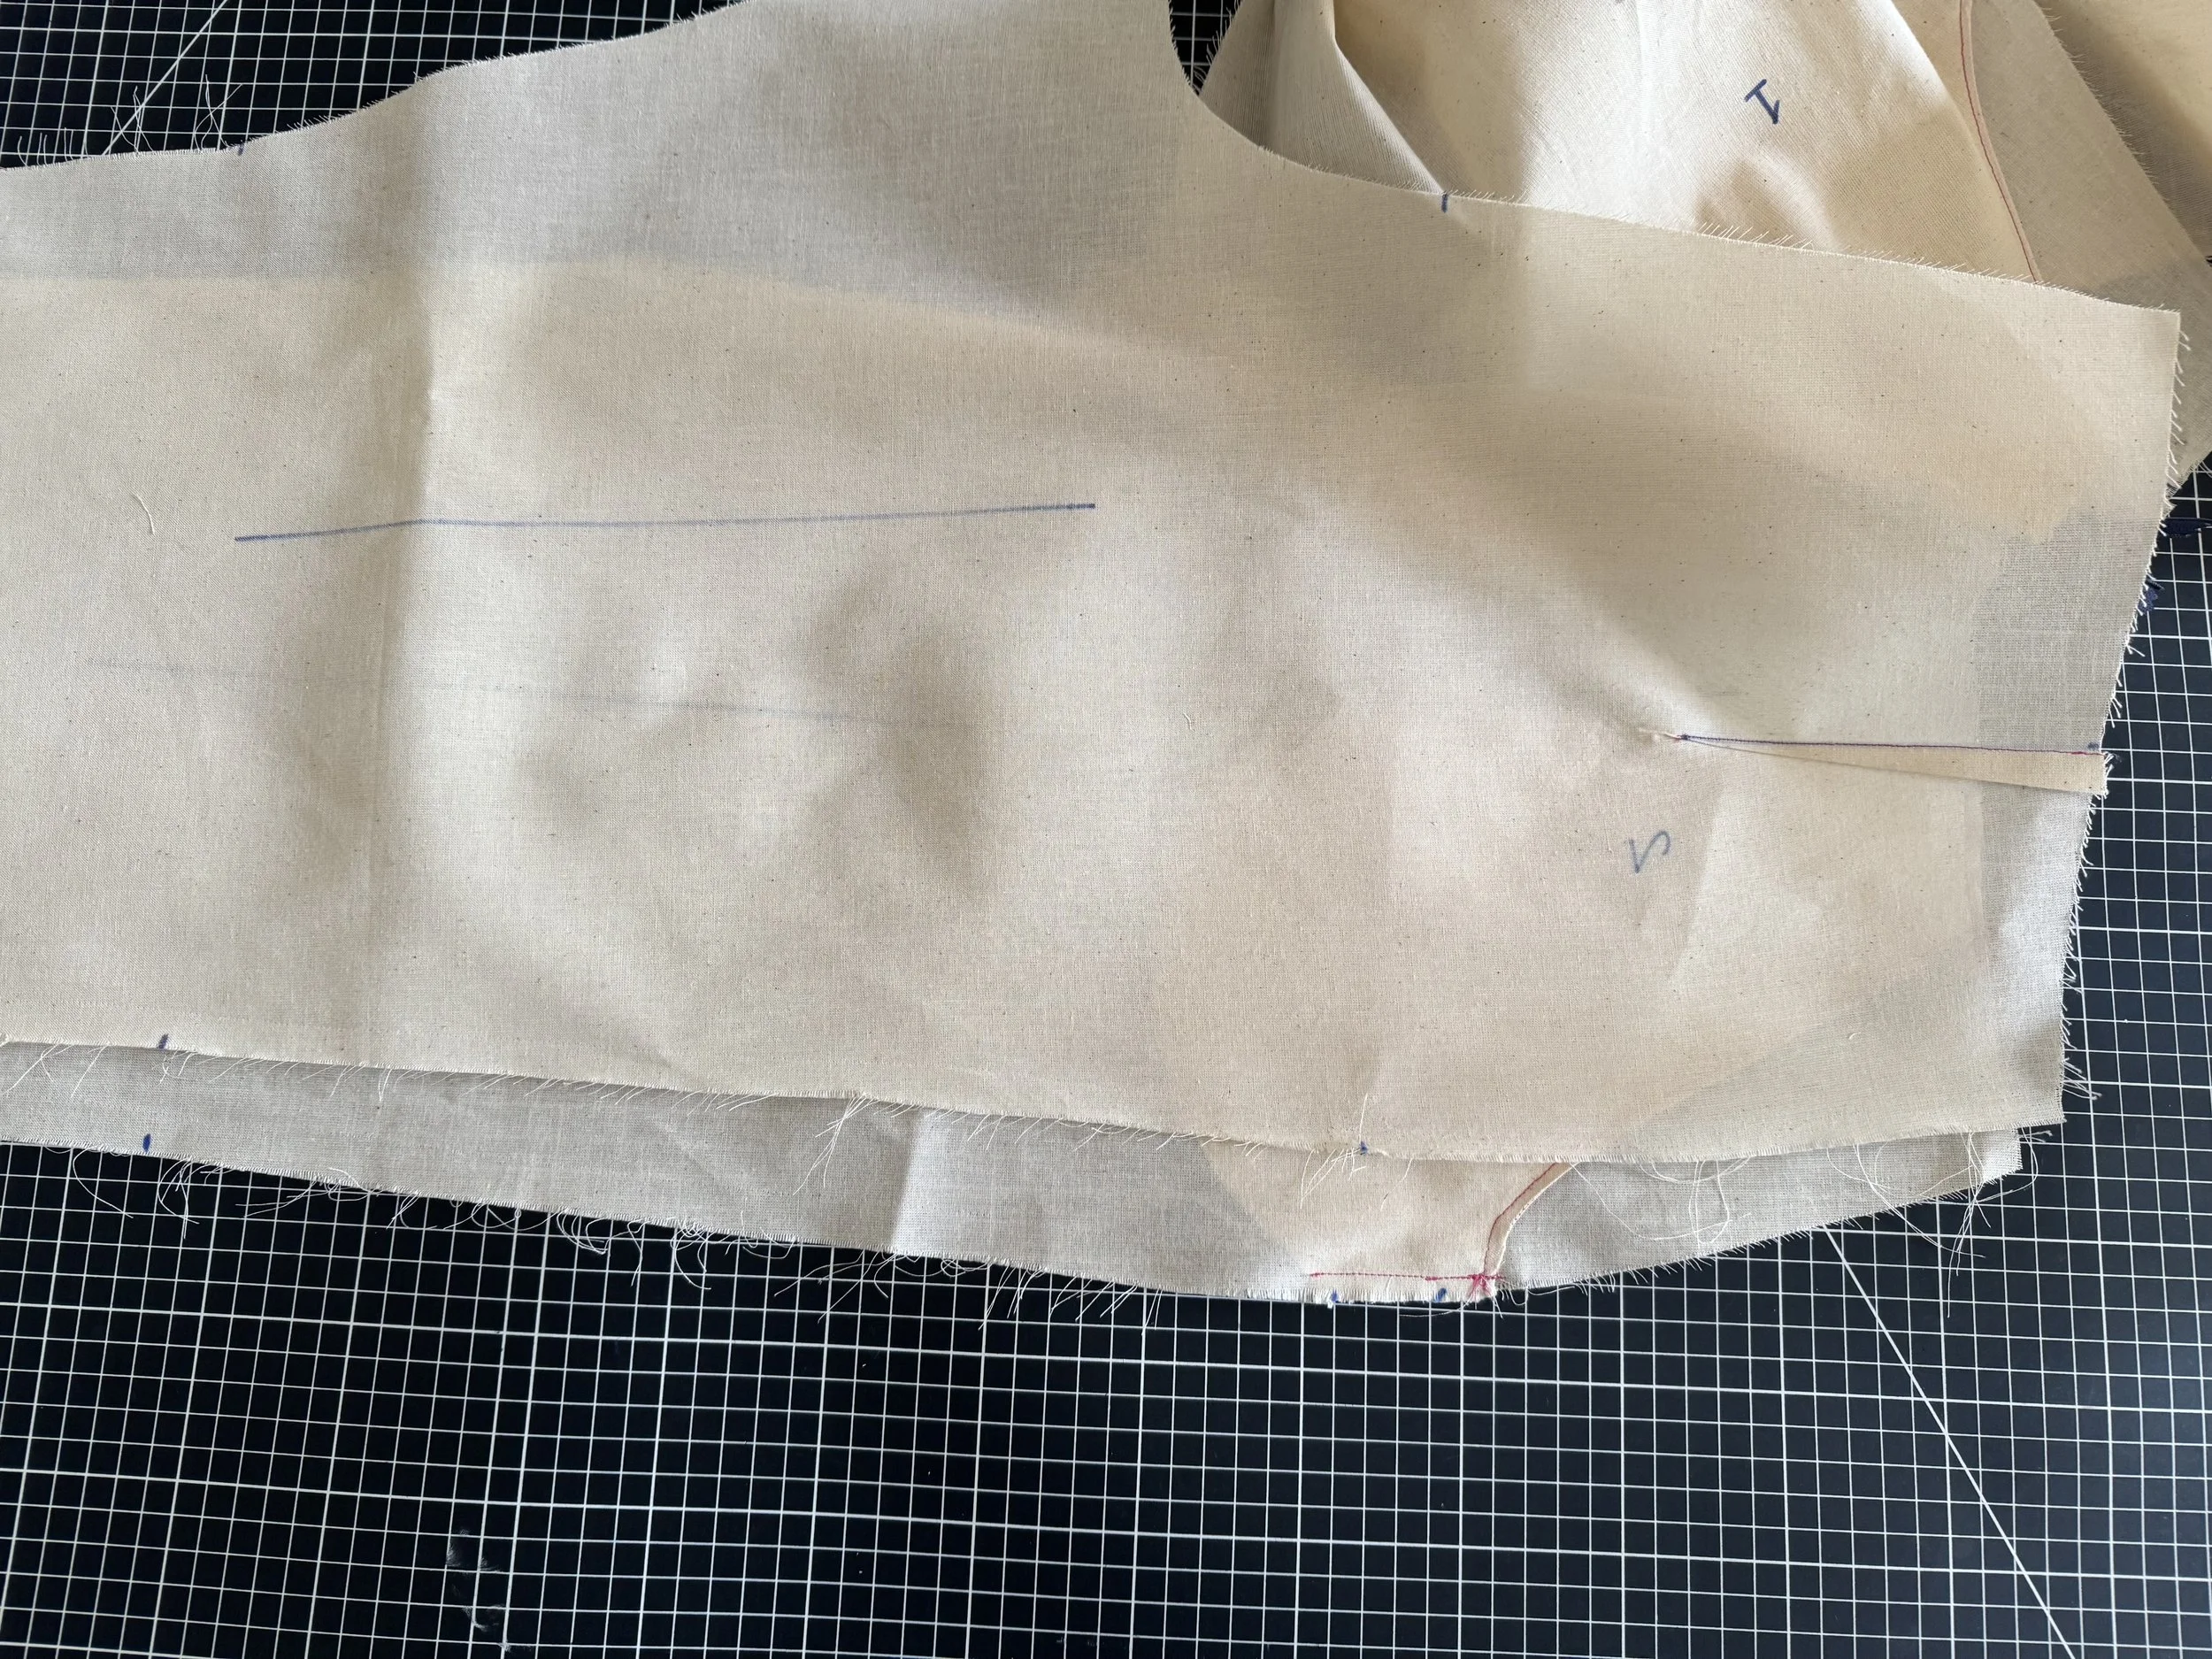
Pin the outer seams together.
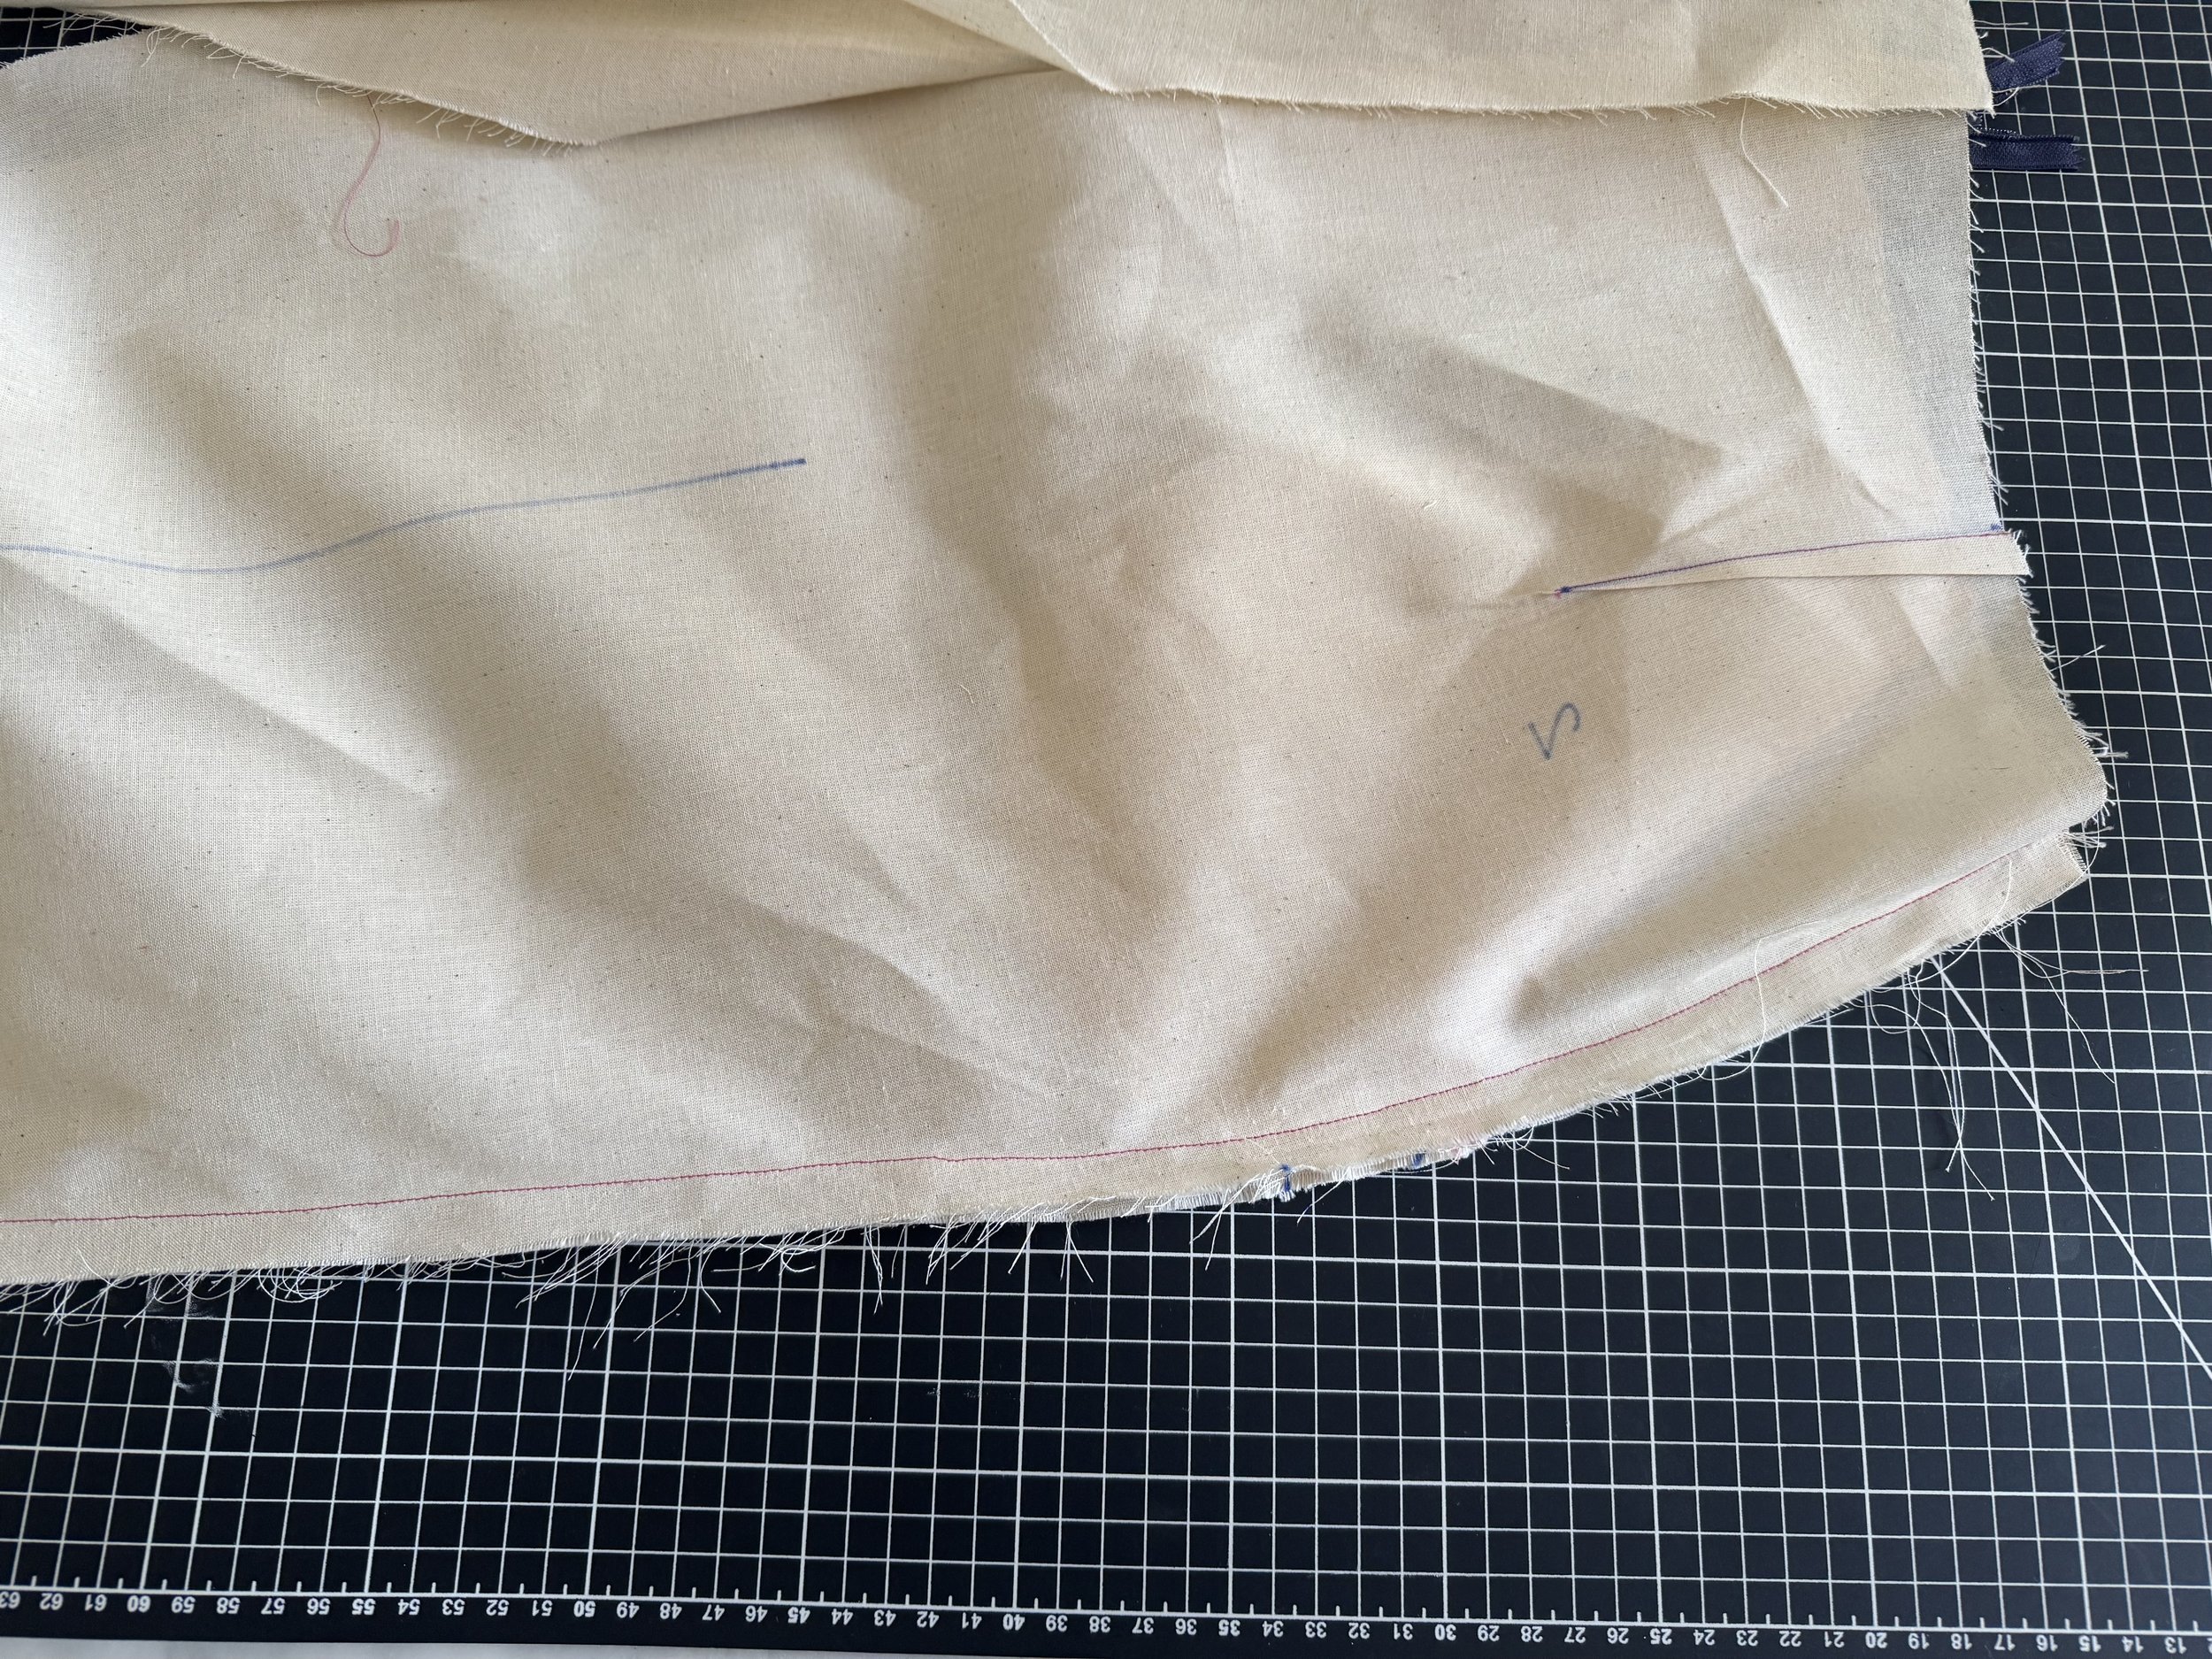
Sew your seams on both outer edges at 5/8” and press open.
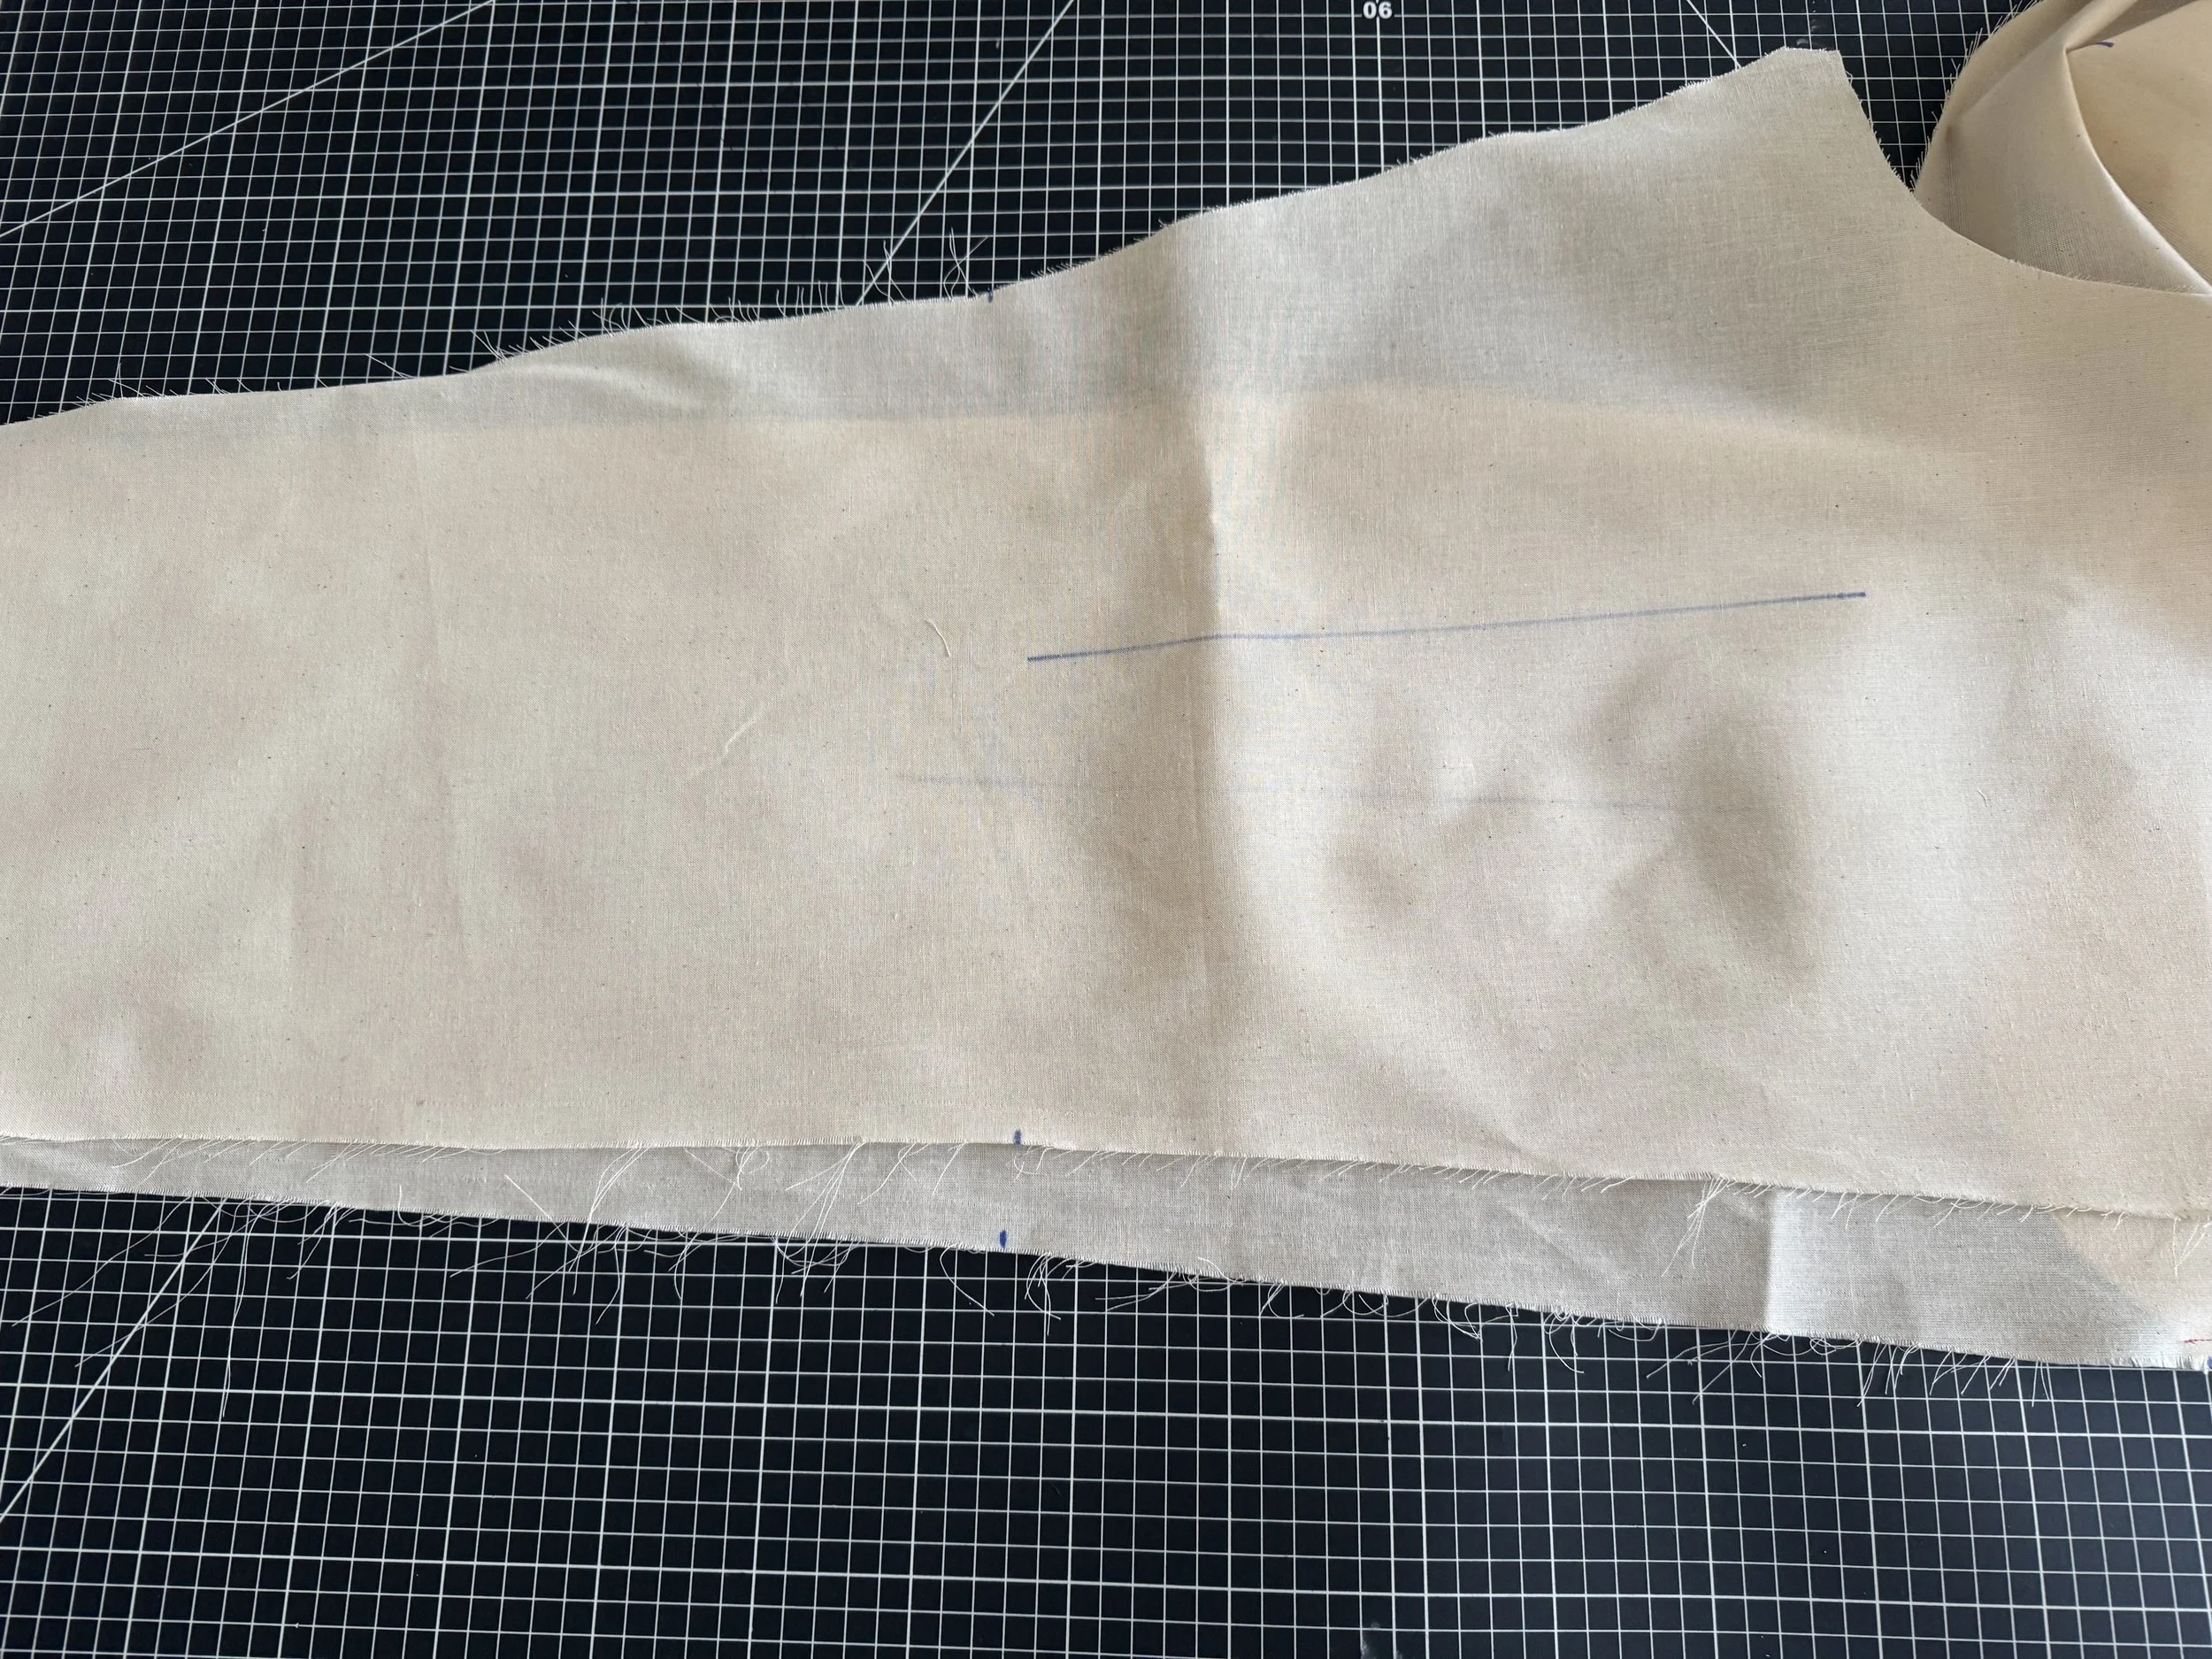
INNER LEG SEAM:
Sew your inner seams at 5/8” and press open.
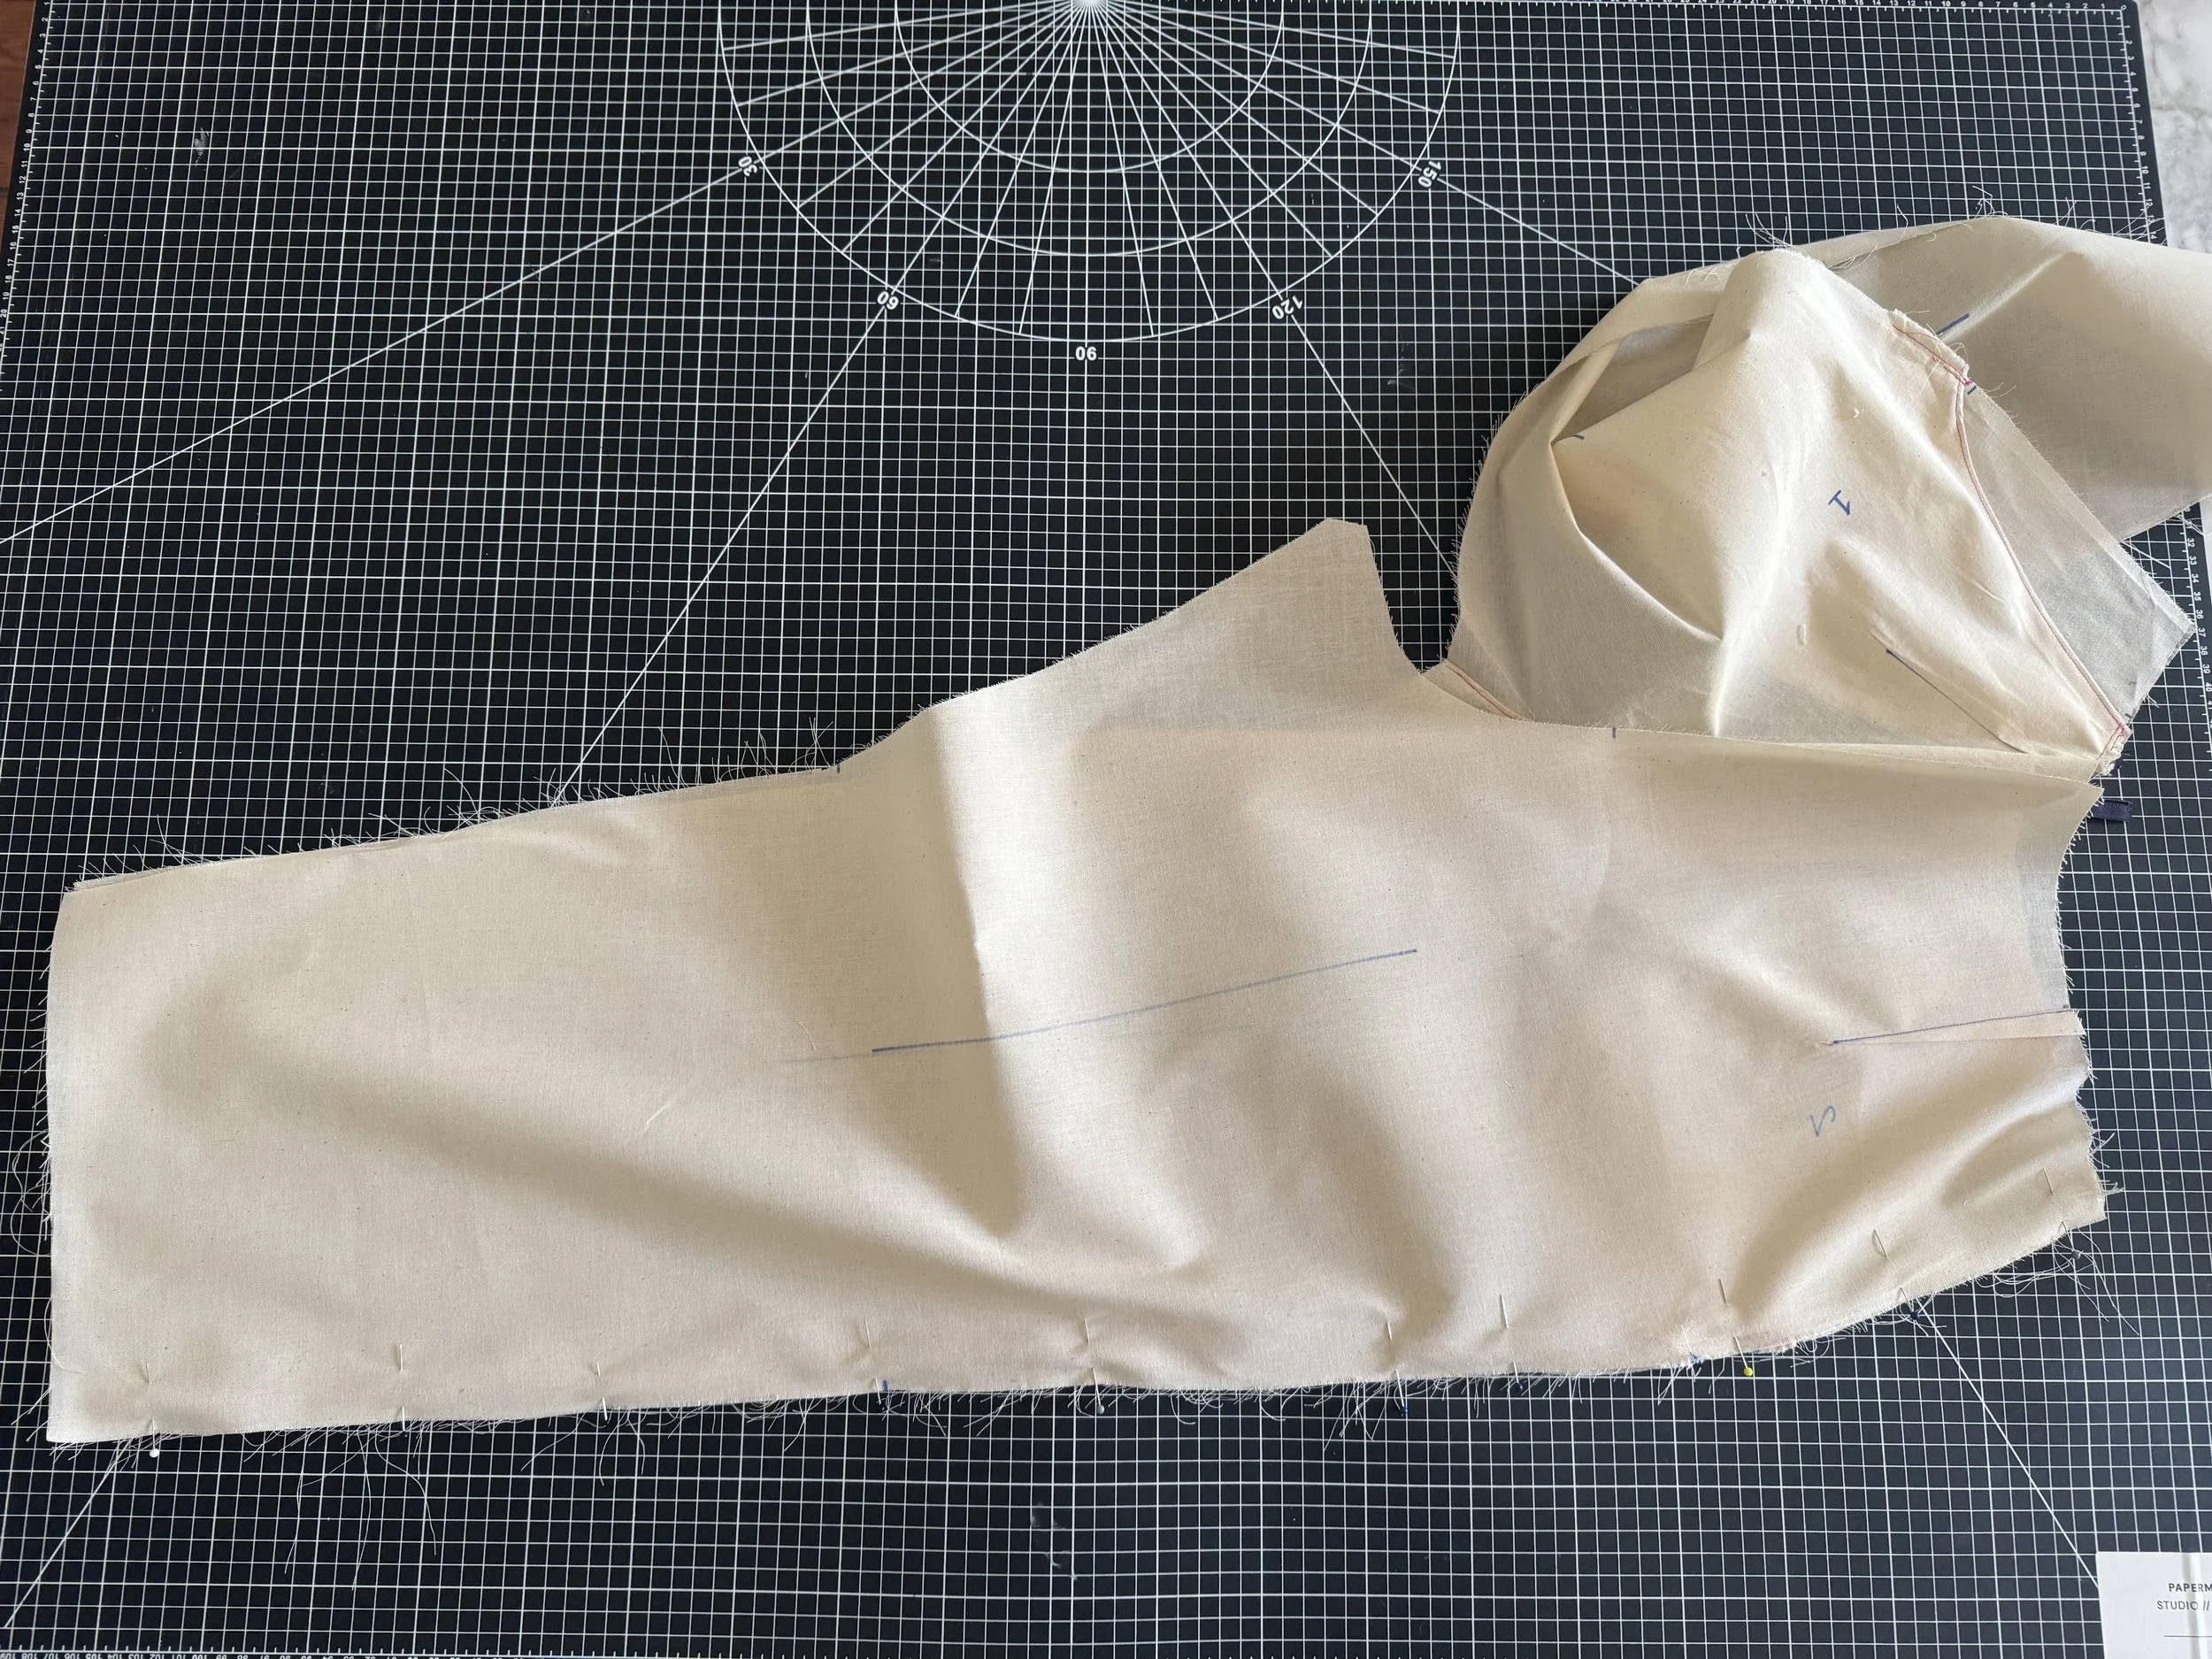
Now for the fun part!
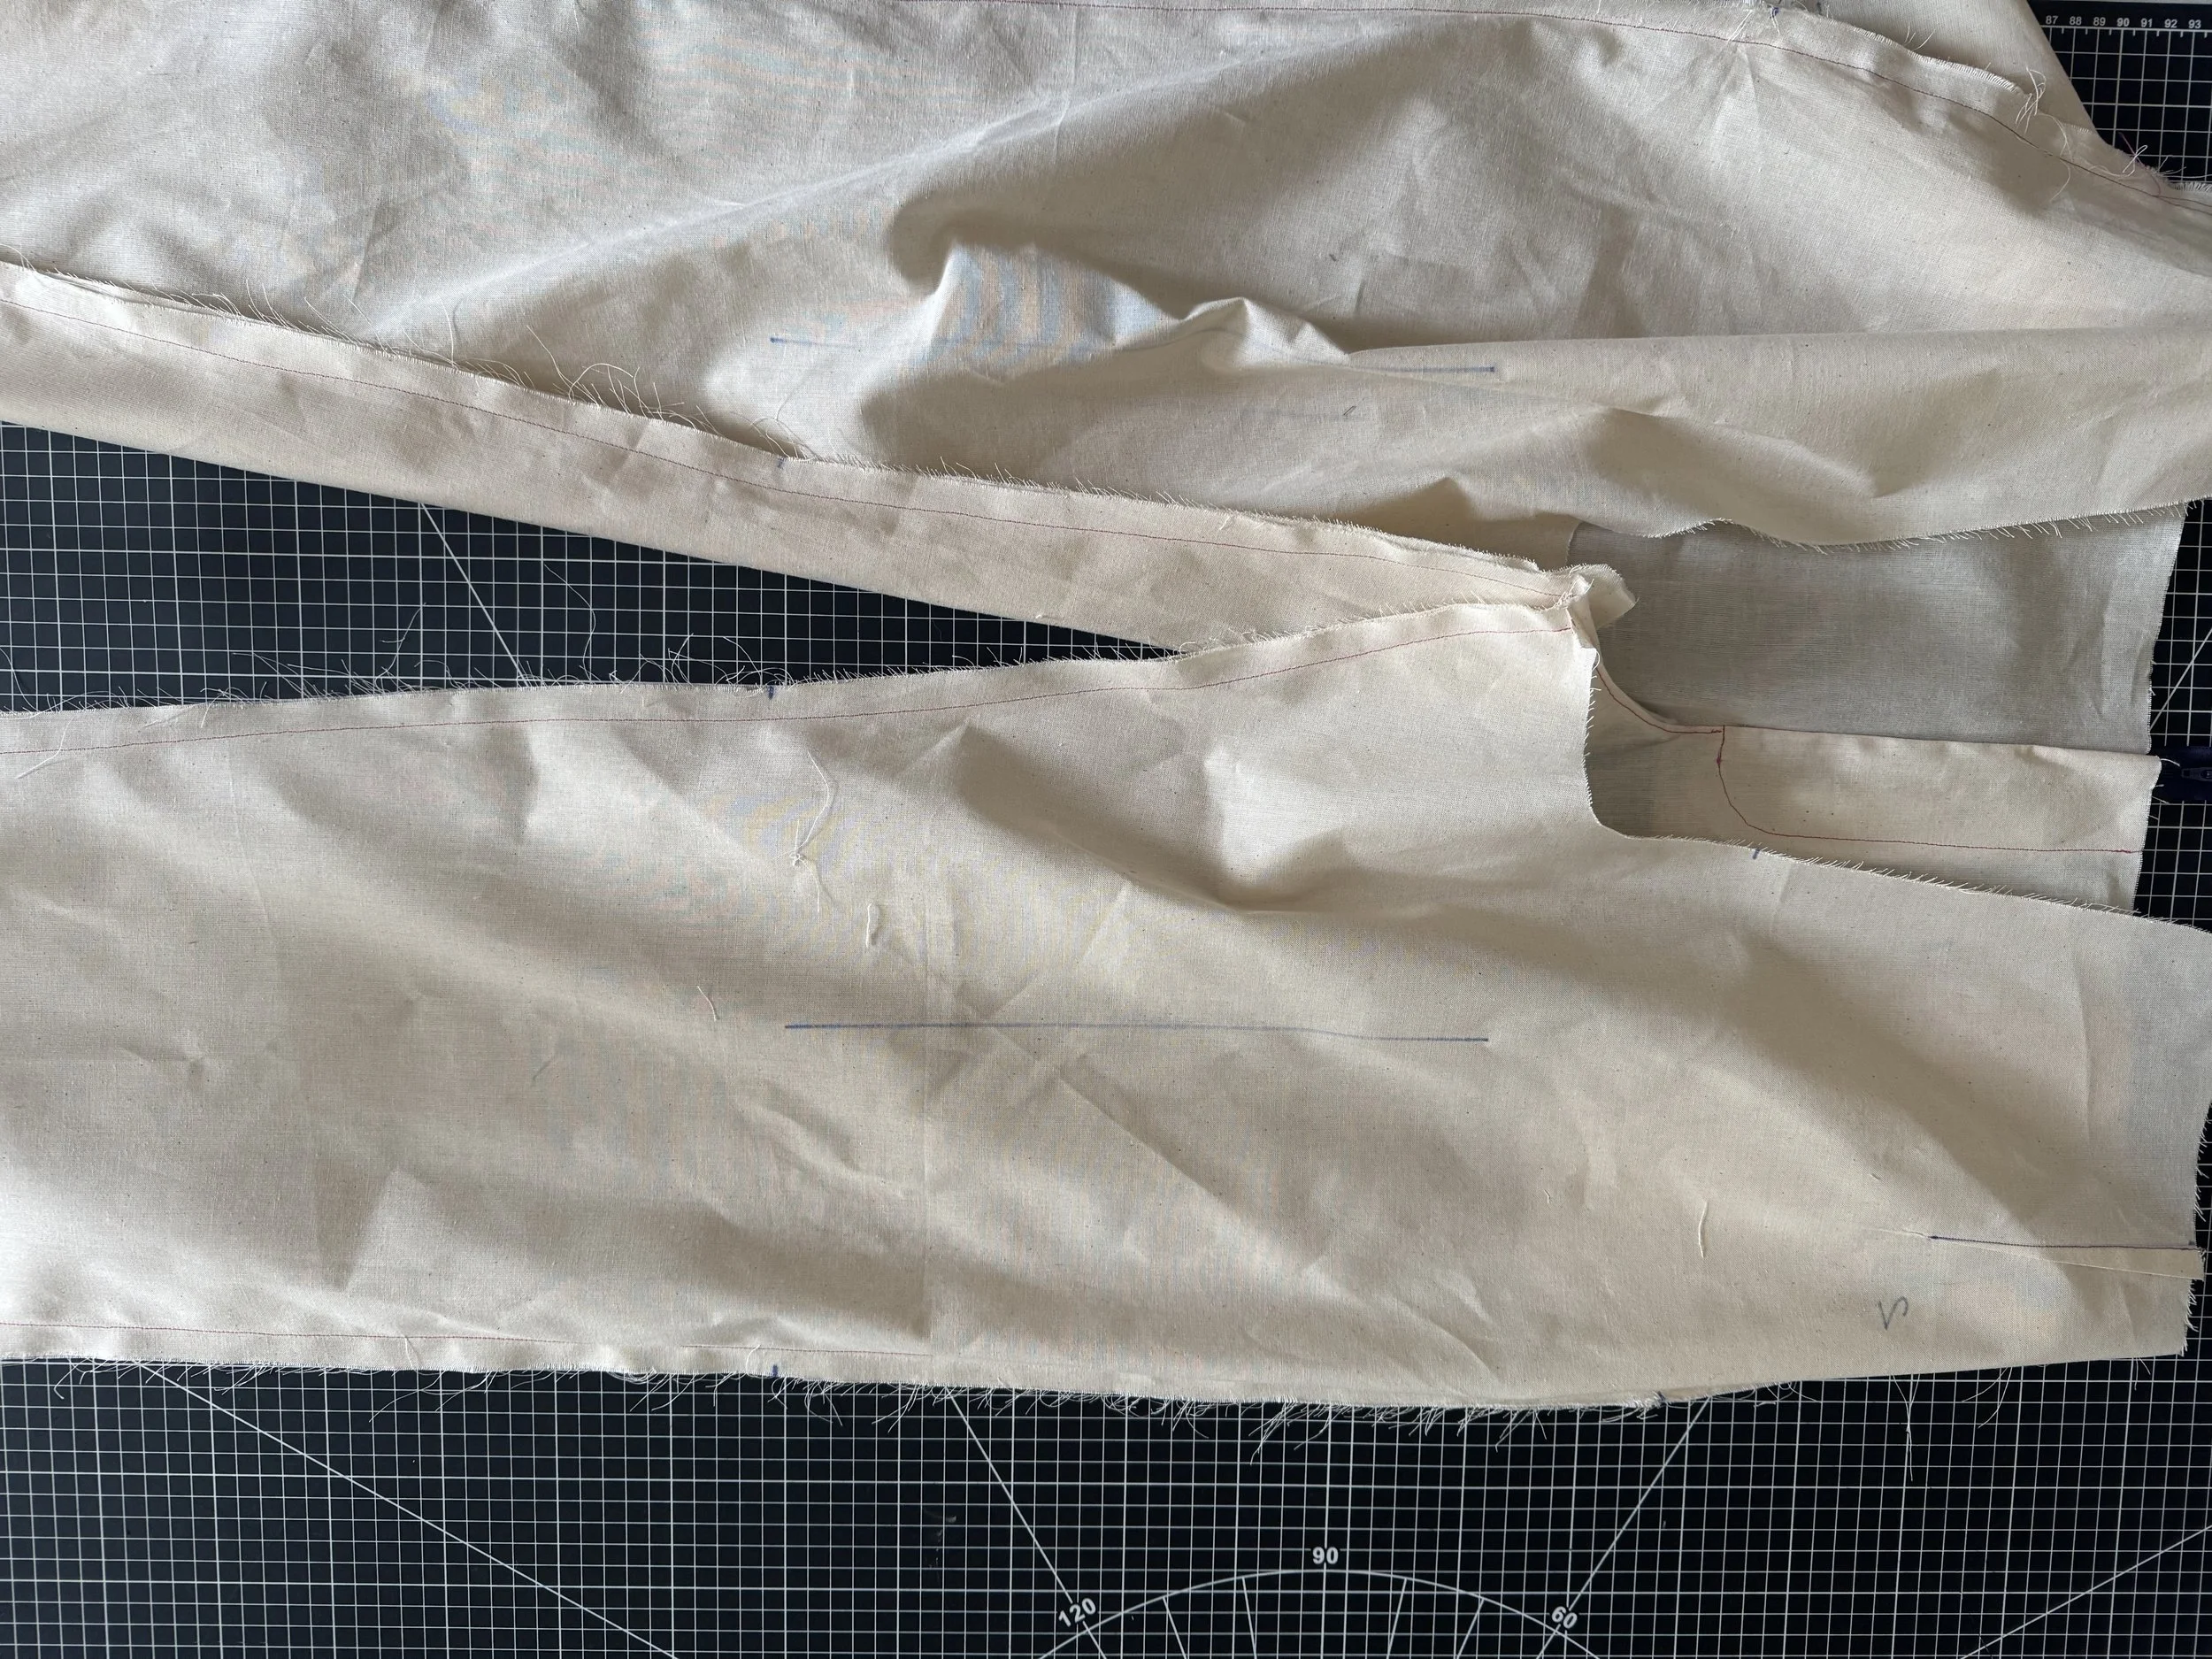
Turn one leg to the right side, and leave on inside out.
Feed the leg that is turned right side out, and feed it into the leg that is inside out.
Your two legs will now be right sides together on the inside!
As you can see above, the darts are both matching.

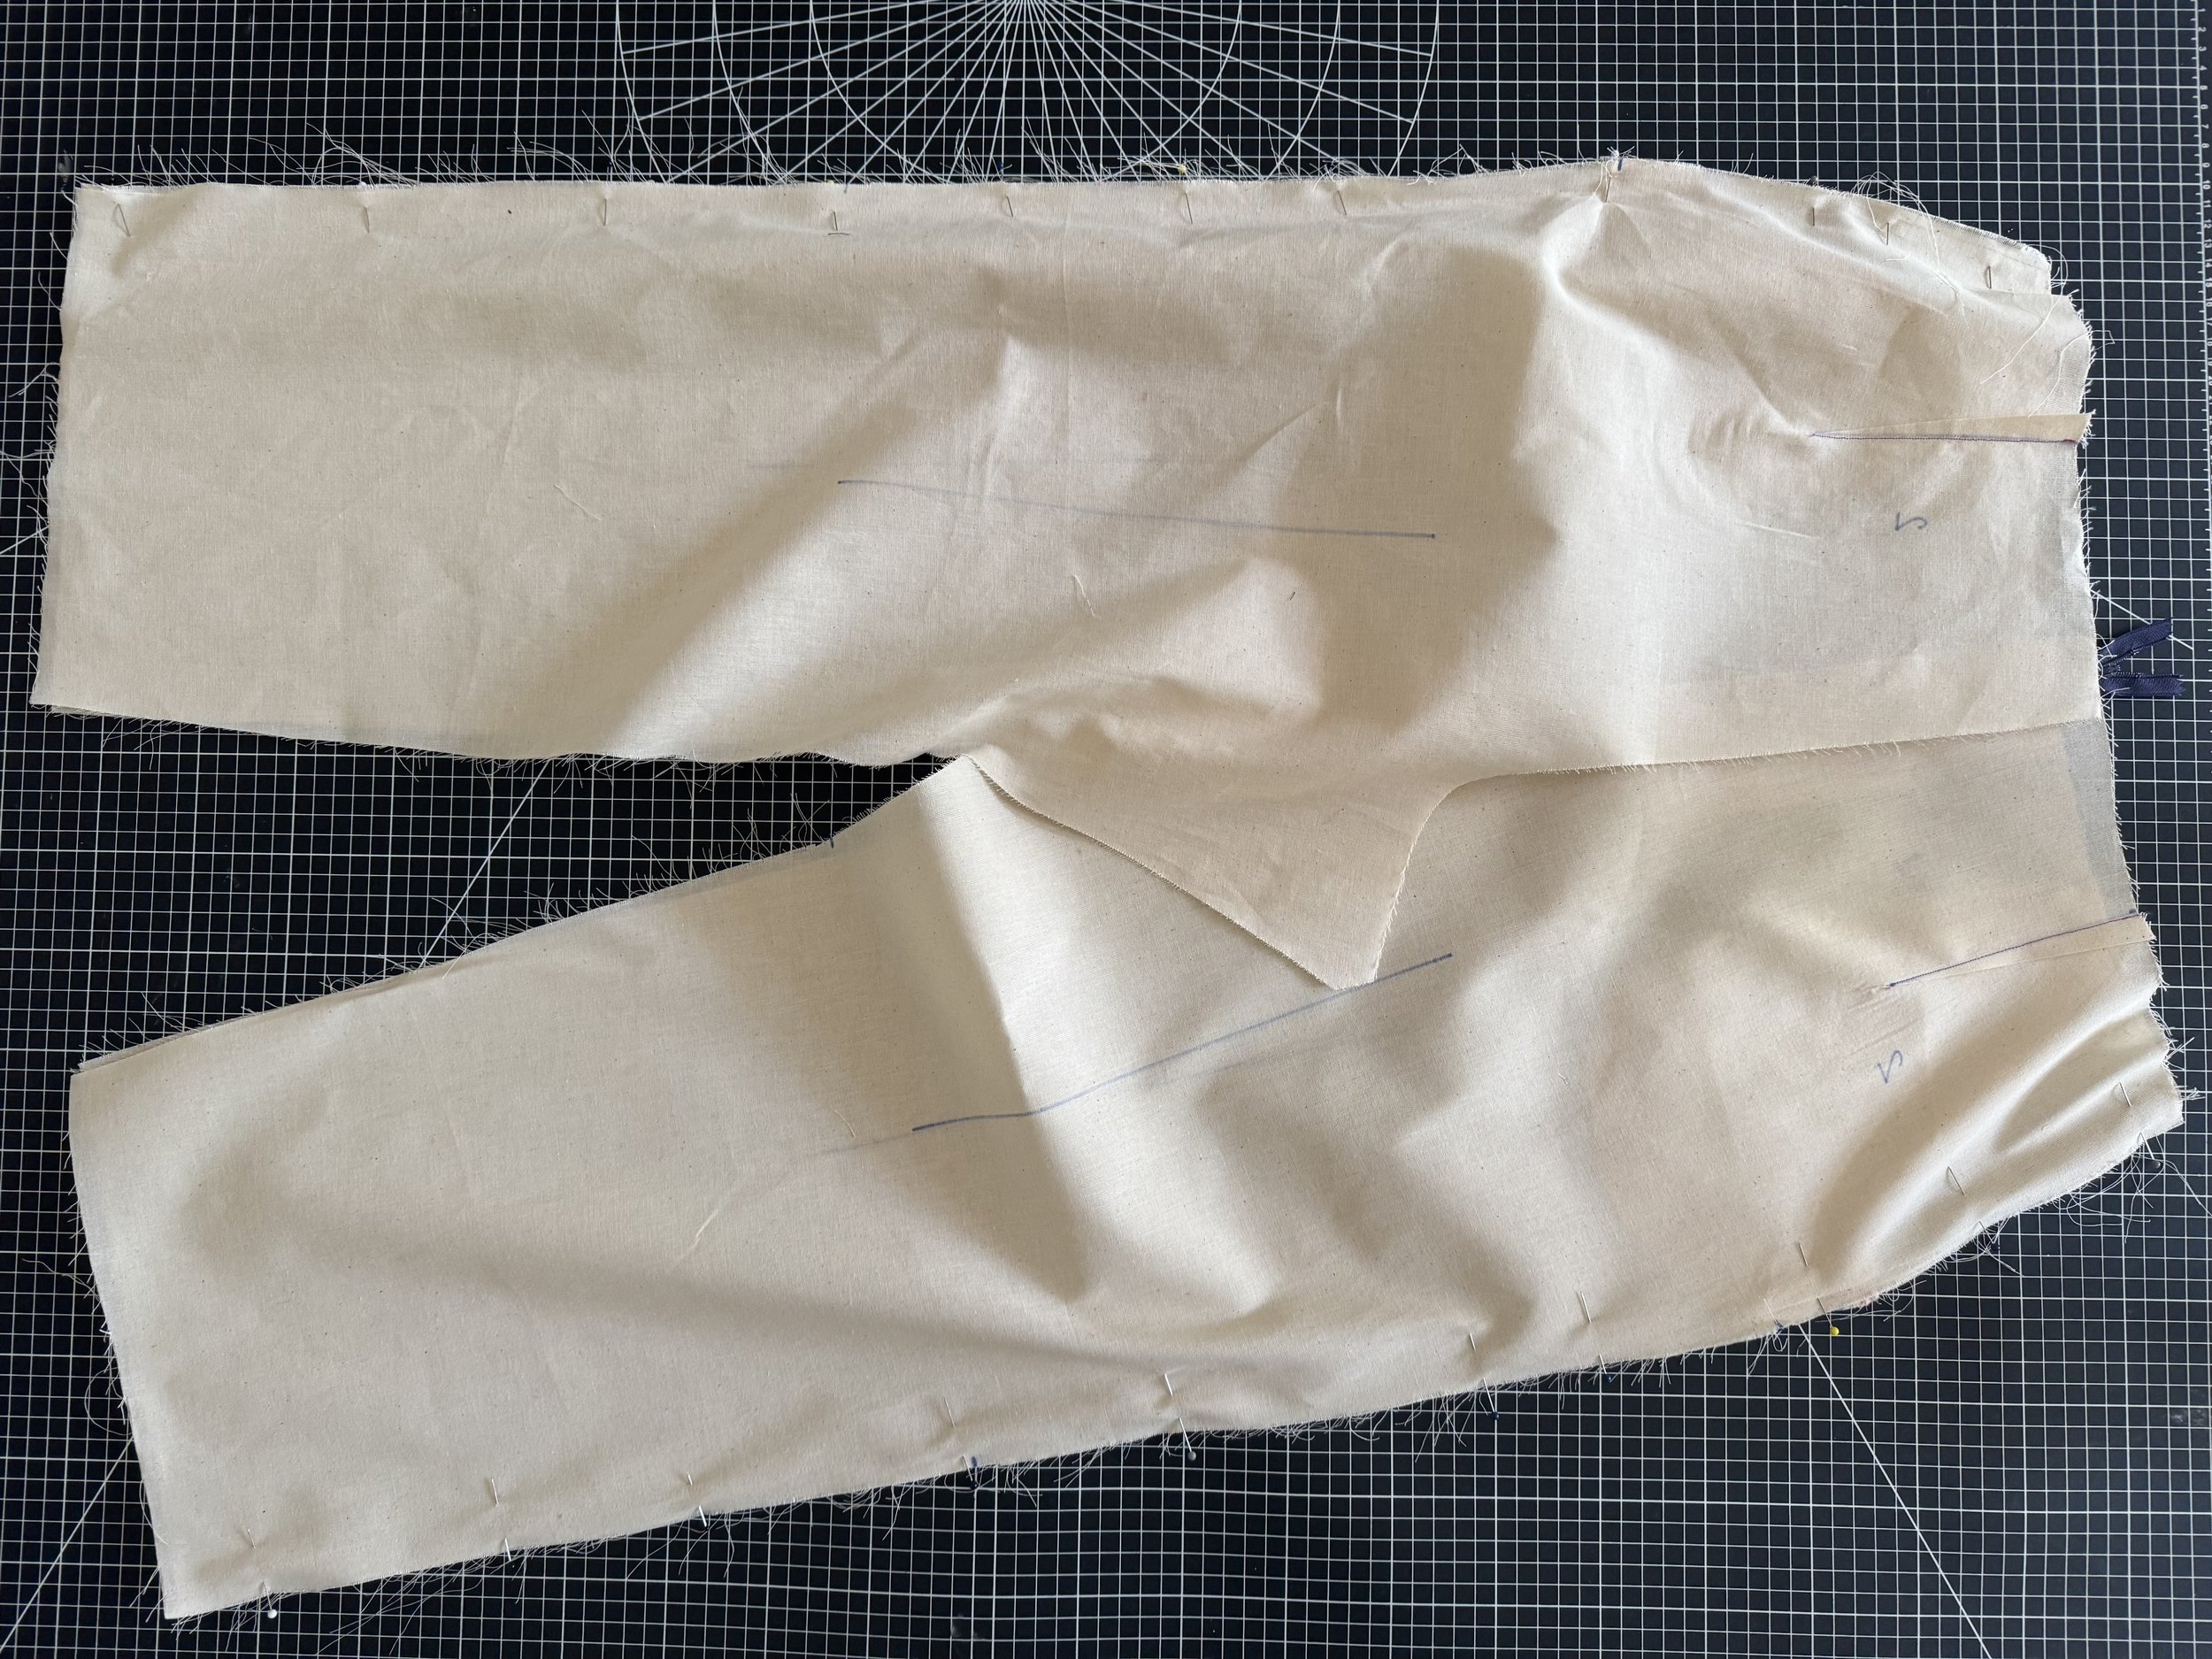
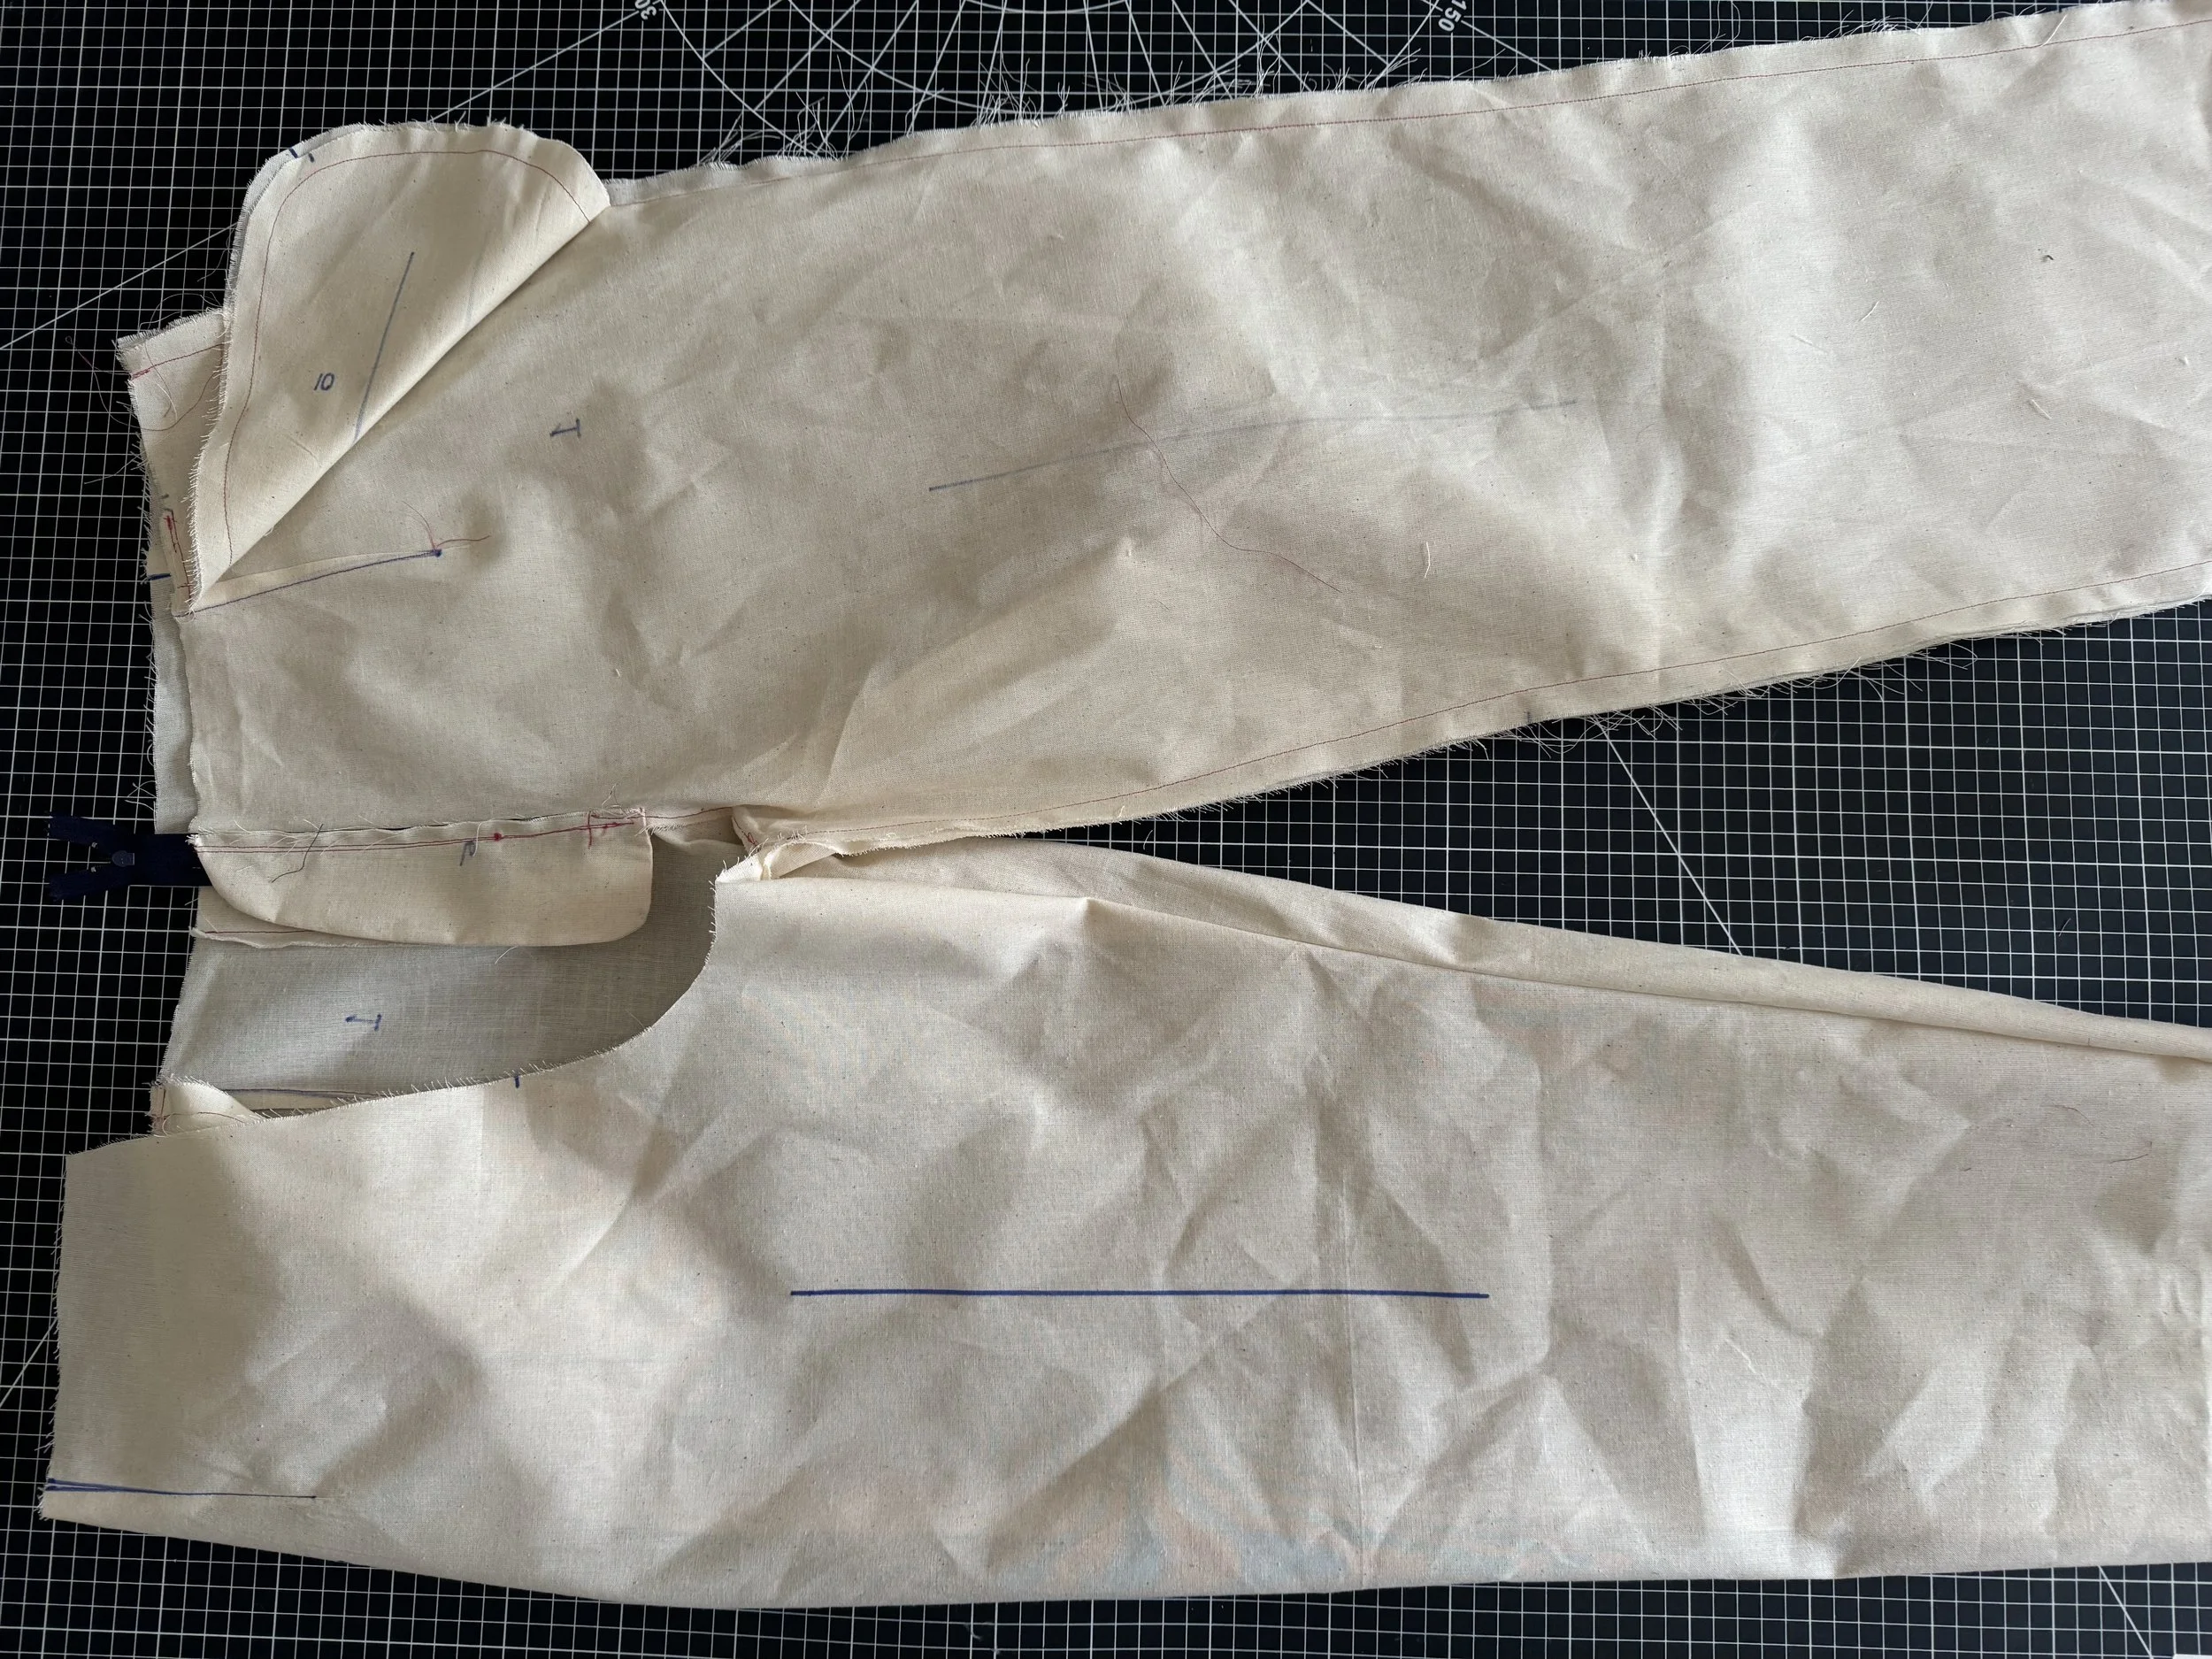
Pin the curved crotch area from the back waist to the zipper stitch line.
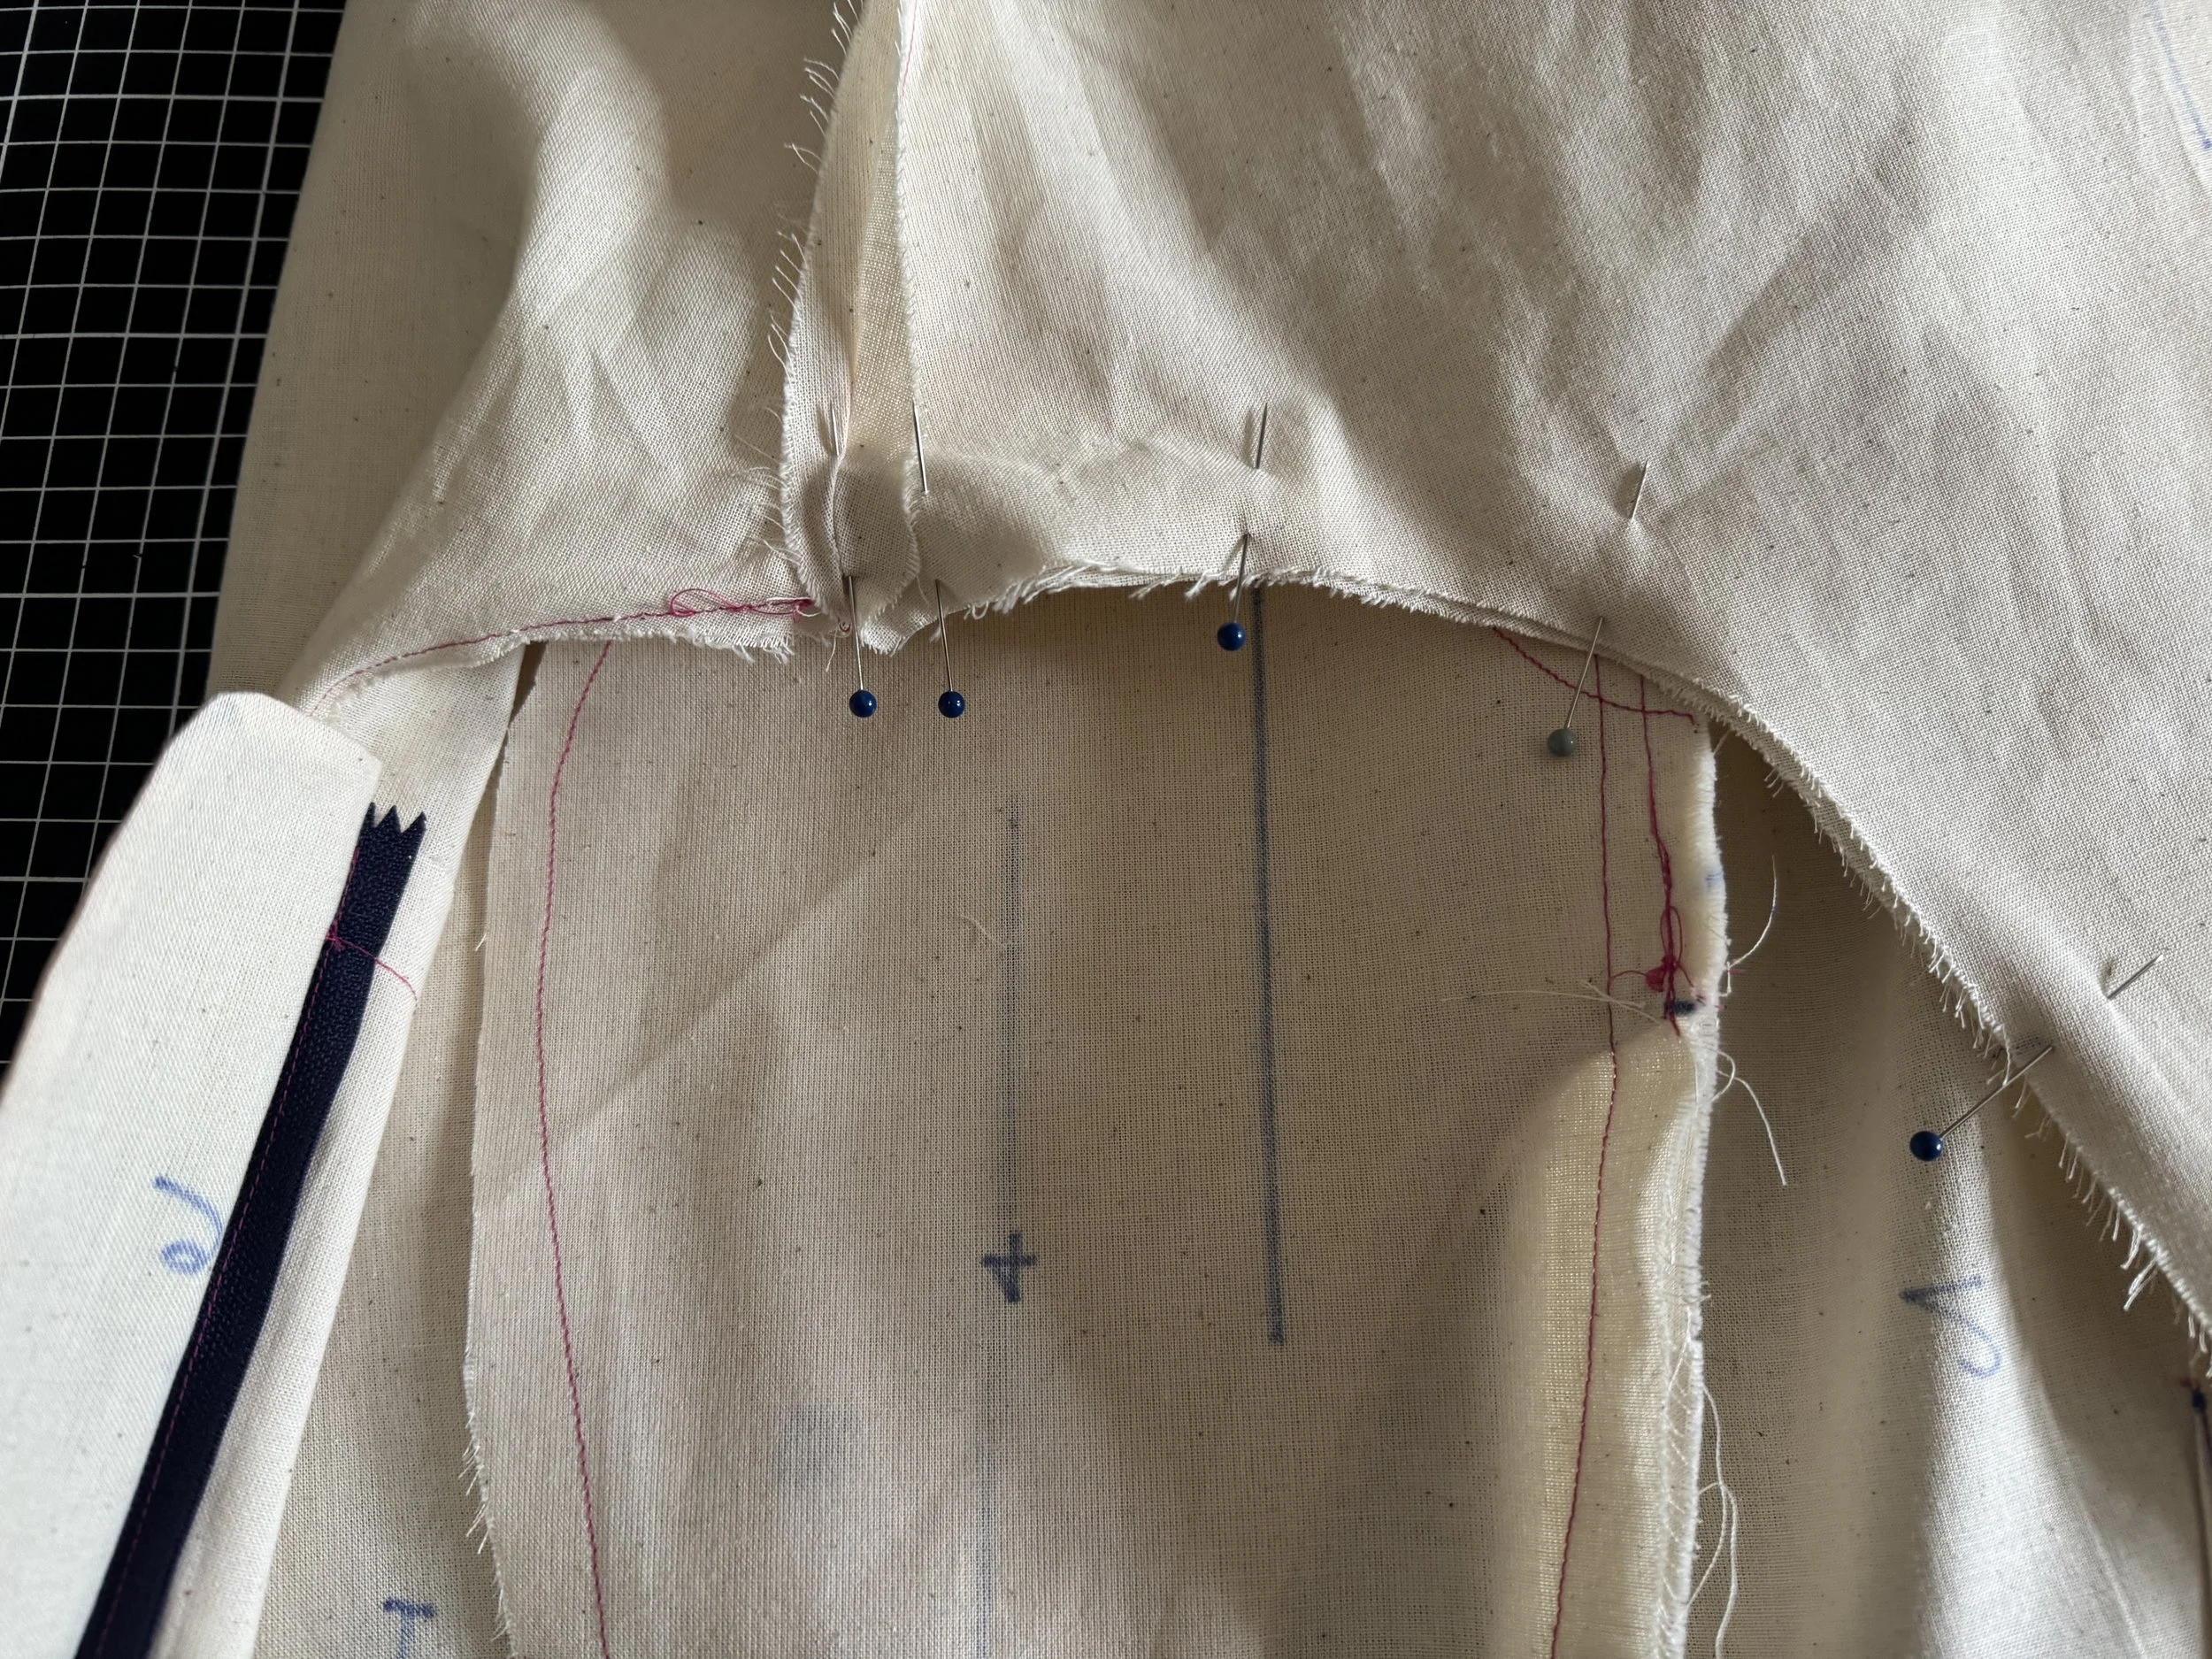
Starting at your zipper stitch line (which is under the 5/8”) sew grading to a 5/8” as you stitch.
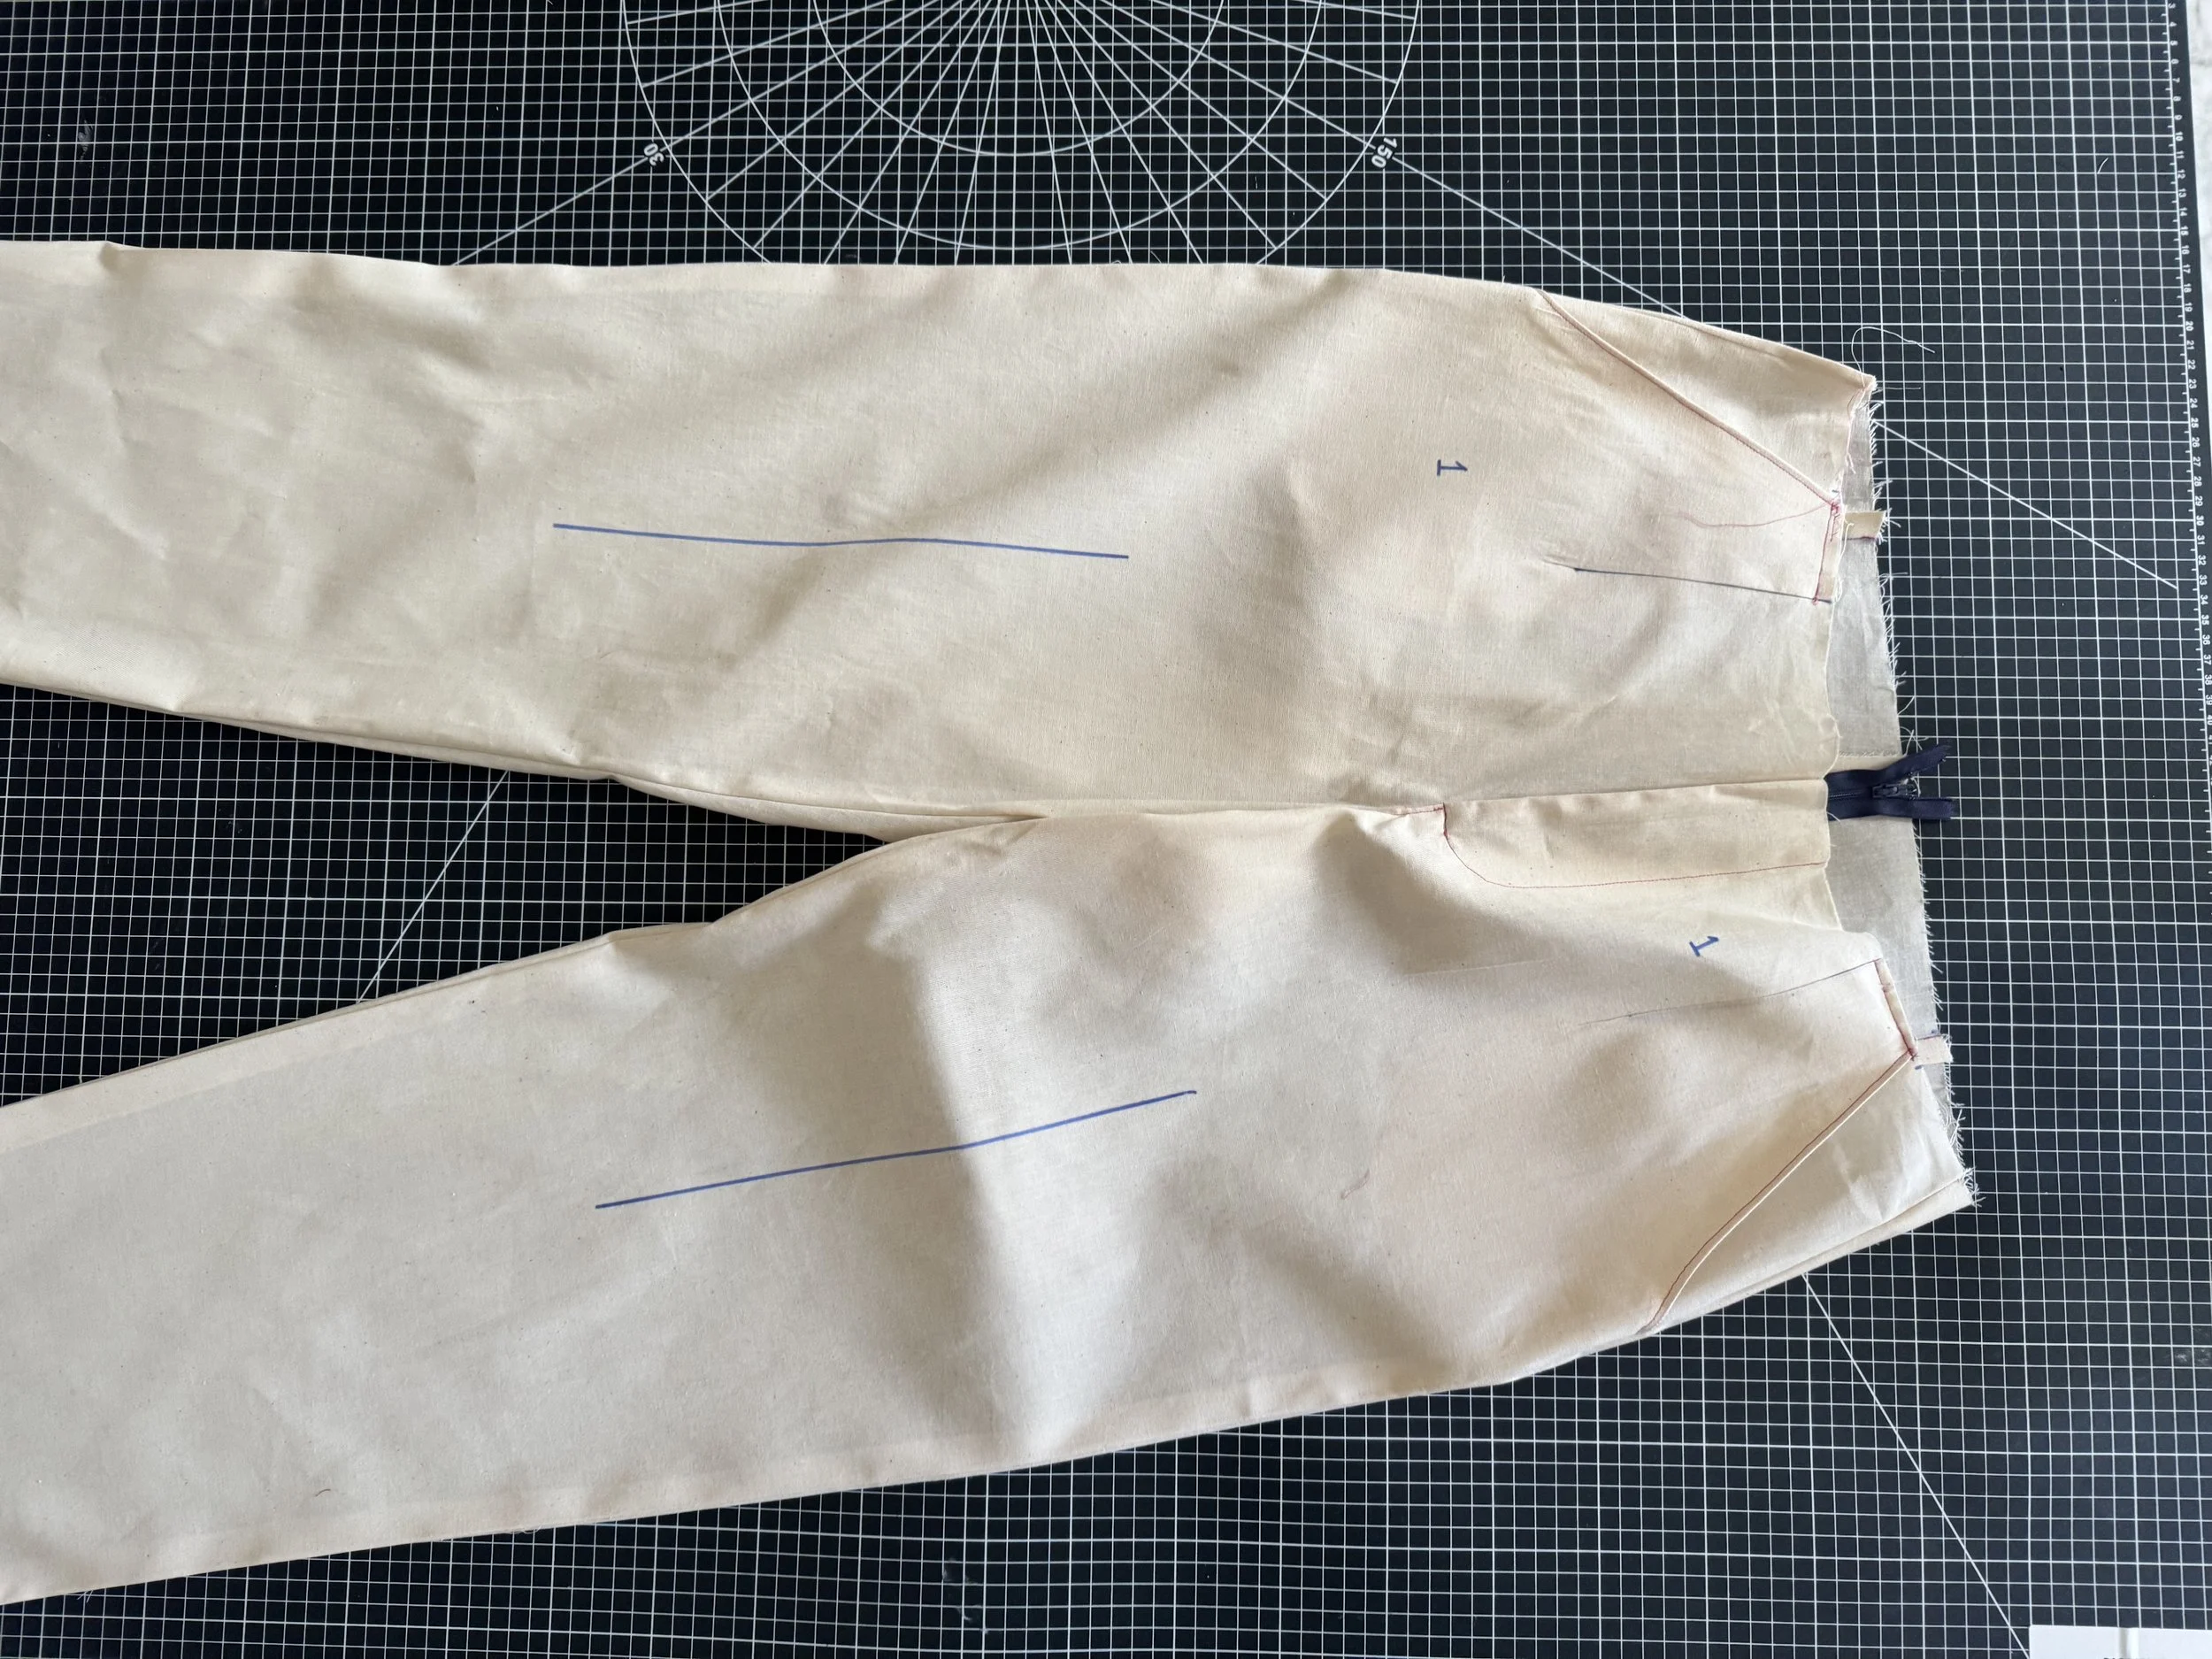
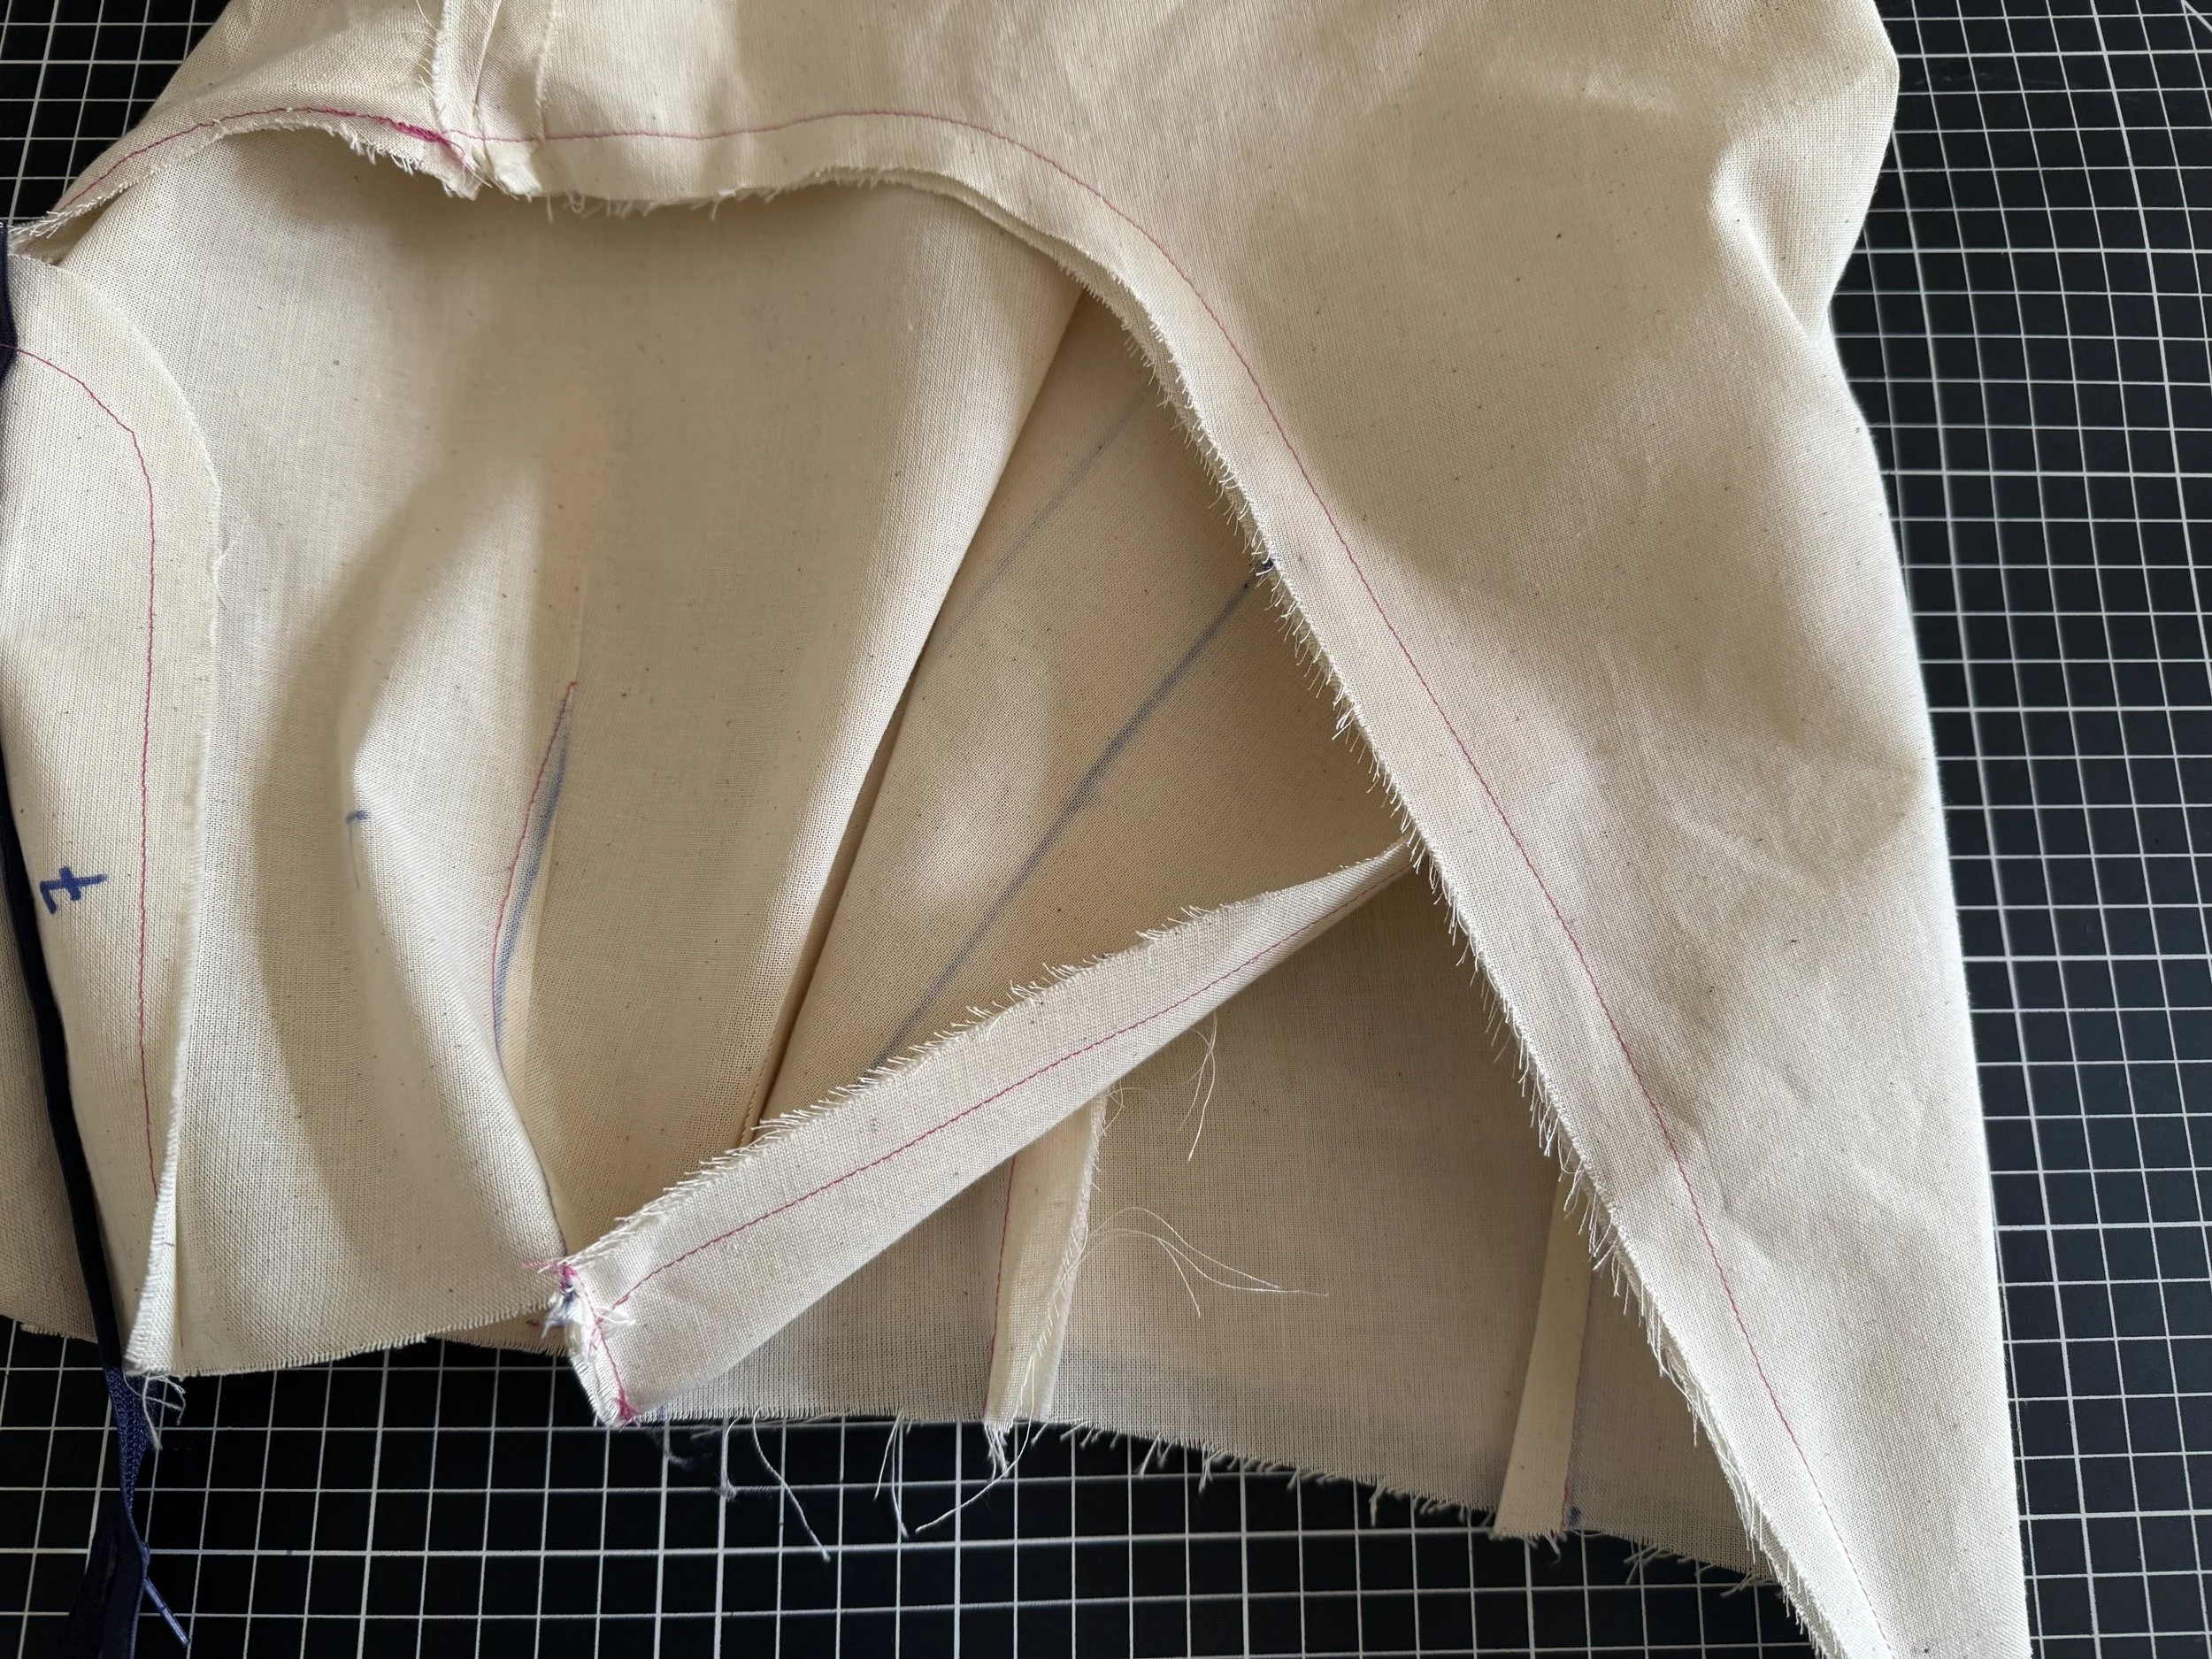
Pull your inside leg outside, and press.
Next up:
Belt loops, waistband and optional ankle cuff.