The Boheme Sheath Dress - Sewing the facing on the sleeveless and Cap sleeve
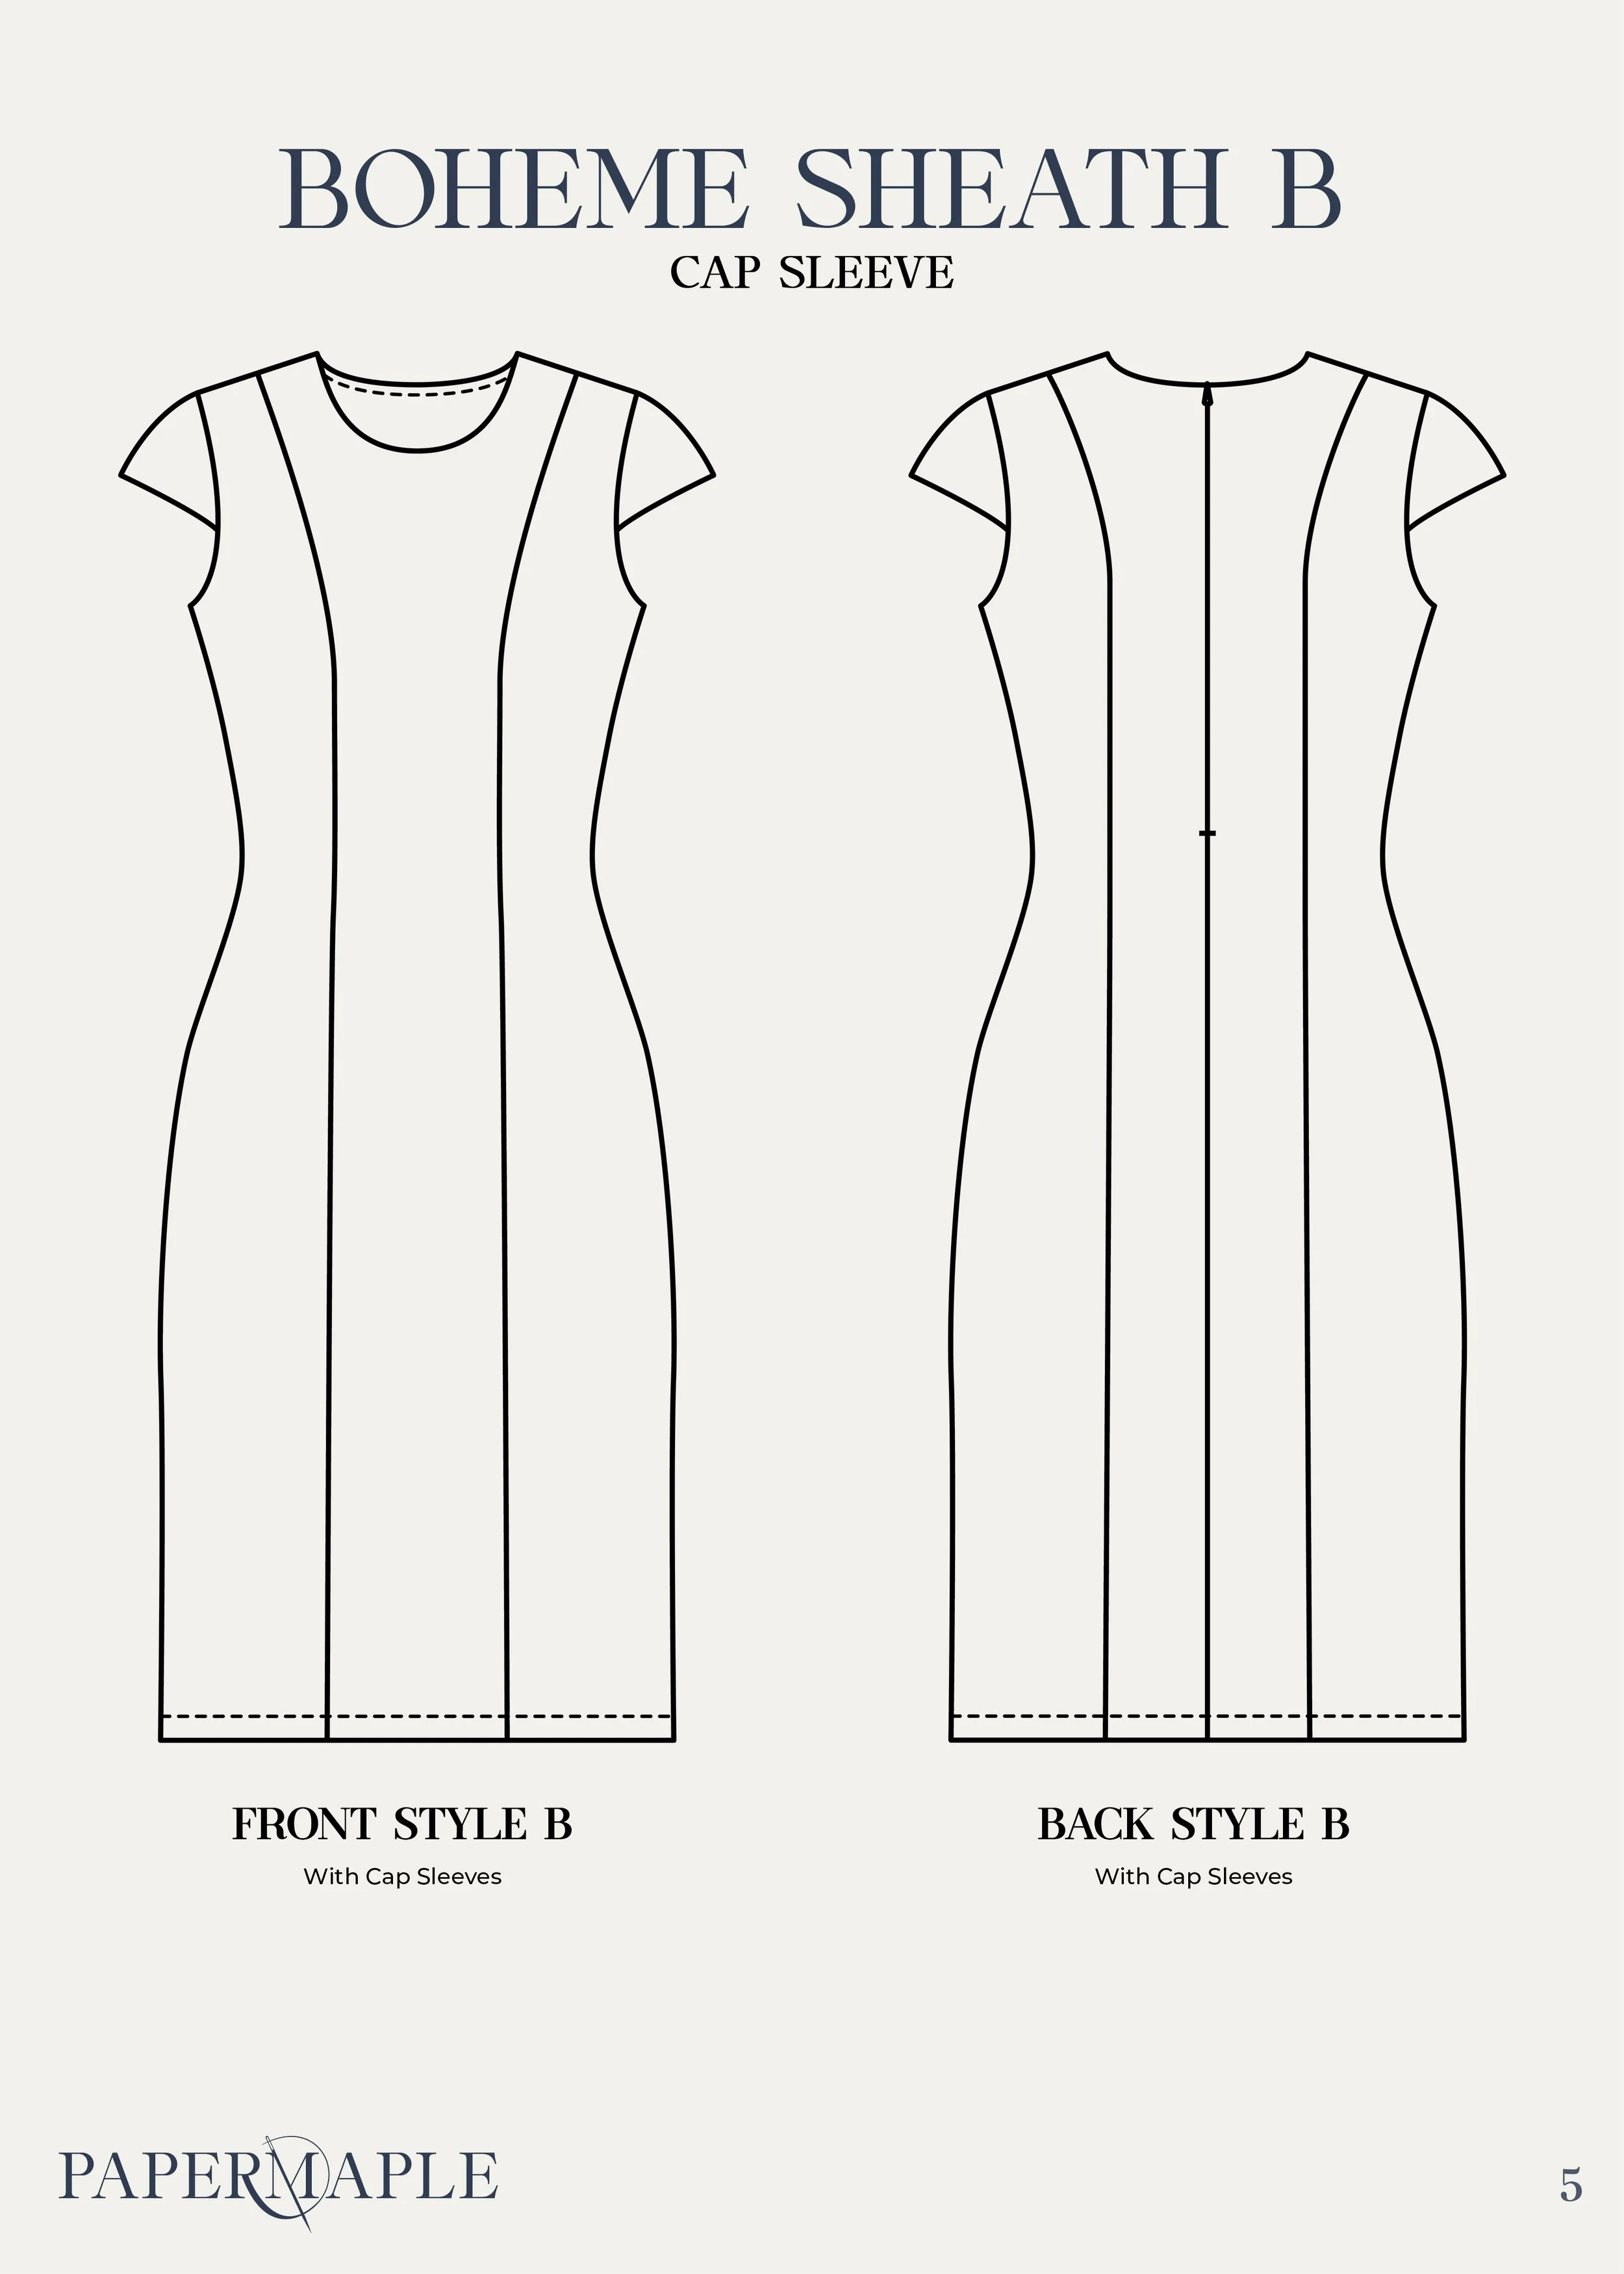
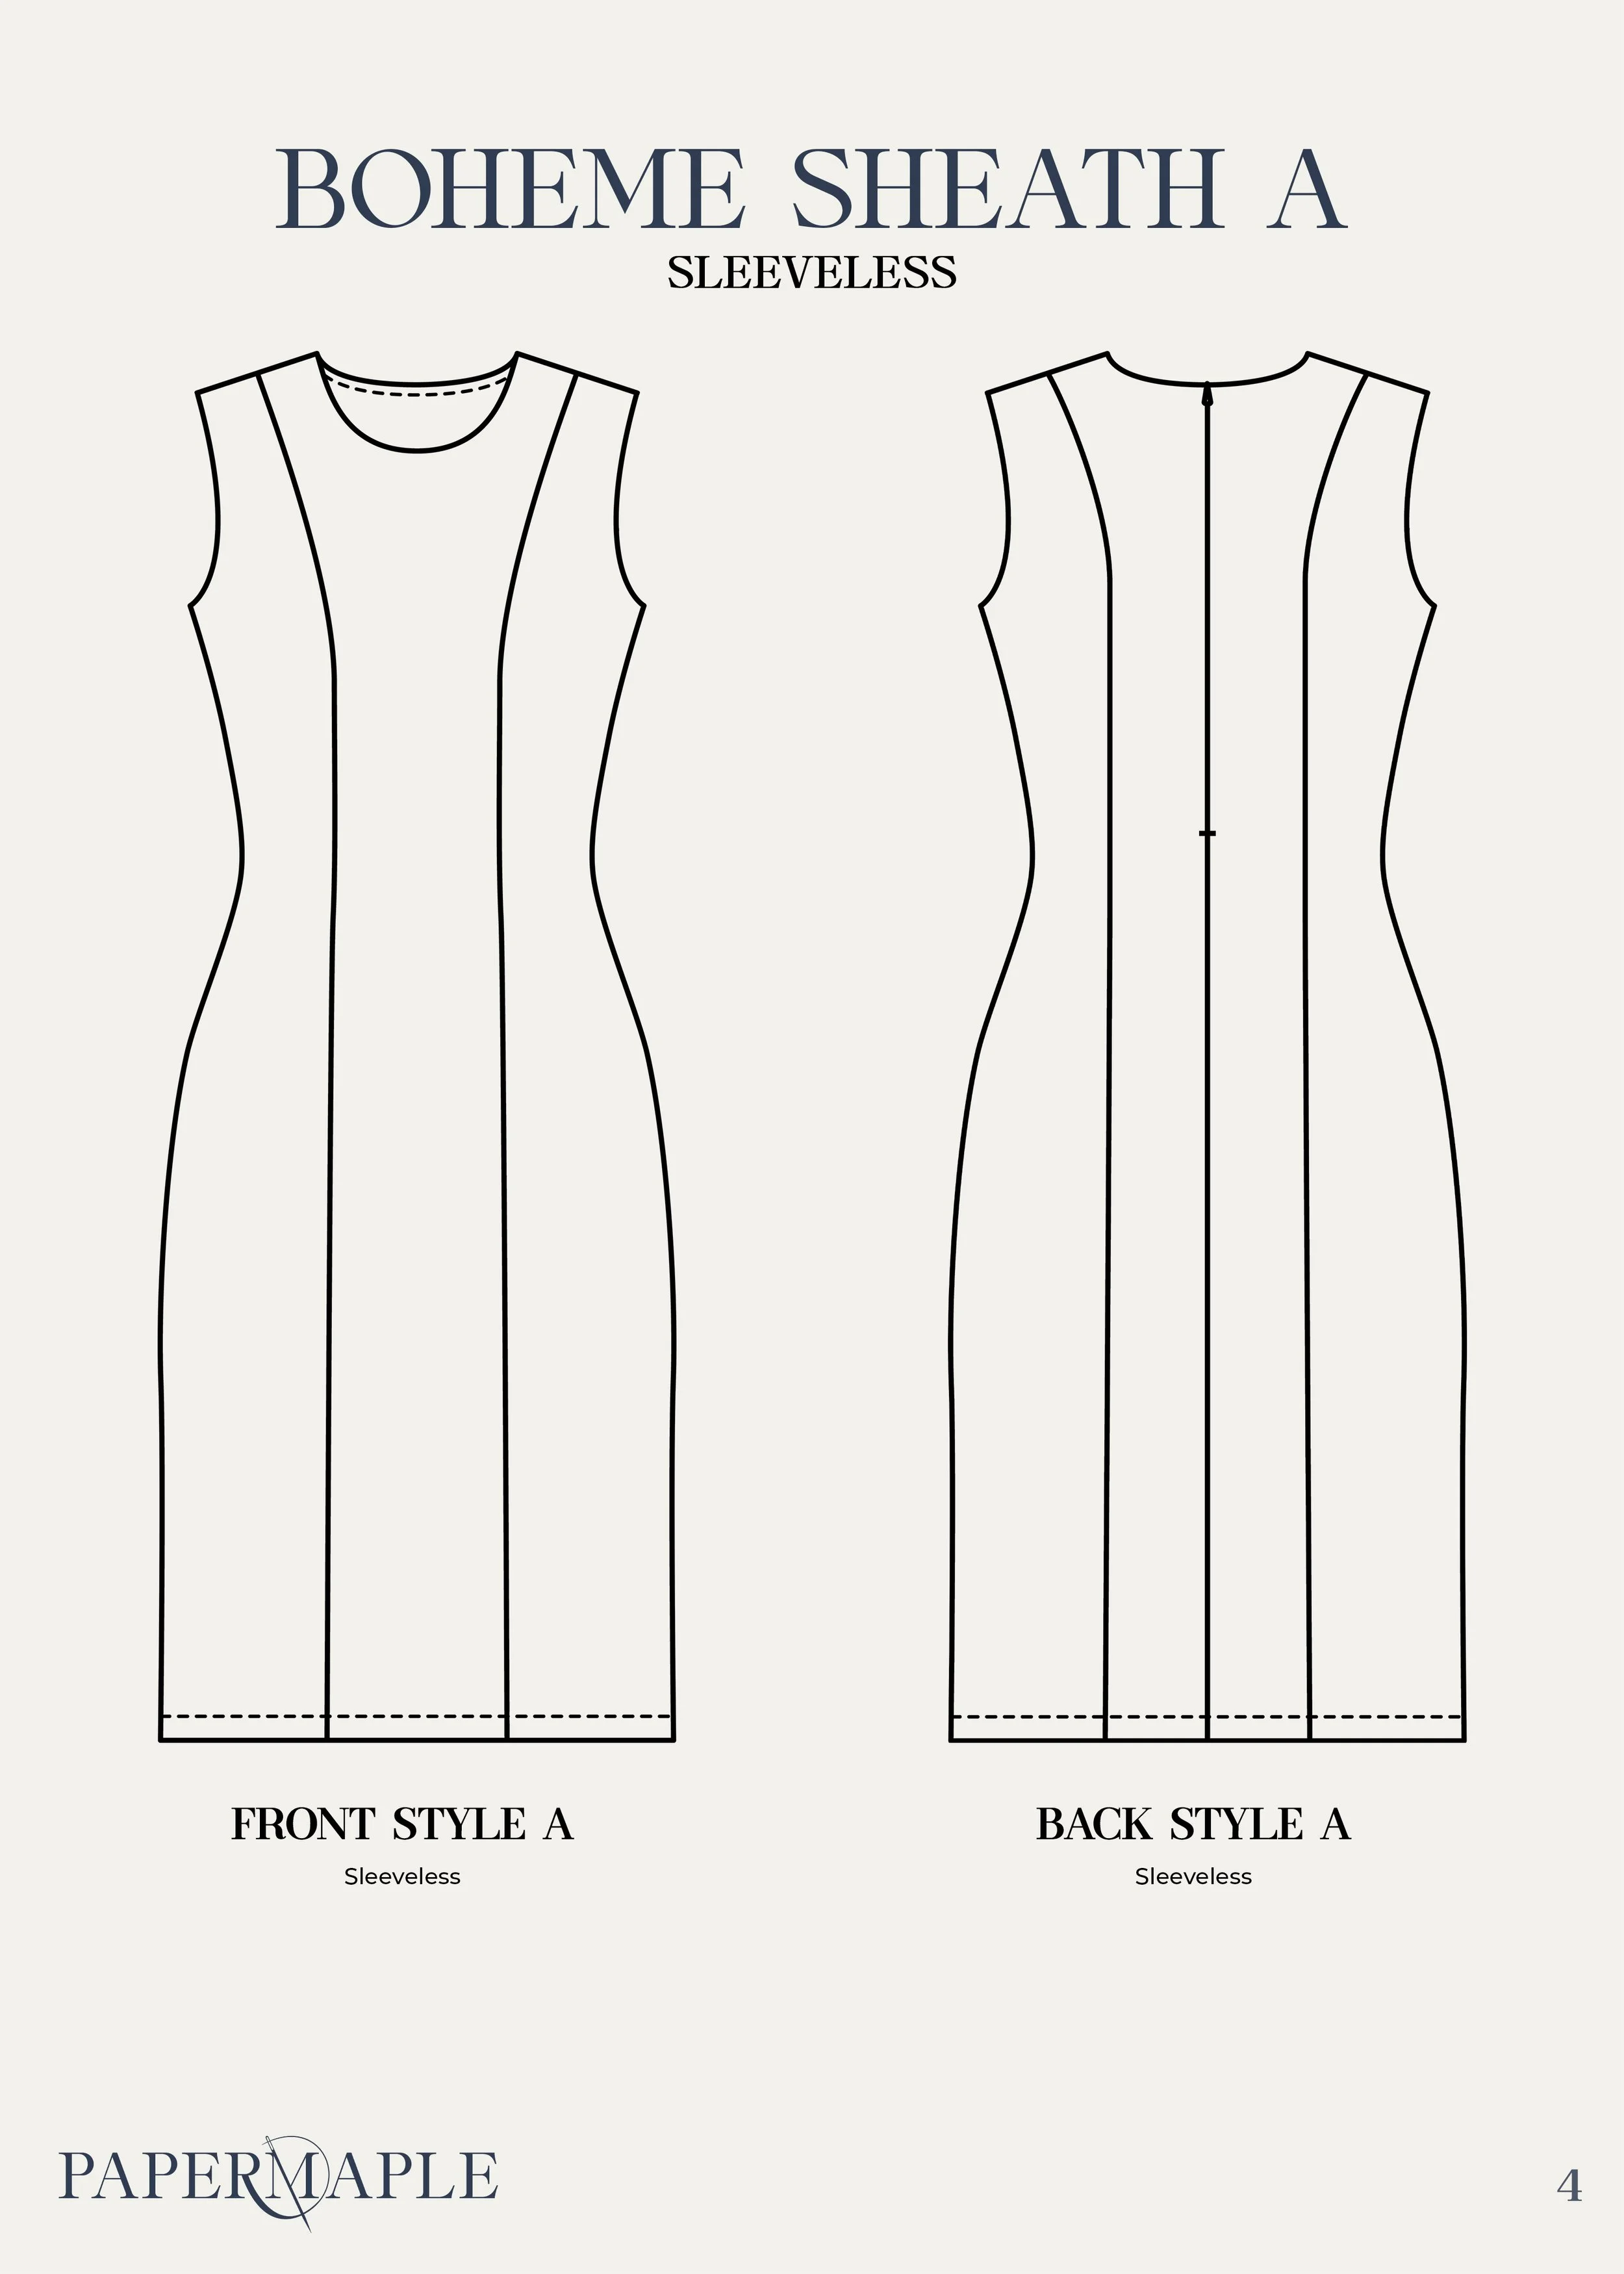
The sheath dress has a full sleeve and neck facing for options A and B. The cap sleeve must be sewn to the dress before attaching the facing.
*This facing is designed for the sheath dress but with a small adjustment can also be used for the fit and flare. The bodice is the same, but has a smaller armseye - see below.
It’s definitely harder to show this method in pictures, so there will be a video tutorial too!
An overview:
Attach the three facing pieces at the shoulder seams
Leave the side seams open on both the bodice and facing
Sew the facing and bodice neckline together
Understitch
Sew the facing and bodice together at the armseyes
Bring the back bodice through the shoulder seam opening to the front
Understitch where possible around the armseye
Press

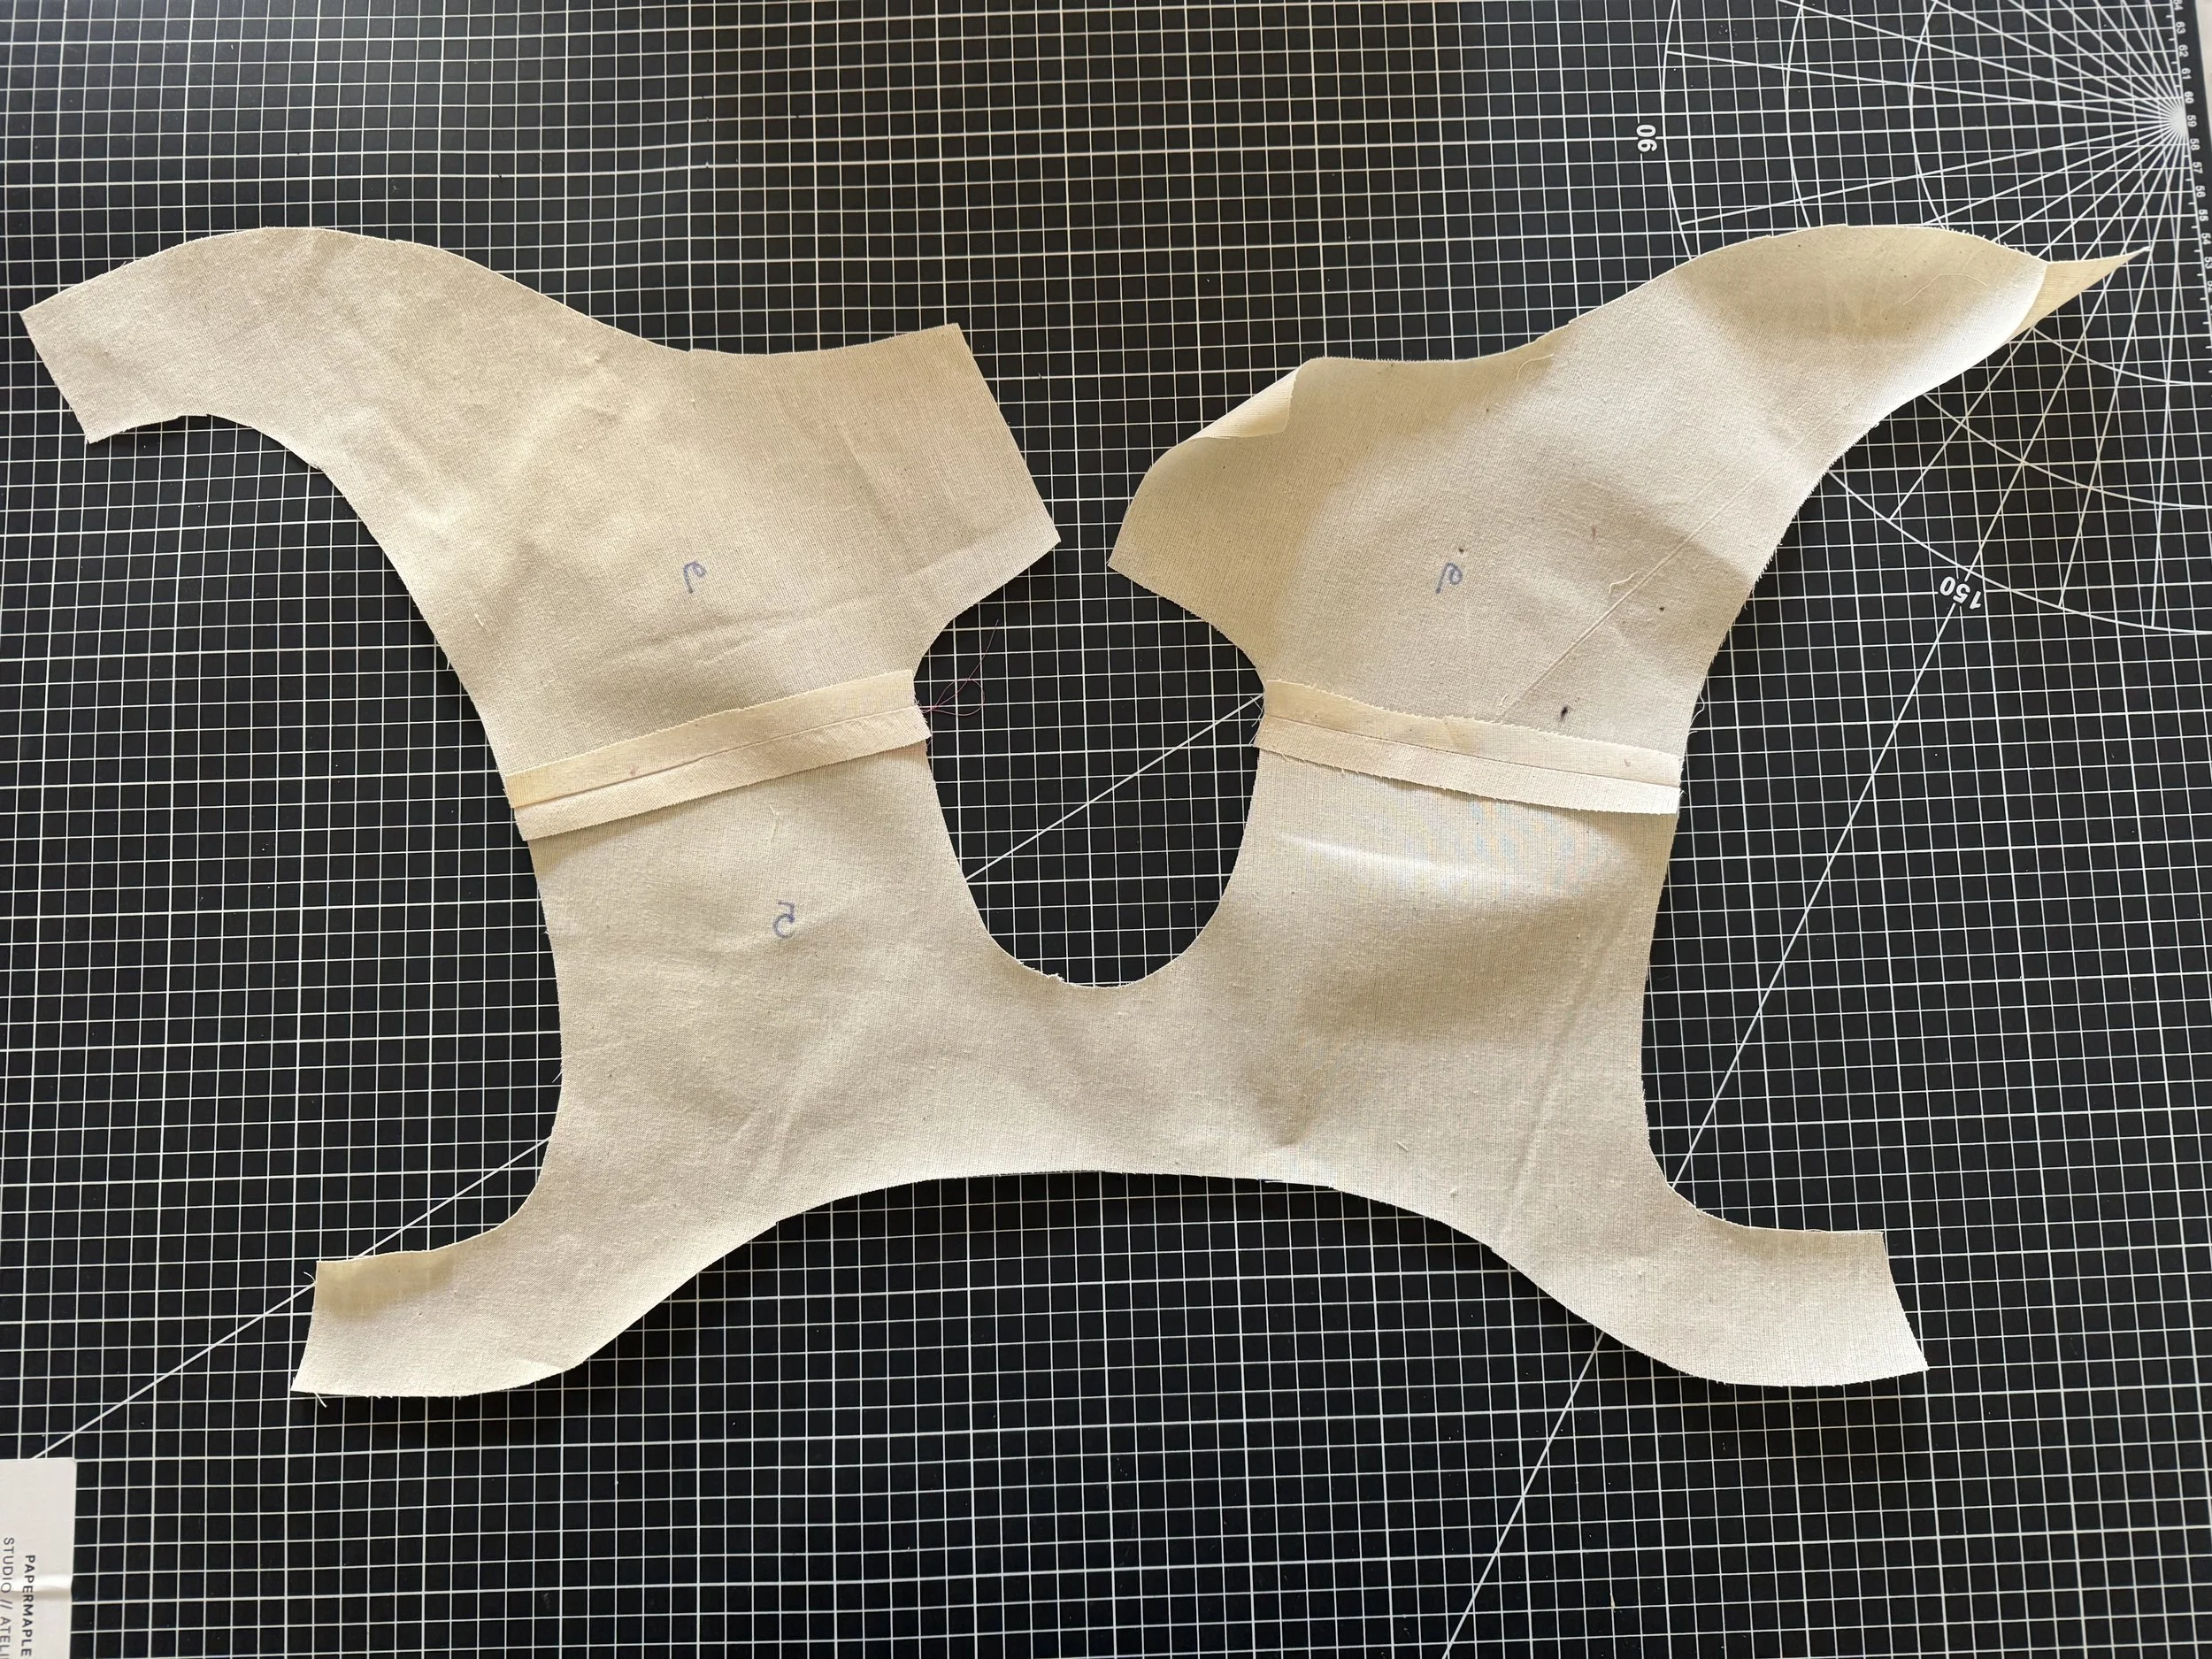
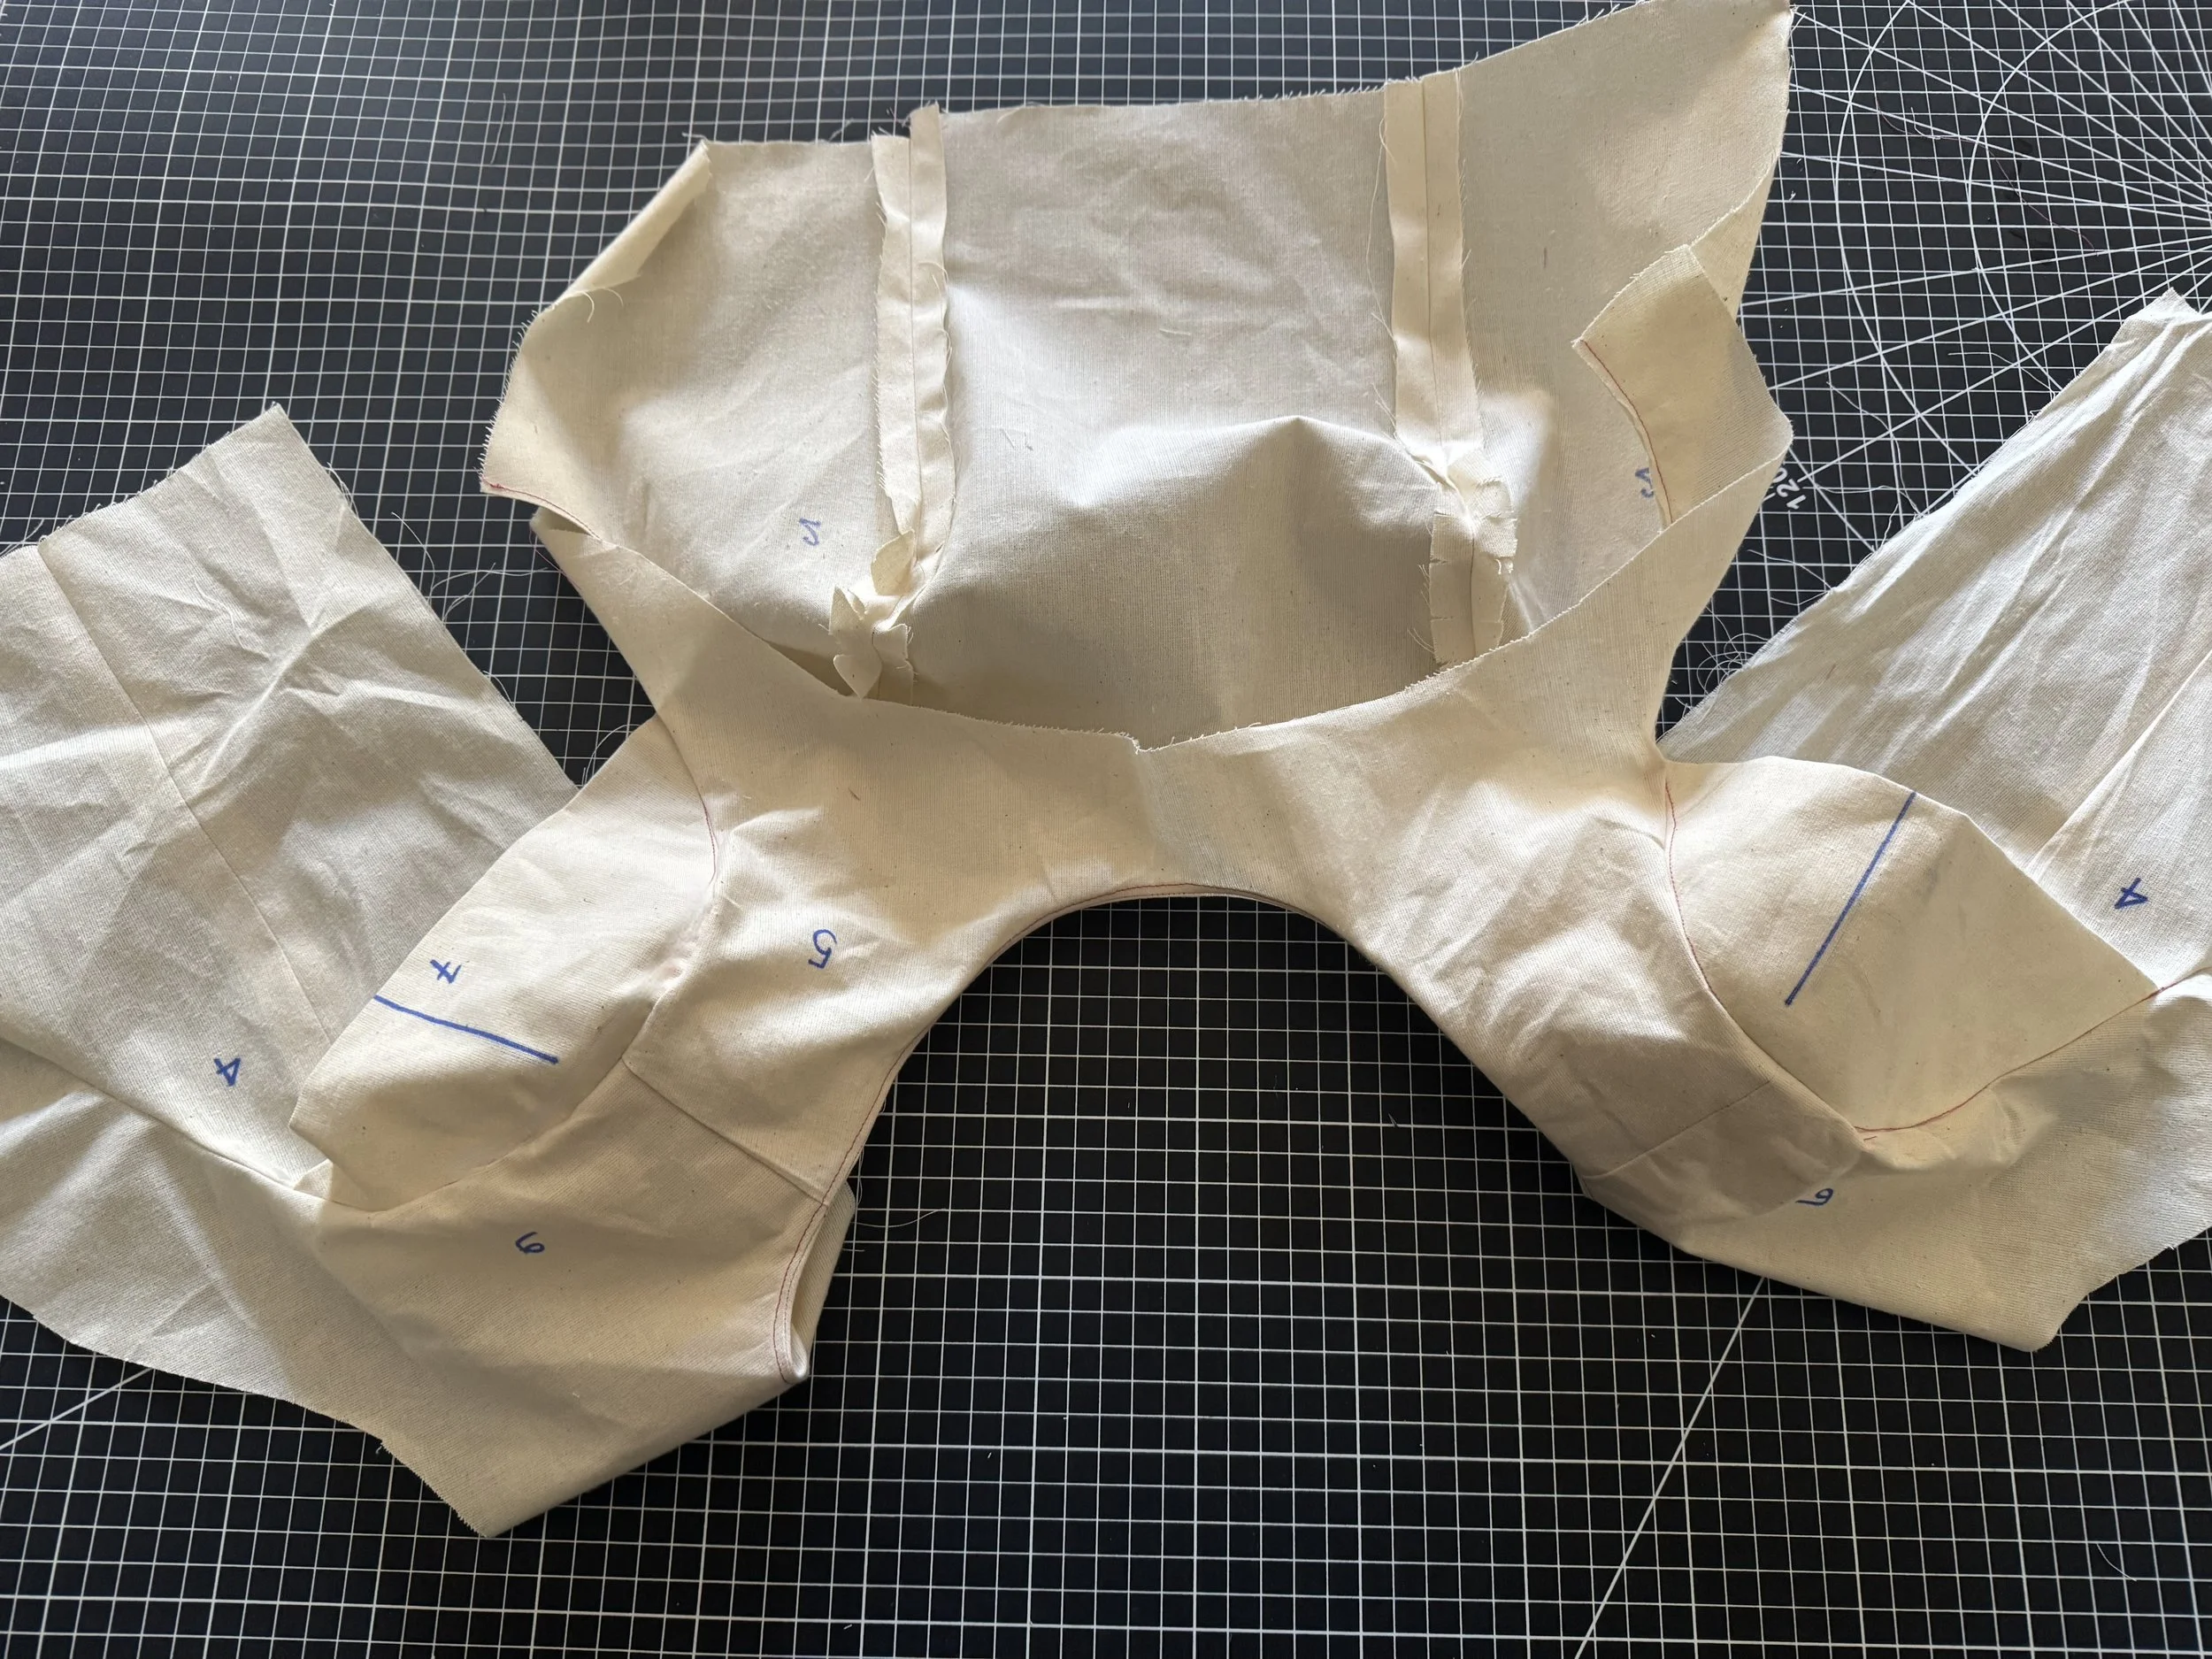
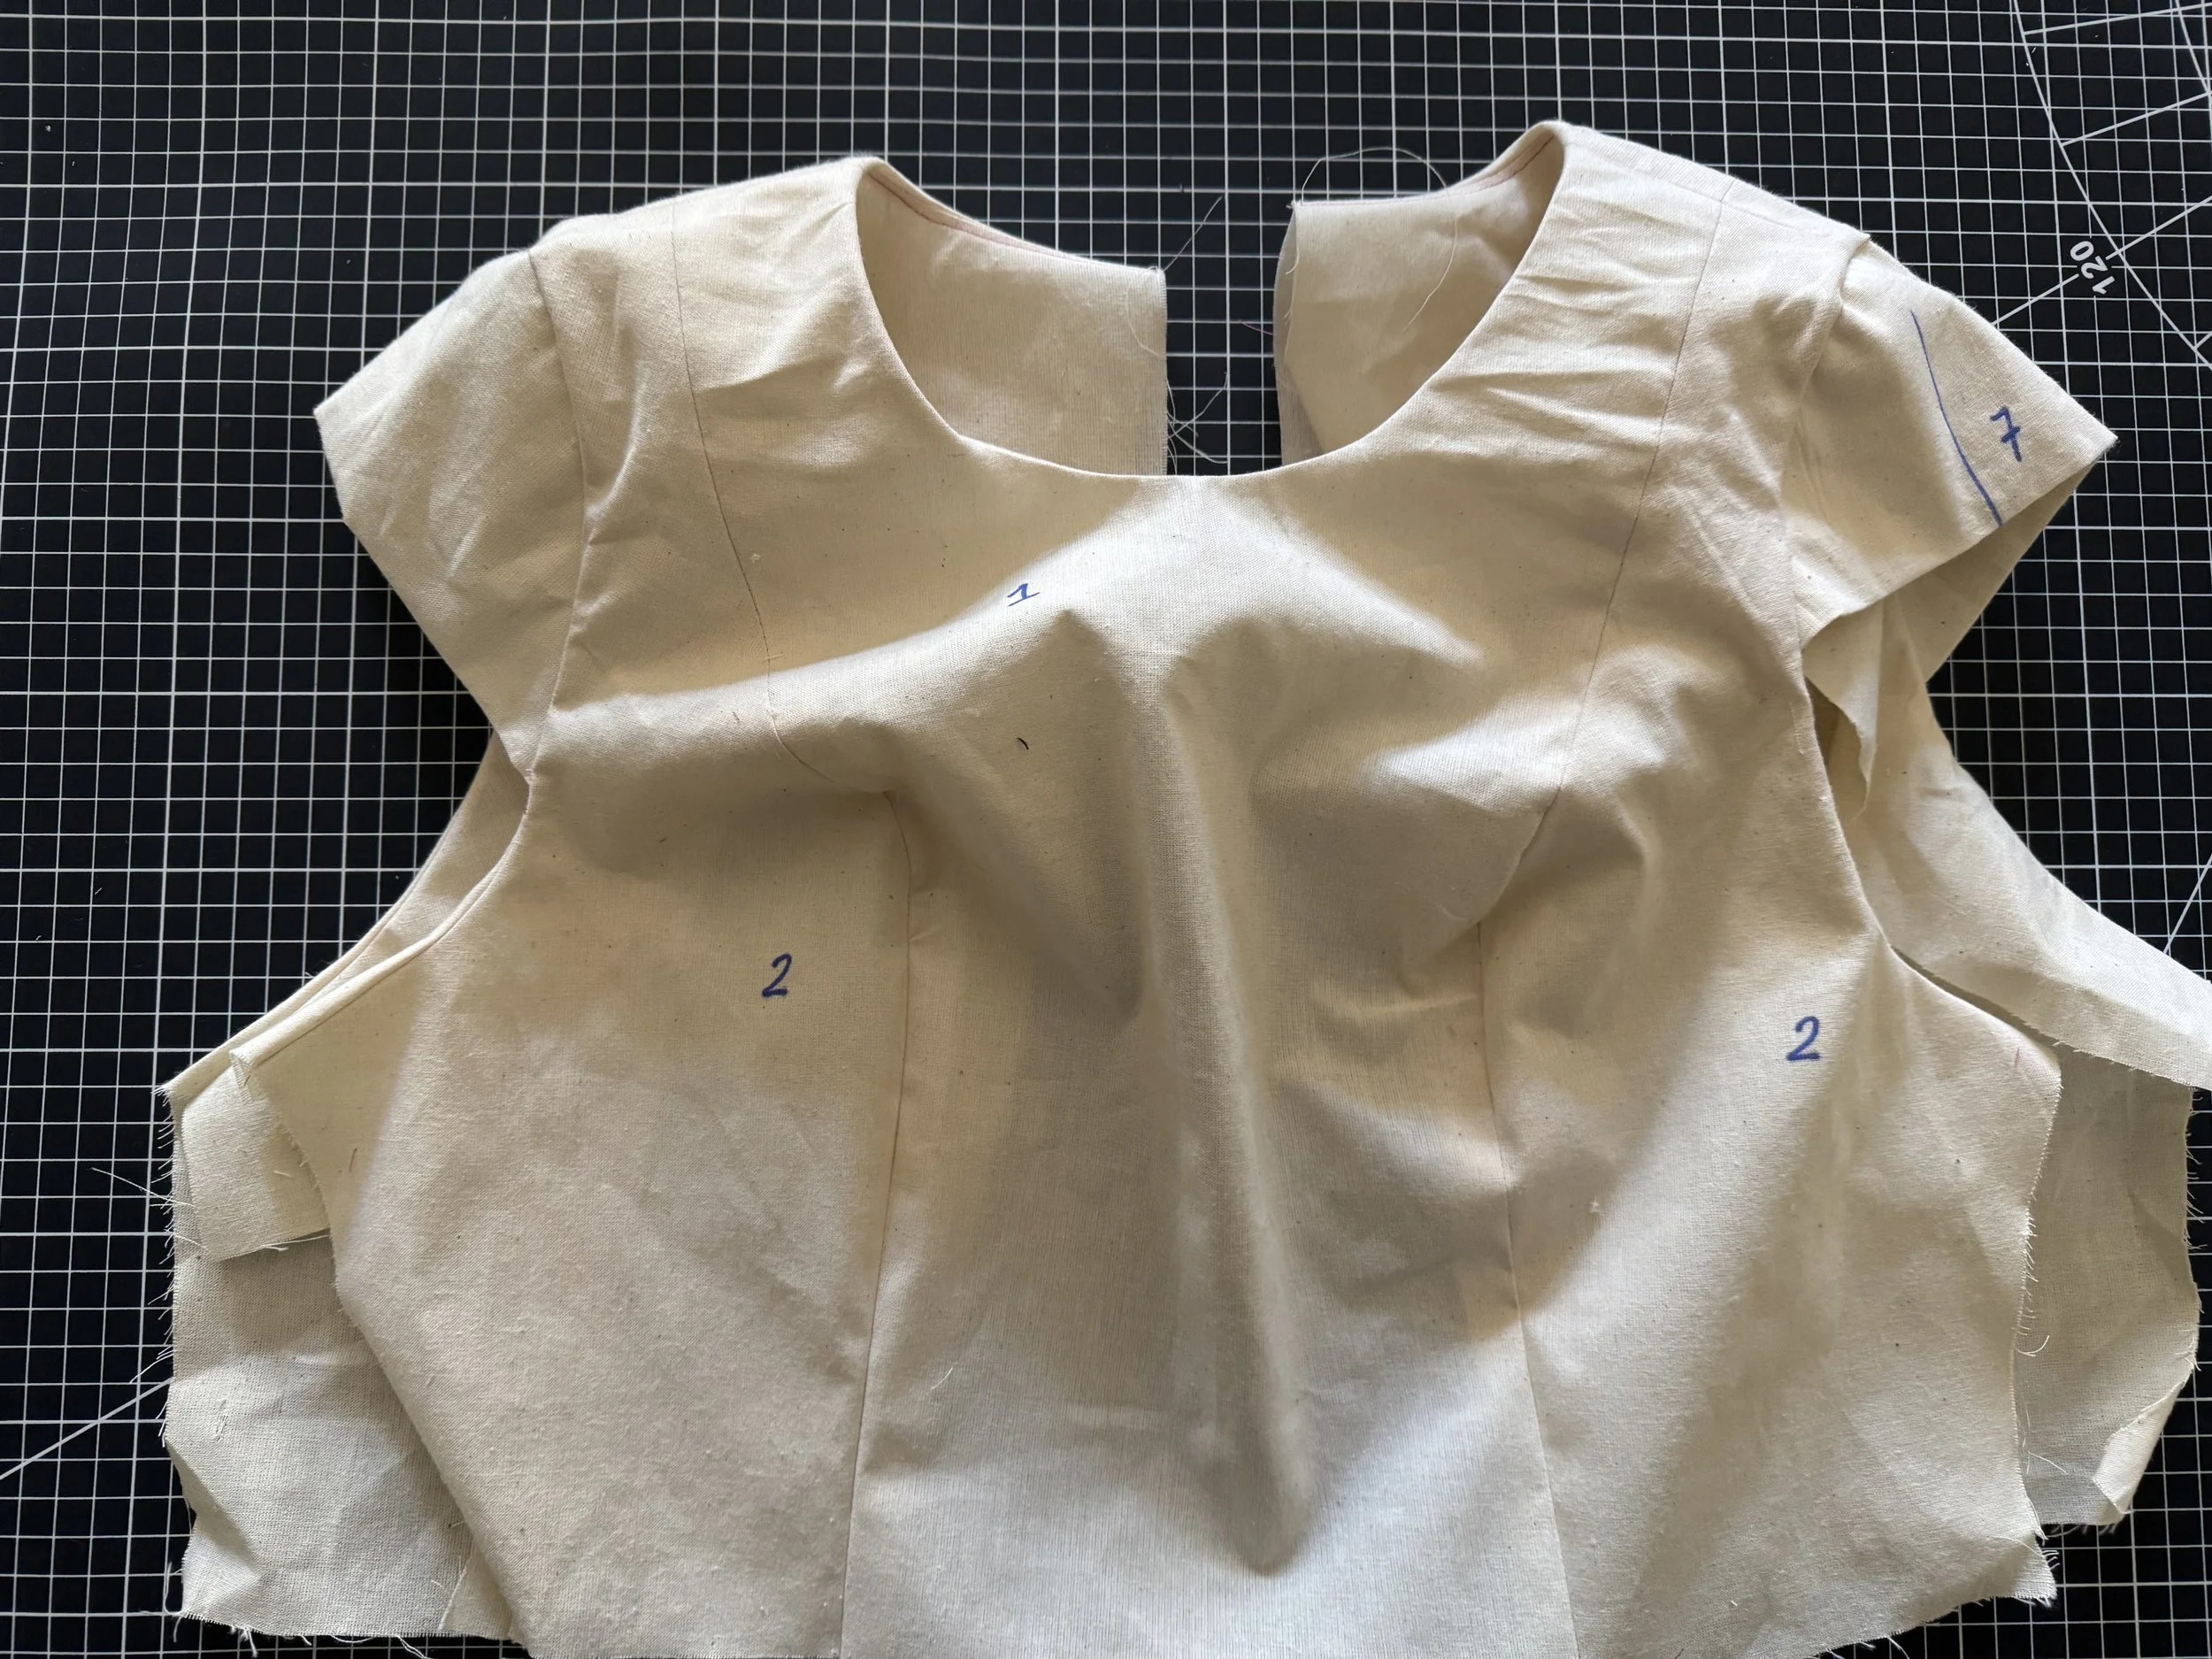
The full facings are pattern pieces 5 and 6. Both have a 5/8” seam allowance.
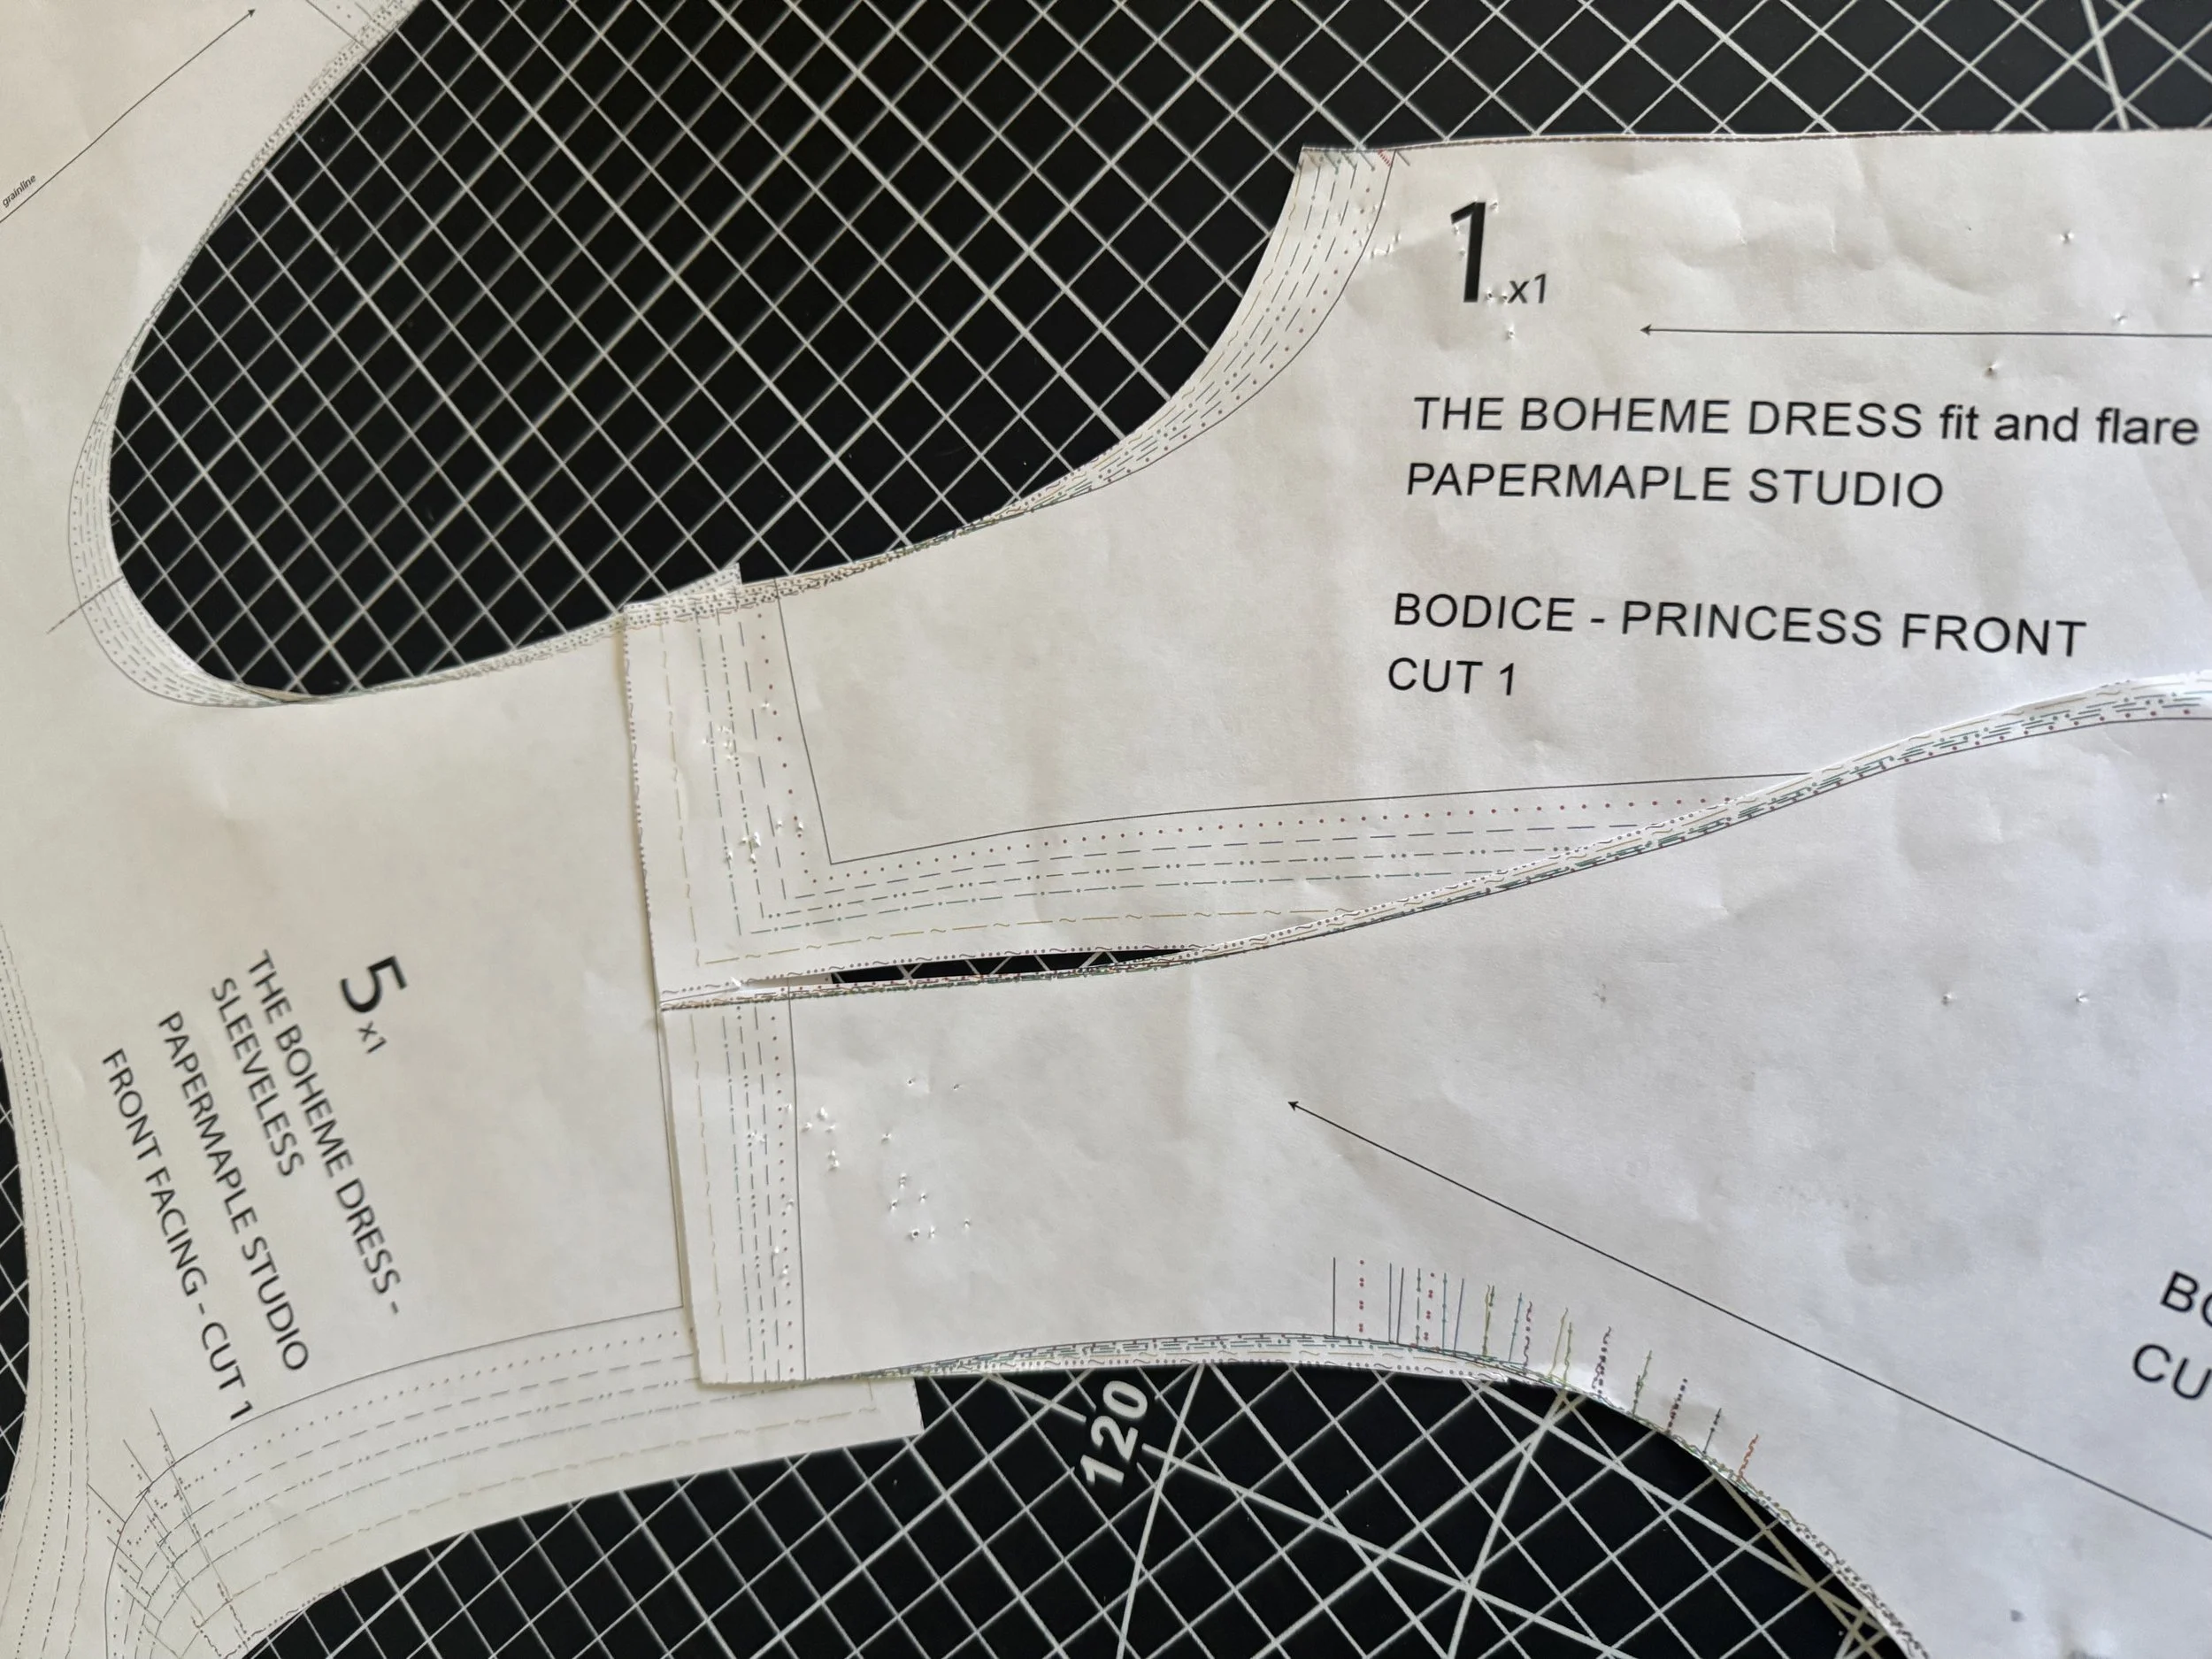
*Shown above: On the left is the sleeveless front facing and on the right the fit and flare front pieces. Depending on the size cut and taking into account seam allowances, there will be at least a 1” overlap on the facing.
If using the cap sleeve for the fit and flare dress bodice - I would suggest attaching the sleeve, and then sewing the facing to your neckline seam. Trim the armseye once the neckline seam is sewn, using the bodice as your cutting guide.
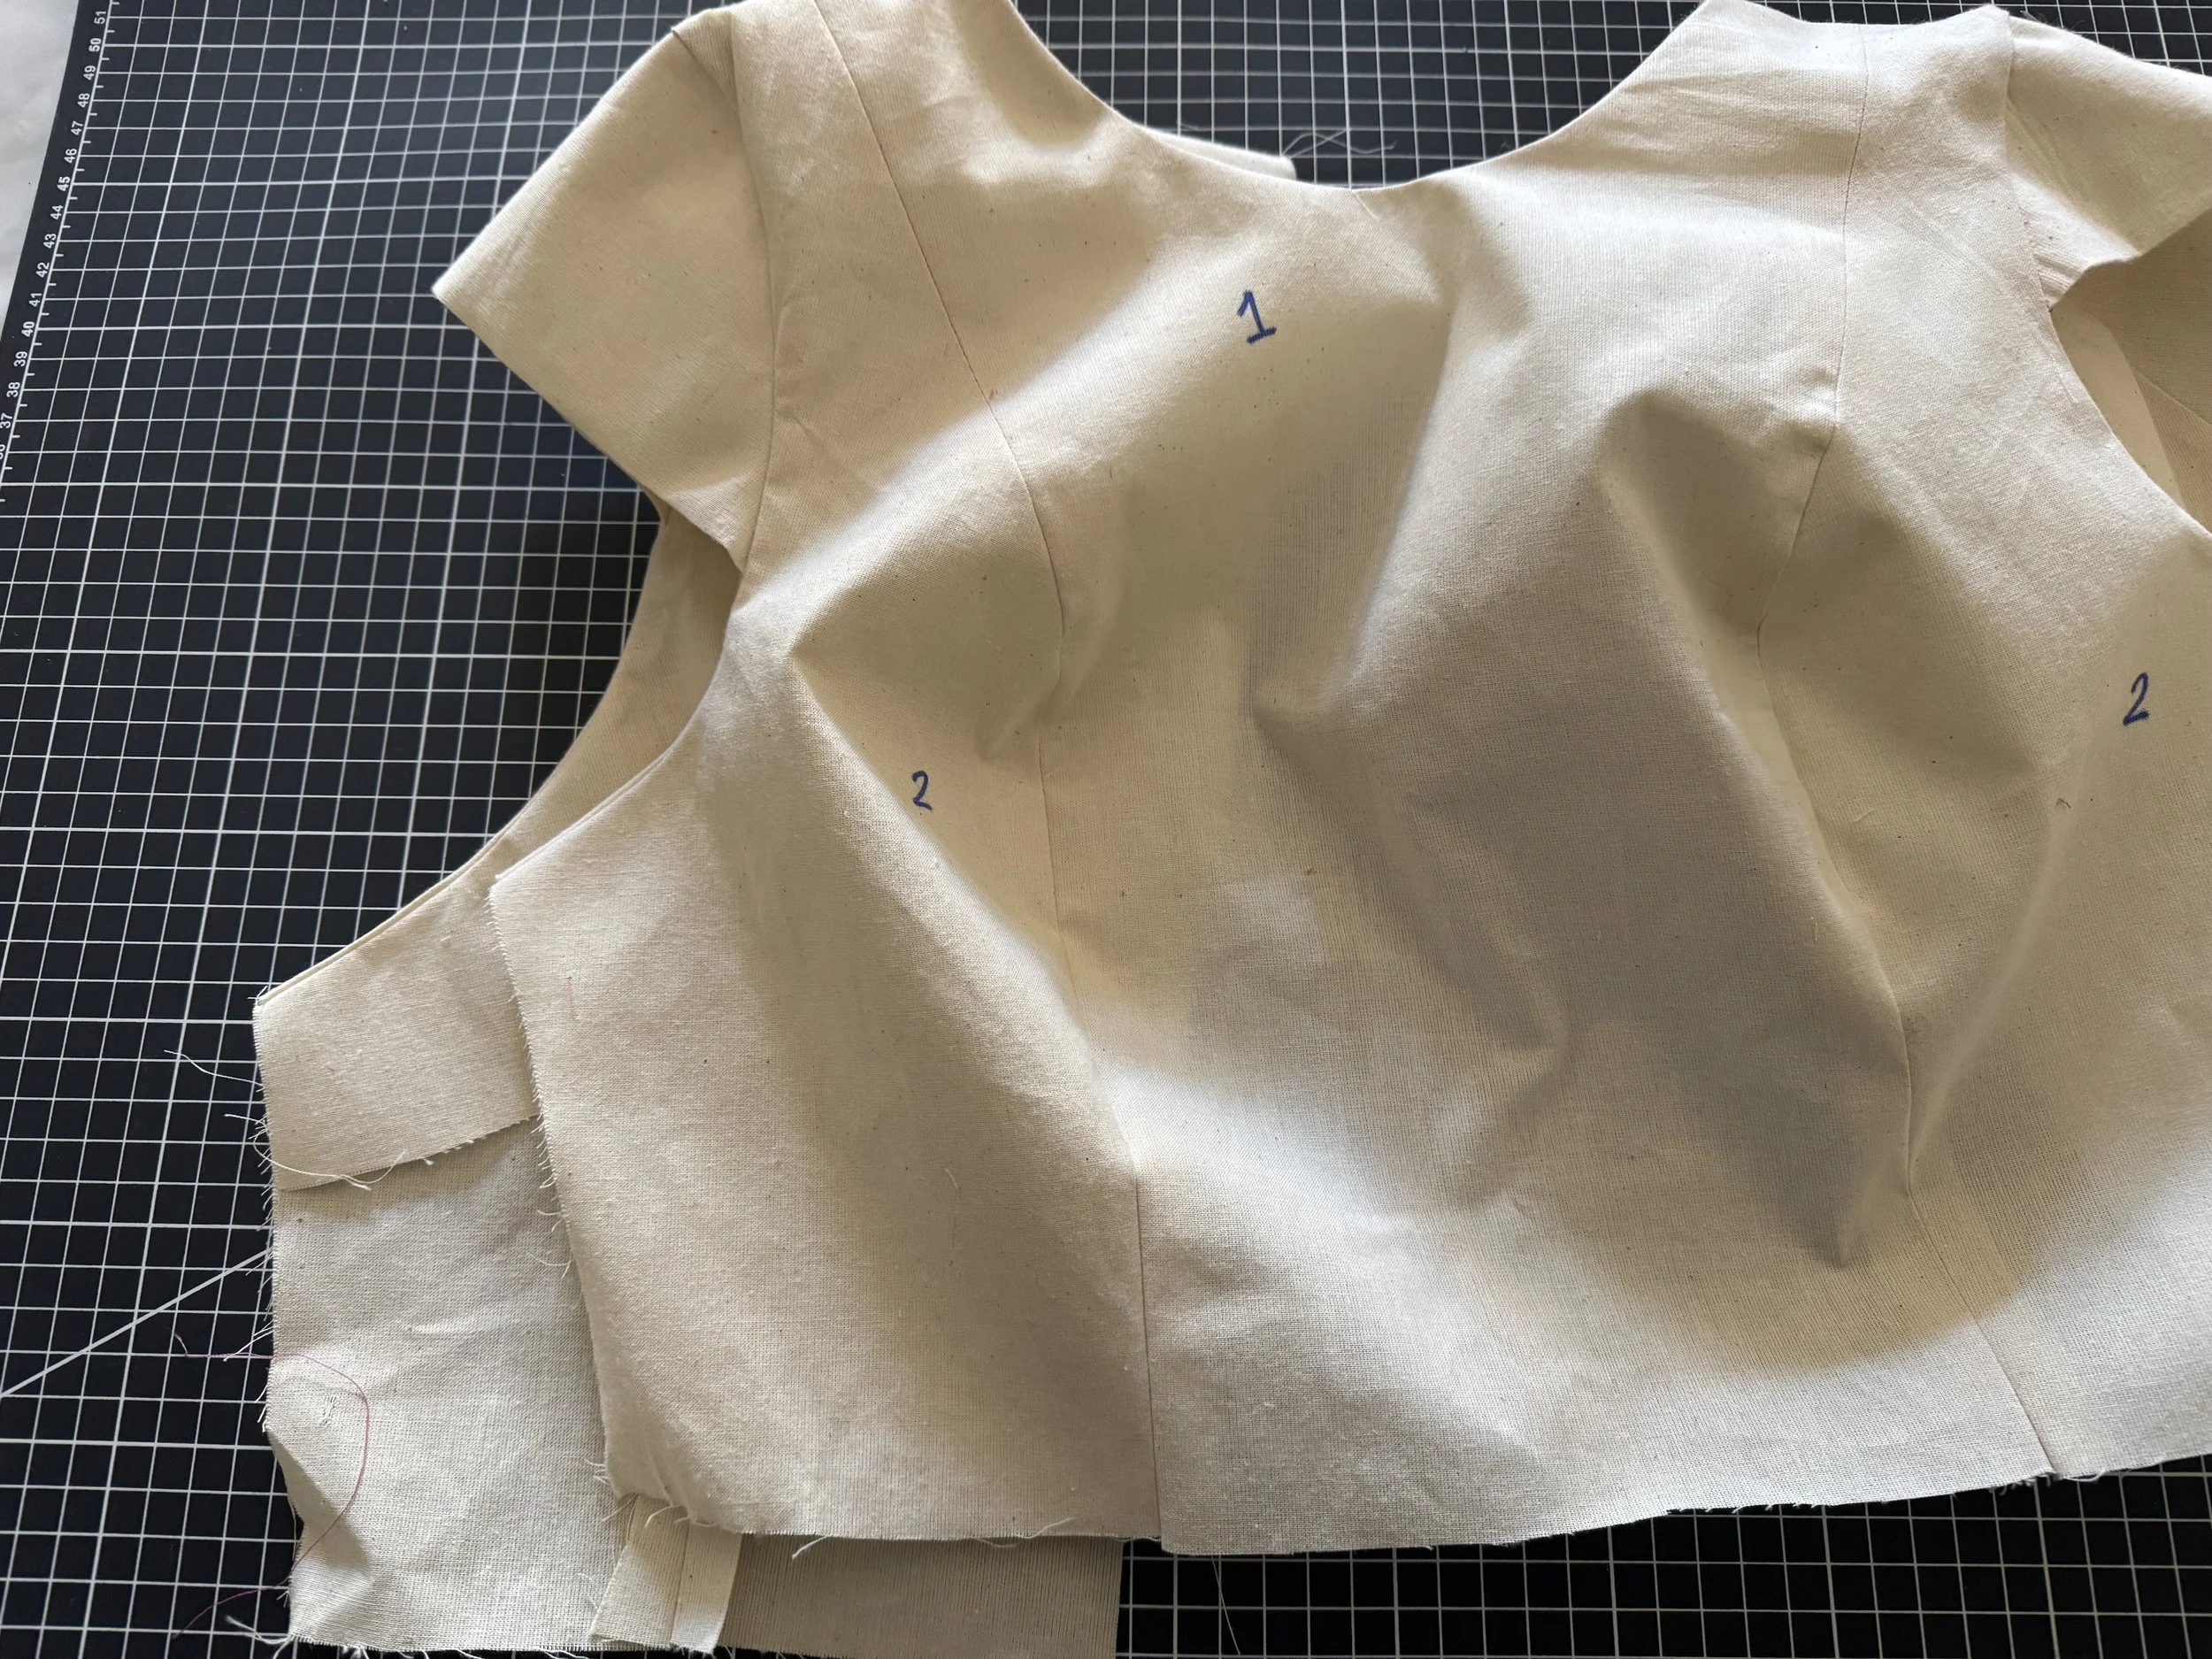
(I’m using the fit and flare bodice here as I had already attached a cap sleeve for the sleeve tutorial)
If using the cap sleeve, sew it to the armseye before continuing, but leave the side seams open.
Sew the shoulder seams on the facings to join the three pieces and press well.
If you are using a fashion fabric that is lightweight, or needs stability, add a lightweight interfacing now before finishing the raw edges with a serge or similar.
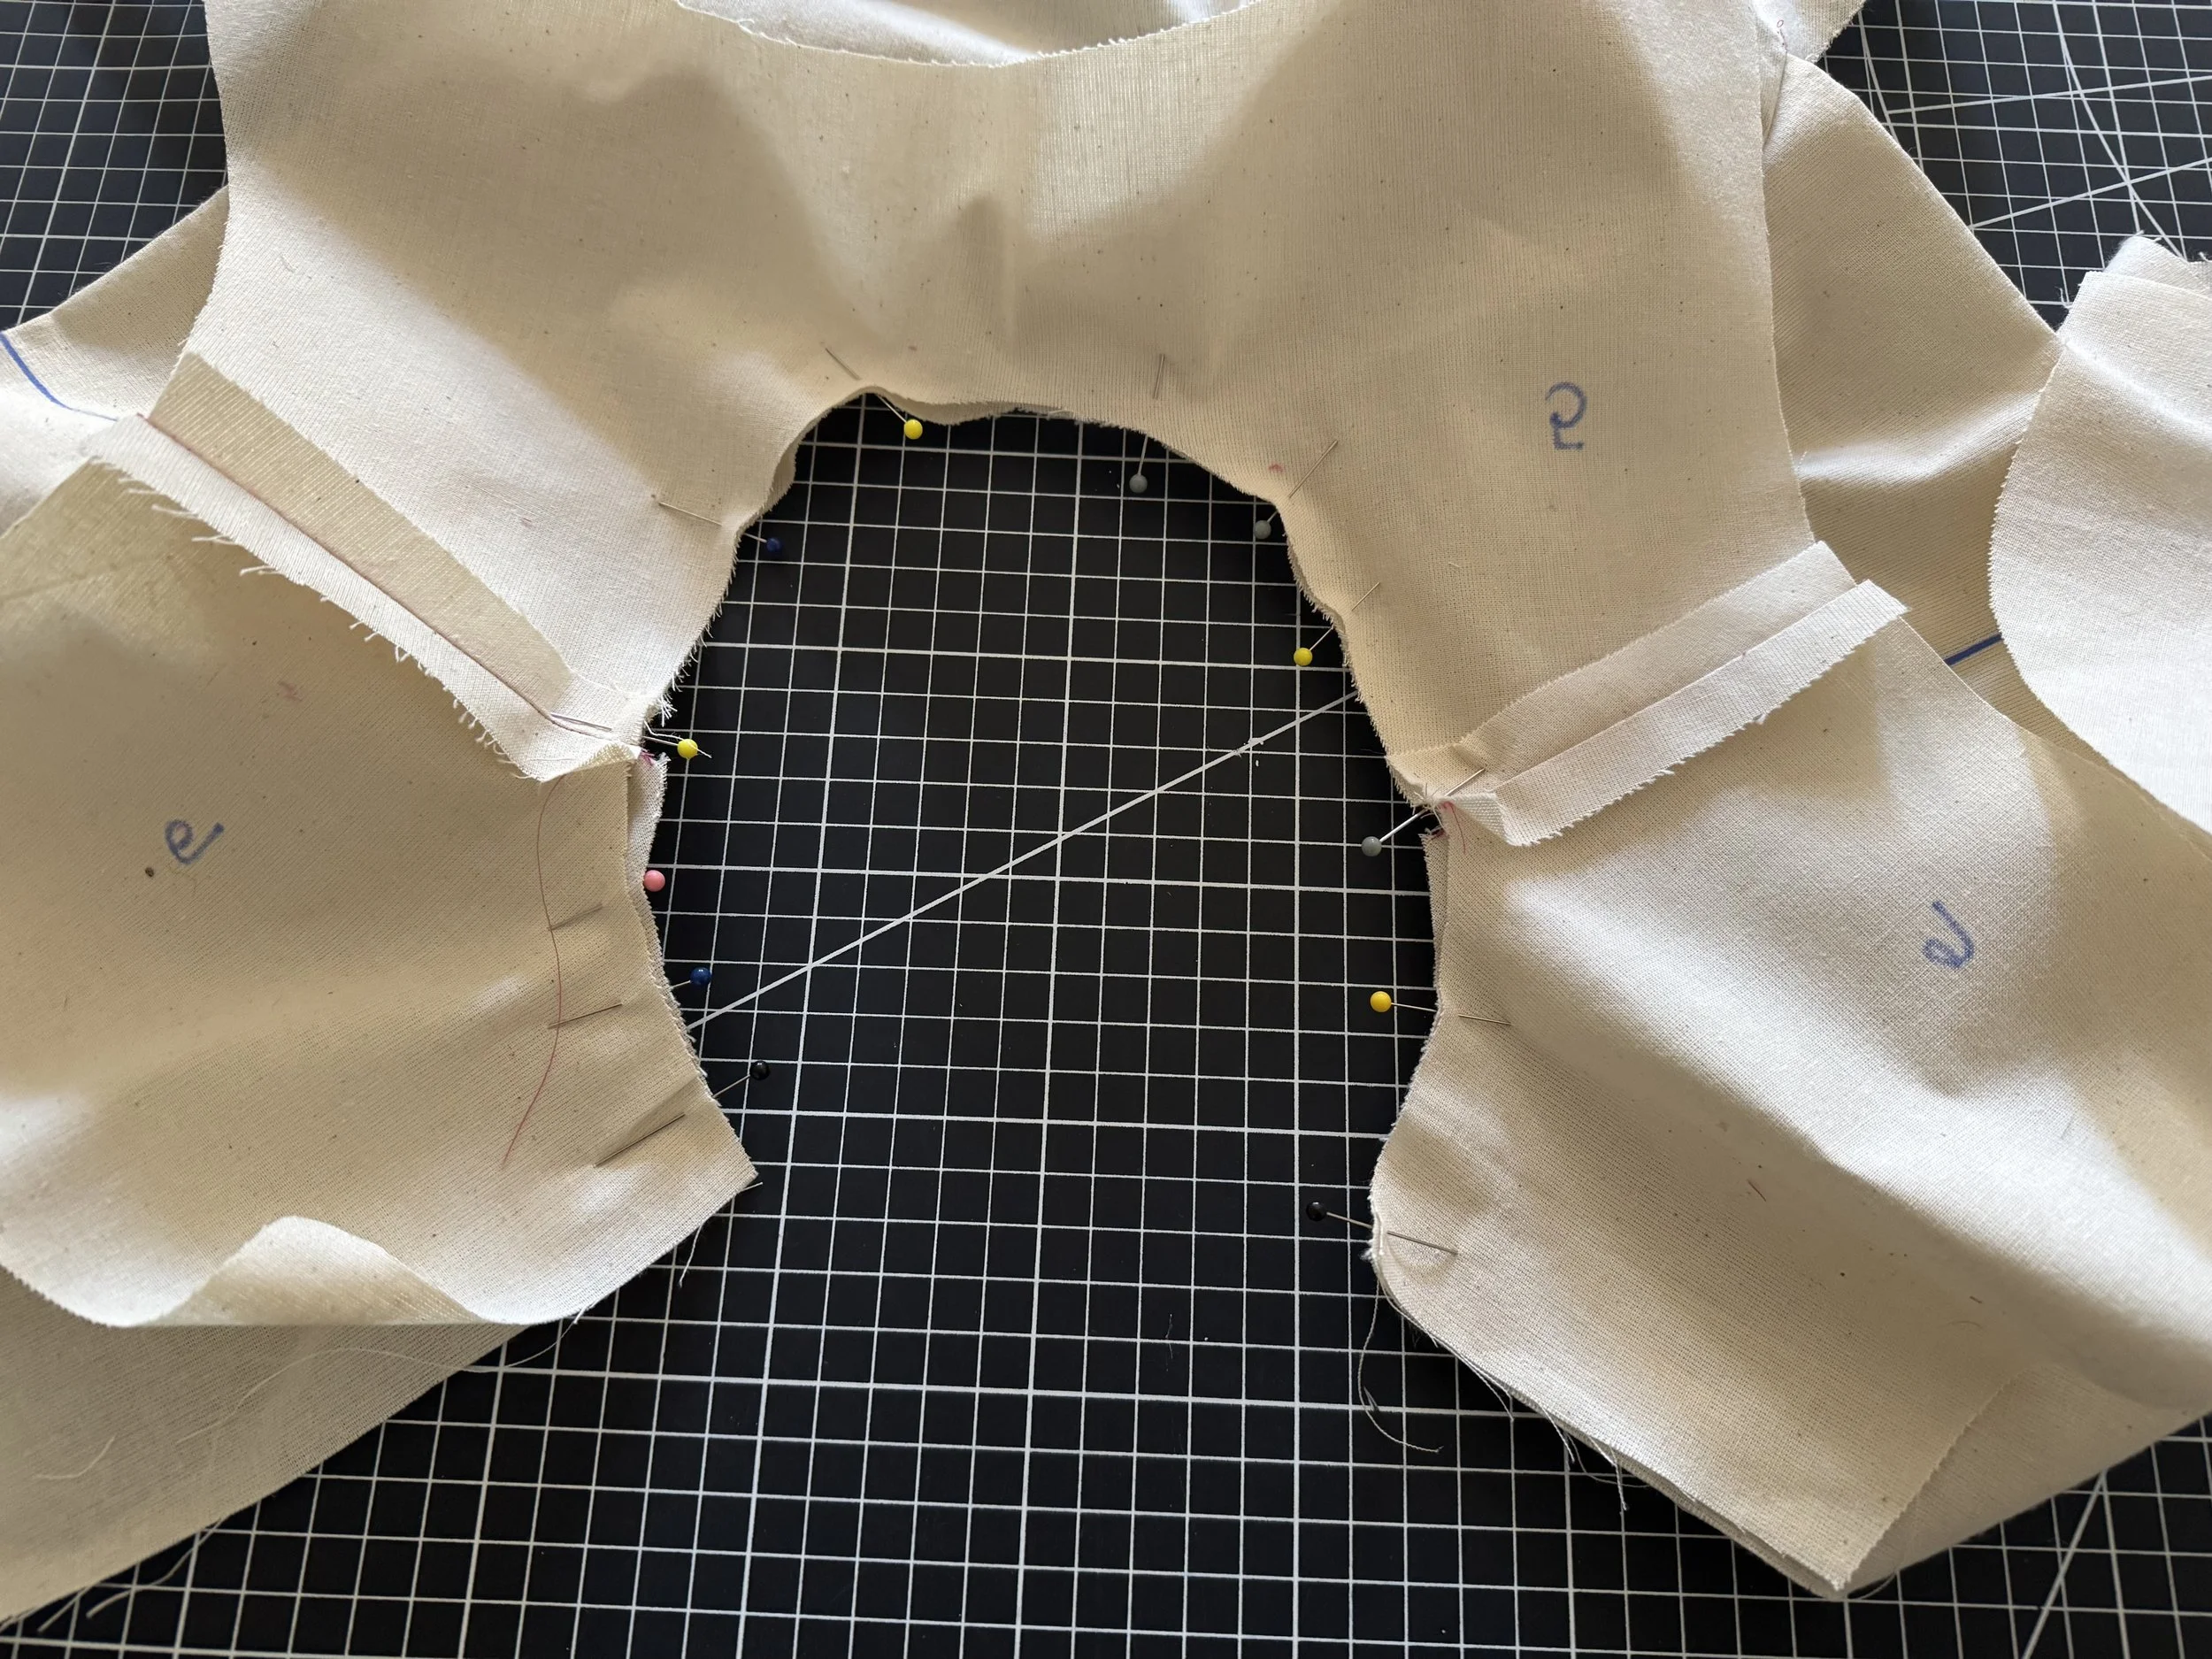
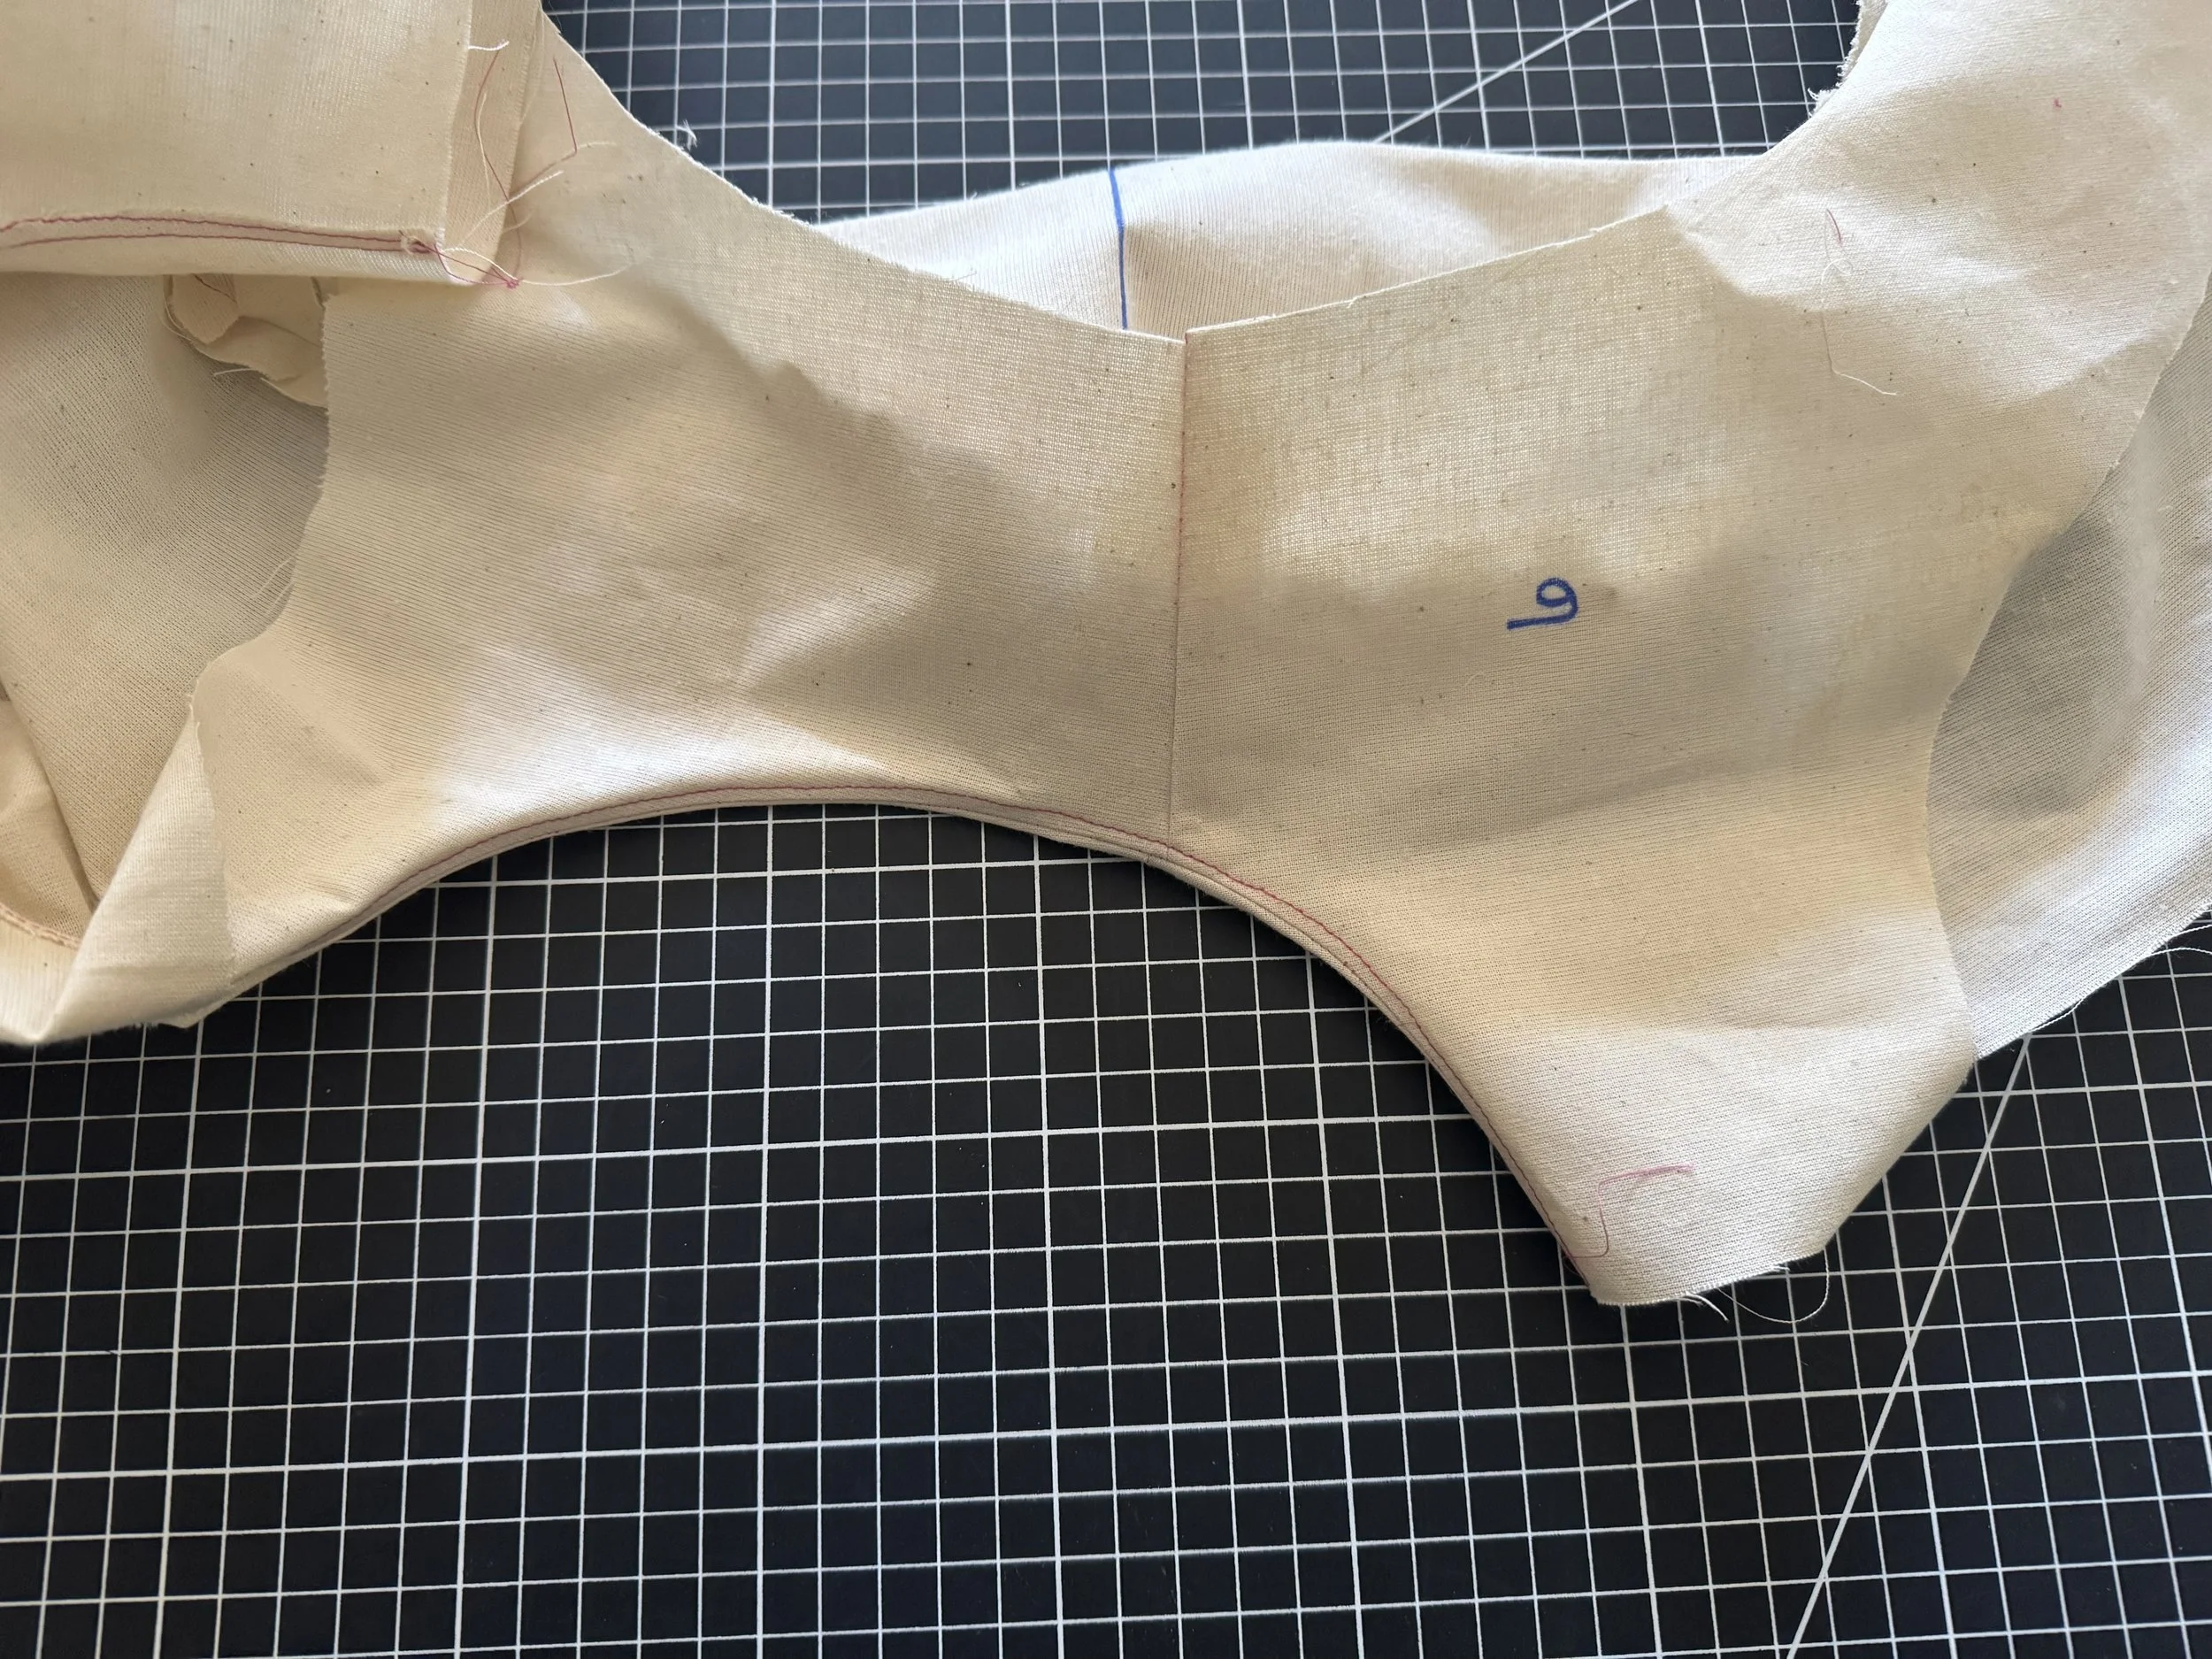
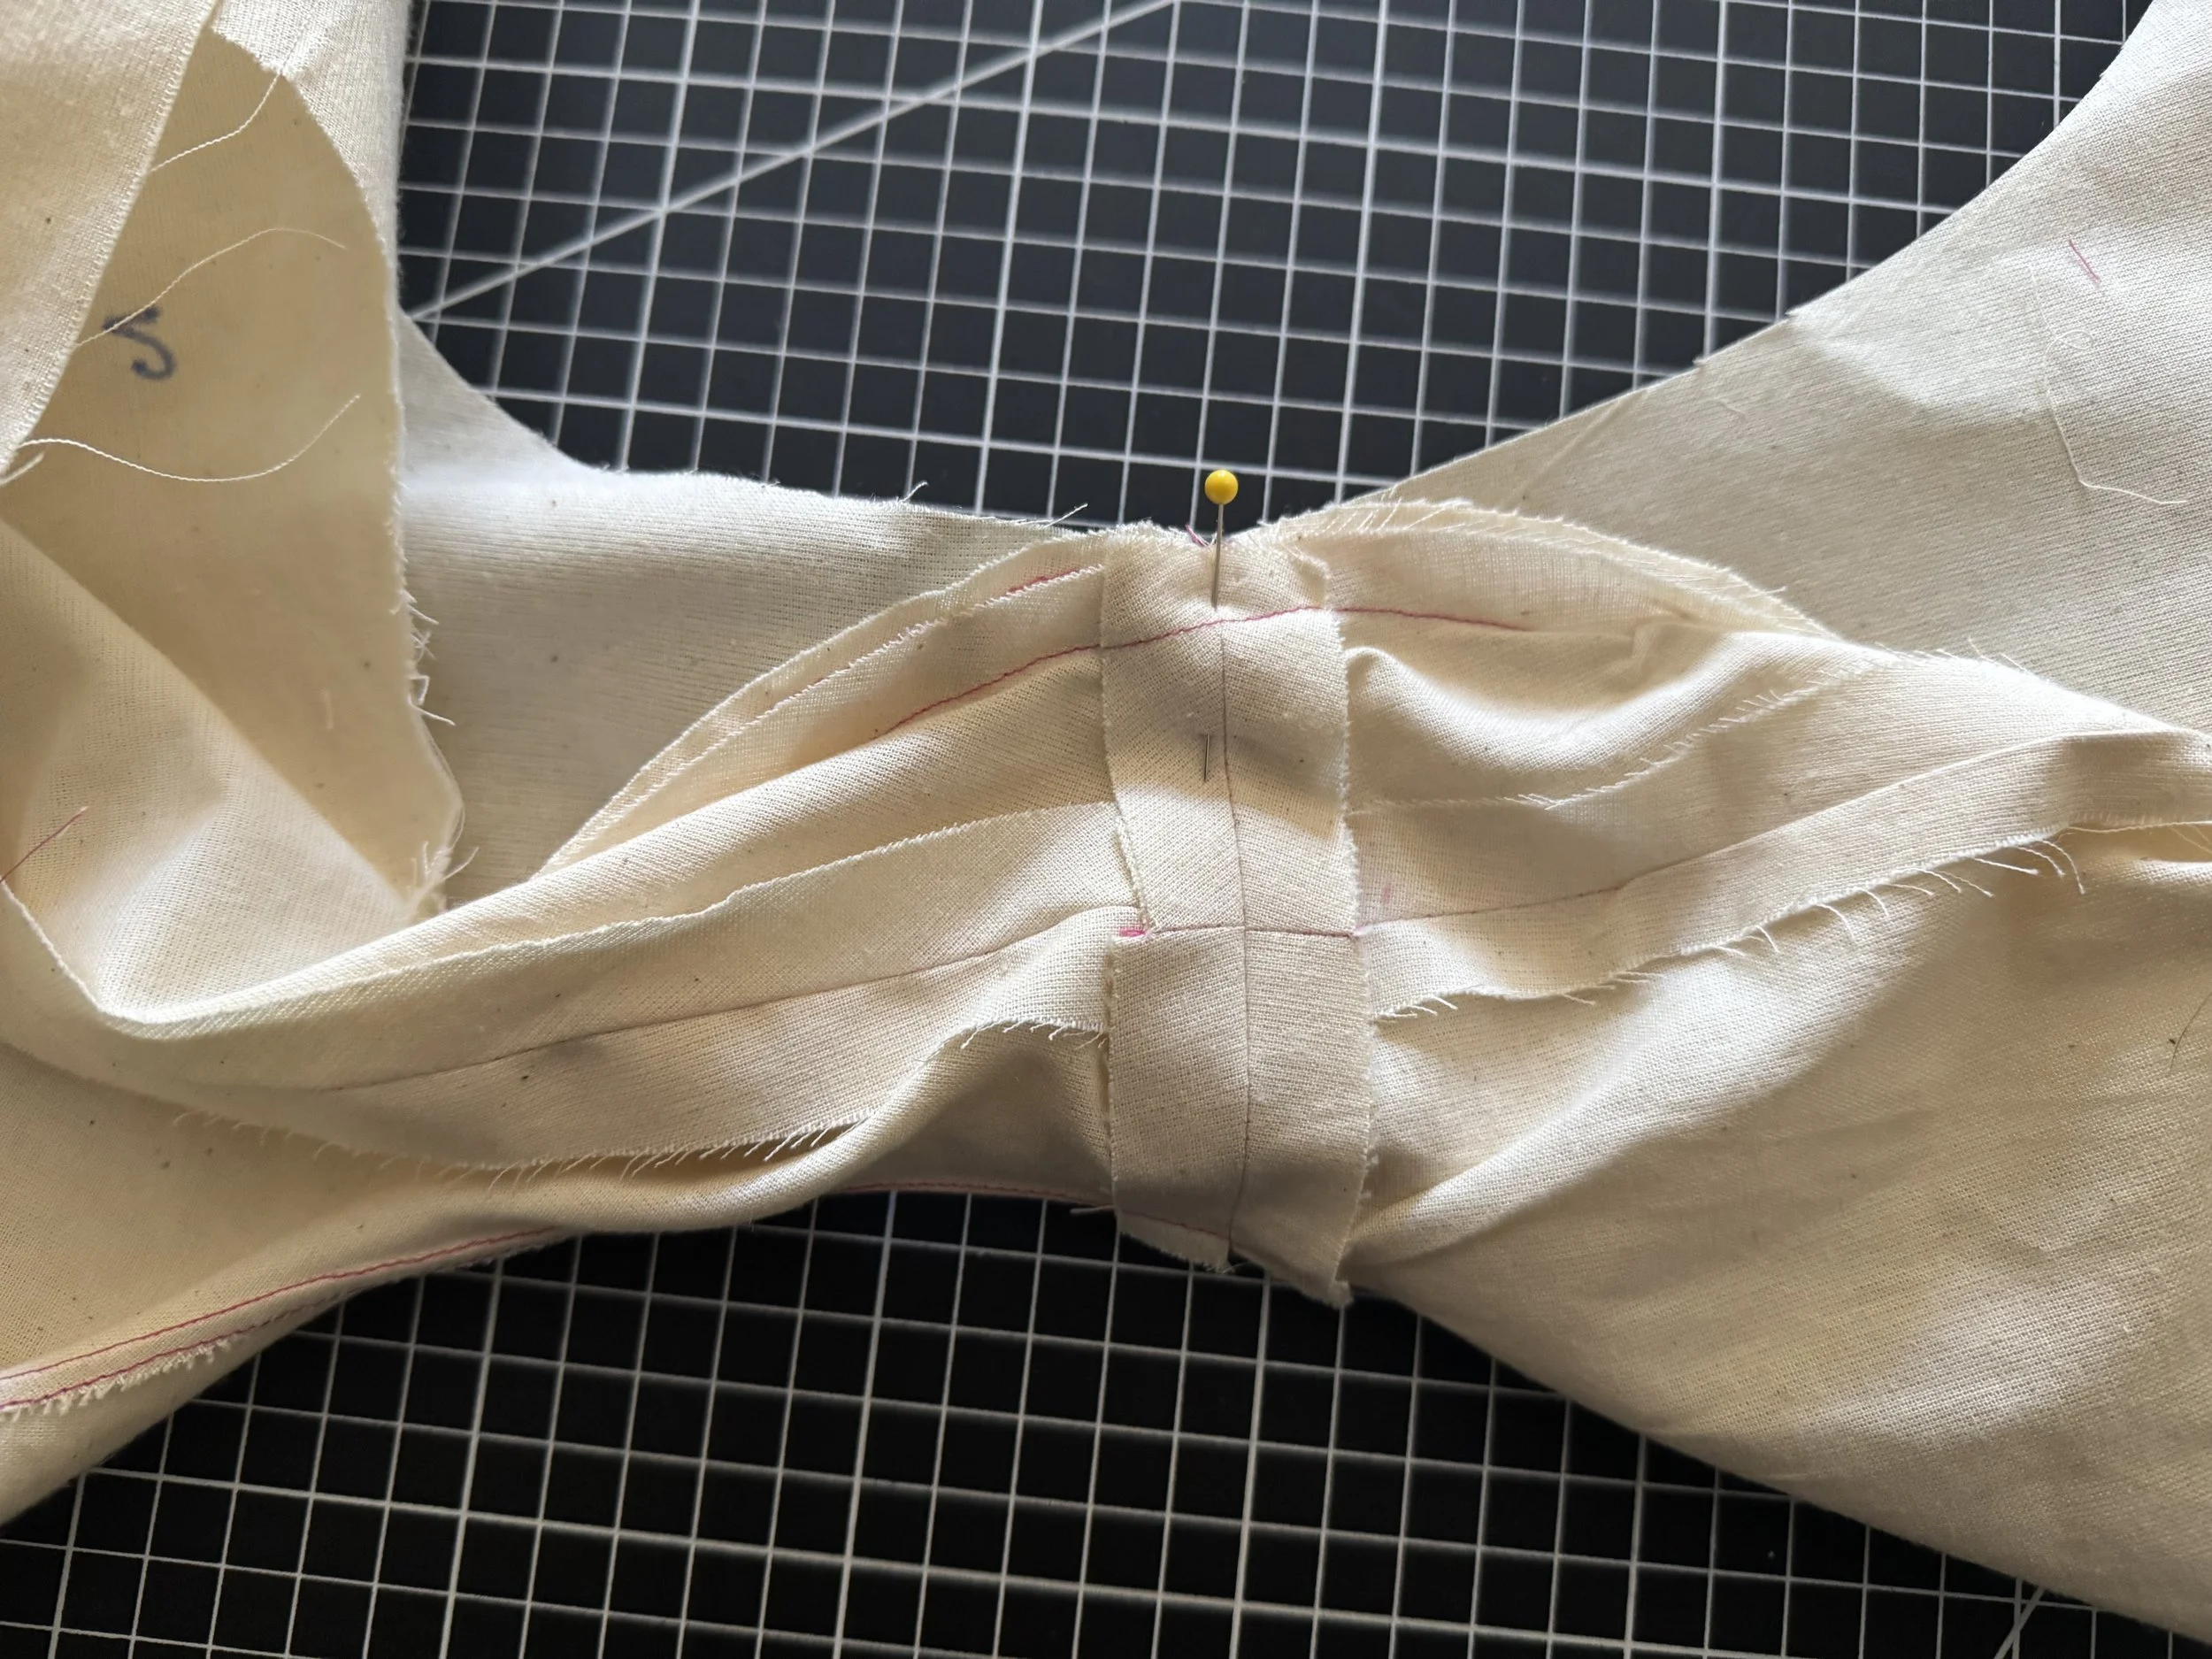
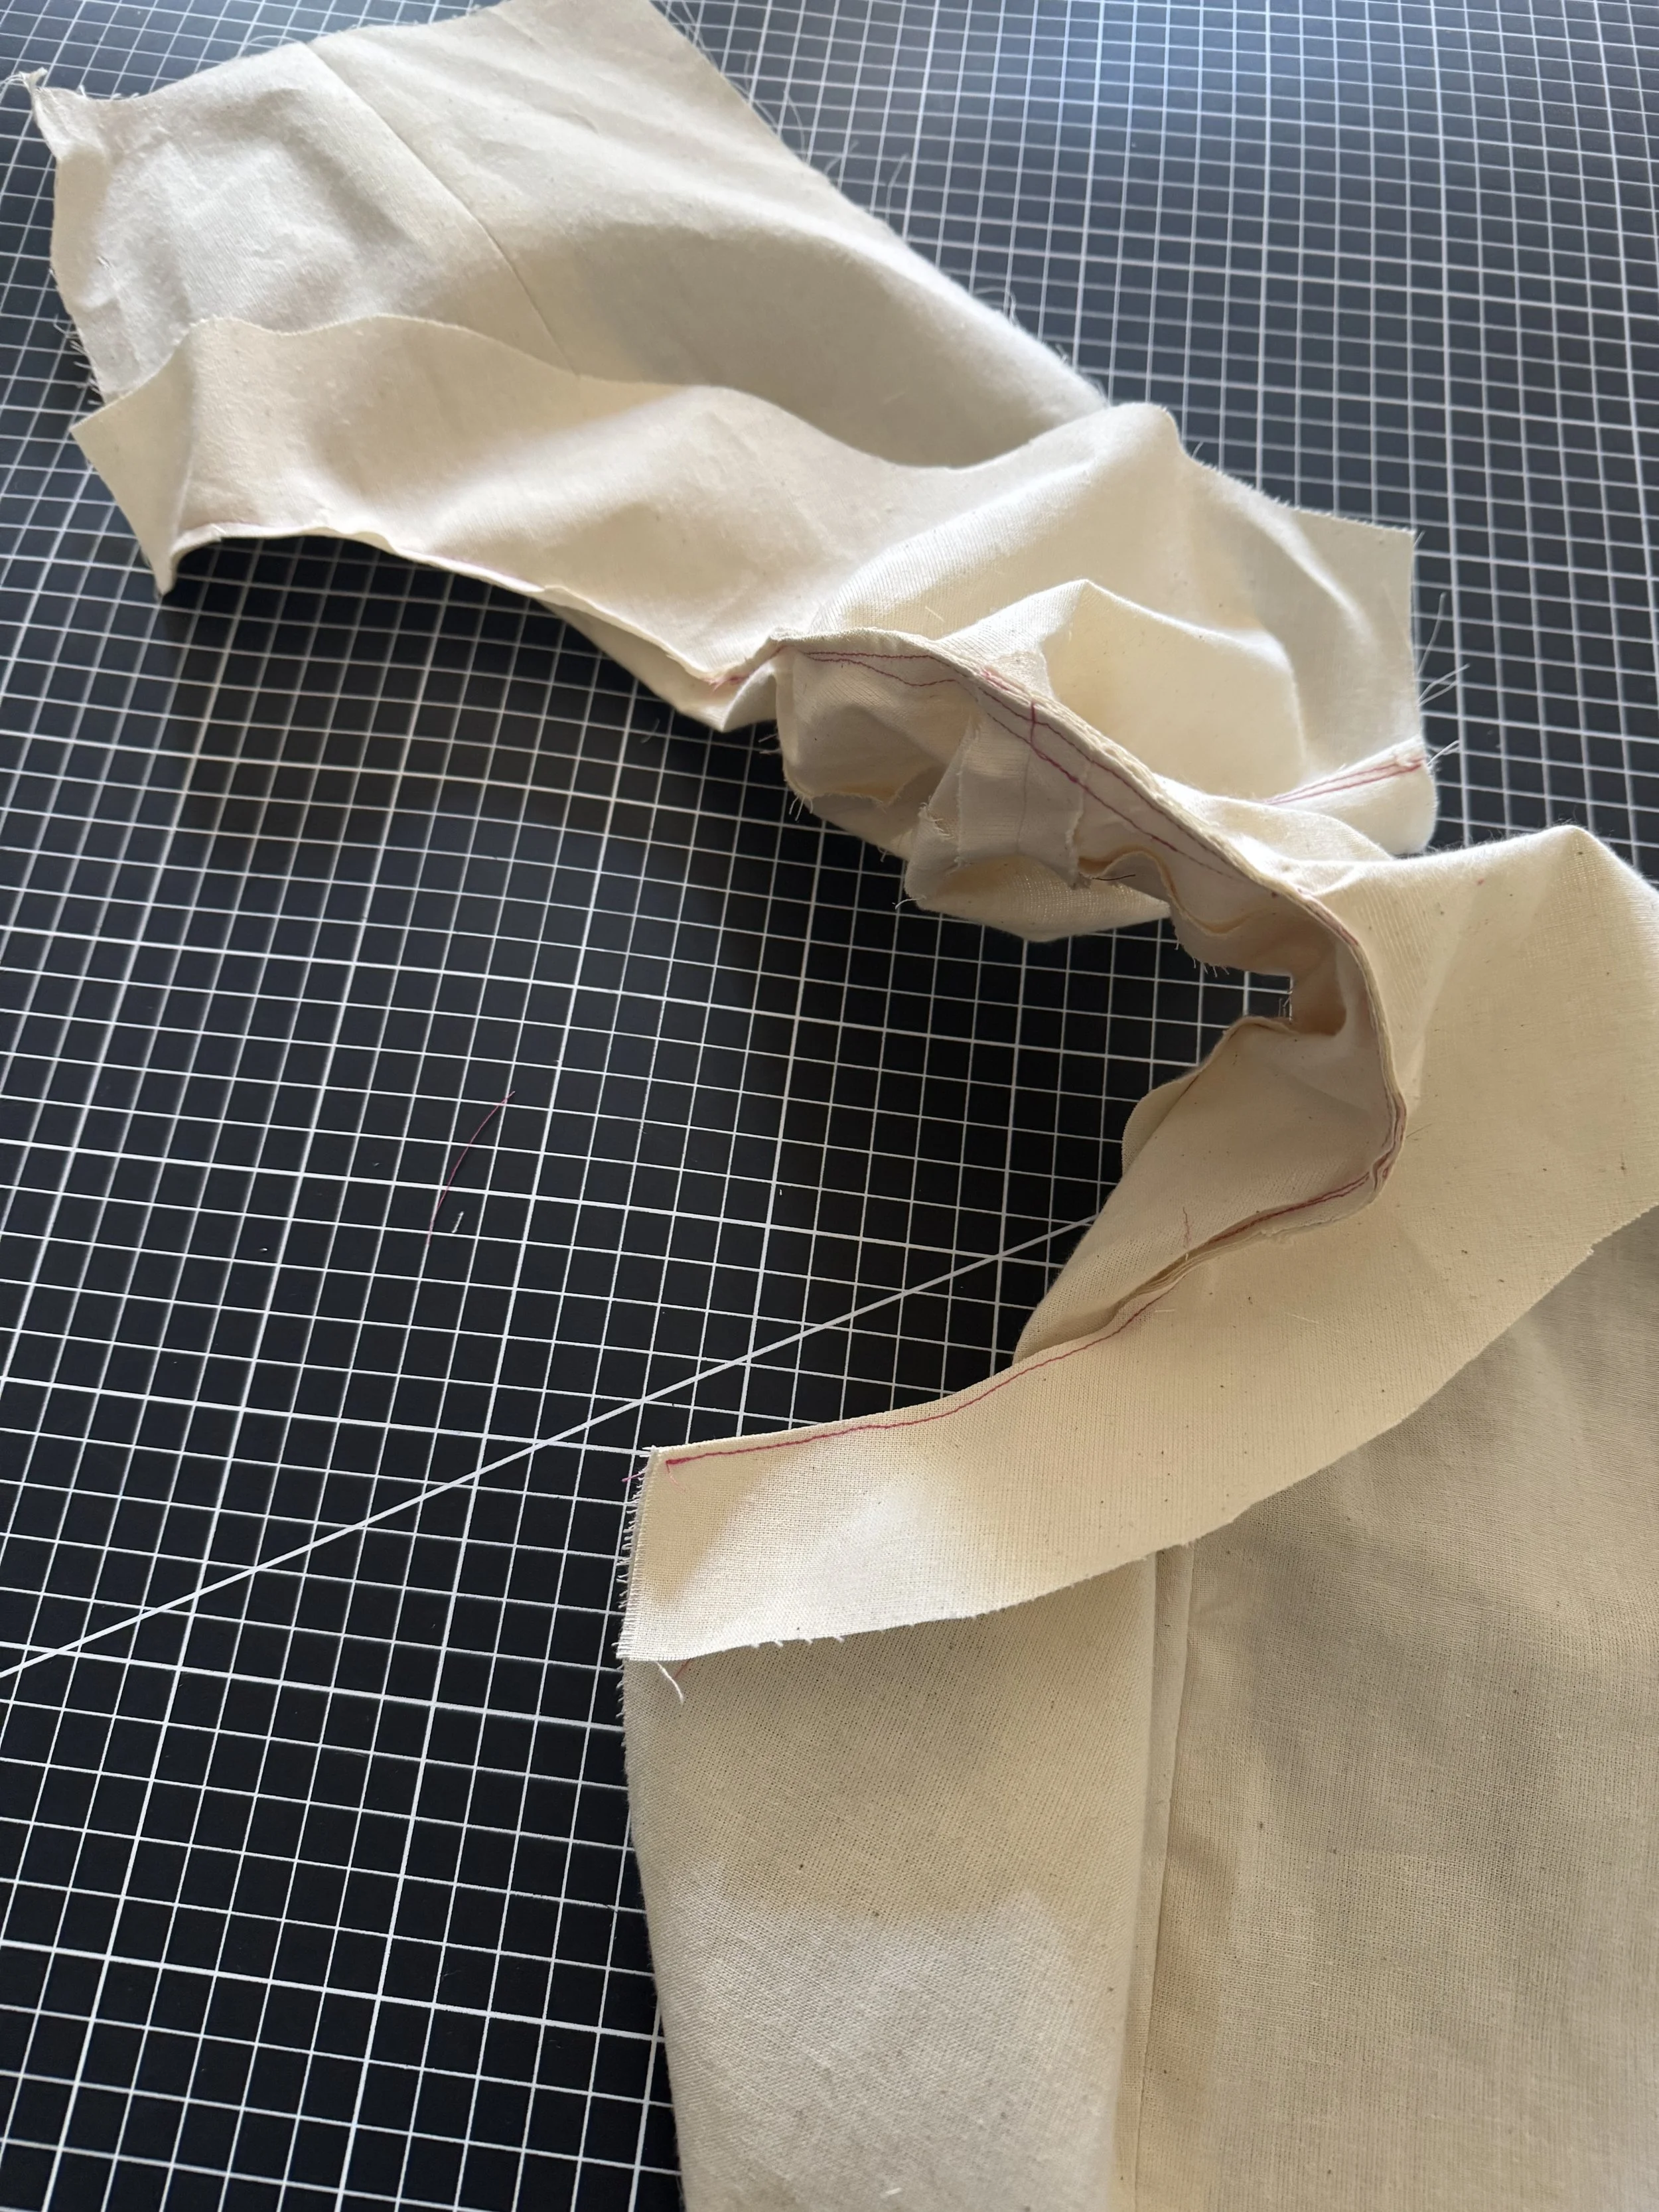
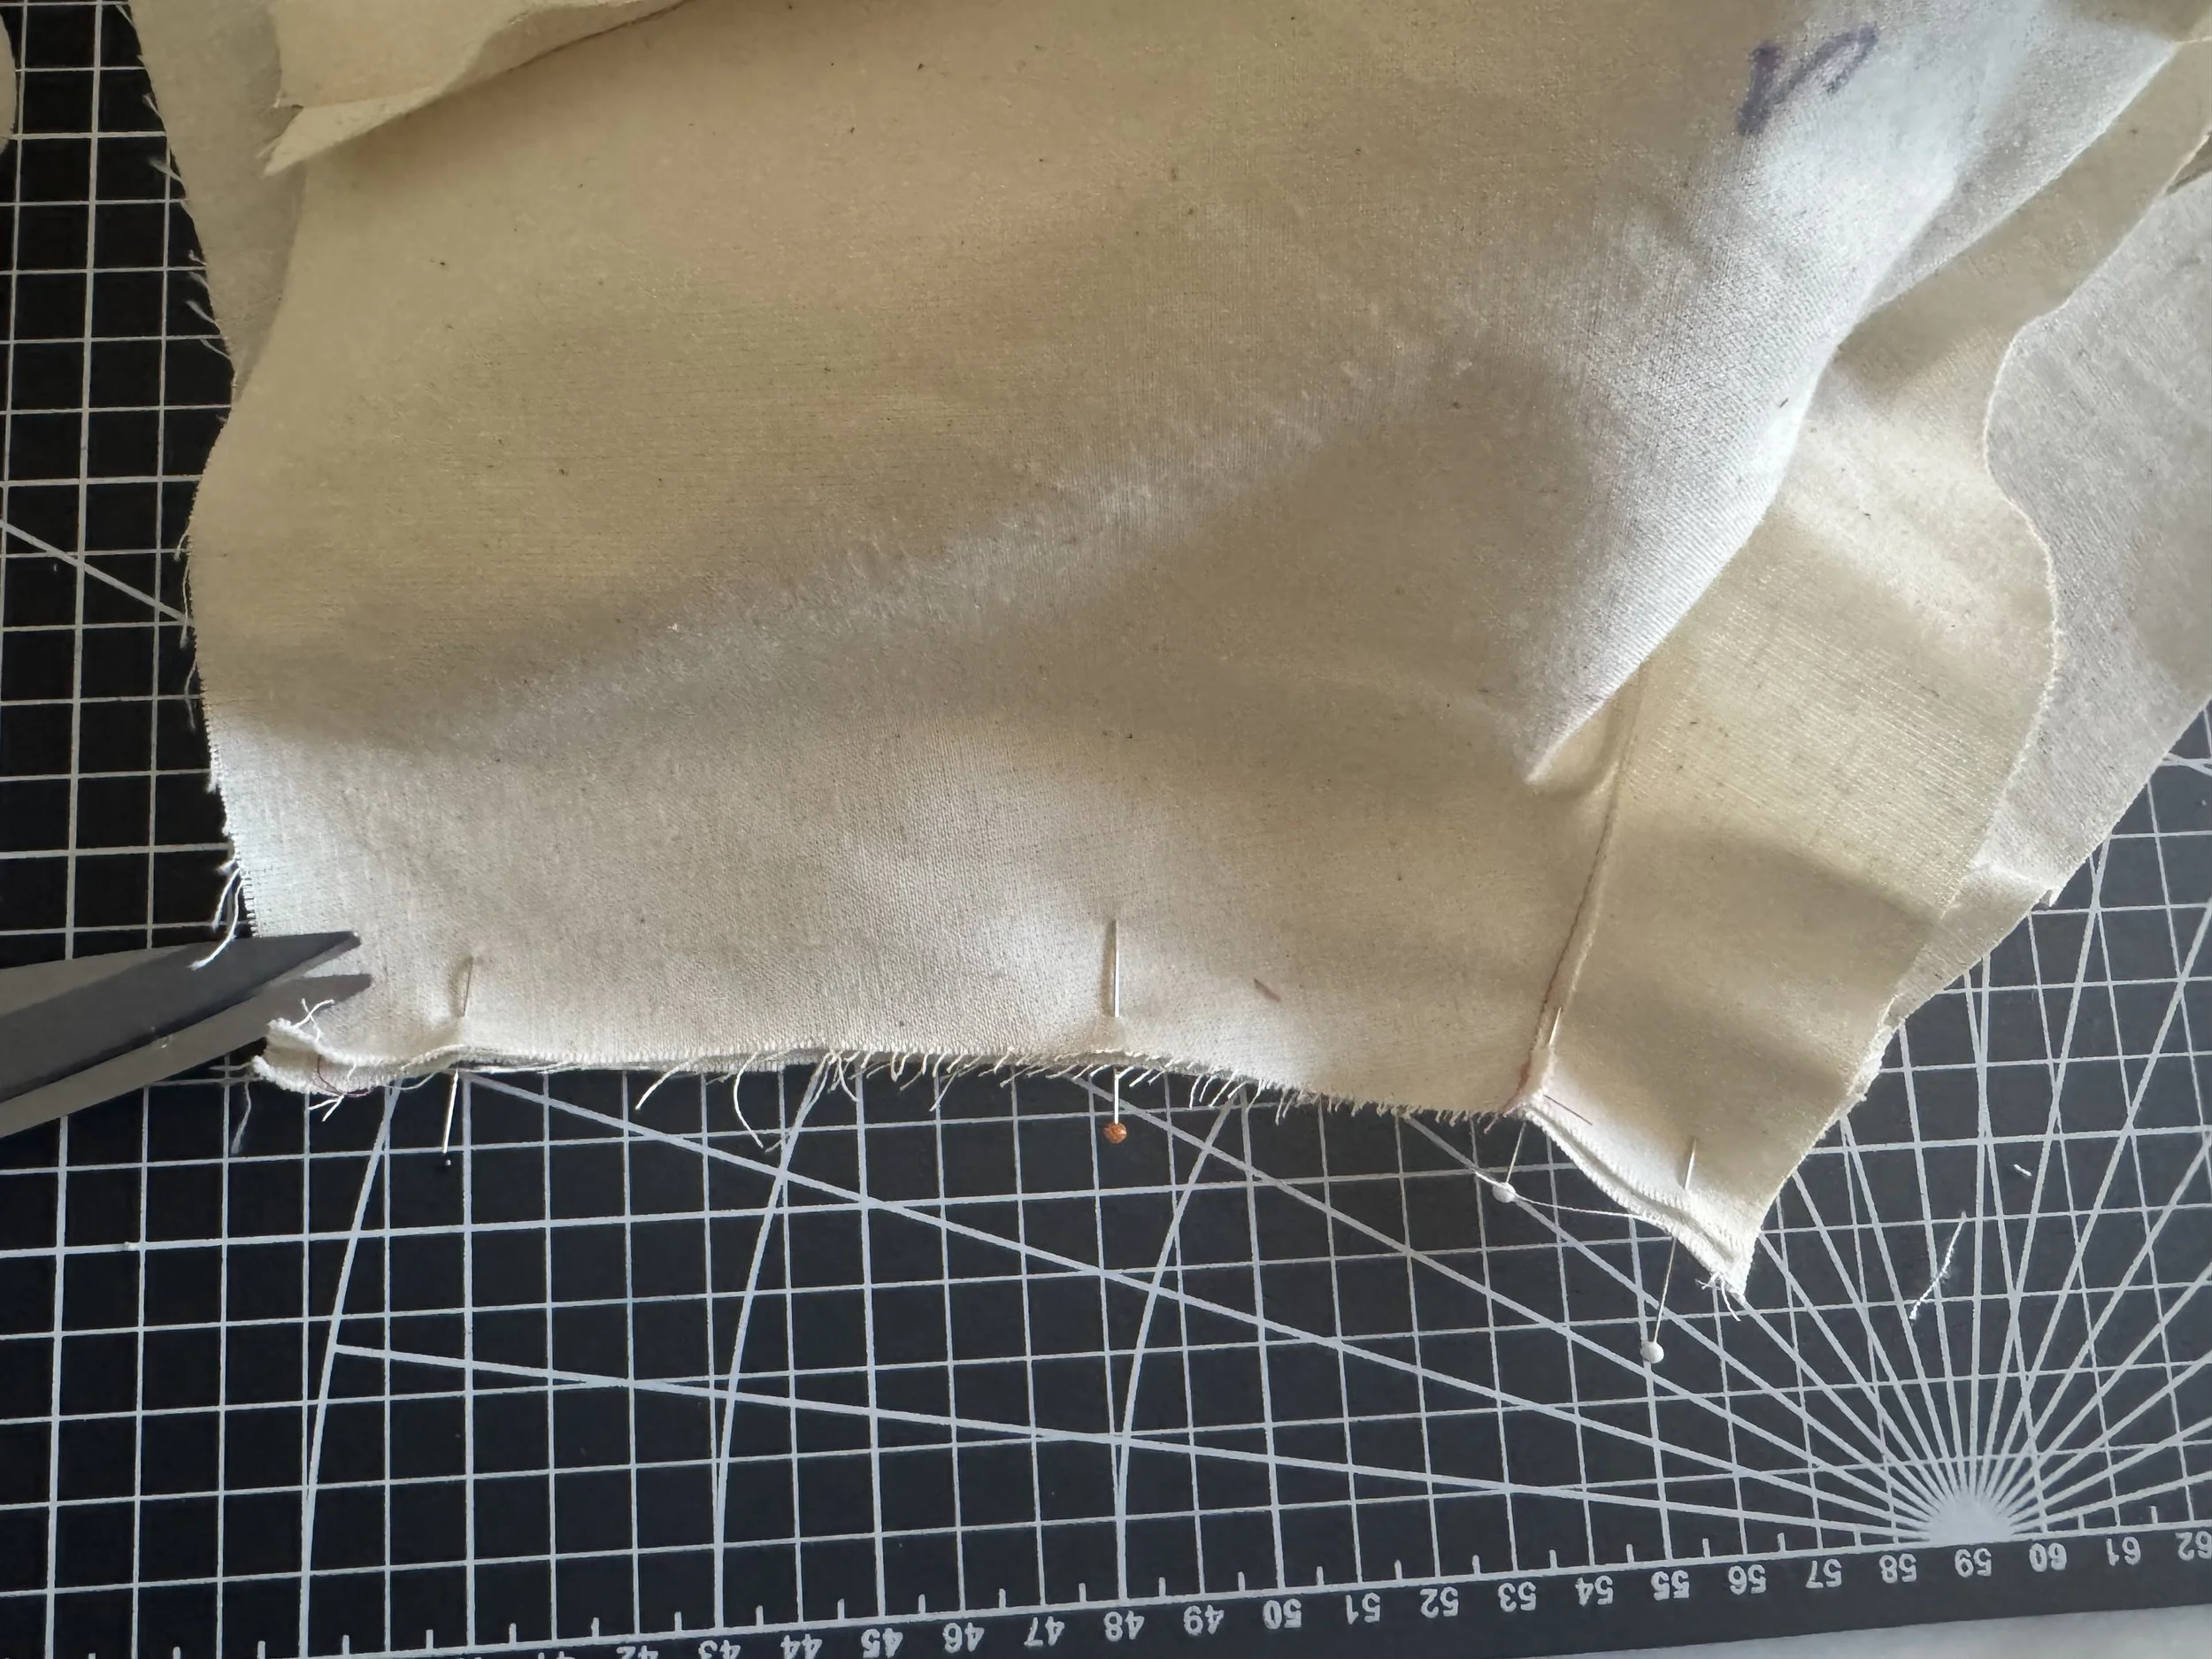
Pin the neckline of the facing to the neckline of the bodice, matching shoulder seams.
Sew, using a 5/8” seam allowance.
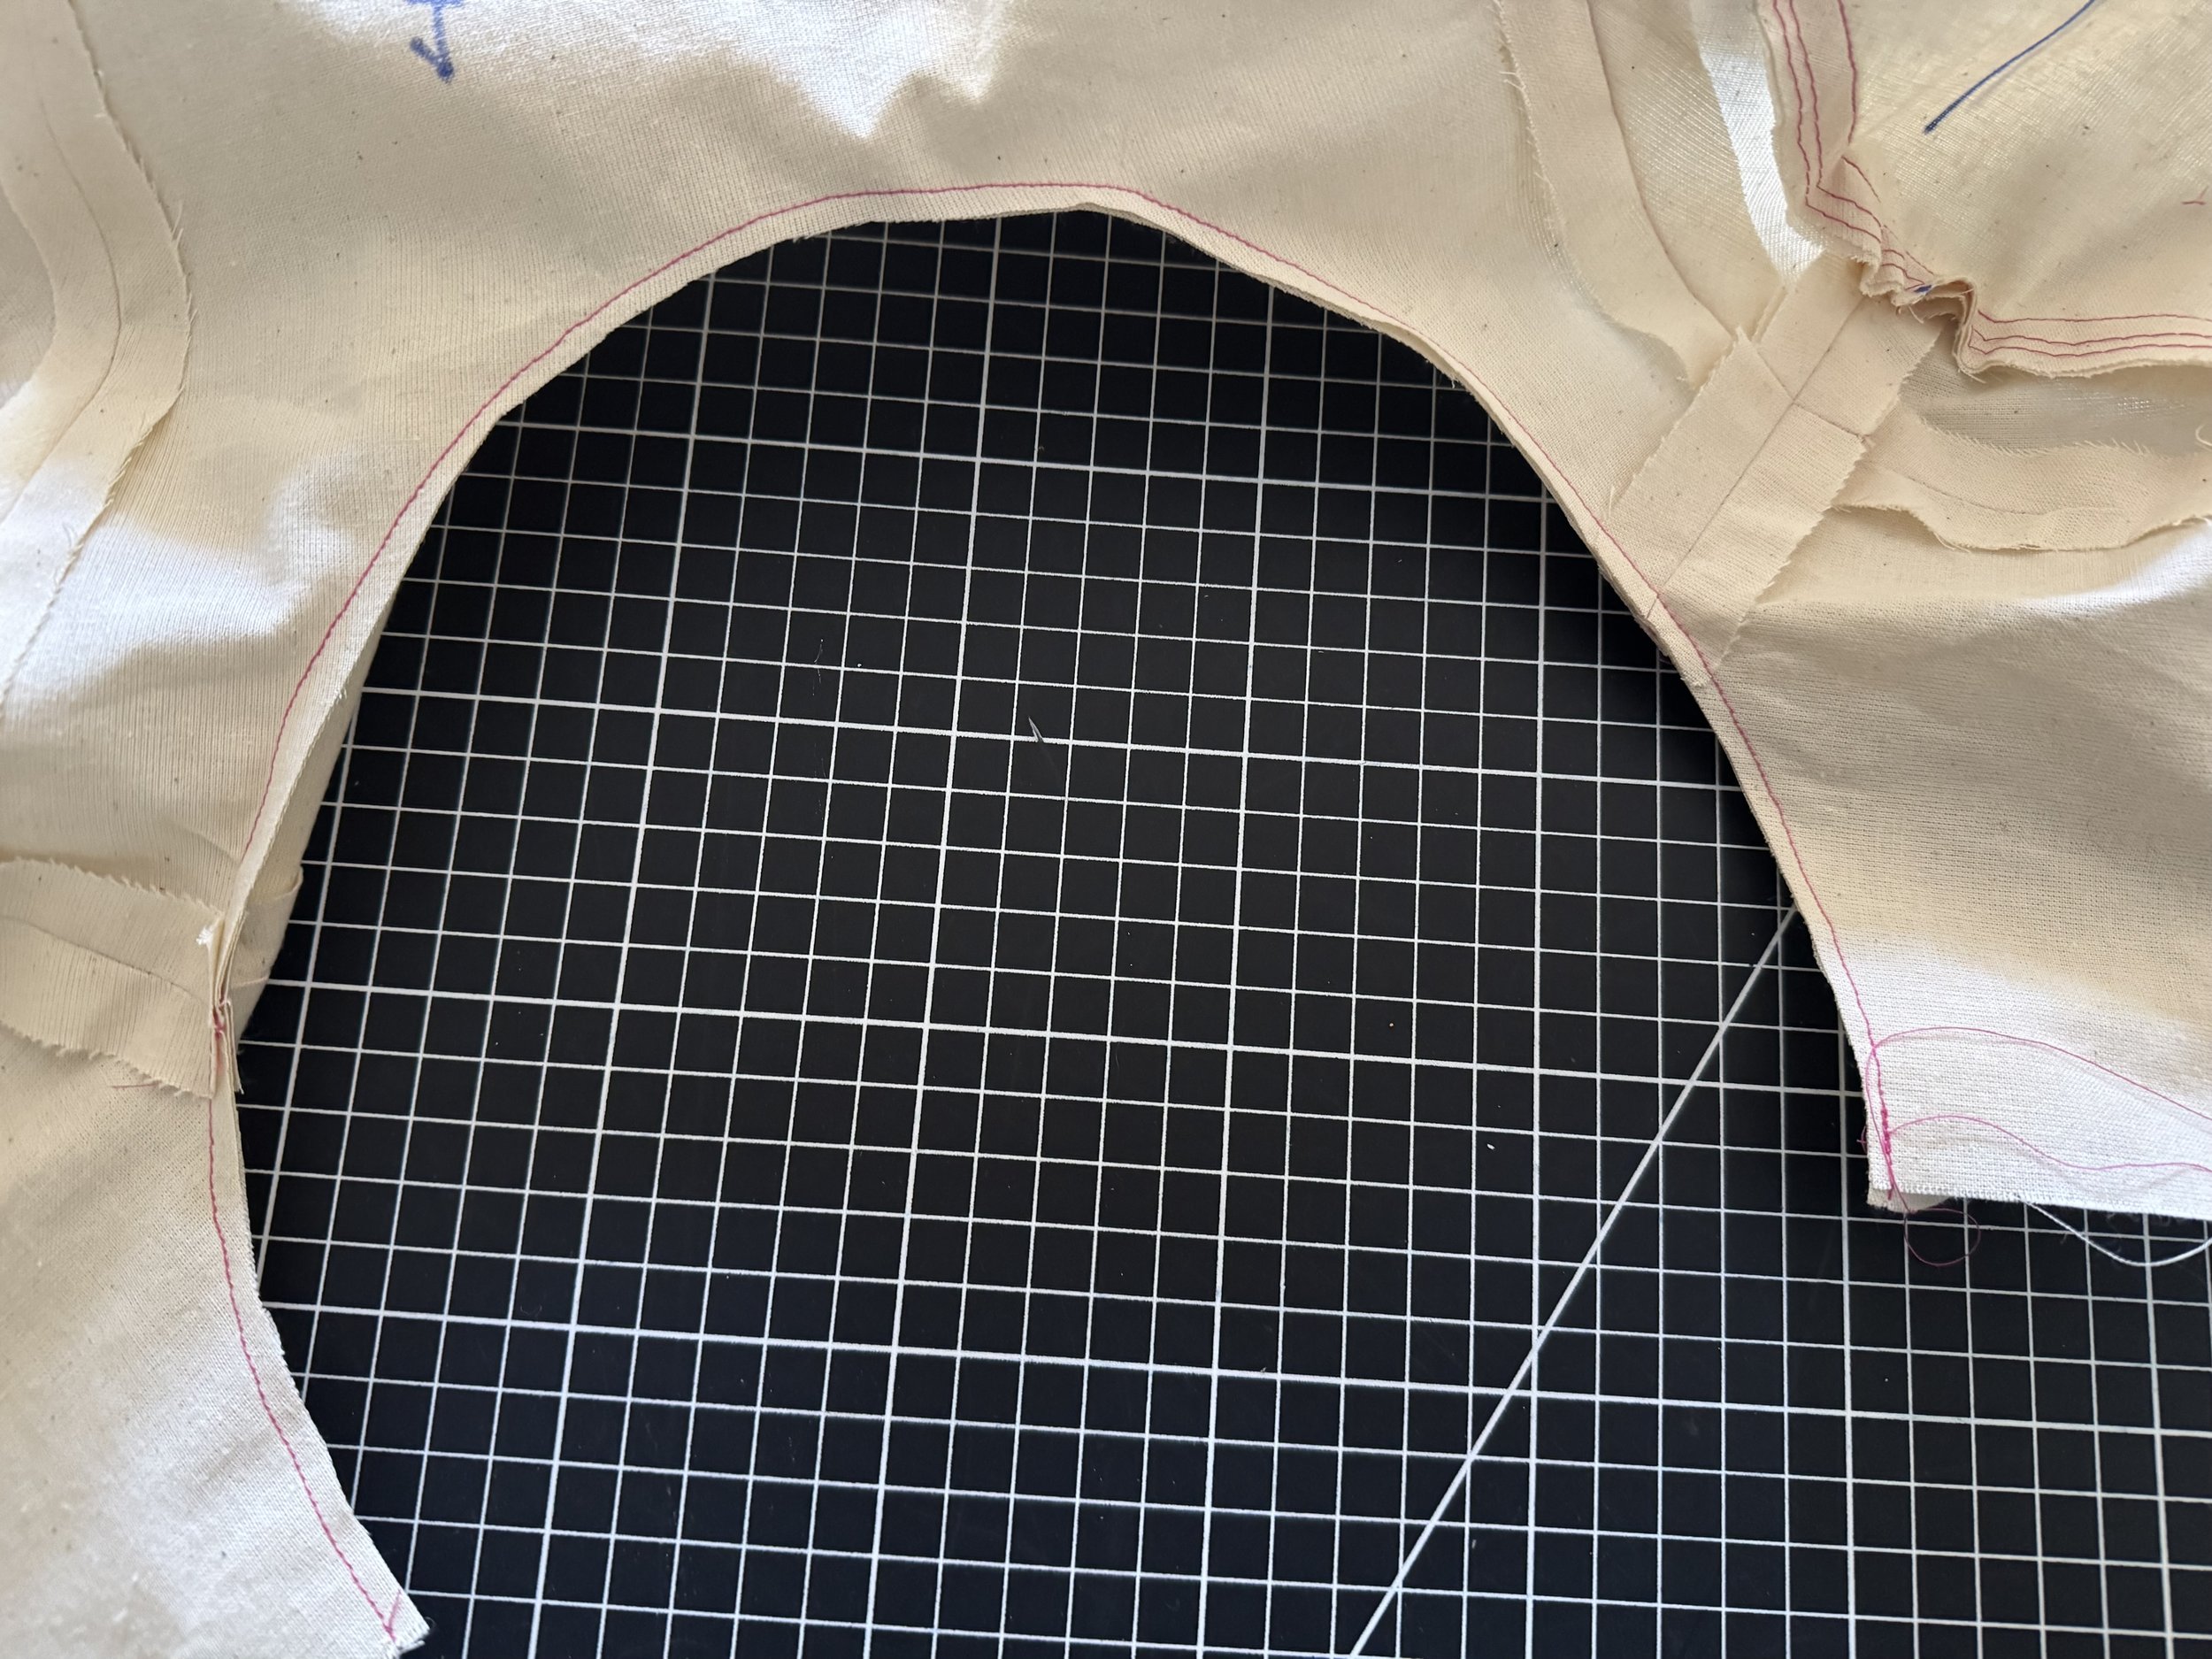
Trim the seam down, because my muslin is thick and heavily starched, I cut them to 1/4” but a 1/2” works well in a lighter fabric.
Press both your seam allowances to the facing side.
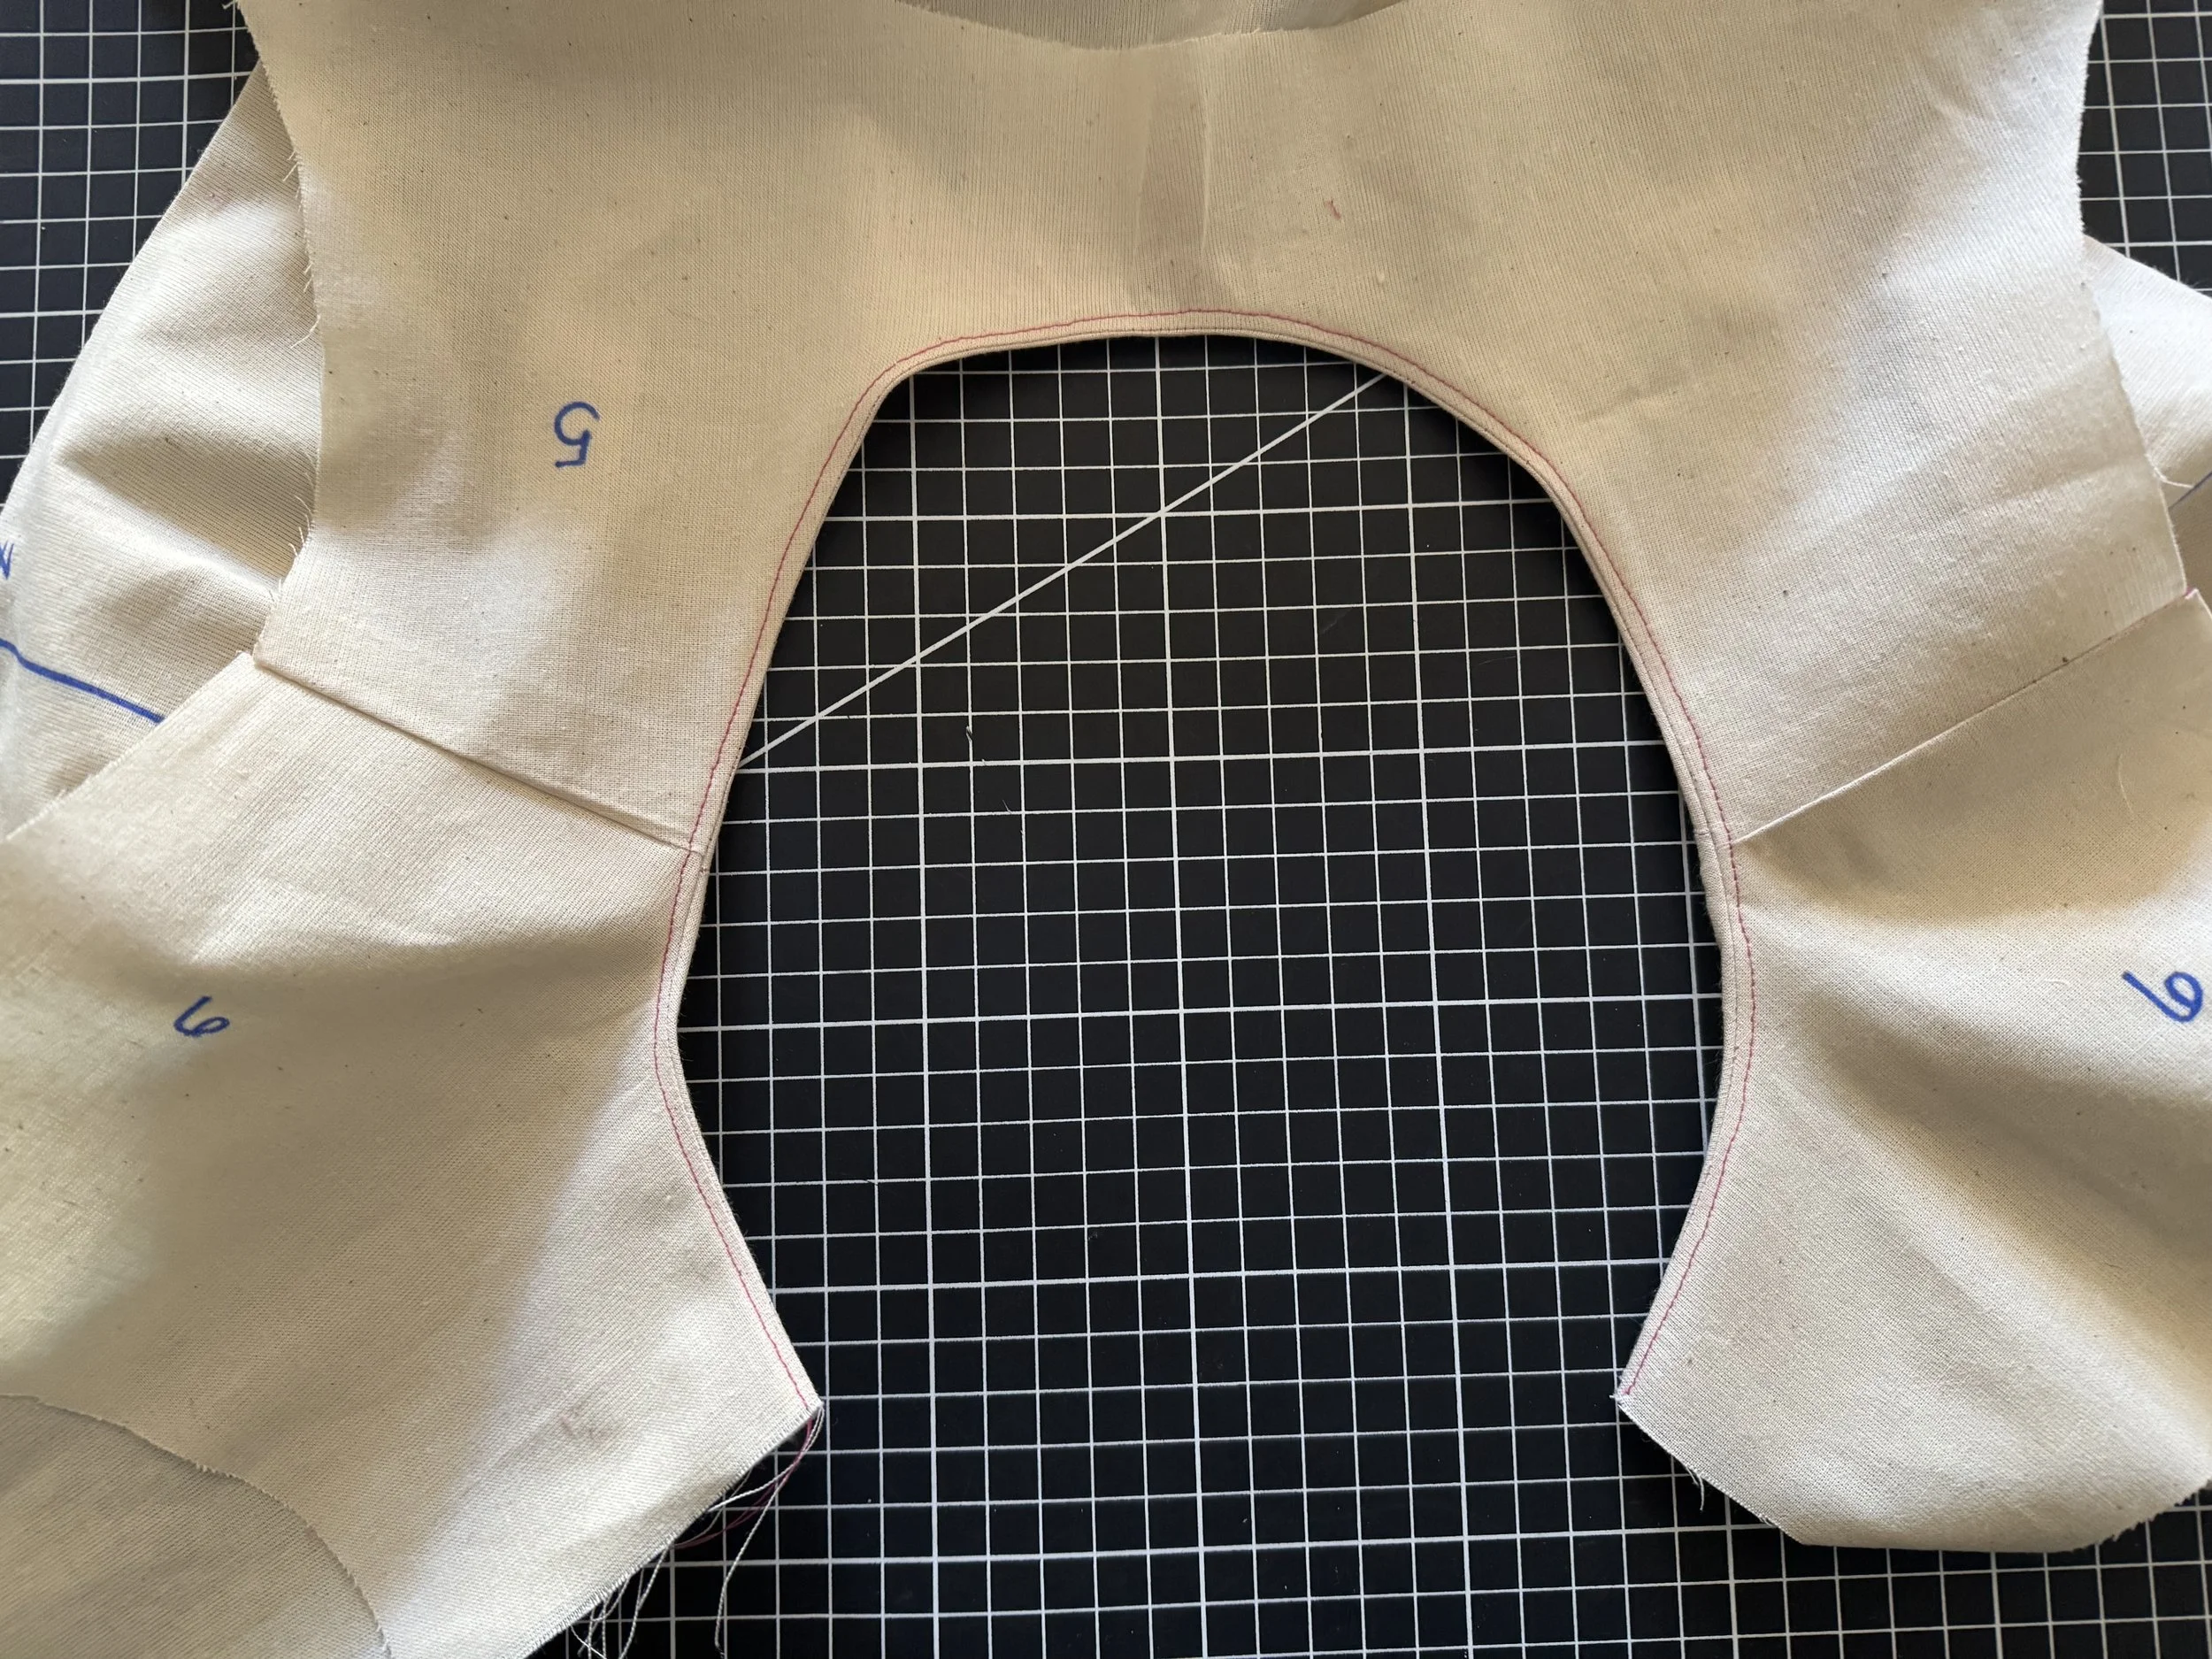
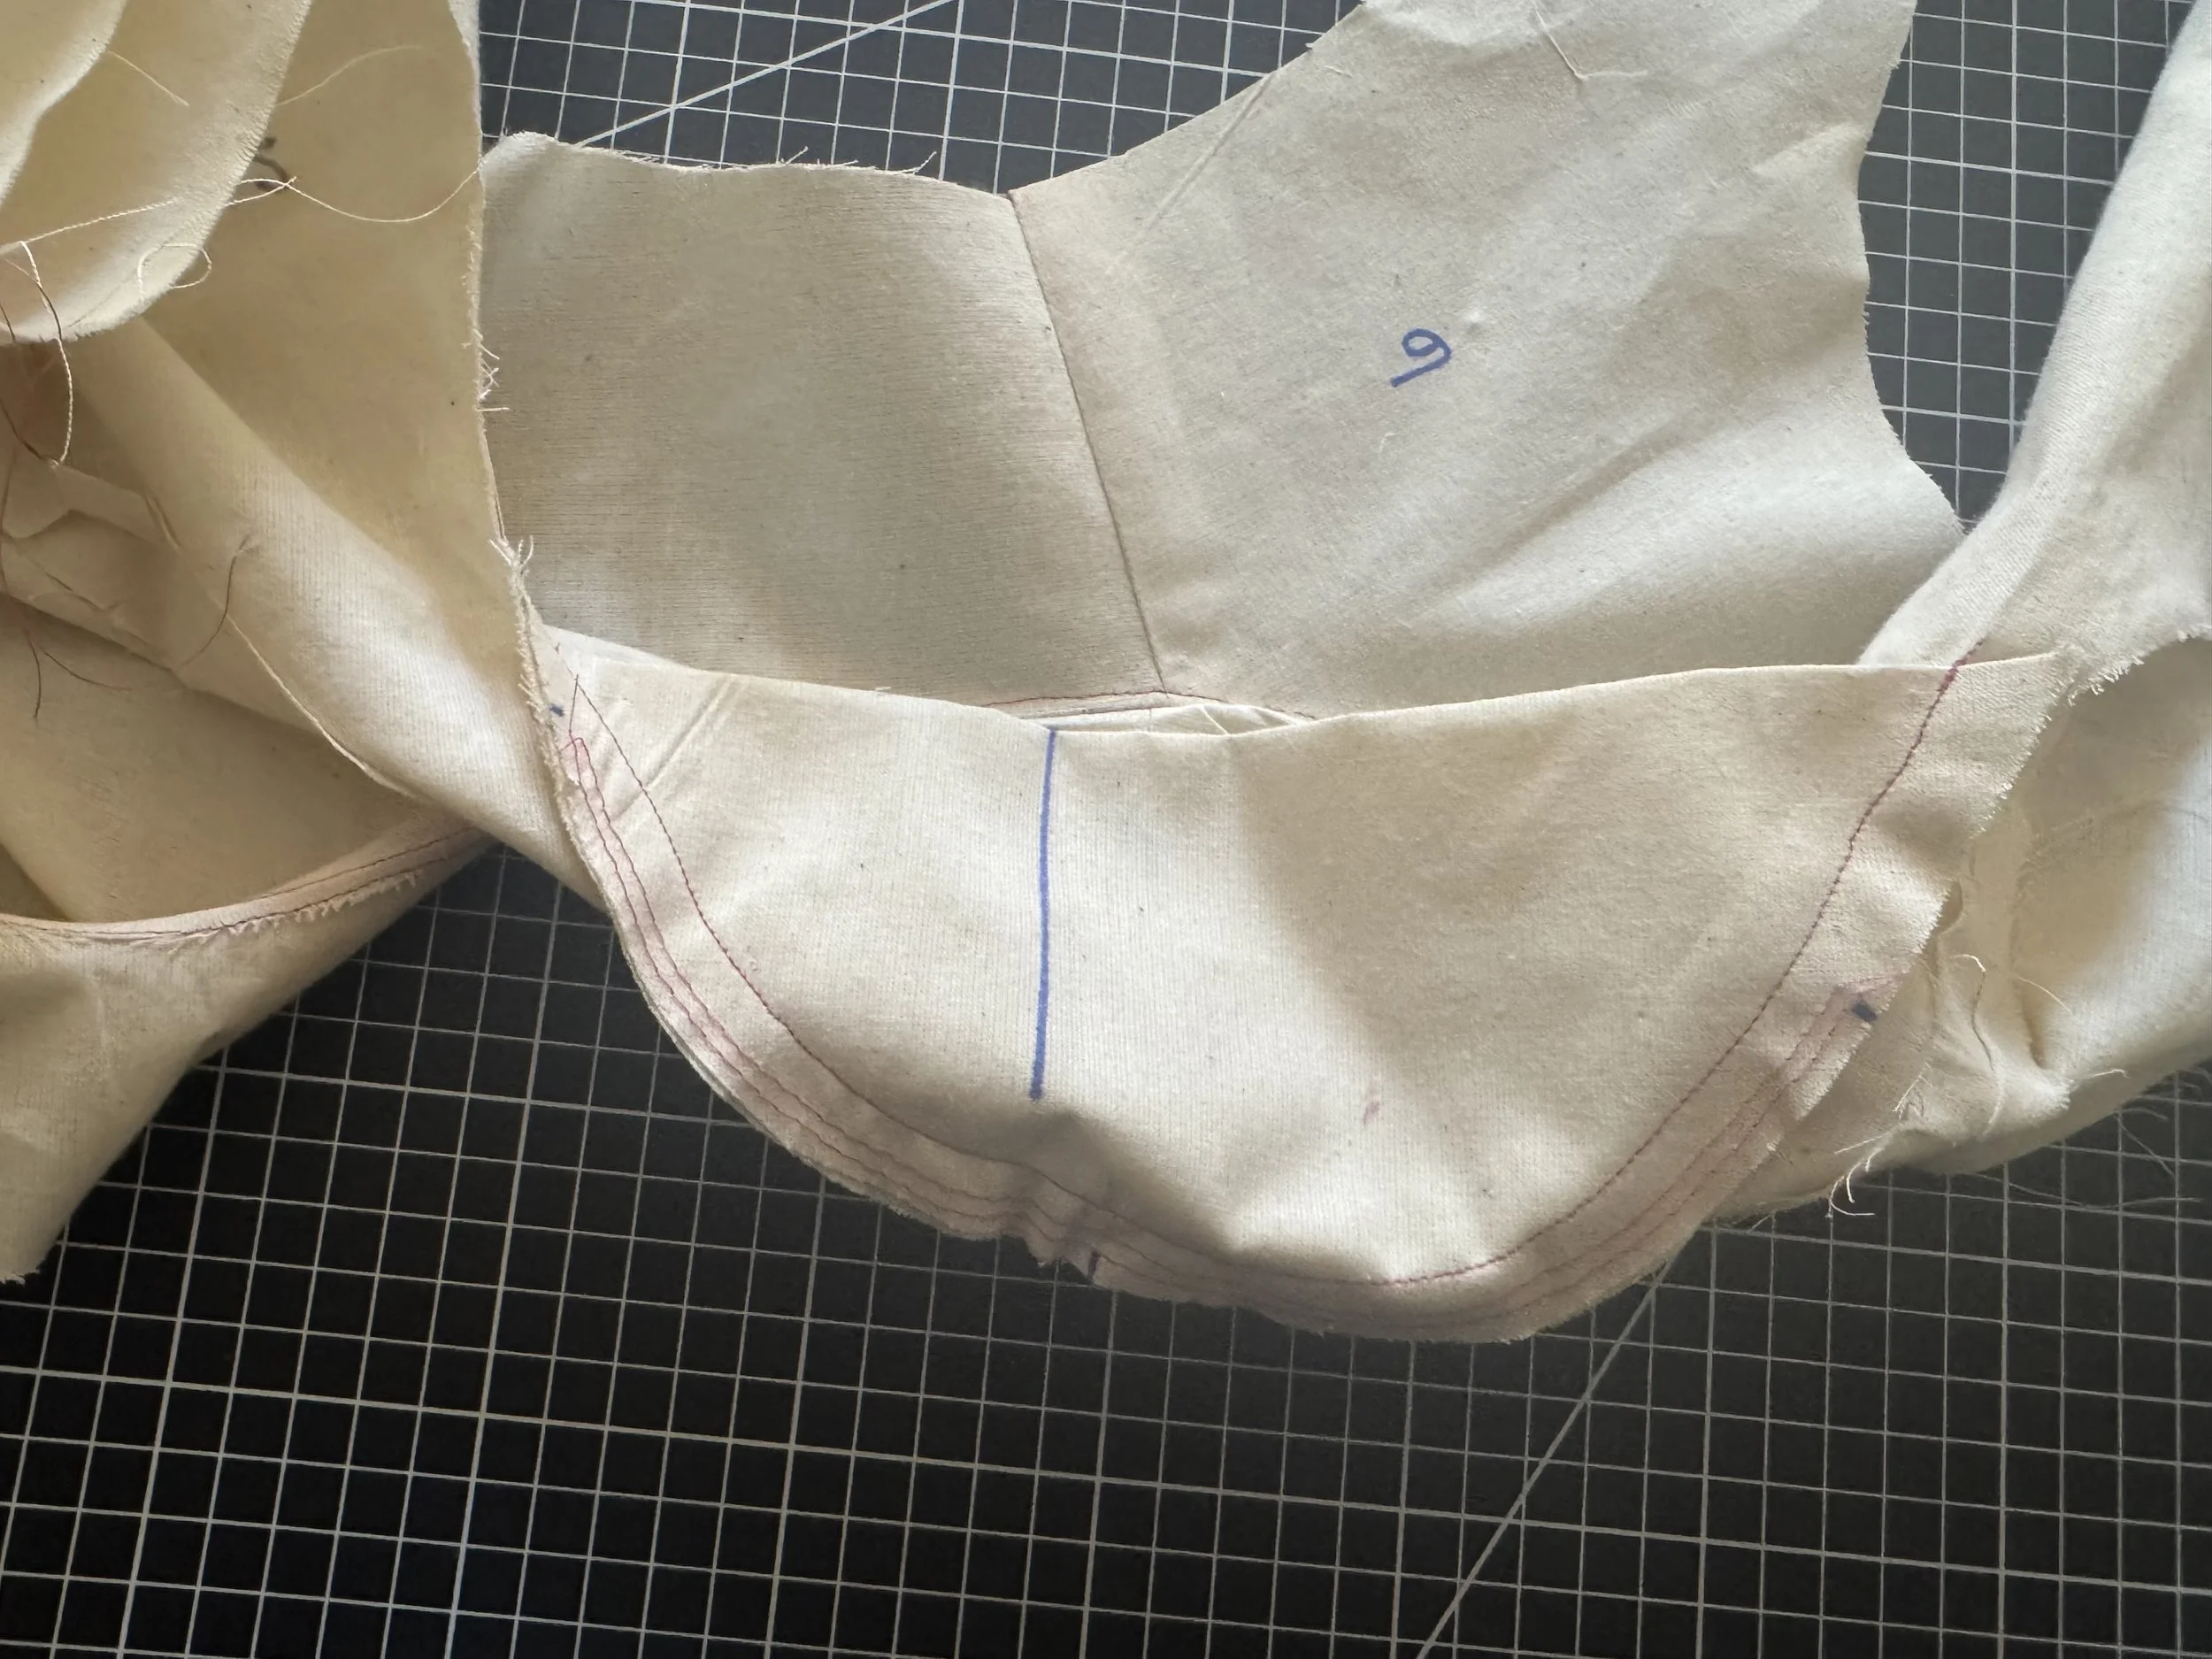
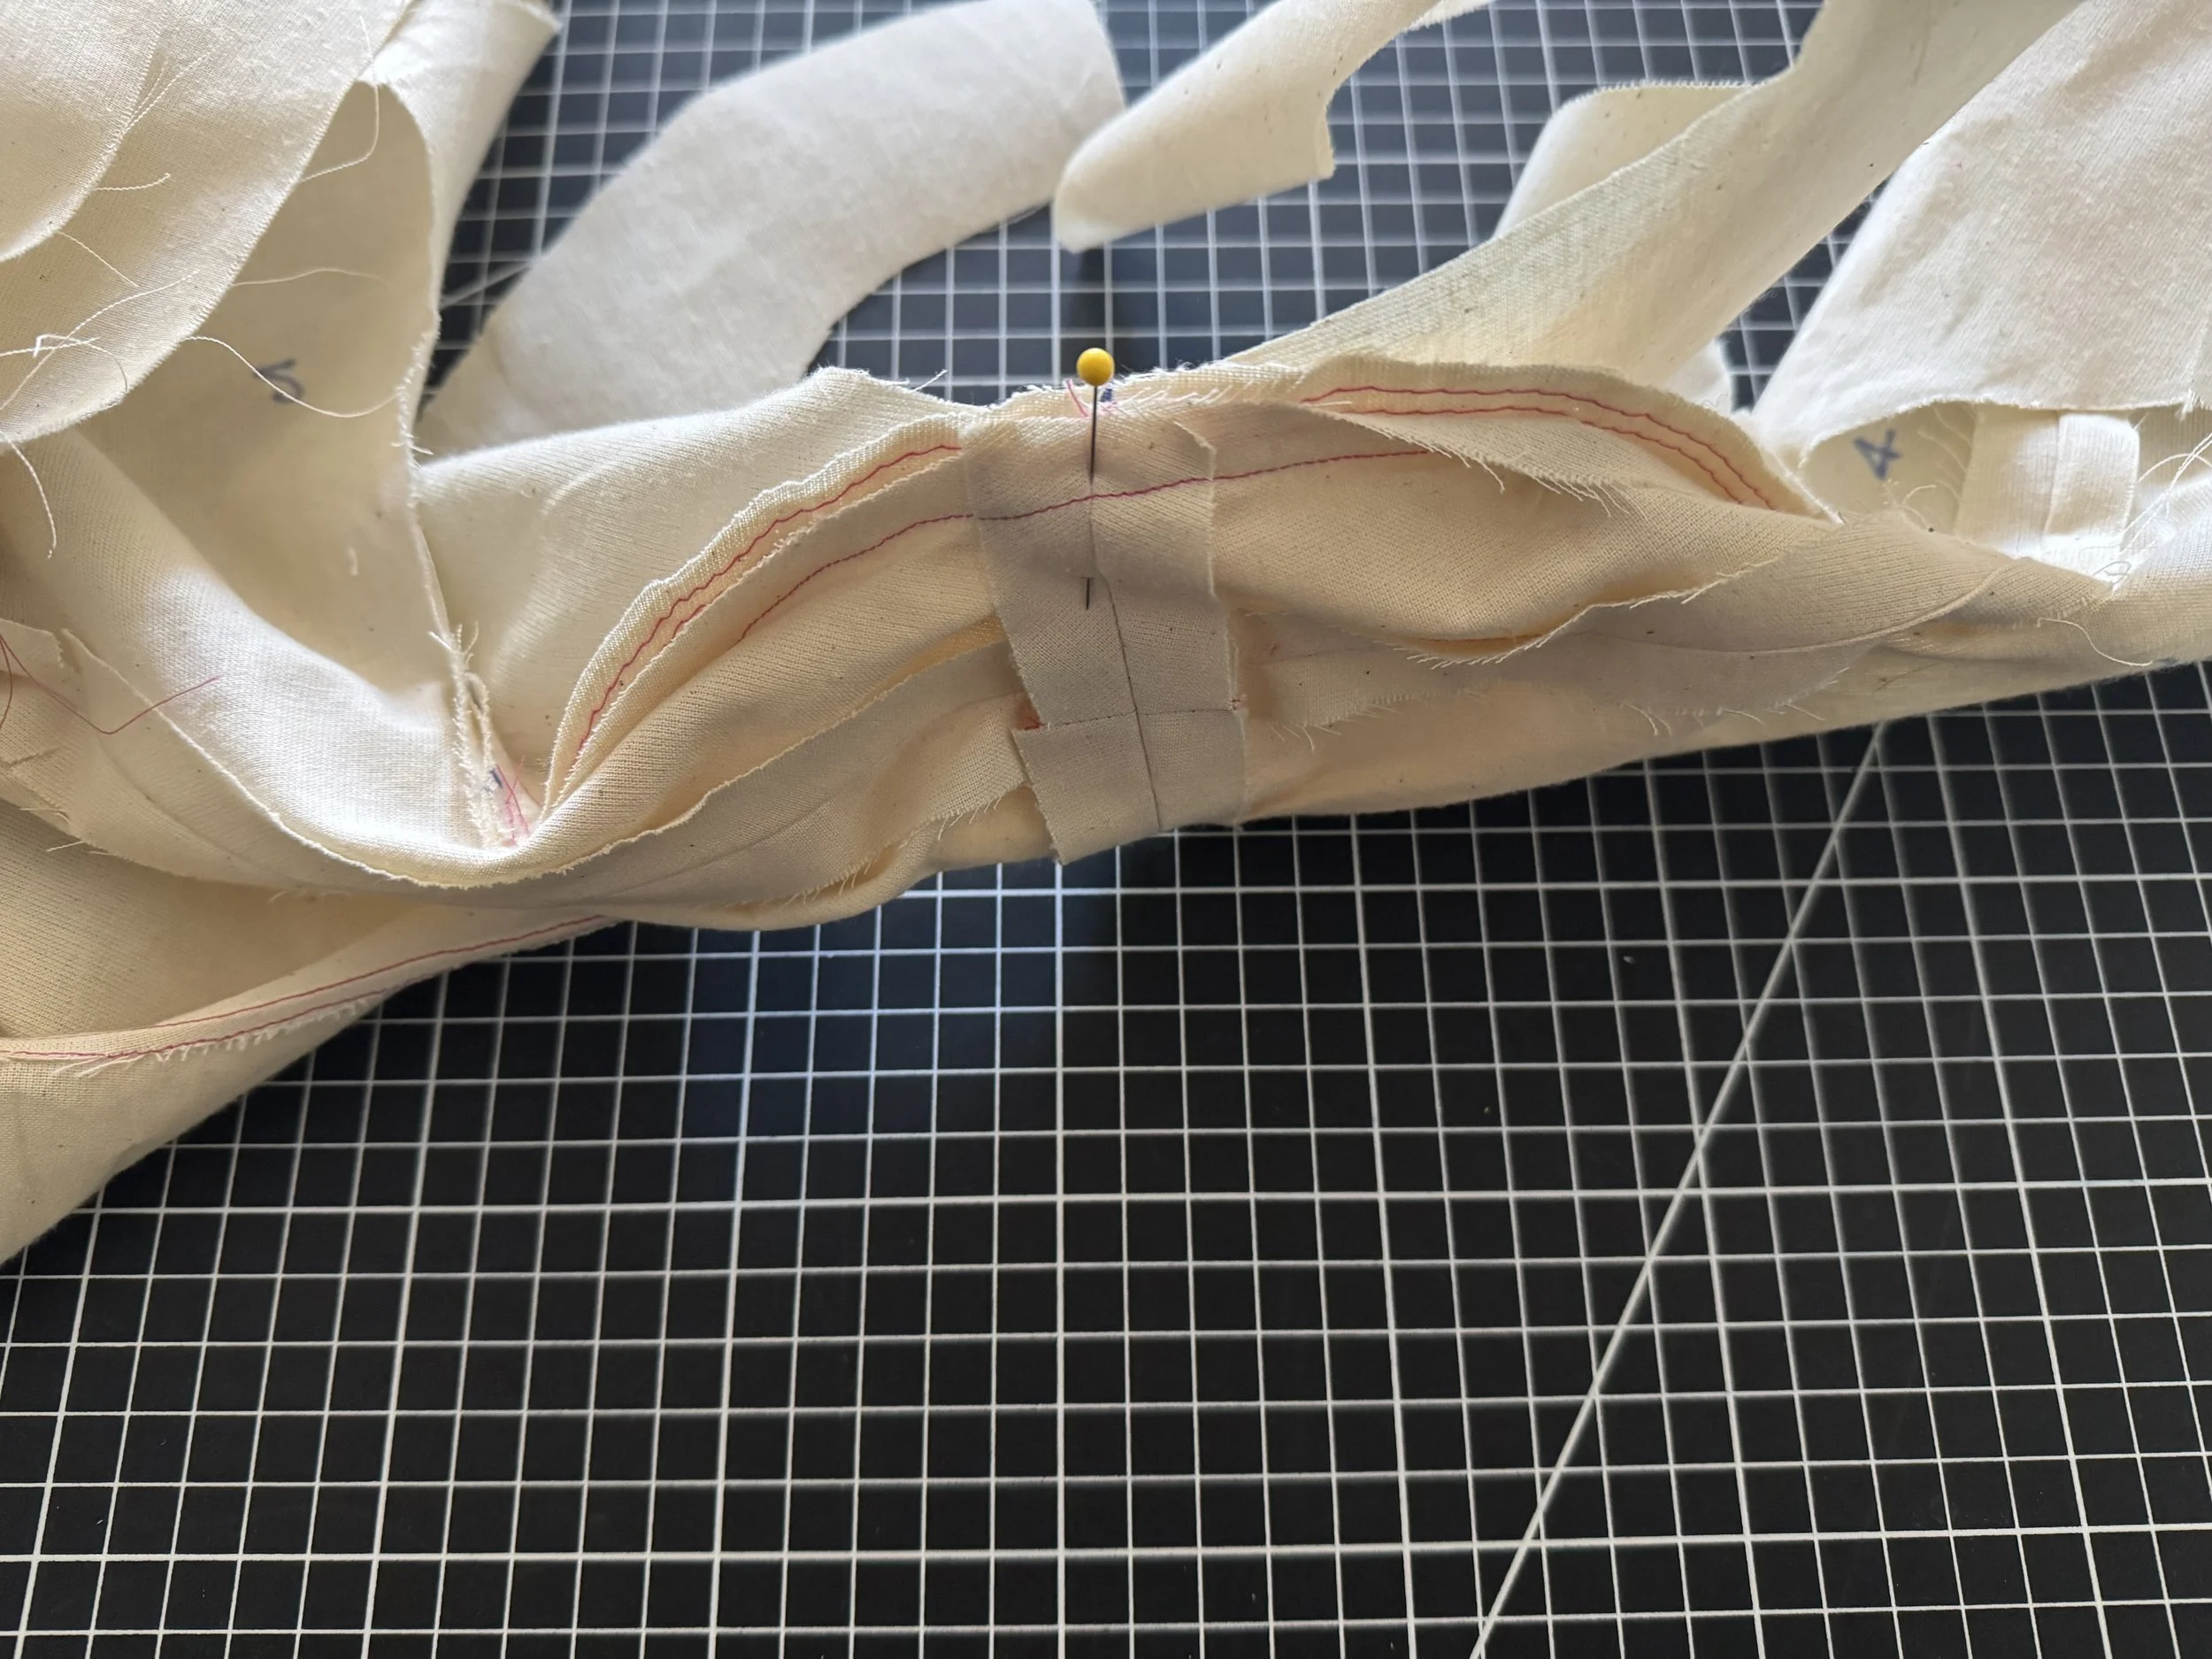
Open your facing so it lays flat and is separated from your bodice, right side up and sew an understitch on the right side as shown catching the seam allowance.
The stitch should only be on the facing, do not sew on the bodice.
The seam allowance is caught in the facing only and is kept away from the bodice. The stitch is visible on the right side of the facing only.
Press the neckline to set the stitch.
Turn your bodice wrong side up, the facing will be towards you.
Next we sew the armseyes -
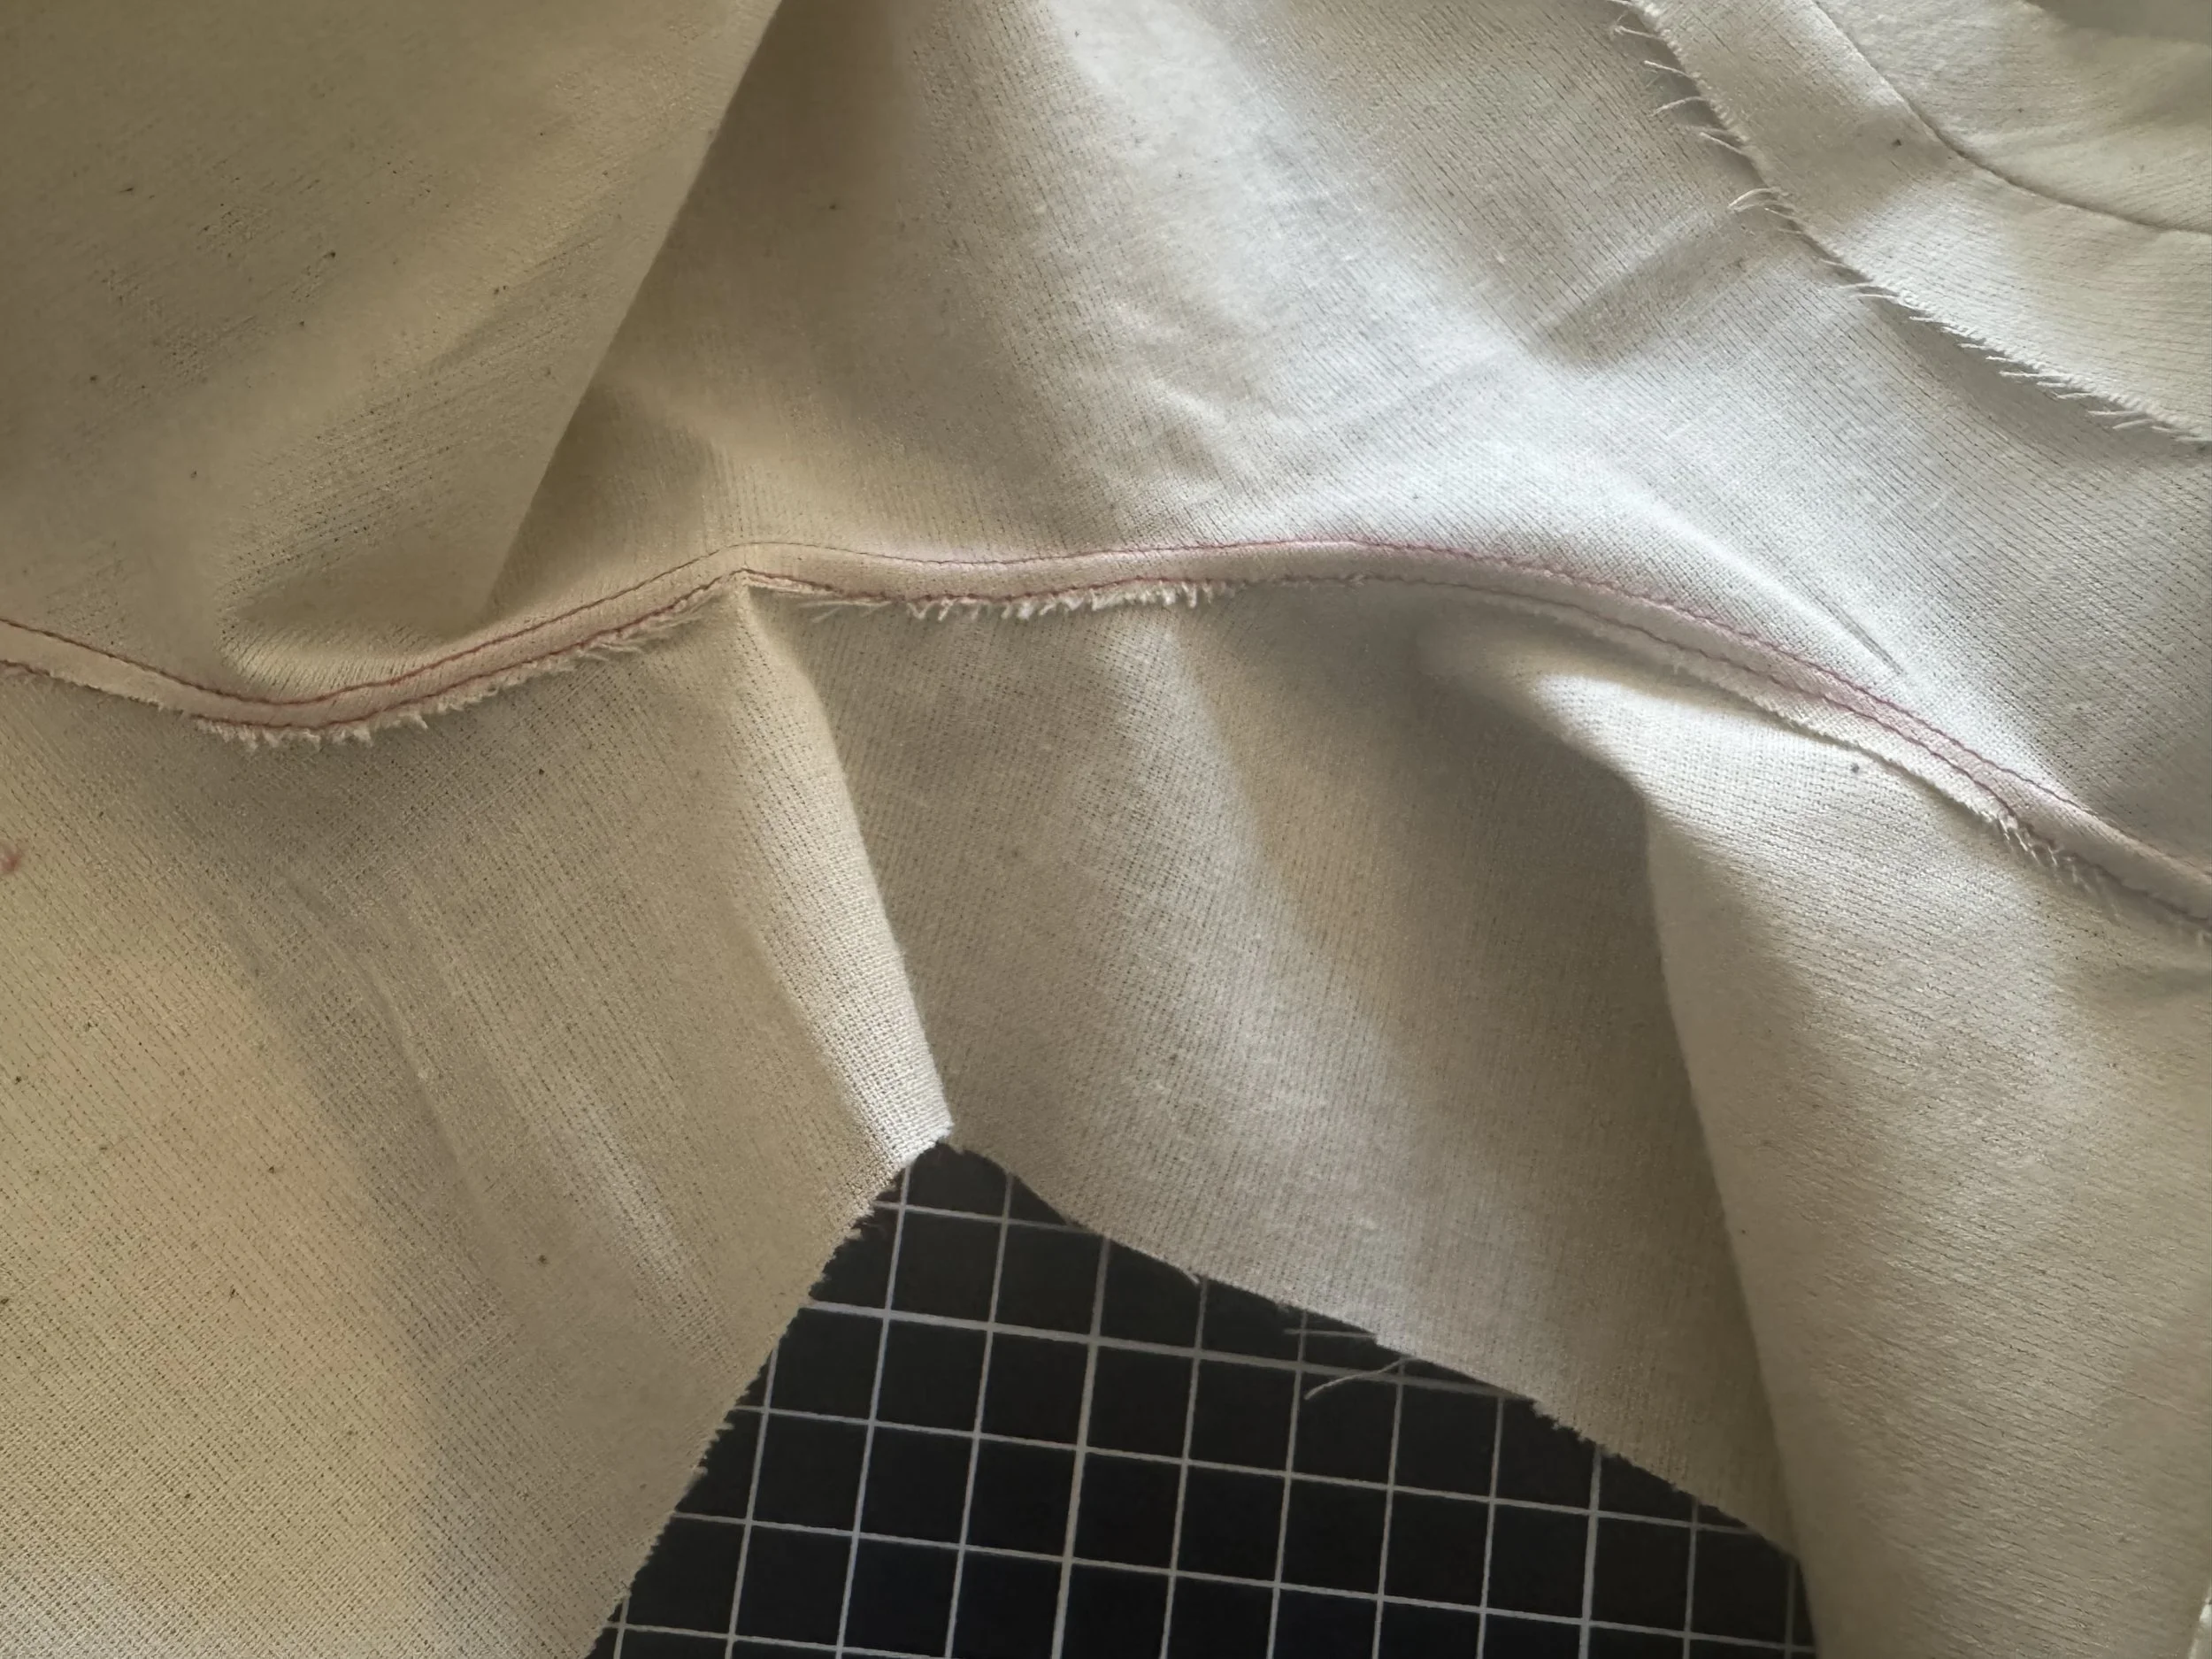
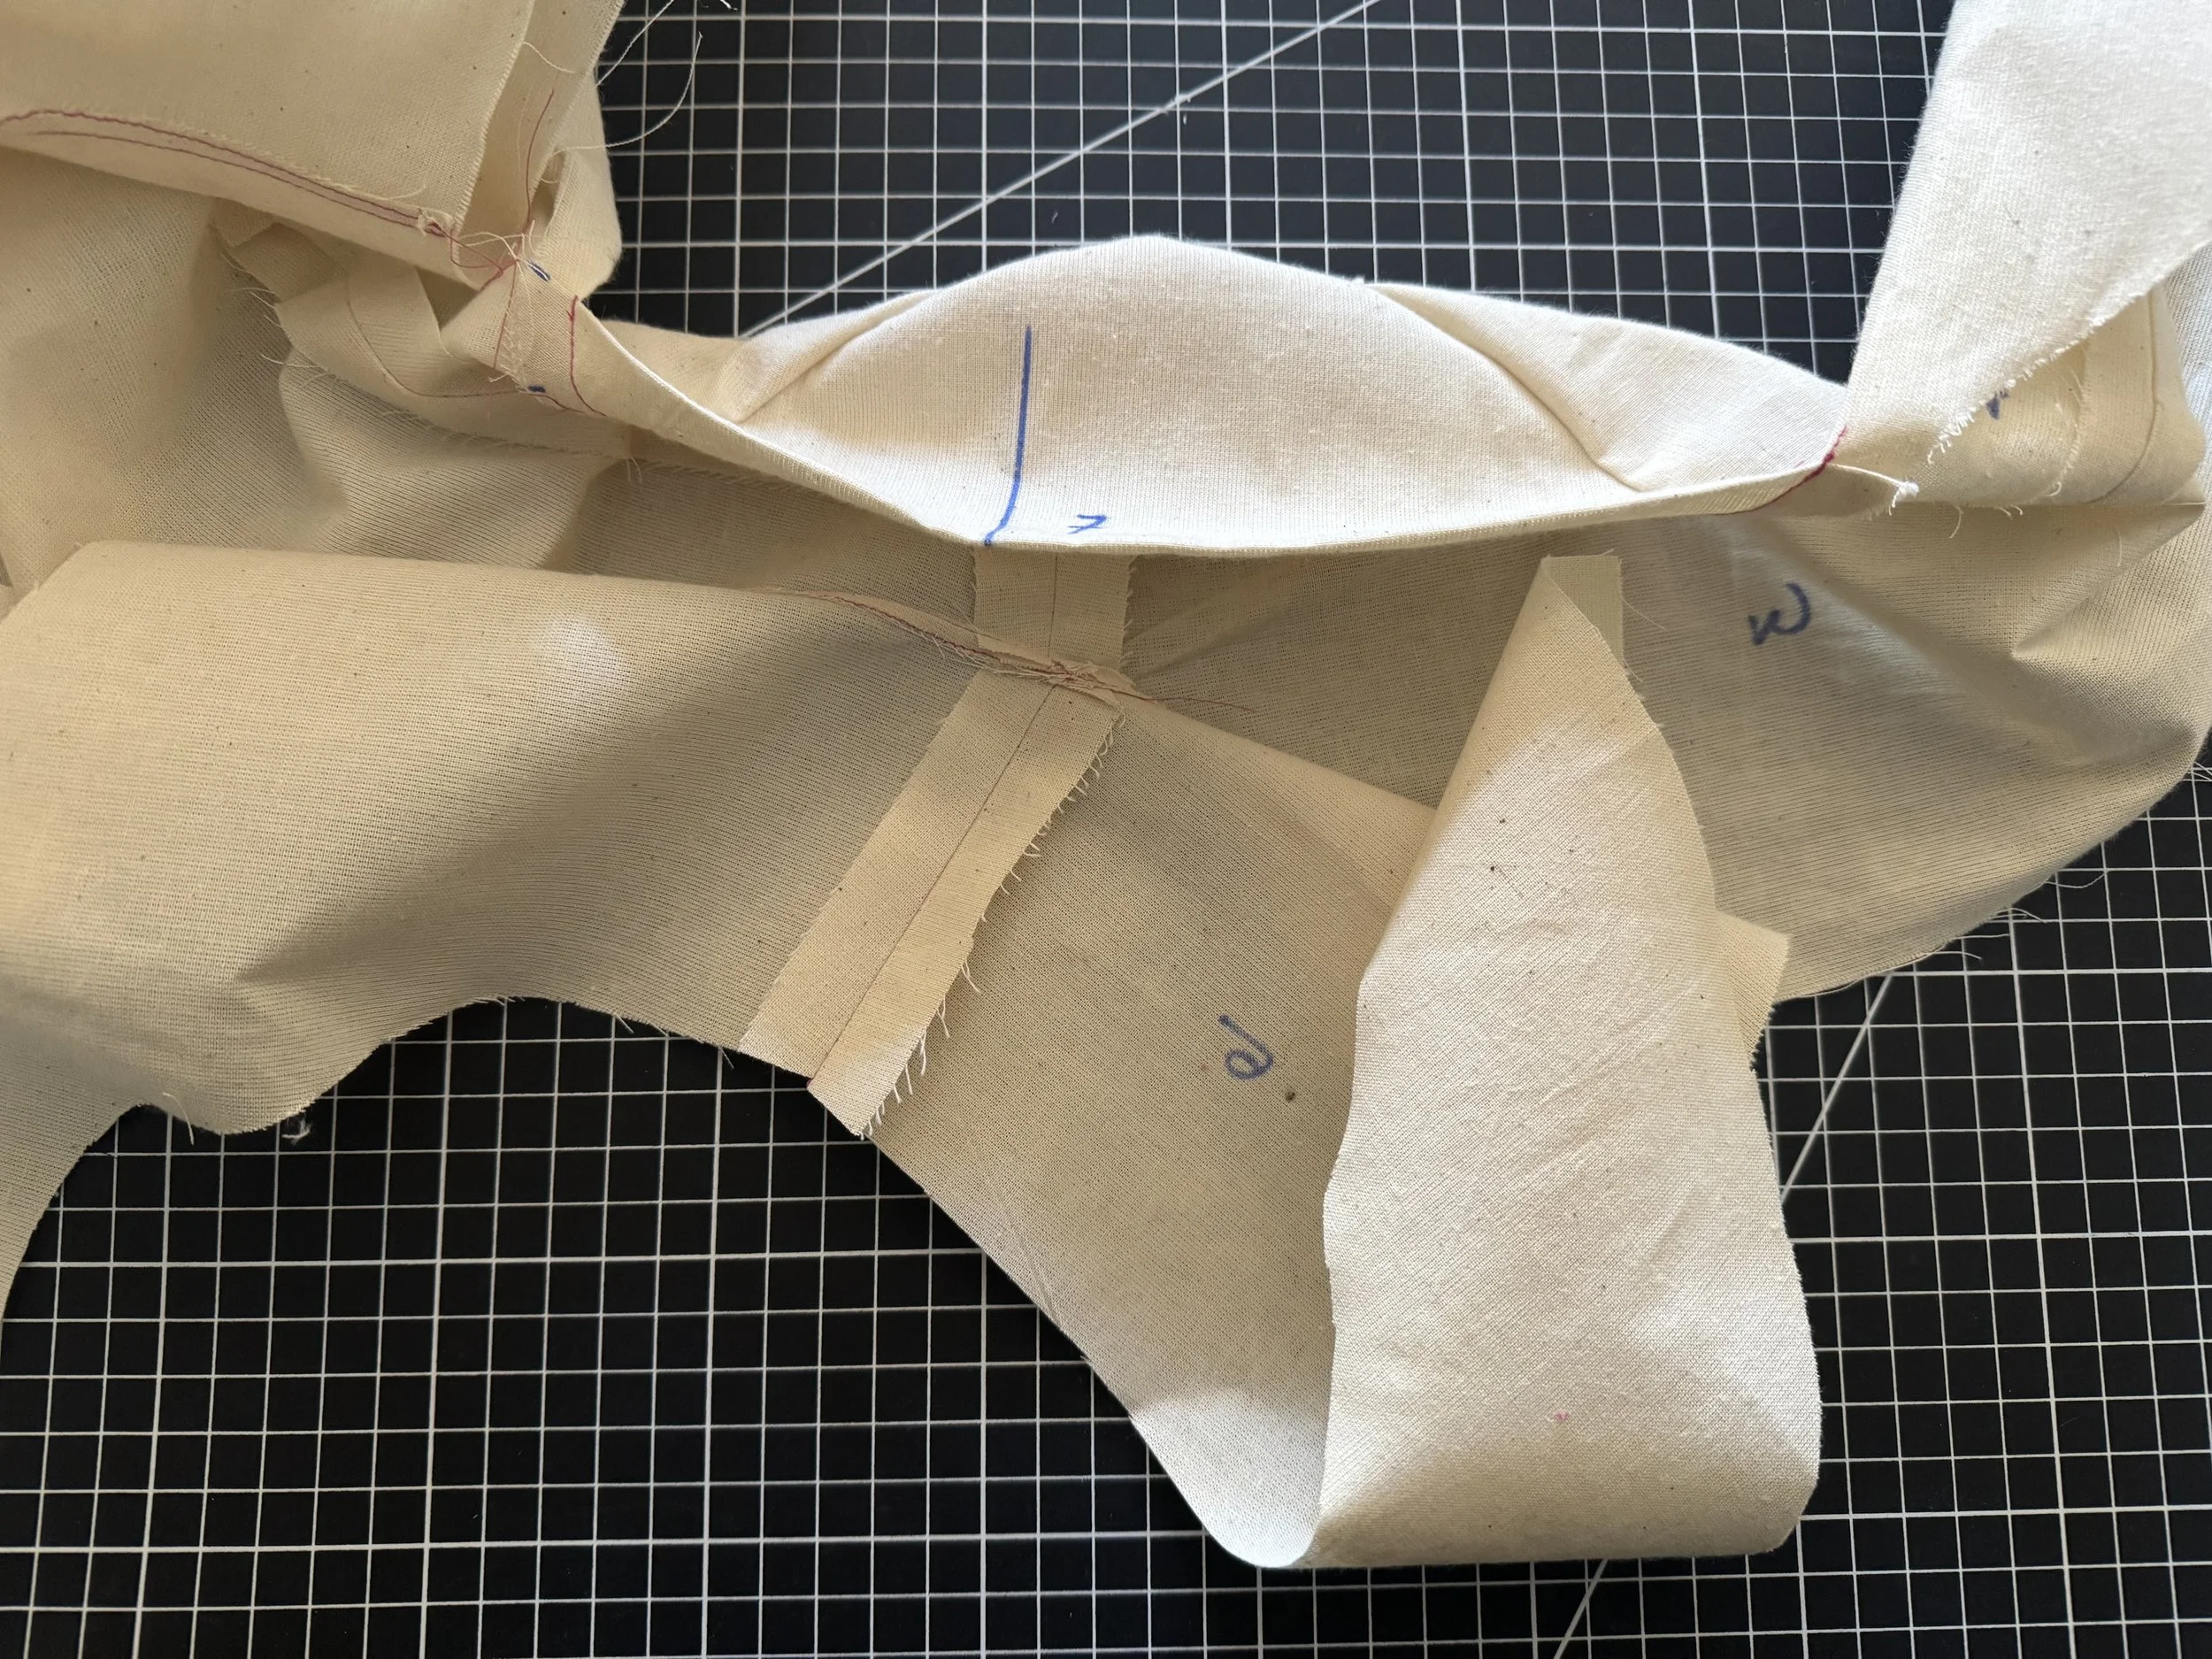
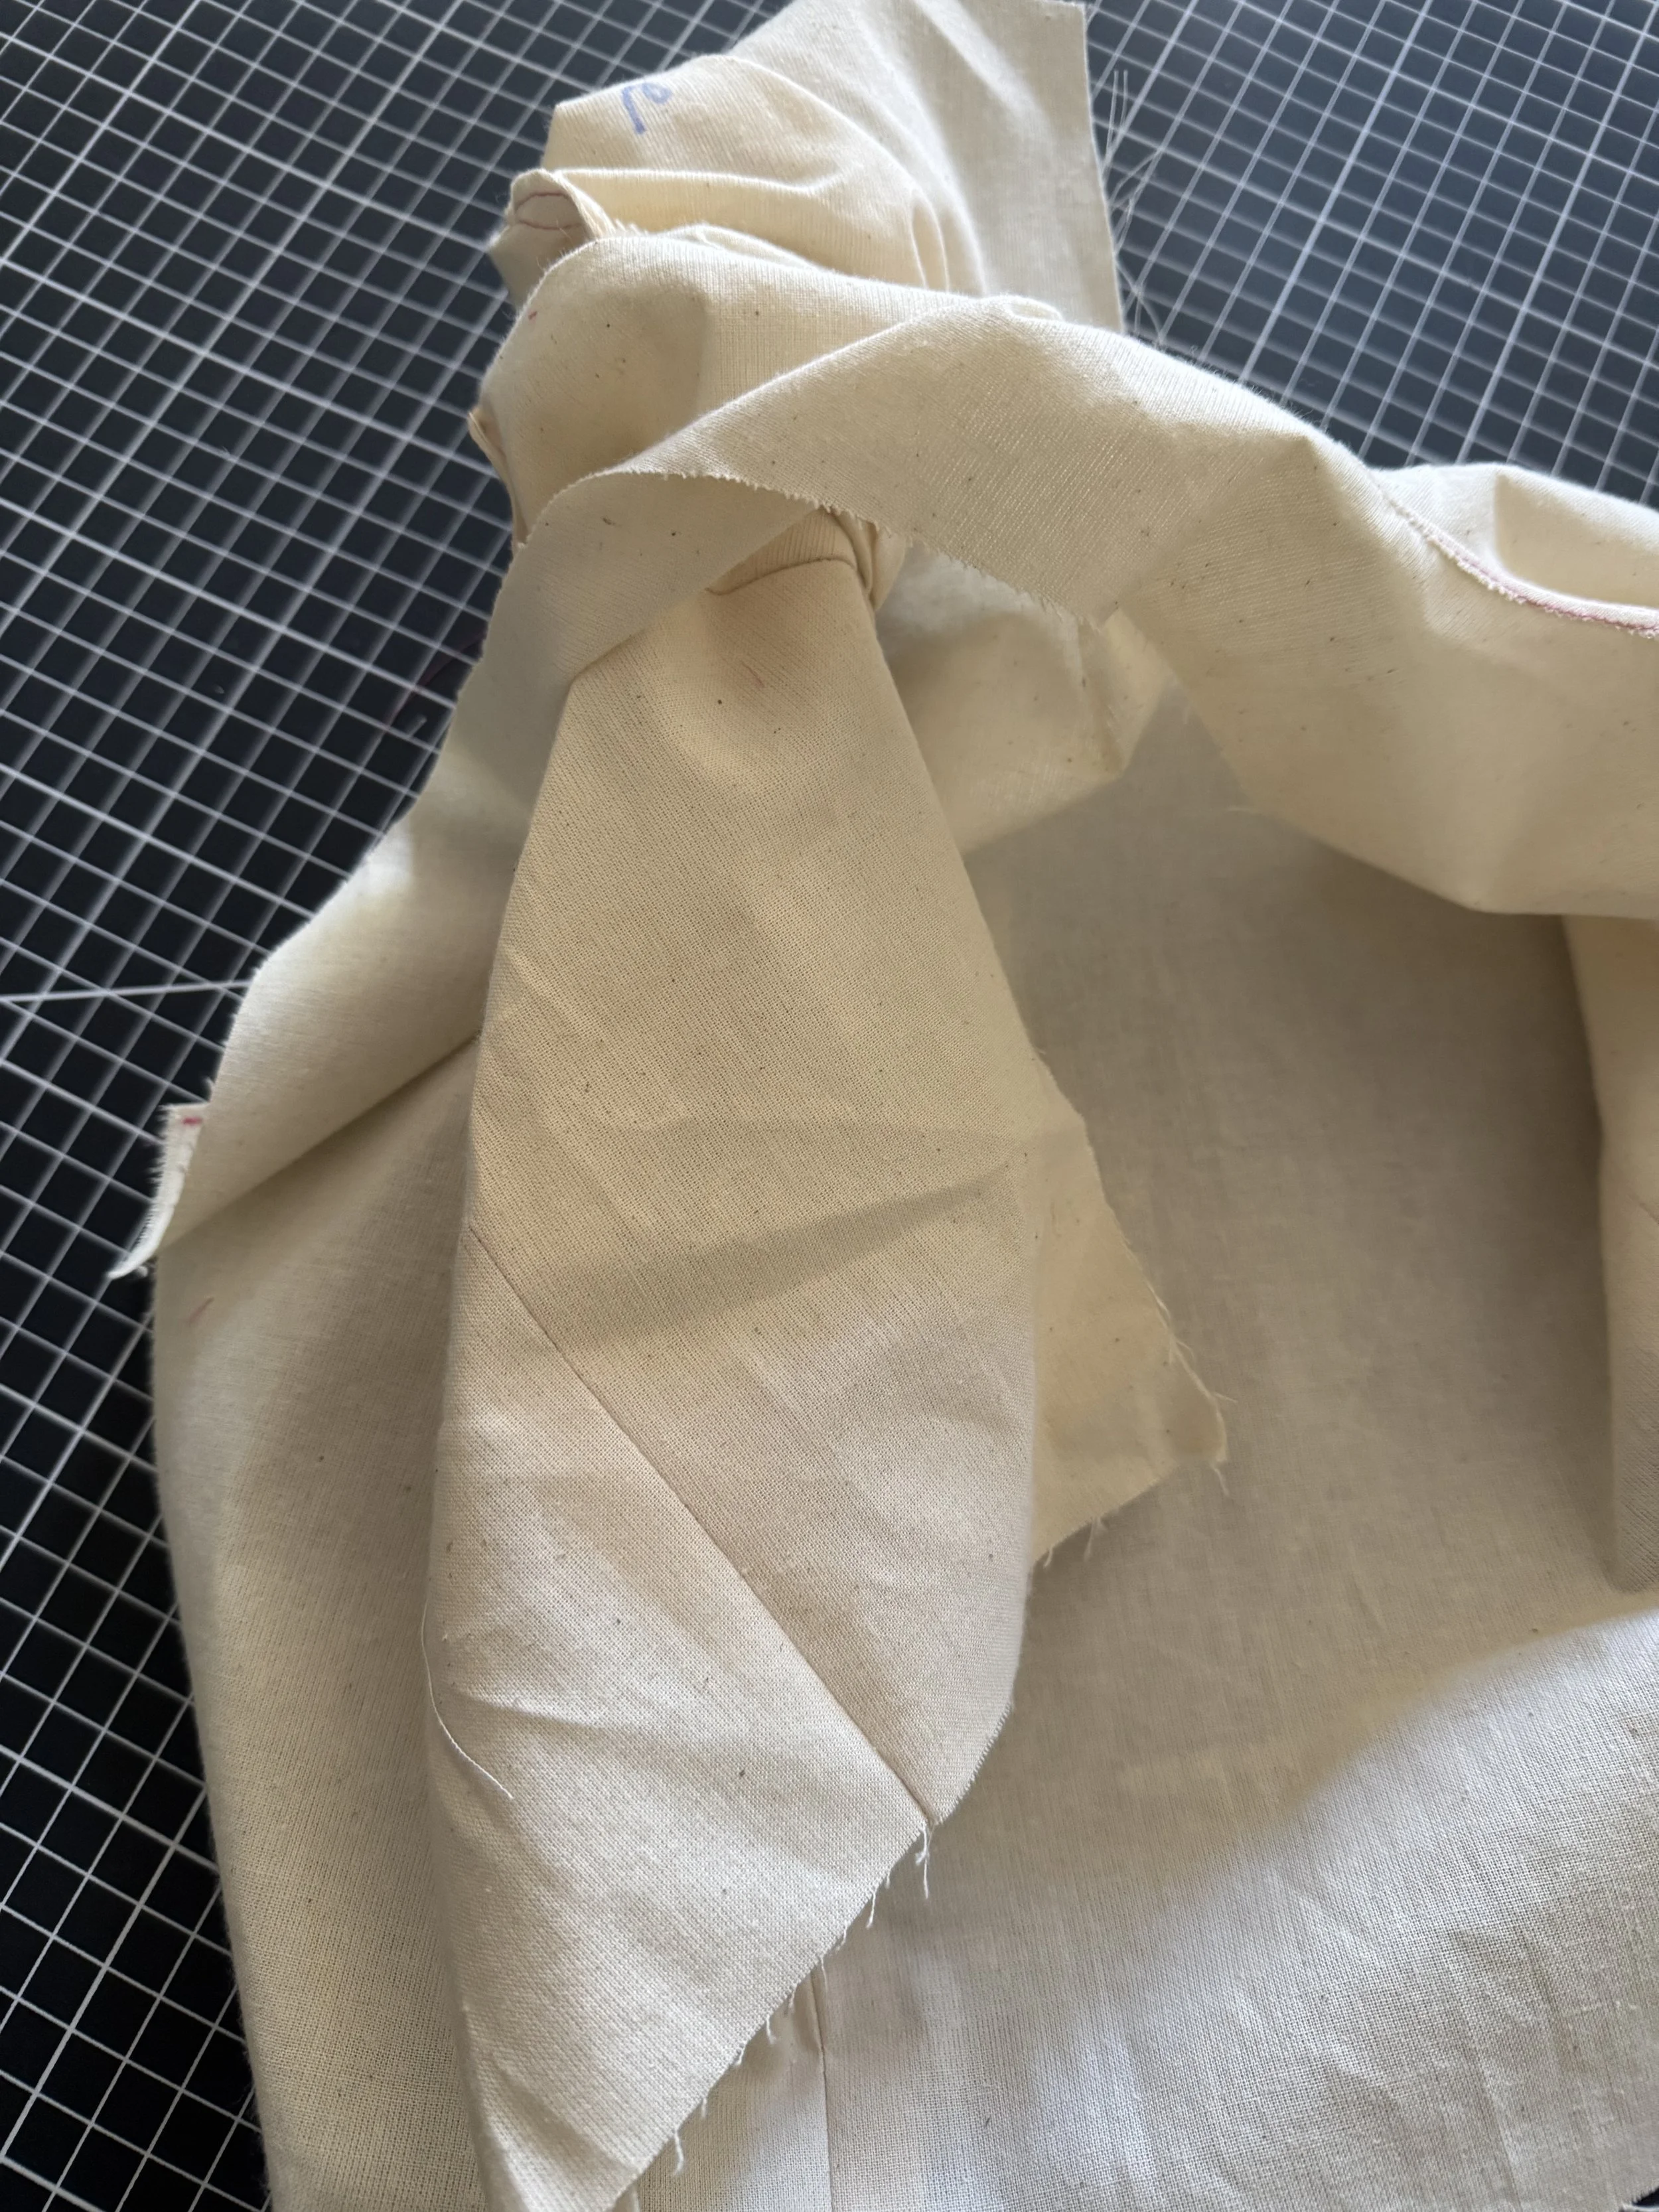
Flatten the facing out as shown.
Flip it under the bodice, away from you. - so the right side of the facing is up and the wrong side down
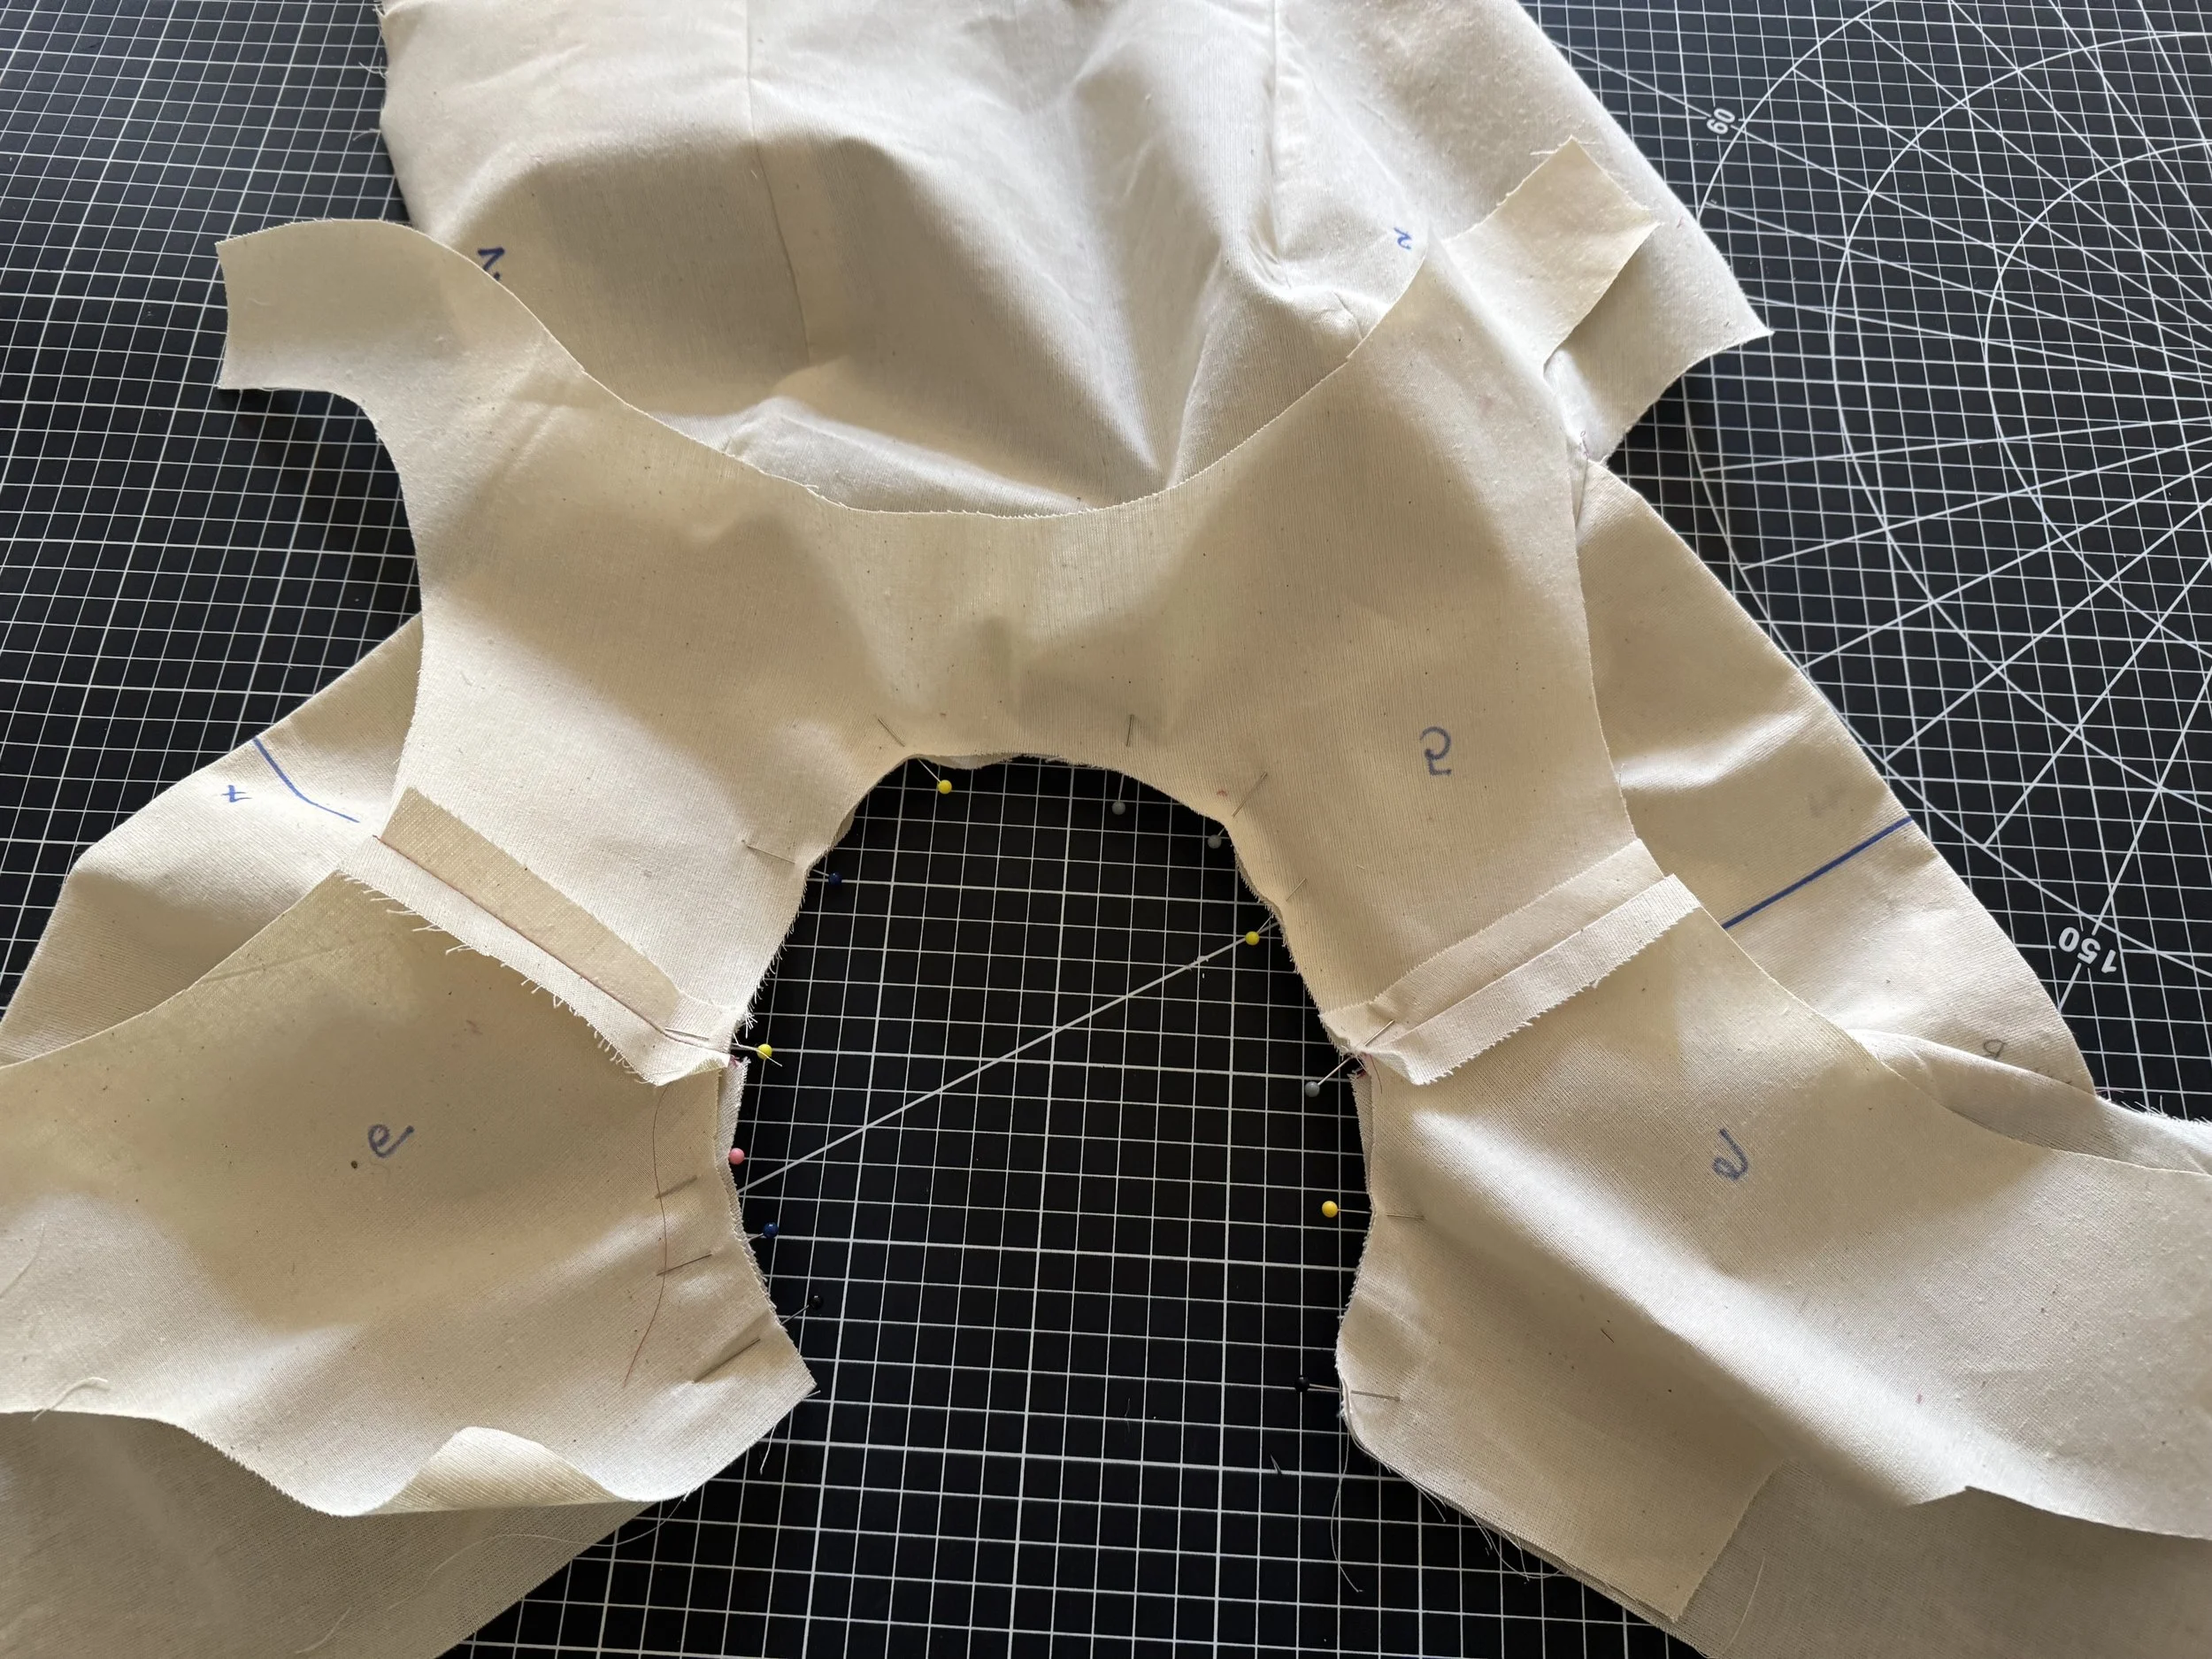
Bring the facing right side up towards you , and pin the seam of the shoulder facing to the seam of the bodice facing. The cap sleeve will be inside of this tube.
Pin from front to back
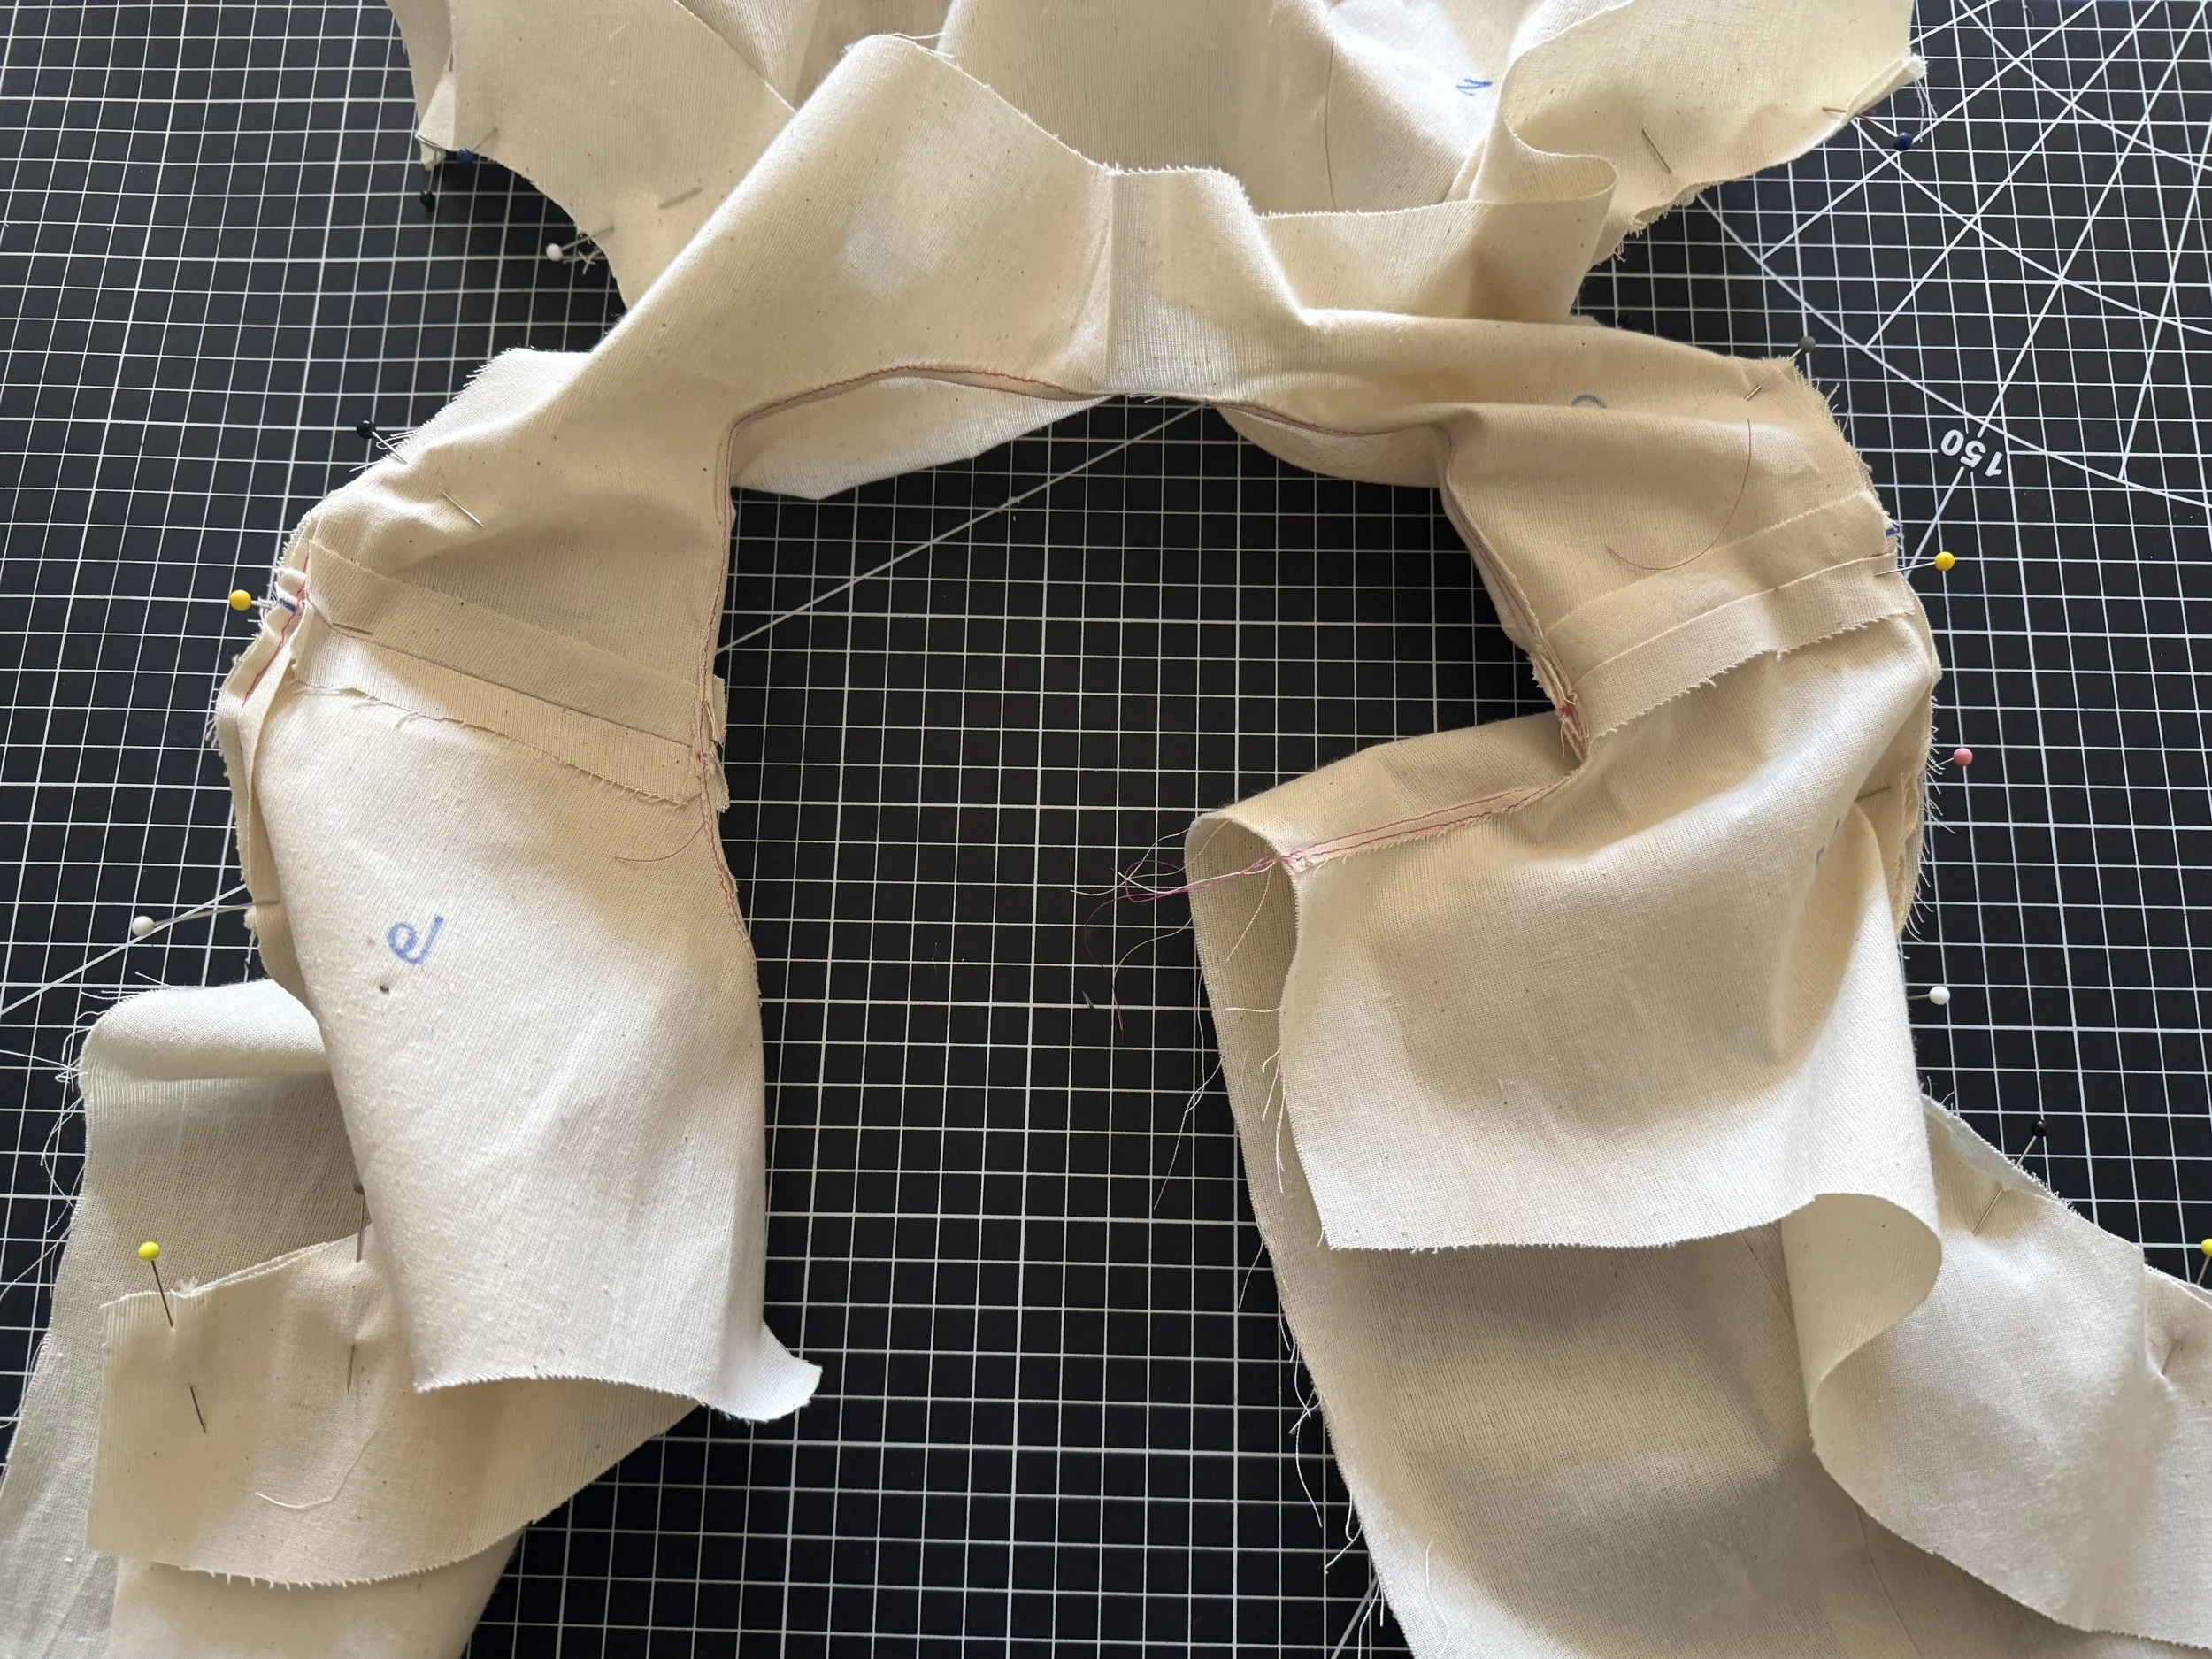
The shoulder area will form a tube with the cap sleeve inside if you are sewing this option.
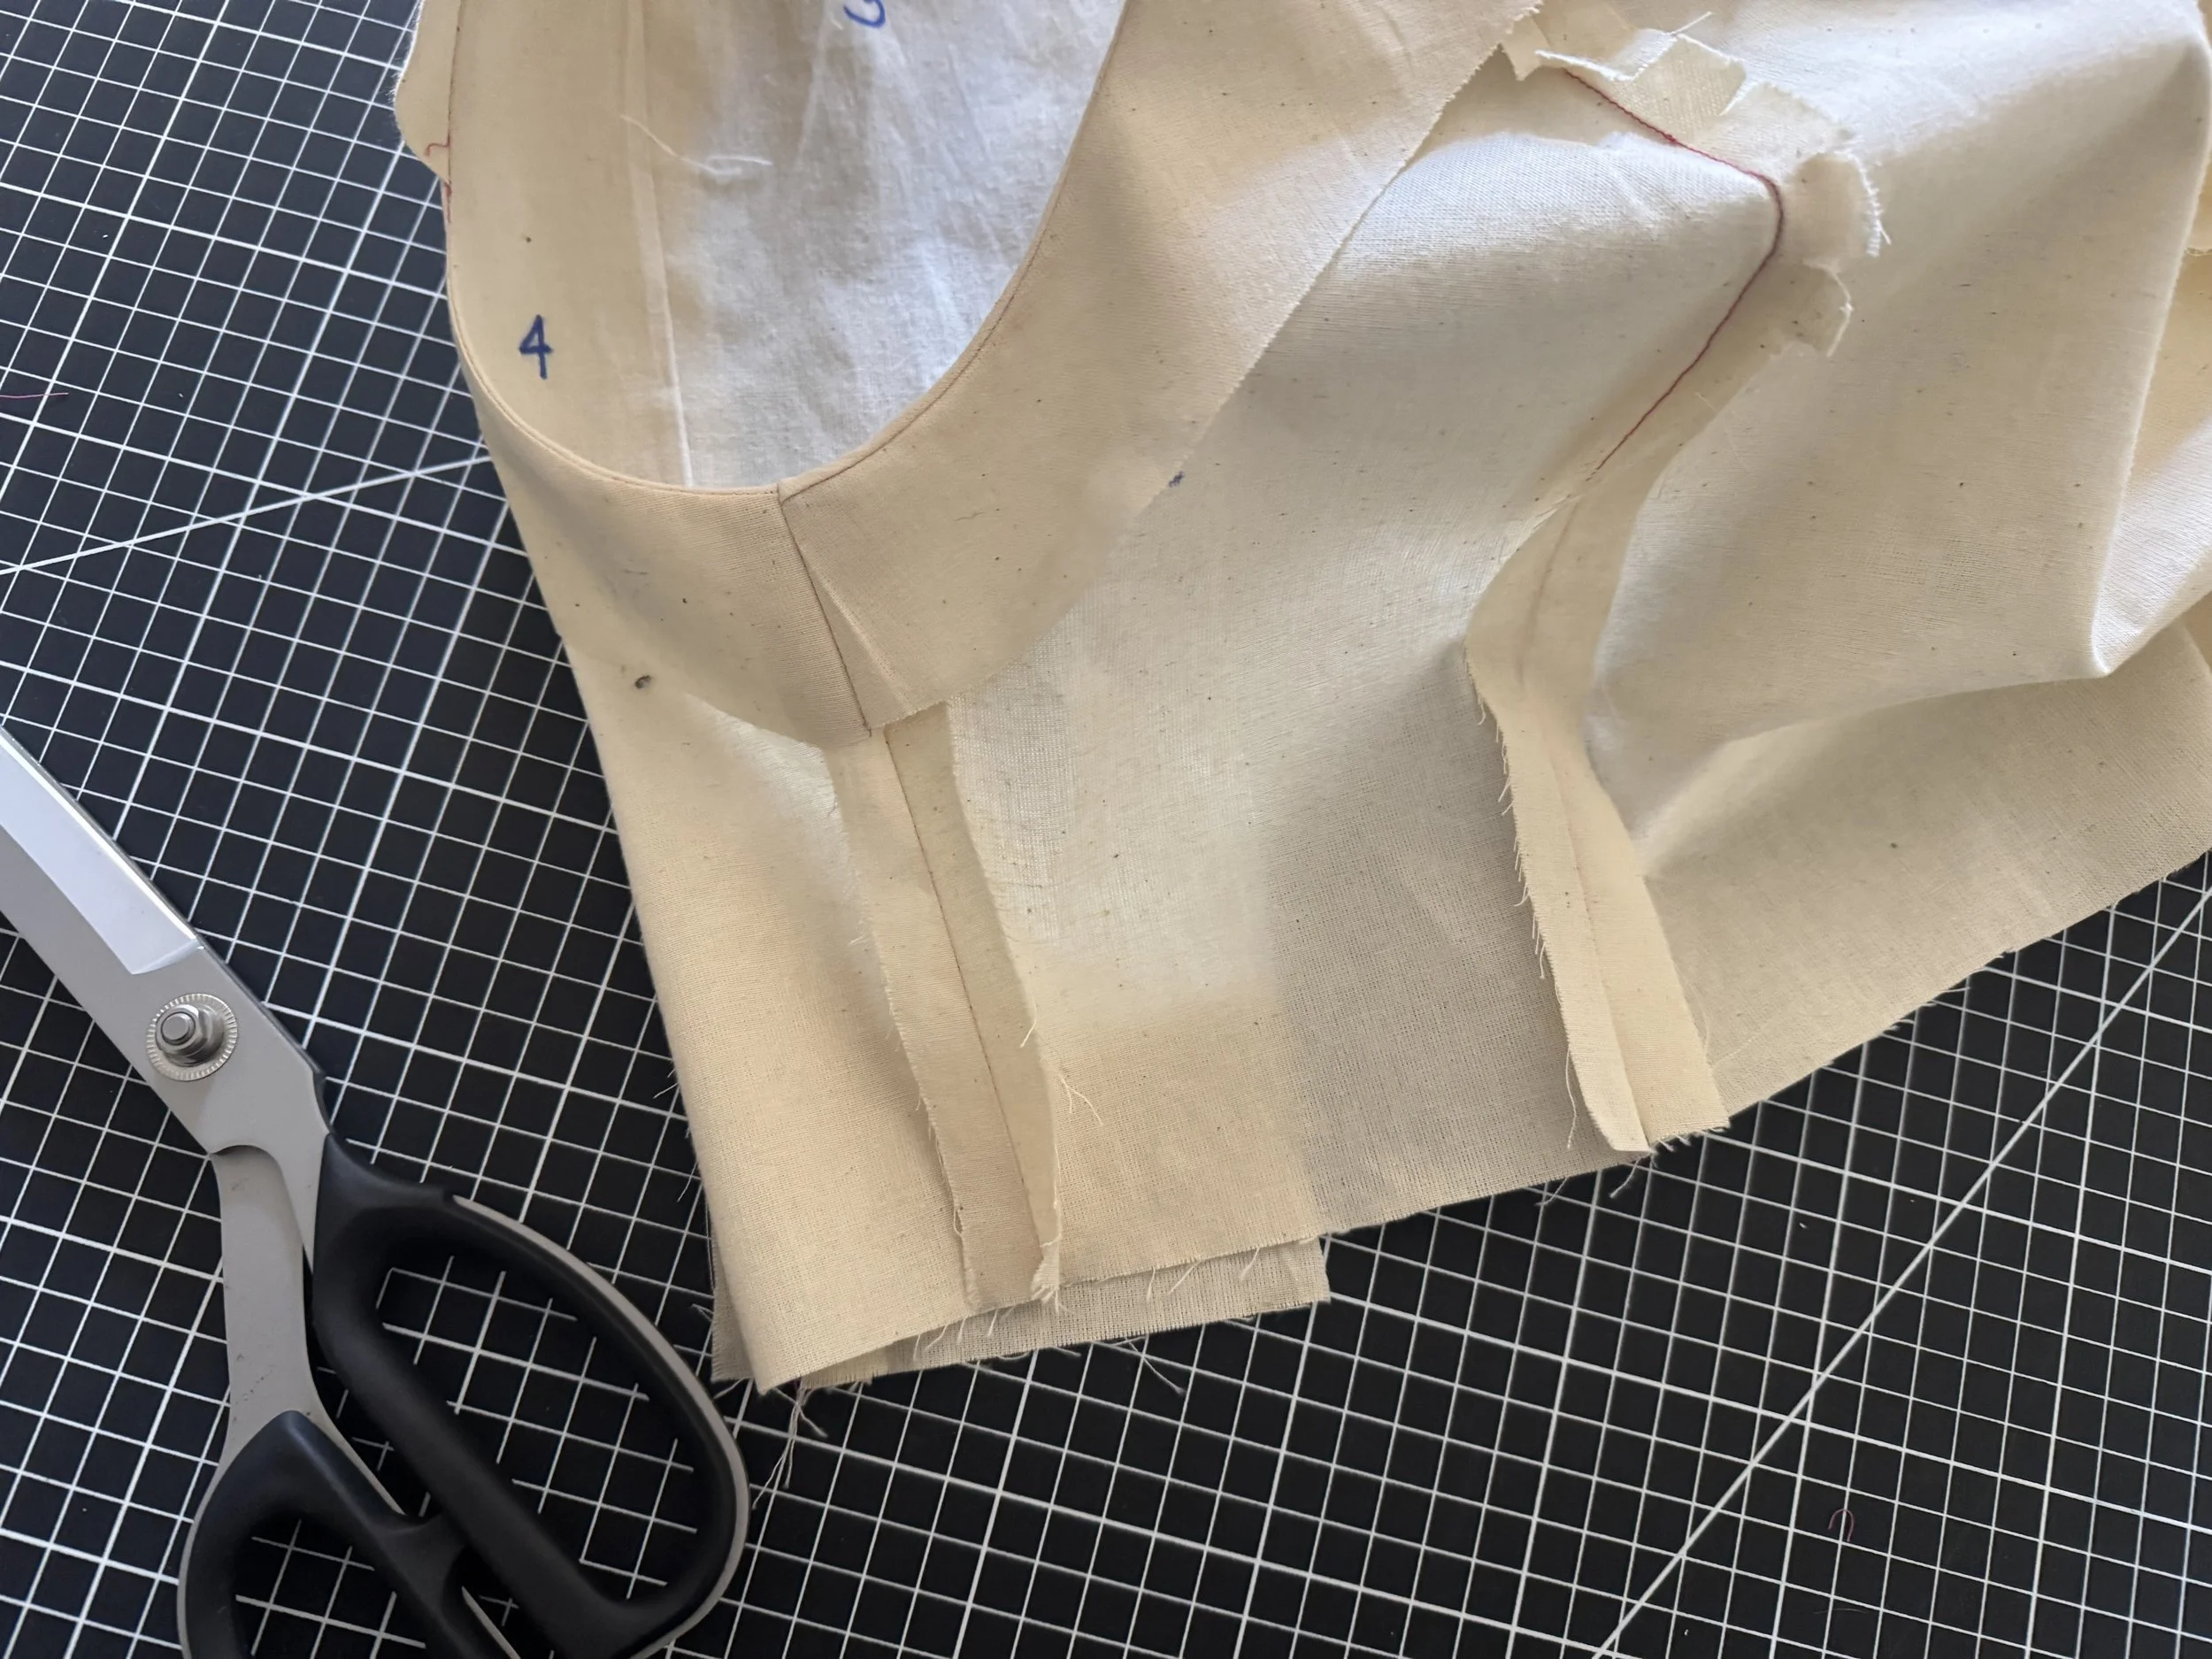
Sew using a 5/8” seam allowance, and trim.
Next up is the confusing part!
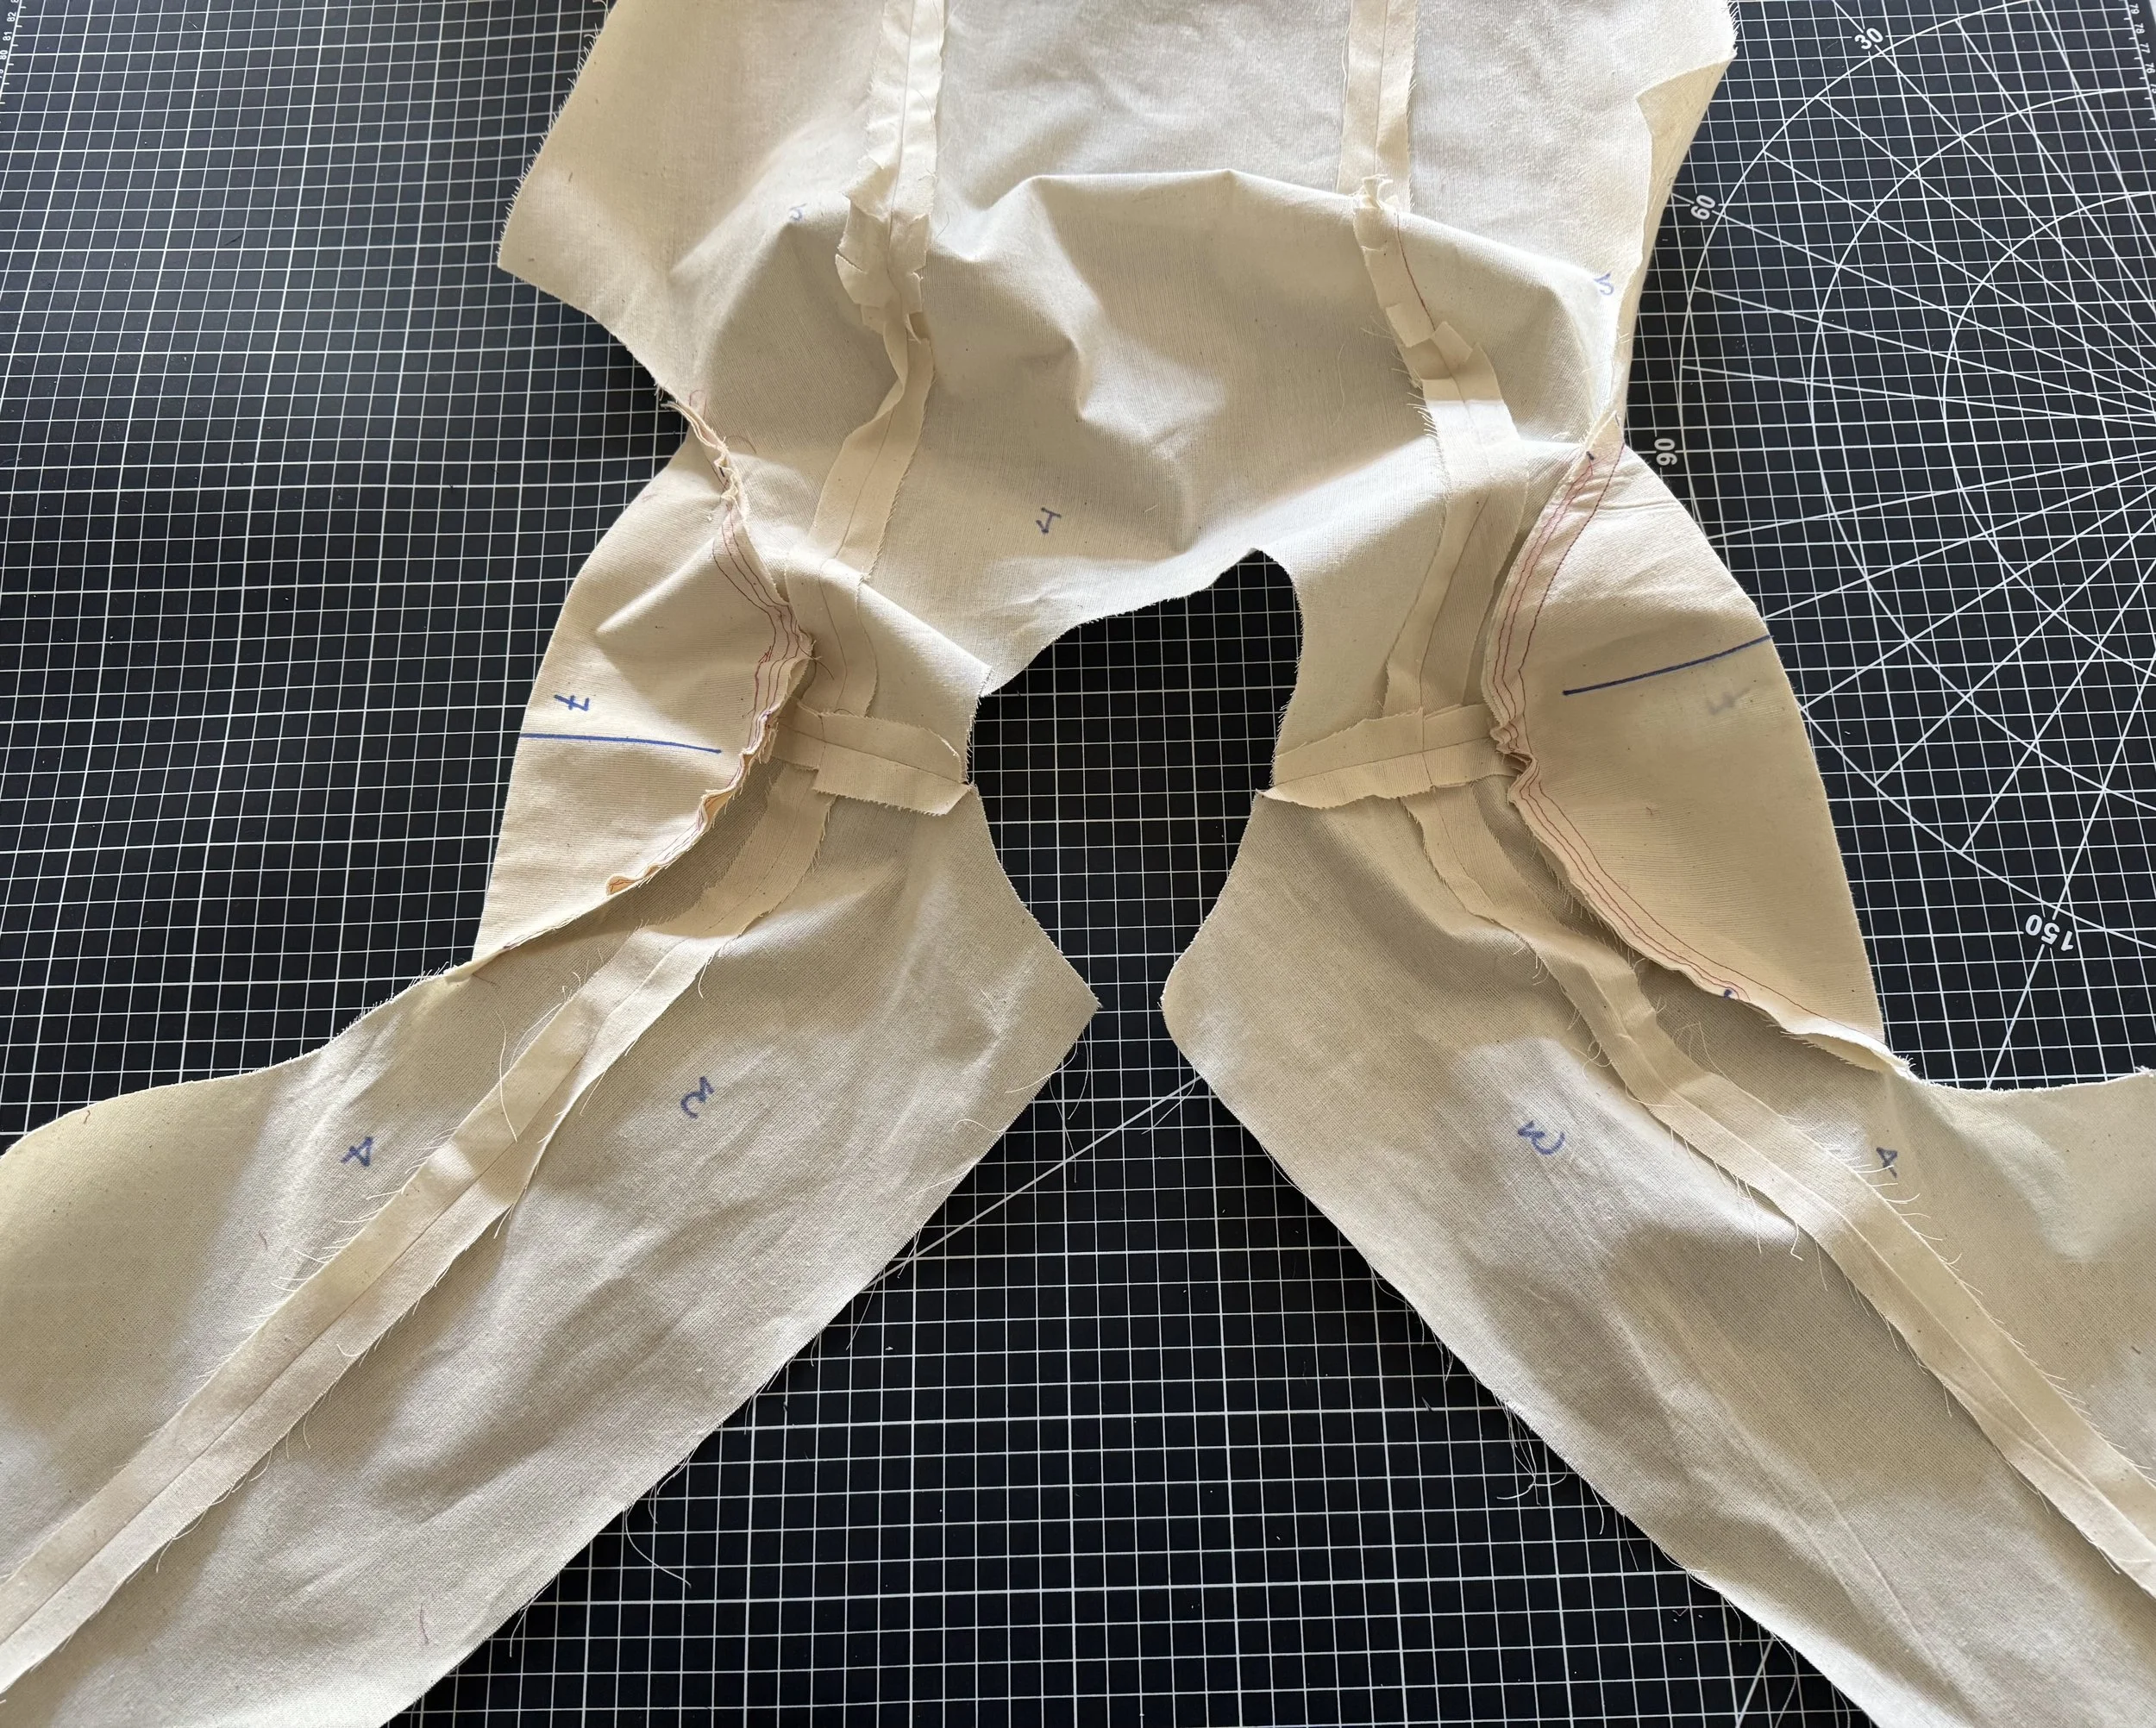
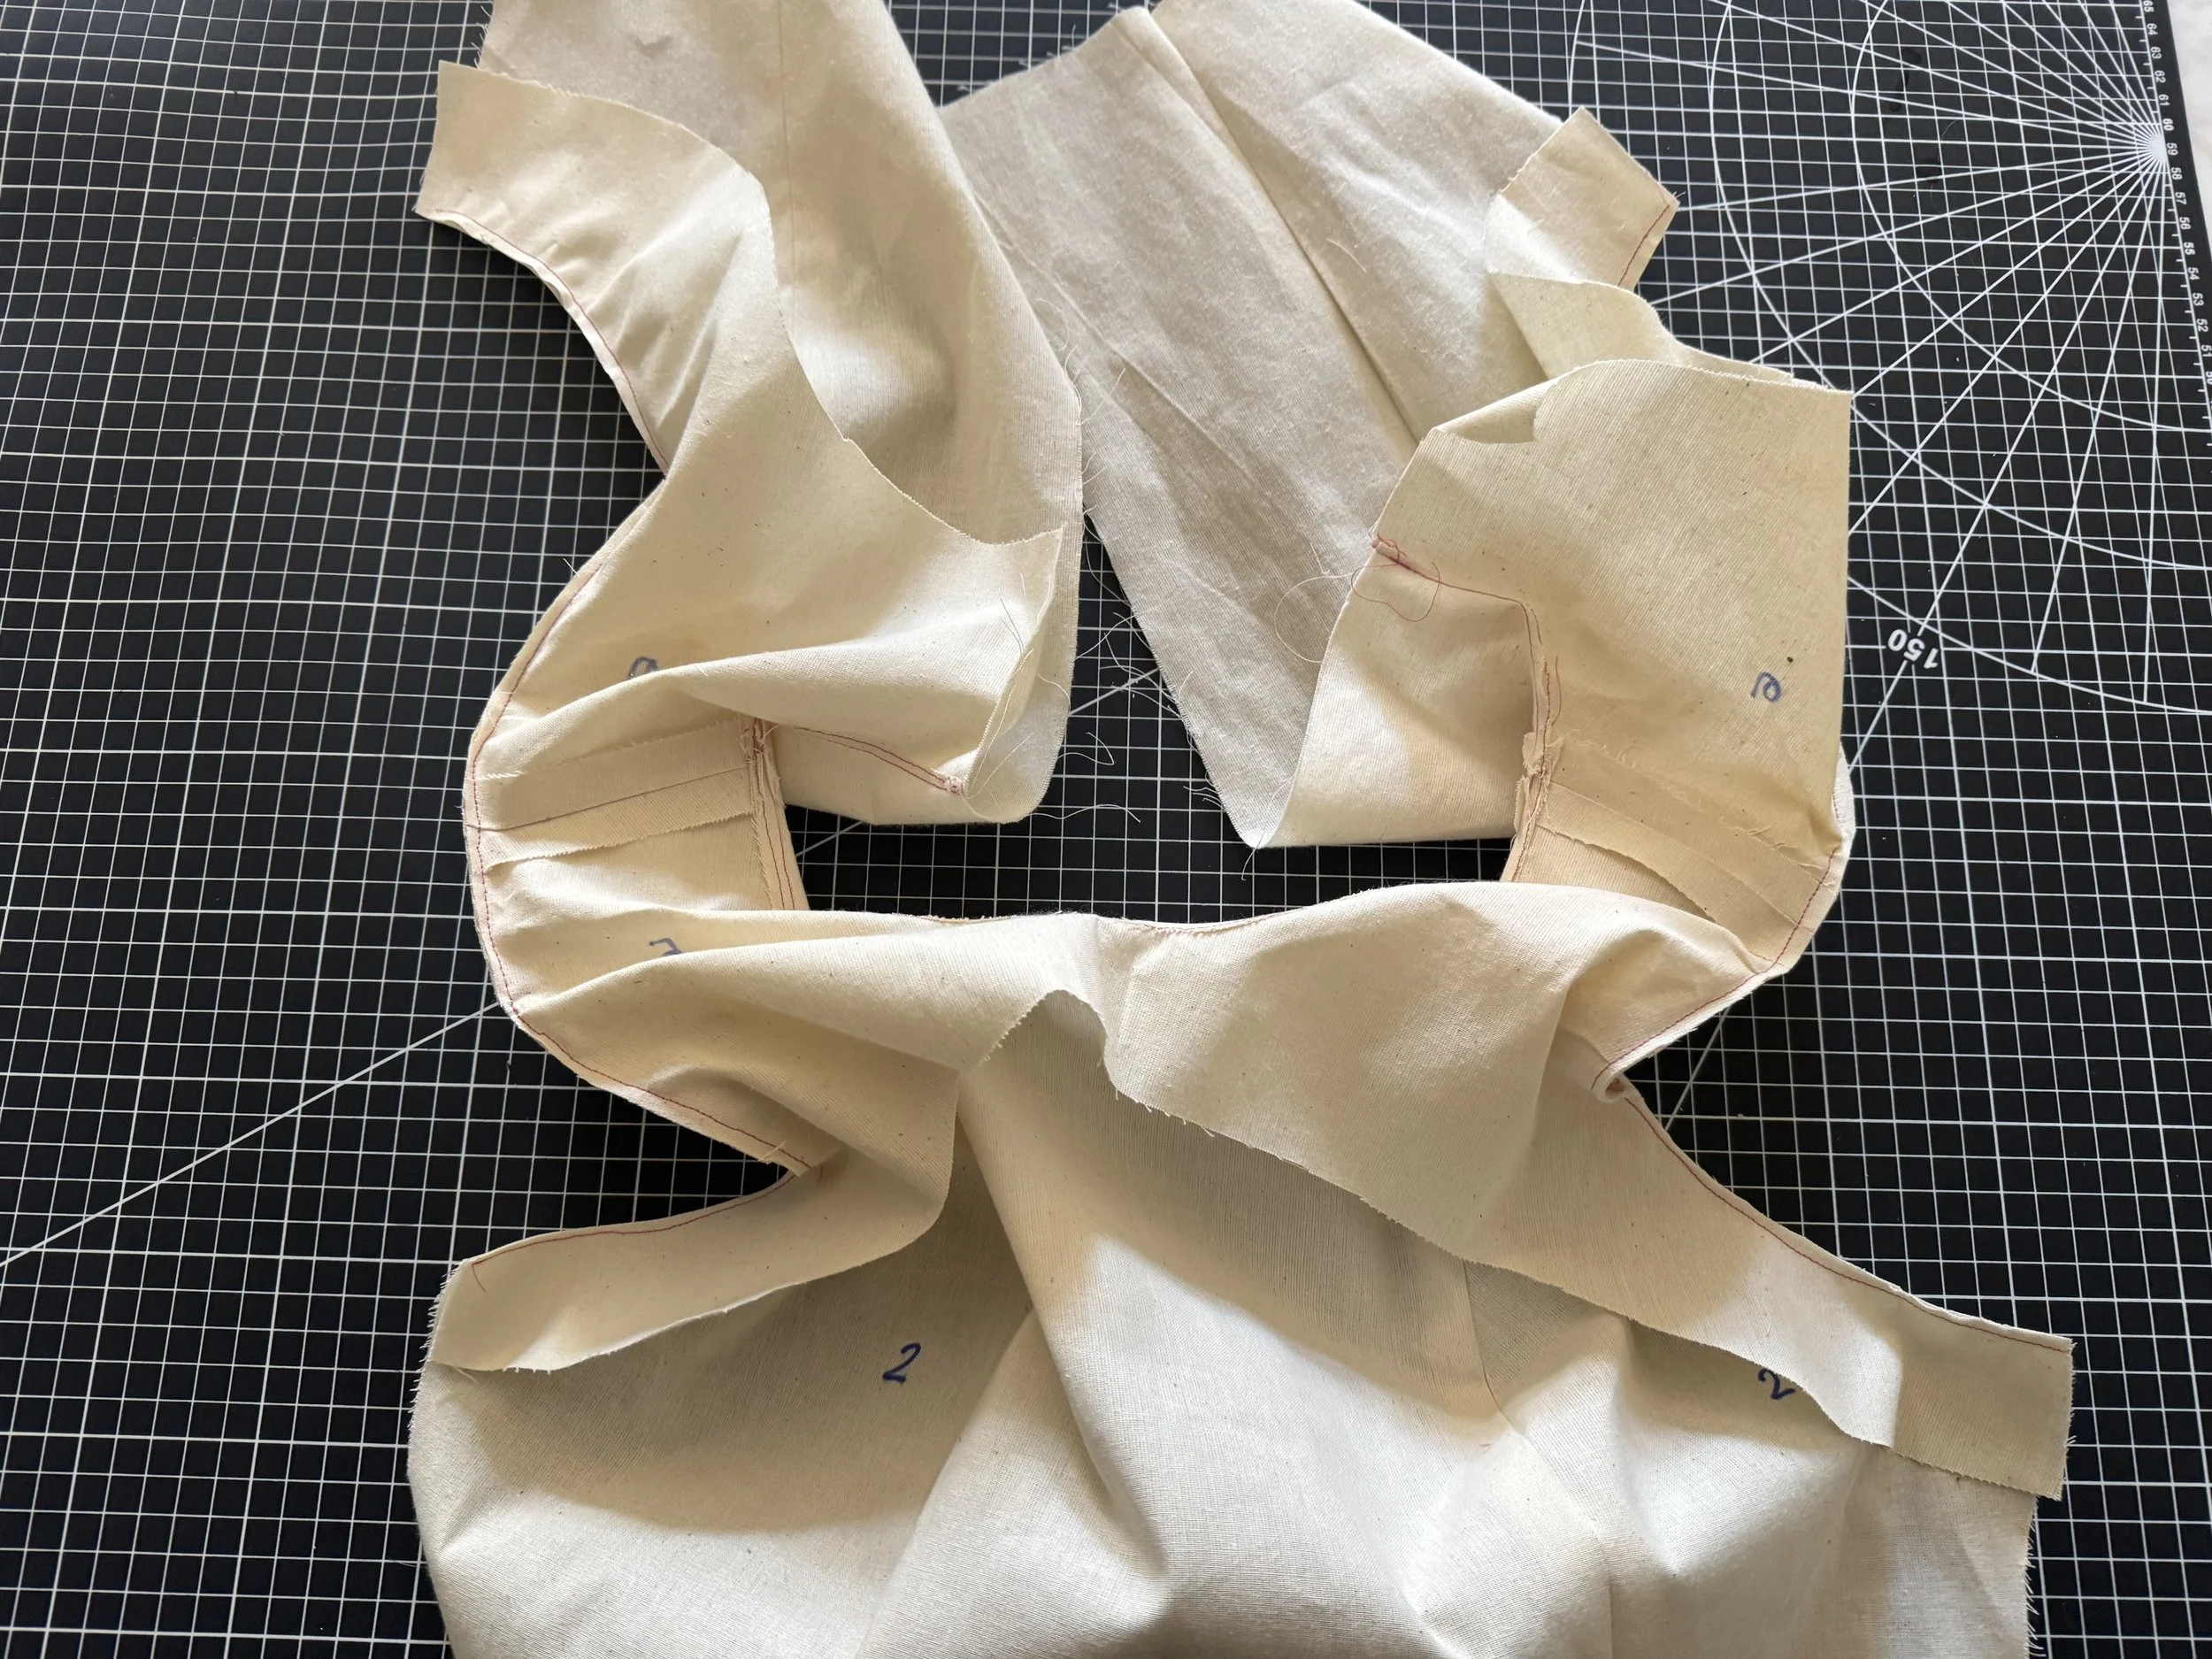
Lay your bodice right side up. The front should be closer to you, the back further away.
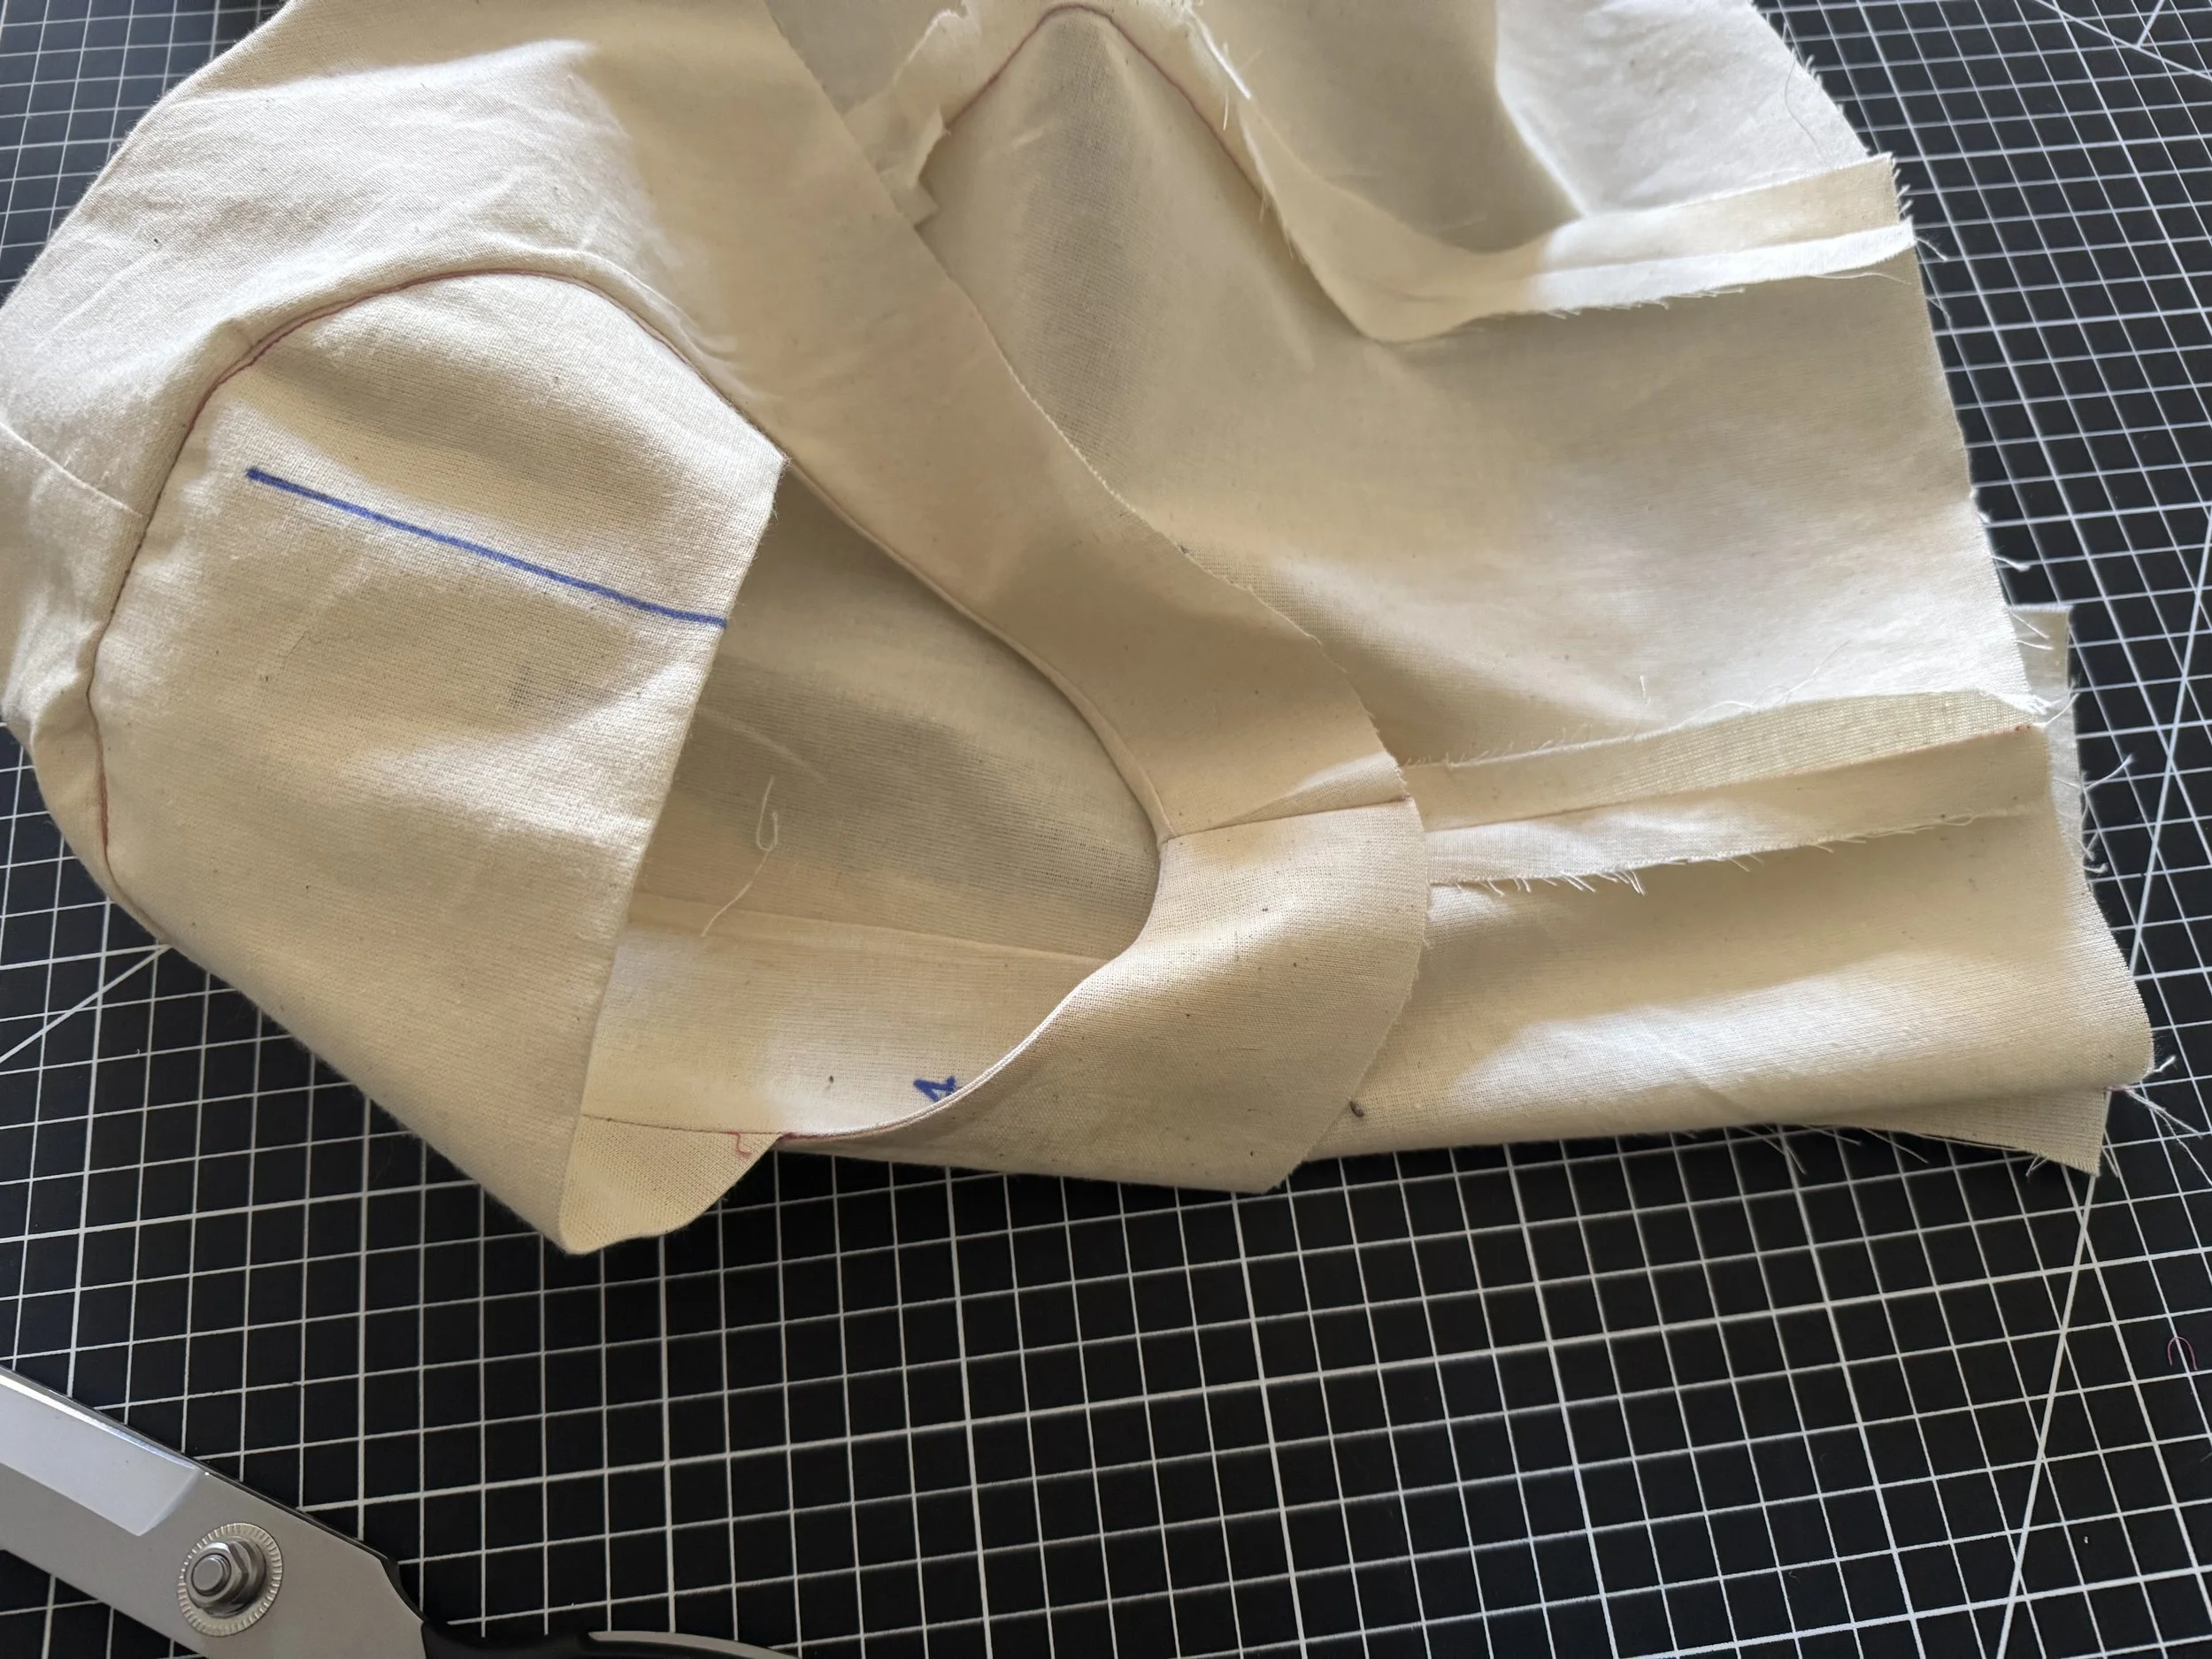
Hold the back panel, bringing it up towards you and feed it through the armseye tube pulling the back panel towards you.
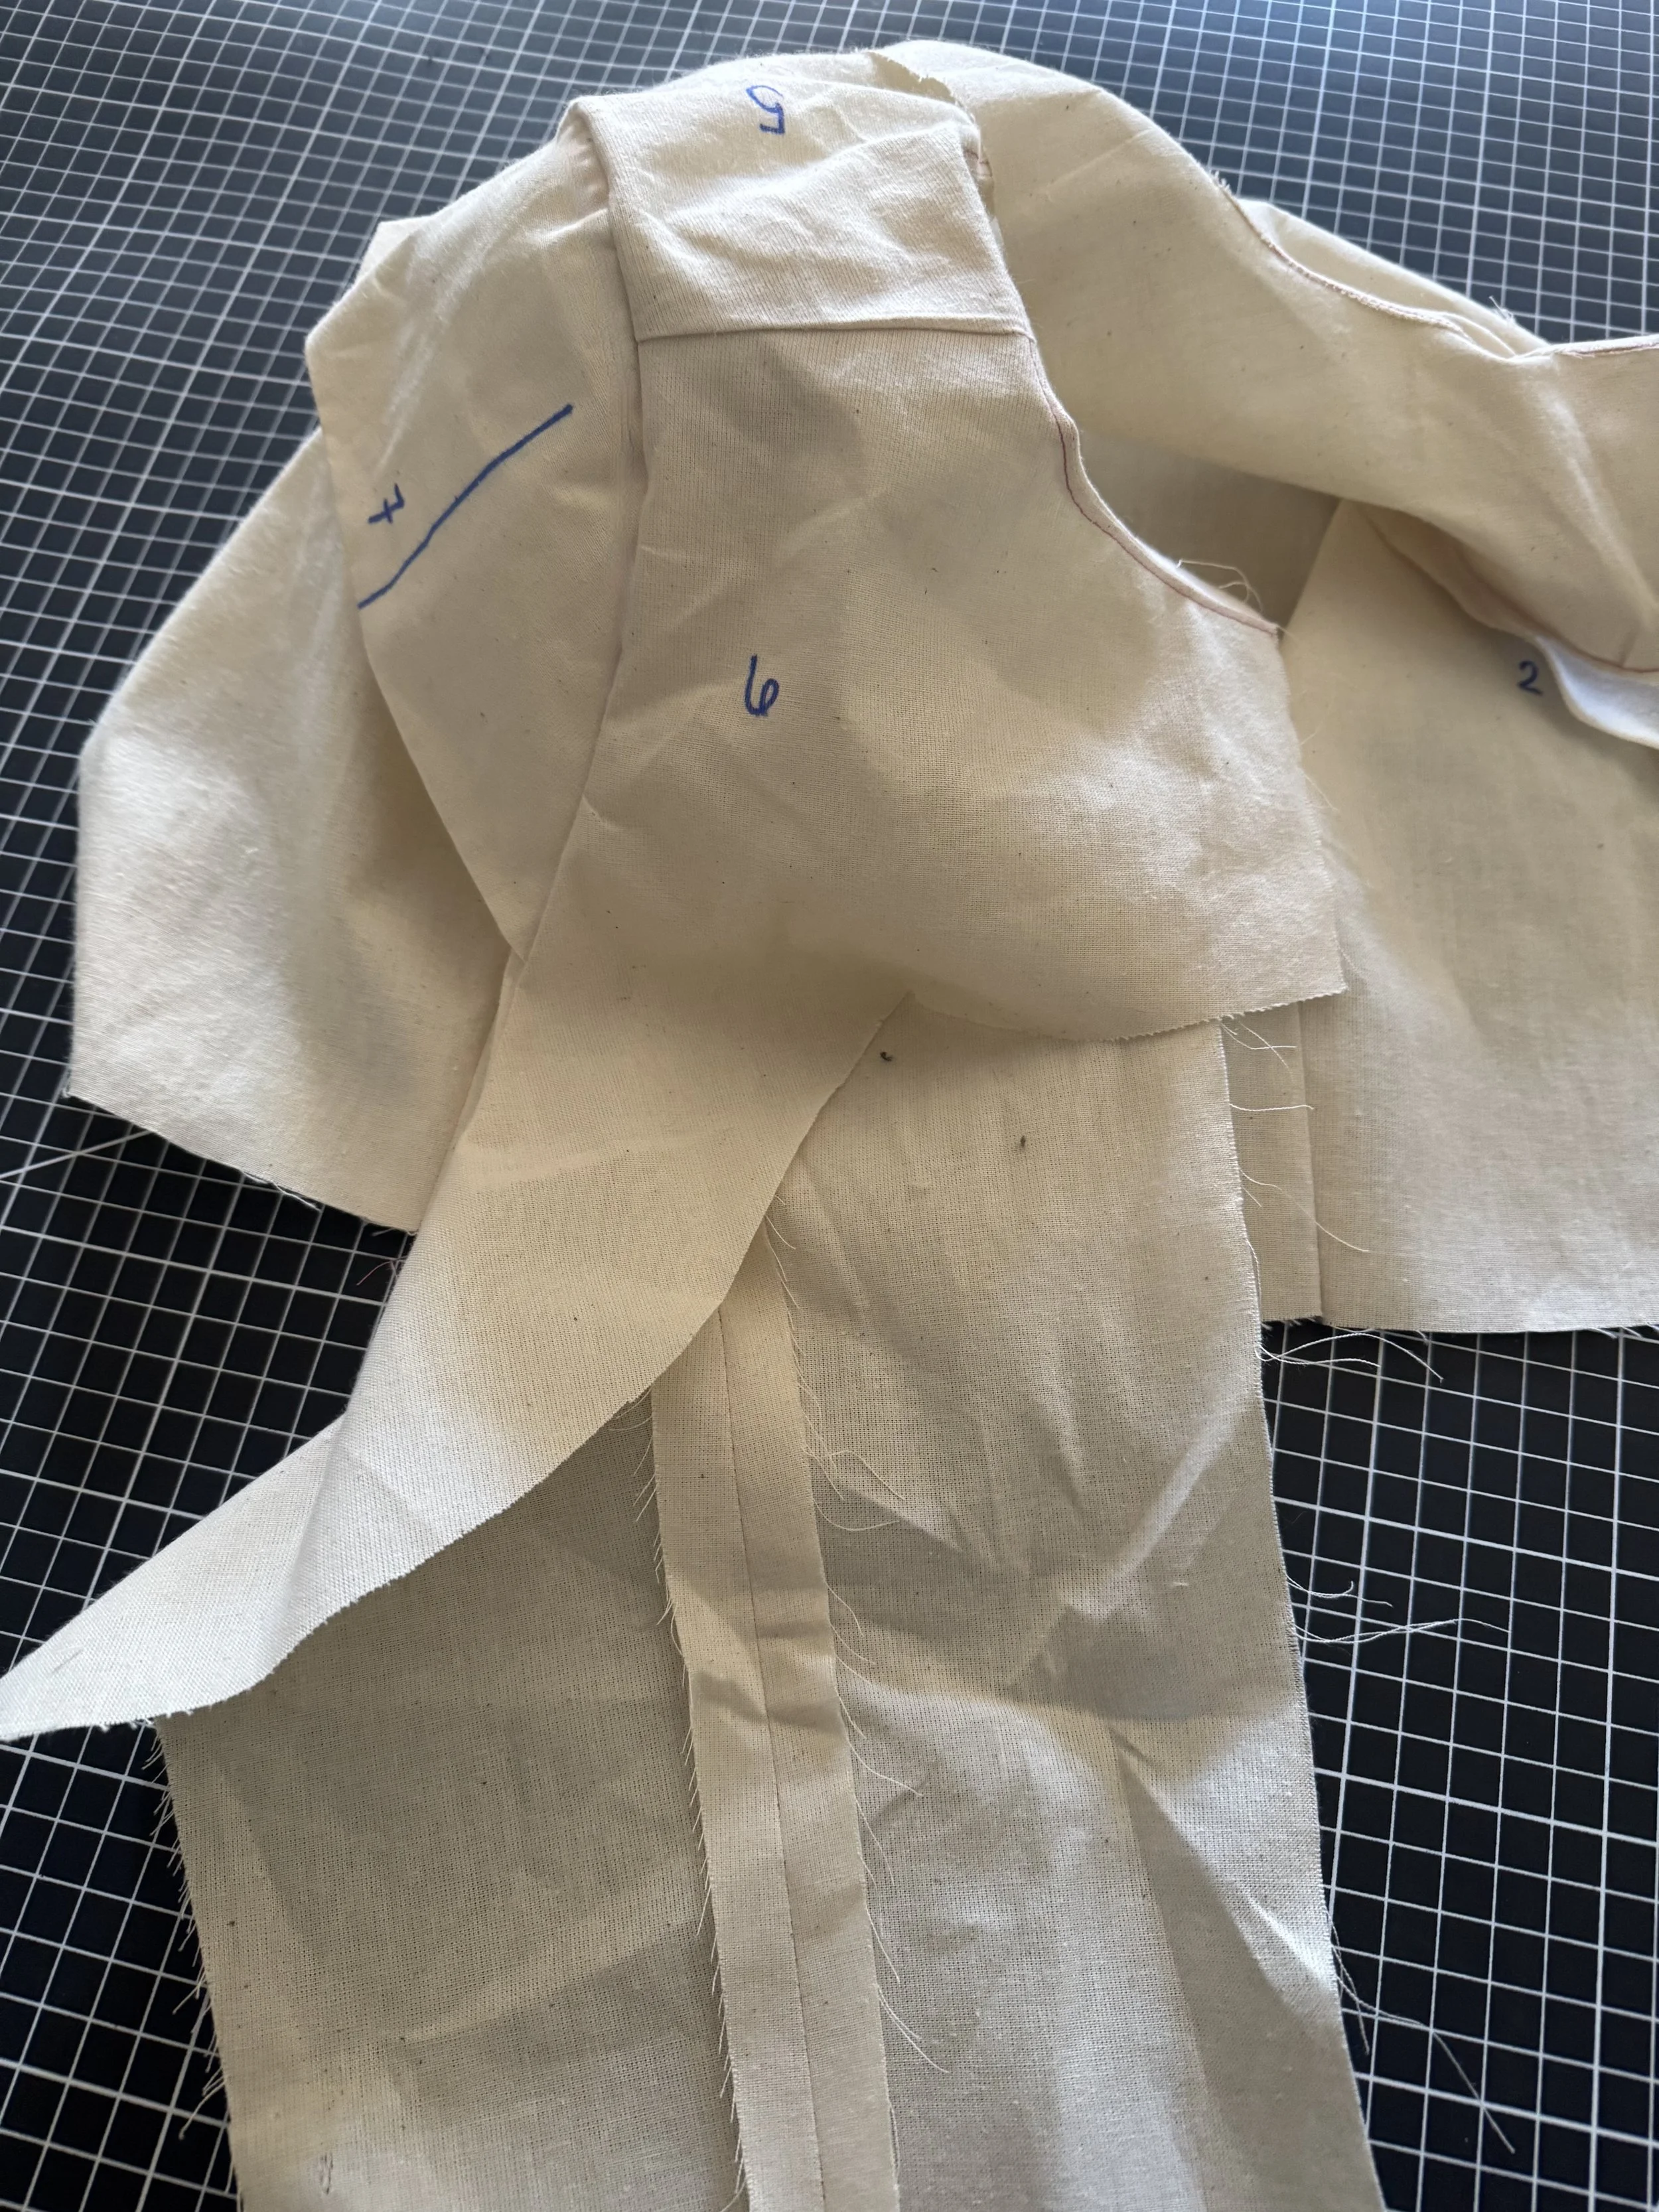
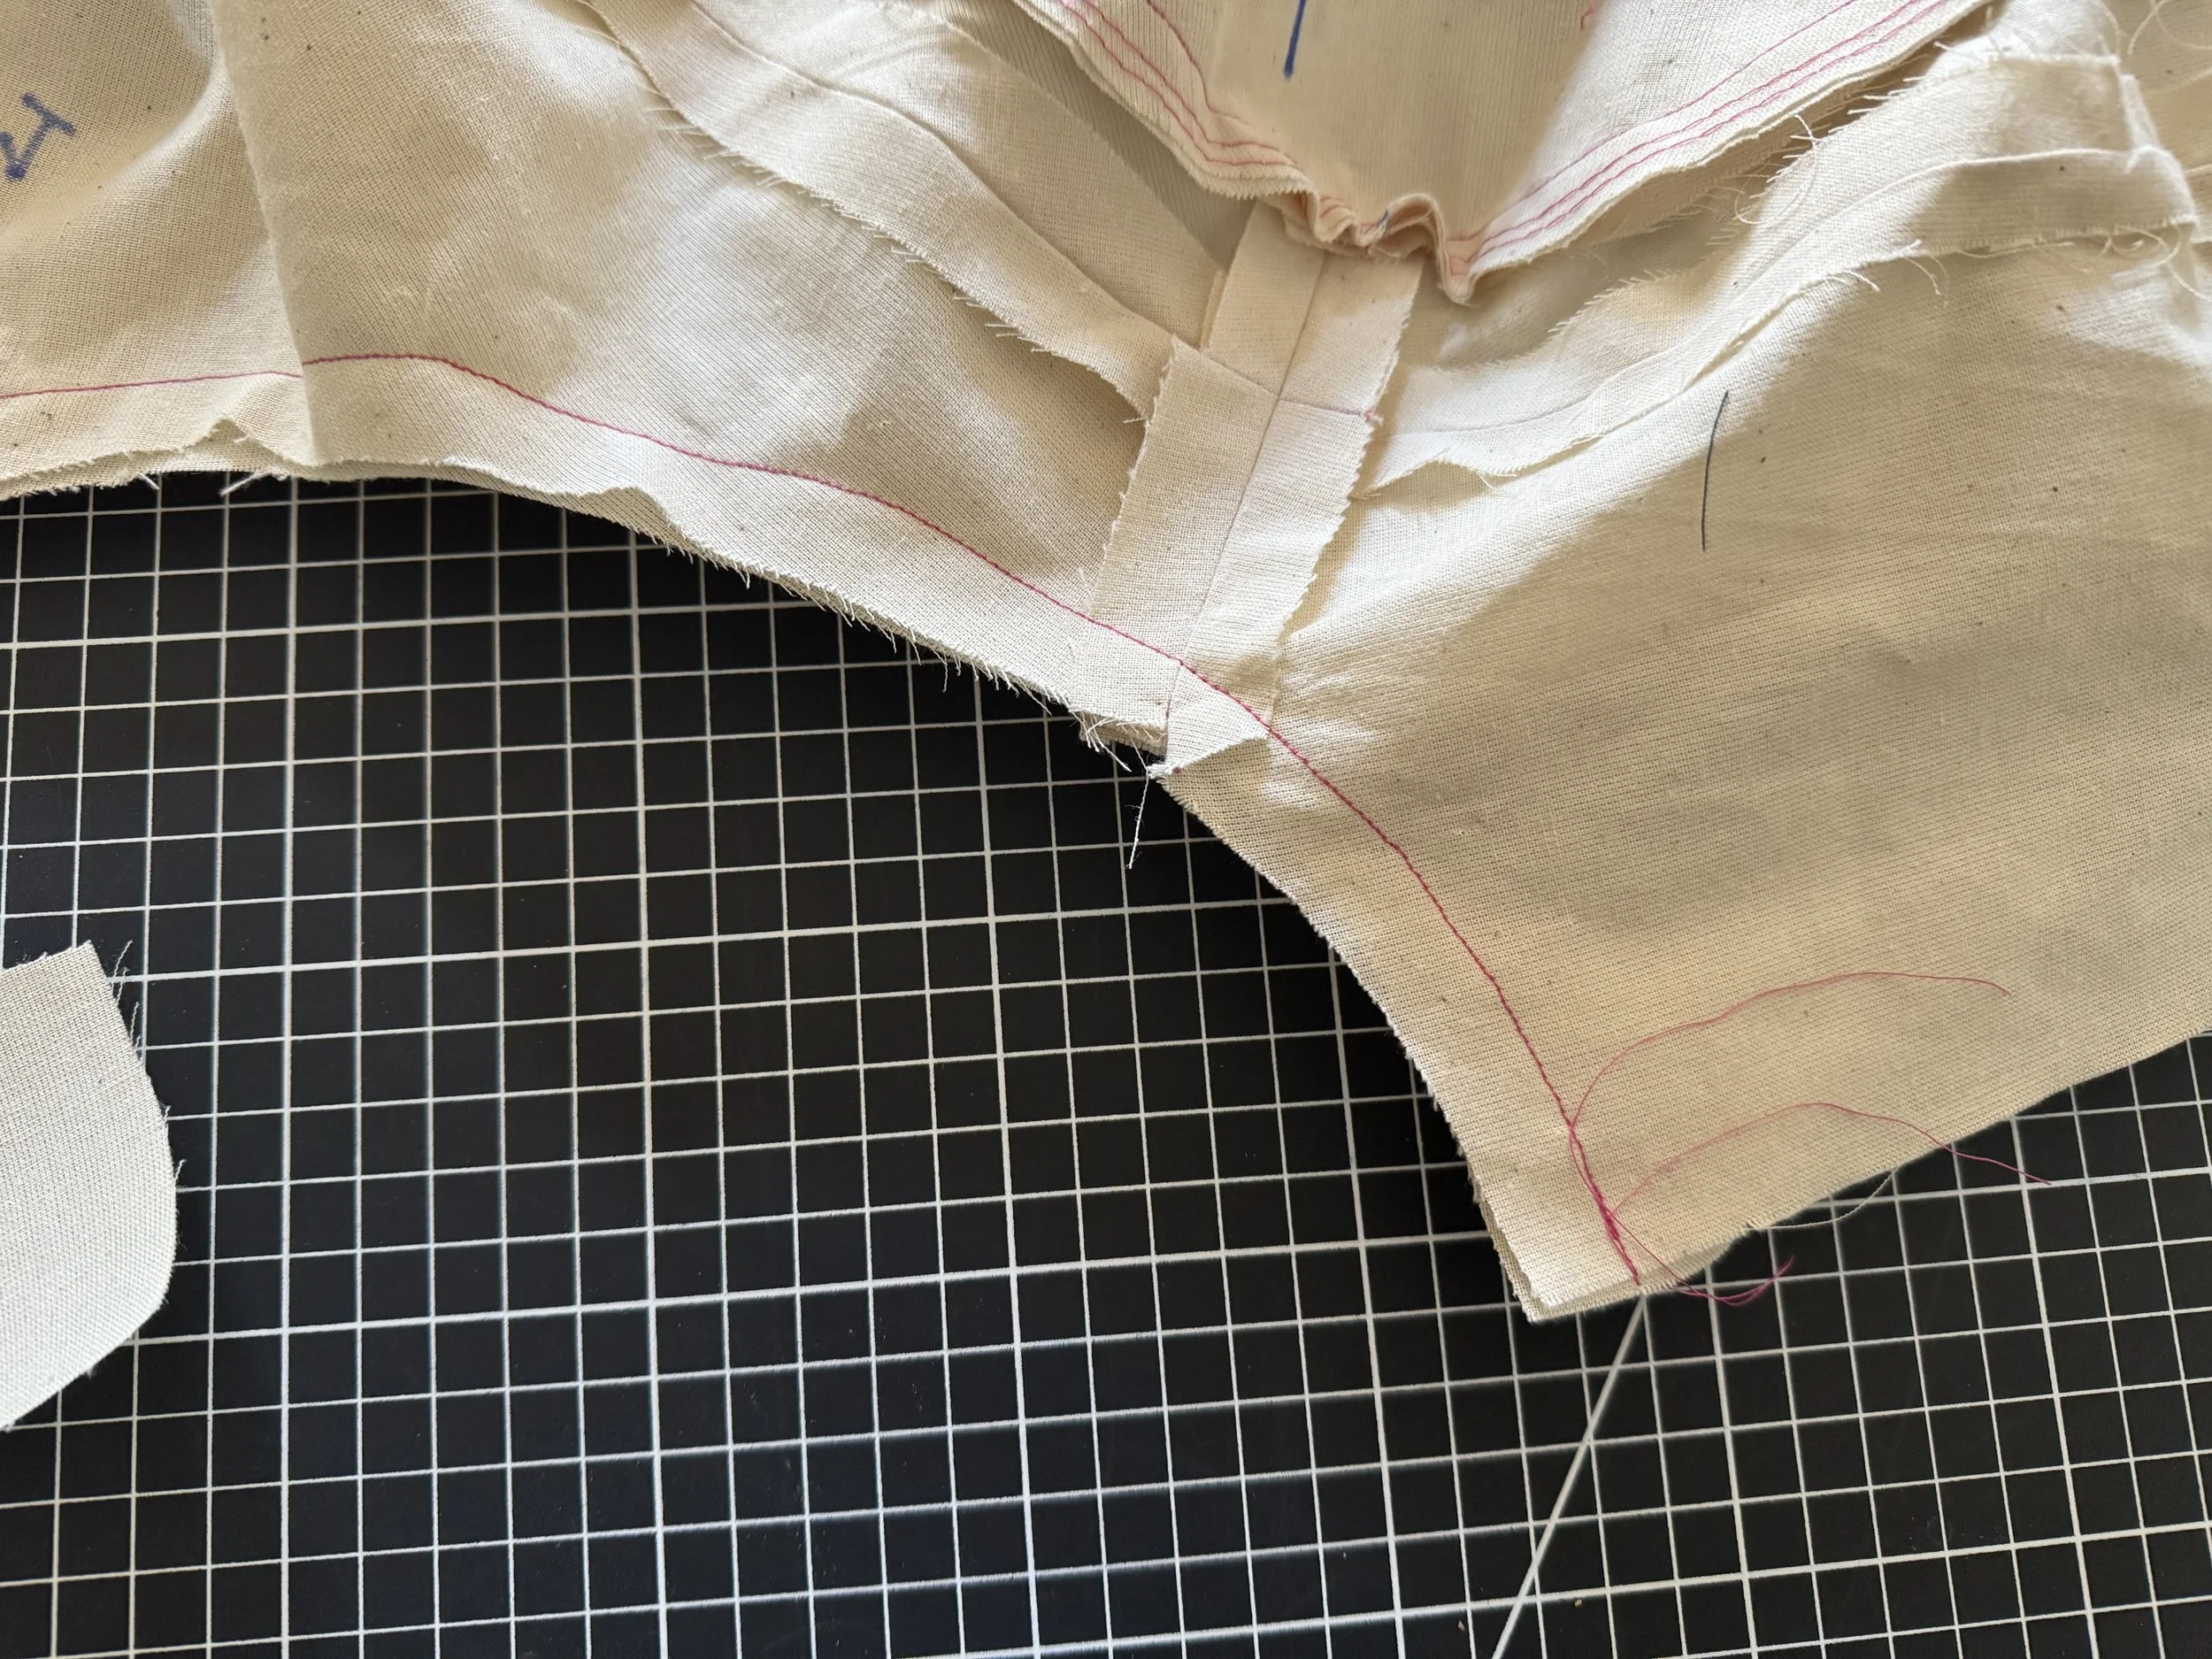
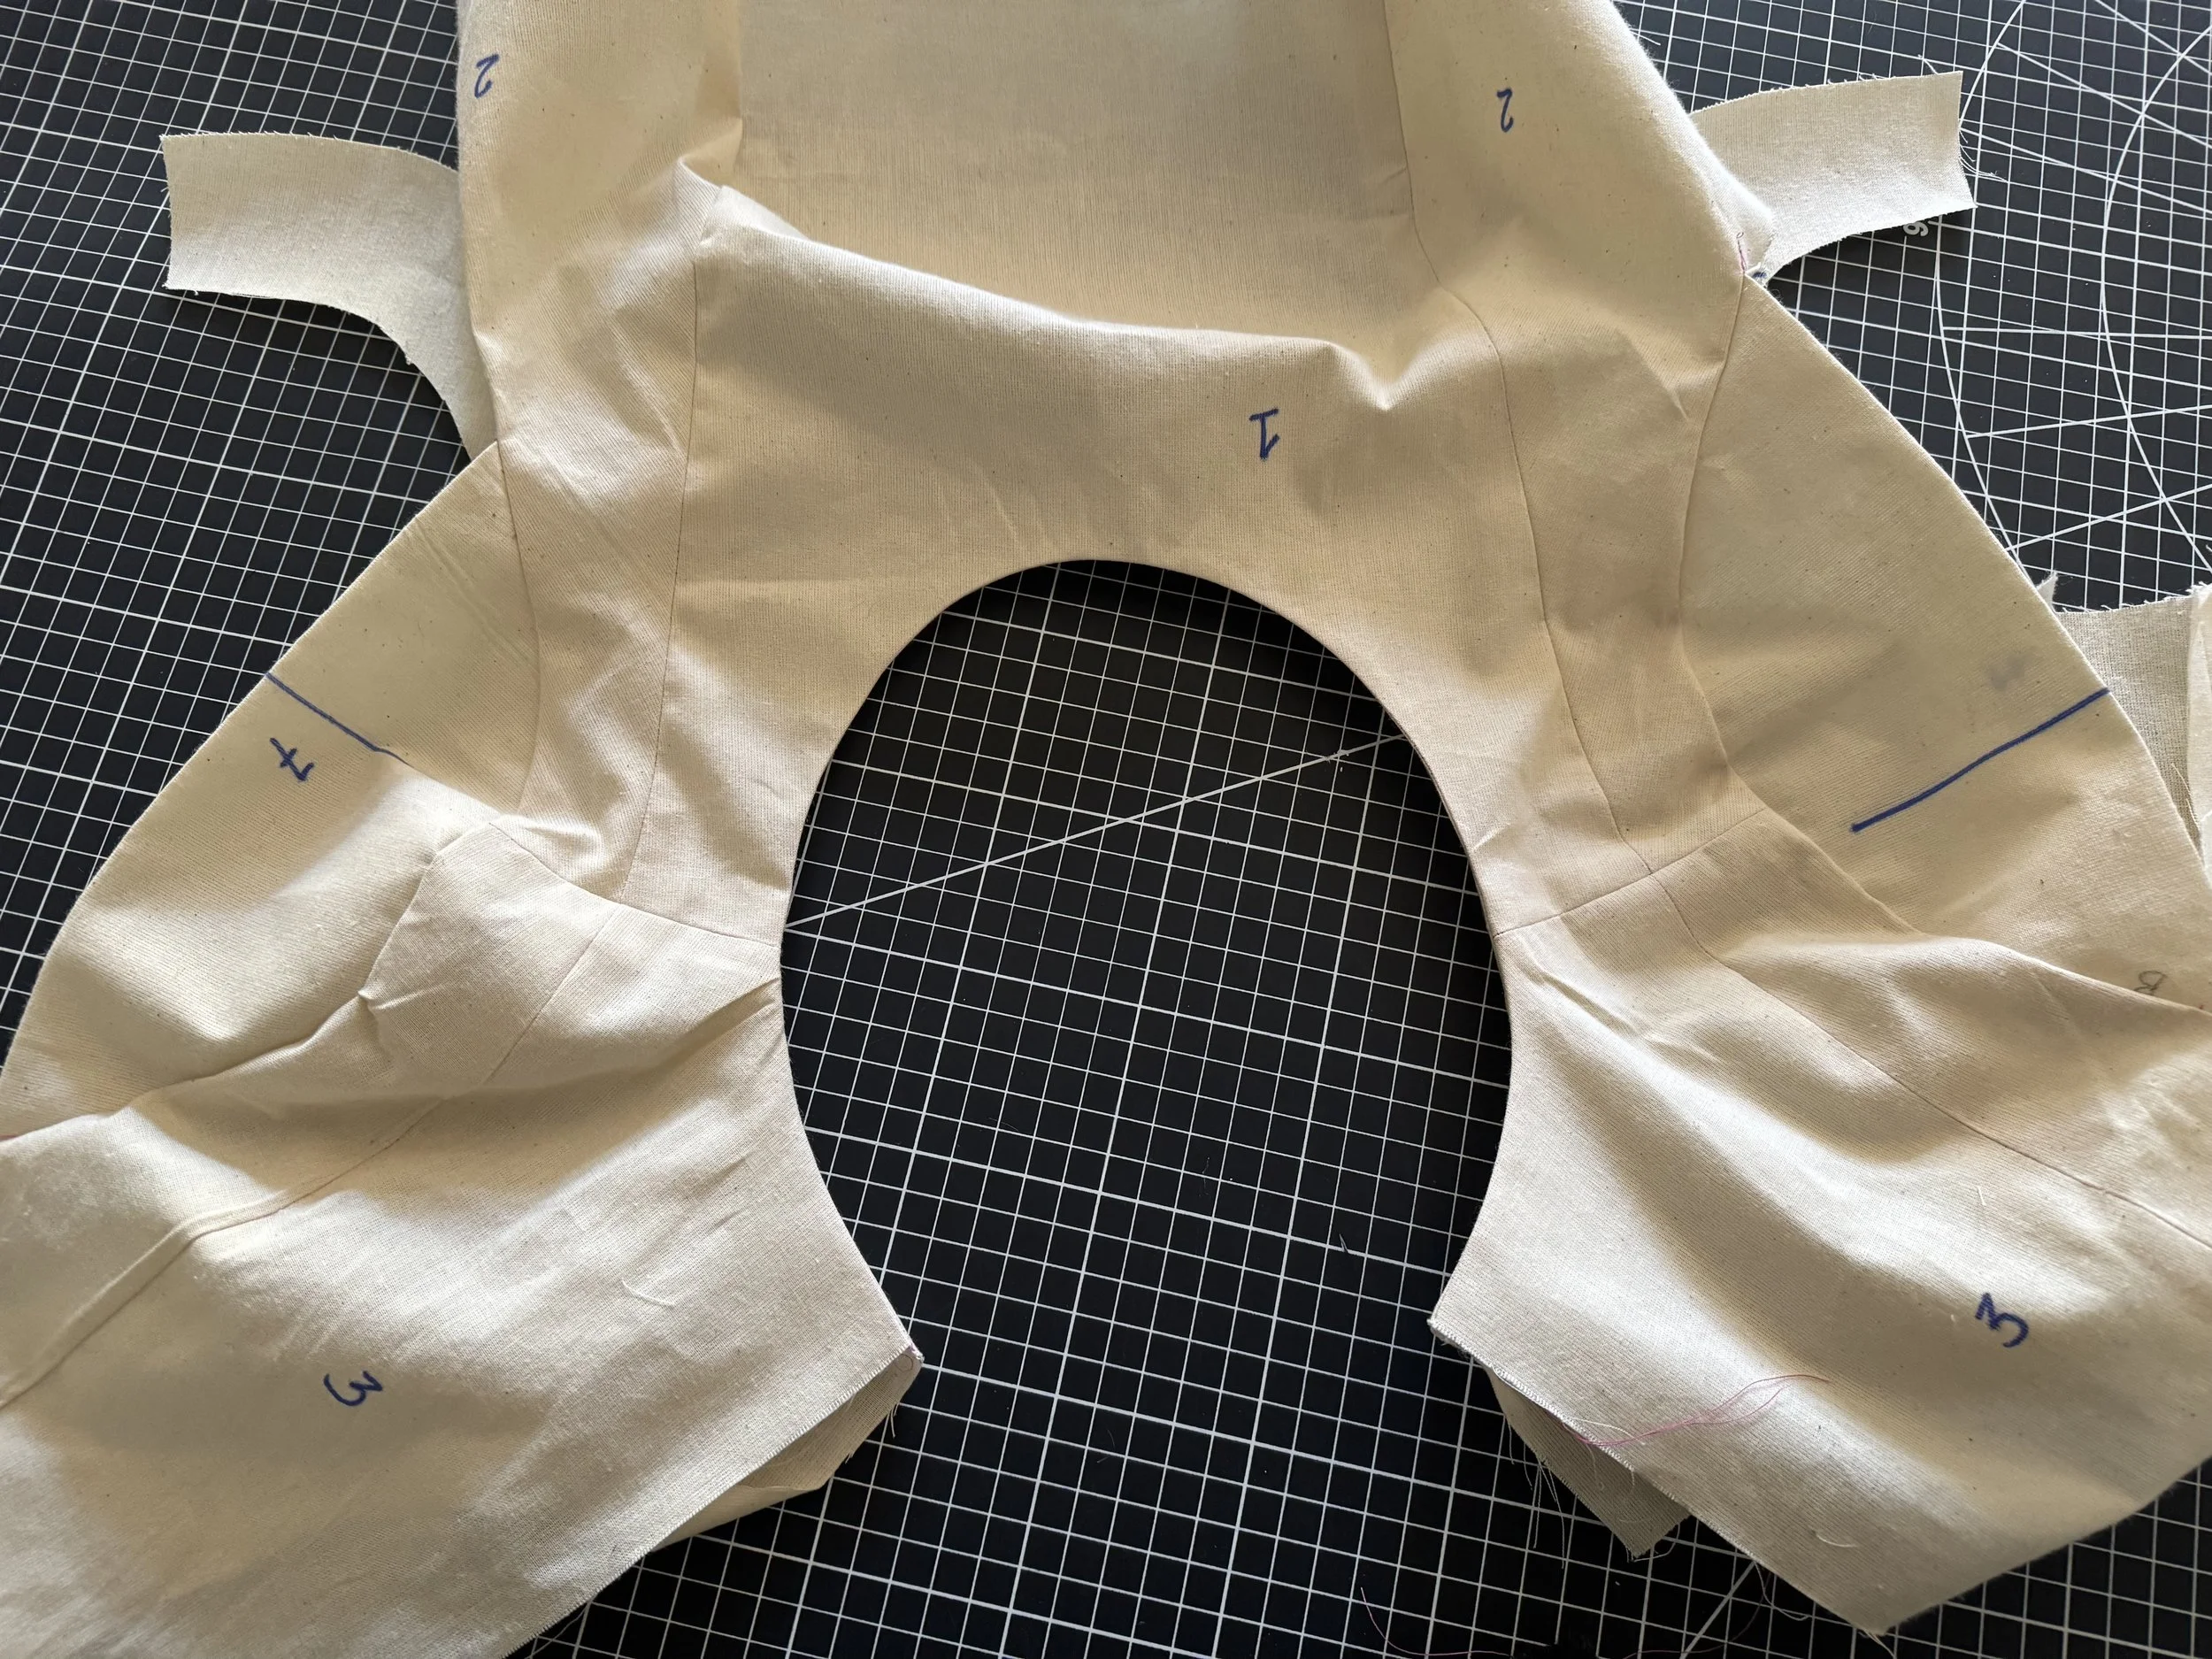
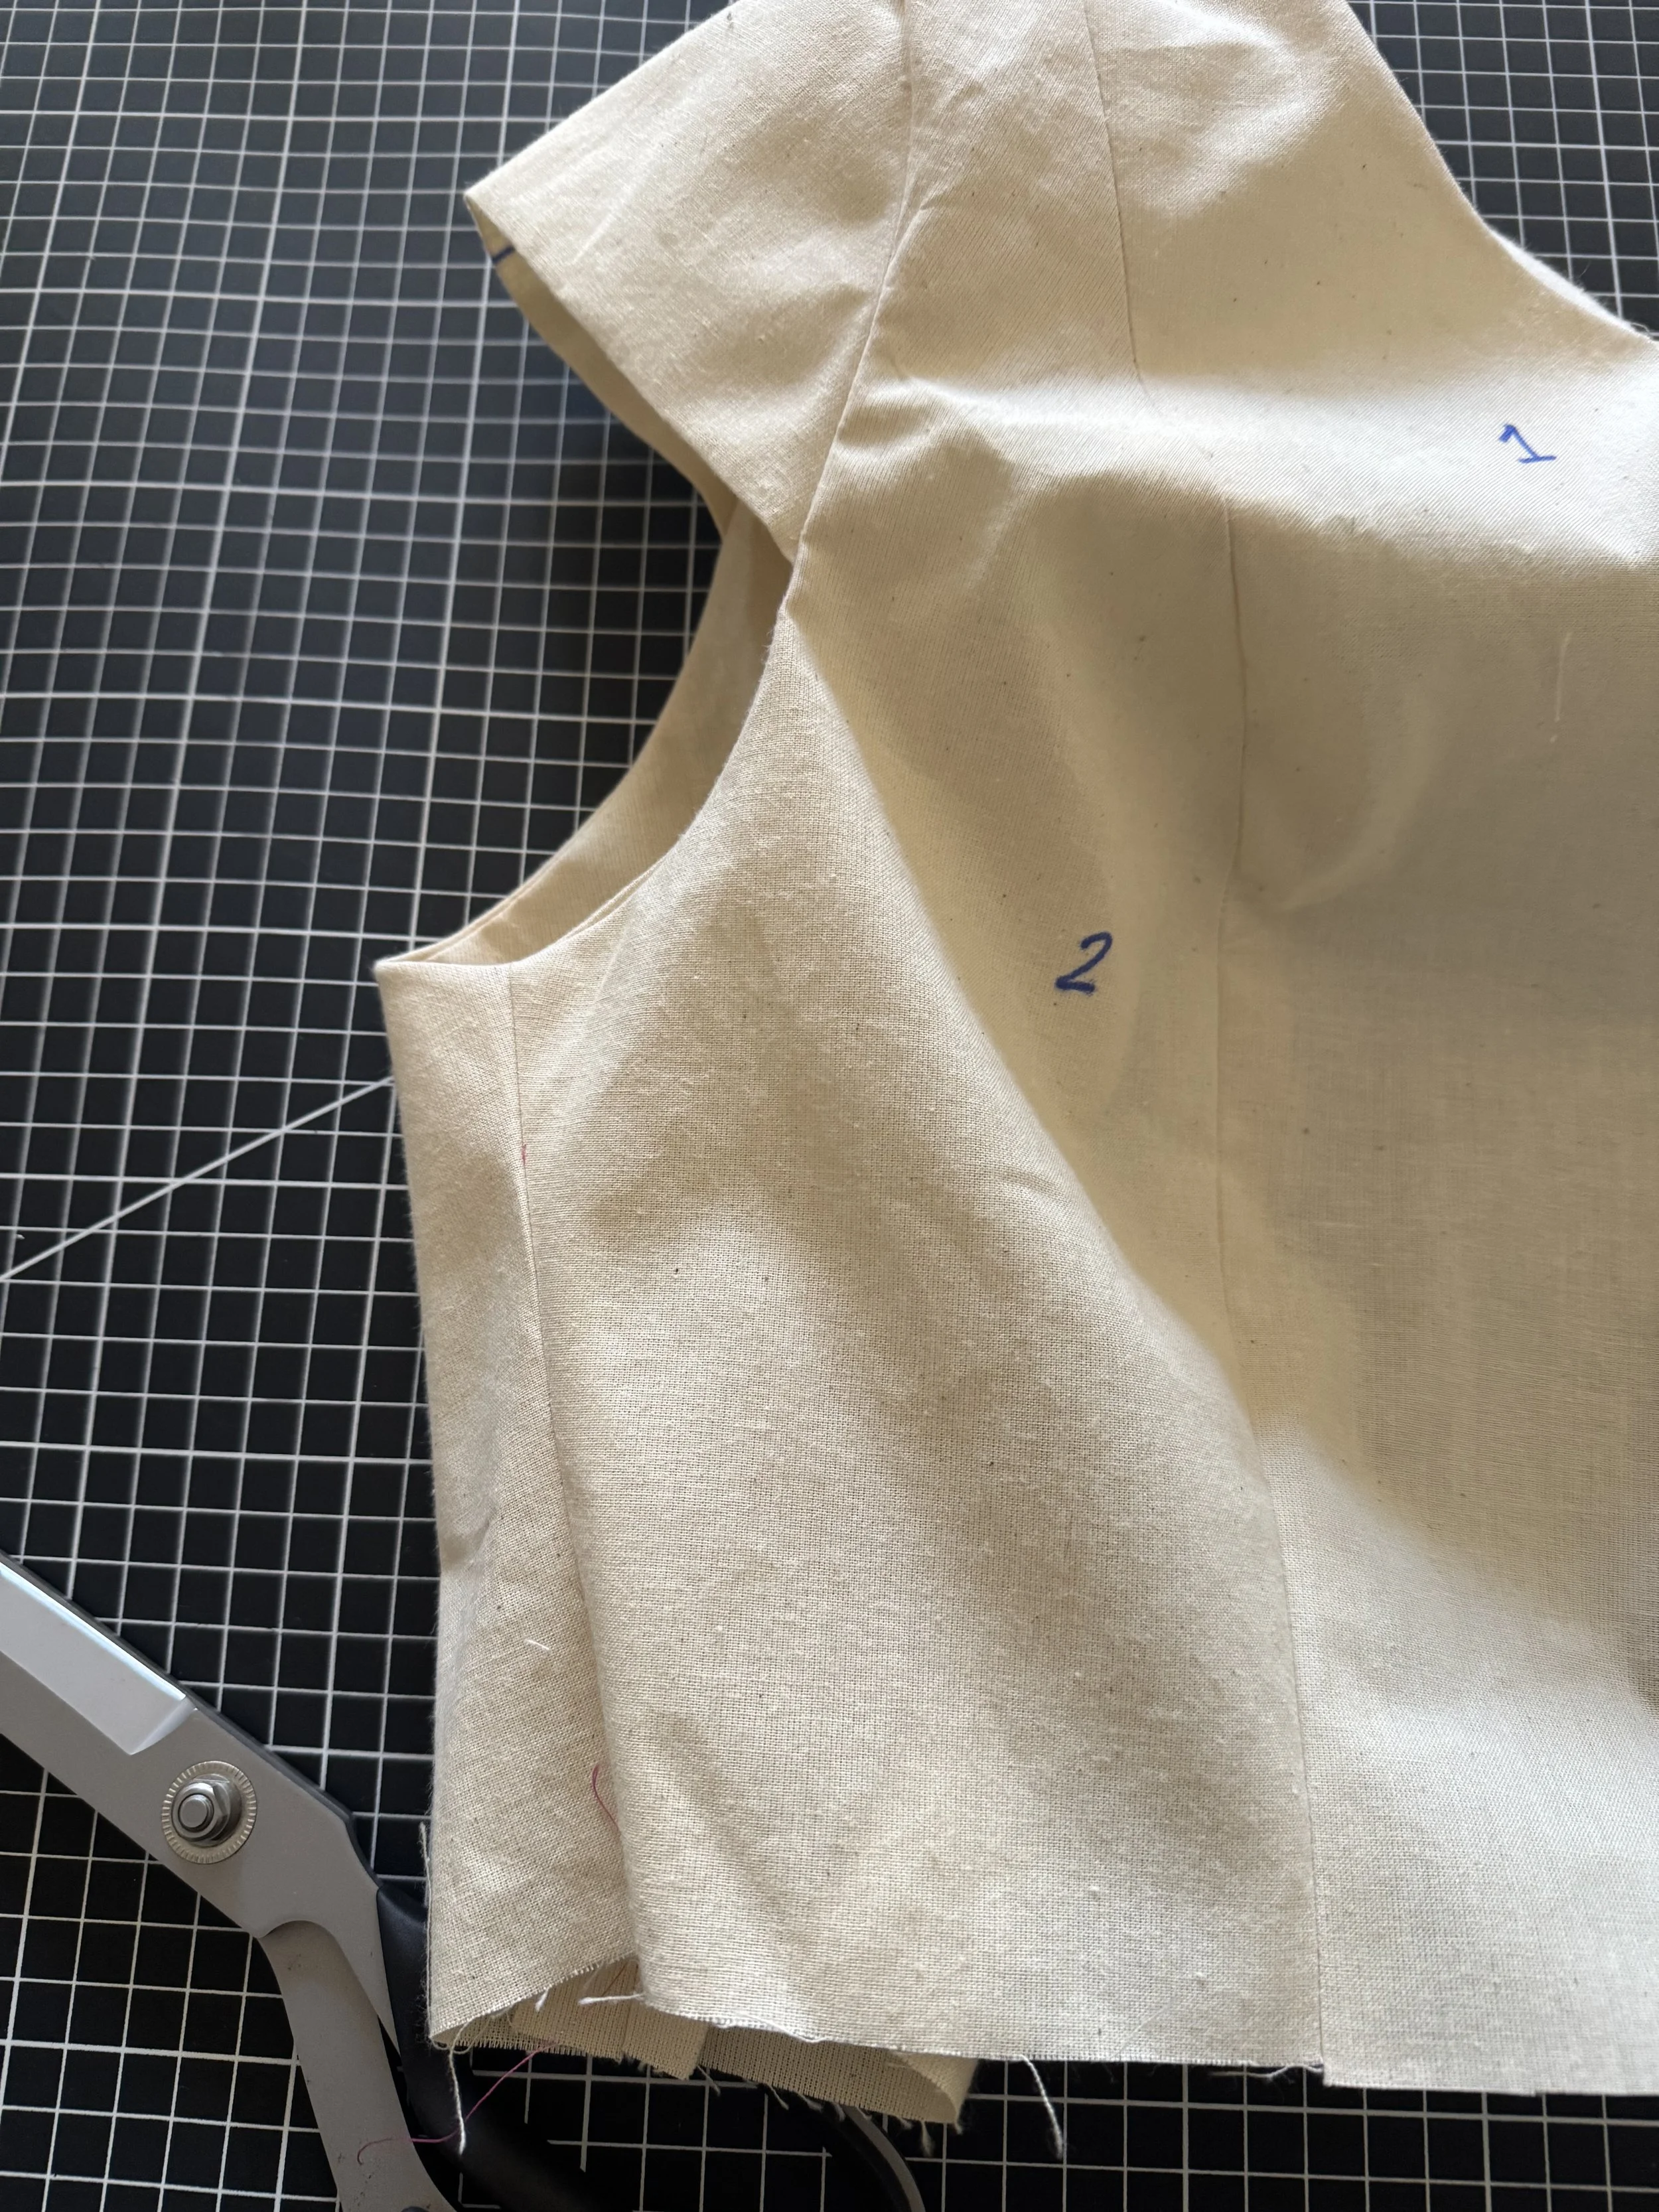
It should now look like this, creased but with the neckline and armseye fully closed.
Understitching the armseye is possible, you will do four passes - fronts to the sleeve, and backs to sleeve. If the bodice is sleeveless, you can get further to the shoulder seam but not all the way around.
I usually pick stitch this section, as it is very difficult to get the areas open enough to fit through the machine. I’ll create a quick tutorial.
Next up: Side seams
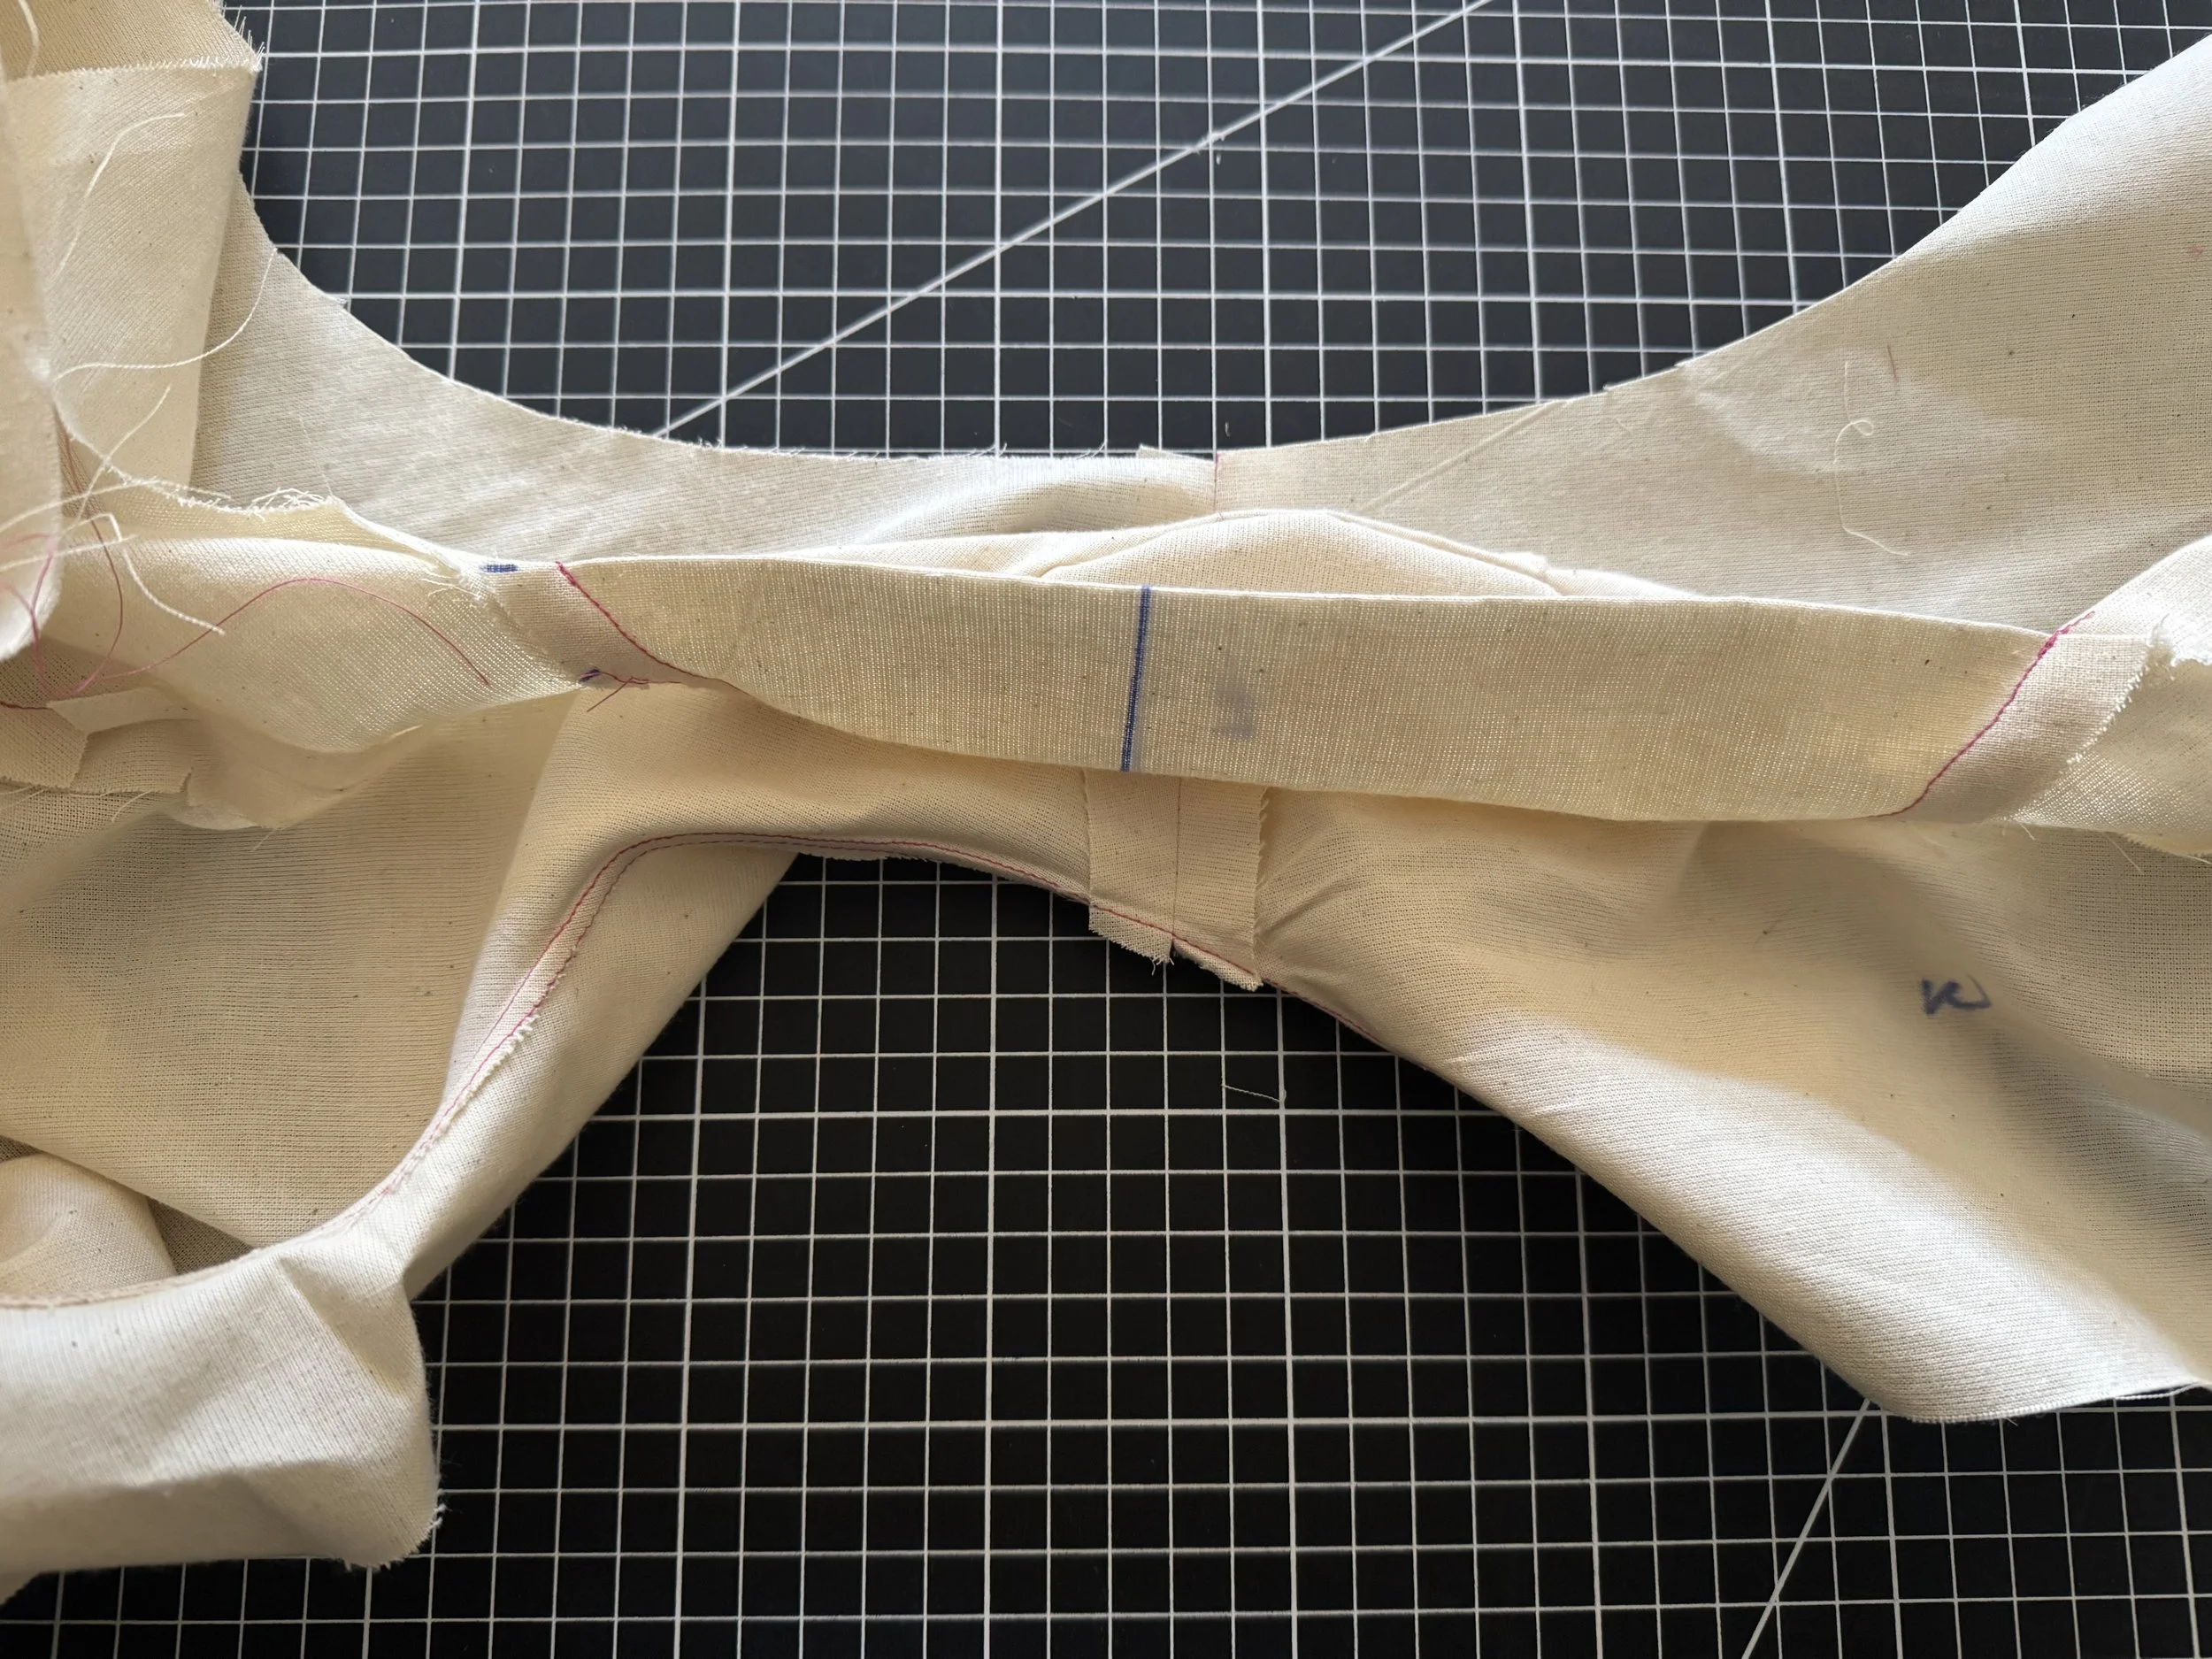
To close the side seams, open the facing and match the seam. Pin from top to bottom.
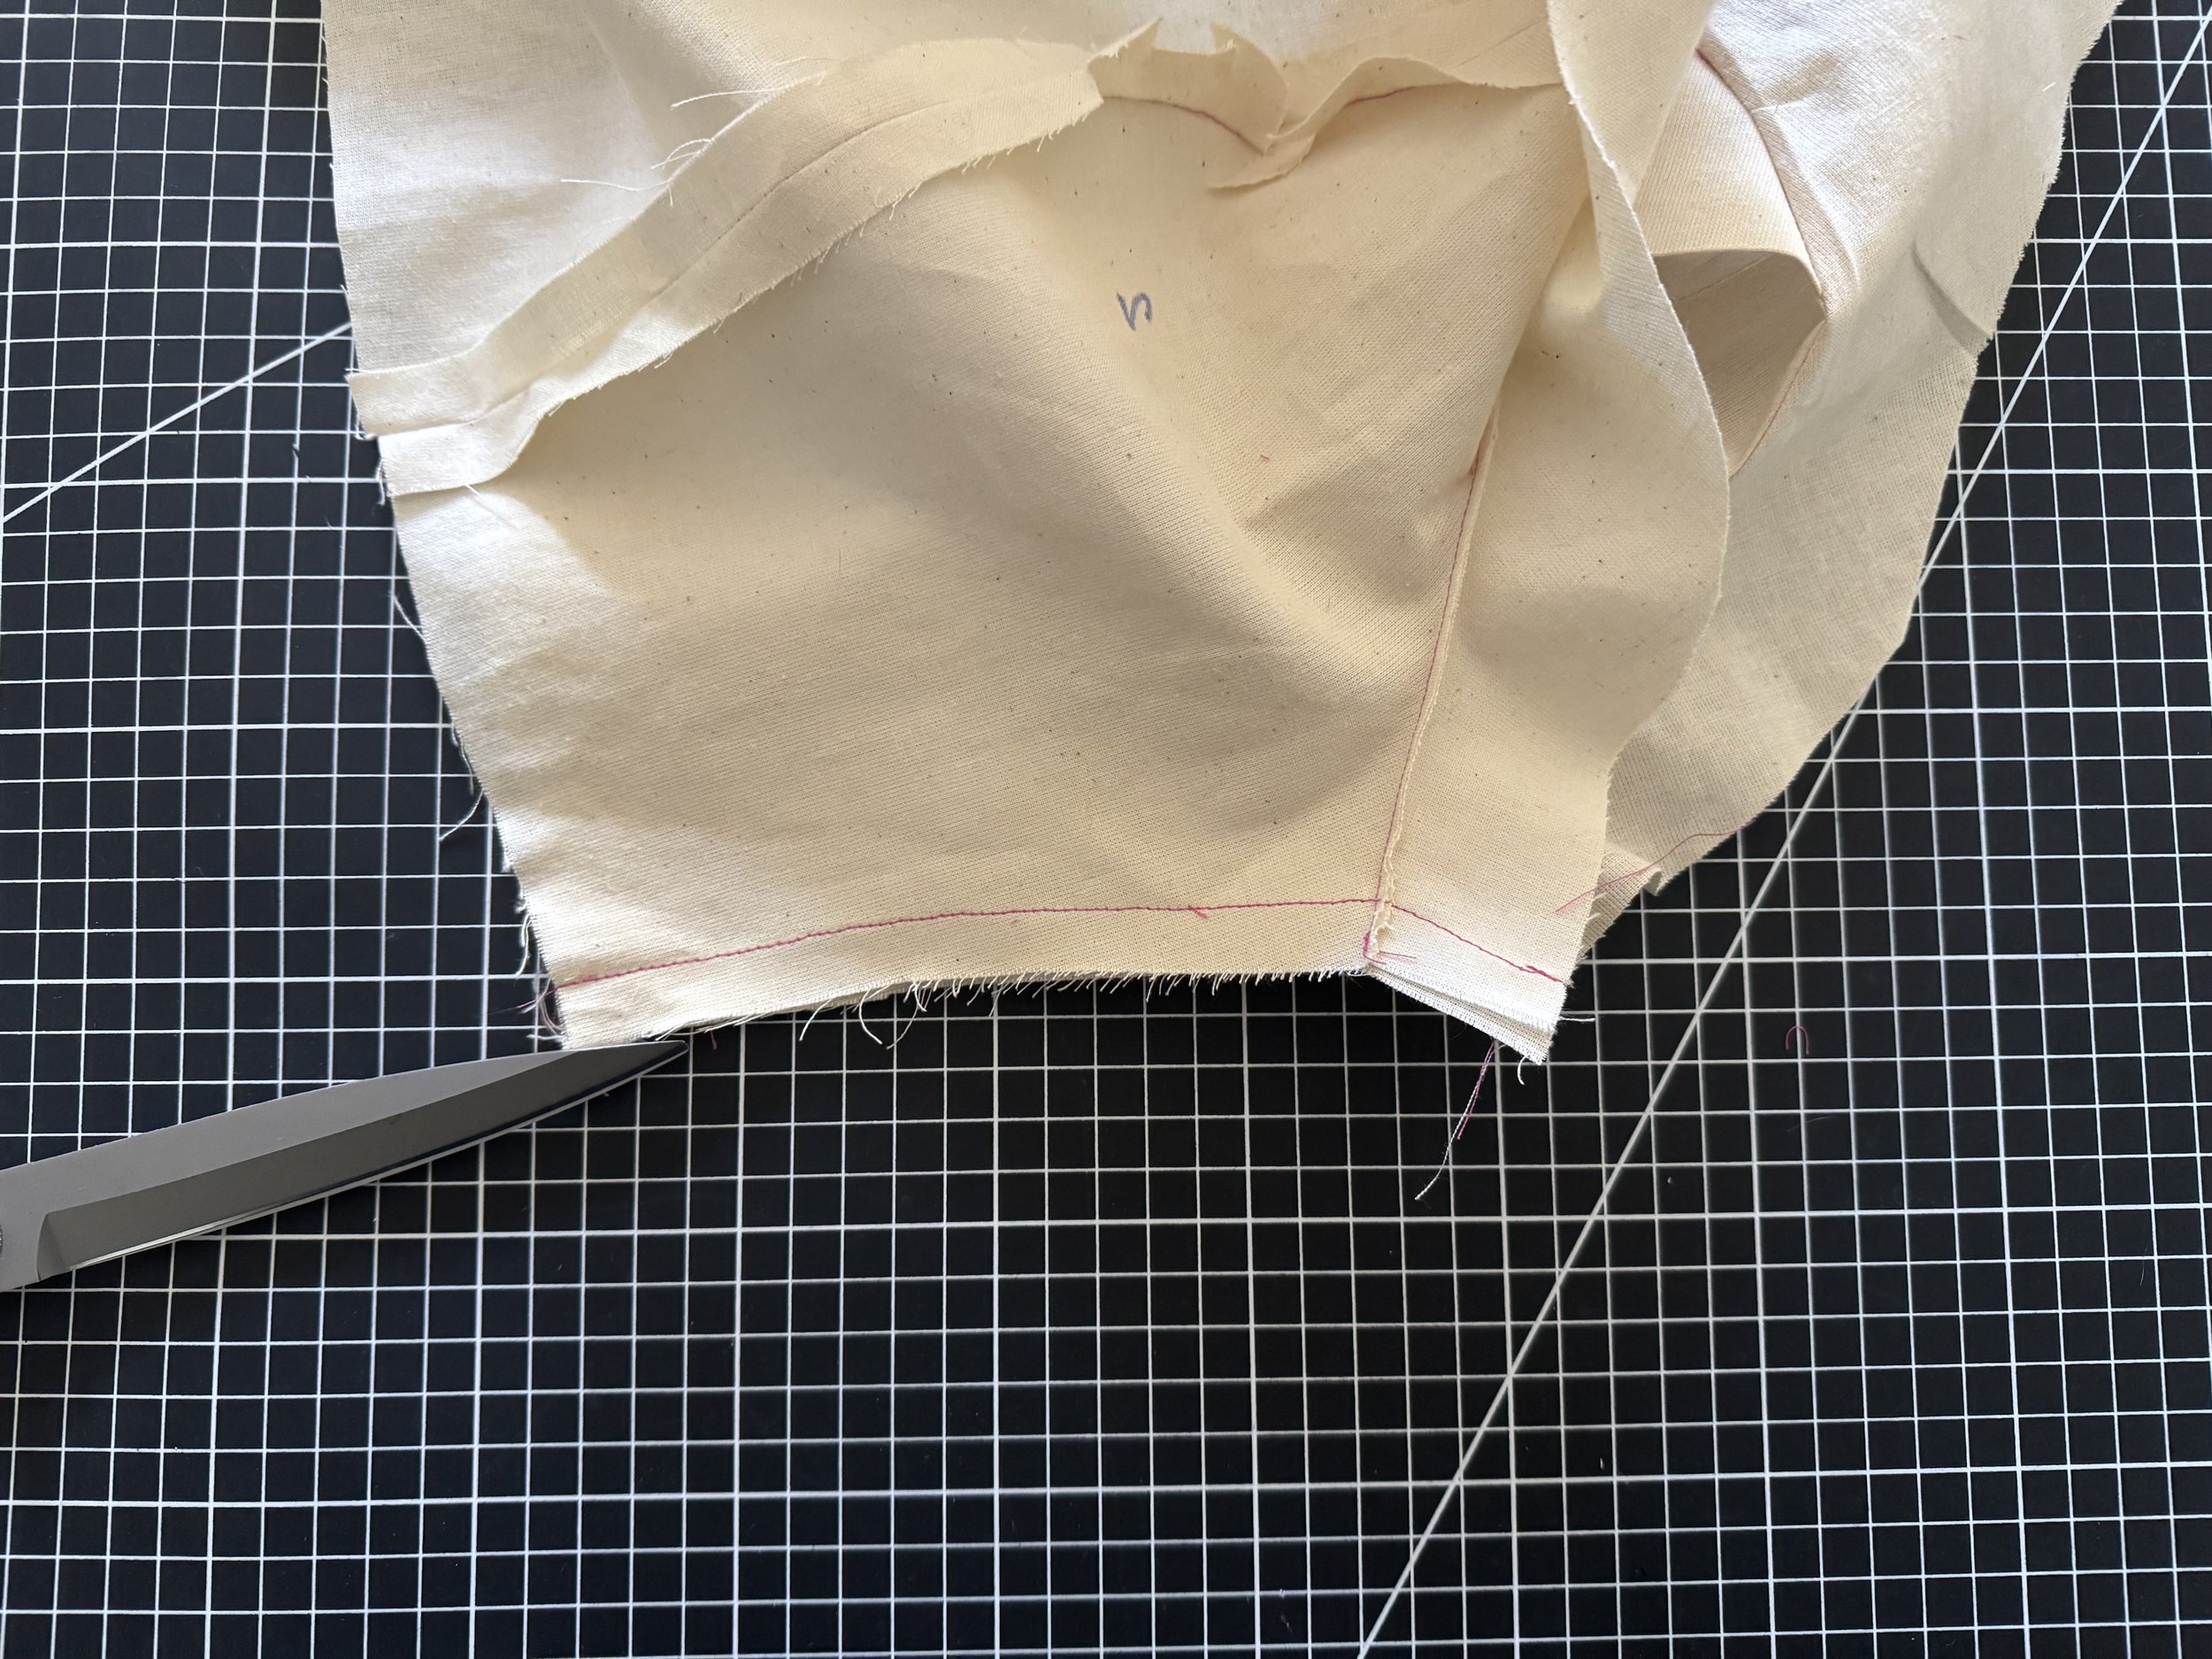
Sew using a 5/8” seam allowance
To hold the facing at the side seam, I’ll add a quick hand stitch - double thread in a matching colour.
Congratulations!