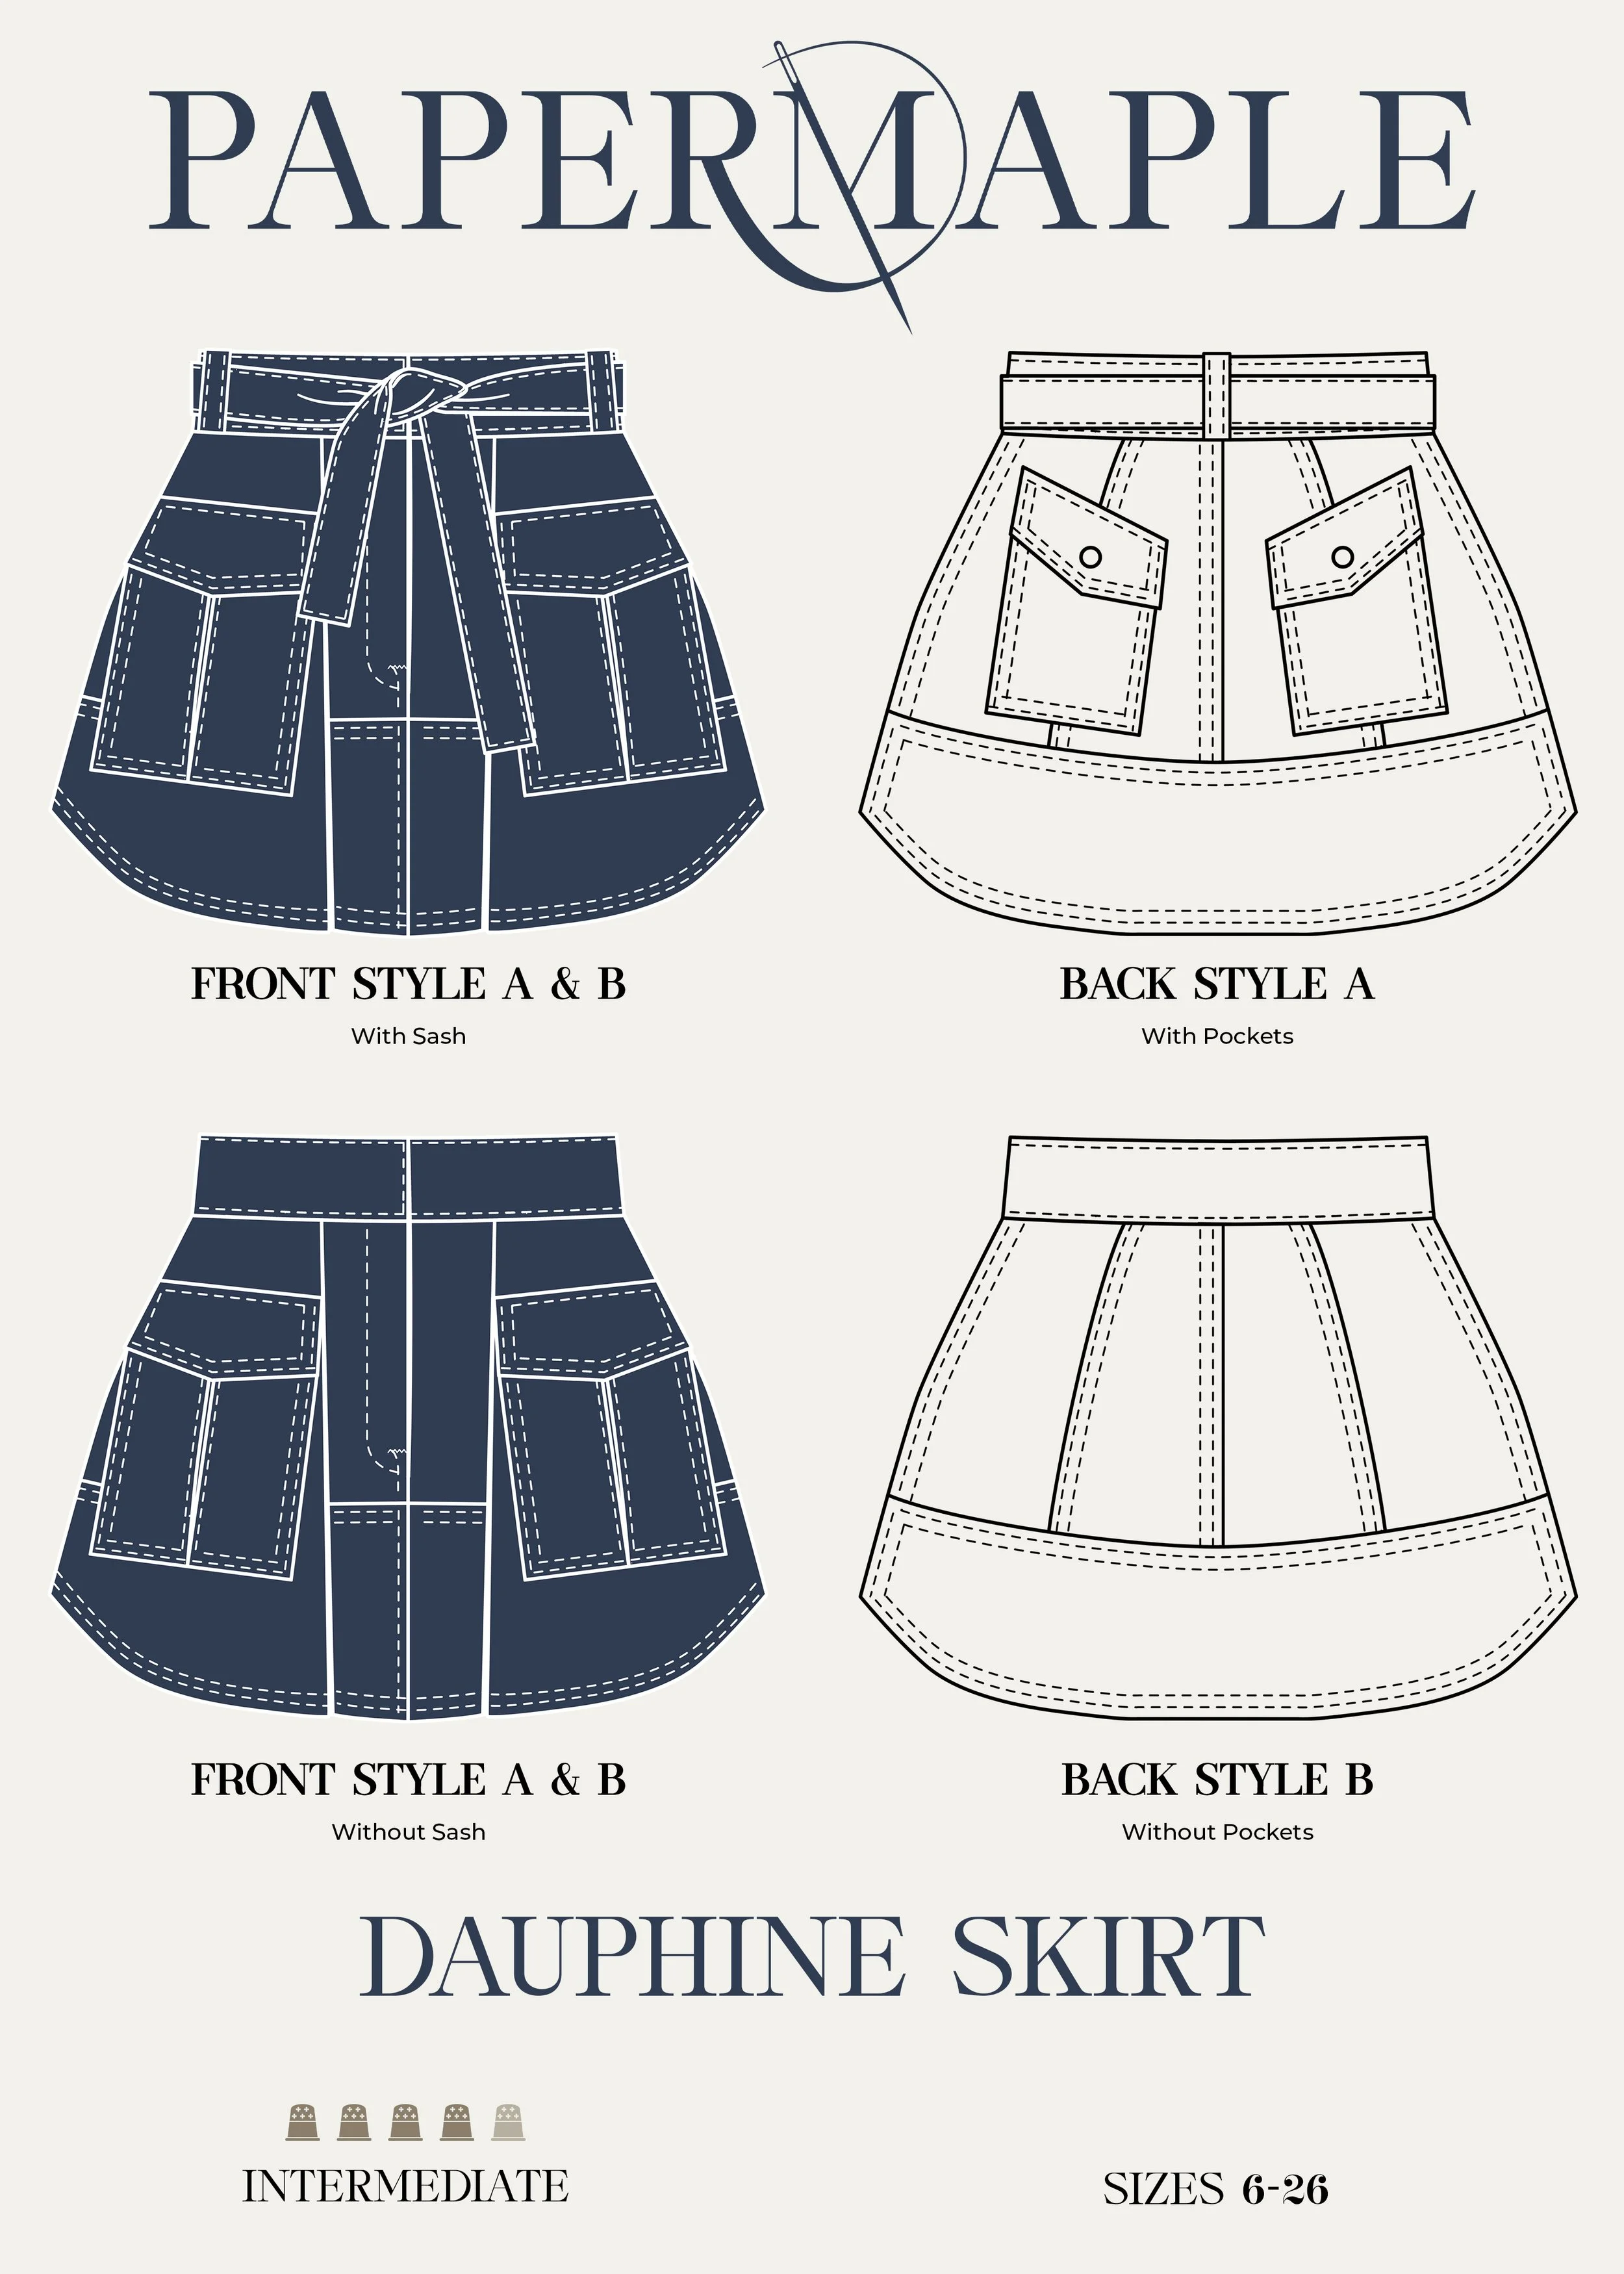
2 - Sewing the Dauphine Skirt
I alway make my muslin’s with contrast thread when teaching, as students find it can be helpful when seeing the finished garment.
As you make your muslin, you will notice that the seam allowance’s change depending on the pattern piece. We have done this to reduce bulk where possible.
If you need to lengthen the skirt, I suggest adding to the top of the upper panel where the edge meets the waistband. The remaining seams are shaped, and more difficult to adjust.
And while the Dauphine looks complicated, it is a surprisingly quick and very satisfying sew.
As you will see, I’ve added some very quick, basic top stitching, but there are plenty of opportunities to add more as shown in the illustrations.
This is a fun one, enjoy!
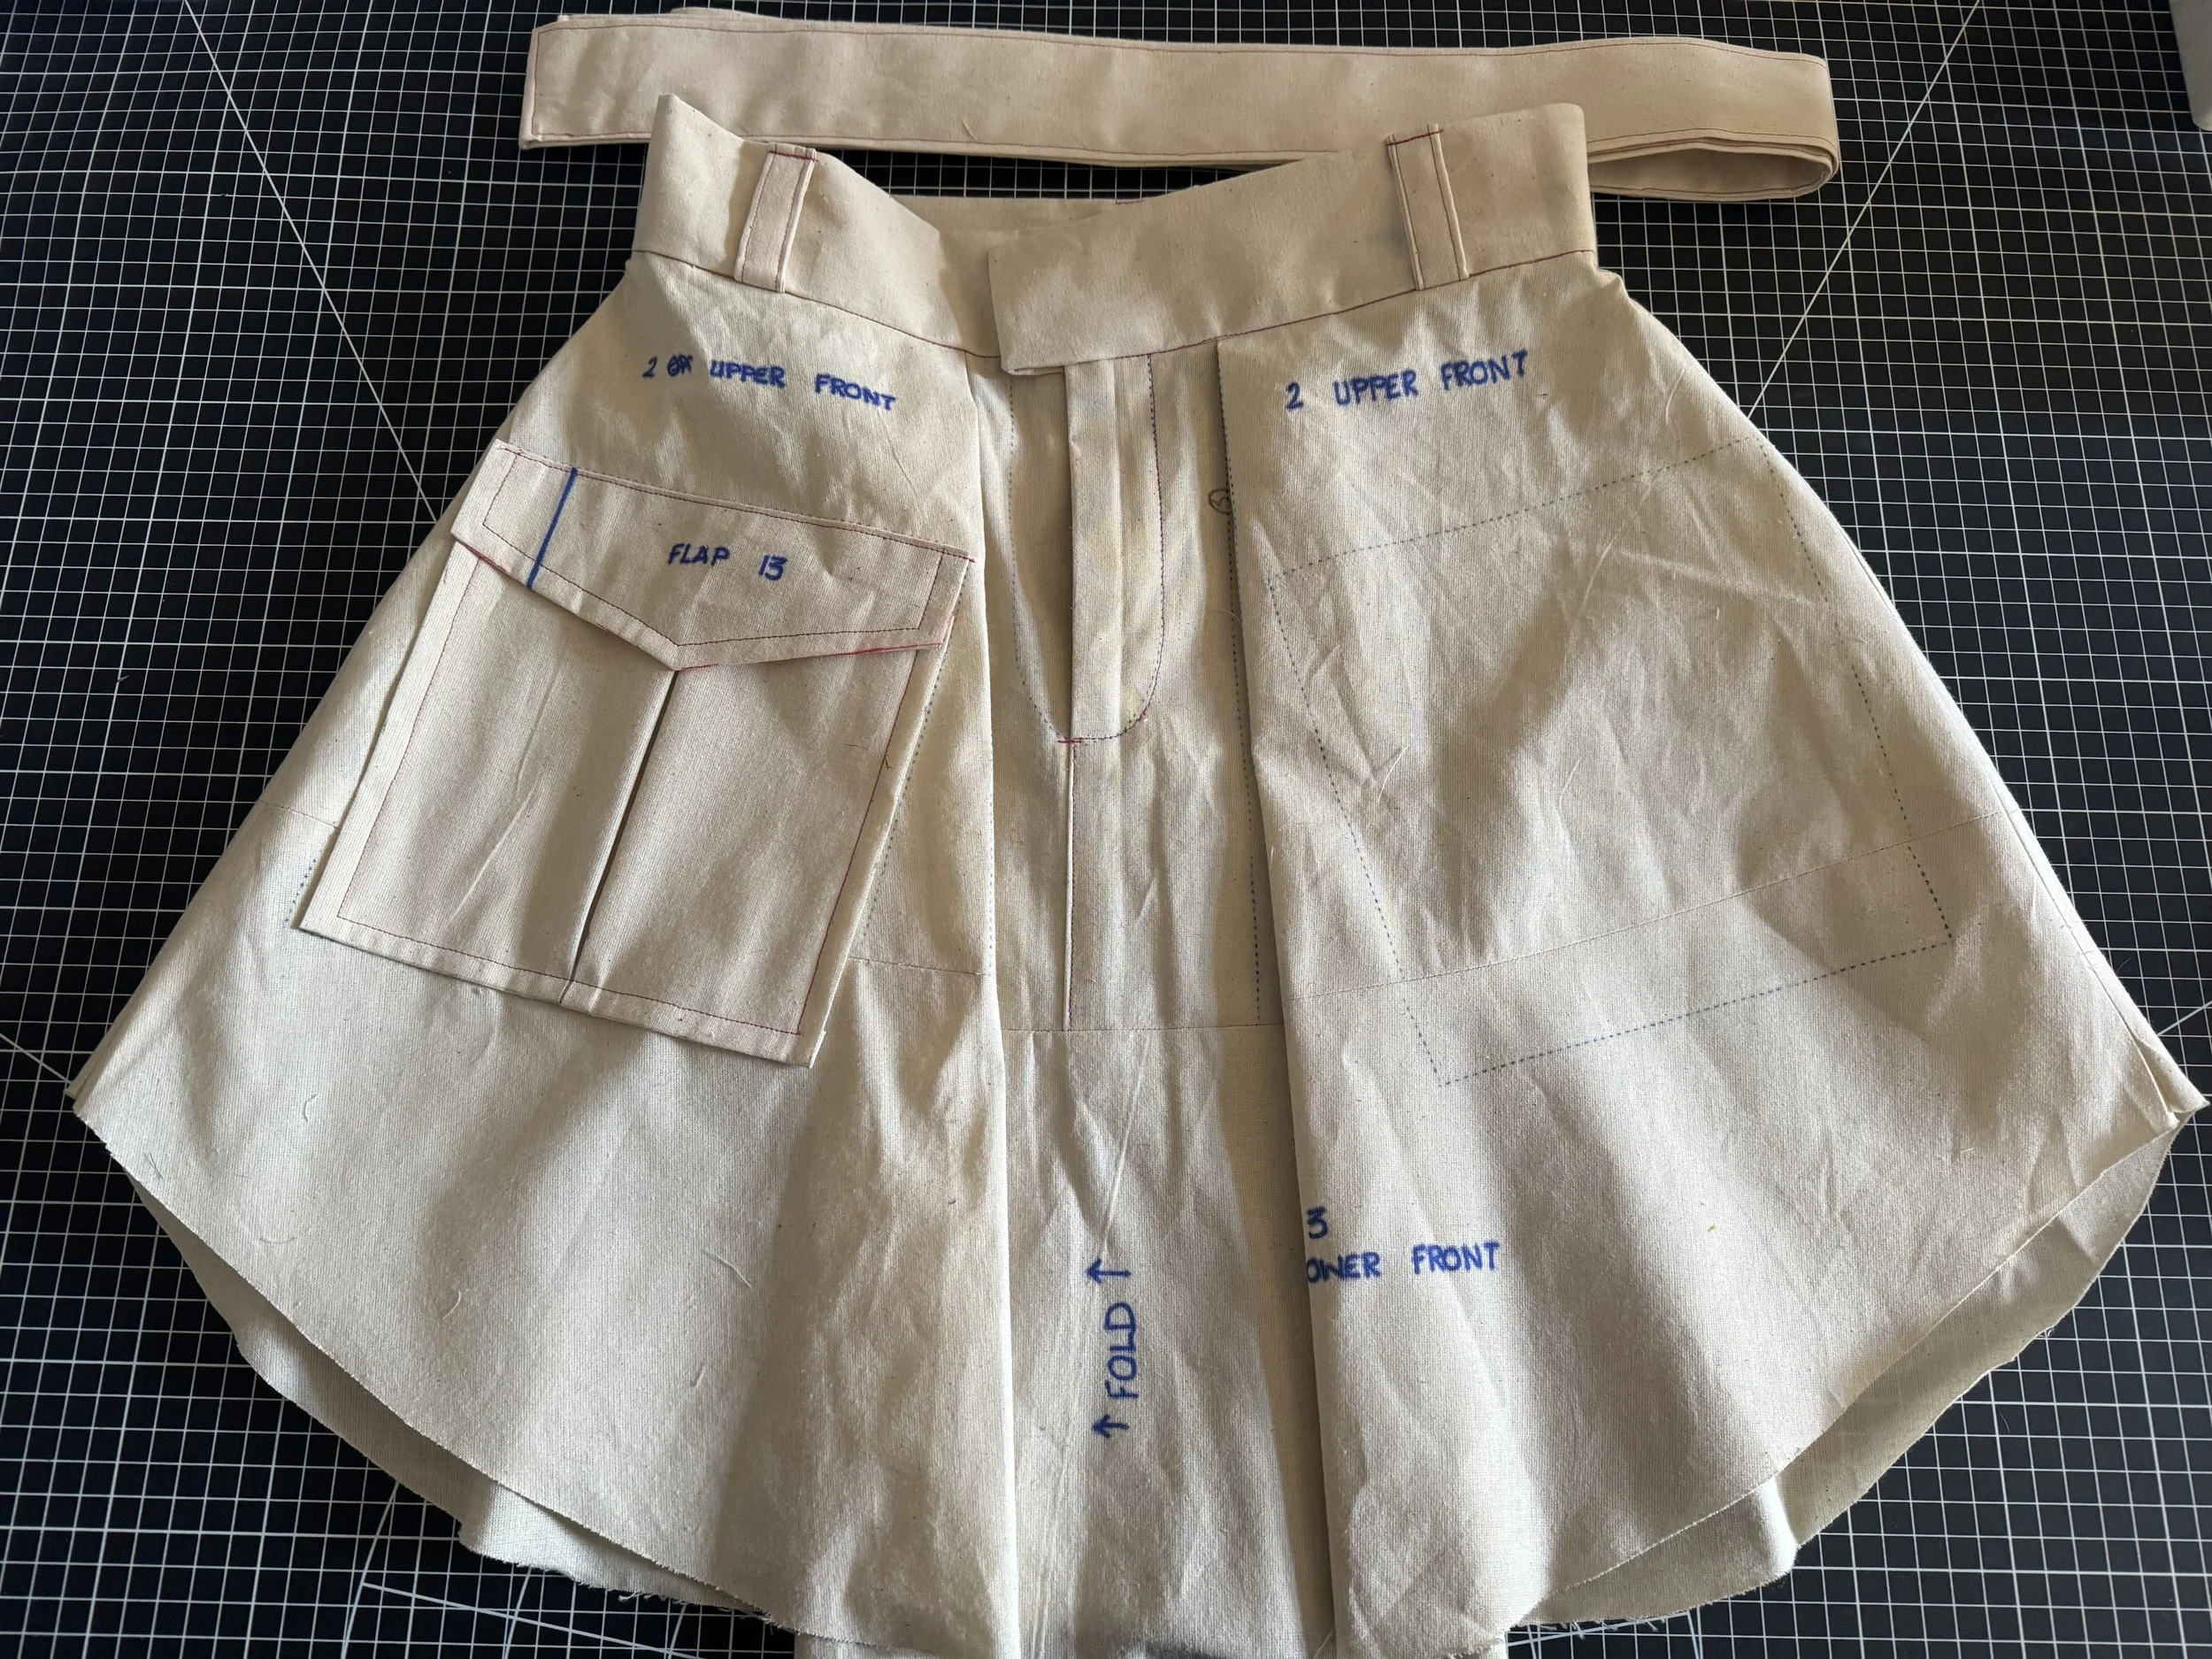
I apologize for the wrinkles, the muslin I use is so heavily starched that it will only tolerate one or two presses before it stops co-operating.
Pattern pieces
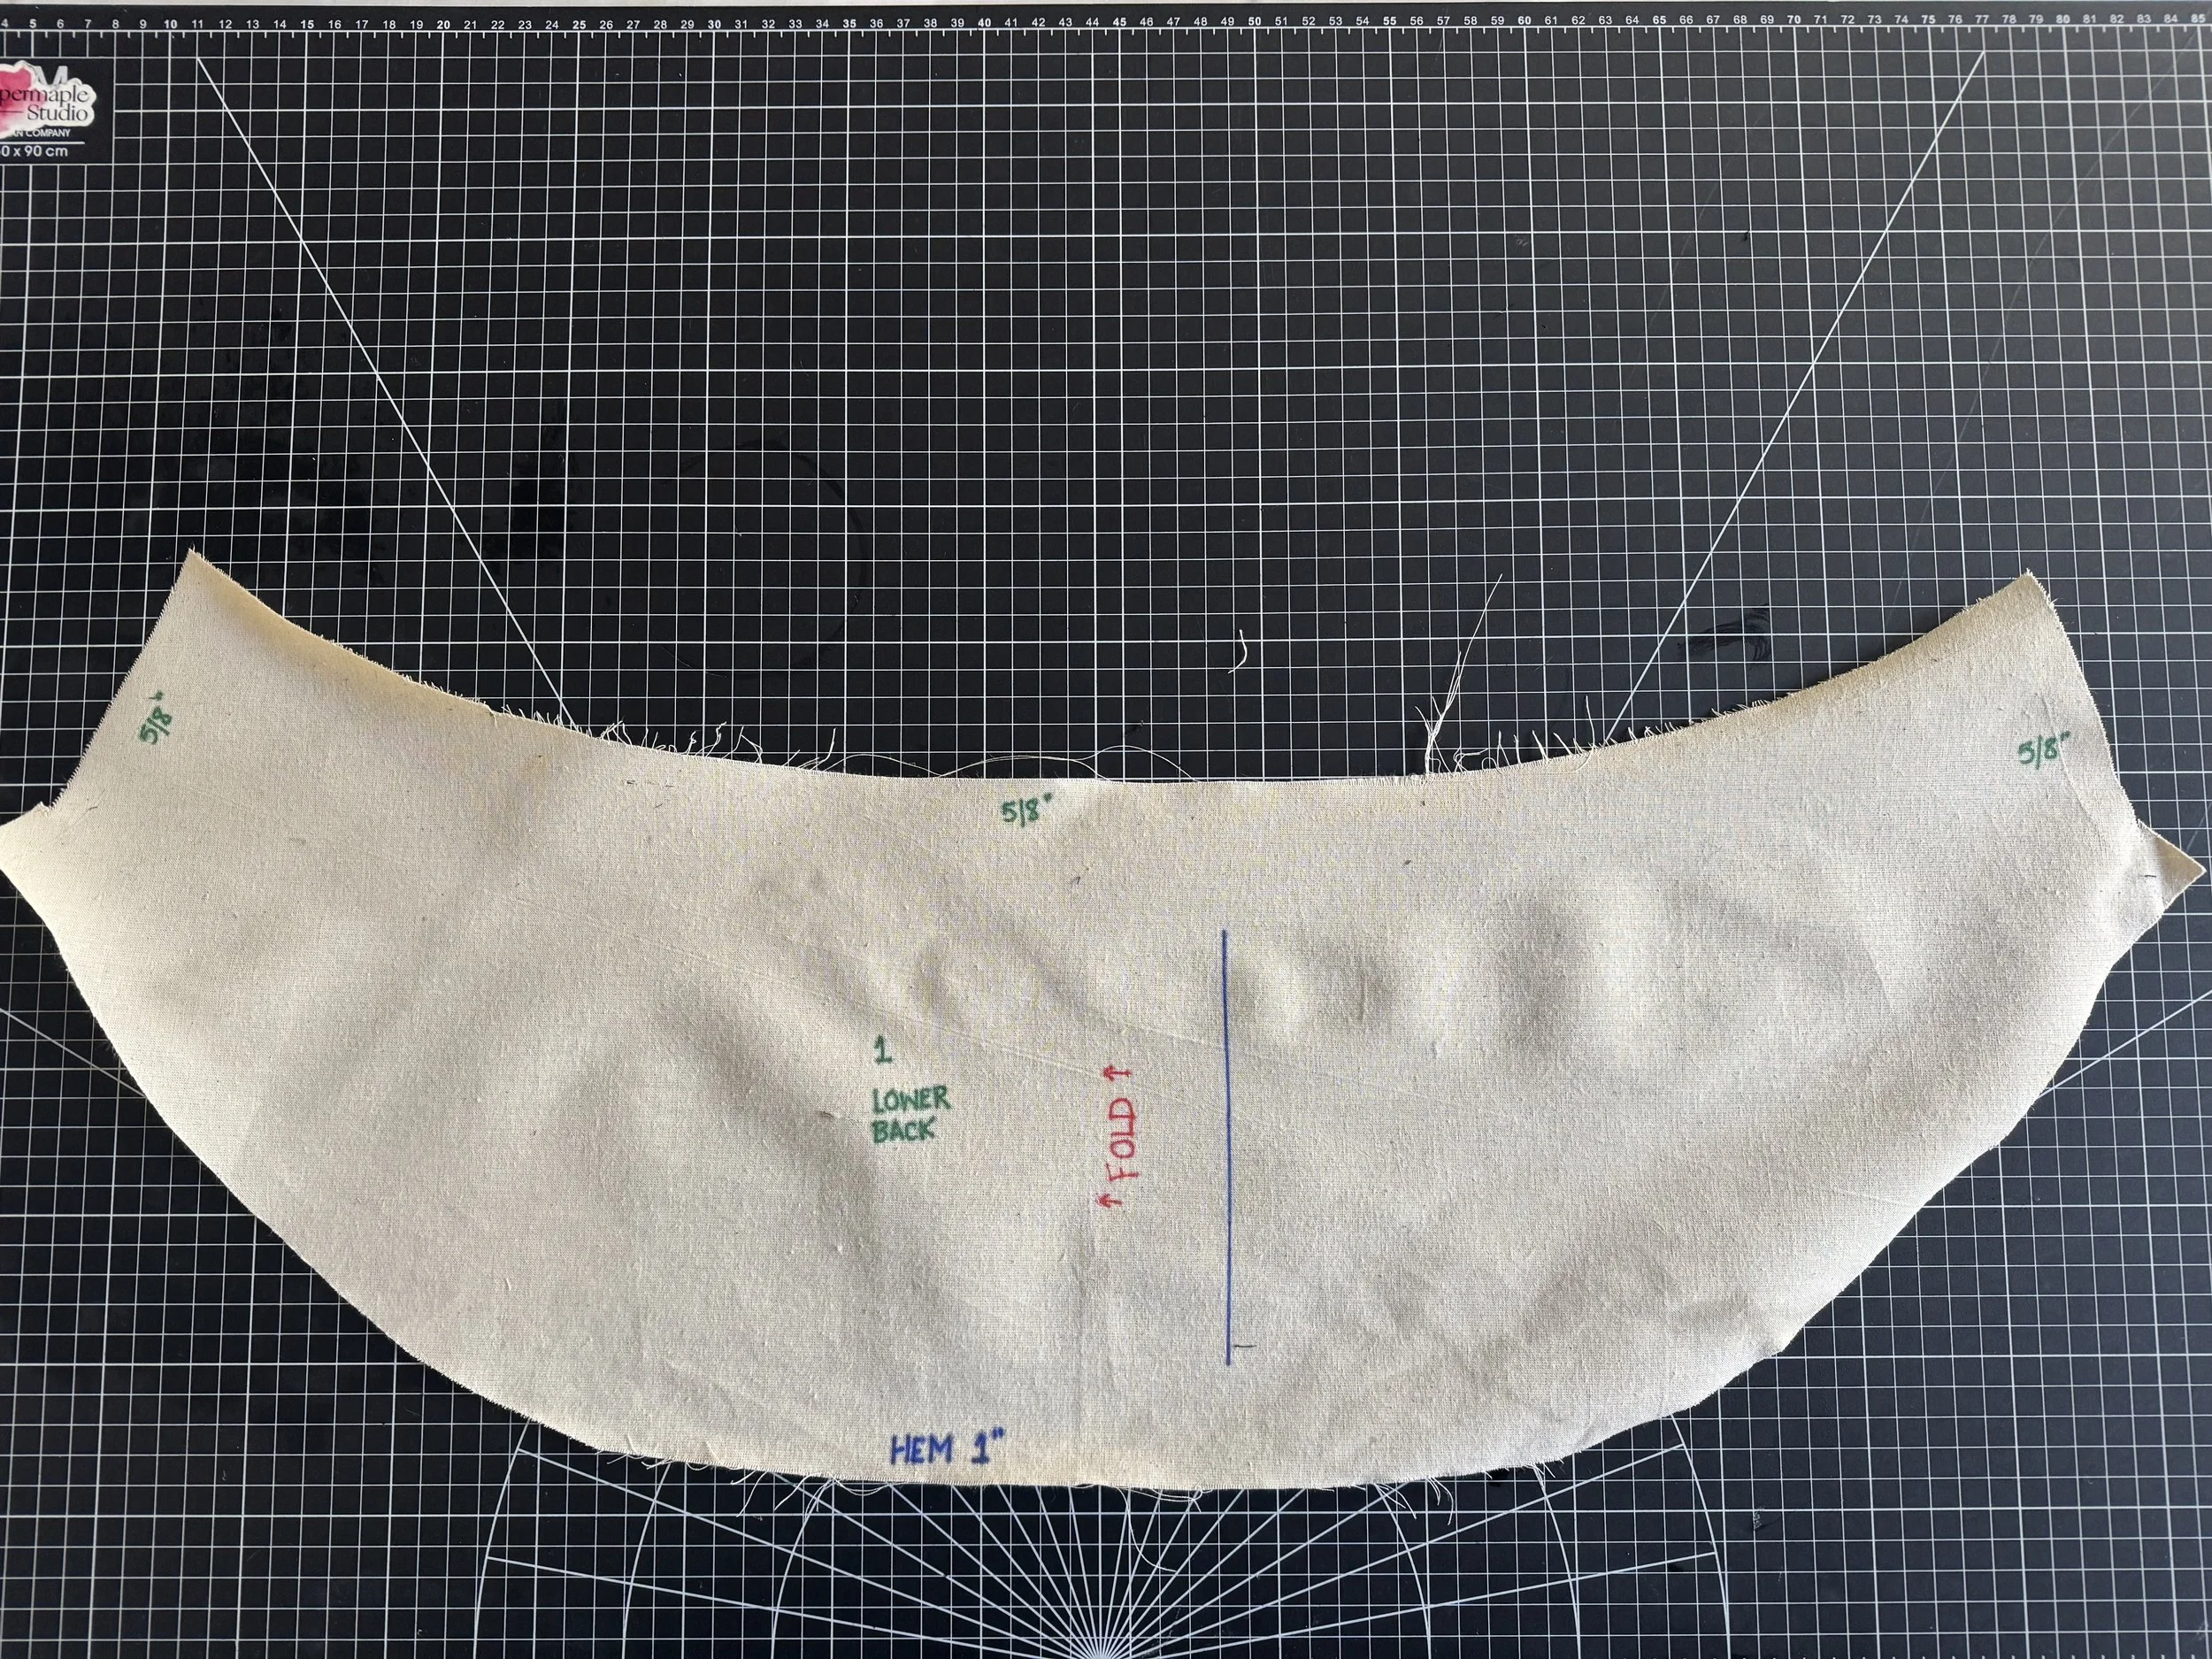
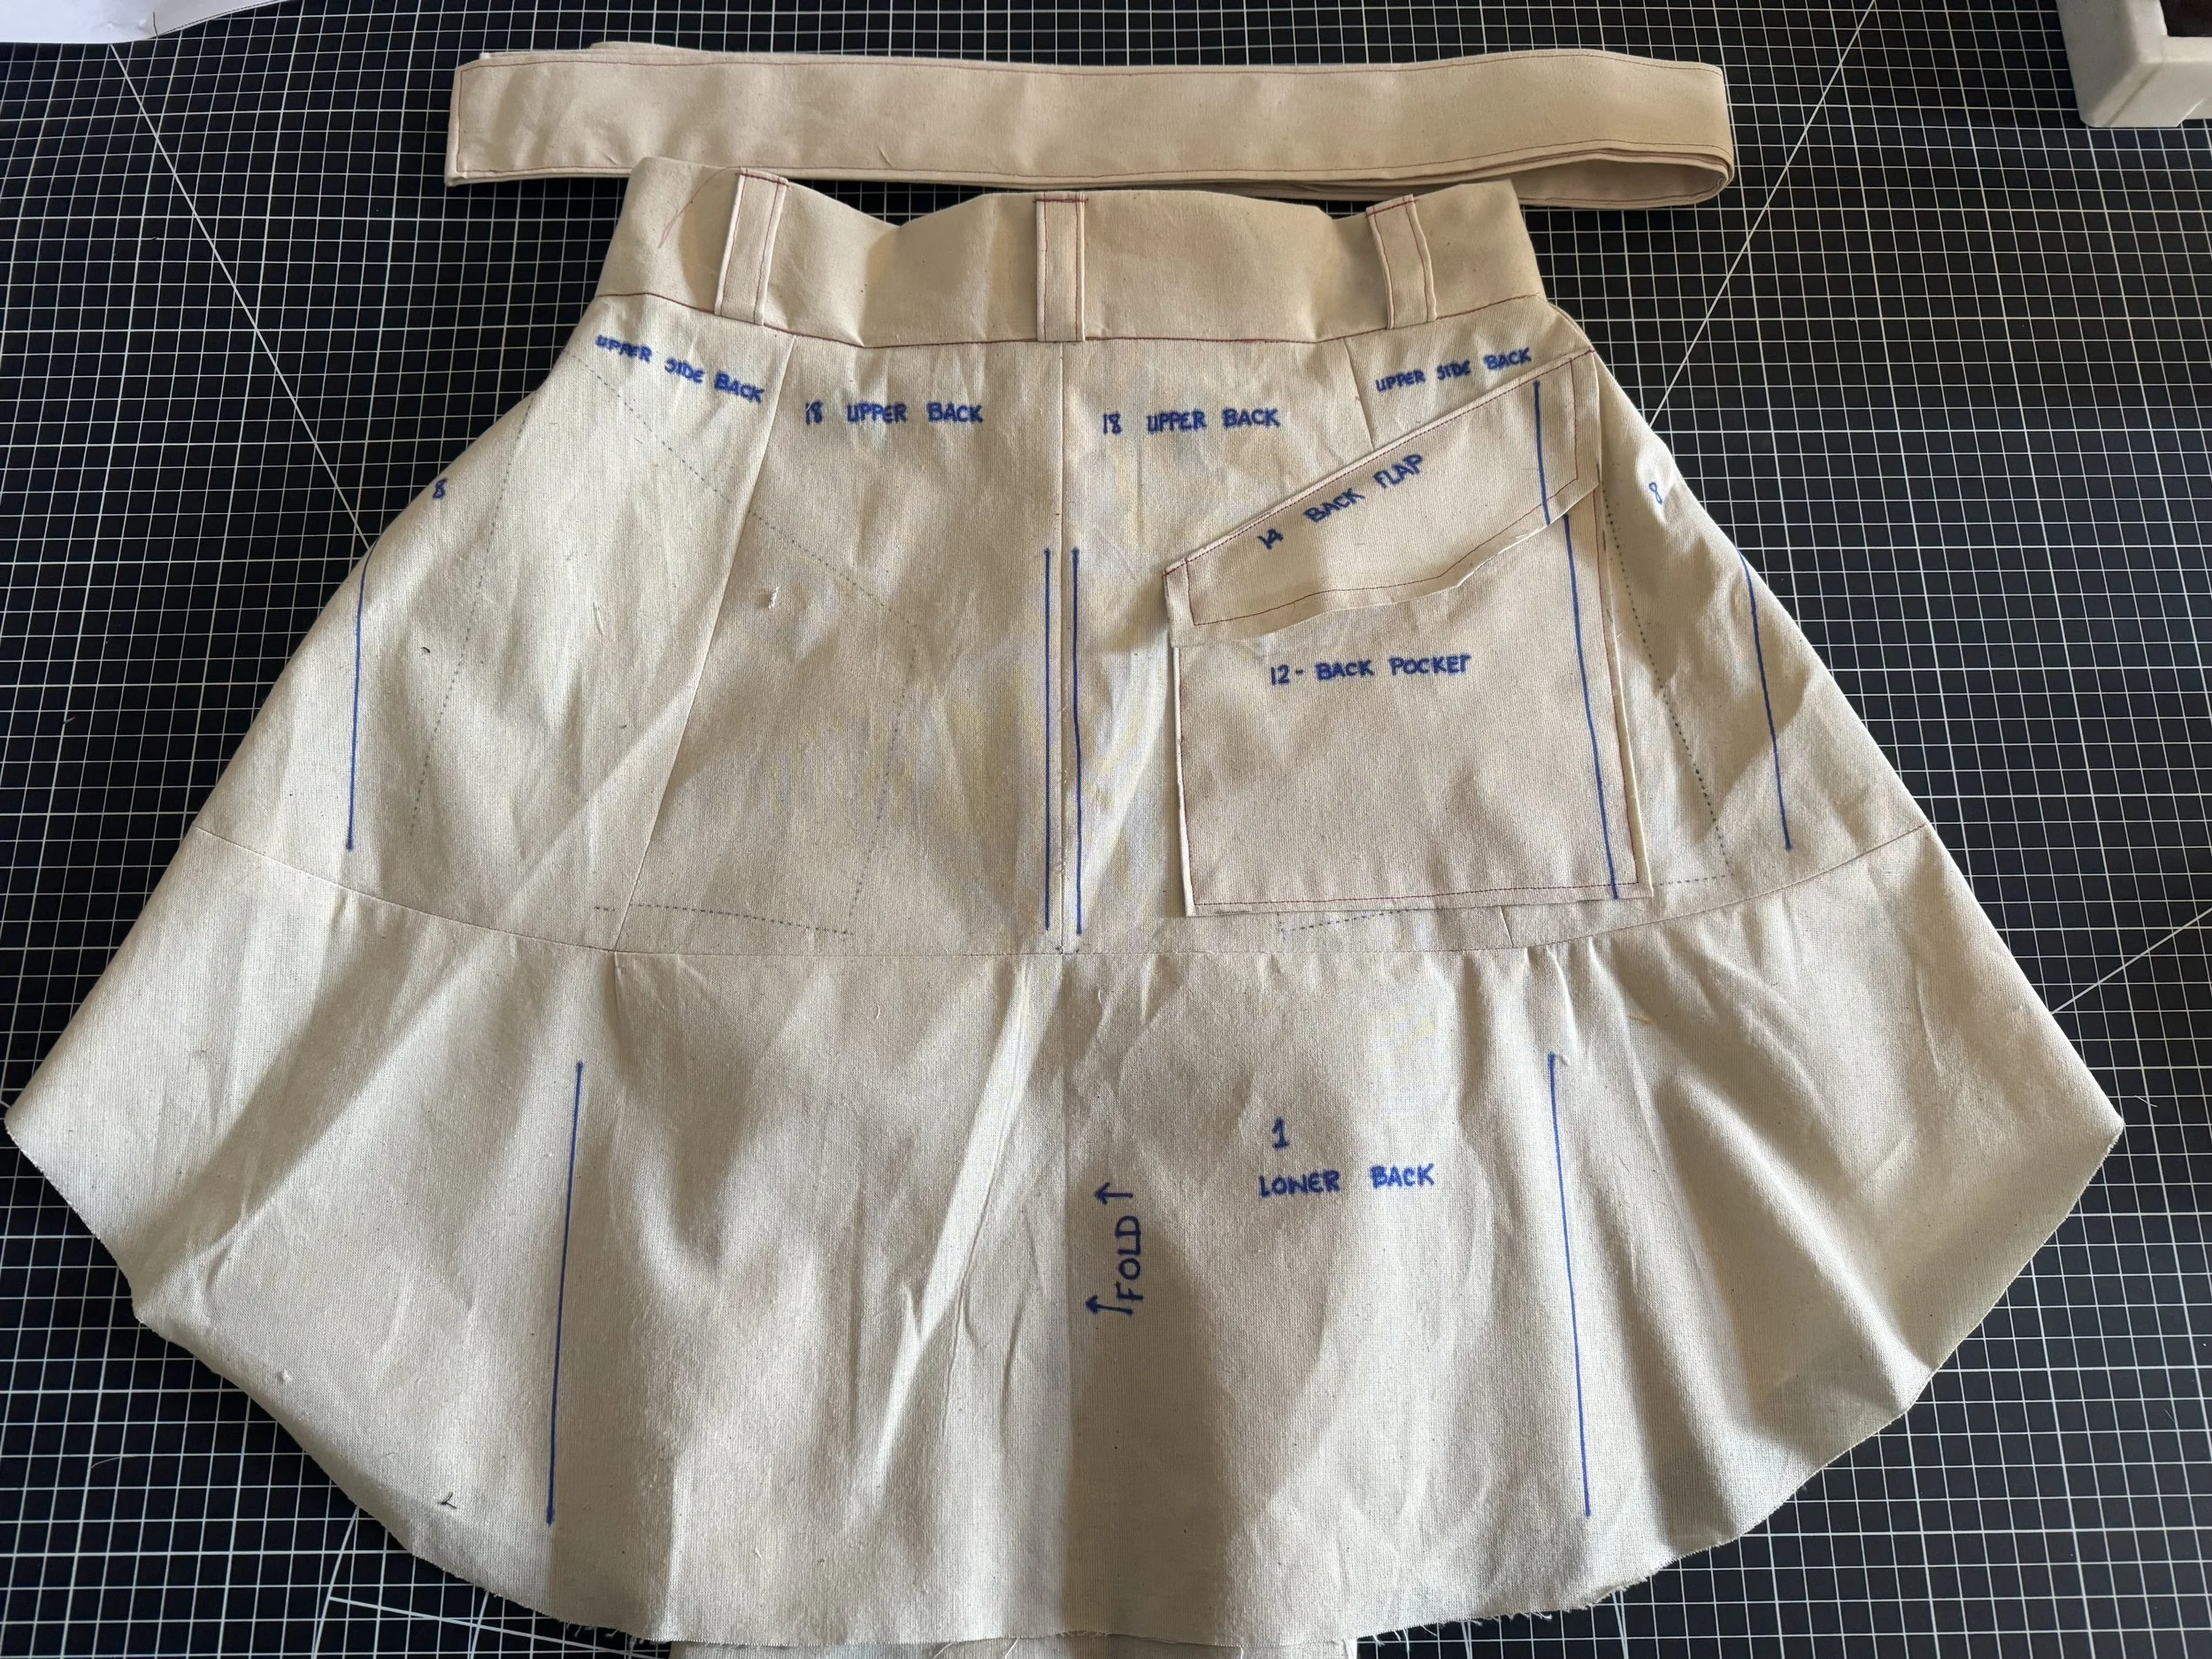
Piece 1 - Lower back / Hem 1”
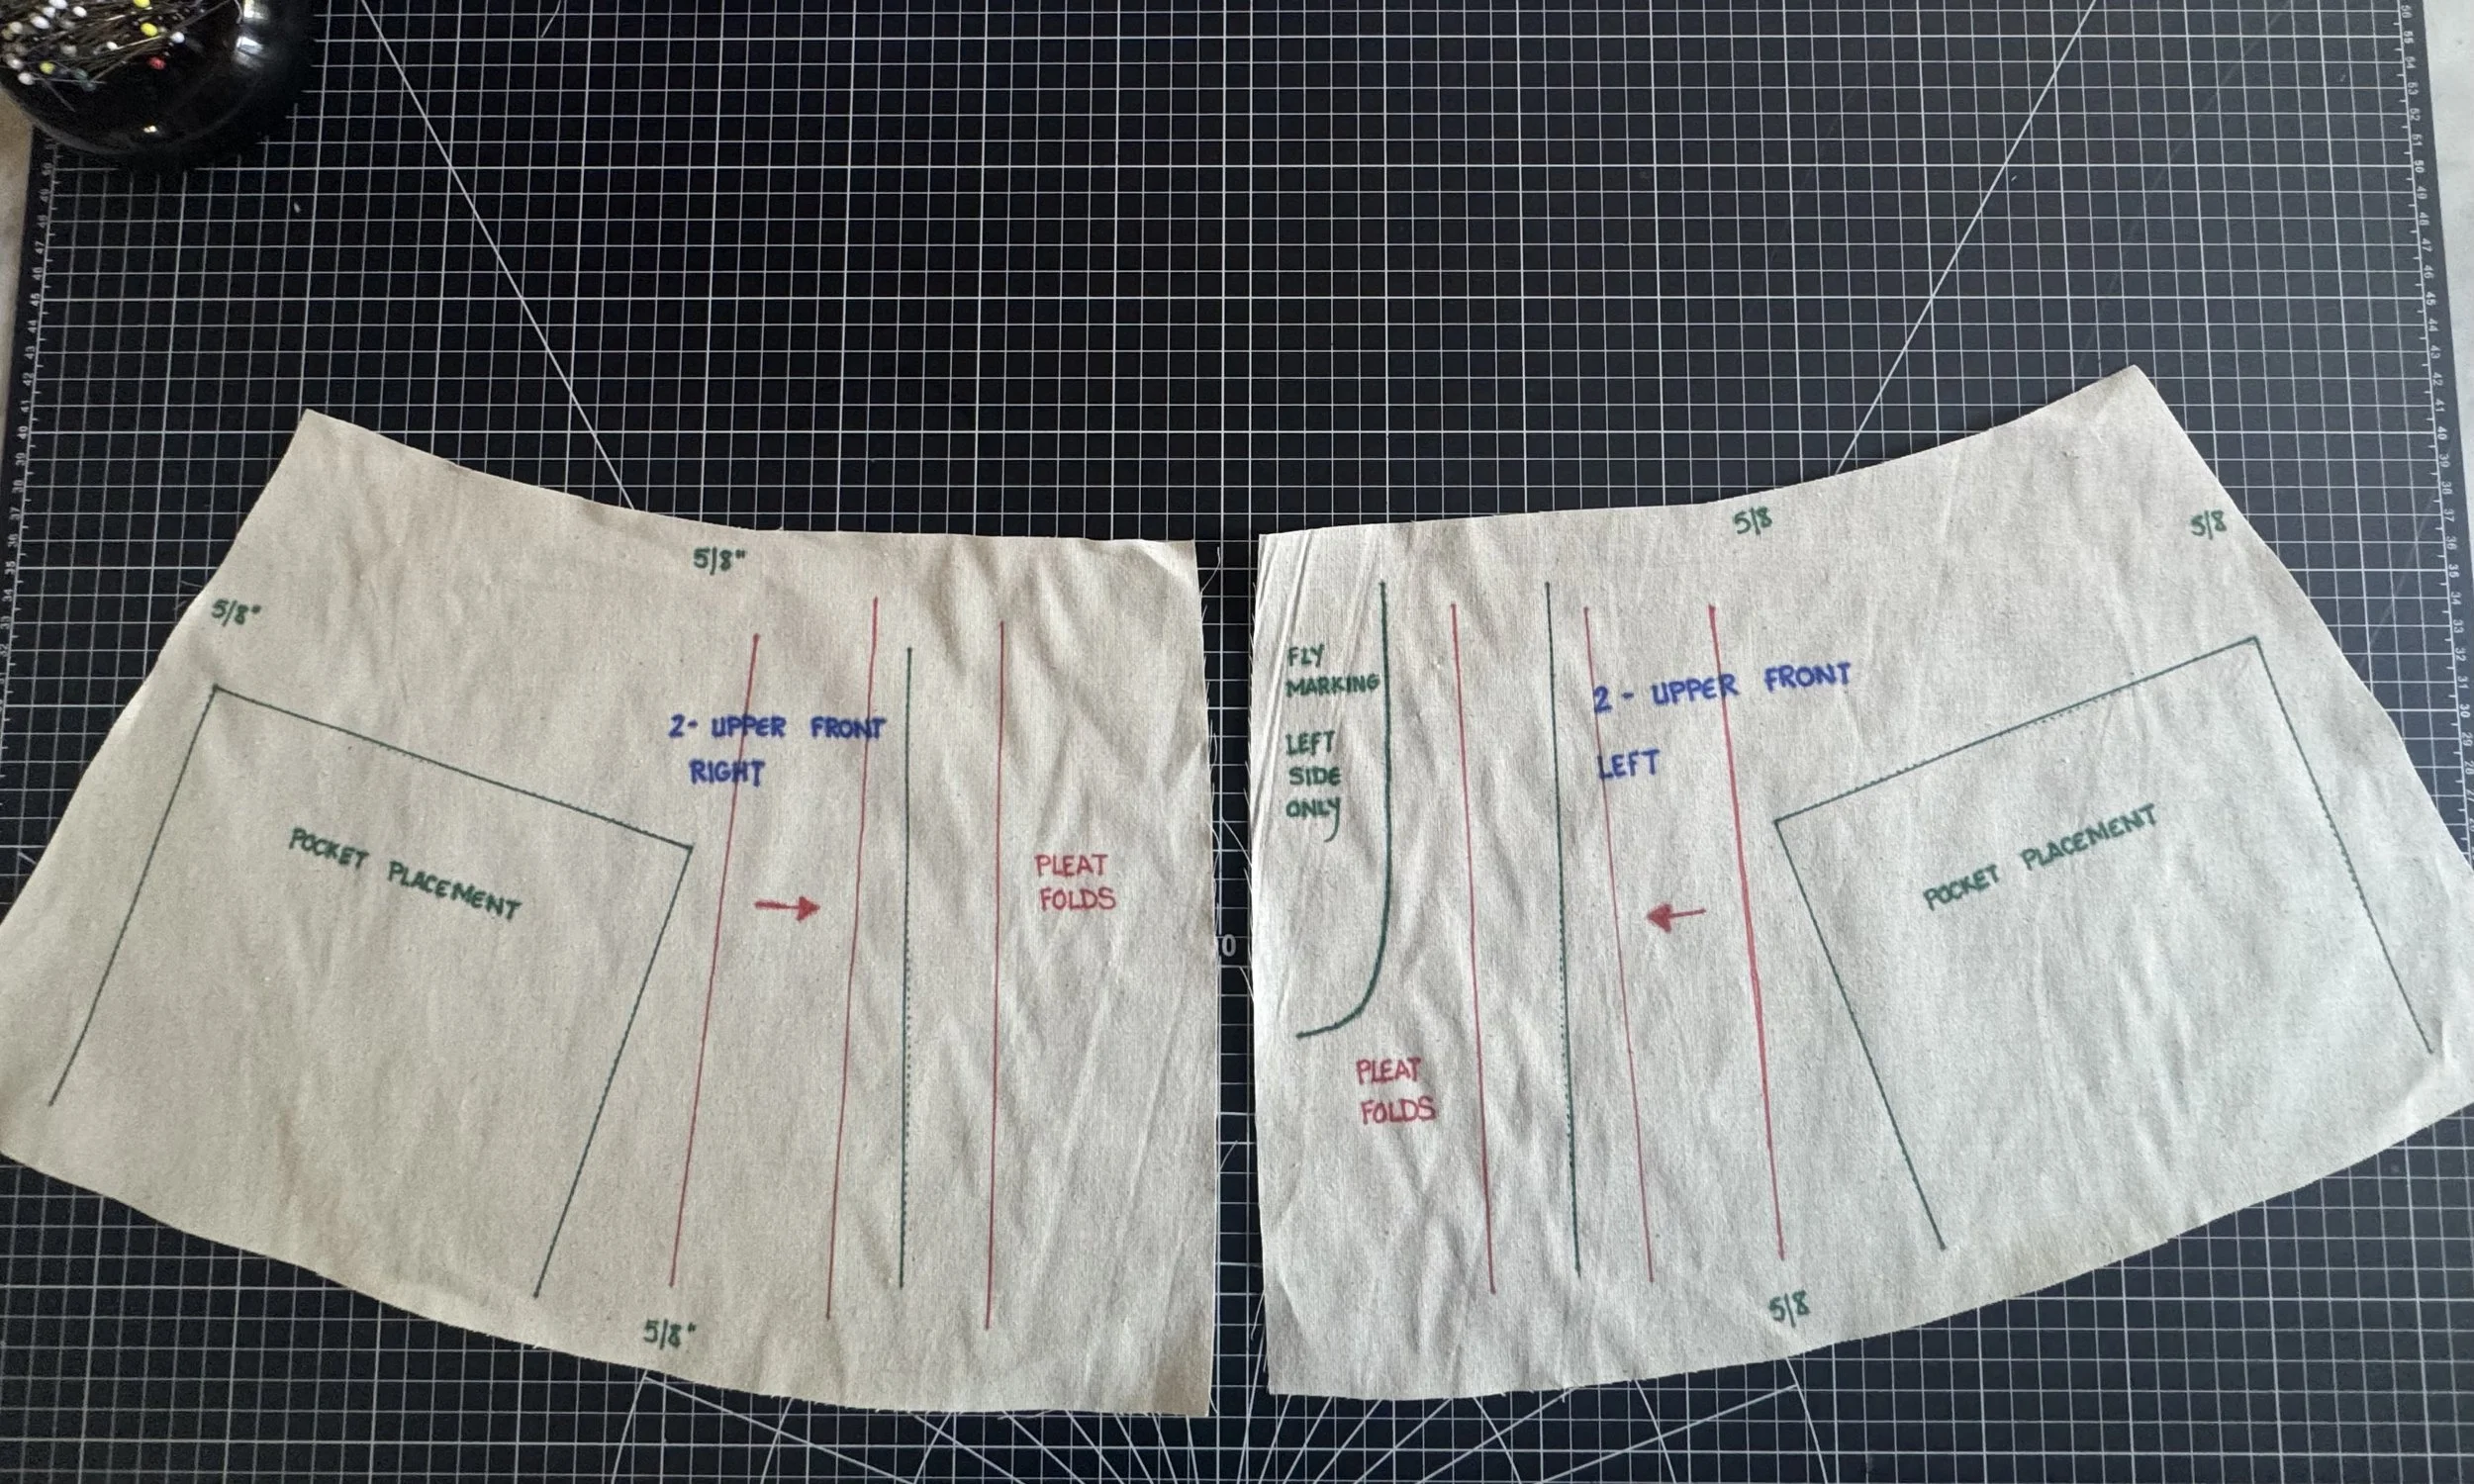
Piece 2 - Upper front, right and left. *Fly is on left hand piece. If additional length is needed, add to the upper part of these panels, front and back.
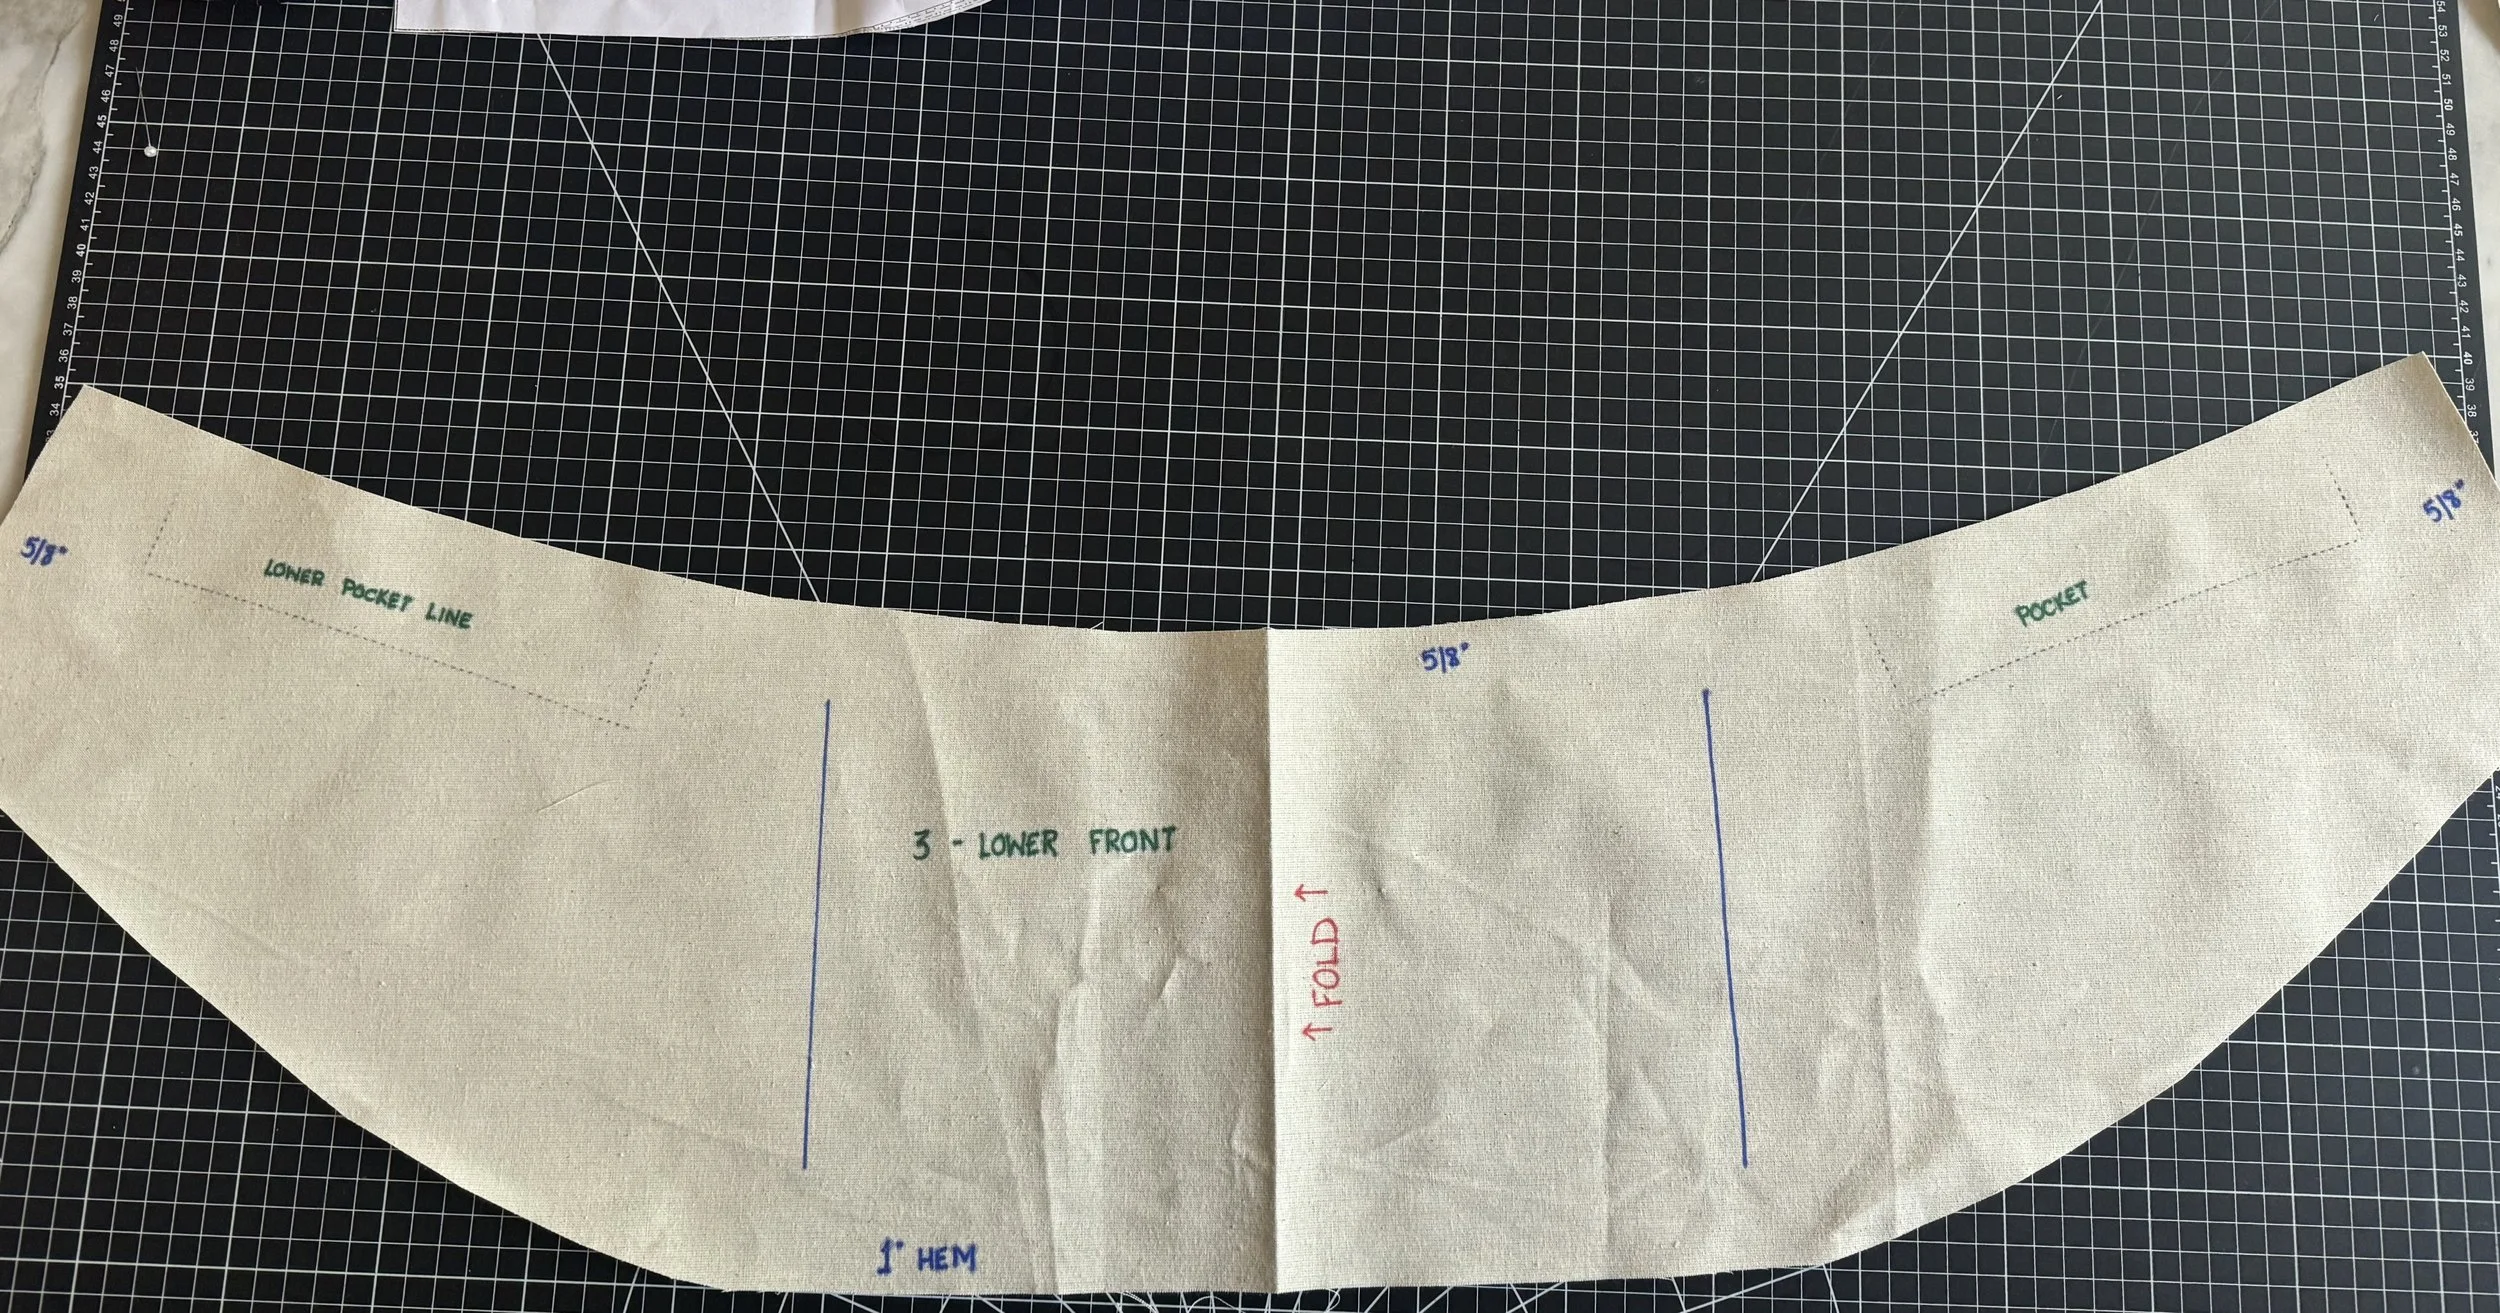
Piece 3 - Lower front / Hem is 1”. *this piece is cut on fold.
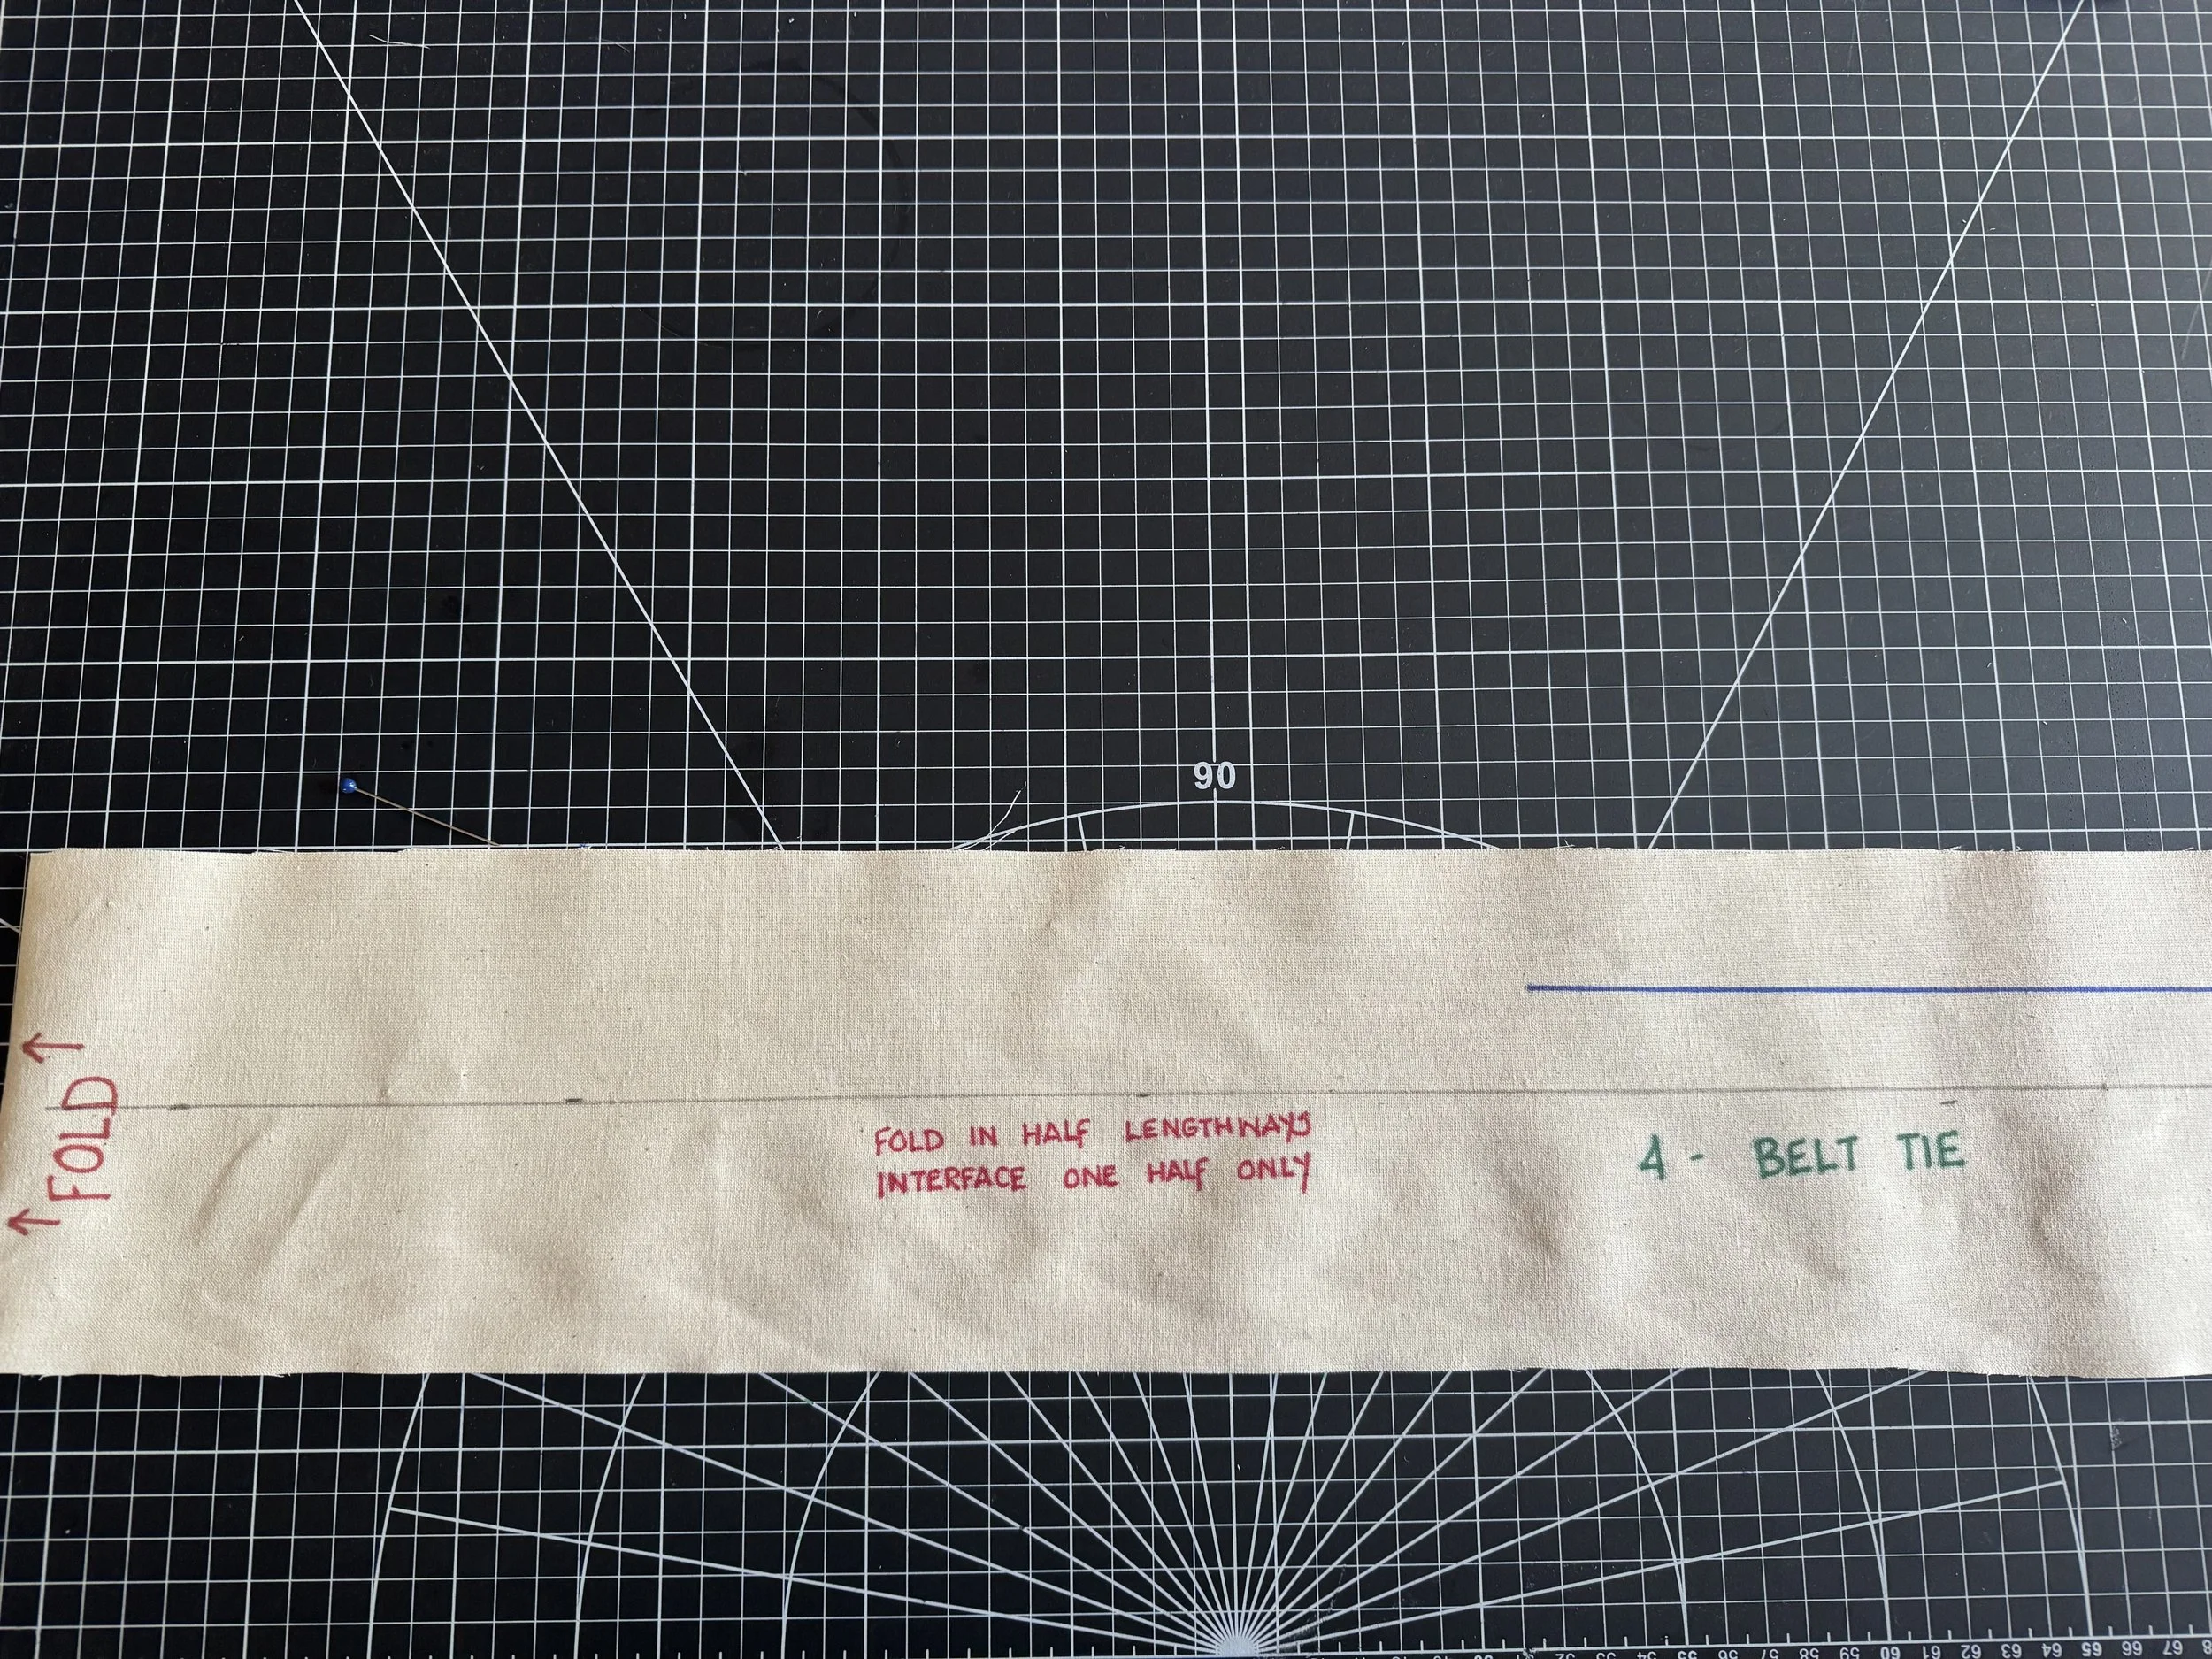
Piece 4 - Belt tie. Add a lightweight interfacing if additional stability needed. *This piece is cut on fold.
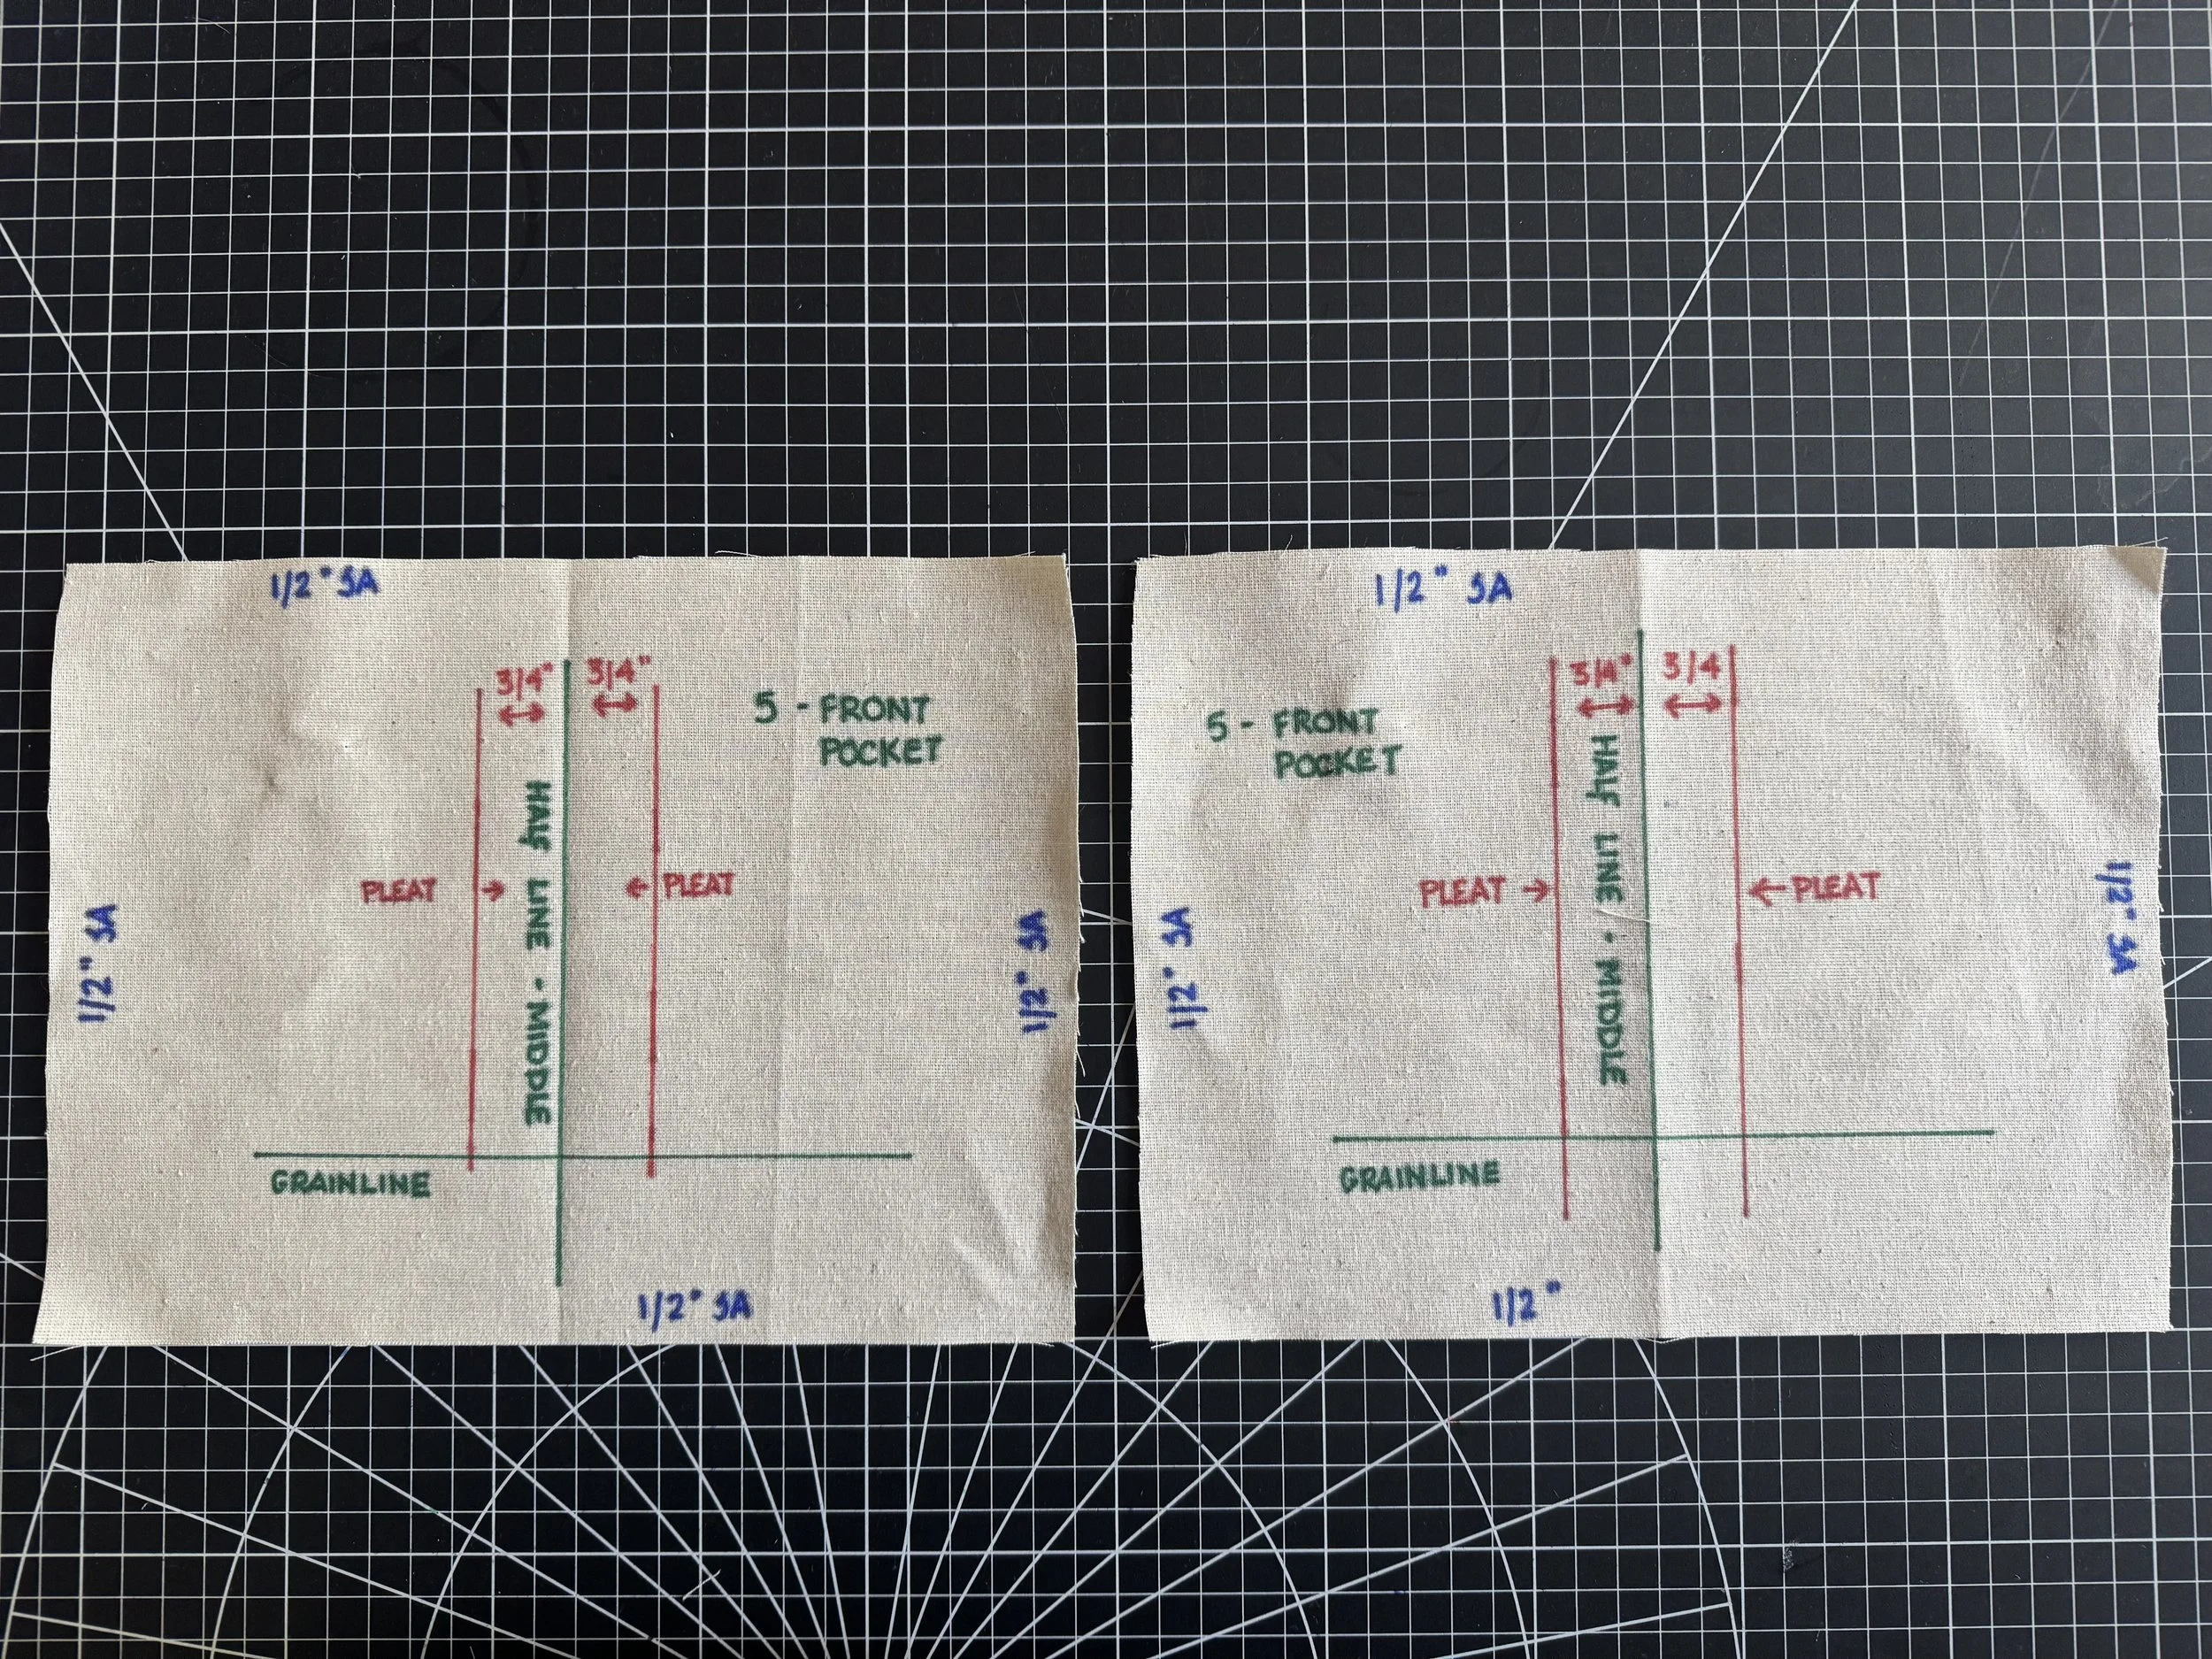
Piece 5 - Front pockets / mark the center line for pleat placement.
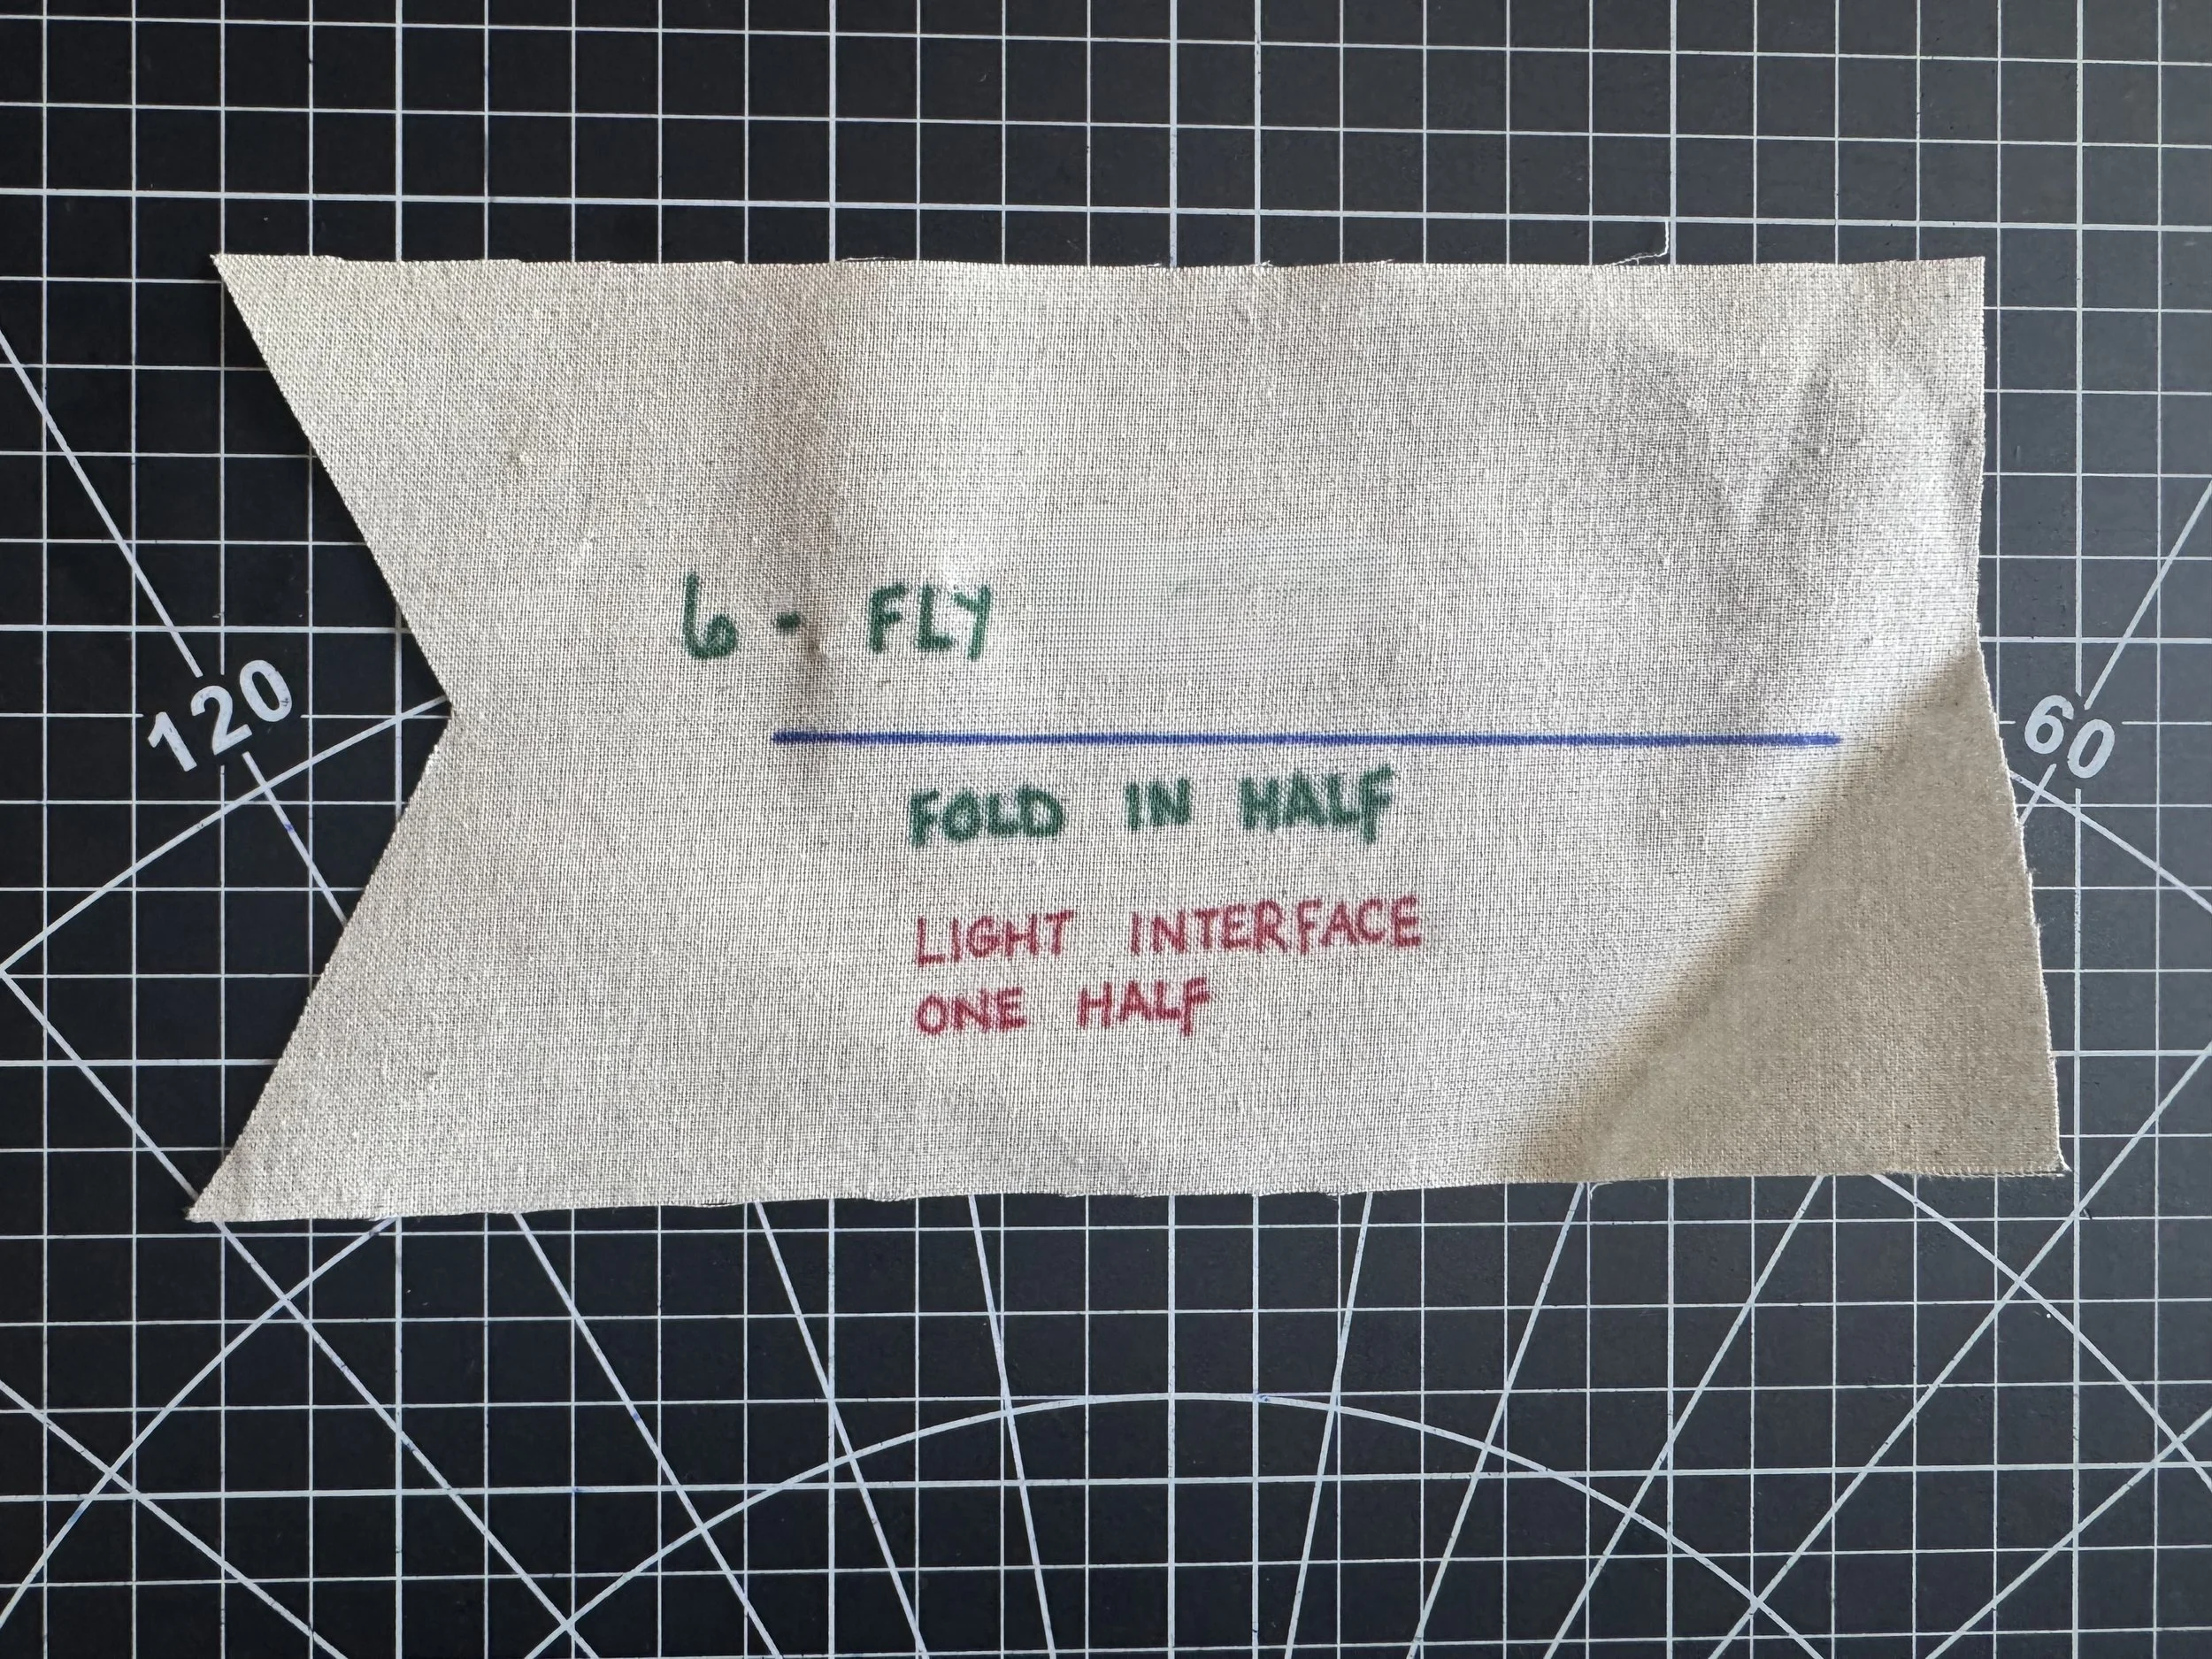
Piece 6 - Fly front. Interface for addtional stability if necessary but keep bulk to a minimum as this piece is folded in half before being sewn.
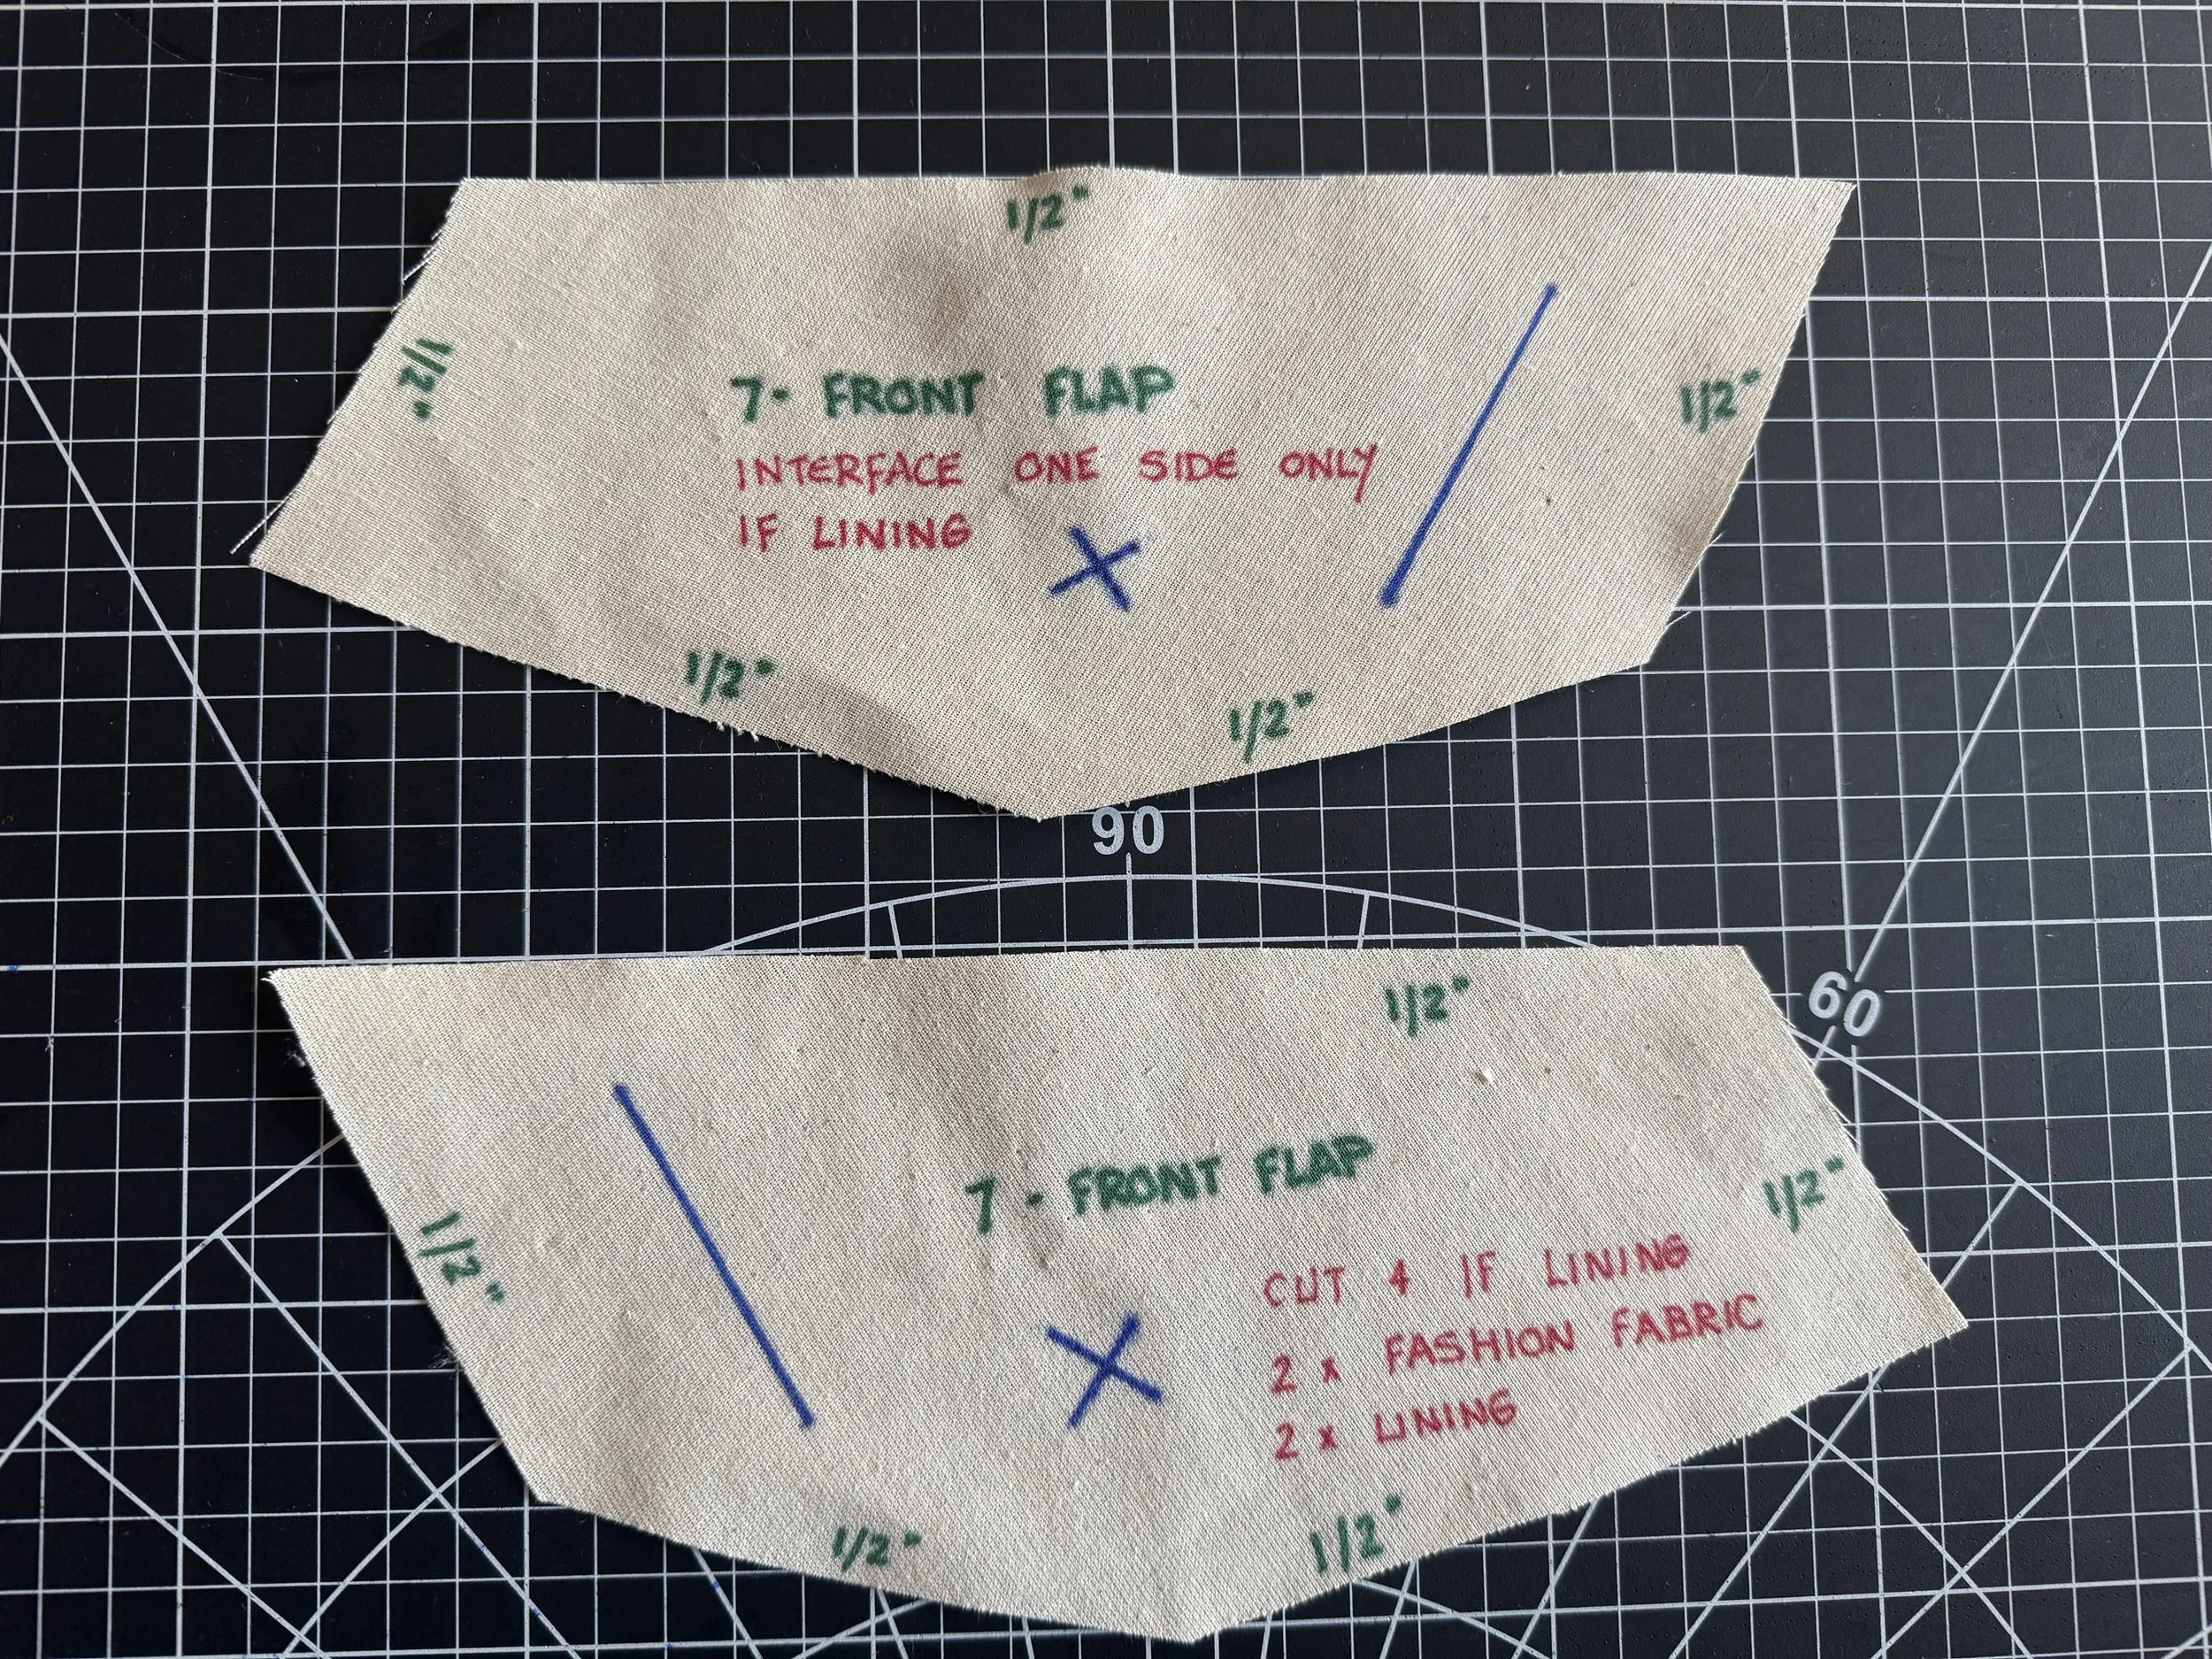
Piece 7 - Front pocket flaps. These are an optional look and create an angle.

Piece 8 - Upper side back. Again, if adding length, add to the upper part of these two panels..
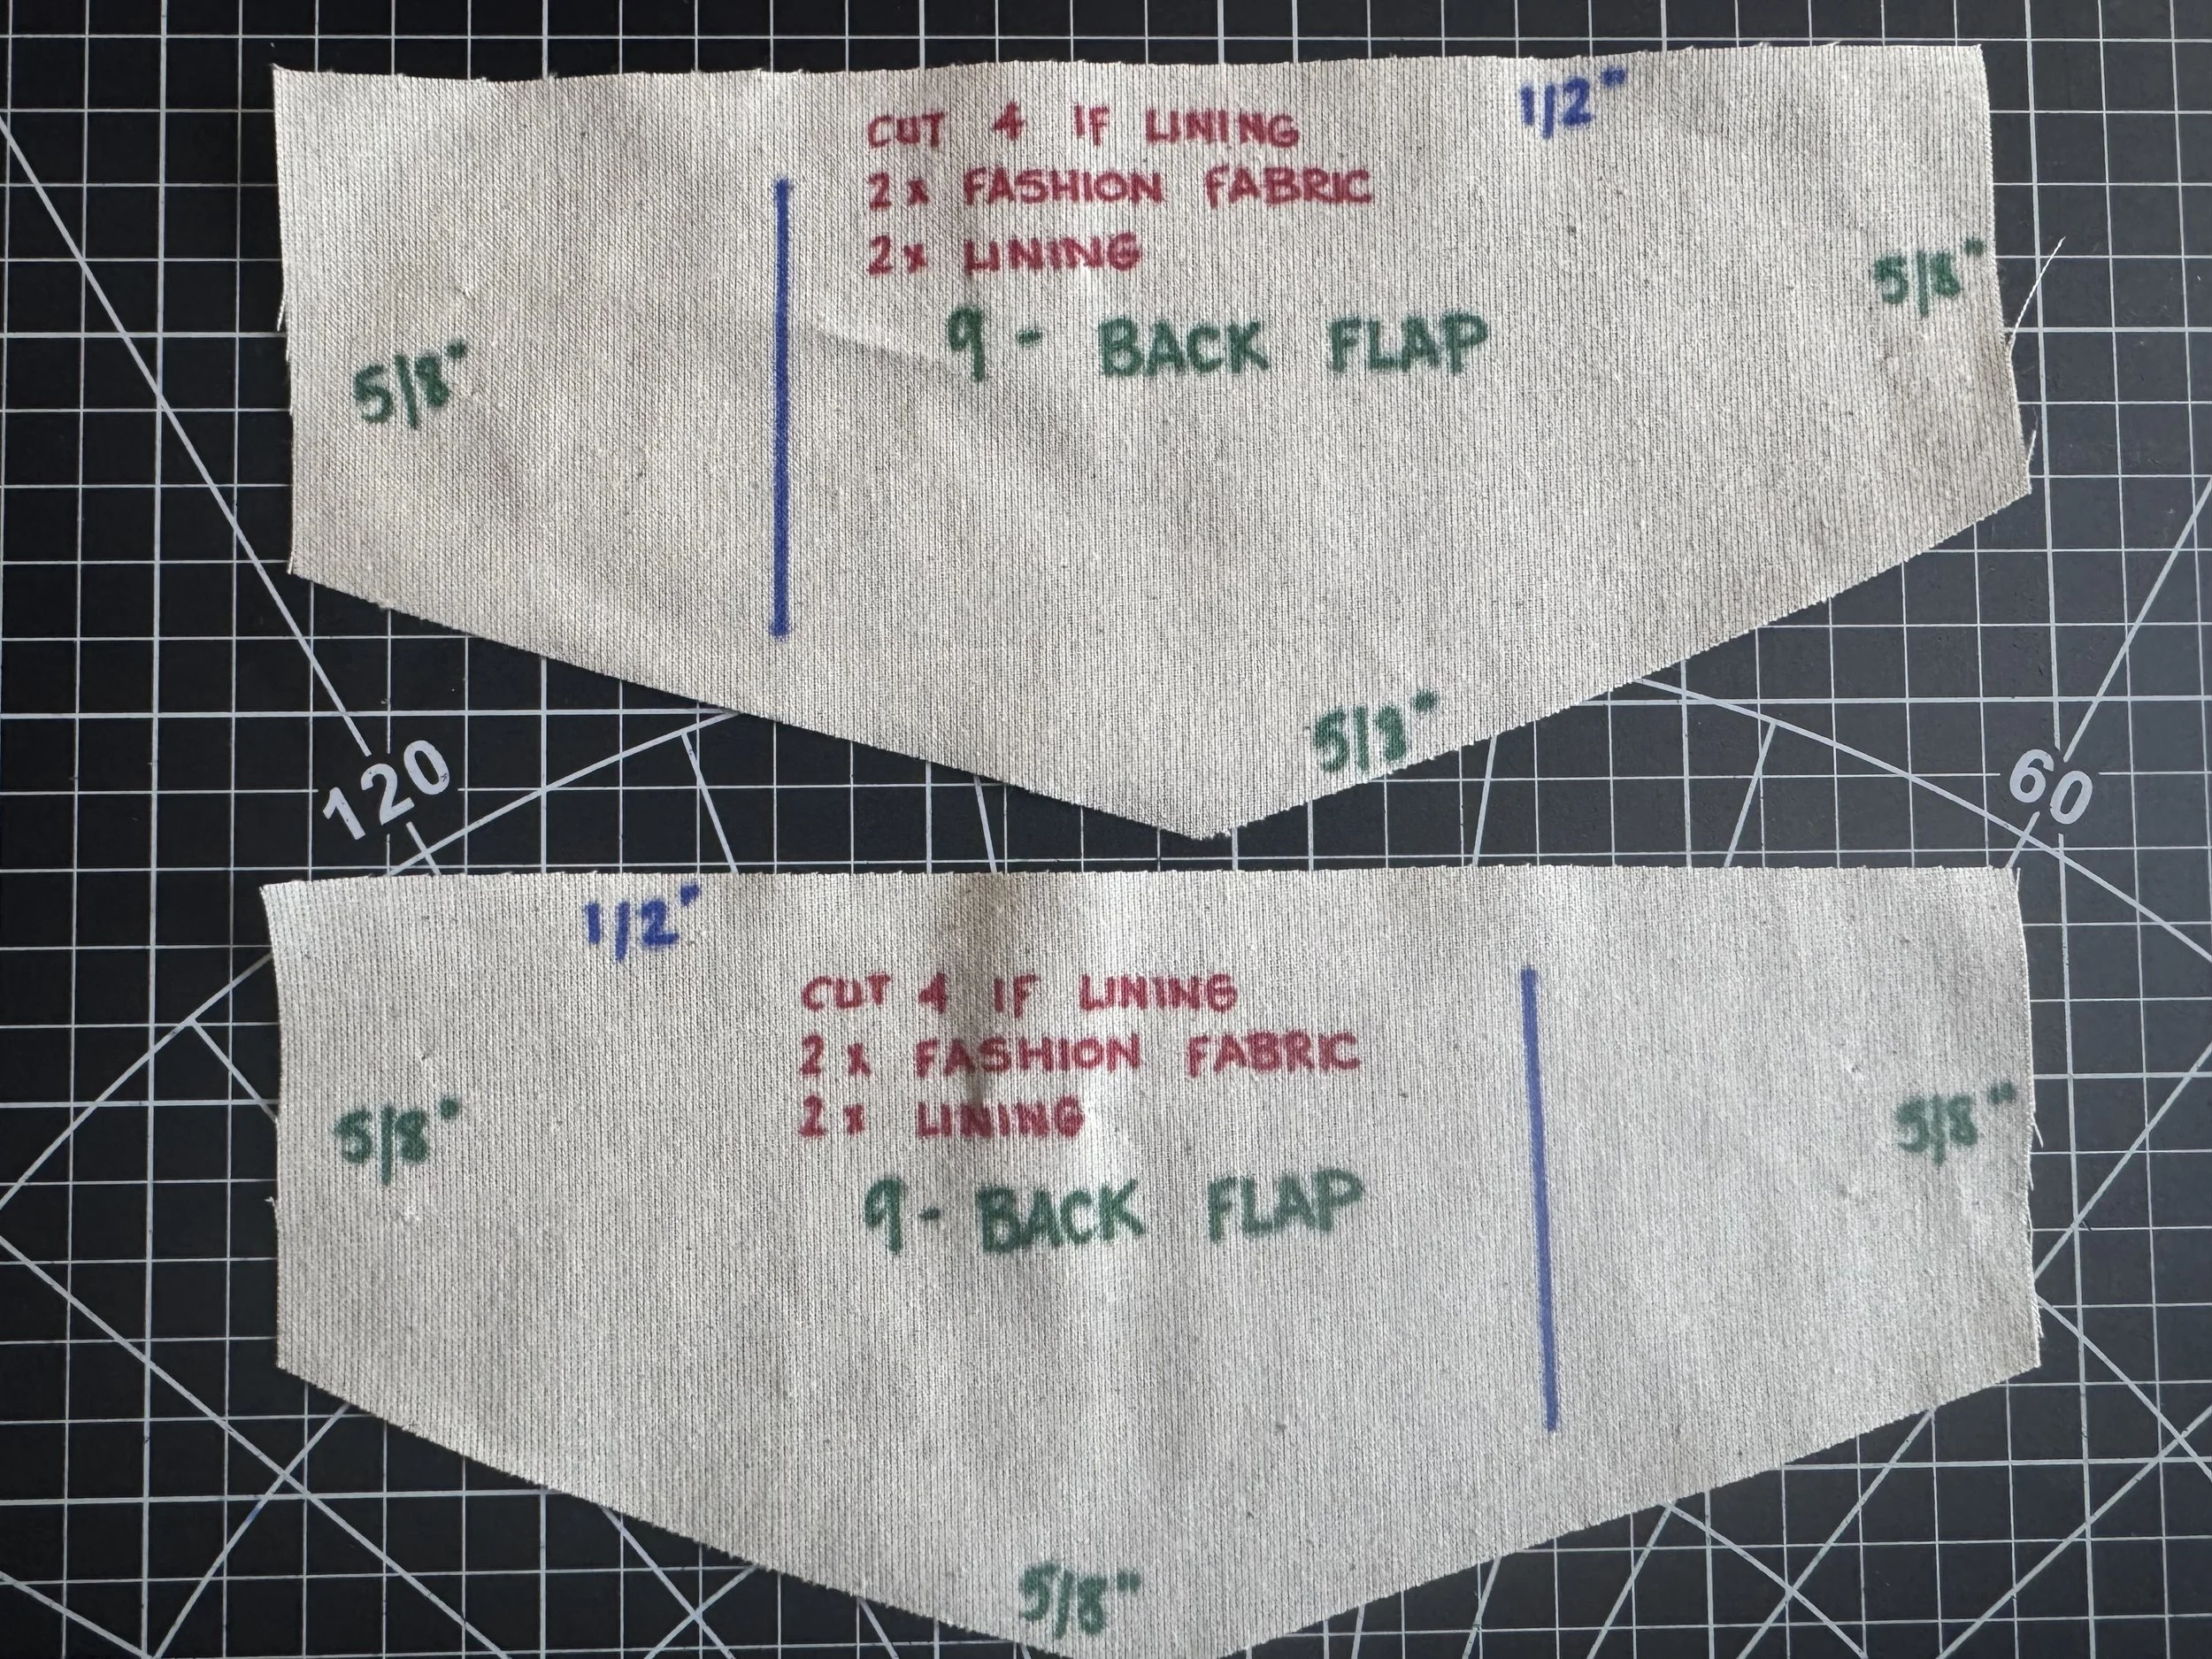
Piece 9 - Back pocket flaps.
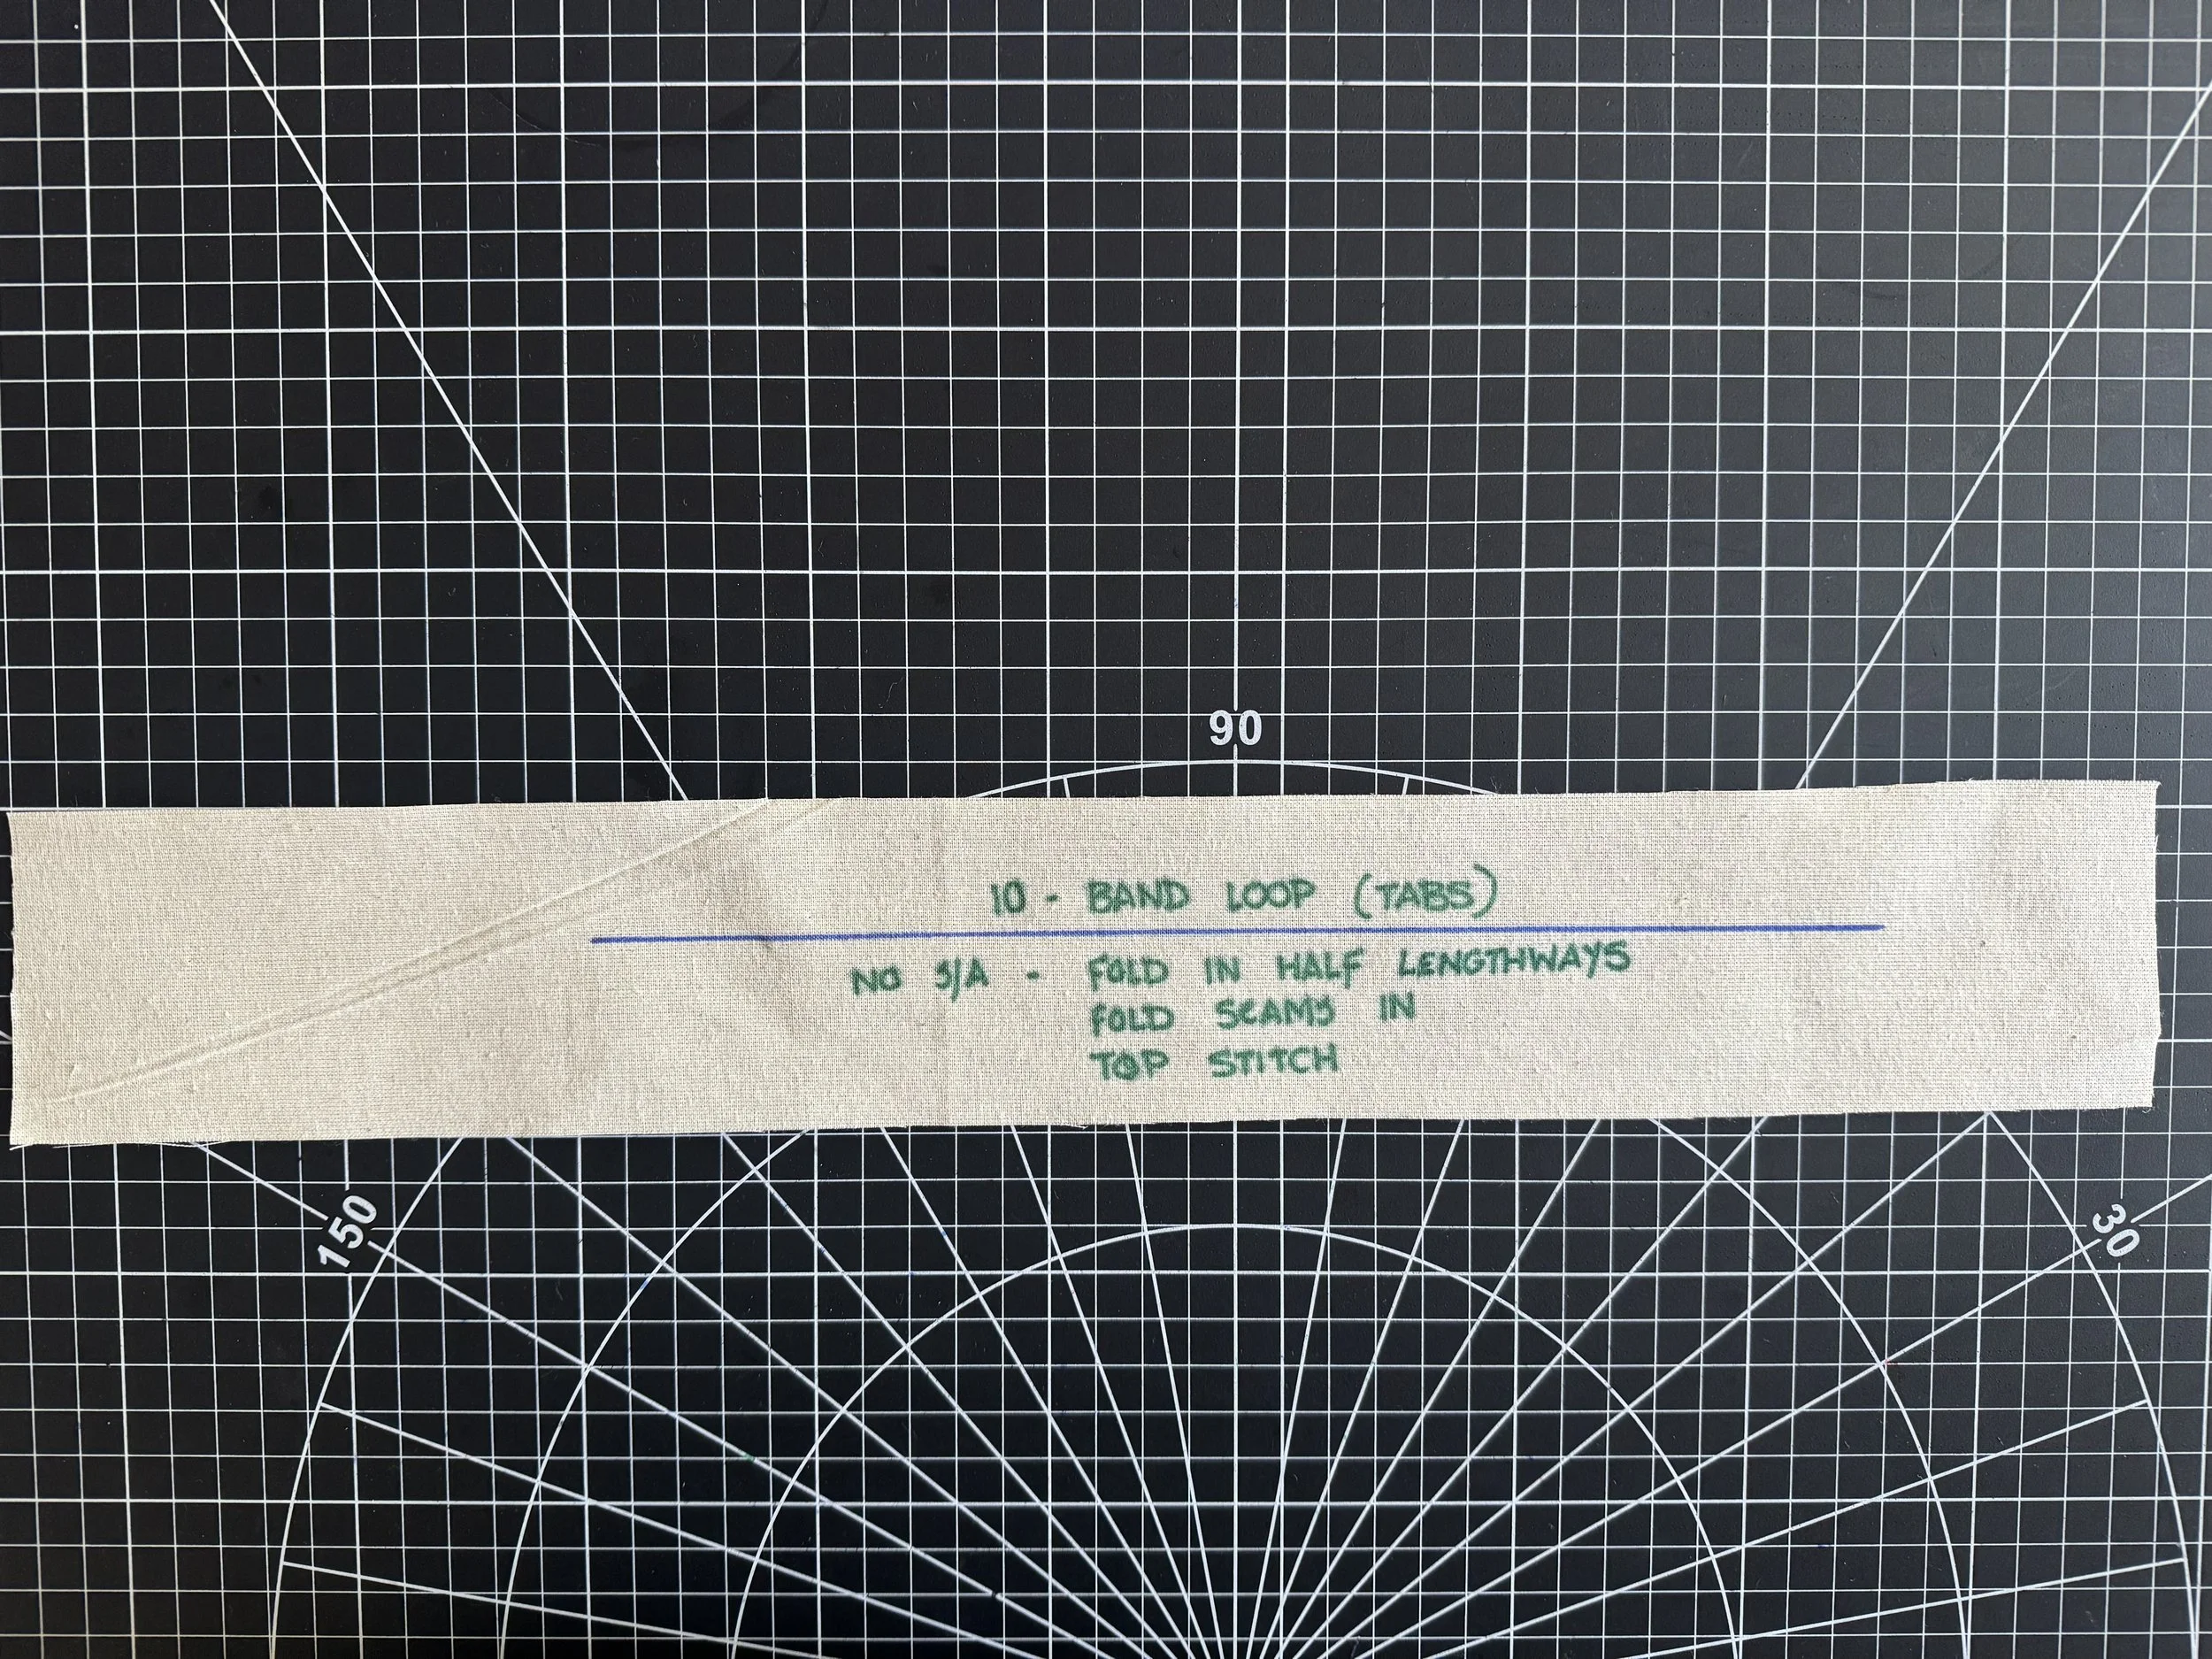
Piece 10 - Belt loops. My skirt used 5 pieces at 3.5” each.
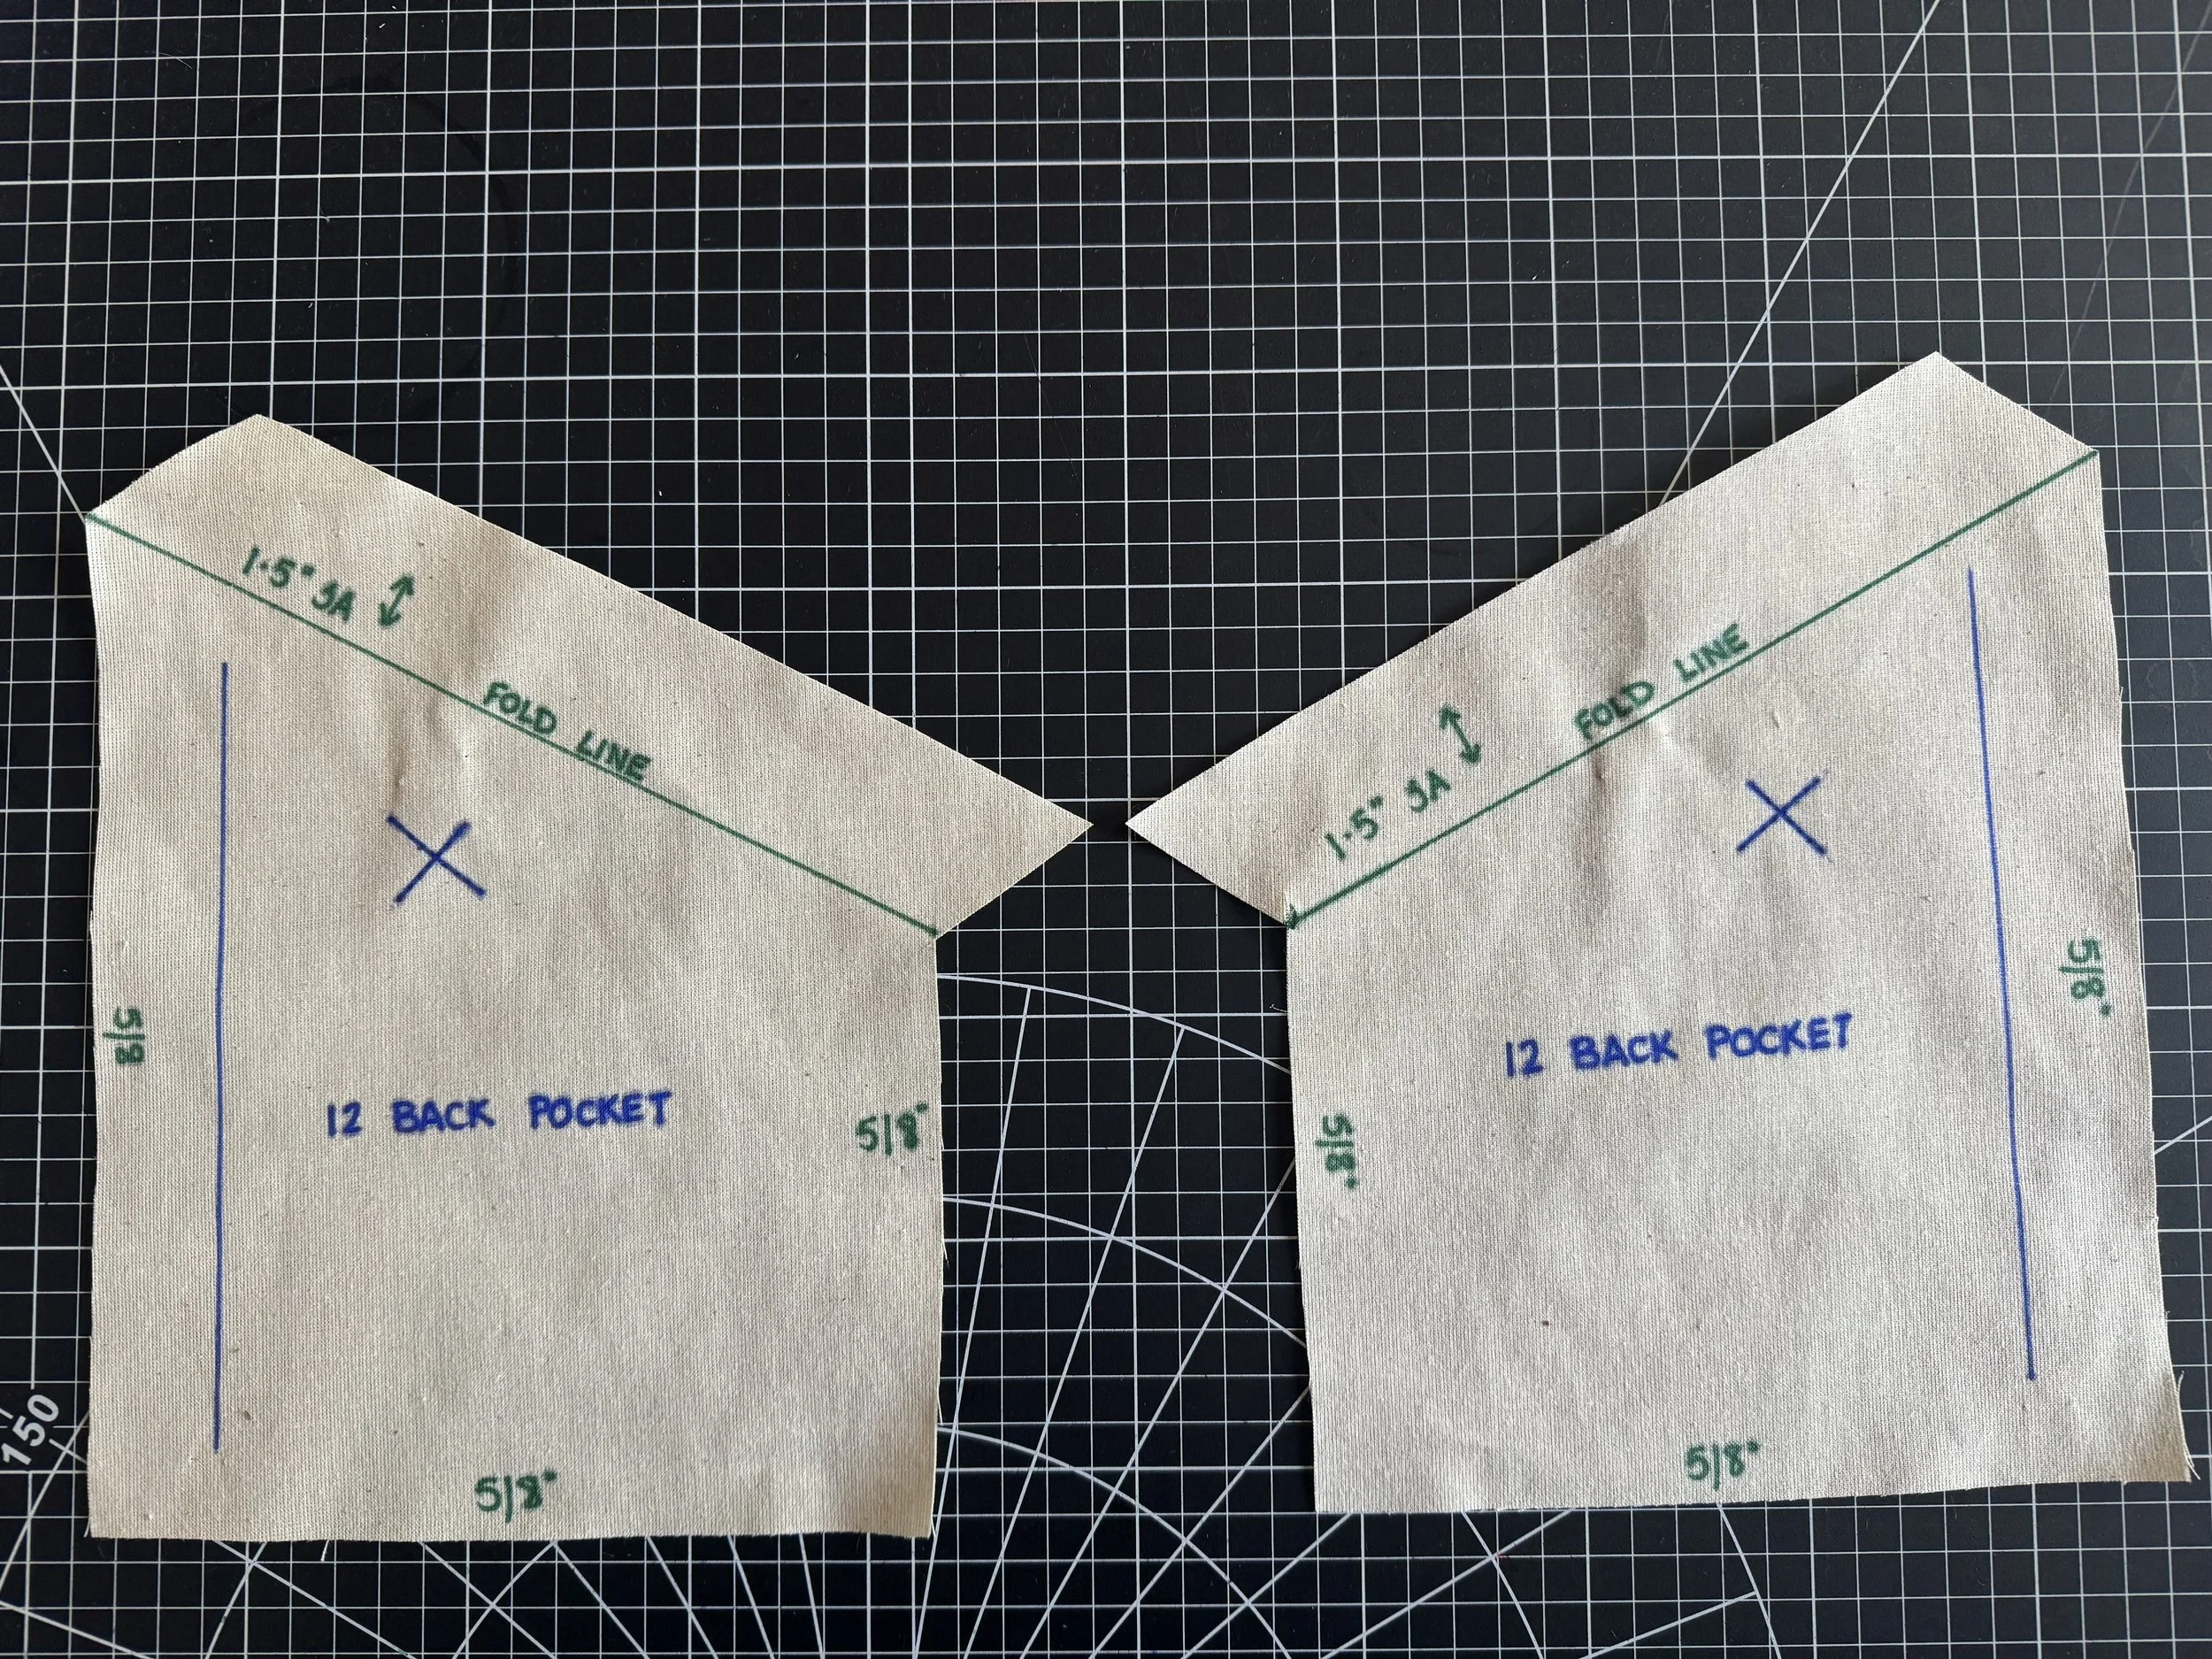
Piece 12 - Back pocket.
There is no piece 11 / It is often mistaken for 1 so we left it out!
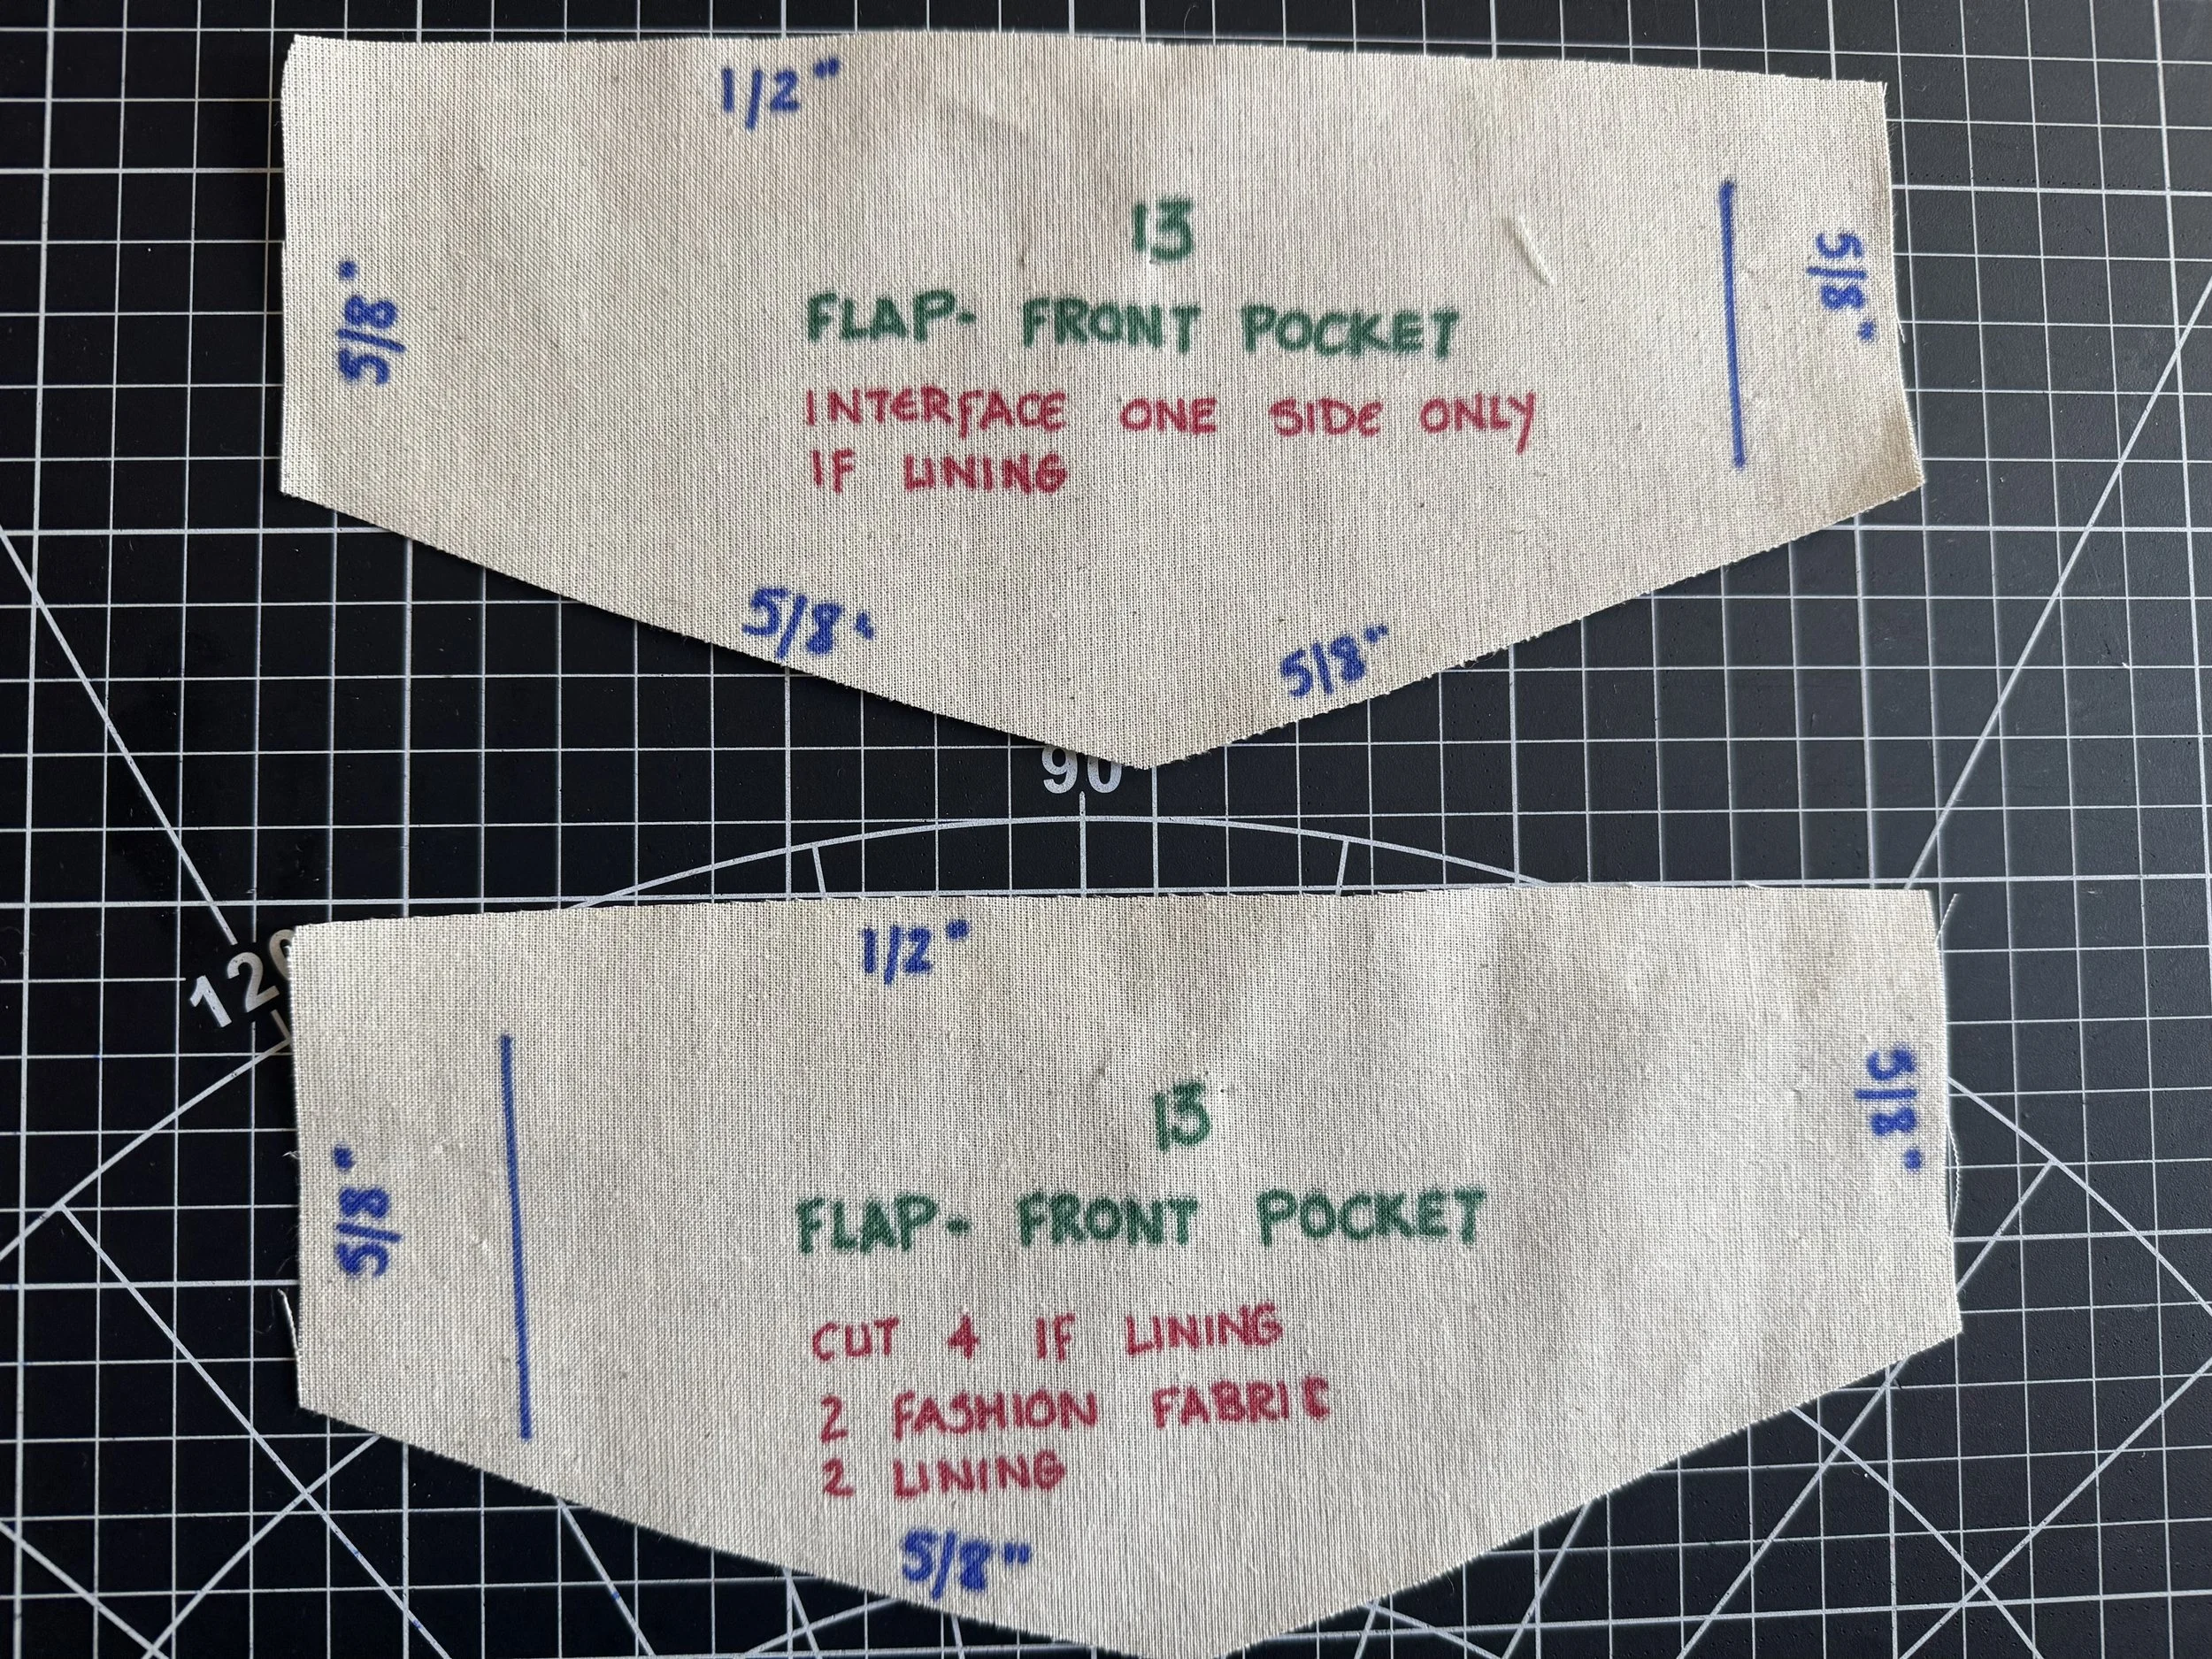
Piece 13 - Front pocket flap.
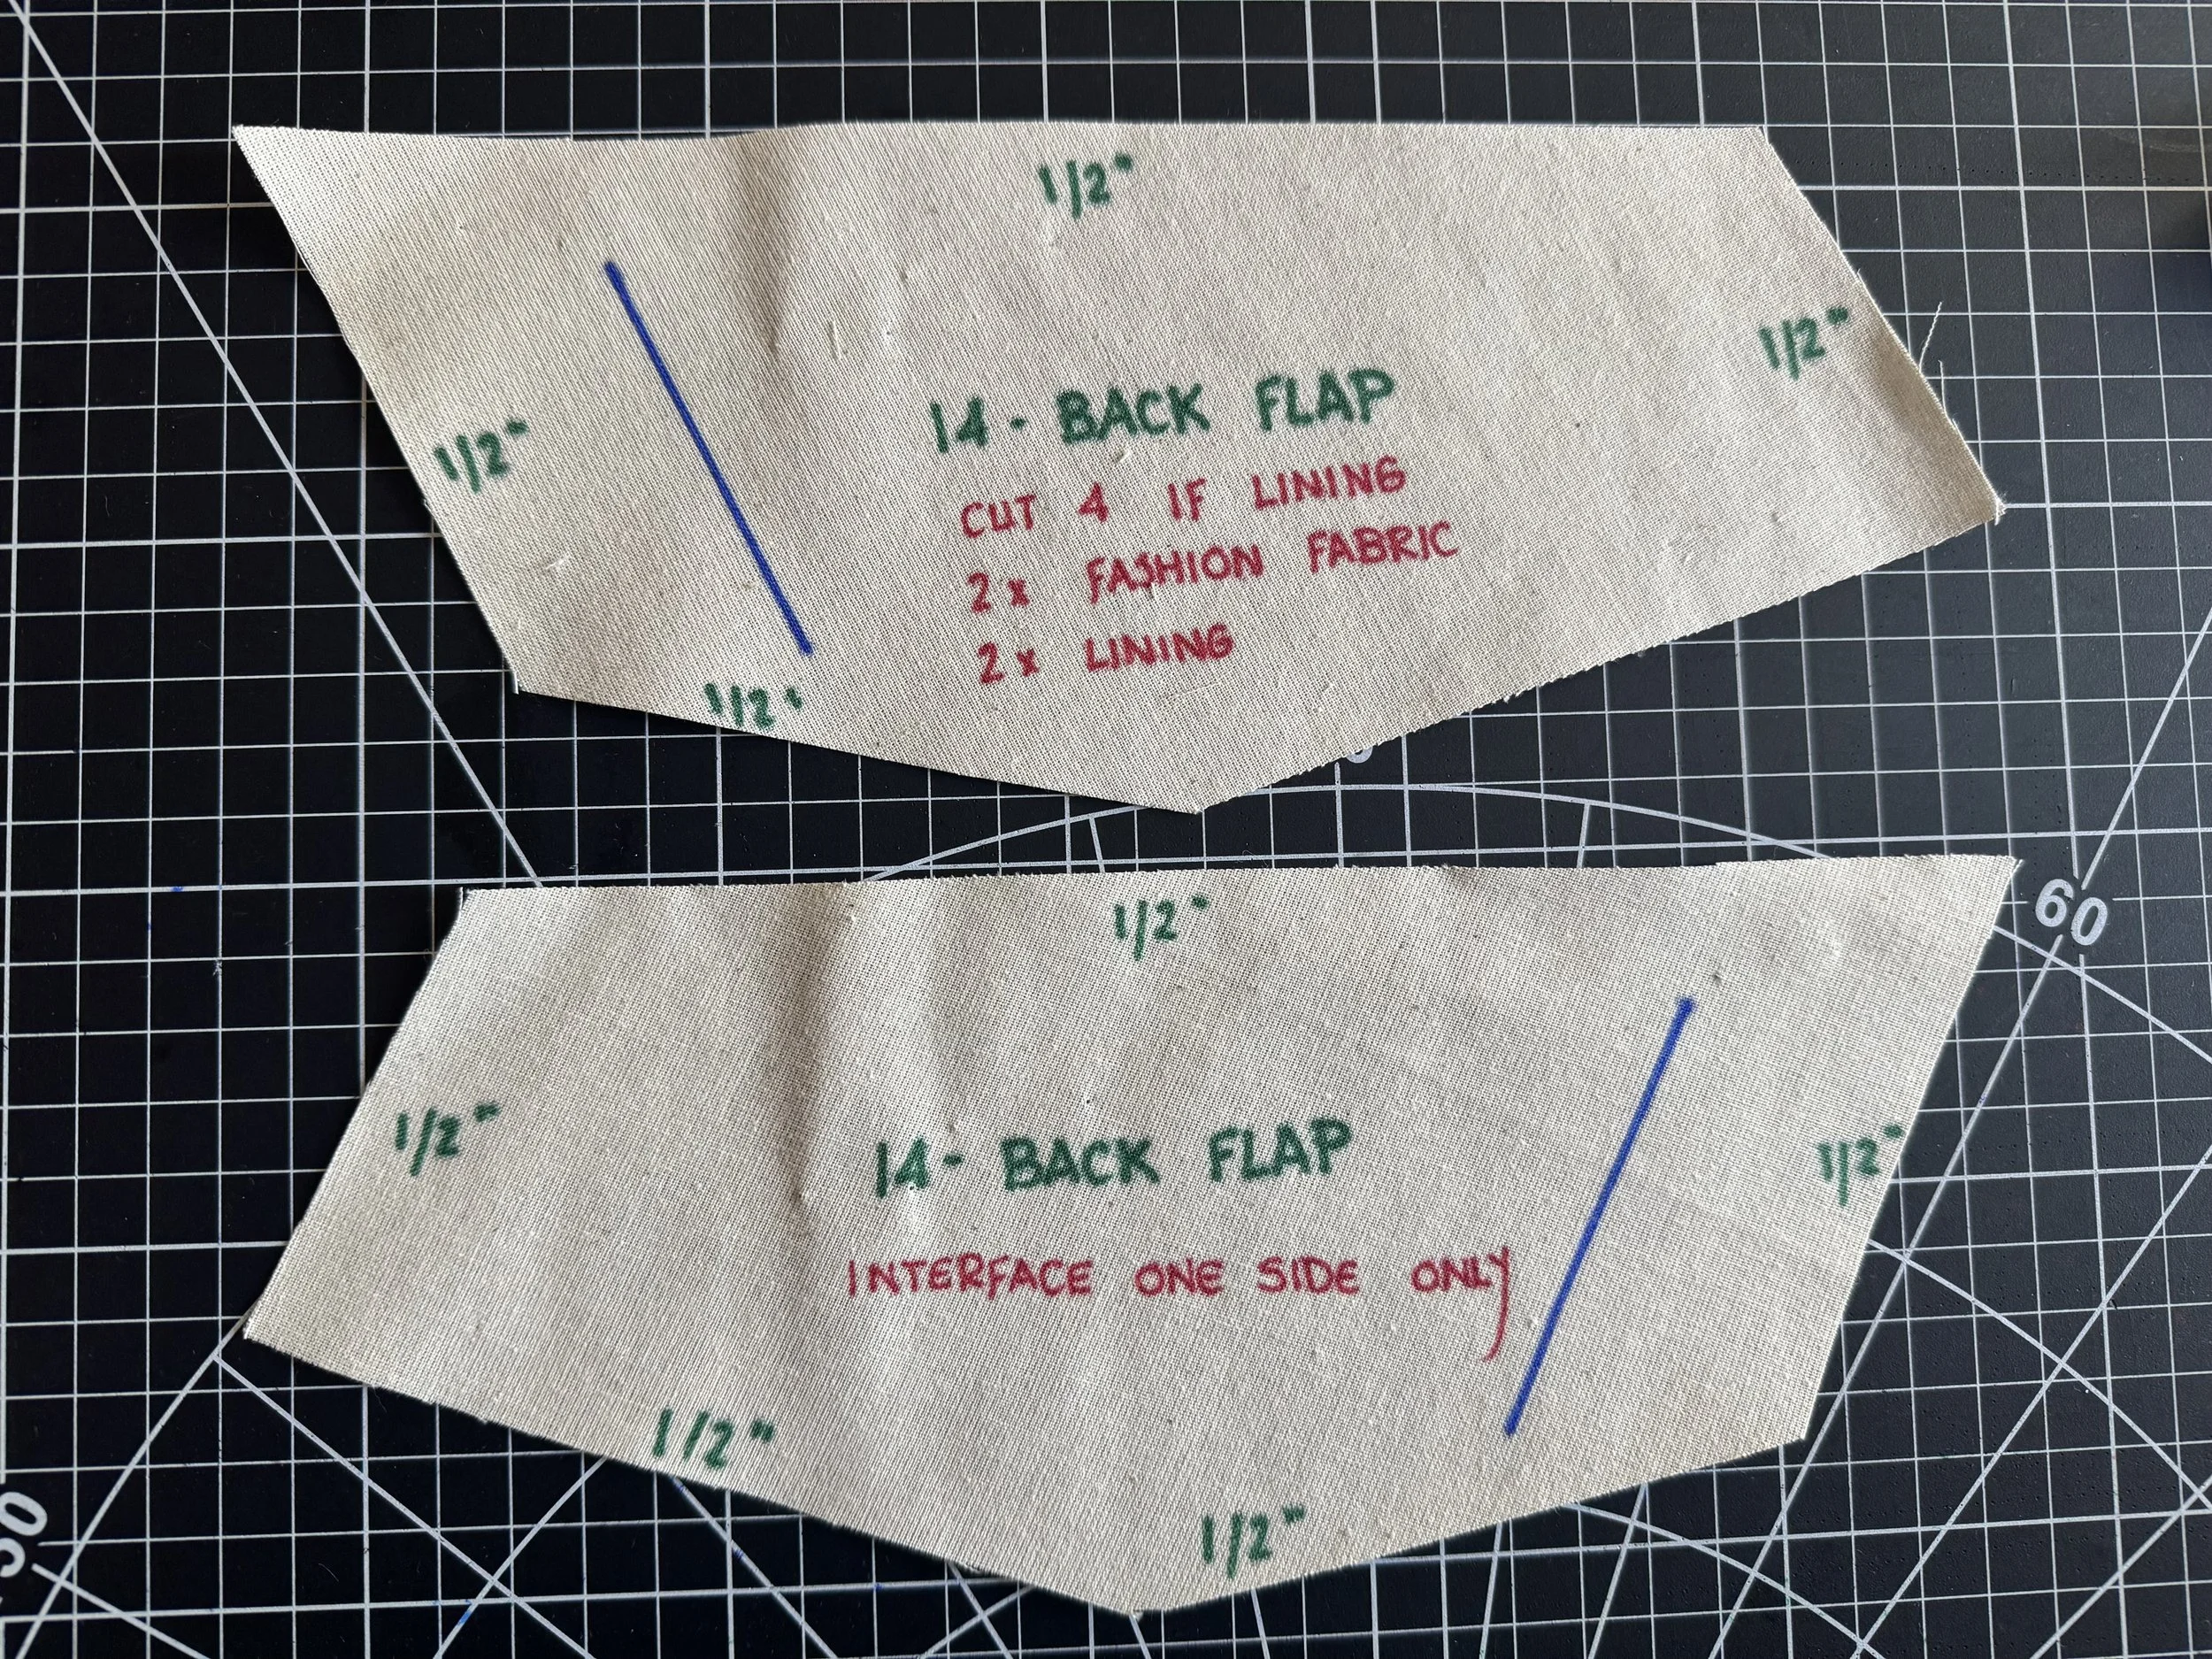
Piece 14 - Back pocket flaps
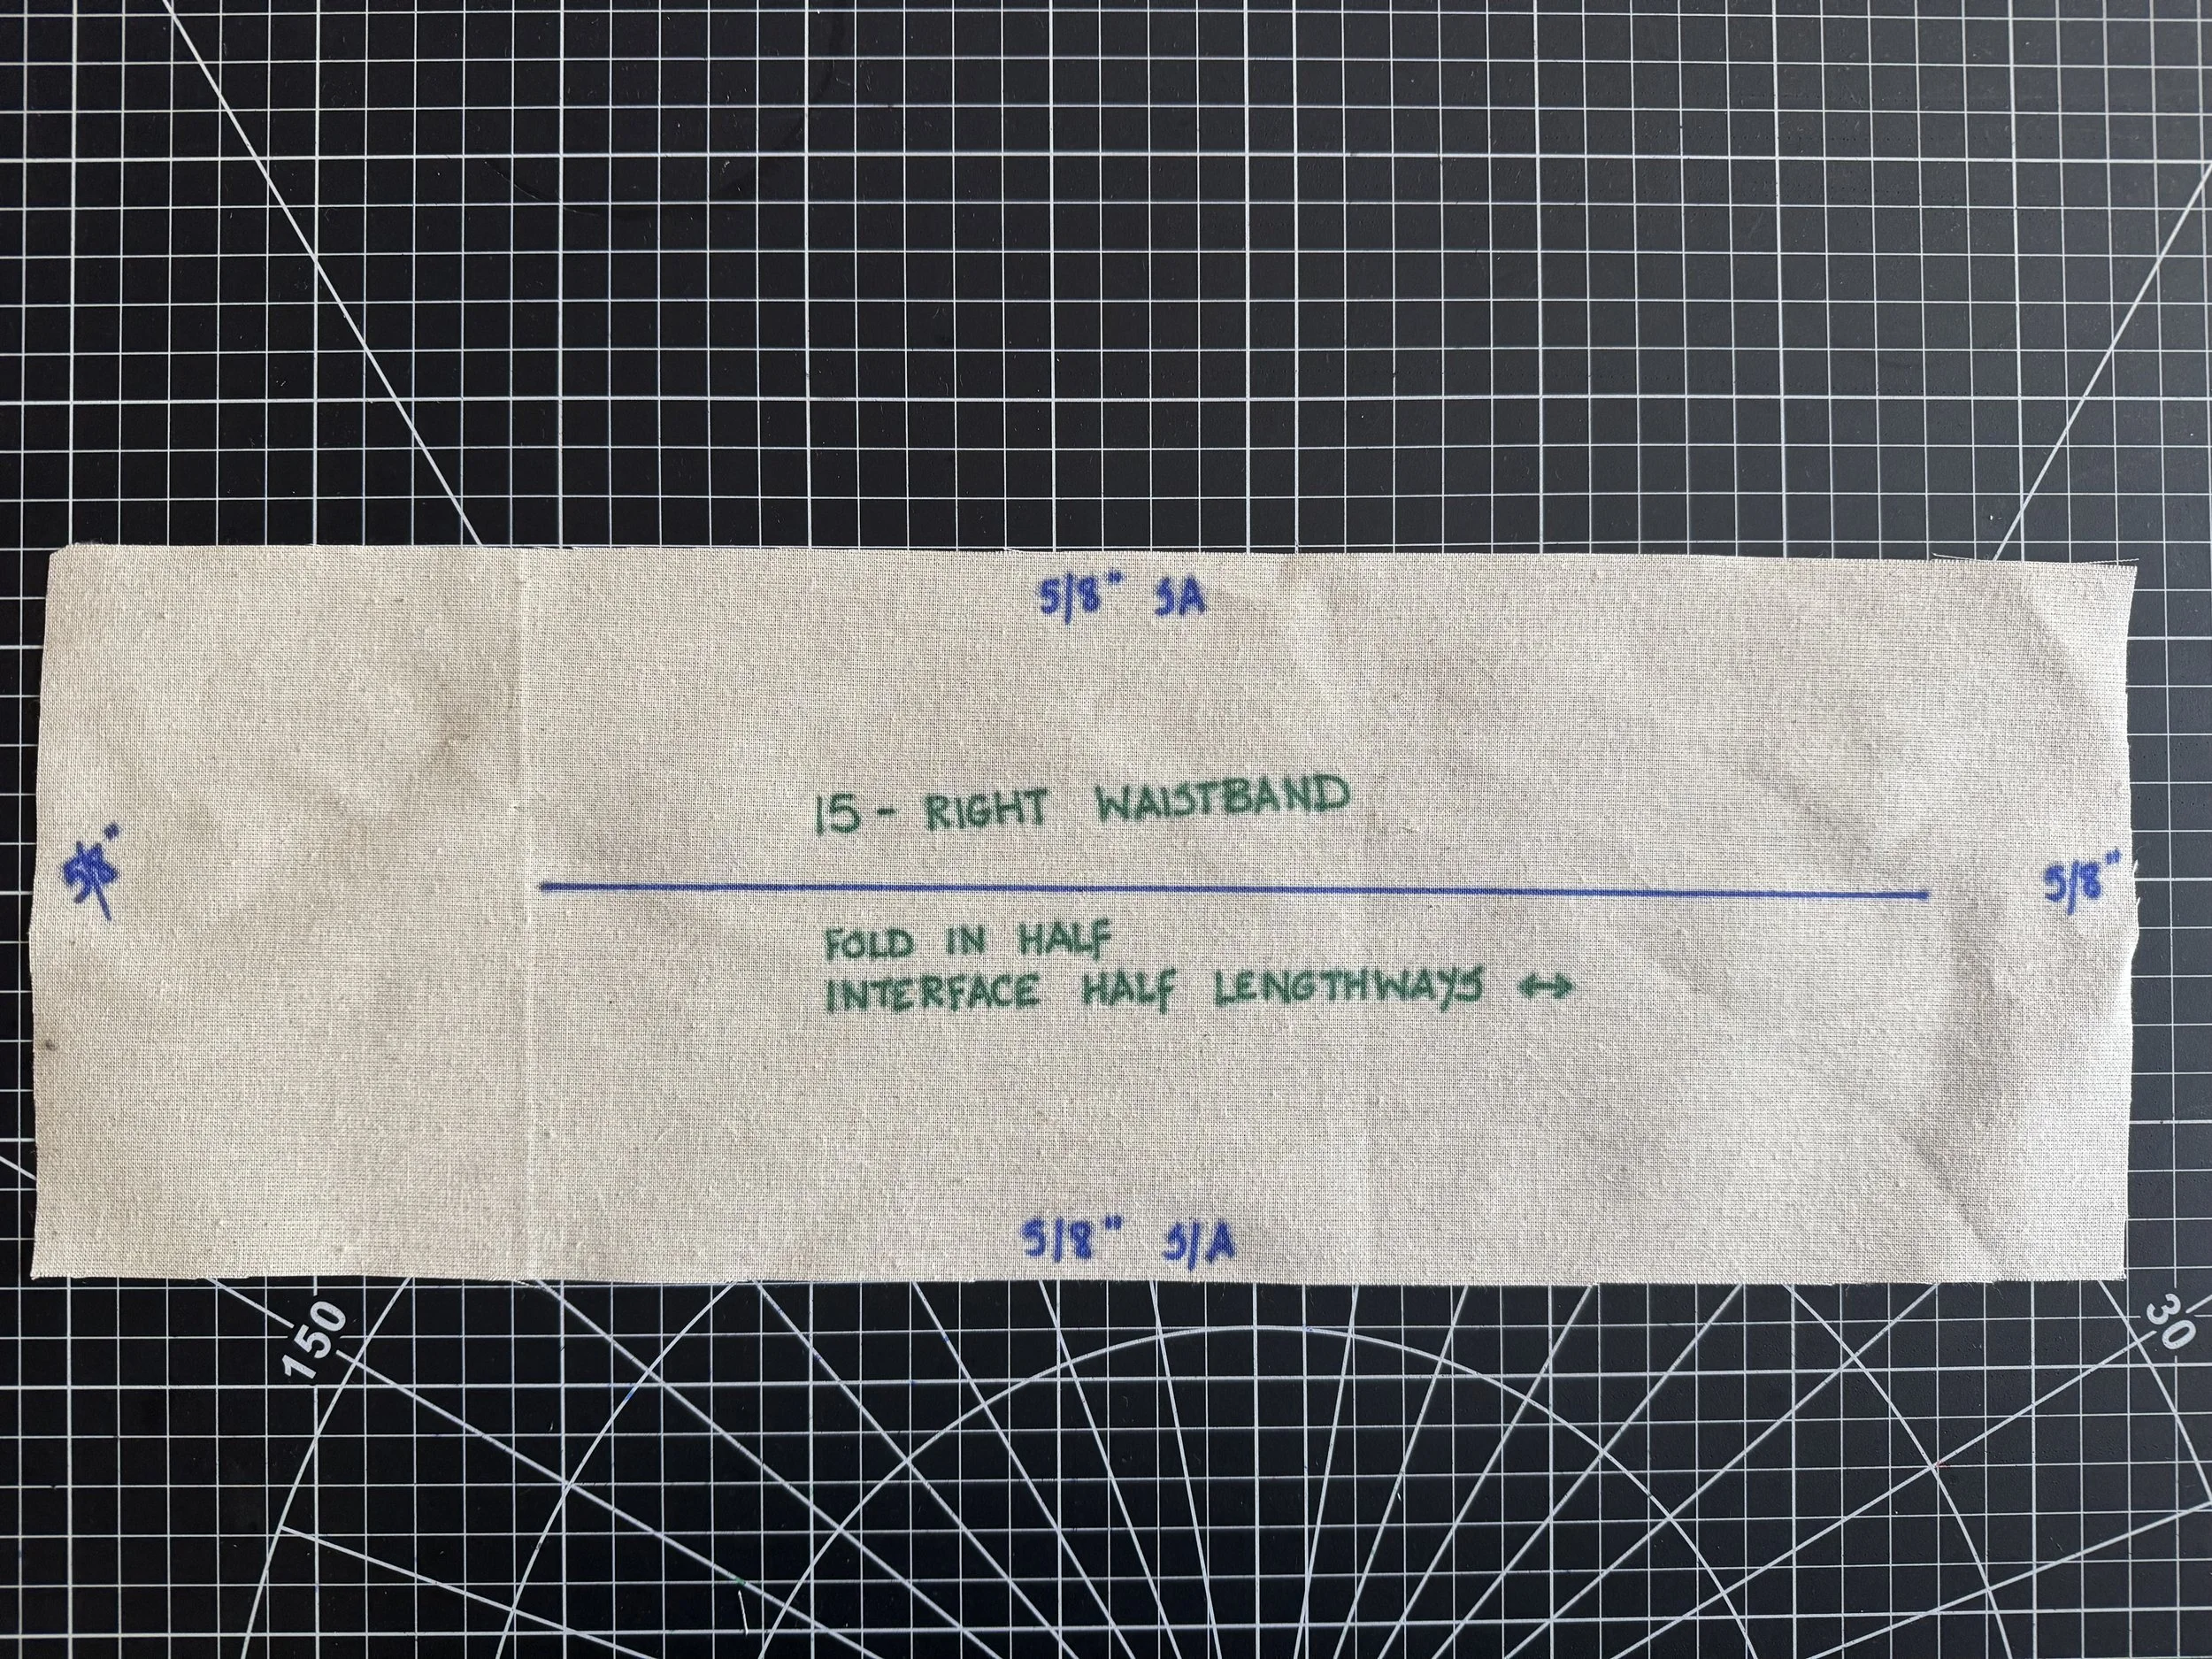
Piece 15 - Right waistband. If interfacing, add to half the length only.
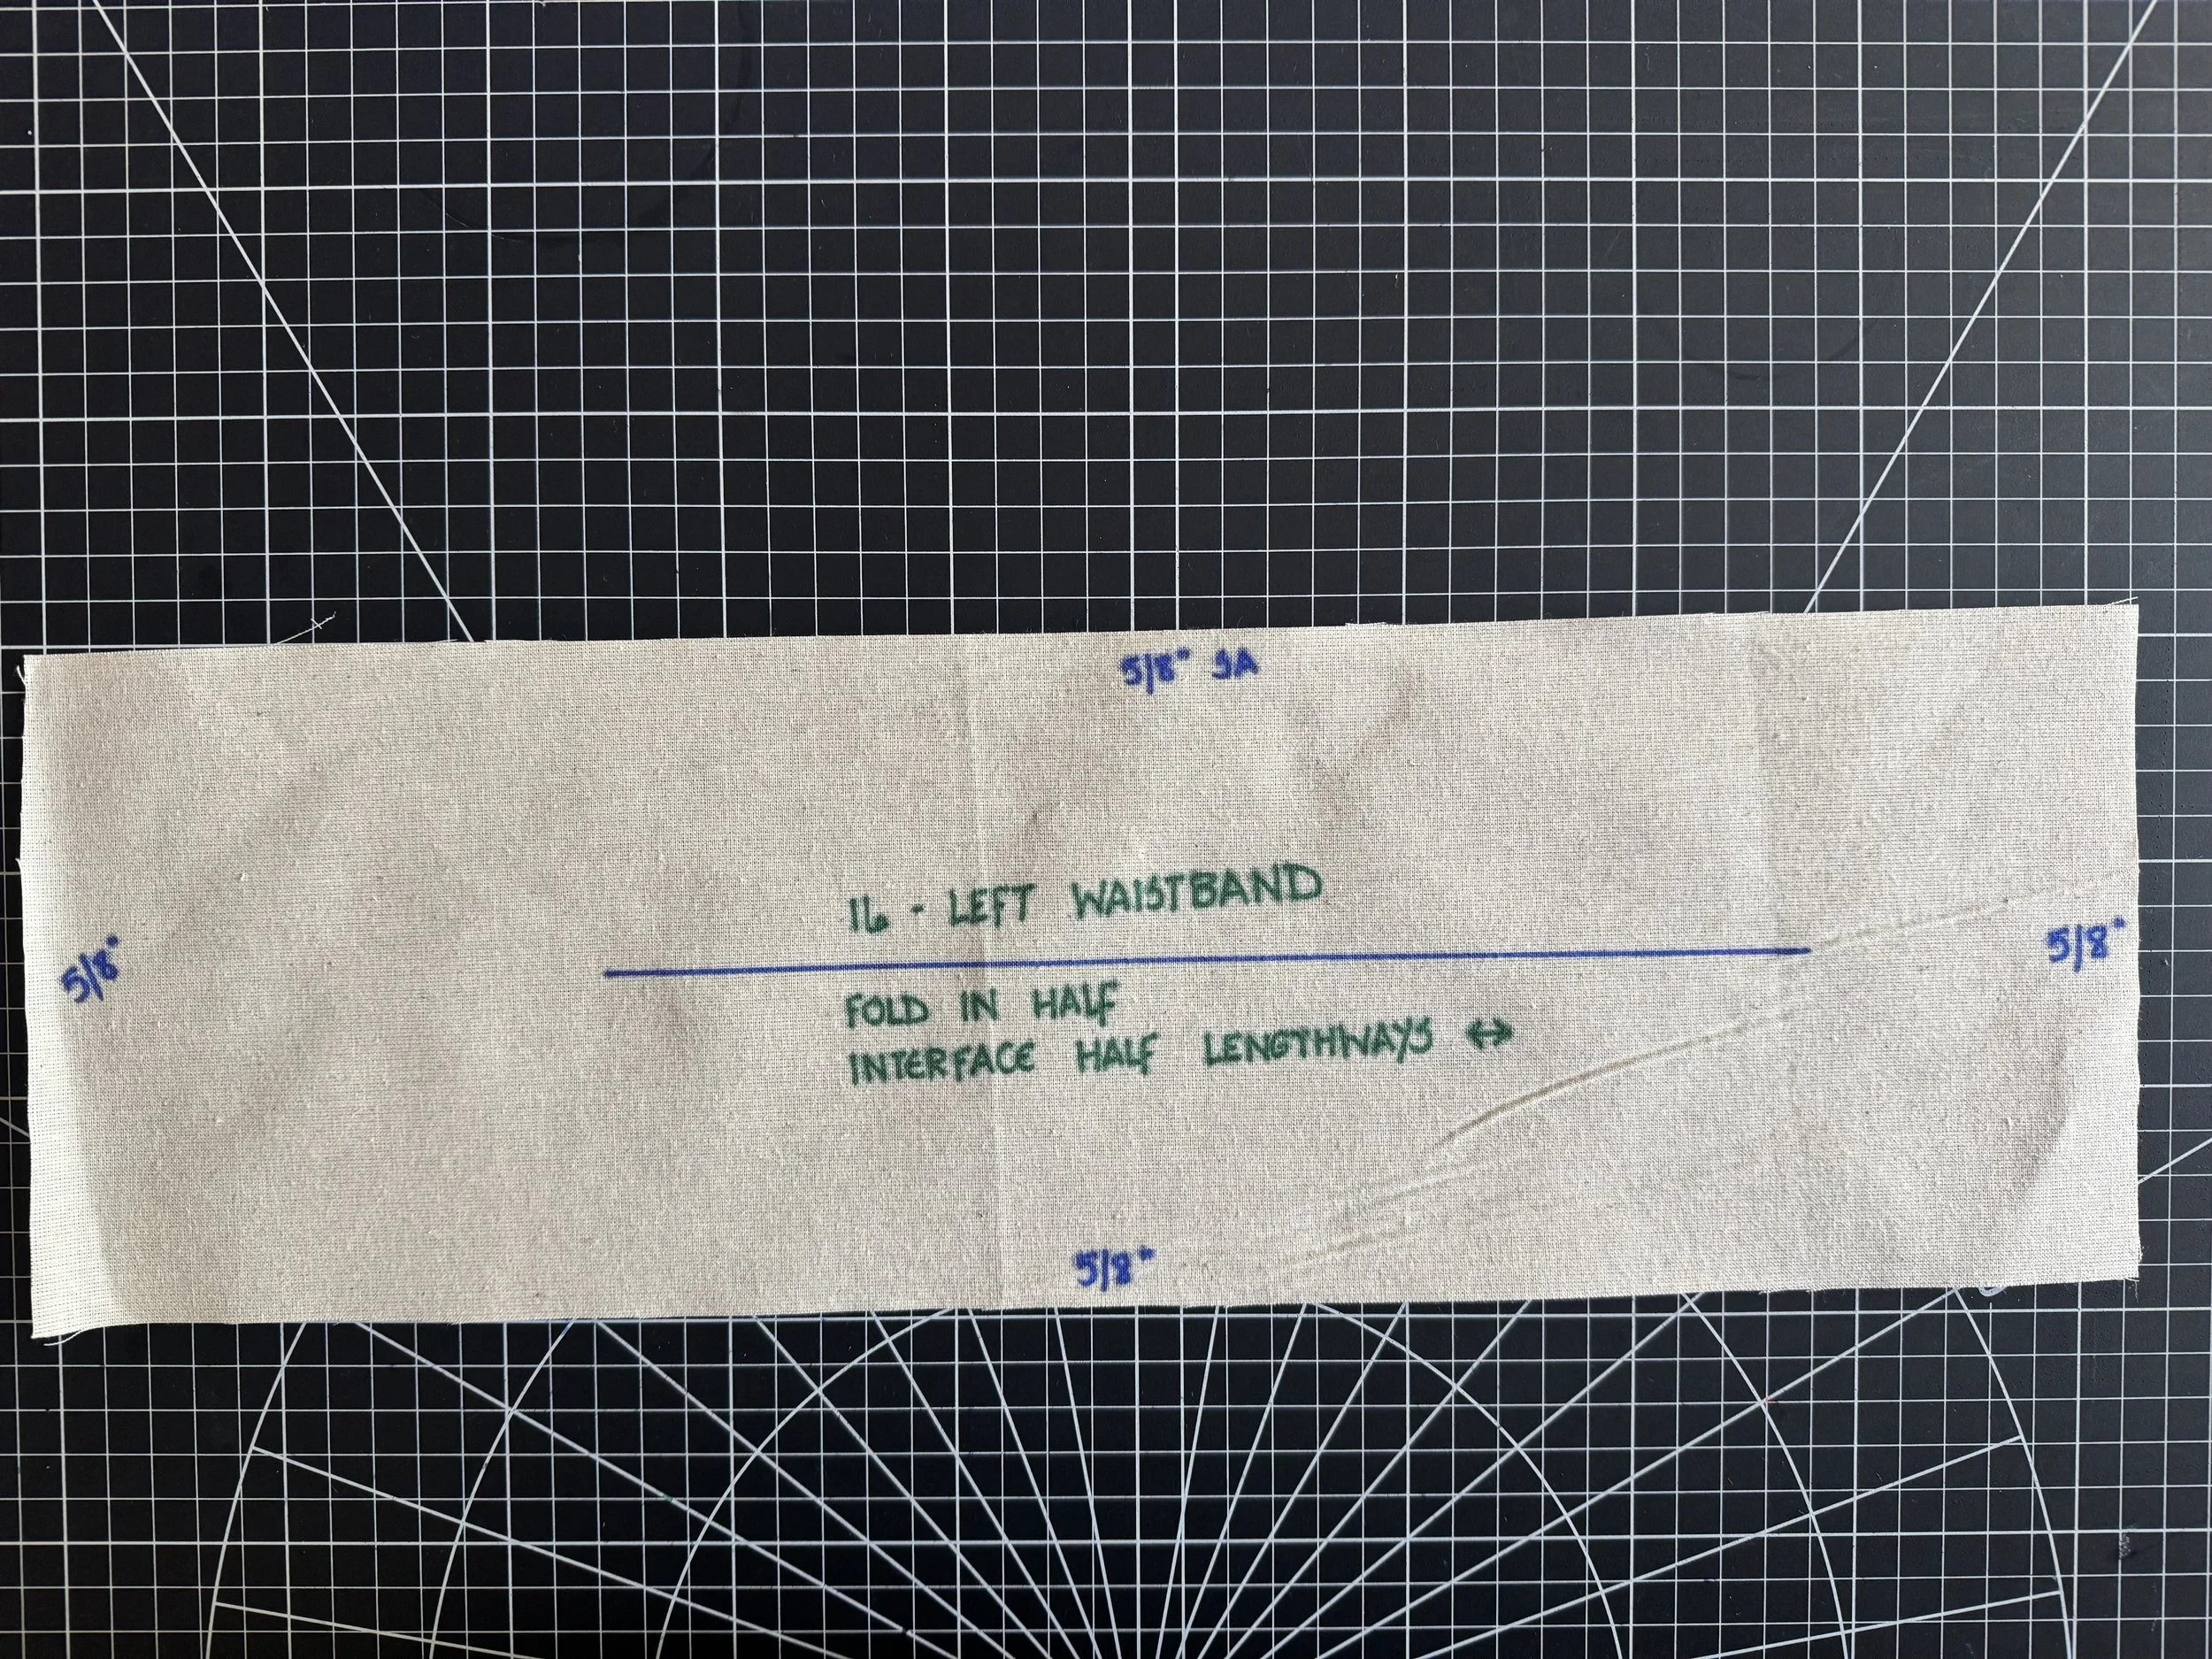
Piece 16 - Left waistband. Again, if interfacing add to half the length only.
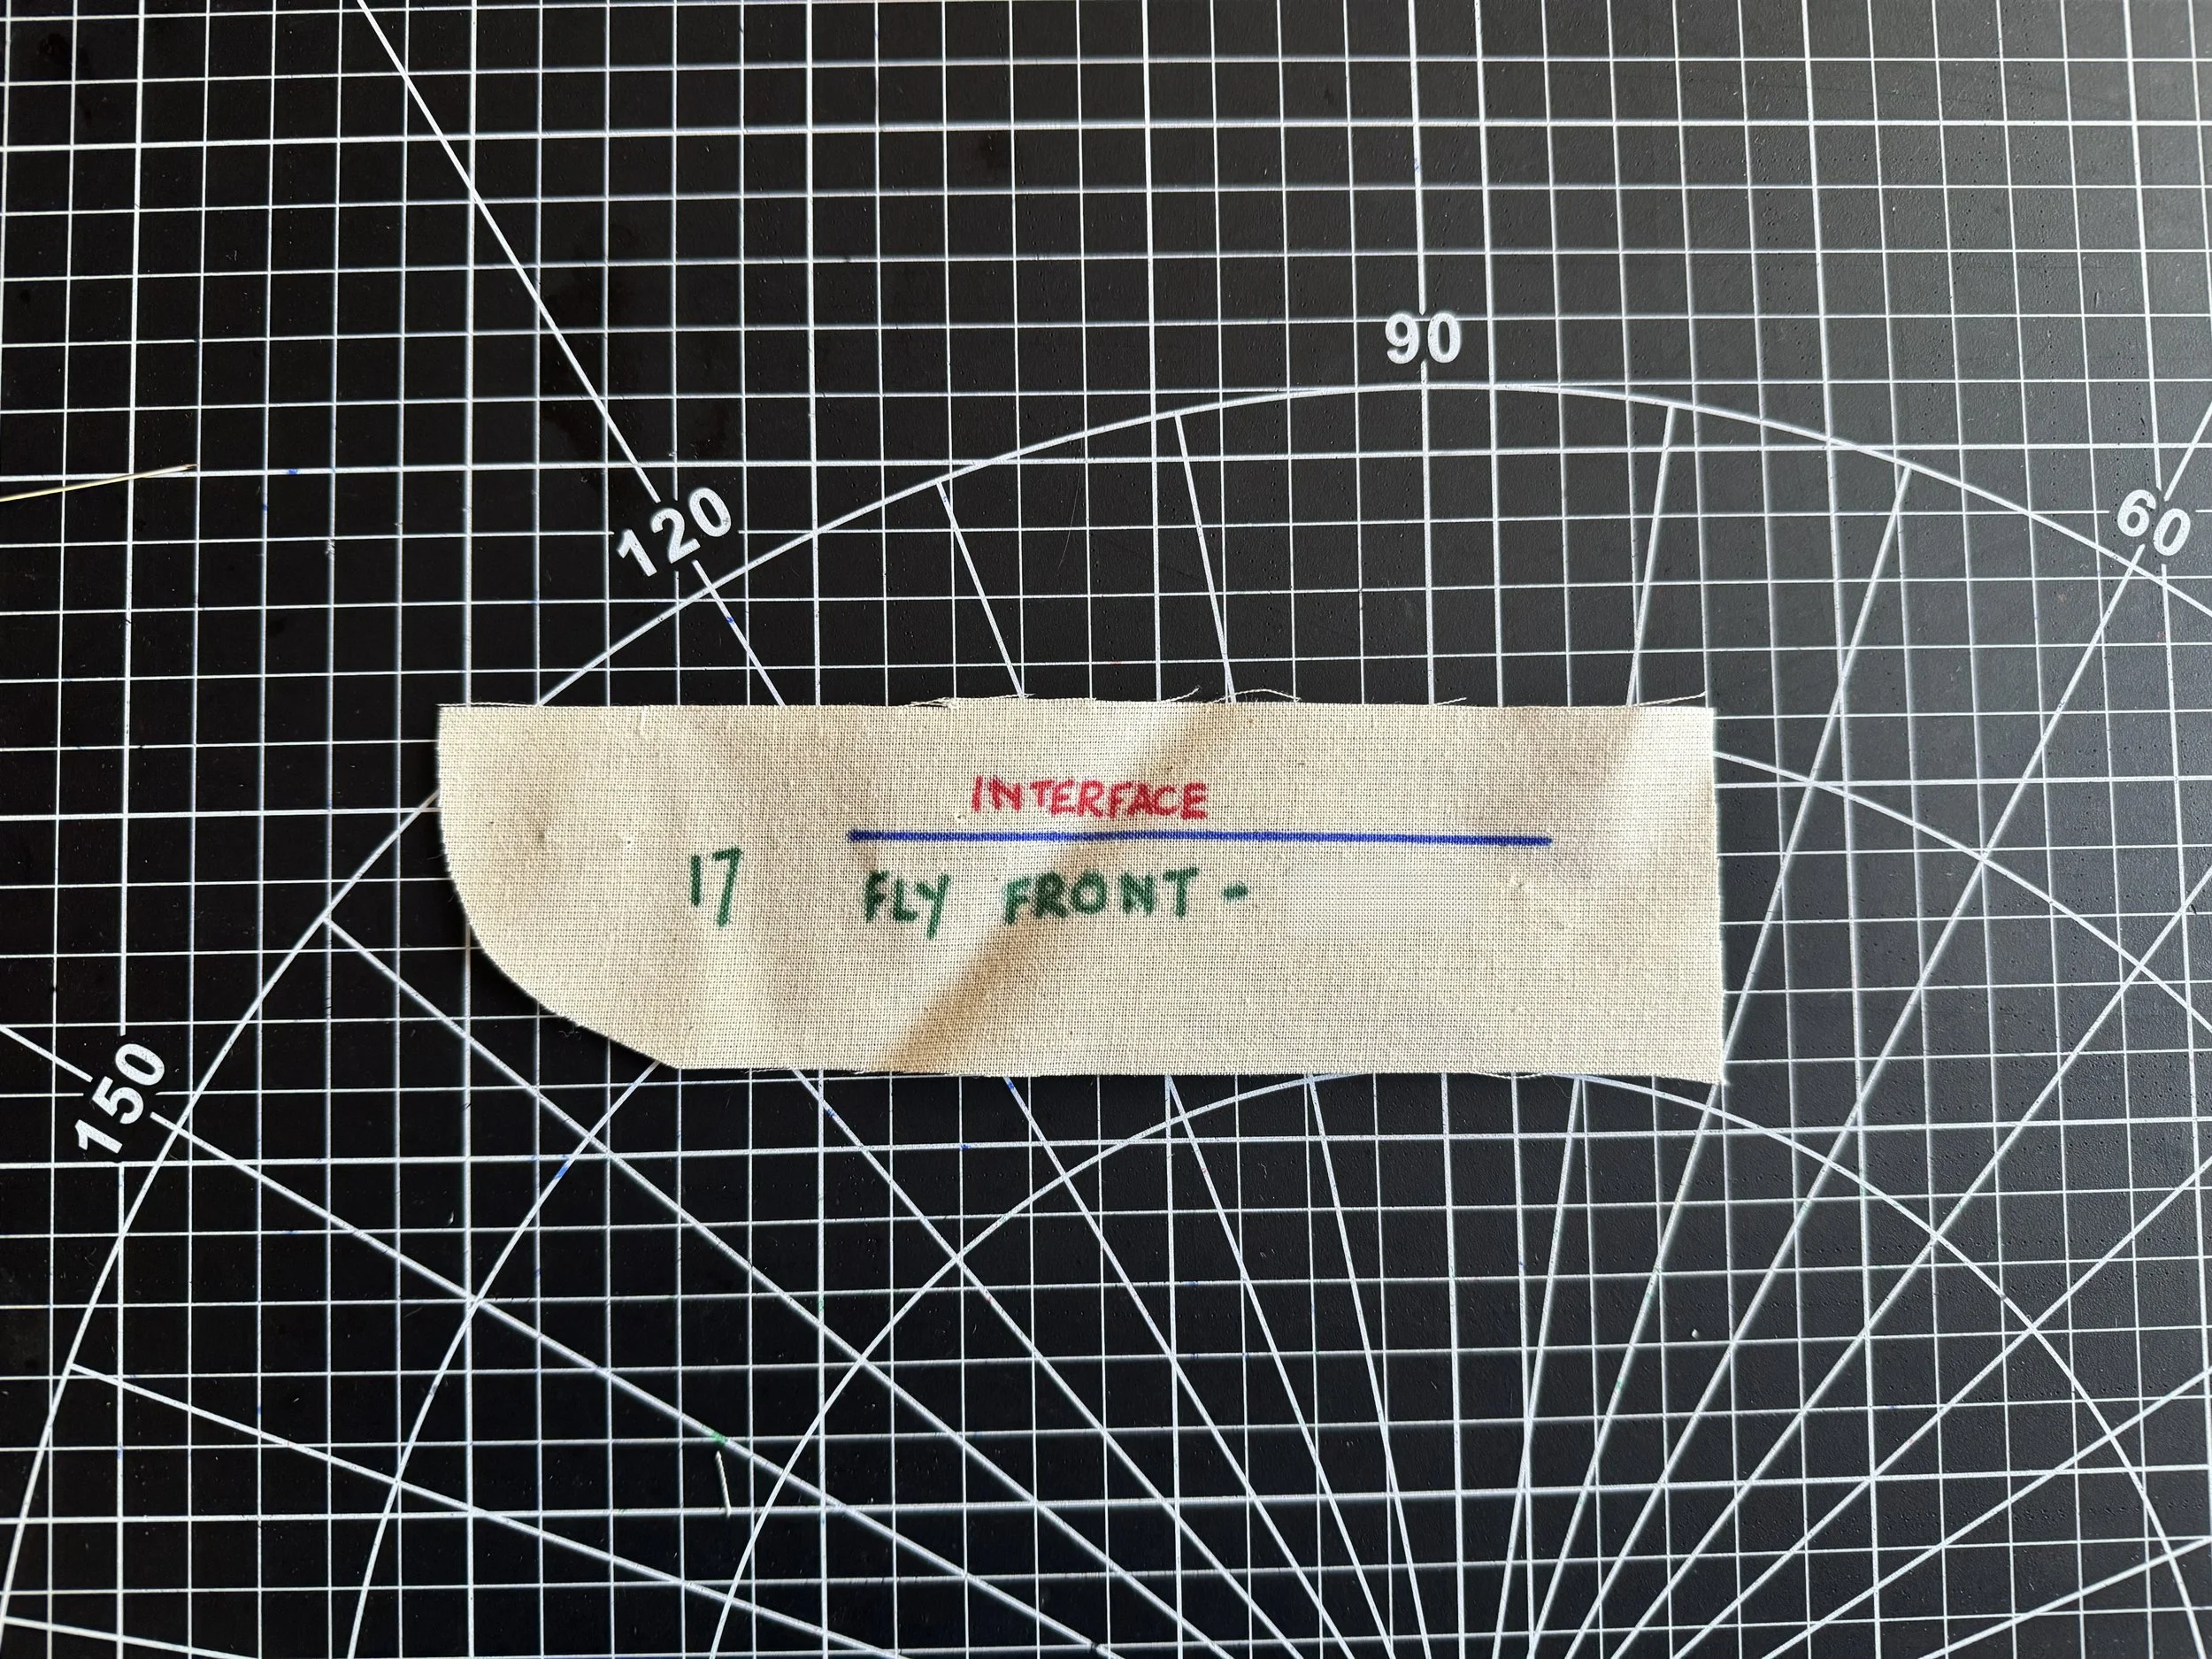
Piece 17 - Fly front / right only. While it says cut 1 - if your fabric is lightweight or you prefer not to see interfacing, cut 2 either in your fashion fabric or in a lighter lining fabric.
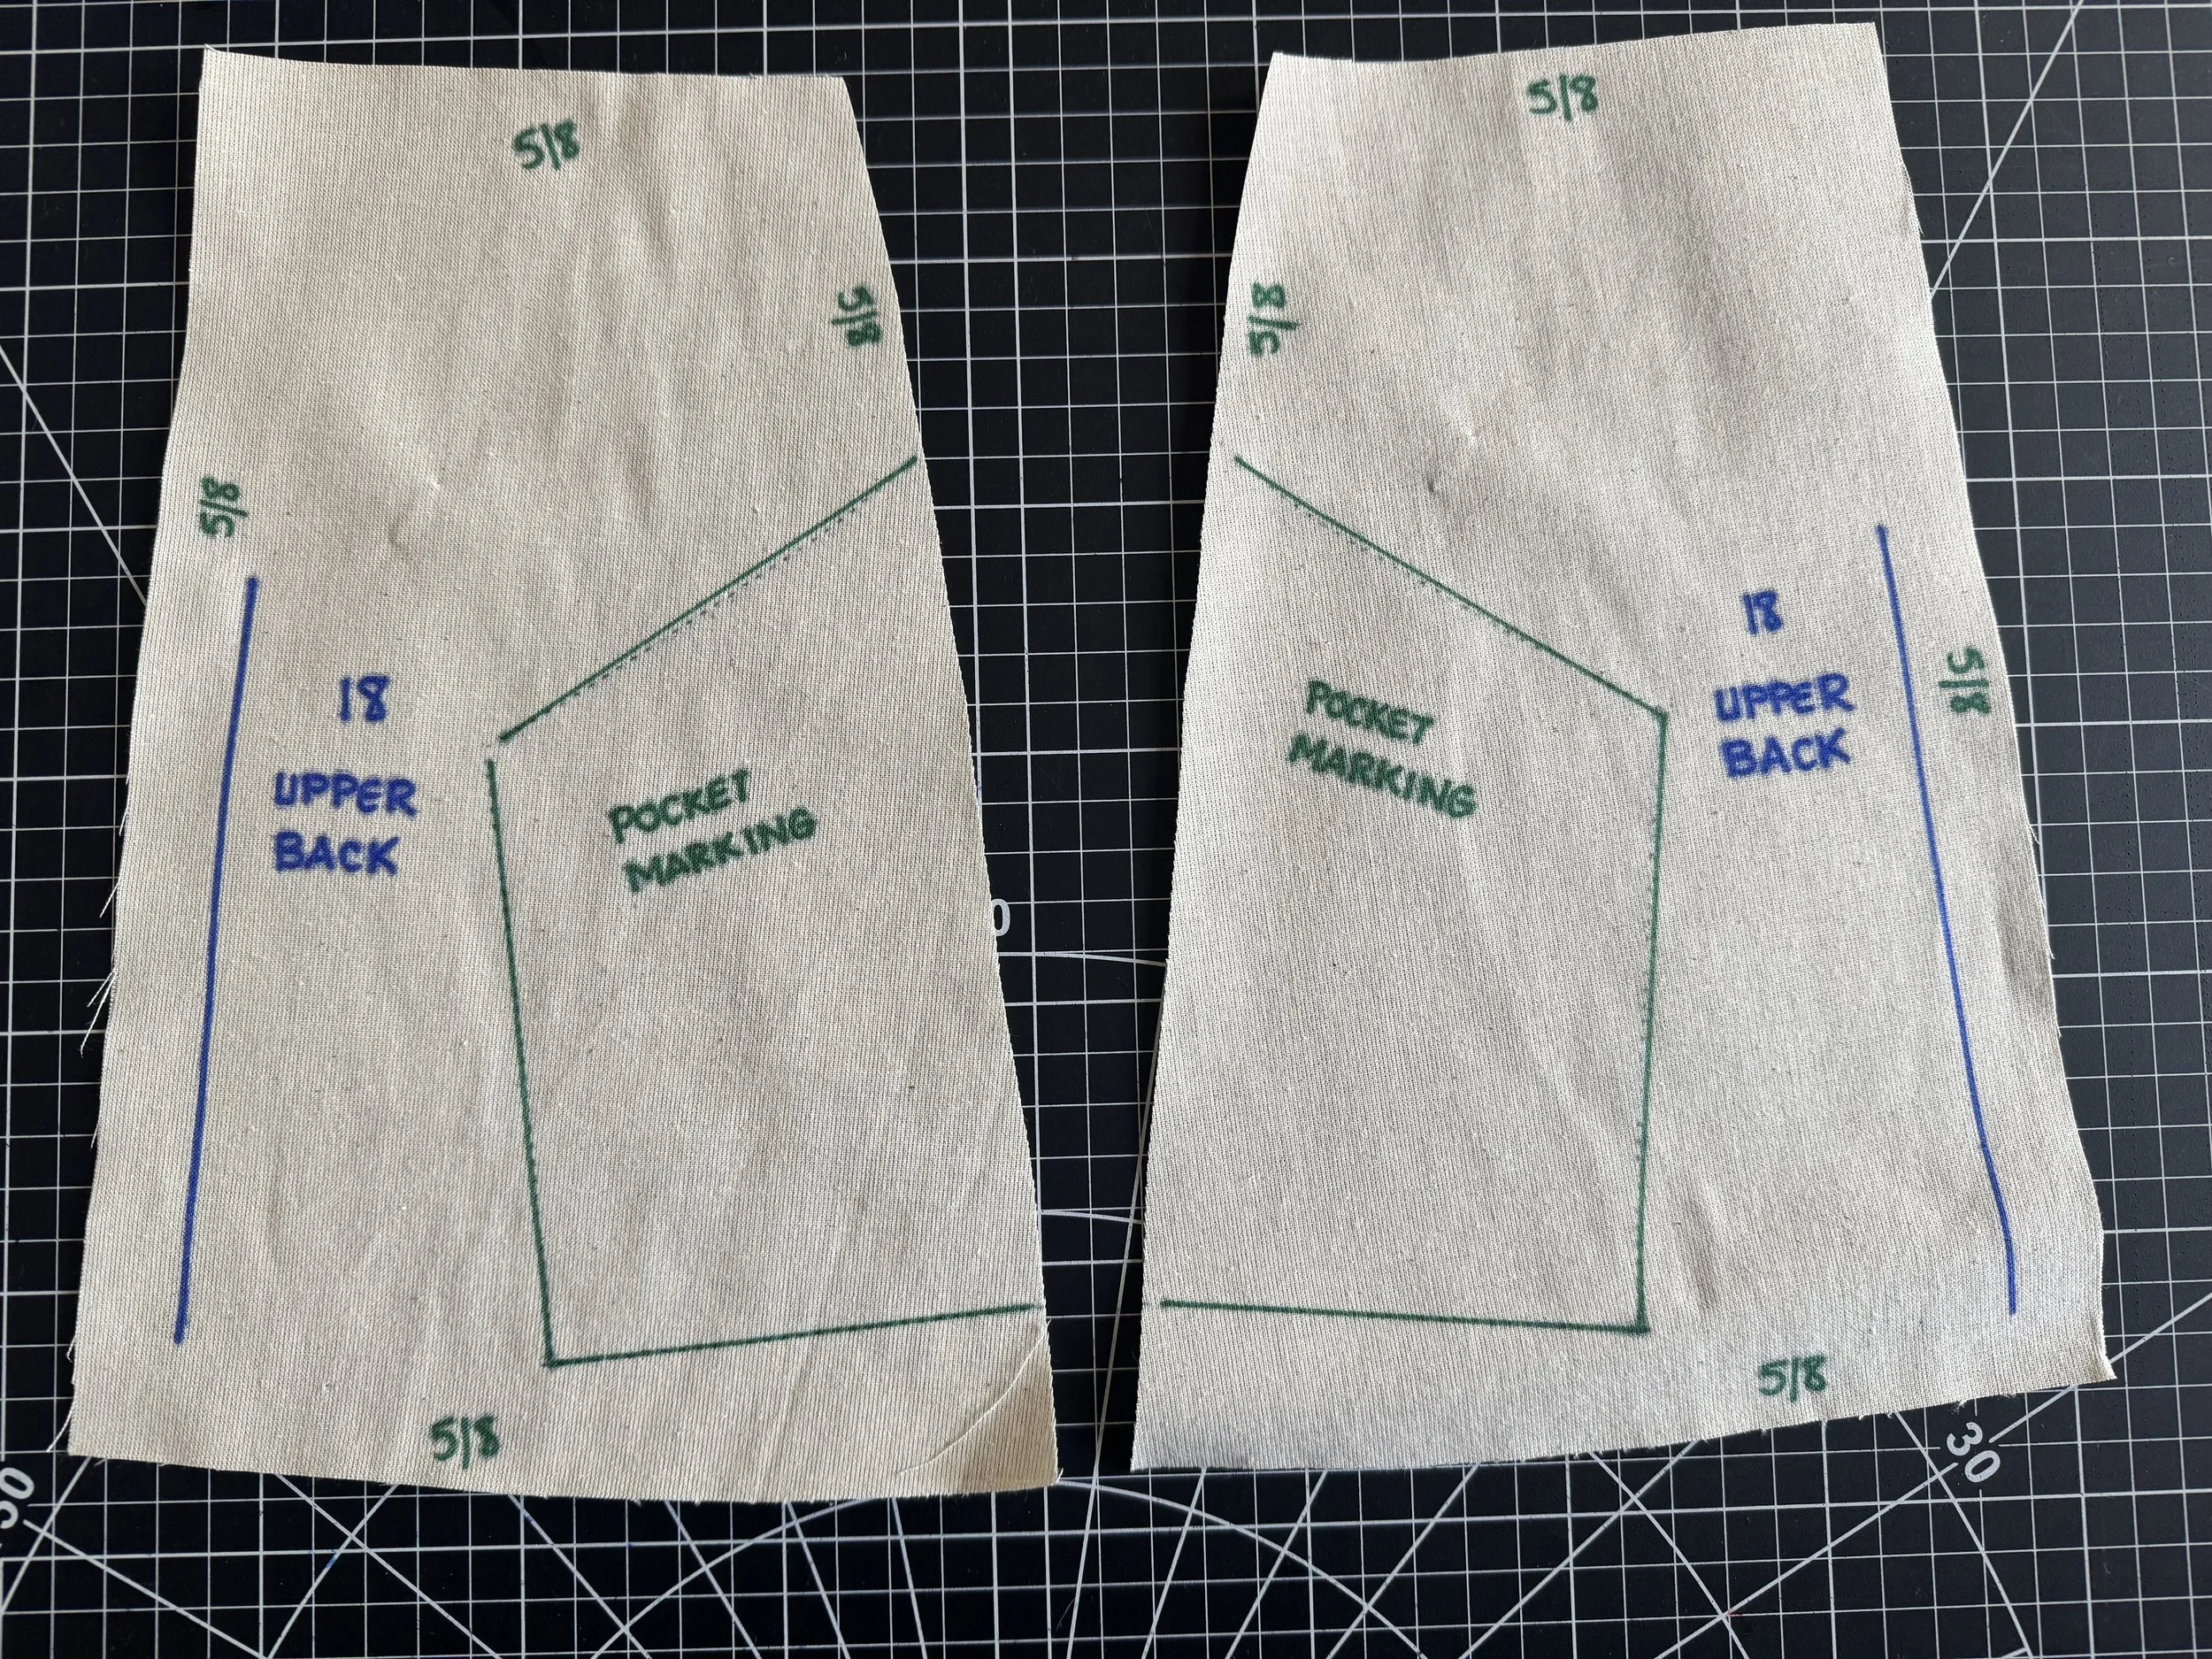
Piece 18 - Upper Back.
Next up: Construction!