Using the Seam Free Pattern Option / An Quick, Accurate Muslin/Toile
Fitting muslins or toiles are important when sewing.
A well fitting, comfortable garment that flatters is often why we sew.
A seam free pattern lets us add large seam allowances, rather than a standard 1/2” - 5/8” which don’t allow for meaningful adjustments.
A muslin used to feel like an extra step that delayed the actual sewing process, until I wasted expensive fabric, and sewed garments that did not fit and I really didn’t like.
A muslin helped me work through the construction process, the techniques, the order, and the steps I want to change. No matter how many times I have sewed the same garment, a different fabric can and will change the outcome.
I tell students that in order to be an intuitive sewer, they have to step out of their comfort zone and take risks.
A low cost, no expectation muslin provides that opportunity. It is a chance to experiment, alter fit, and change design elements, until you feel confident enough to tackle that fabric you’ve been saving.
Don’t think of it as an extra step, consider it to be the first step in a garment you will be proud to wear.
Below is a quick overview but I have also filmed and posted a full in-depth video HERE that shows the process of creating a muslin for a Couture French Jacket.
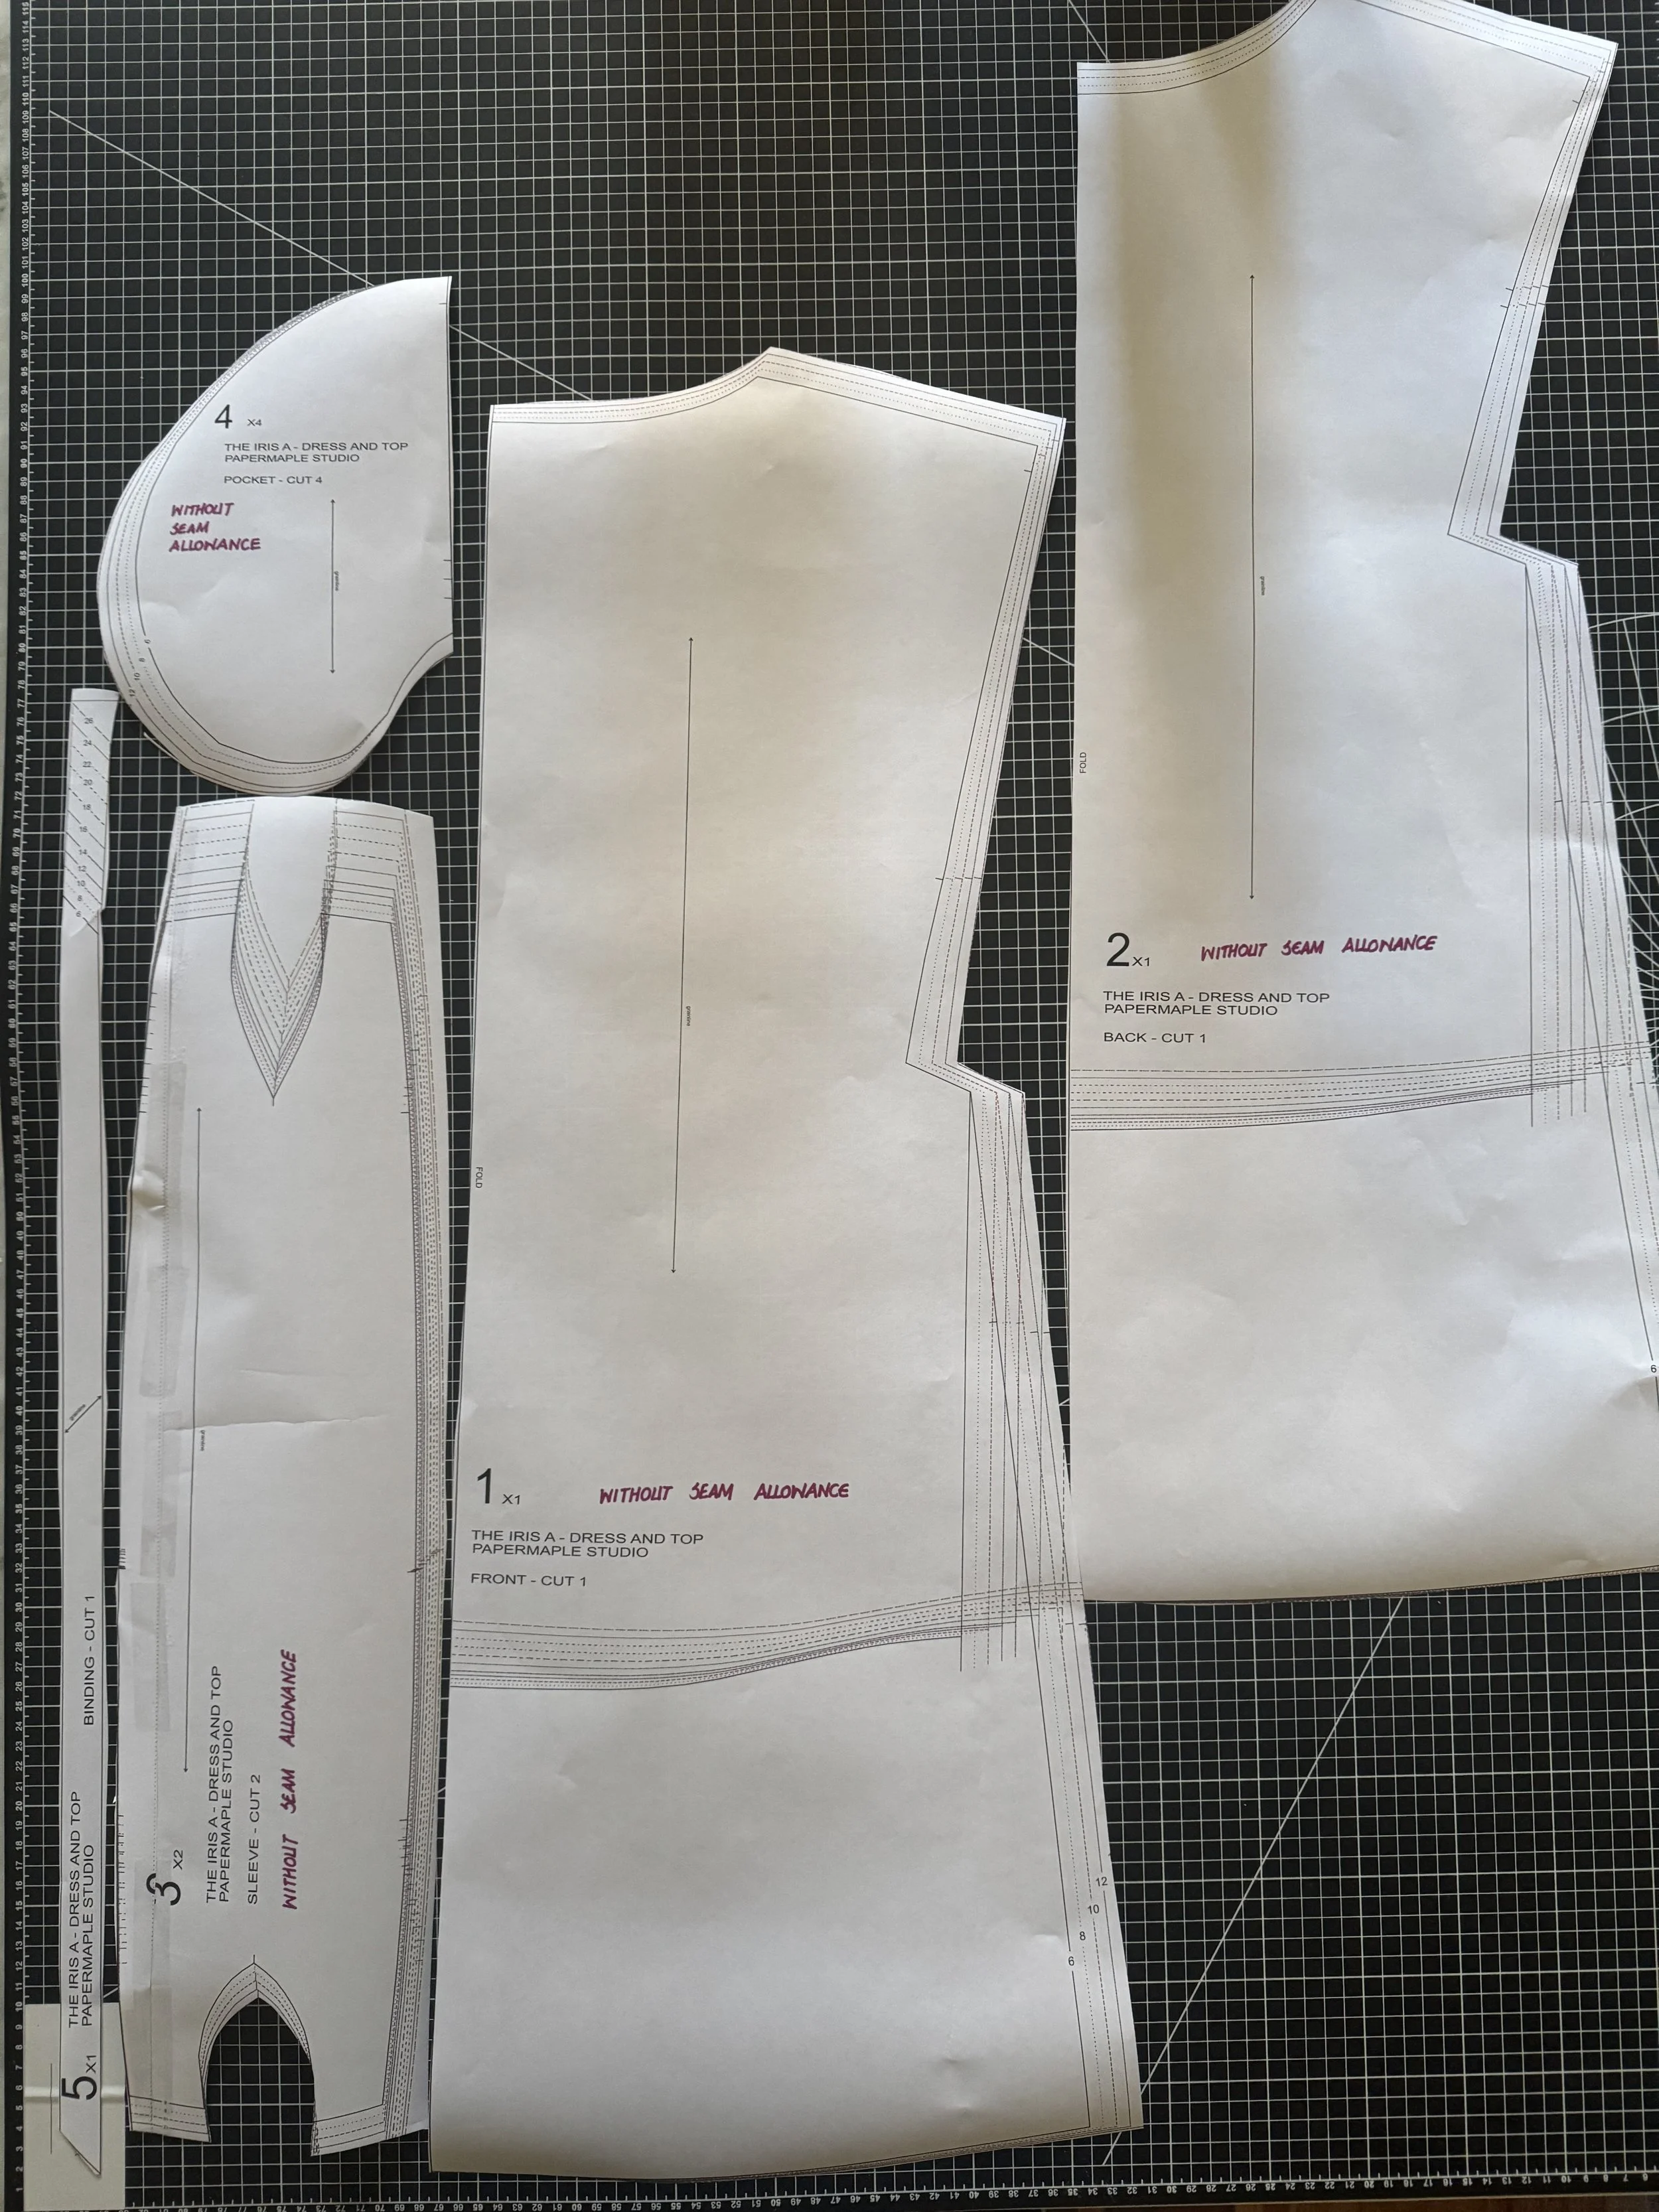
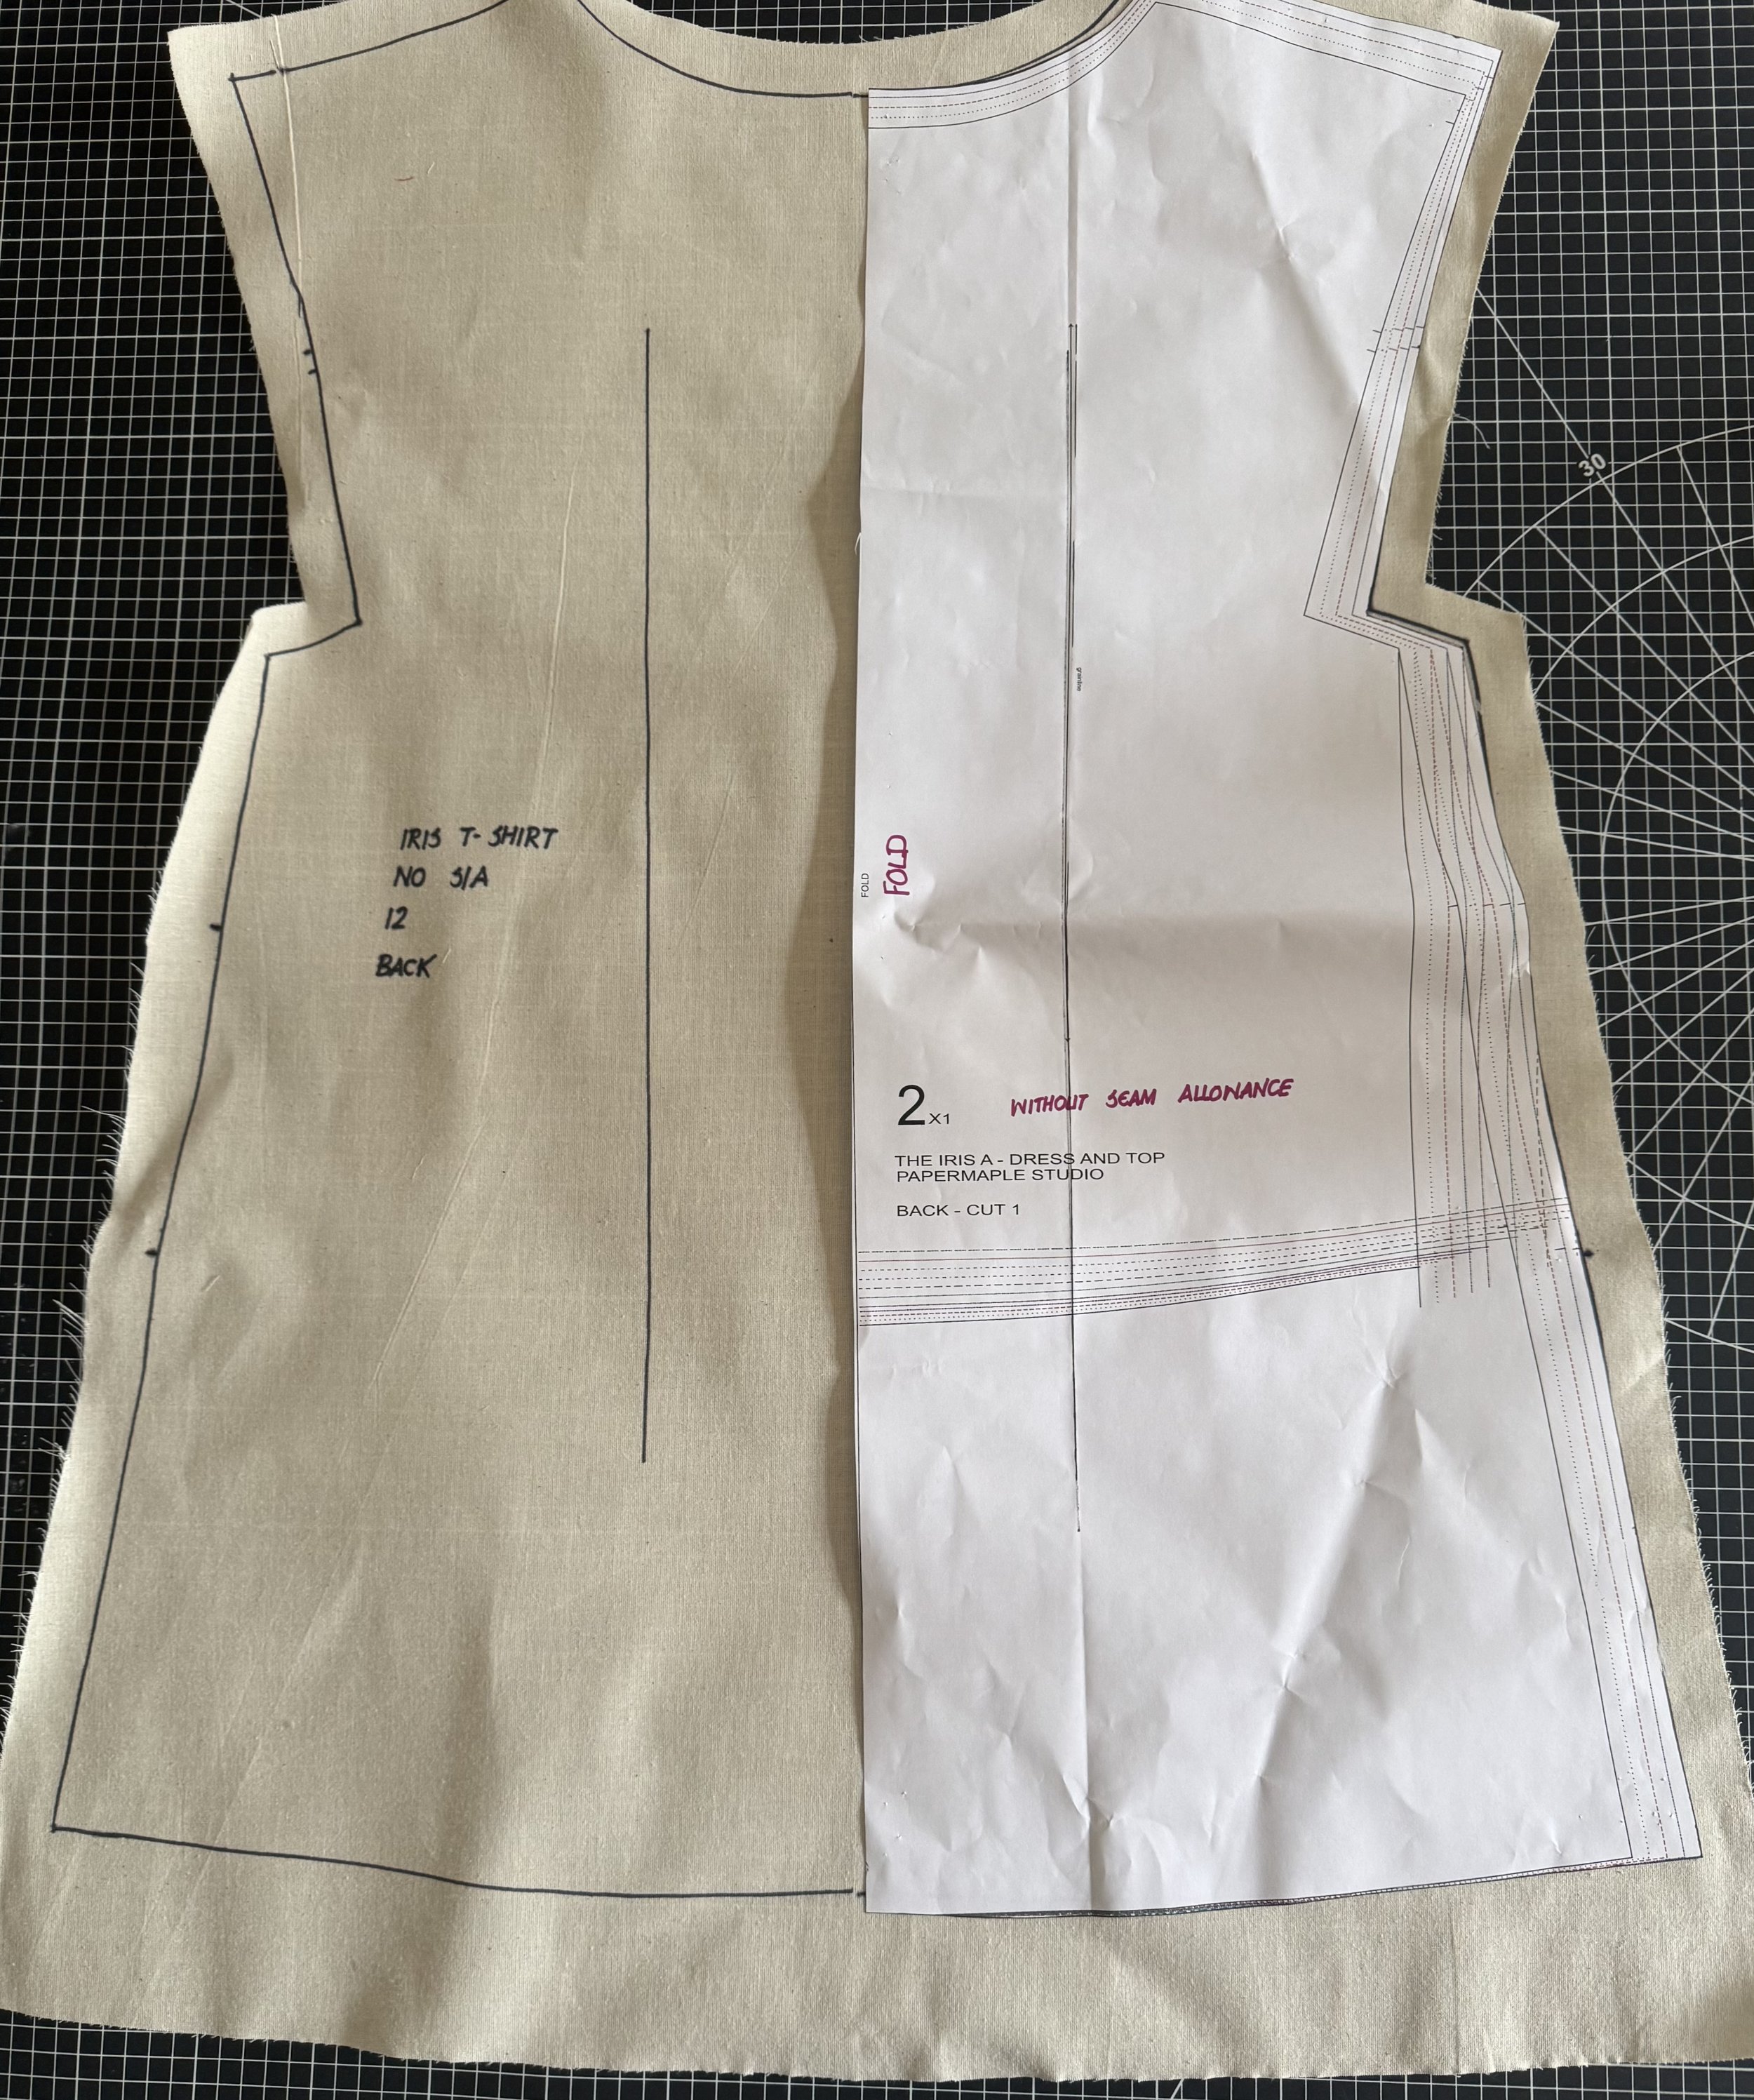
As noted, these patterns do not include any seam allowance. The paper pattern is the actual size of the finished garment.
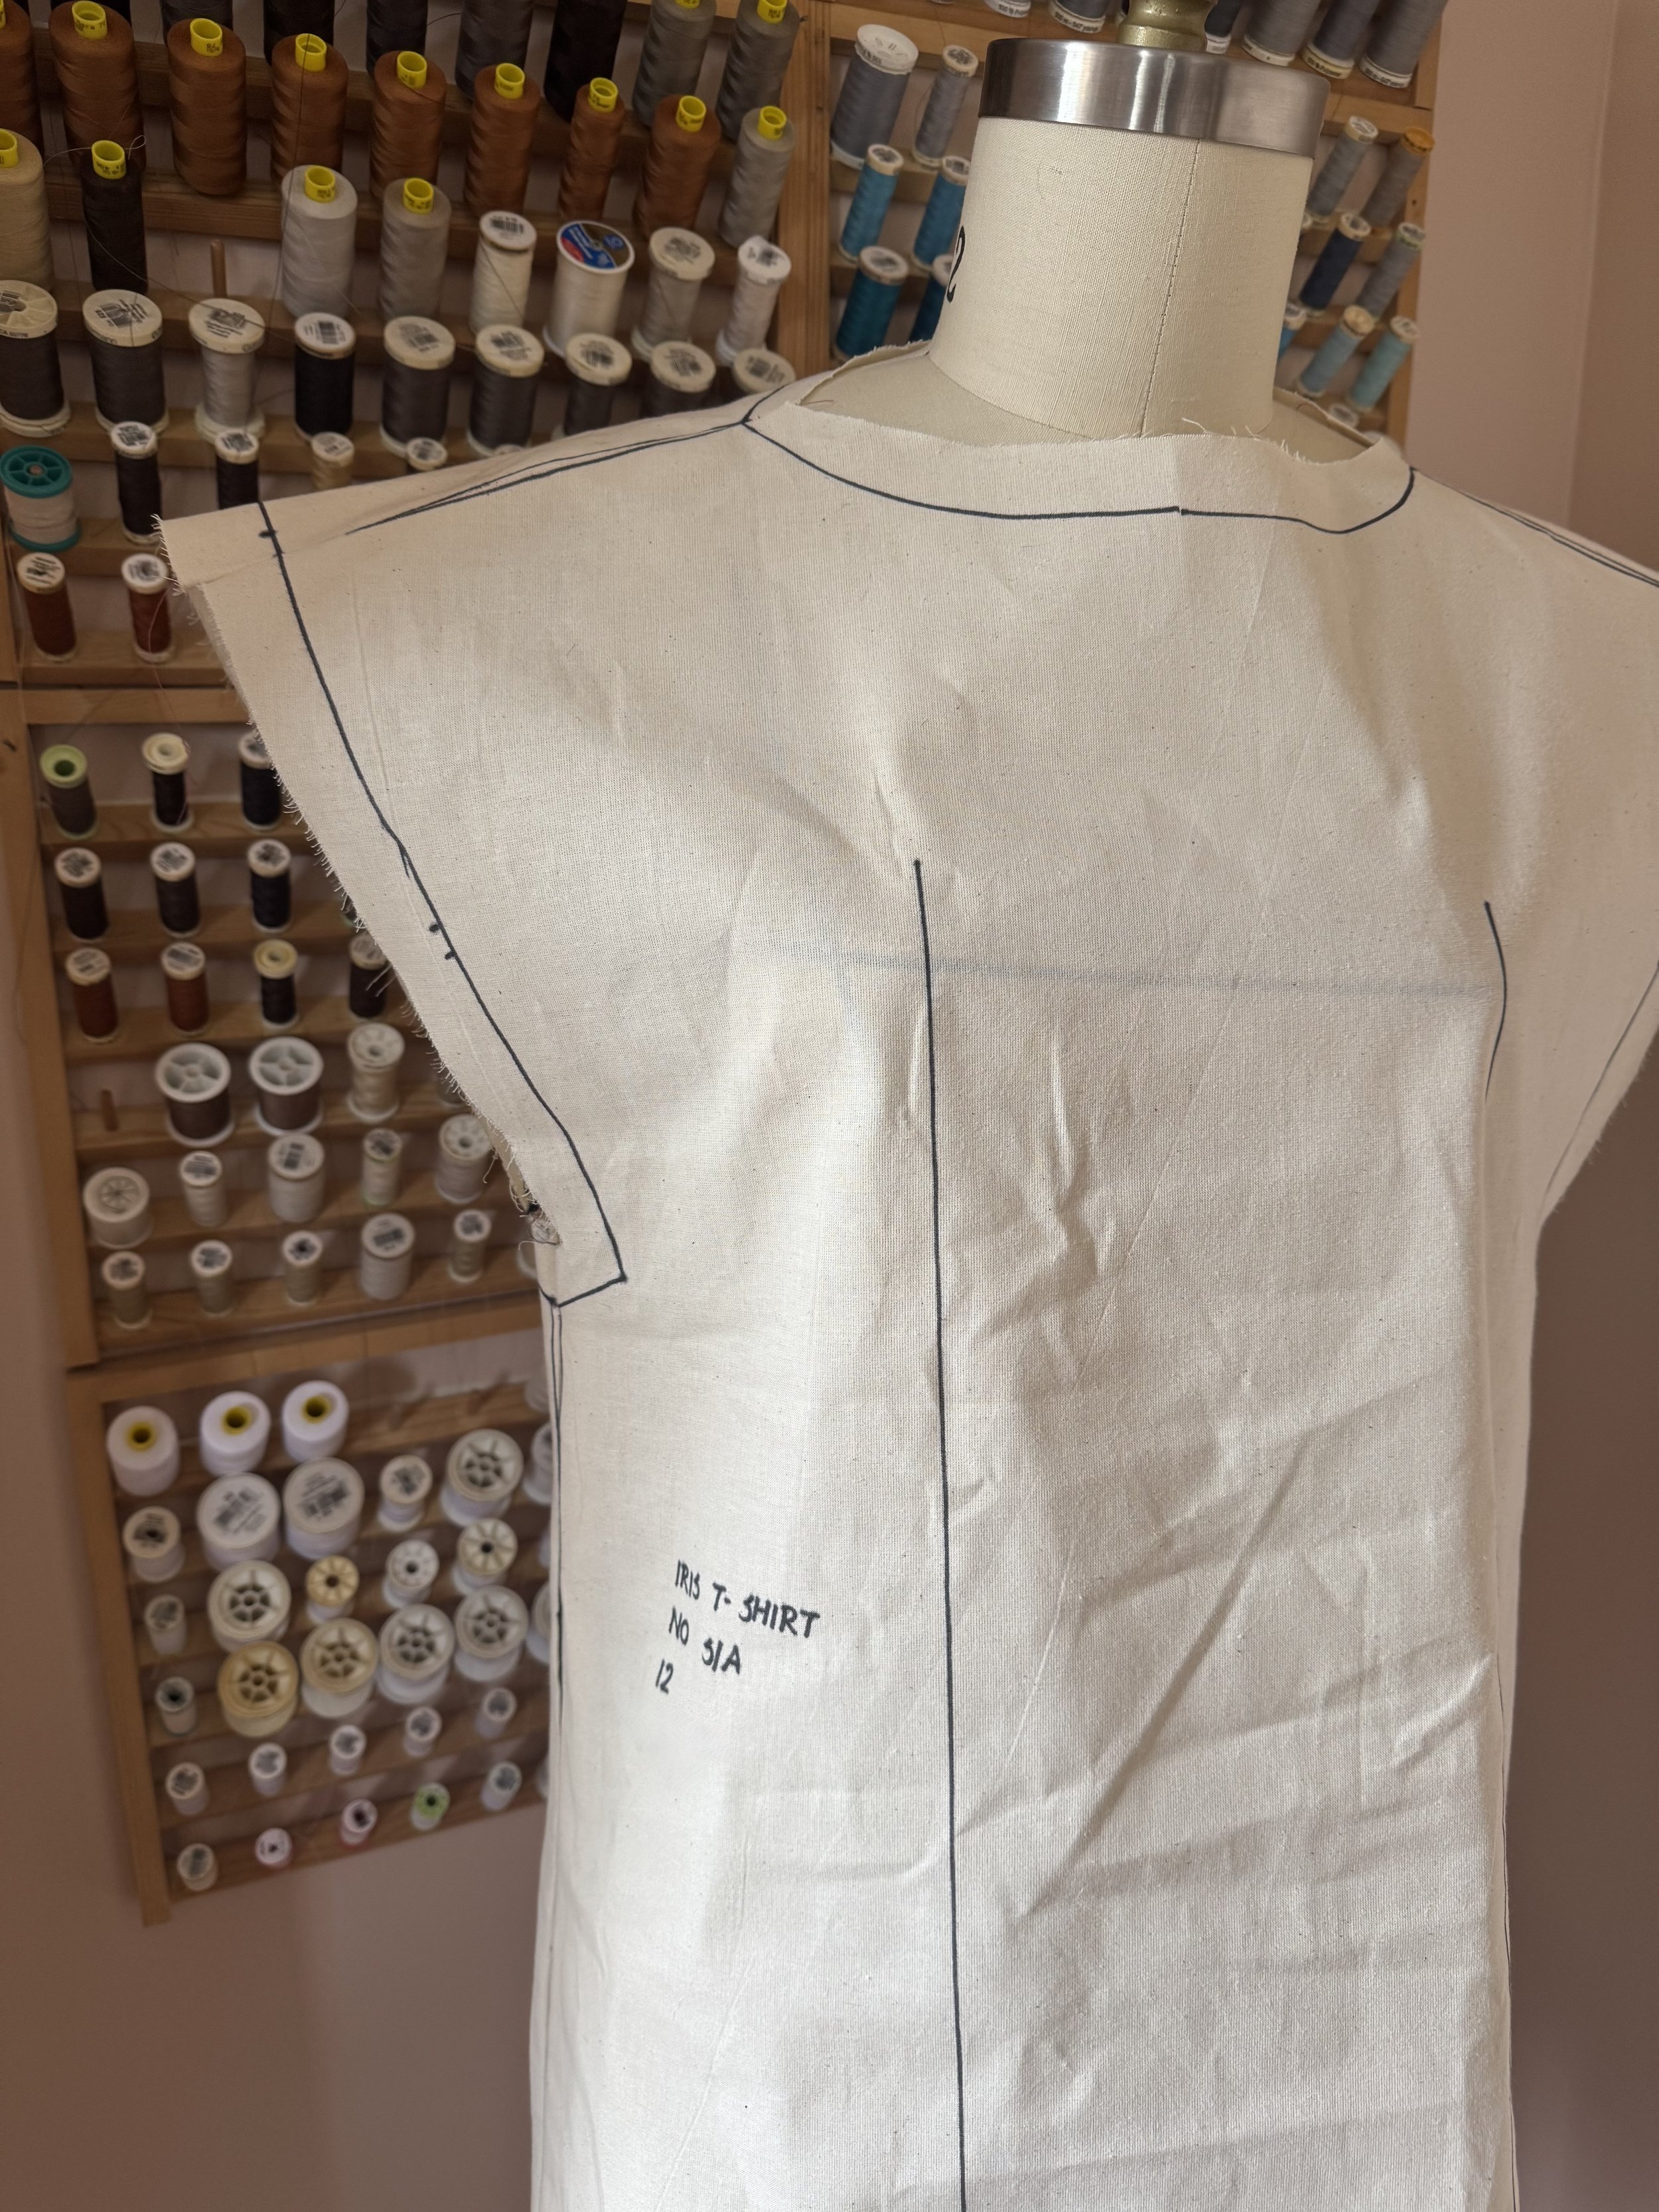
For this quick tutorial, I am going to use the Iris A - free pattern.
The bodice on the pattern is cut on fold. You can either create a whole flat pattern of both left and right sides on paper and lay it flat as a one piece OR cut on fold as shown.
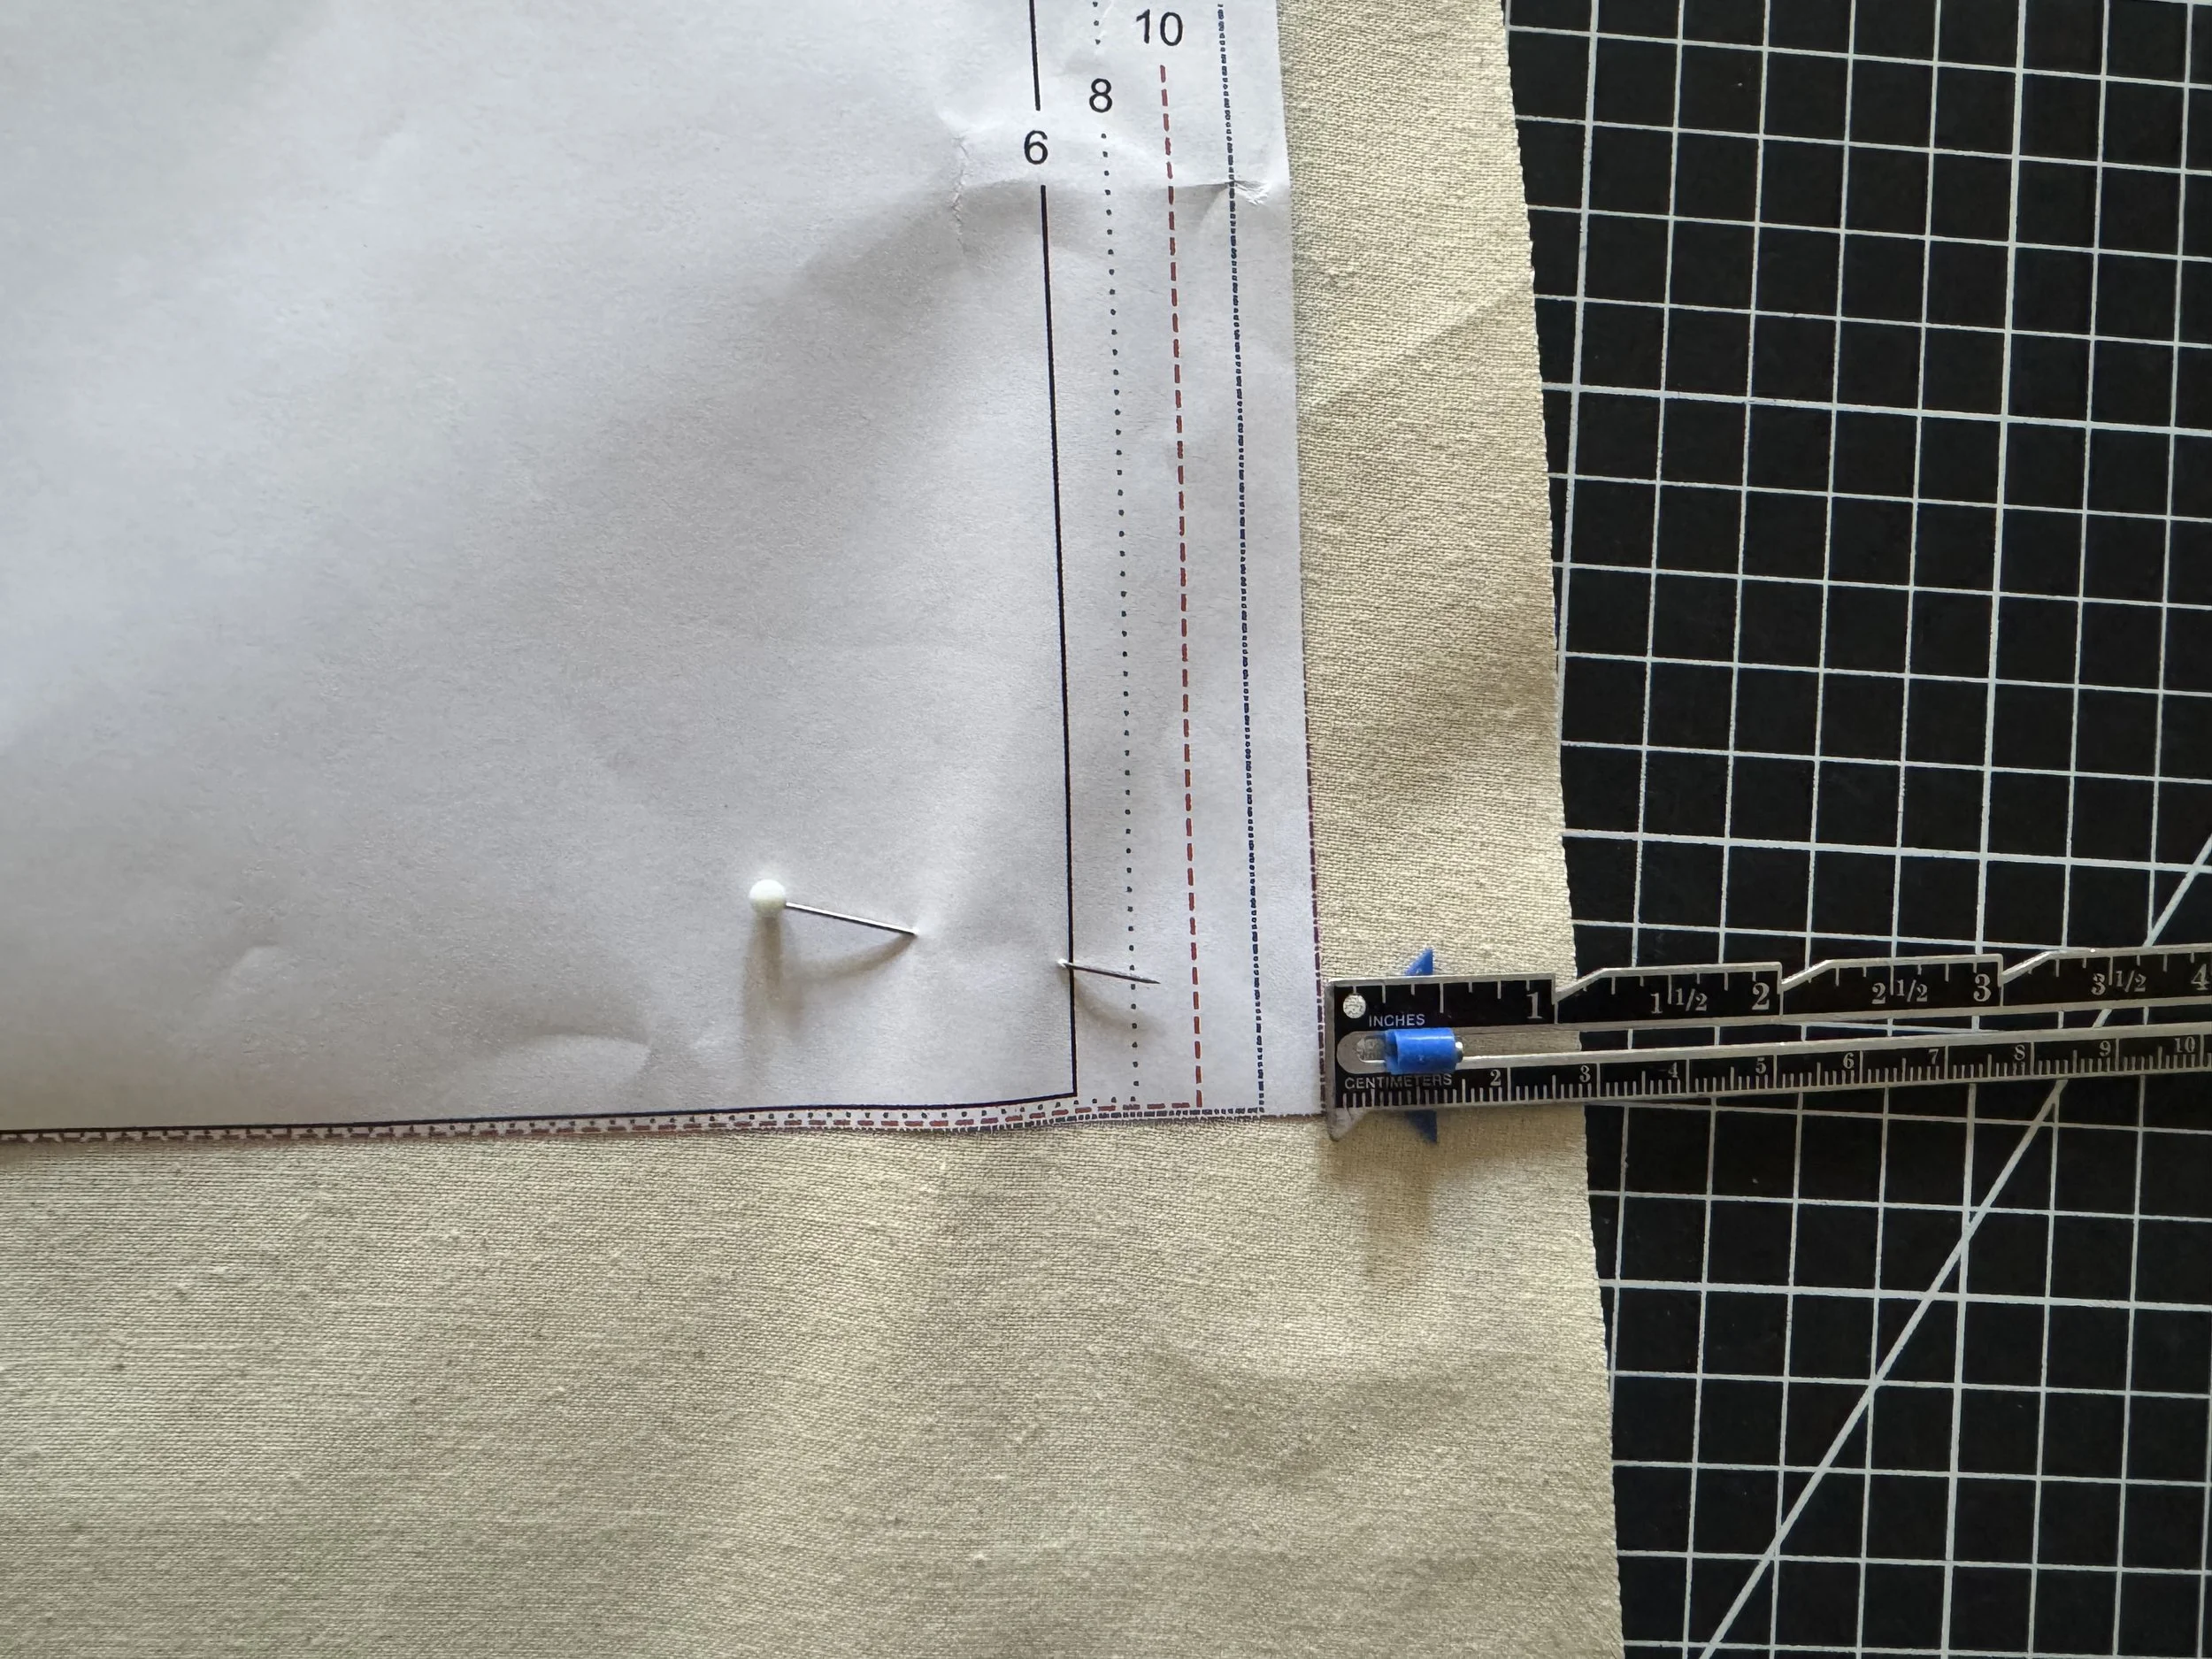
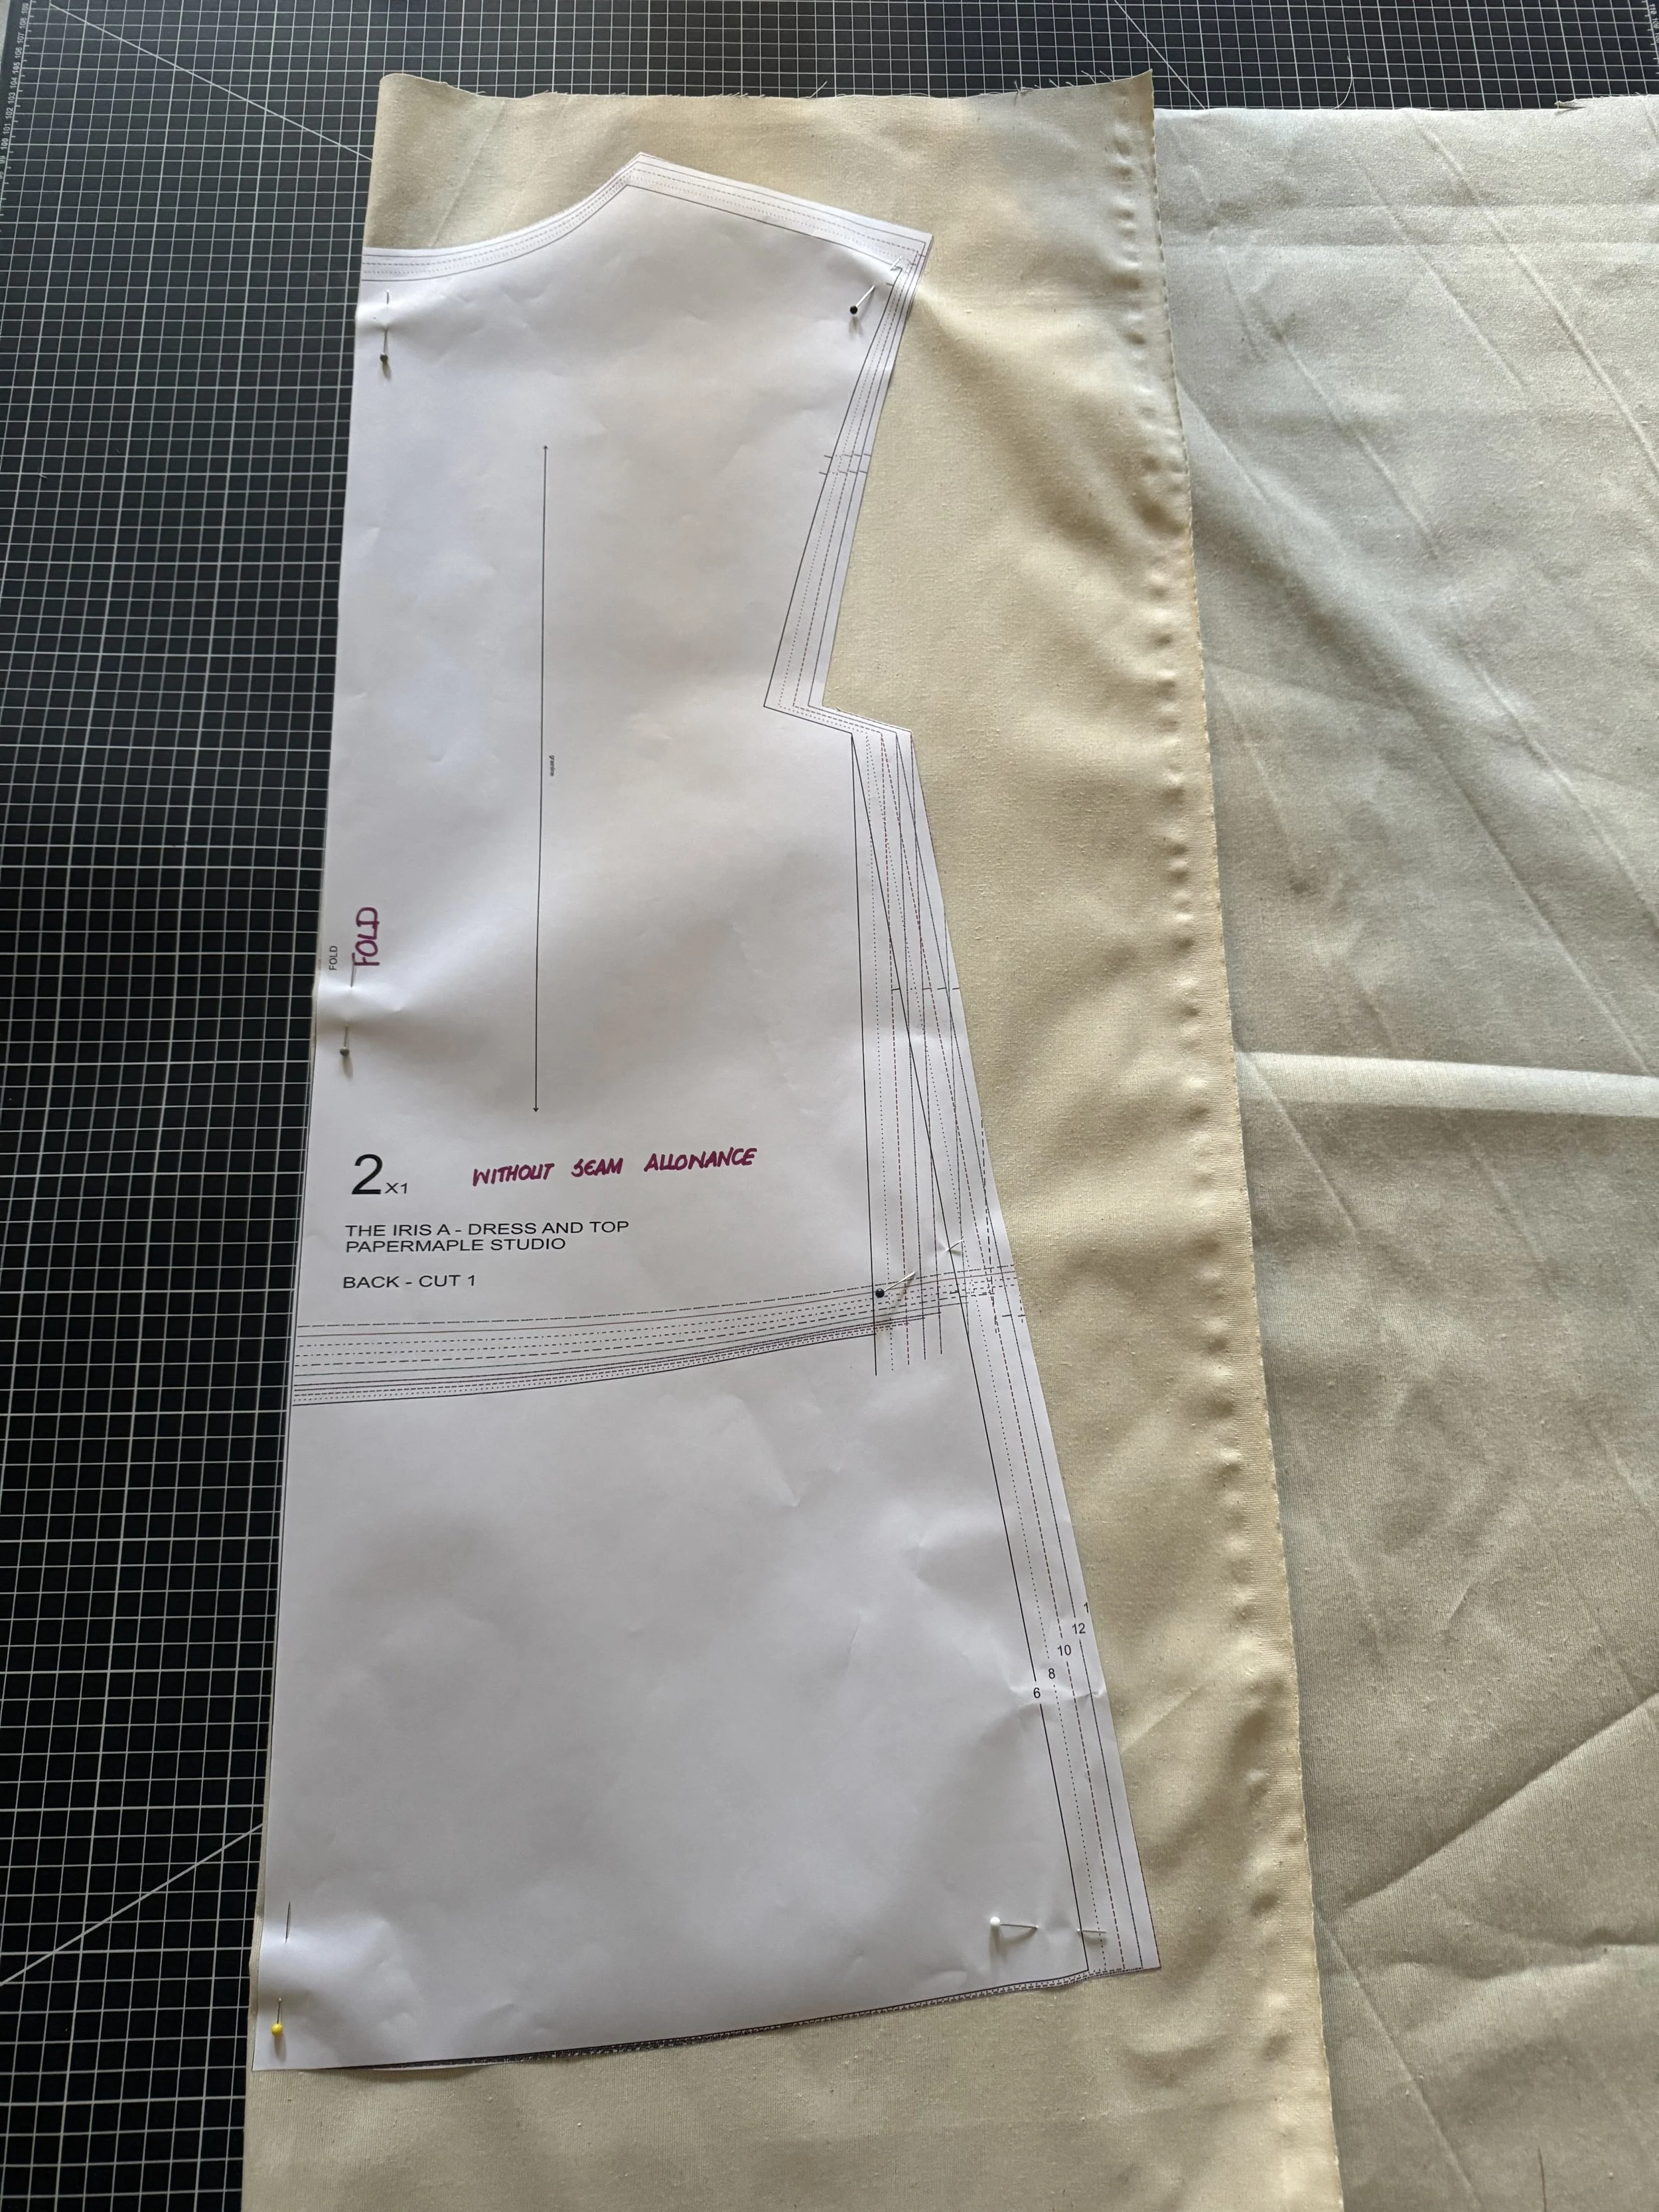
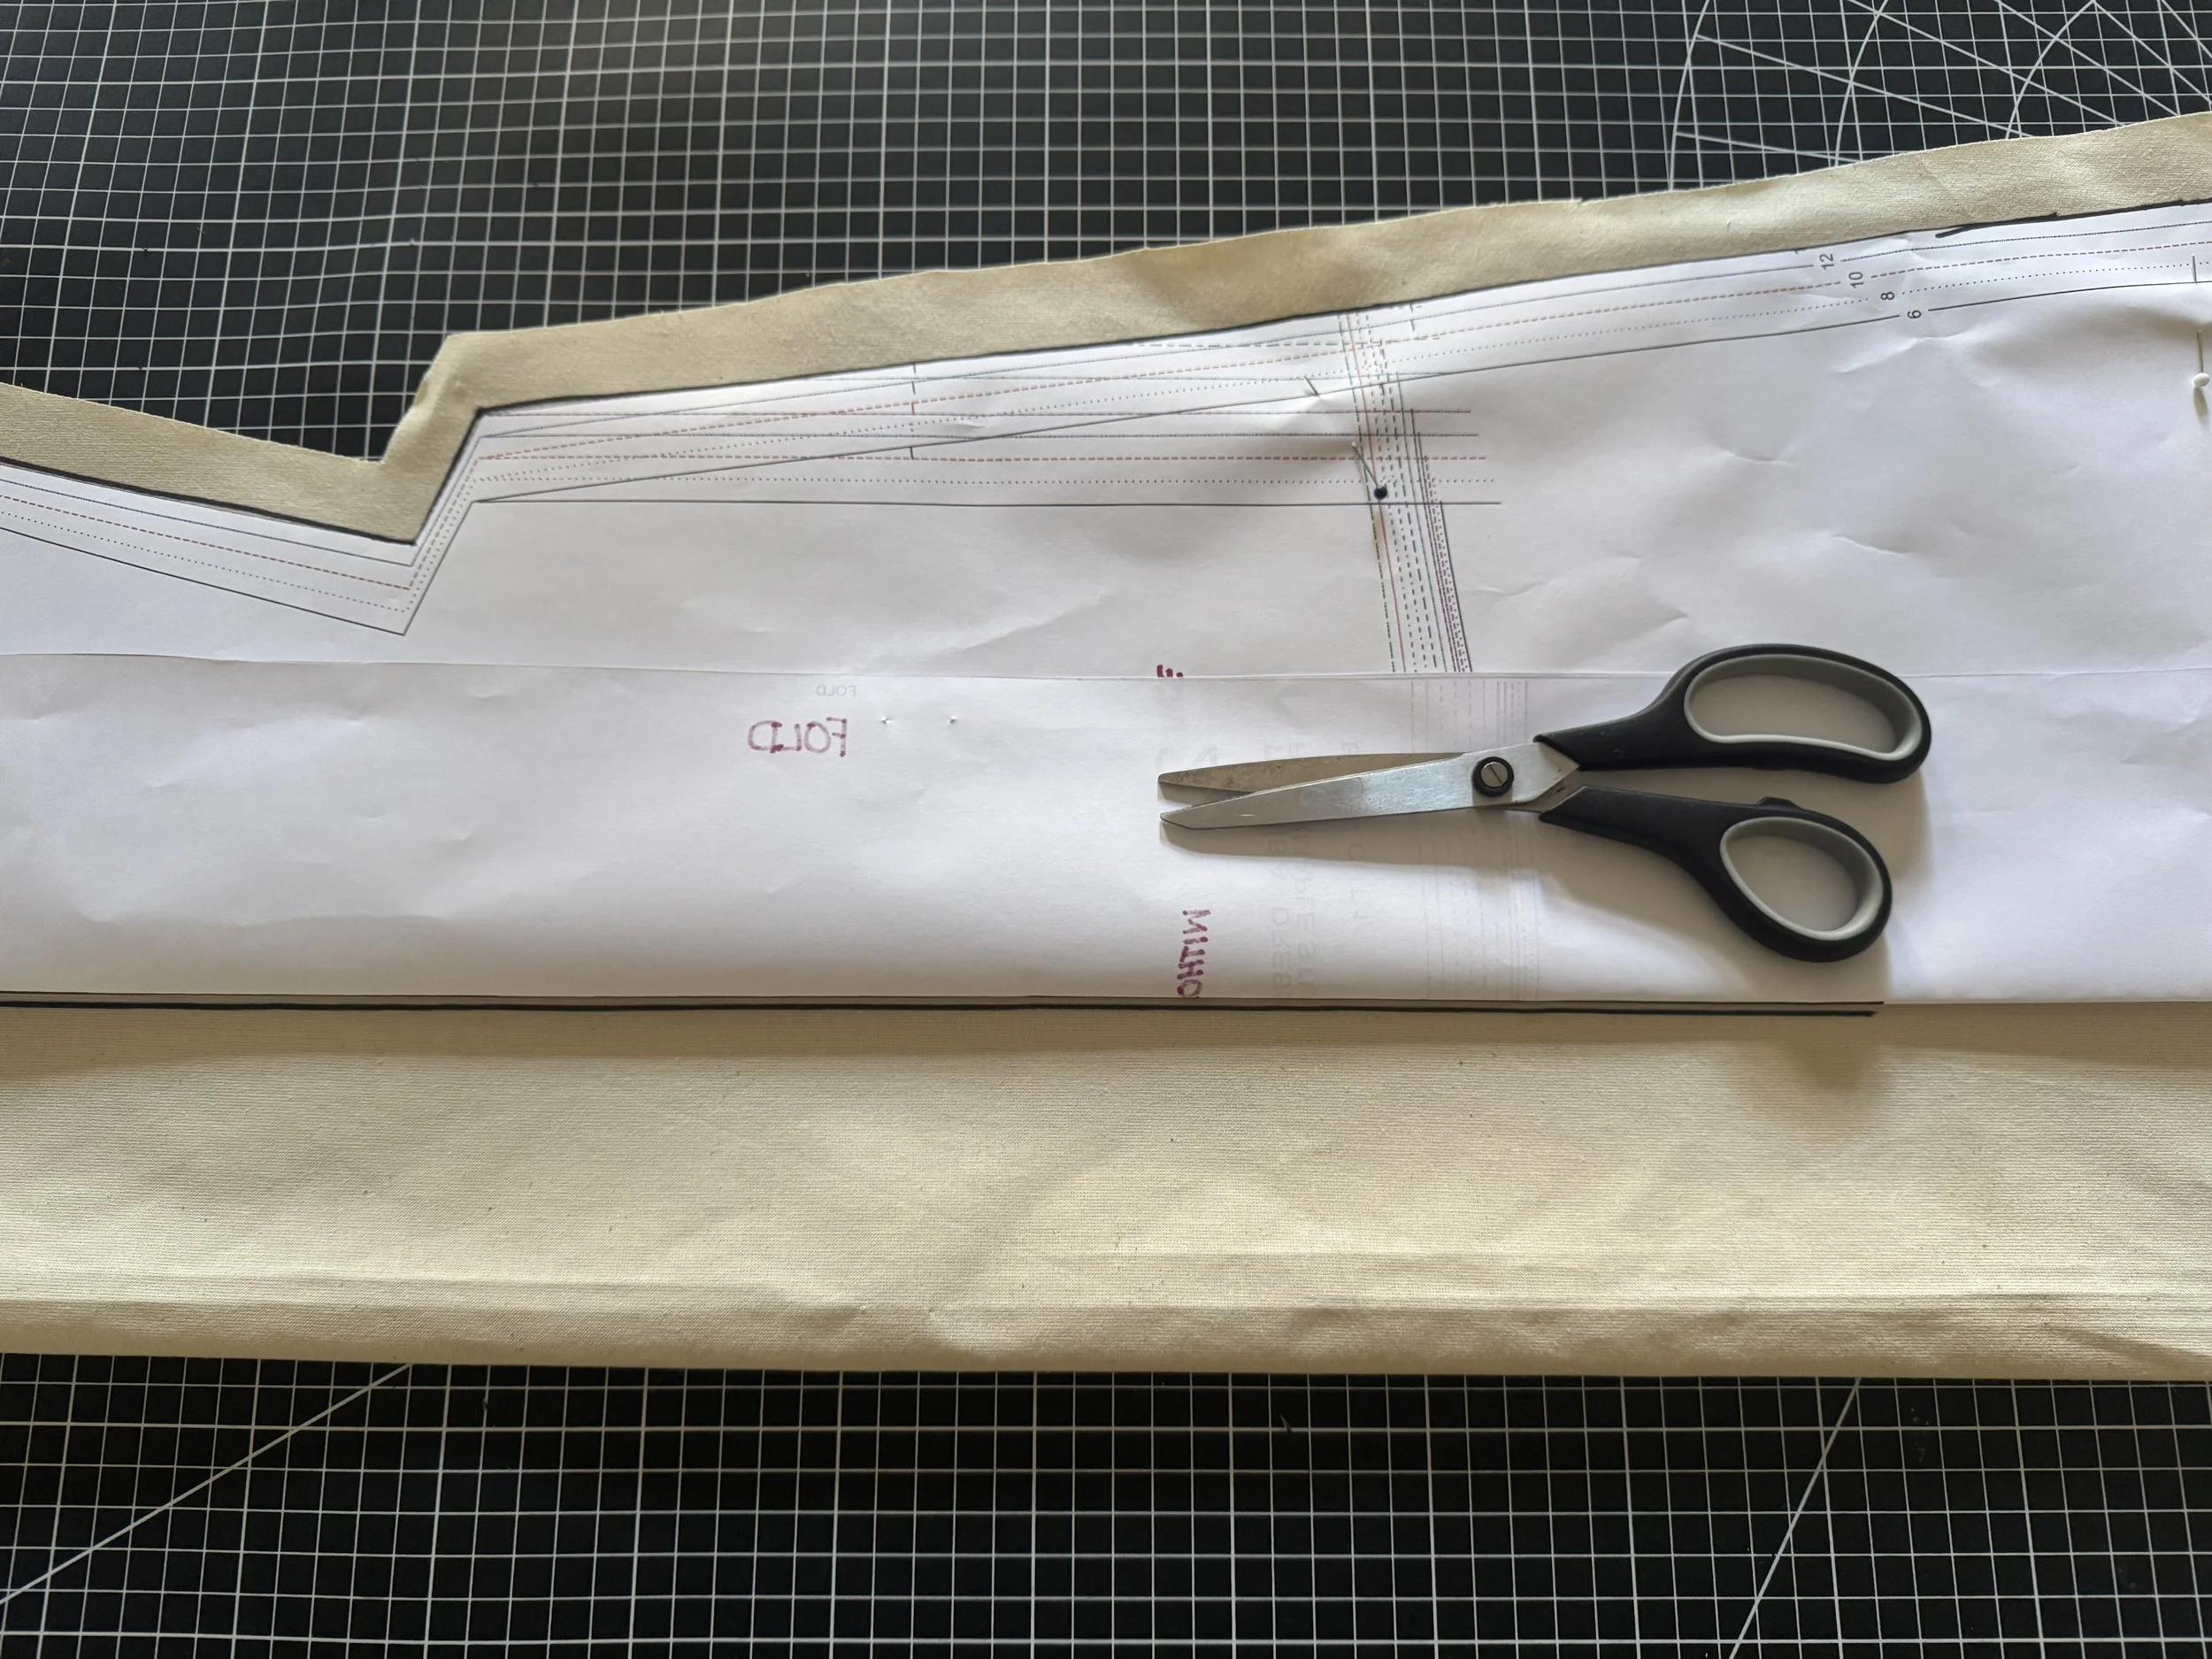
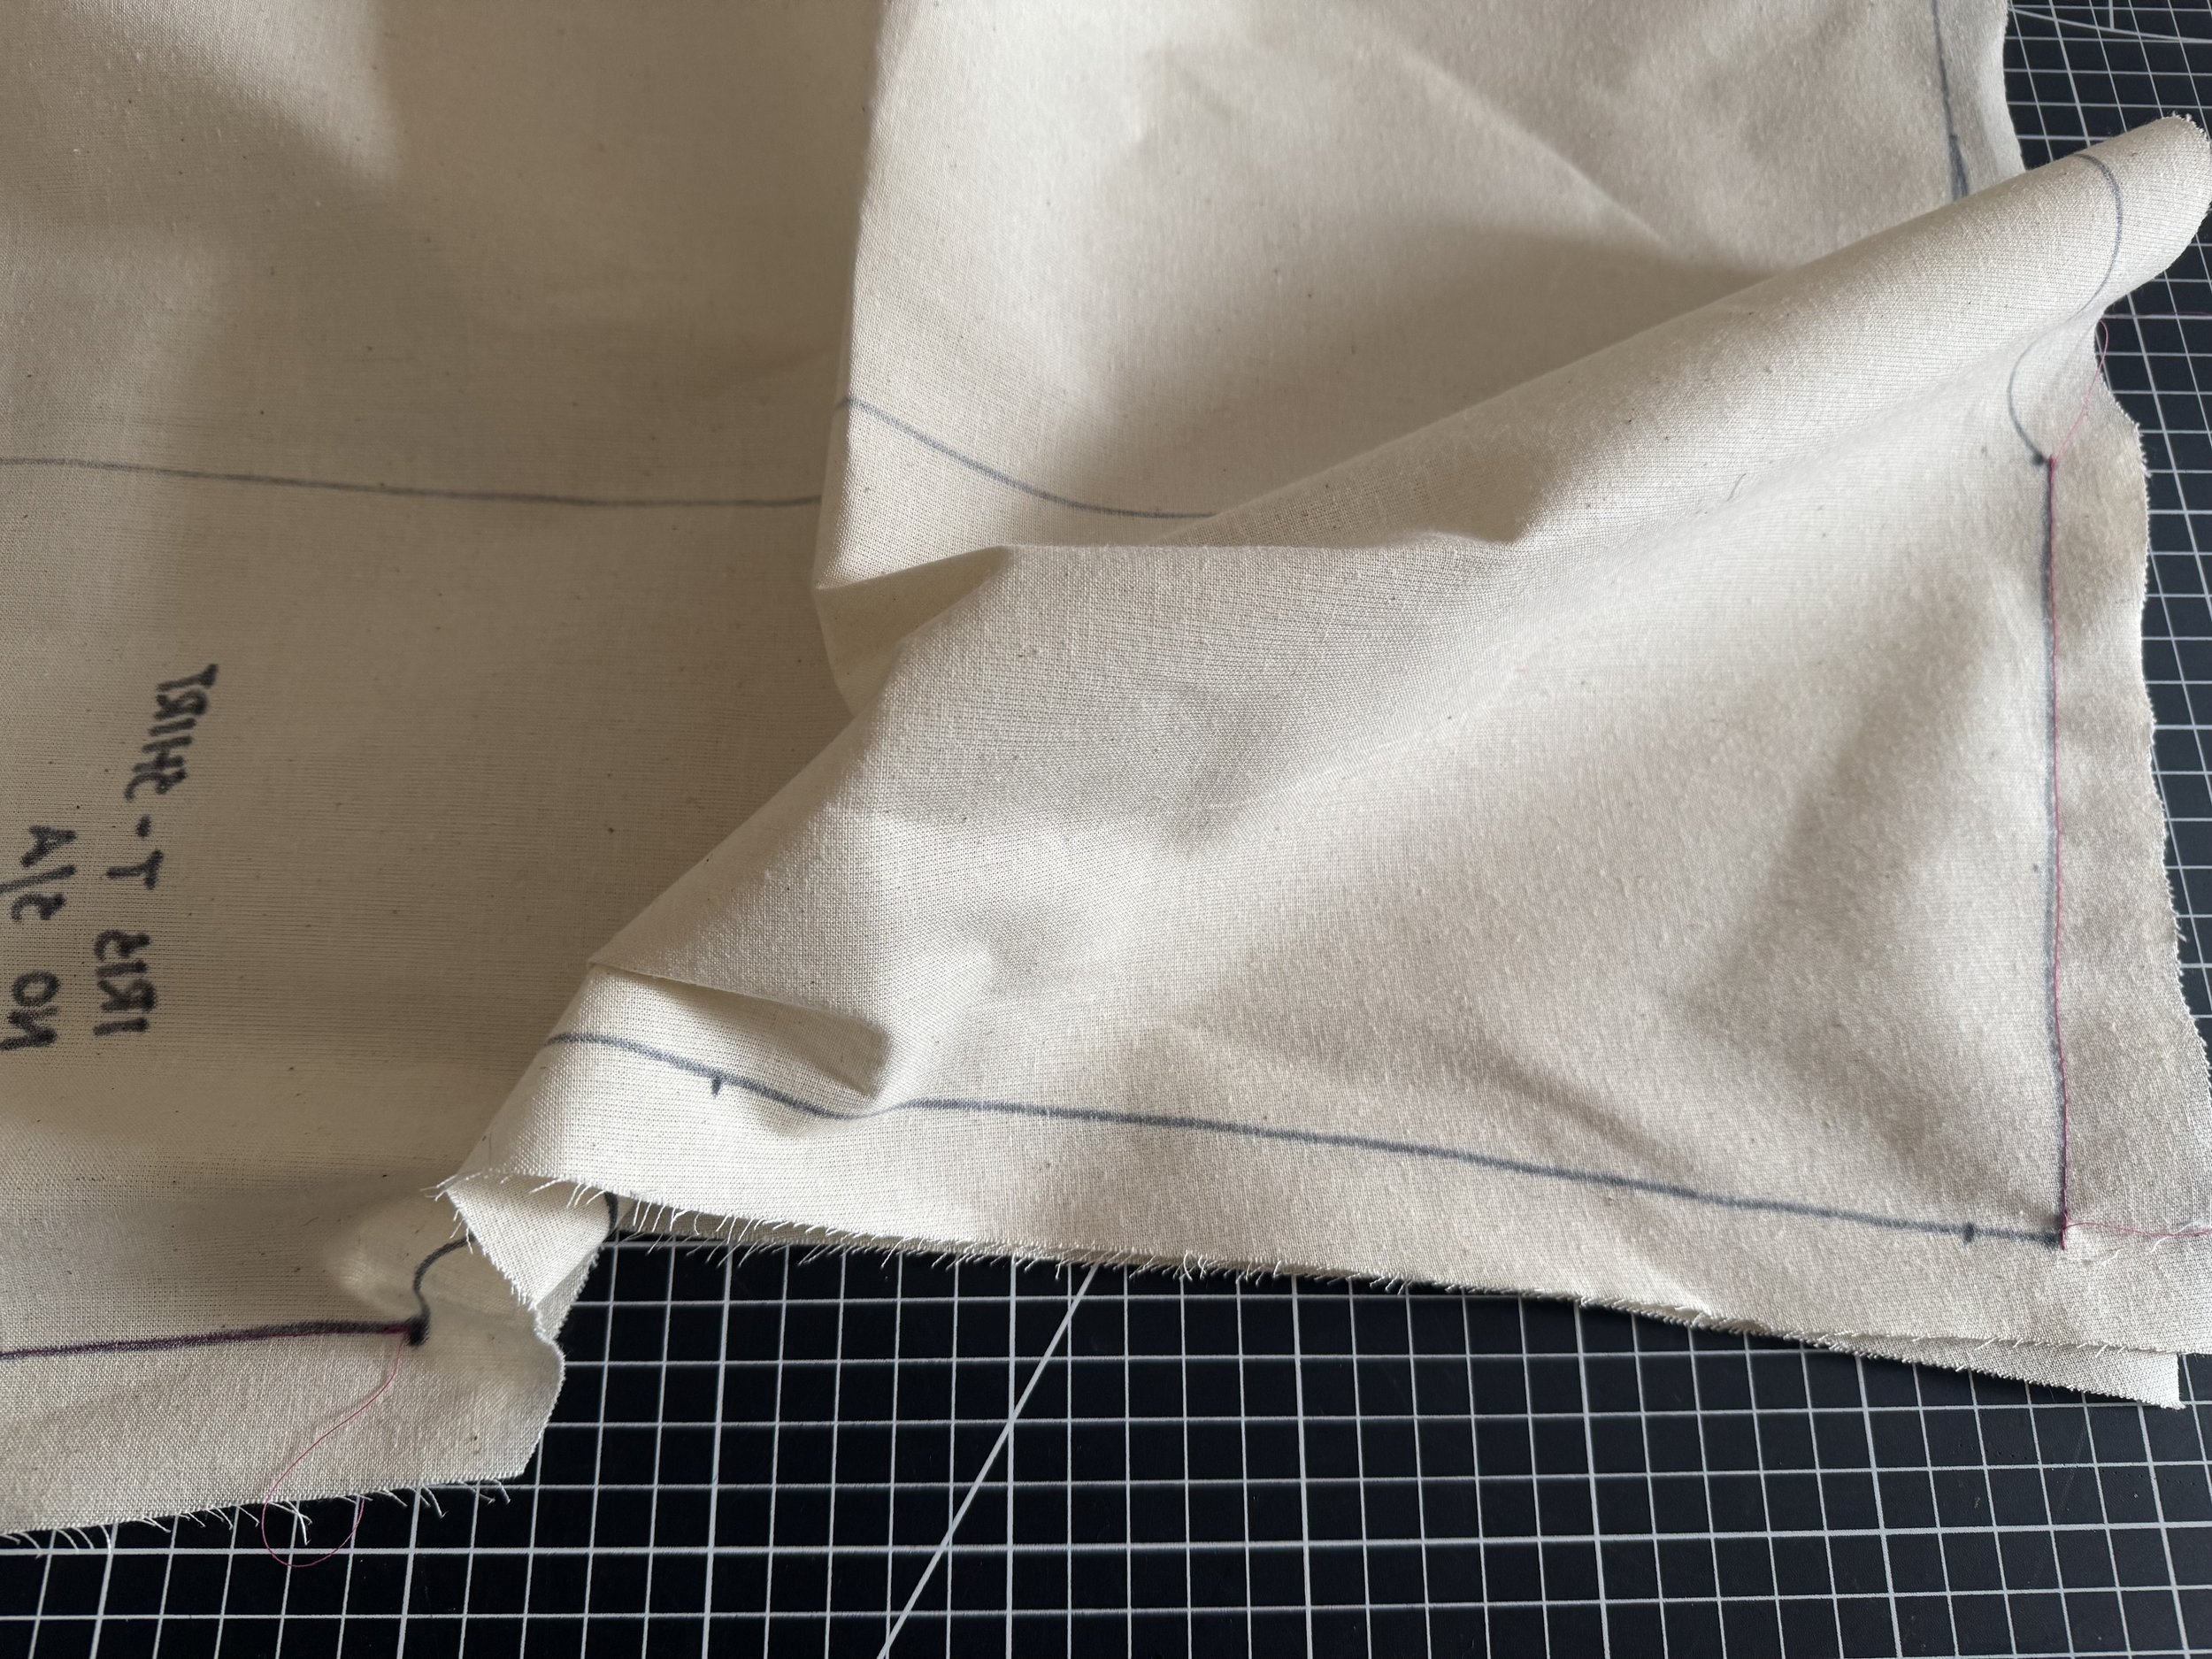
Cut around the pattern, leaving large seam allowances. As this is a loose fitting garment, I am cutting 1” but if a garment has less ease, cut at lease 1.5” to 2” of seam allowance and more in the hem if you like a longer fit.
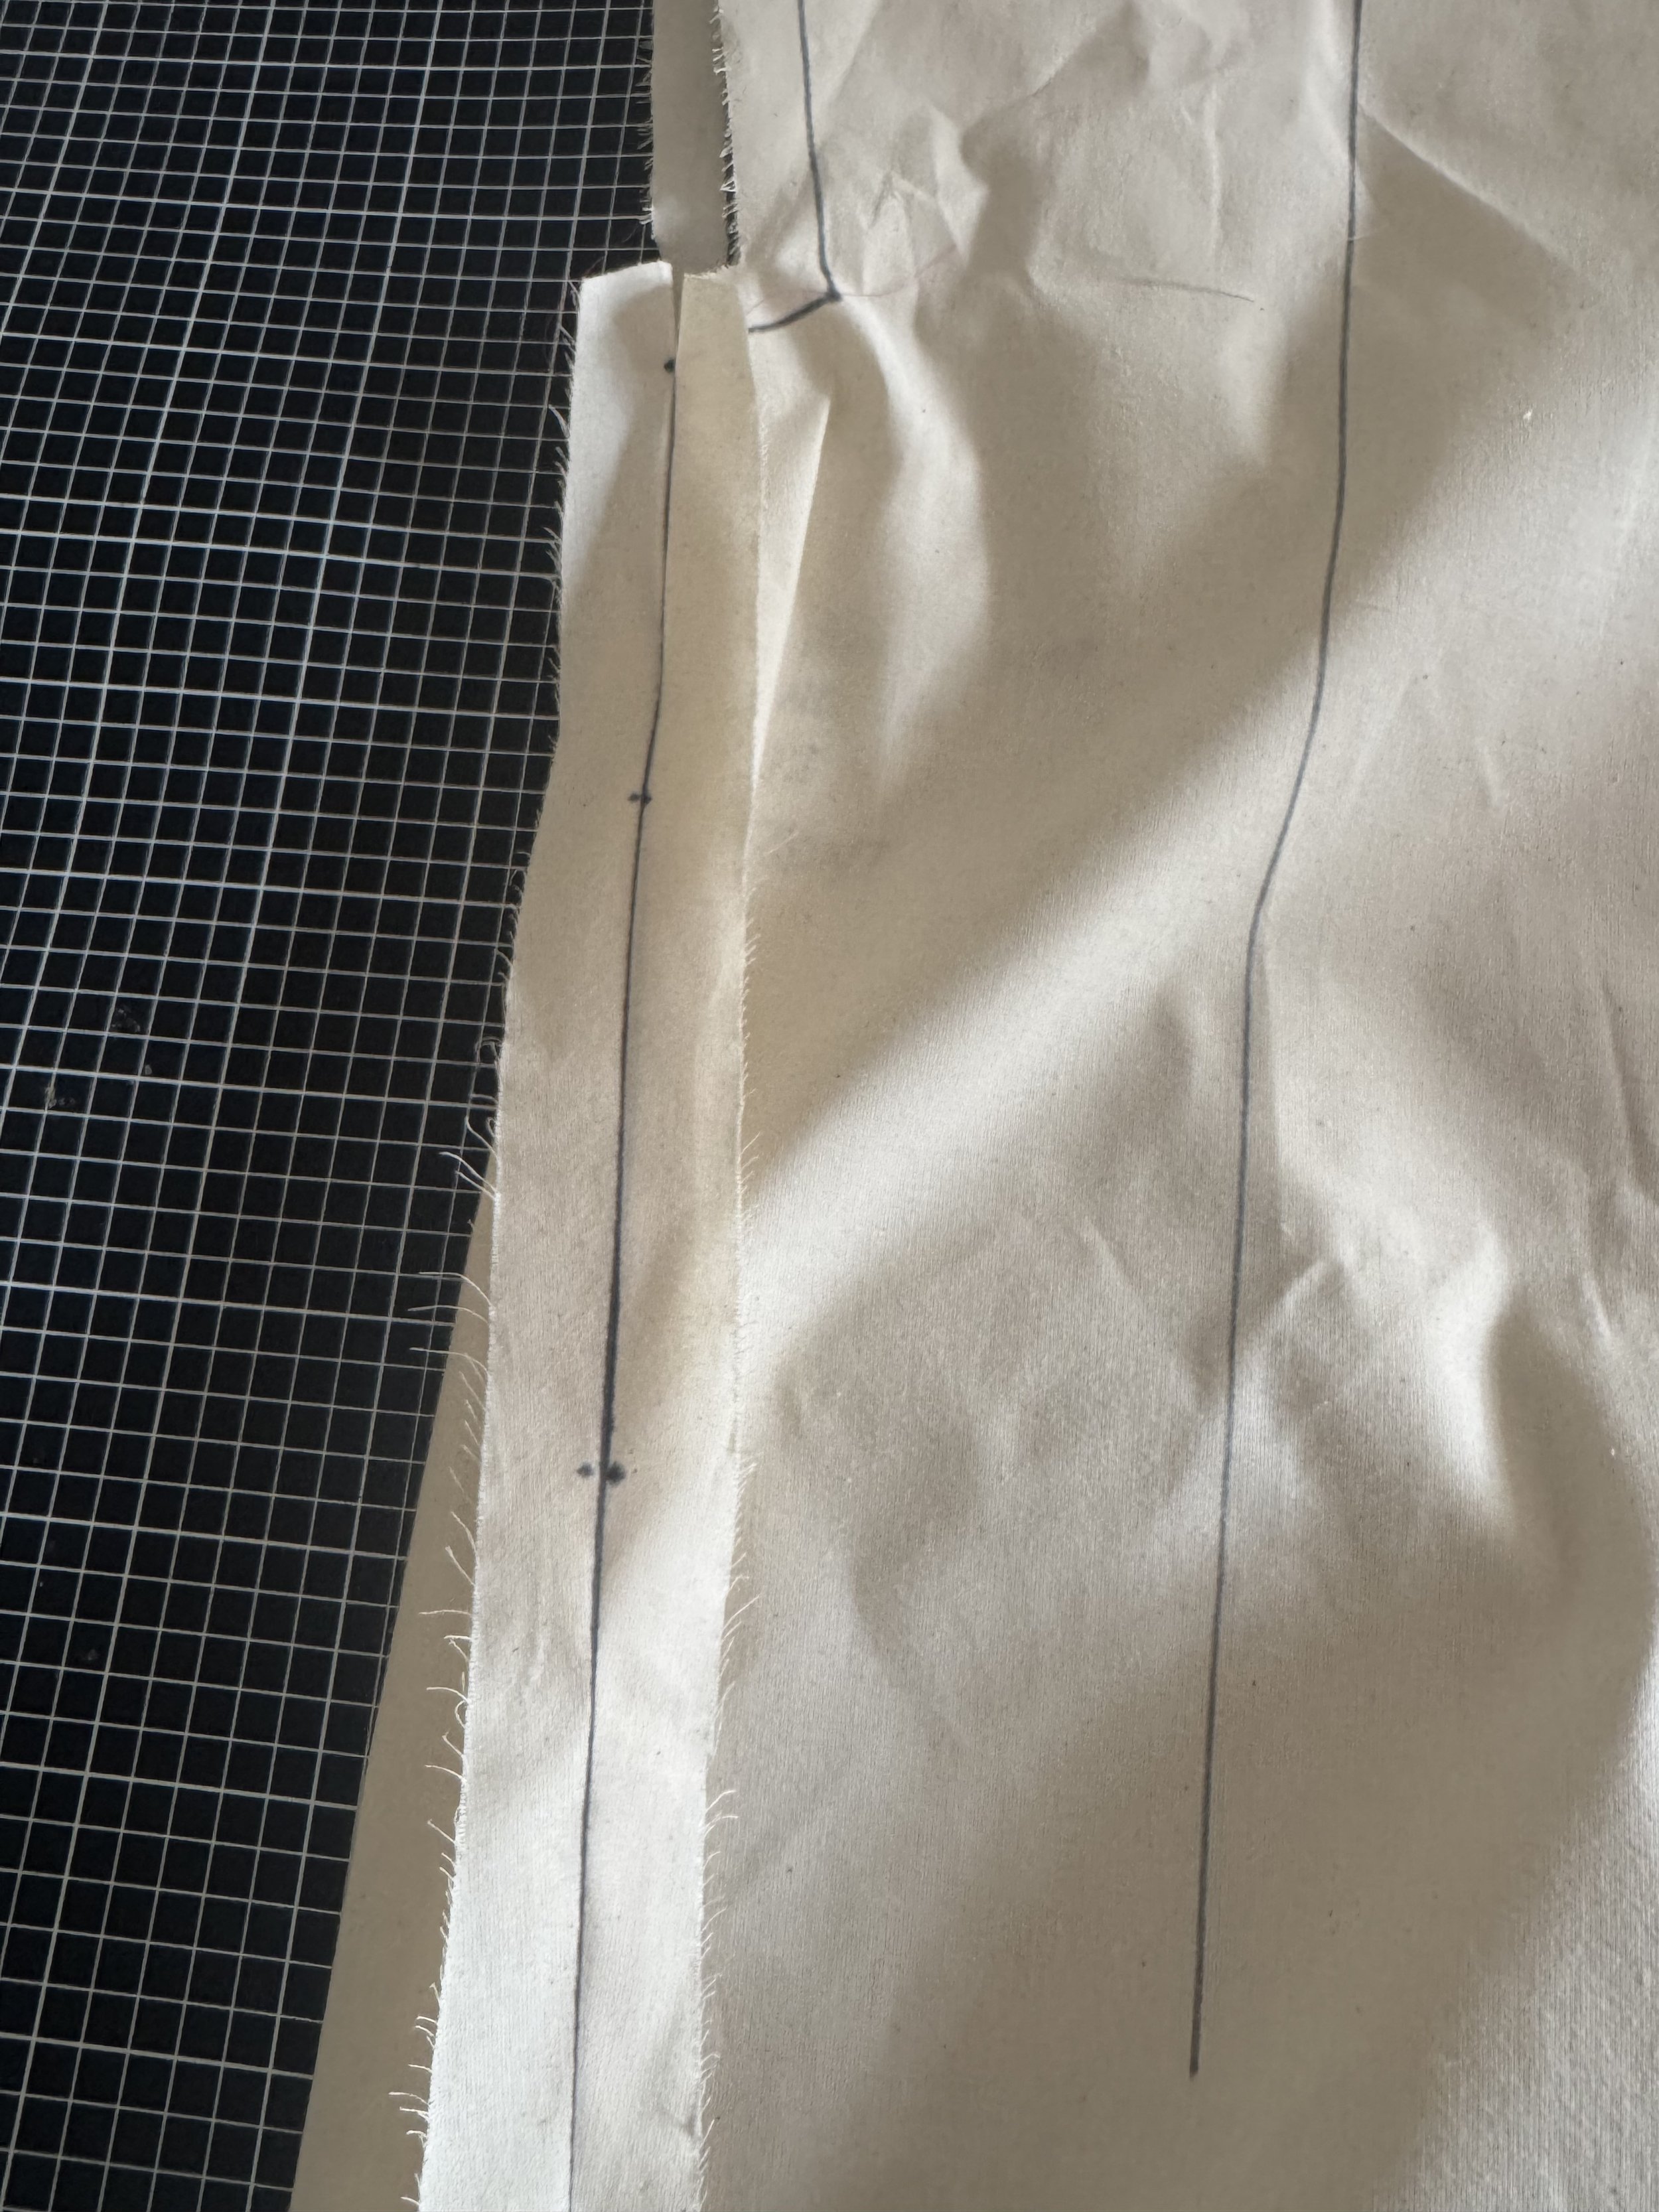
While there are lots of methods for transferring details, I love a sharpie. Quick, accurate and easy to see.
This is a test garment, make it messy!
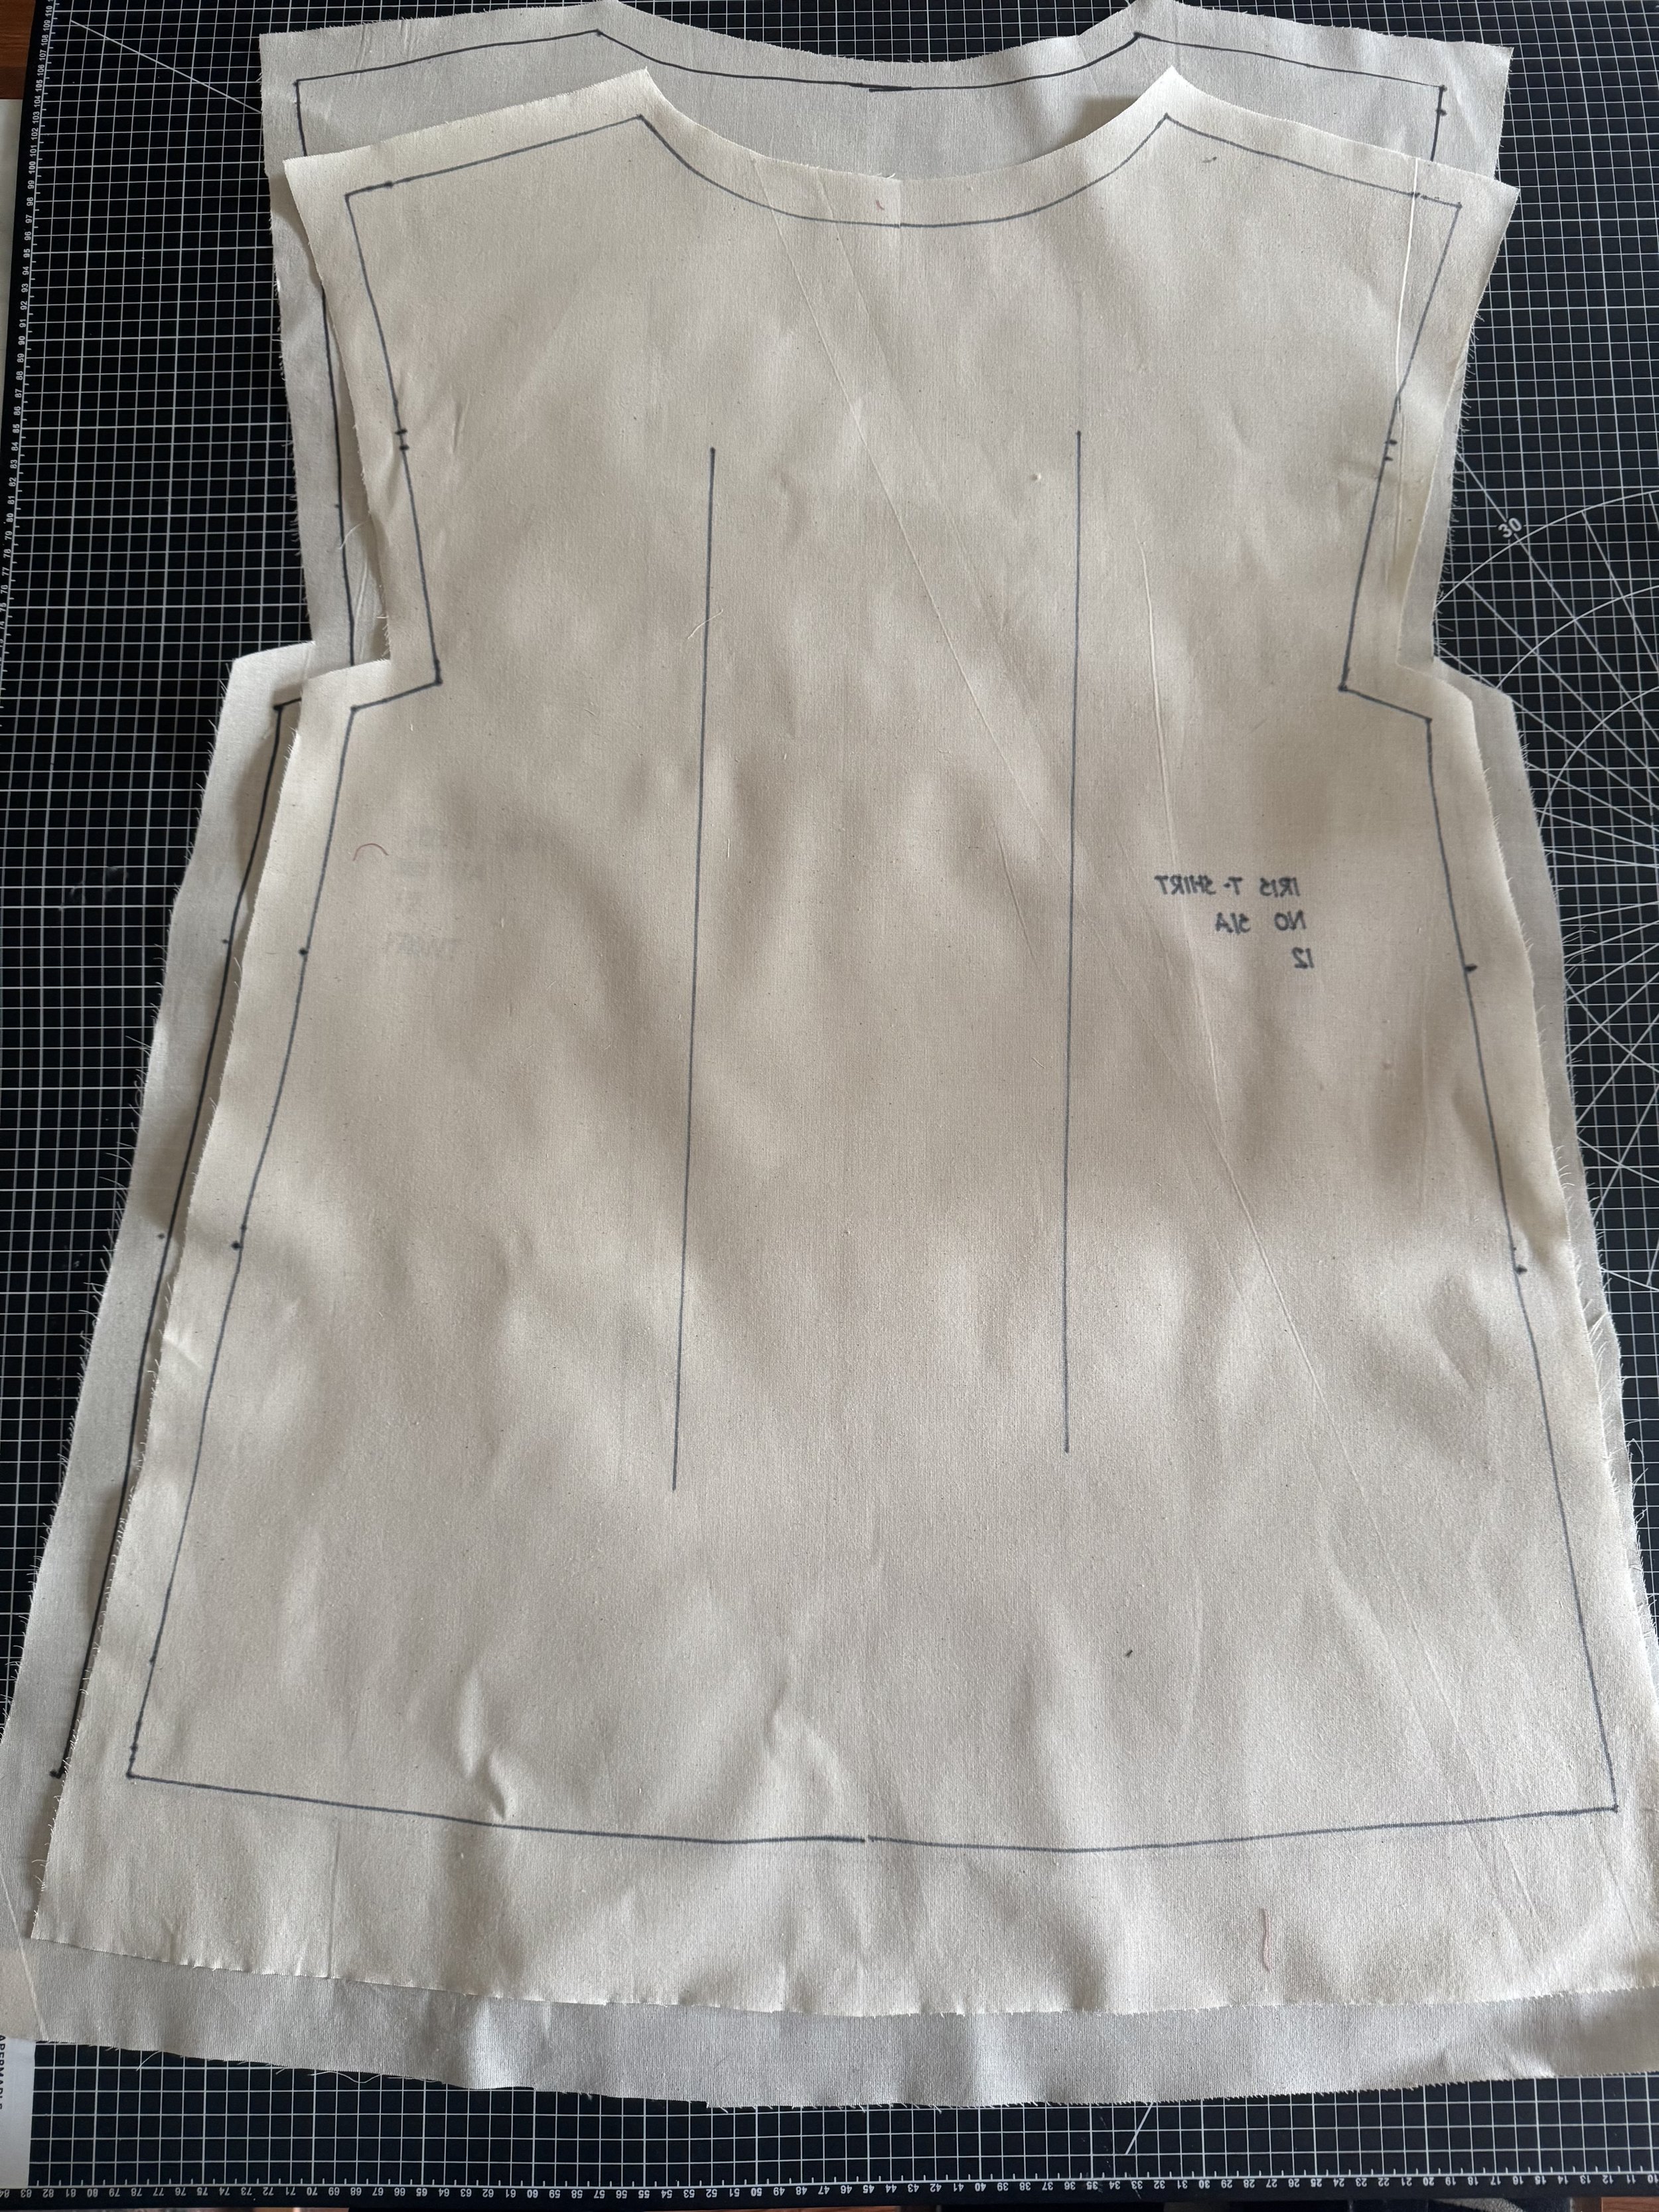
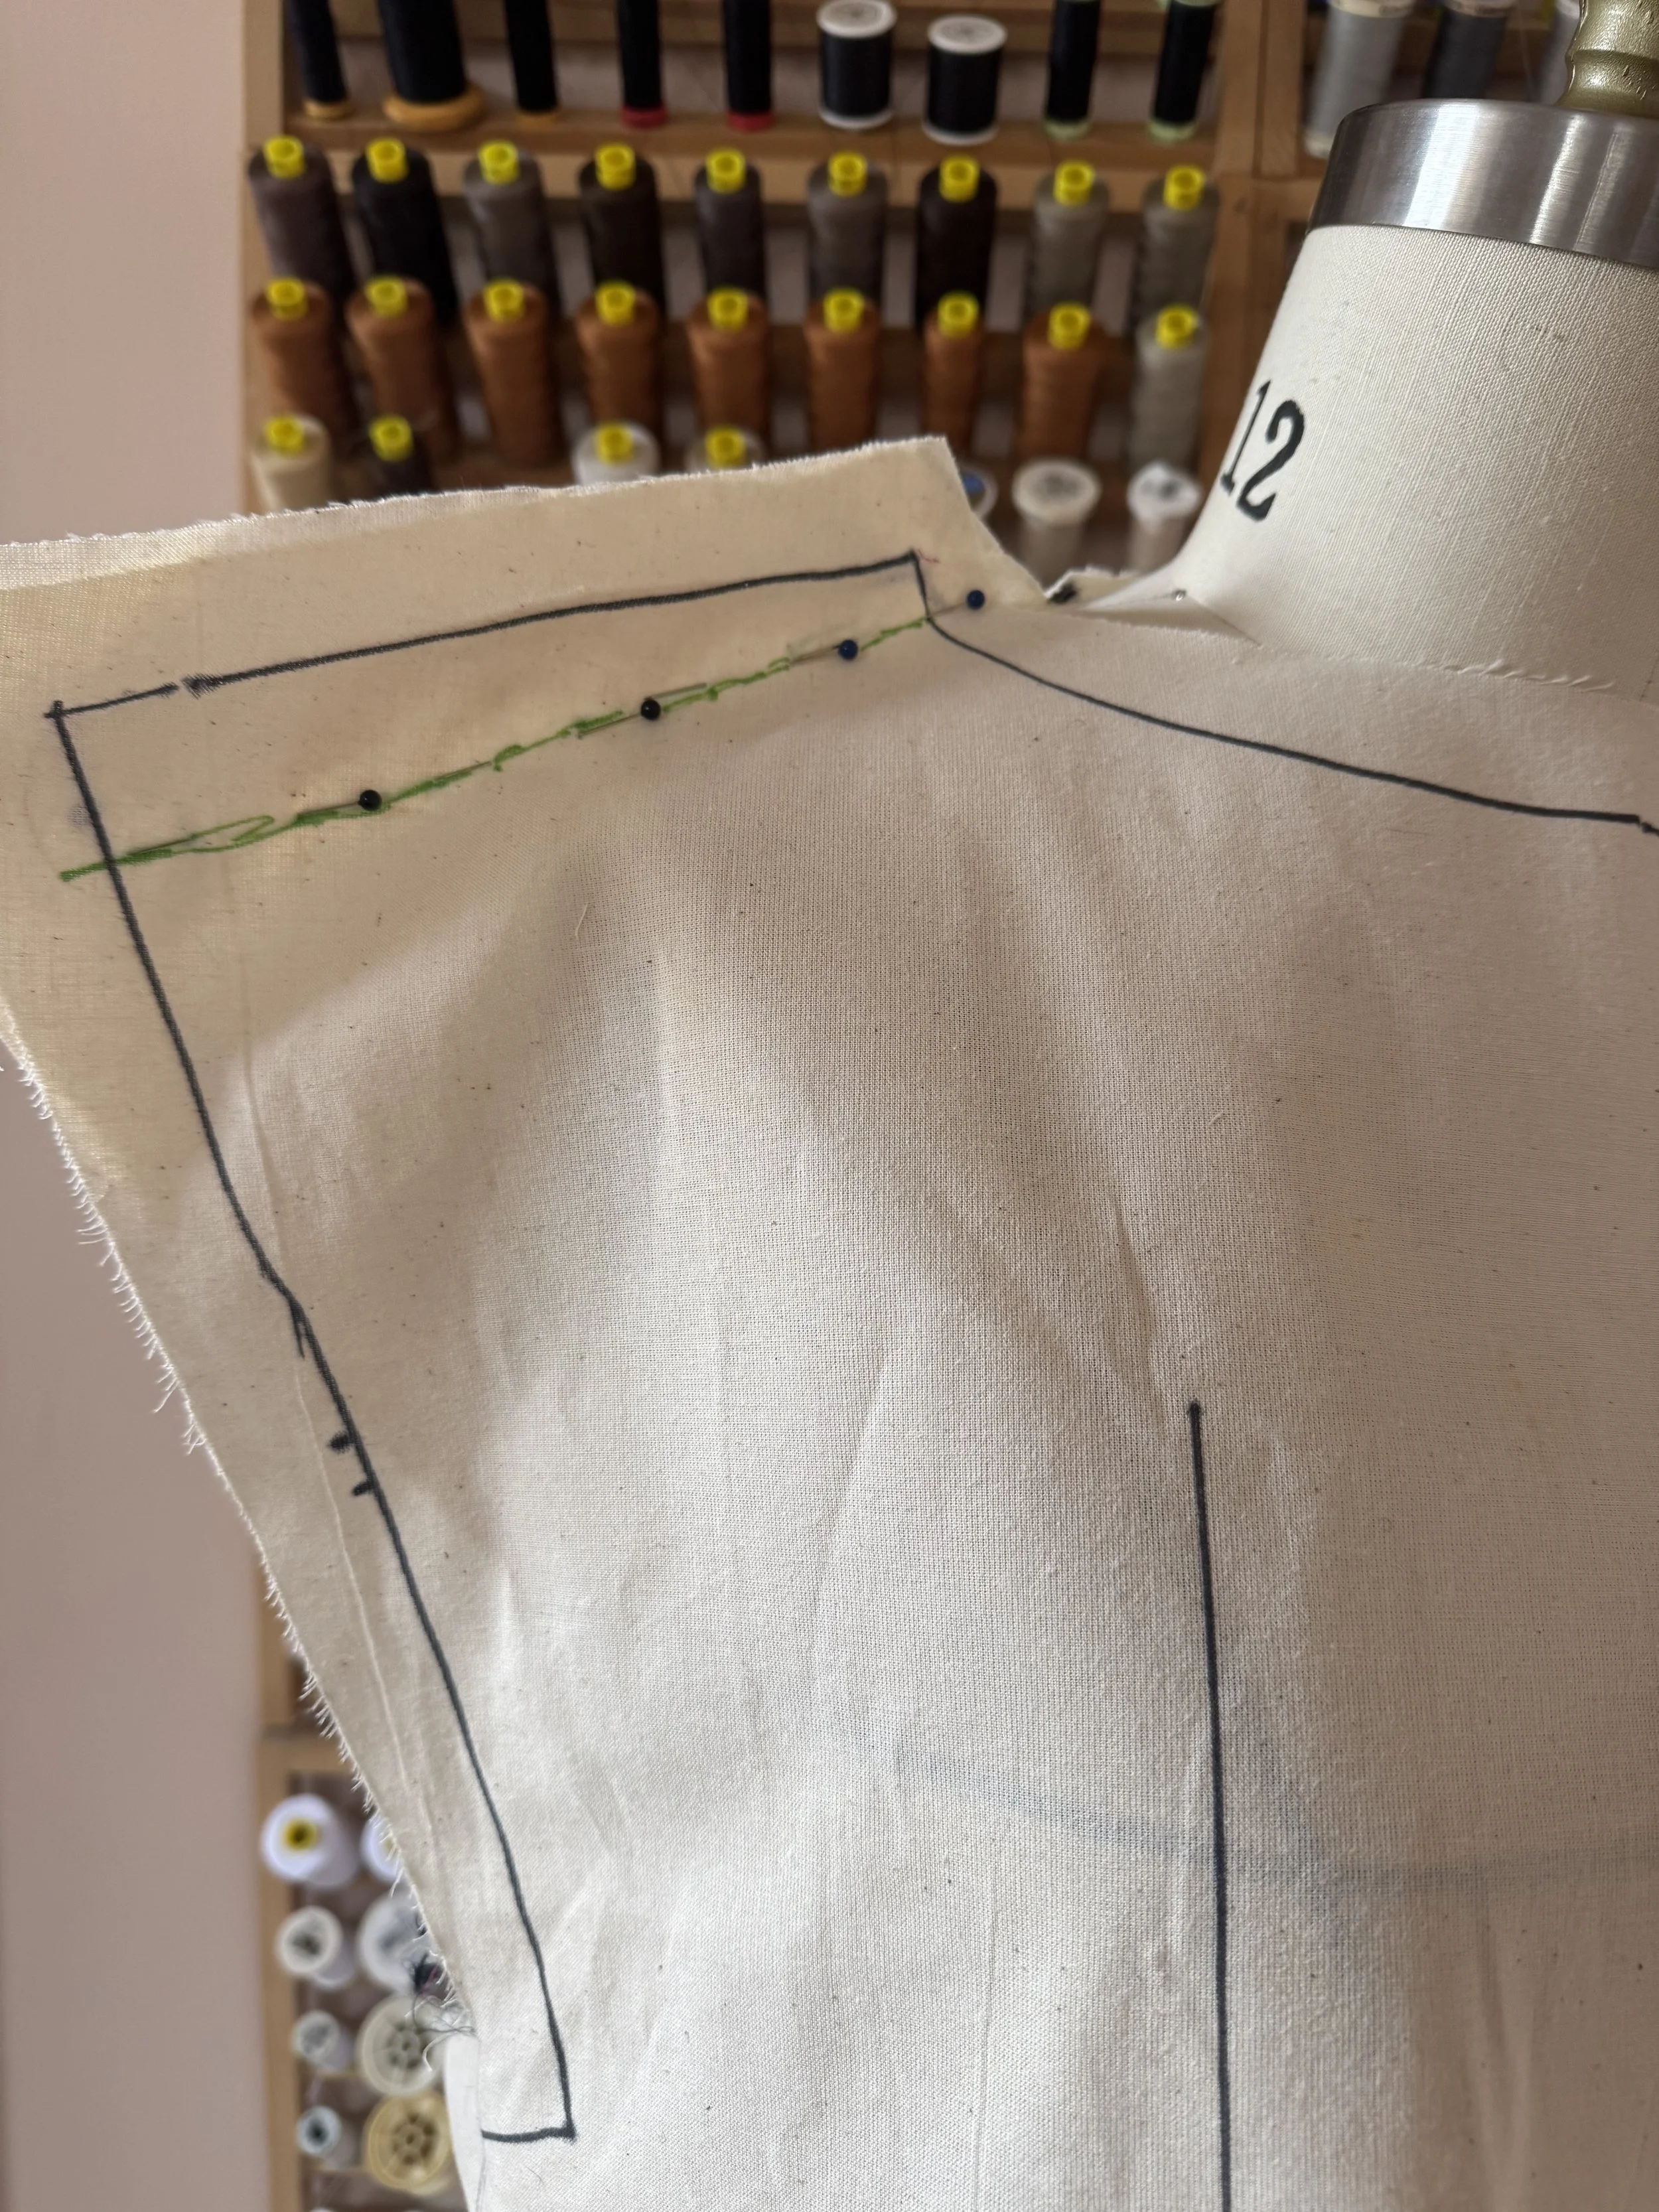
It is important that when you are fitting yourself, you can see the style lines, pockets, and most importantly the grainline.
Flip your pattern to the underside and transfer the details again.
THE GRAINLINE
The grainline is by far the most important piece of information you can add to a muslin. When wearing your fit garment, this essential line should remain straight at all times.
If it veers to the left or right, it shows a fitting issue, and must be corrected first.
A well fitting garment will always have a straight grainline, if you own a garment that twists when you walk - the grainline is off, a common issue in ready to wear.
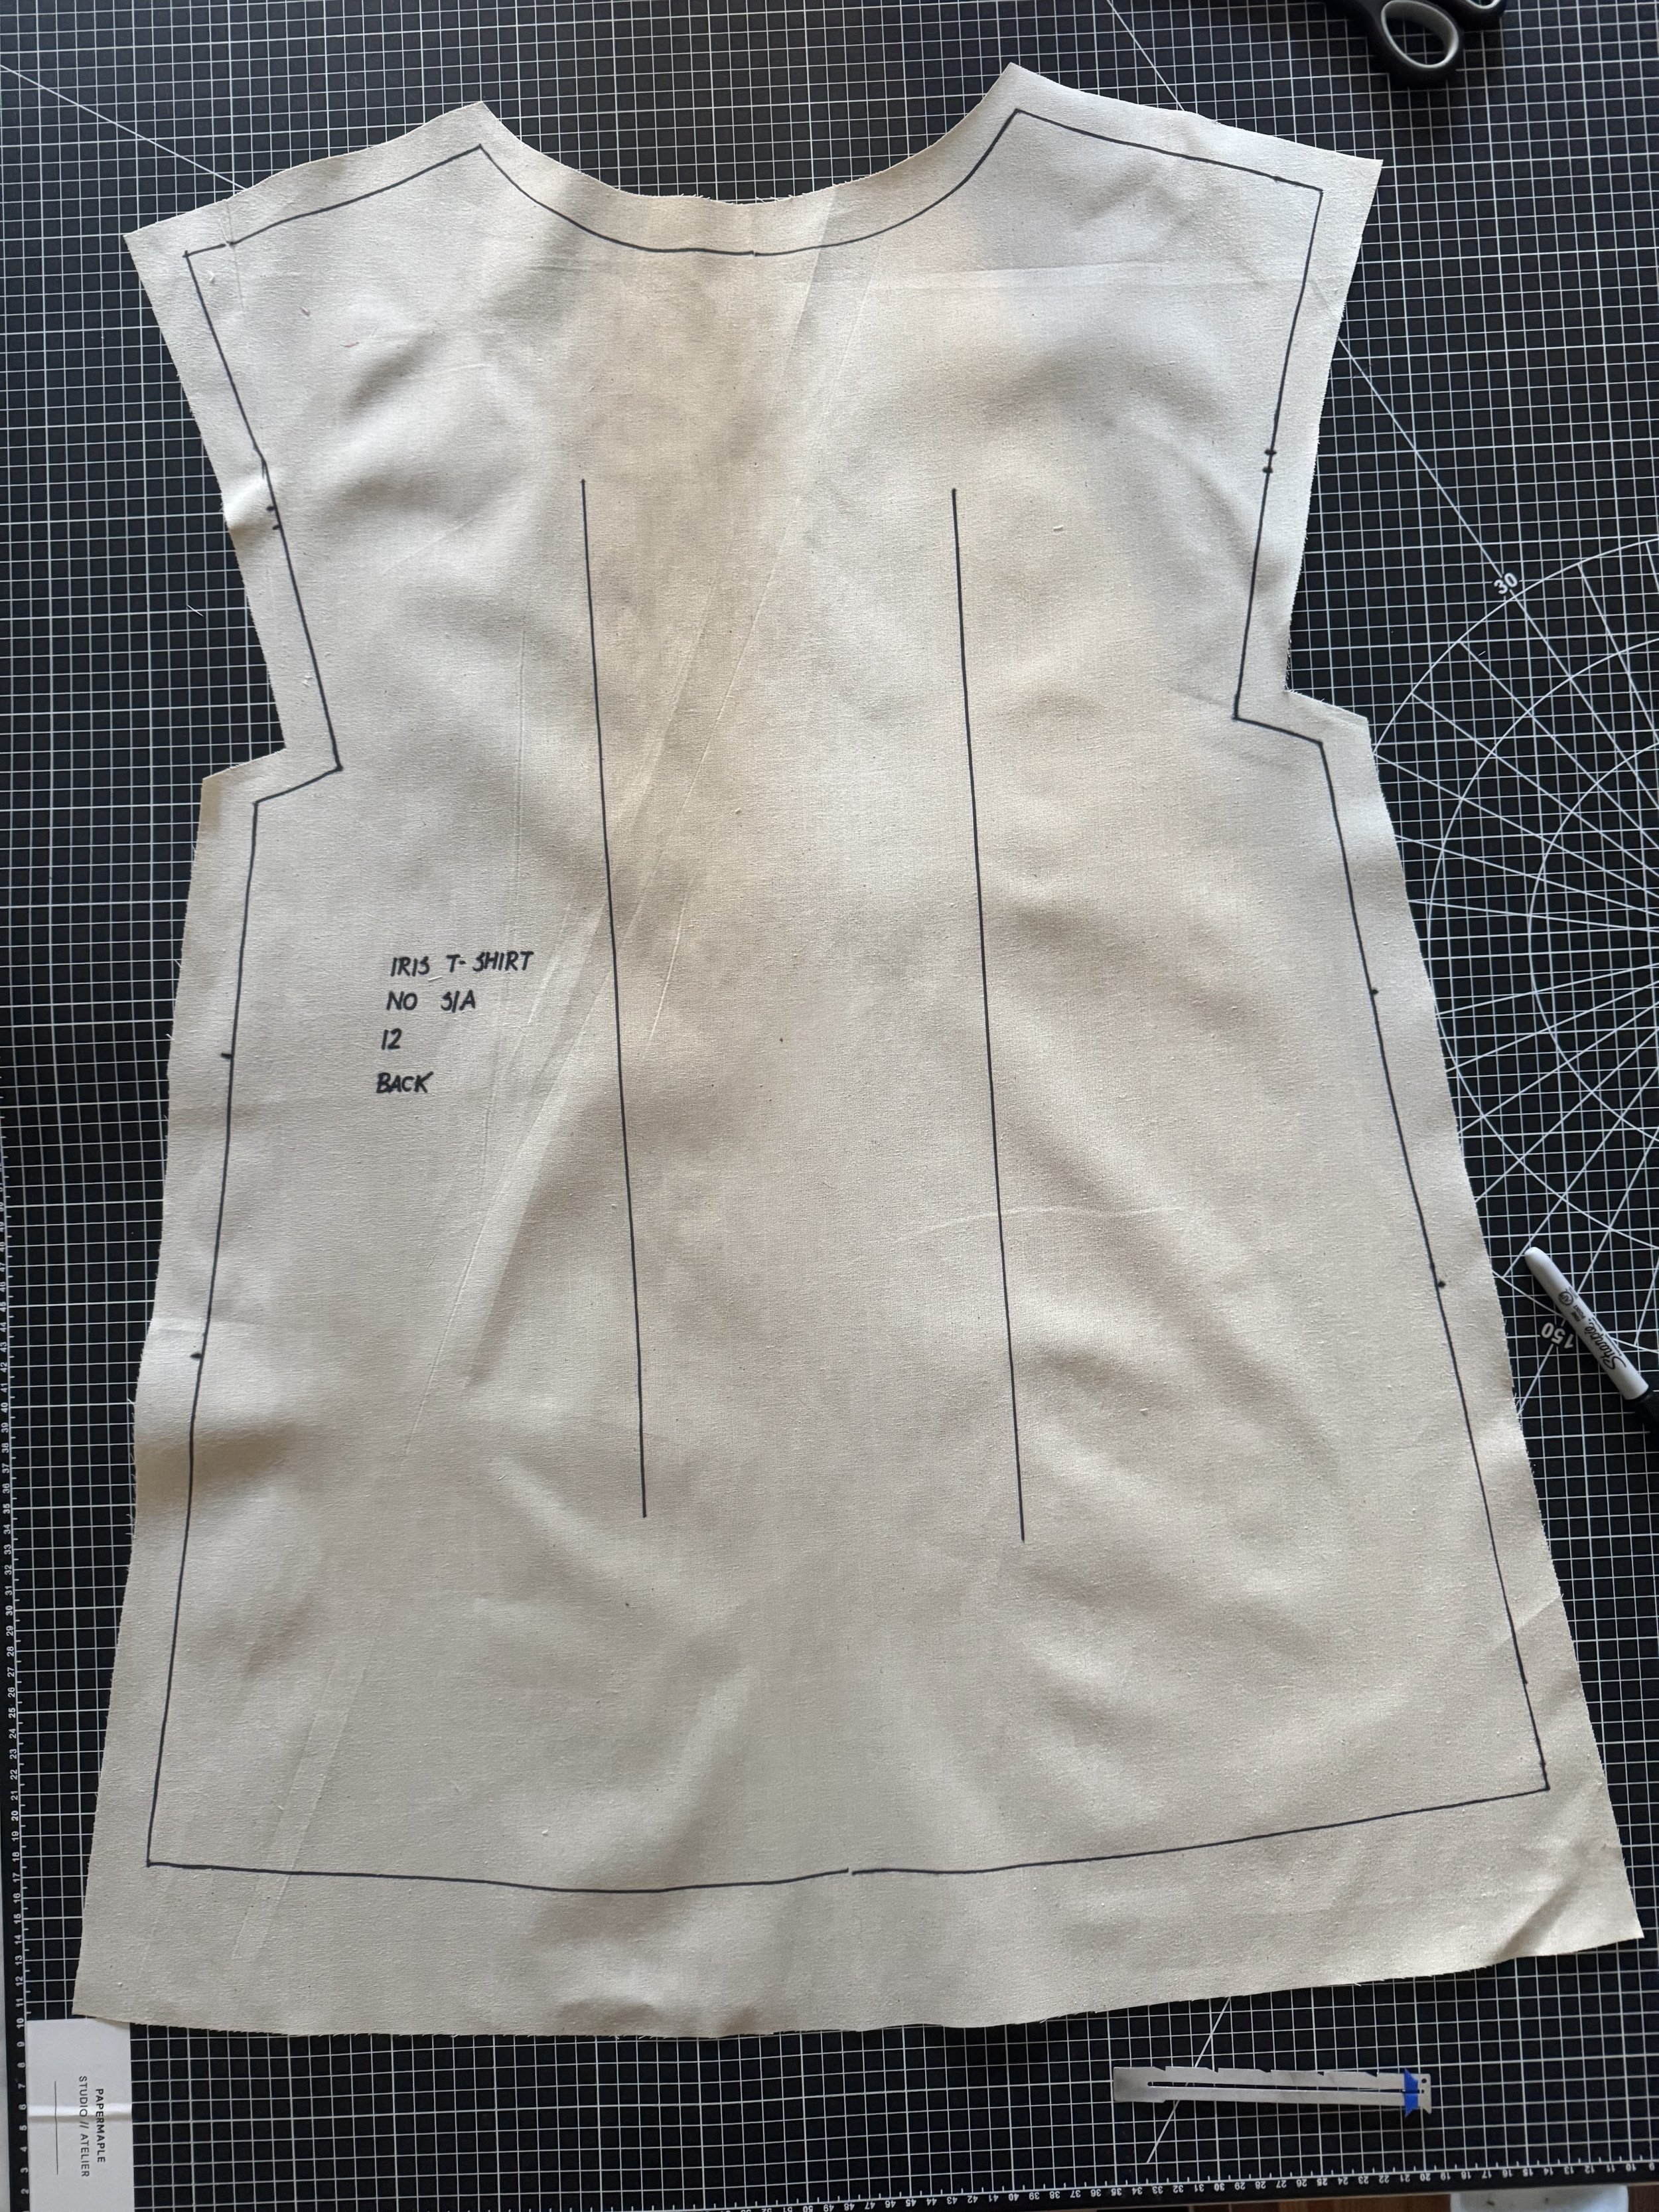
I’ve transferred both sides of the grainline as I treat the left and right sides individually when fitting students but it’s not necessary.
I also have pocket notches and sleeve notches - which will help me see if they fall in the correct place, before I sew those details.
When fitting a garment, I make the main garment piece first - a bodice, dress body or skirt etc
Don’t add any extras like sleeves, pockets, or neckline finishings.
A well fitting base is essential before we include other elements.
When the bodices are complete, lay right side to right side.
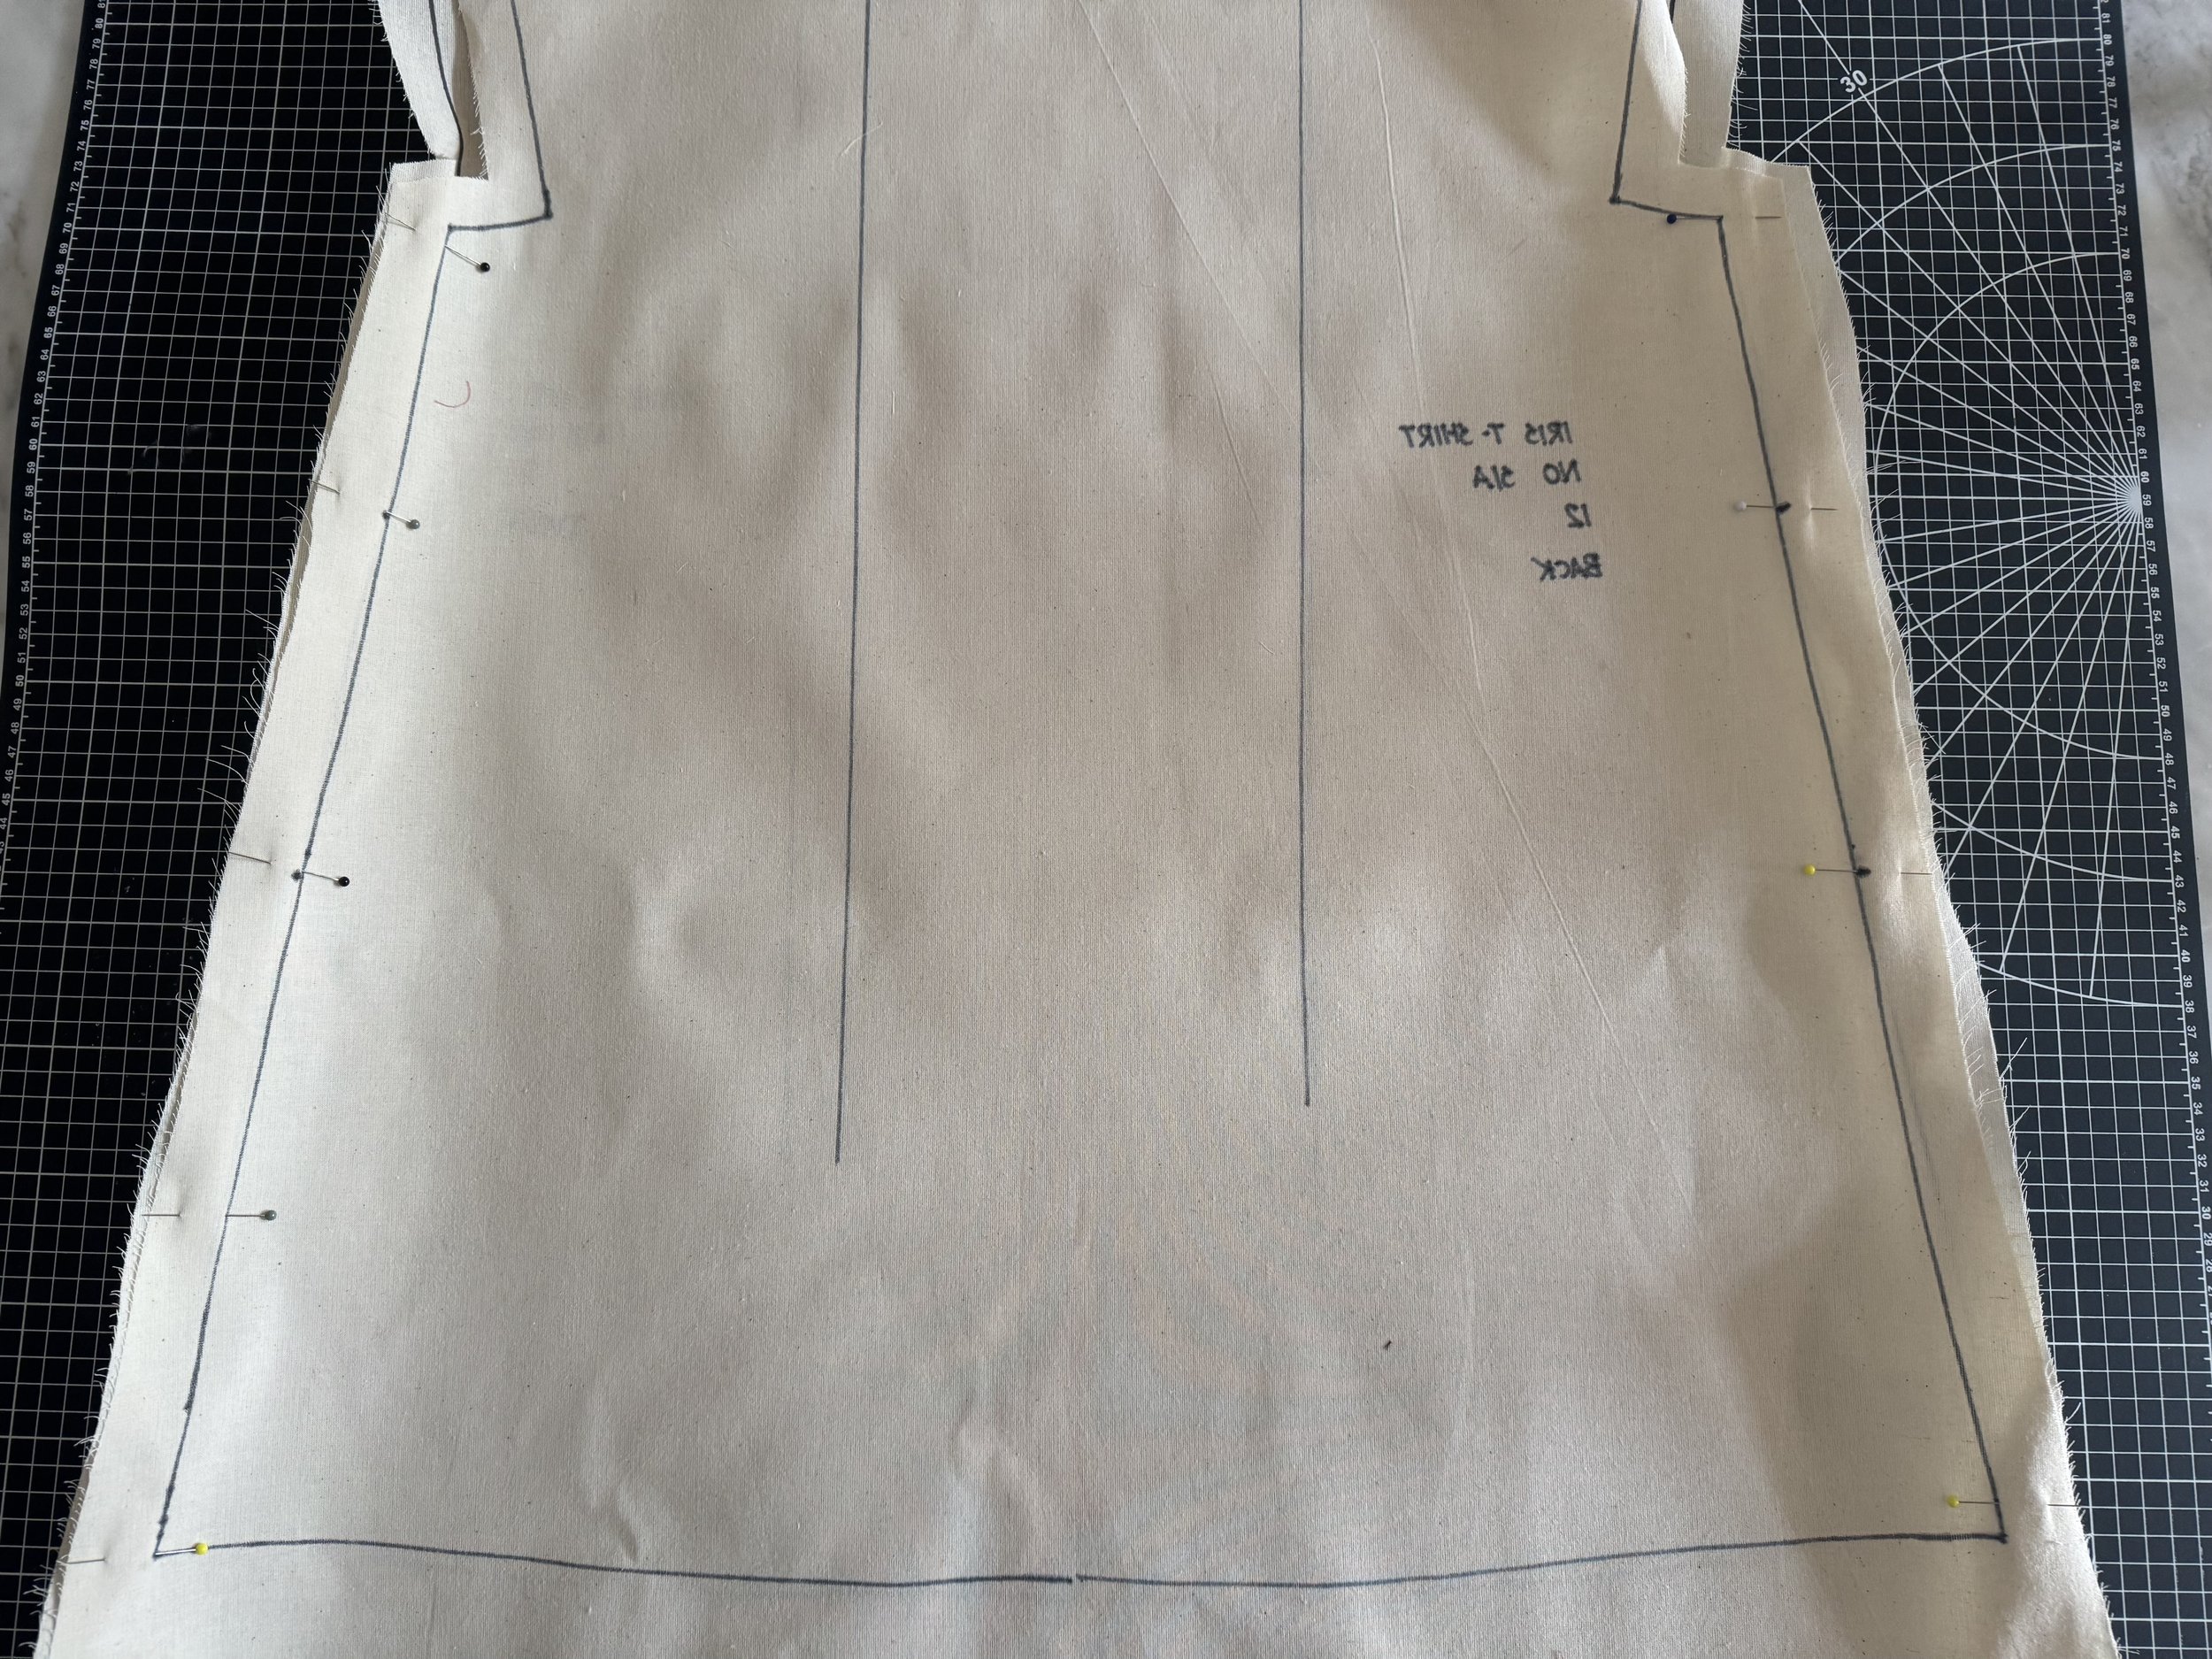
Match the two pieces, and pin well.
Sew your seams using the largest basting stitch on your machine. Back tack at the beginning and end.
Press each seam open.
For a first fit:
Work methodically.
Is your grainline straight?
Never try to fix more than one issue at a time, each adjustment affects the whole garment, fix one, and step back, now reassess.
Start at the top of the garment - shoulder seams / waist /
Pin from the outside as you work and adjust.
Treat the left and right sides as two garments. An adult is rarely symmetrical.
Mark each new fitting line with a new sharpie colour - my adjustments are in green.
When the body of the garment is fitted, baste the new sharpie lines together before adding sleeves etc
Now work through the fit steps again.
If needed, make new match notch marks (armseye and sleeve etc) if areas have changed dramatically.
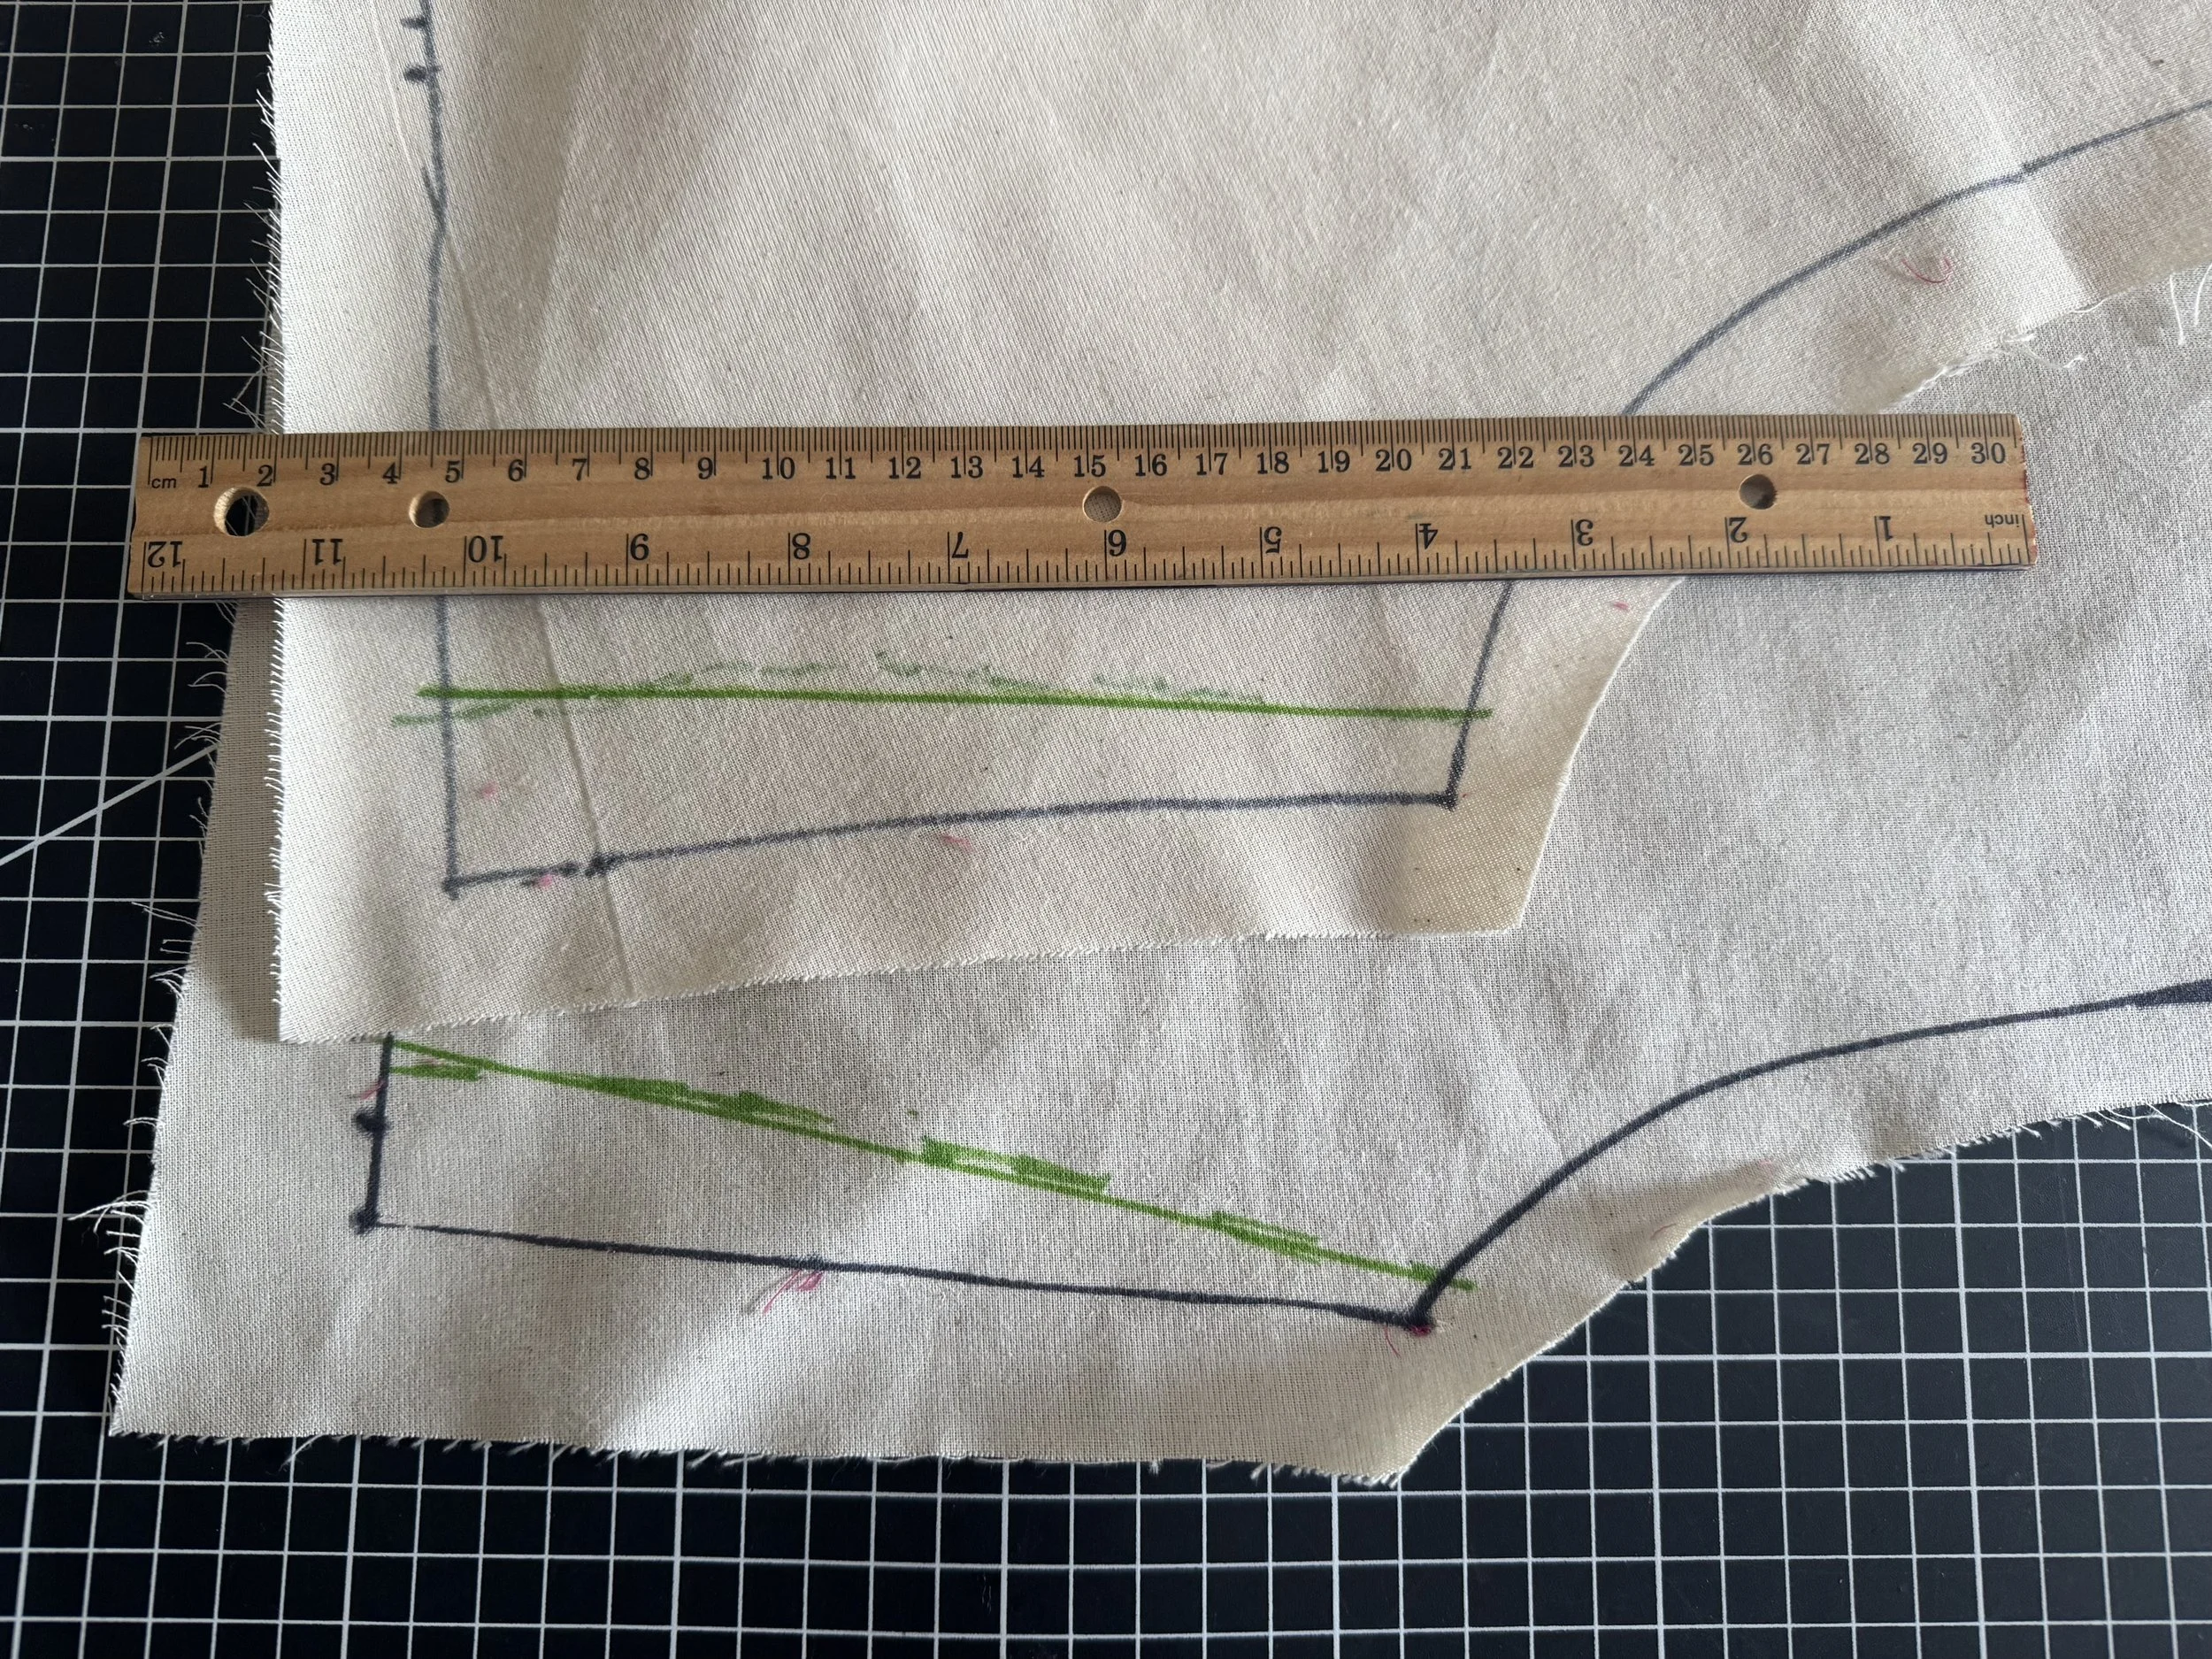
True your new lines using a ruler.

When your fitting is complete, press your muslin - and remove all your seam allowances. Follow your original or new sharpie lines.
This is now your pattern, your paper pattern can be put away.
I’ll often keep the two together, and note what adjustments have been made, for future makes.
From here you have the Couture option to thread baste OR you can create a new paper pattern by adding the seam allowance of your choice to the new muslin pattern.
Happy sewing!