6 - Rex A & B - Sewing The Waistband - Construction
I’ll be demonstrating using Rex A, the ankle pant. The straight and ankle pant are the same in the waist, zipper, and upper thigh. The ankle tapers slightly as it grades towards the ankle. The cuff is added as a design element, but can be omitted if a slimmer pant is preferred.
B, the straight pant has the same construction methods, but includes a regular hem to finish.
I made a notation in Part 1 to either wait to cut the waistband OR add an extra 2” now
Years ago, a teacher taught me to always cut a little more lengthways, because between seams, darts, zippers and shaping, seam allowances can lose or gain a millimeter or two on each area as we construct, and it does add up!
There is nothing worse than cutting your waistband, only to find it doesn’t fit.
It’s a fairly large amount of fabric, so regardless of what garment I am making, I always cut generously. It’s so easy to adjust once we begin sewing it.
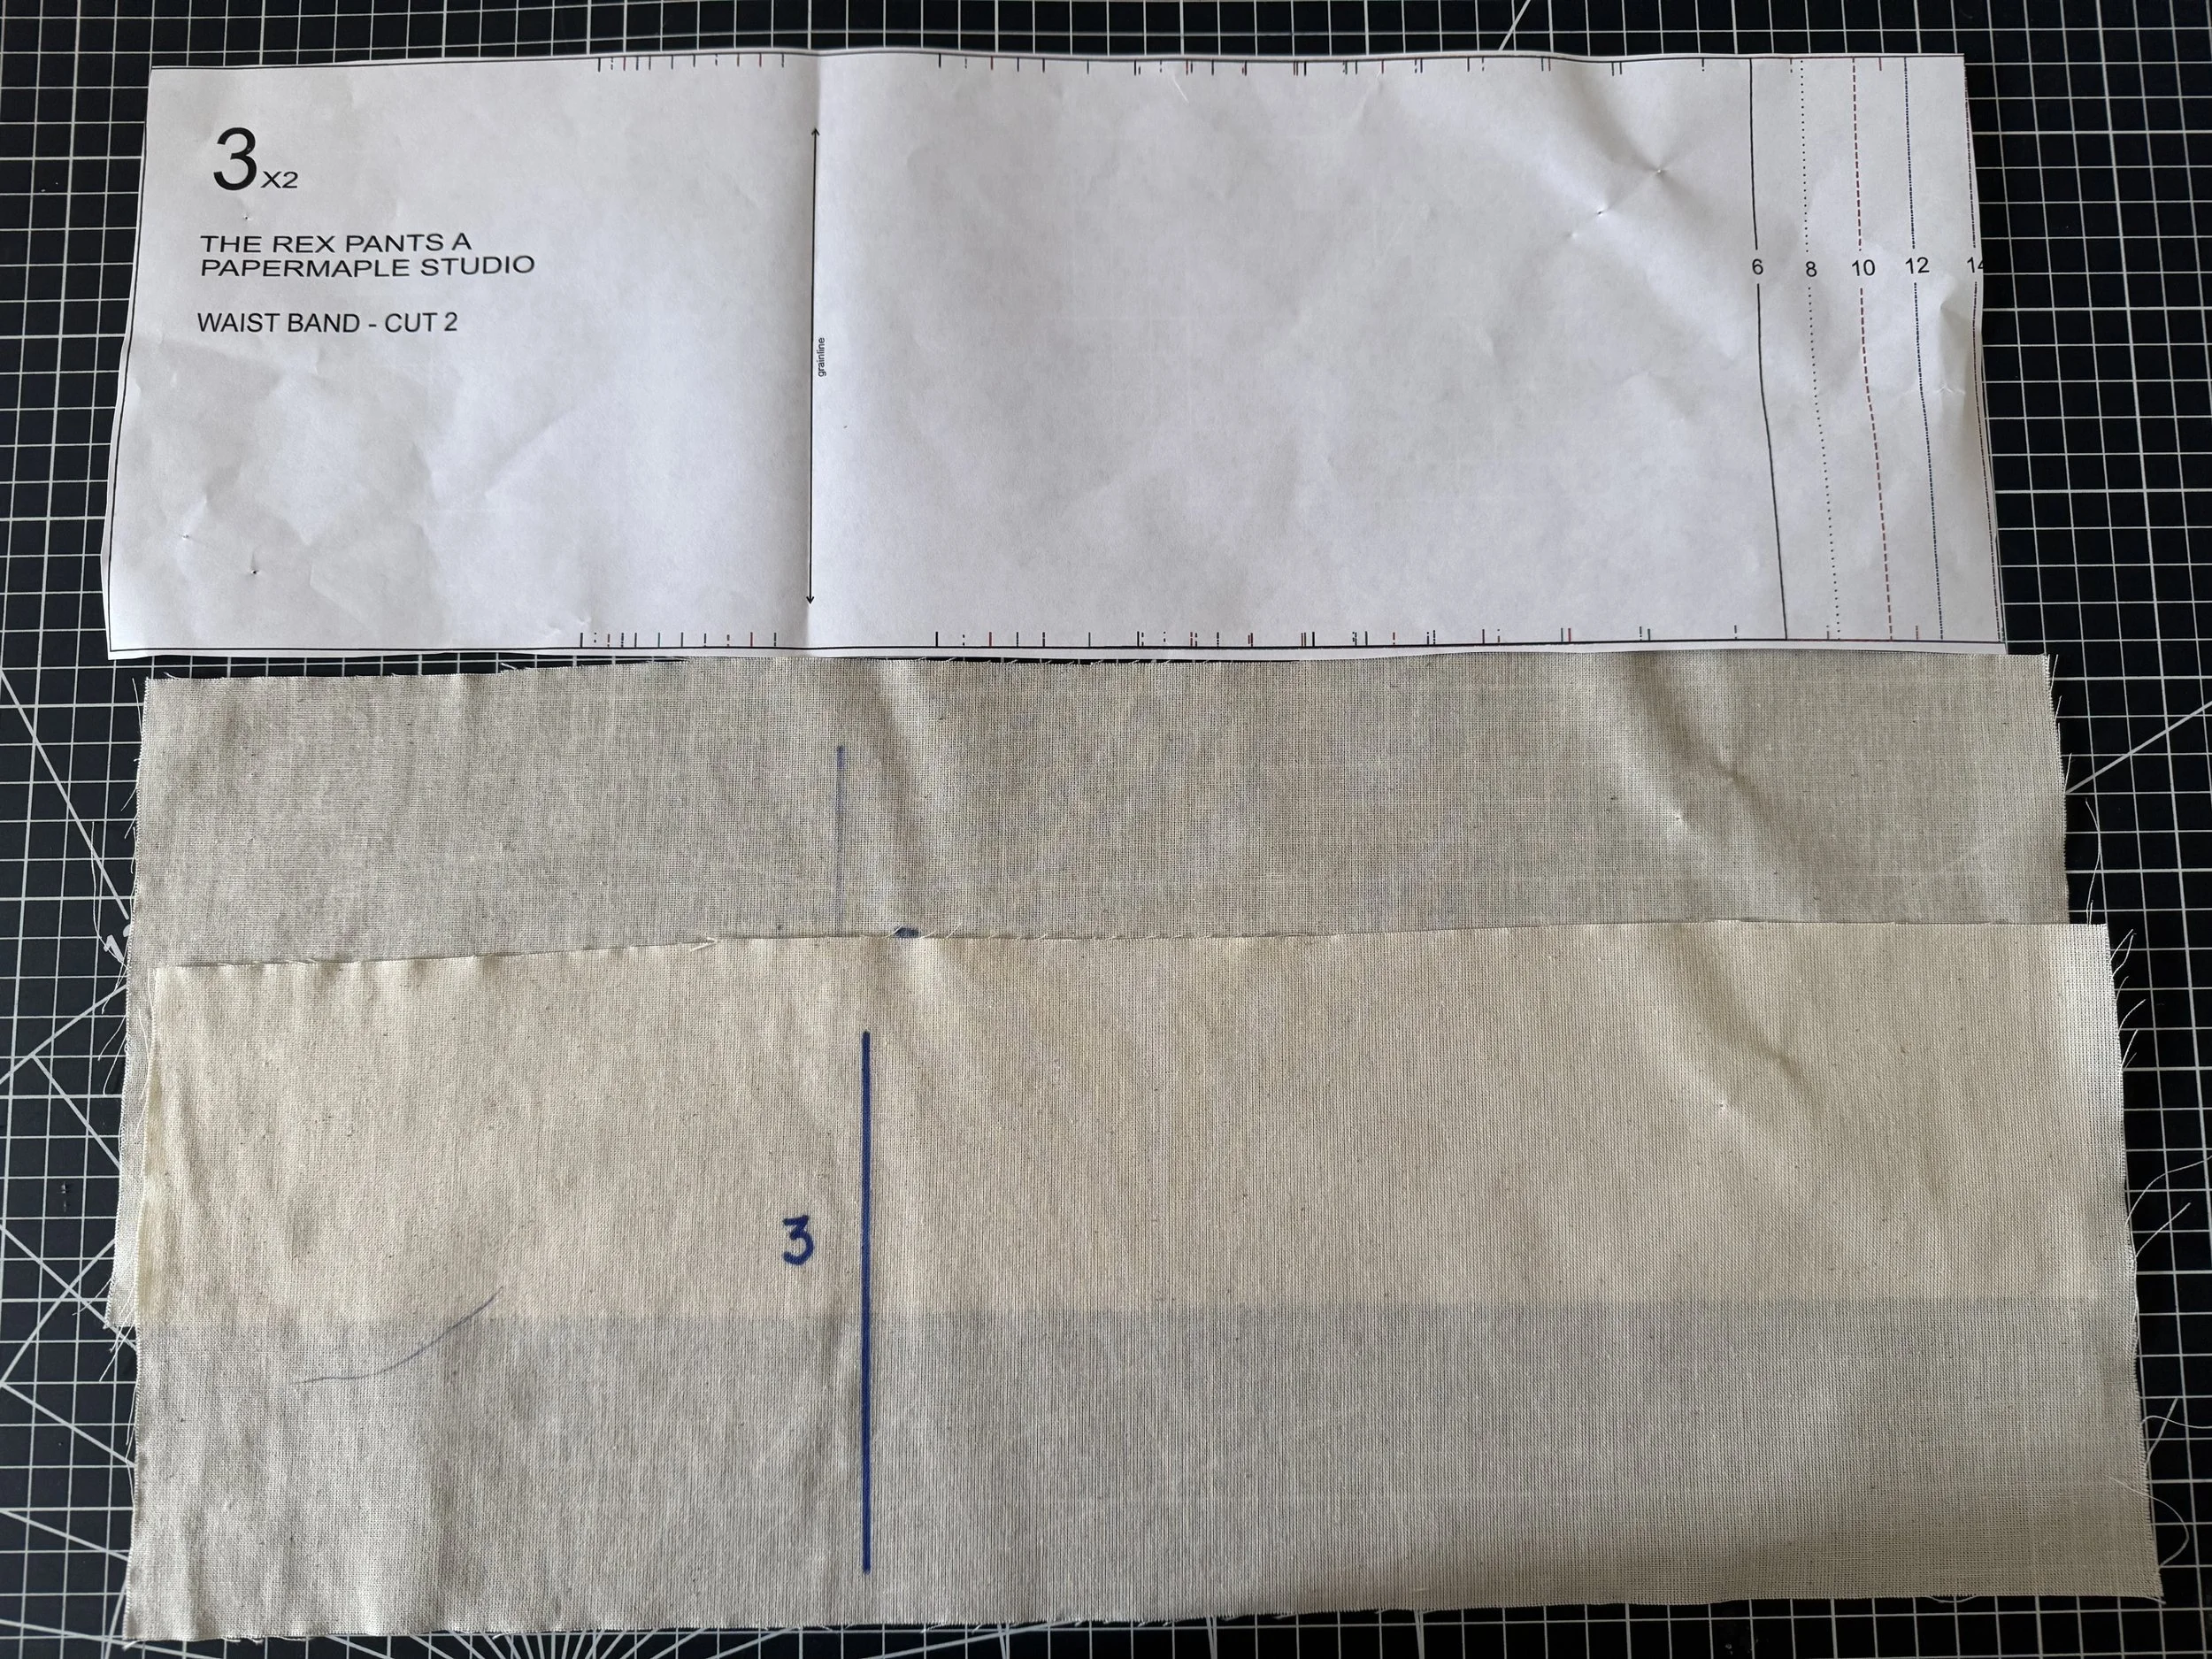
I am making a size 10 here, but I cut my waistband pattern to a 14.
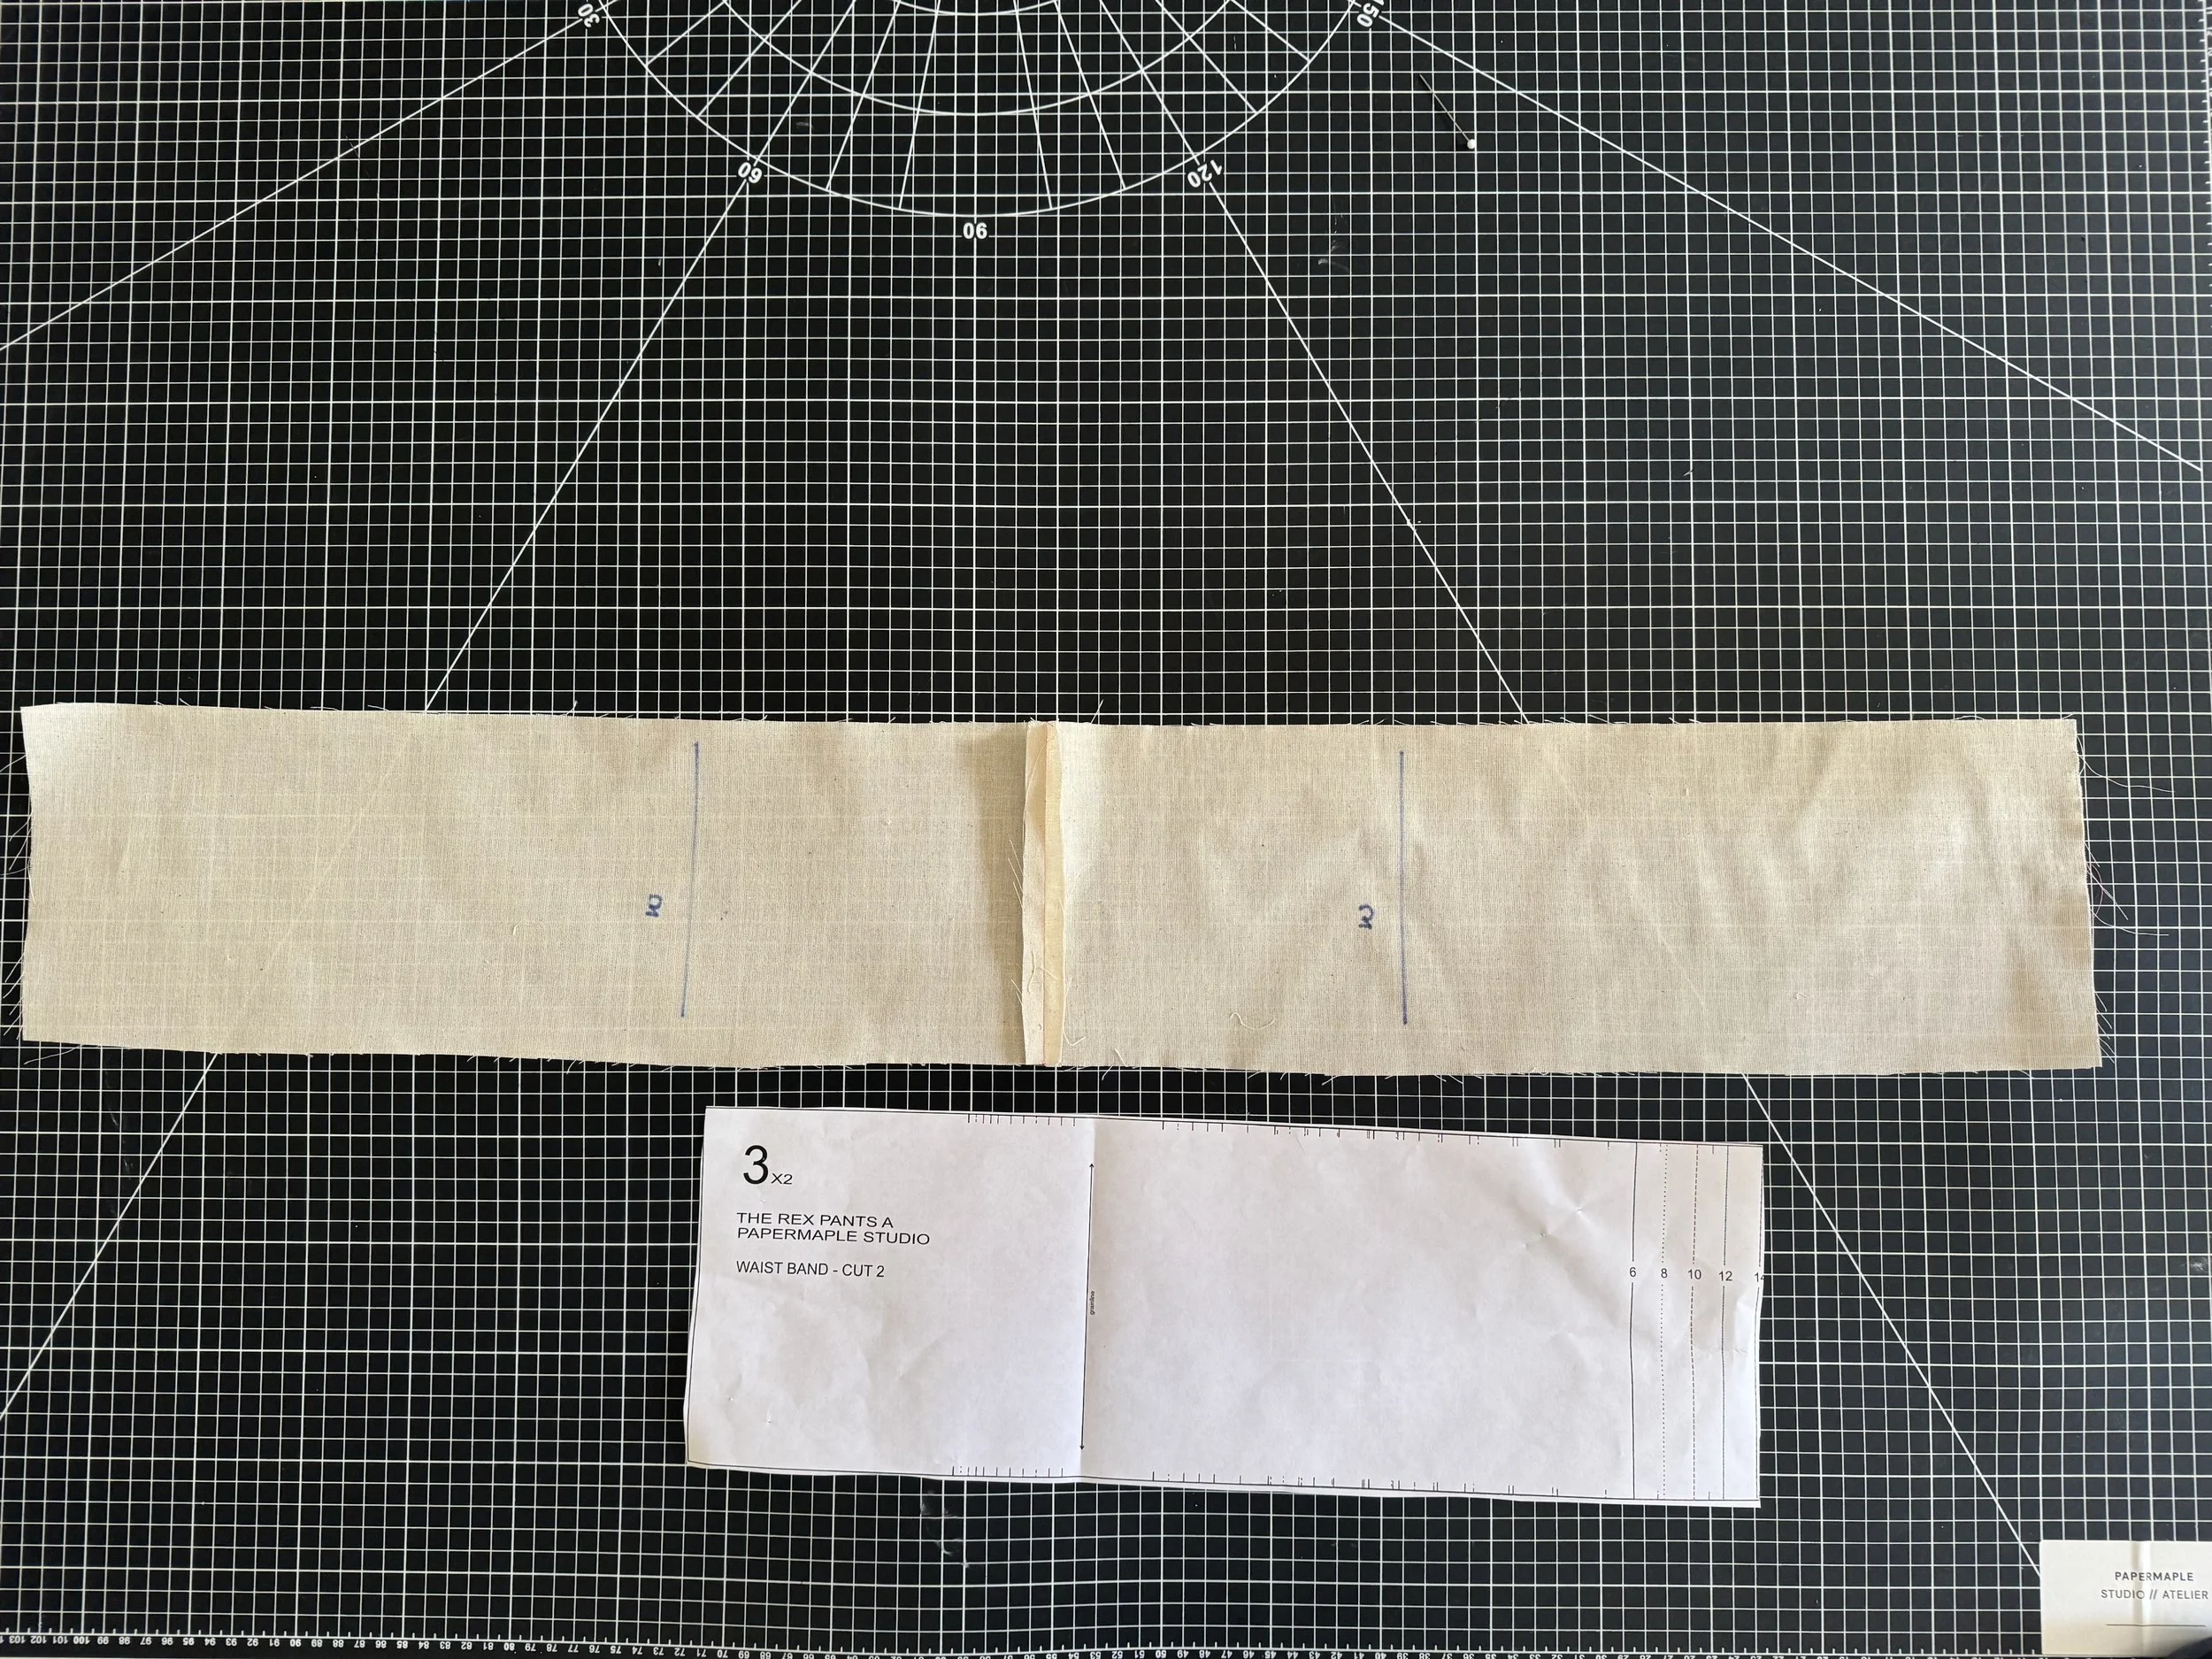
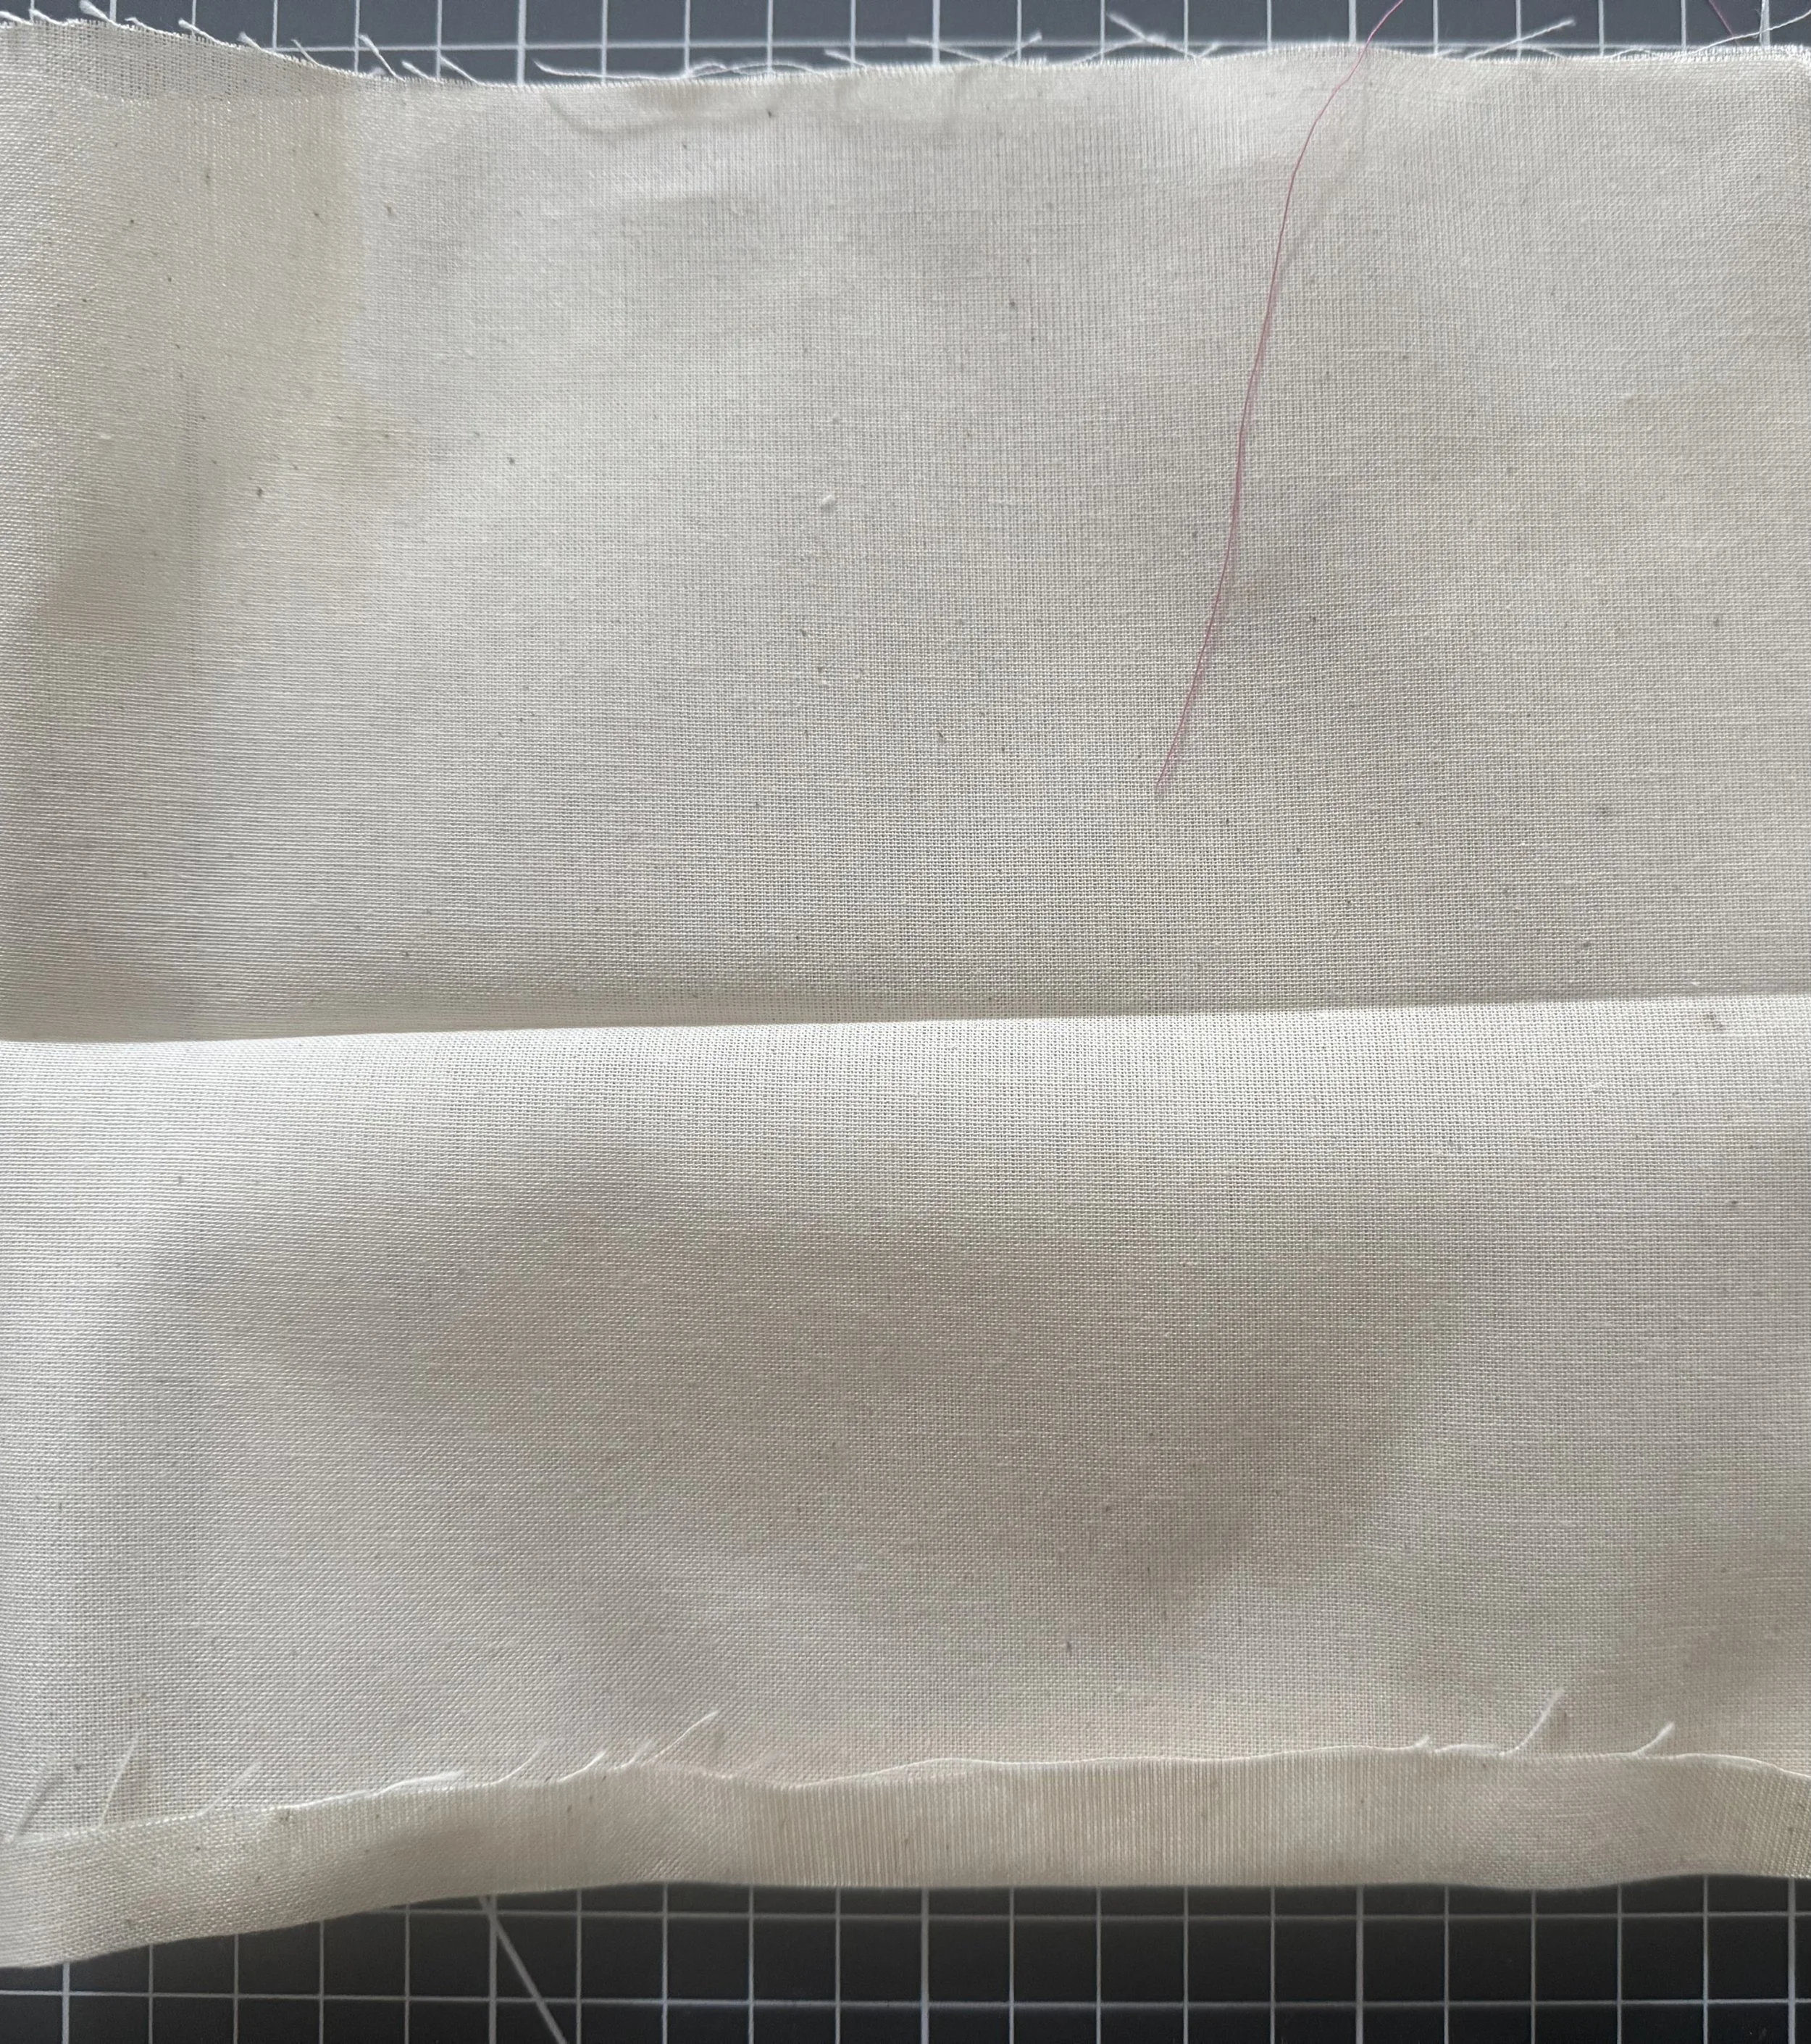
Sew the two seams together.
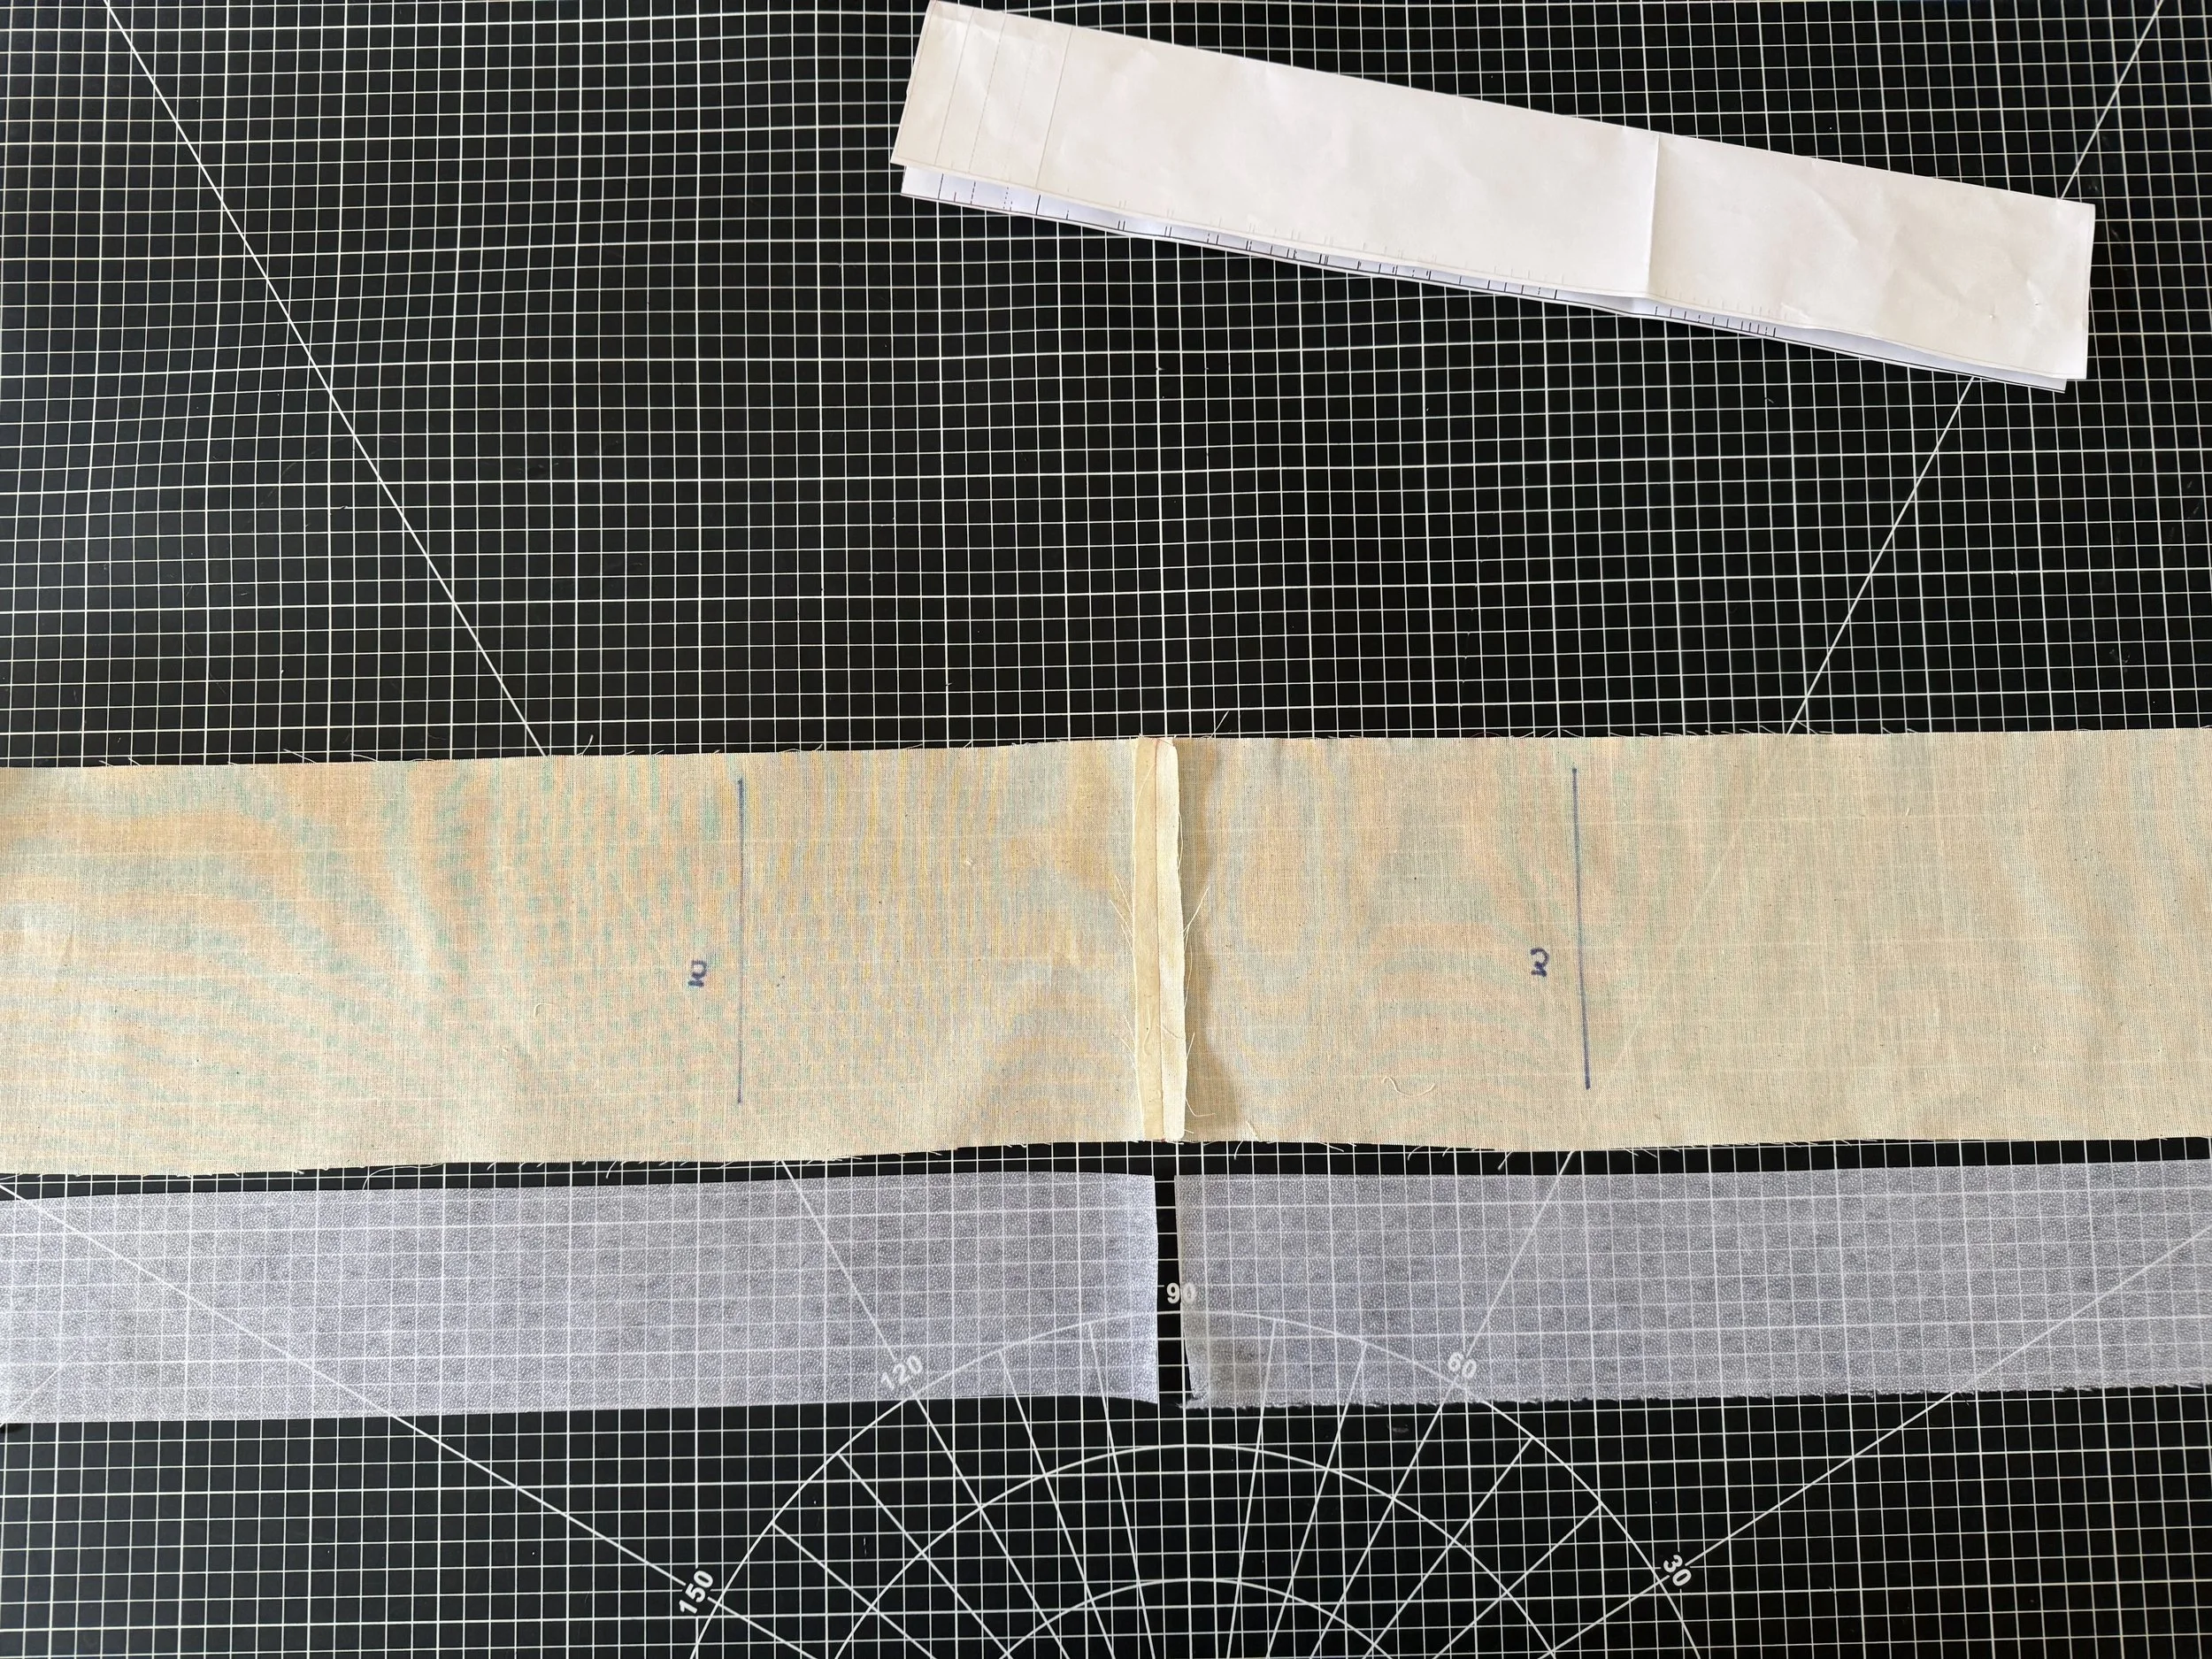
Cut a lightweight interfacing, fold your pattern in half as shown above, and use this as a guide.
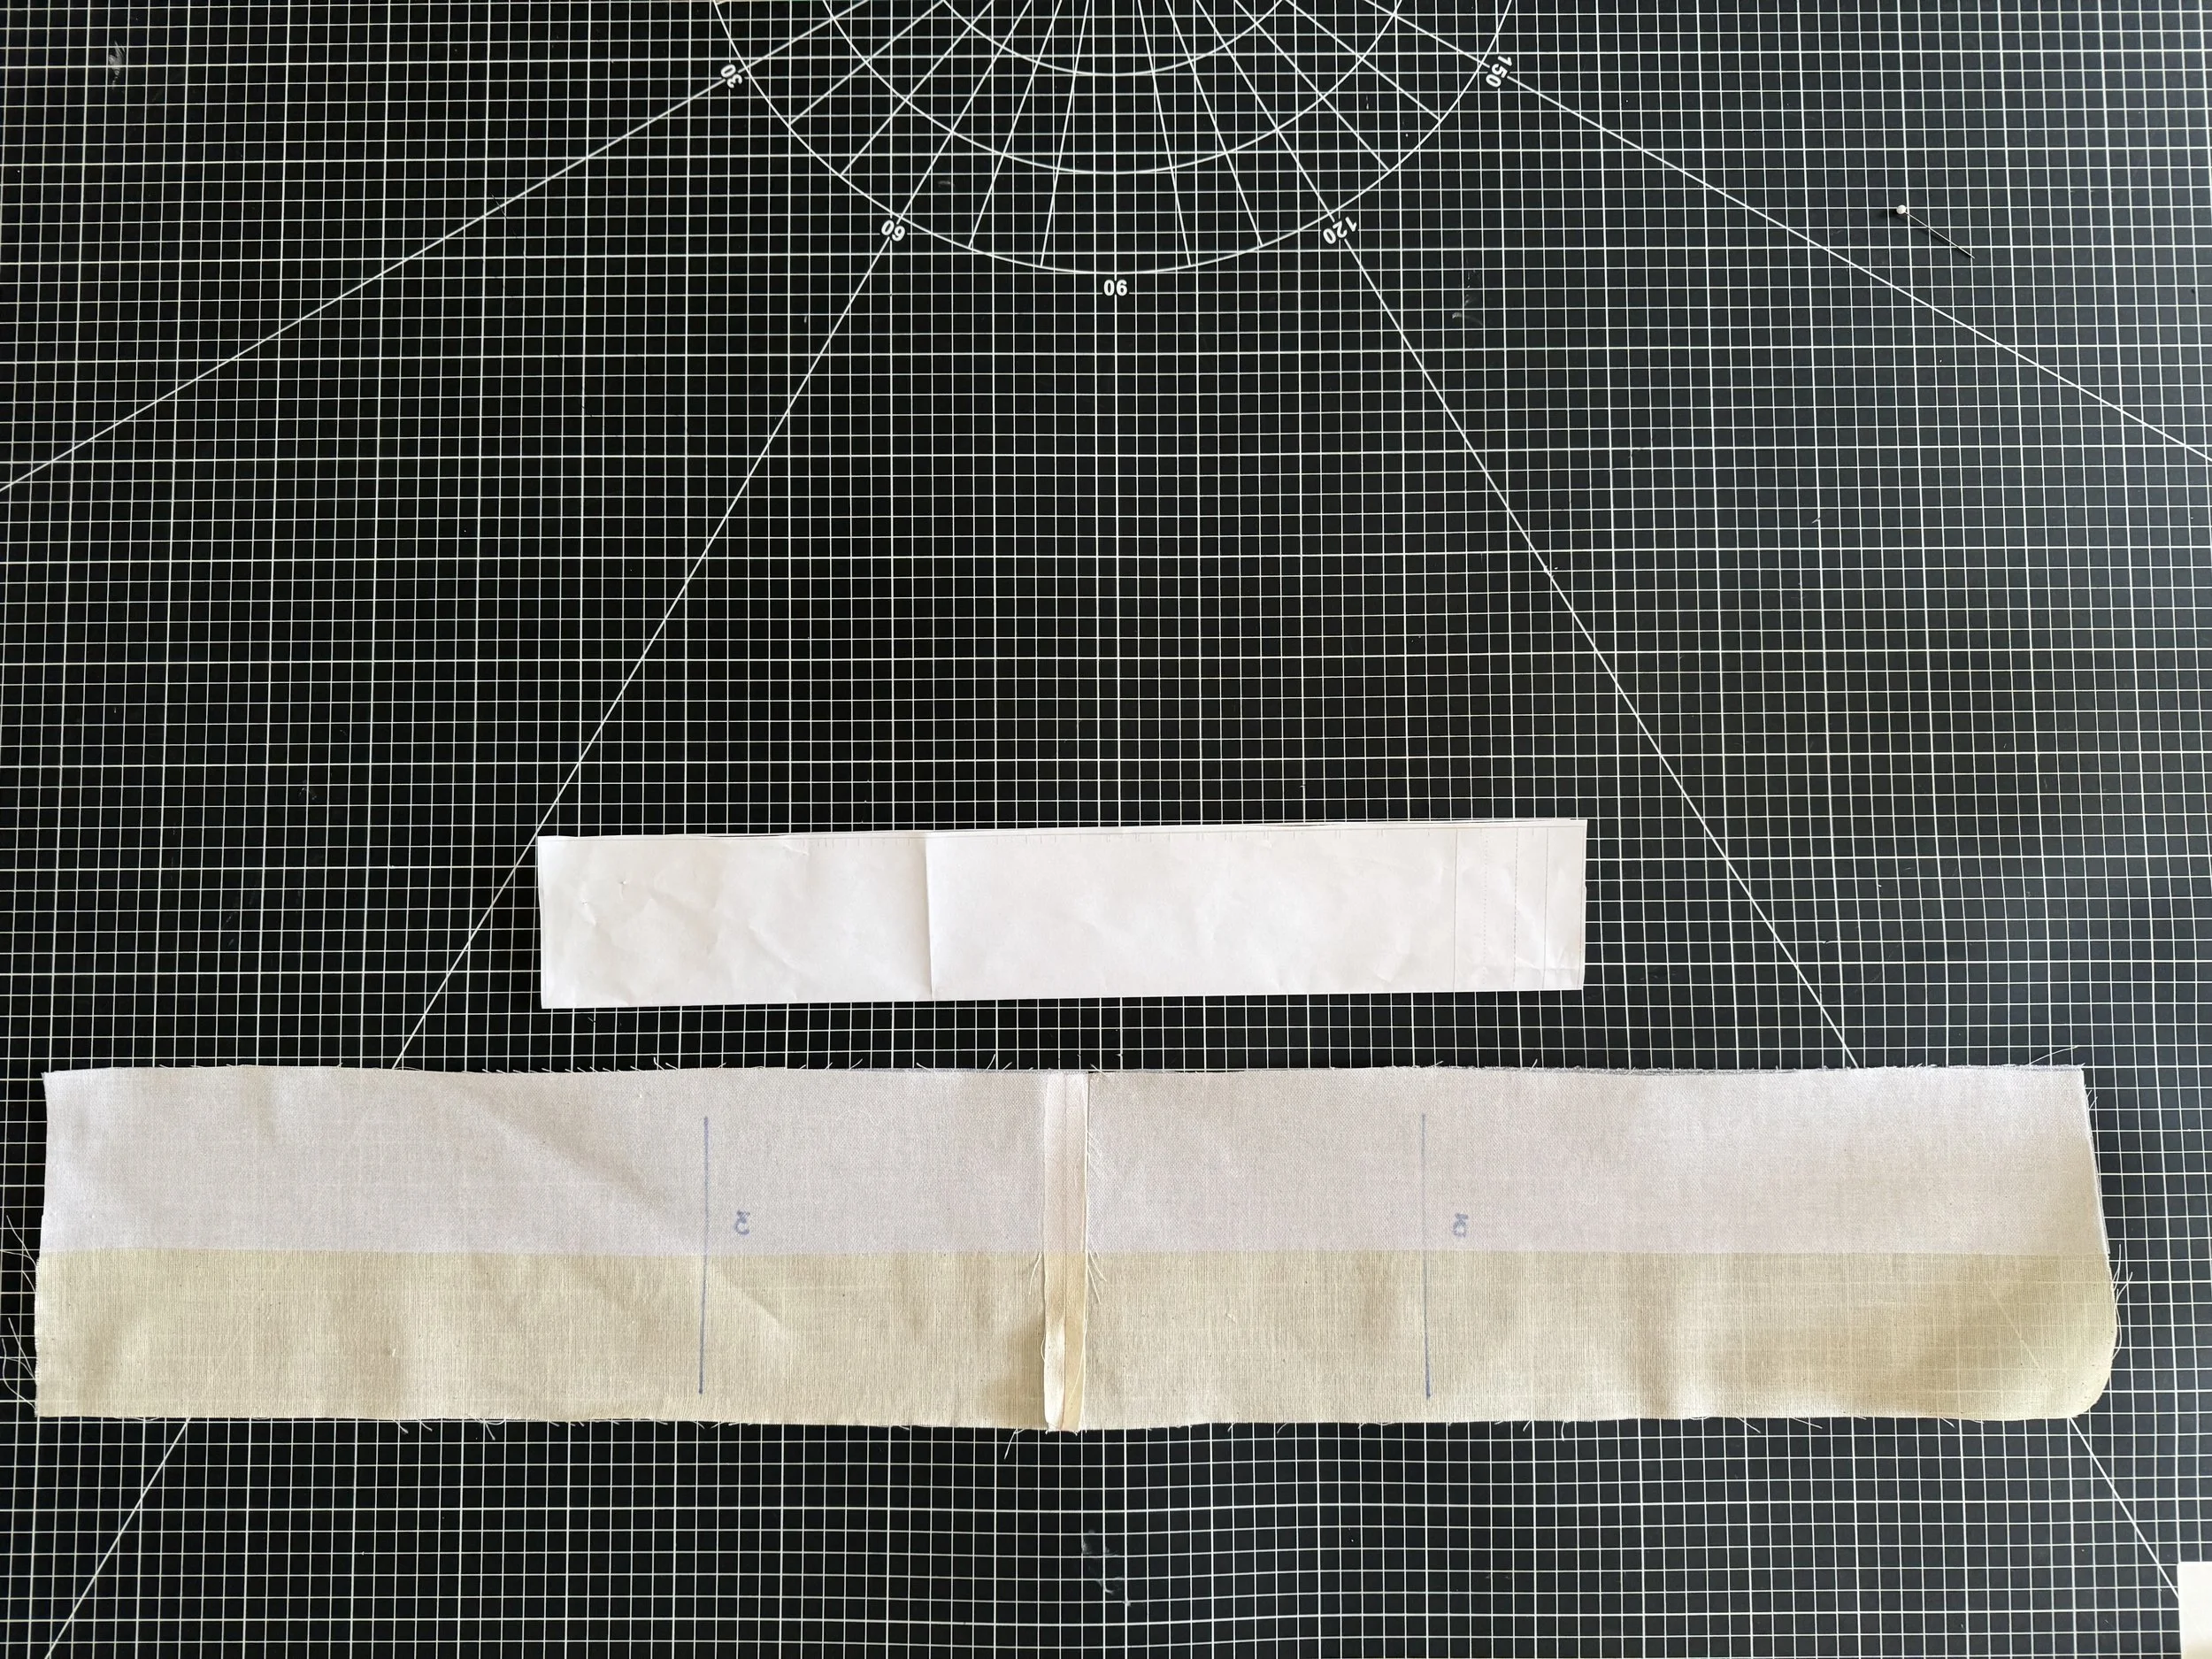
If you prefer, you can press your waistband in half now before attaching it to the waistband , and then add a pressed 5/8” seam allowance in preparation of your stitch in the ditch.
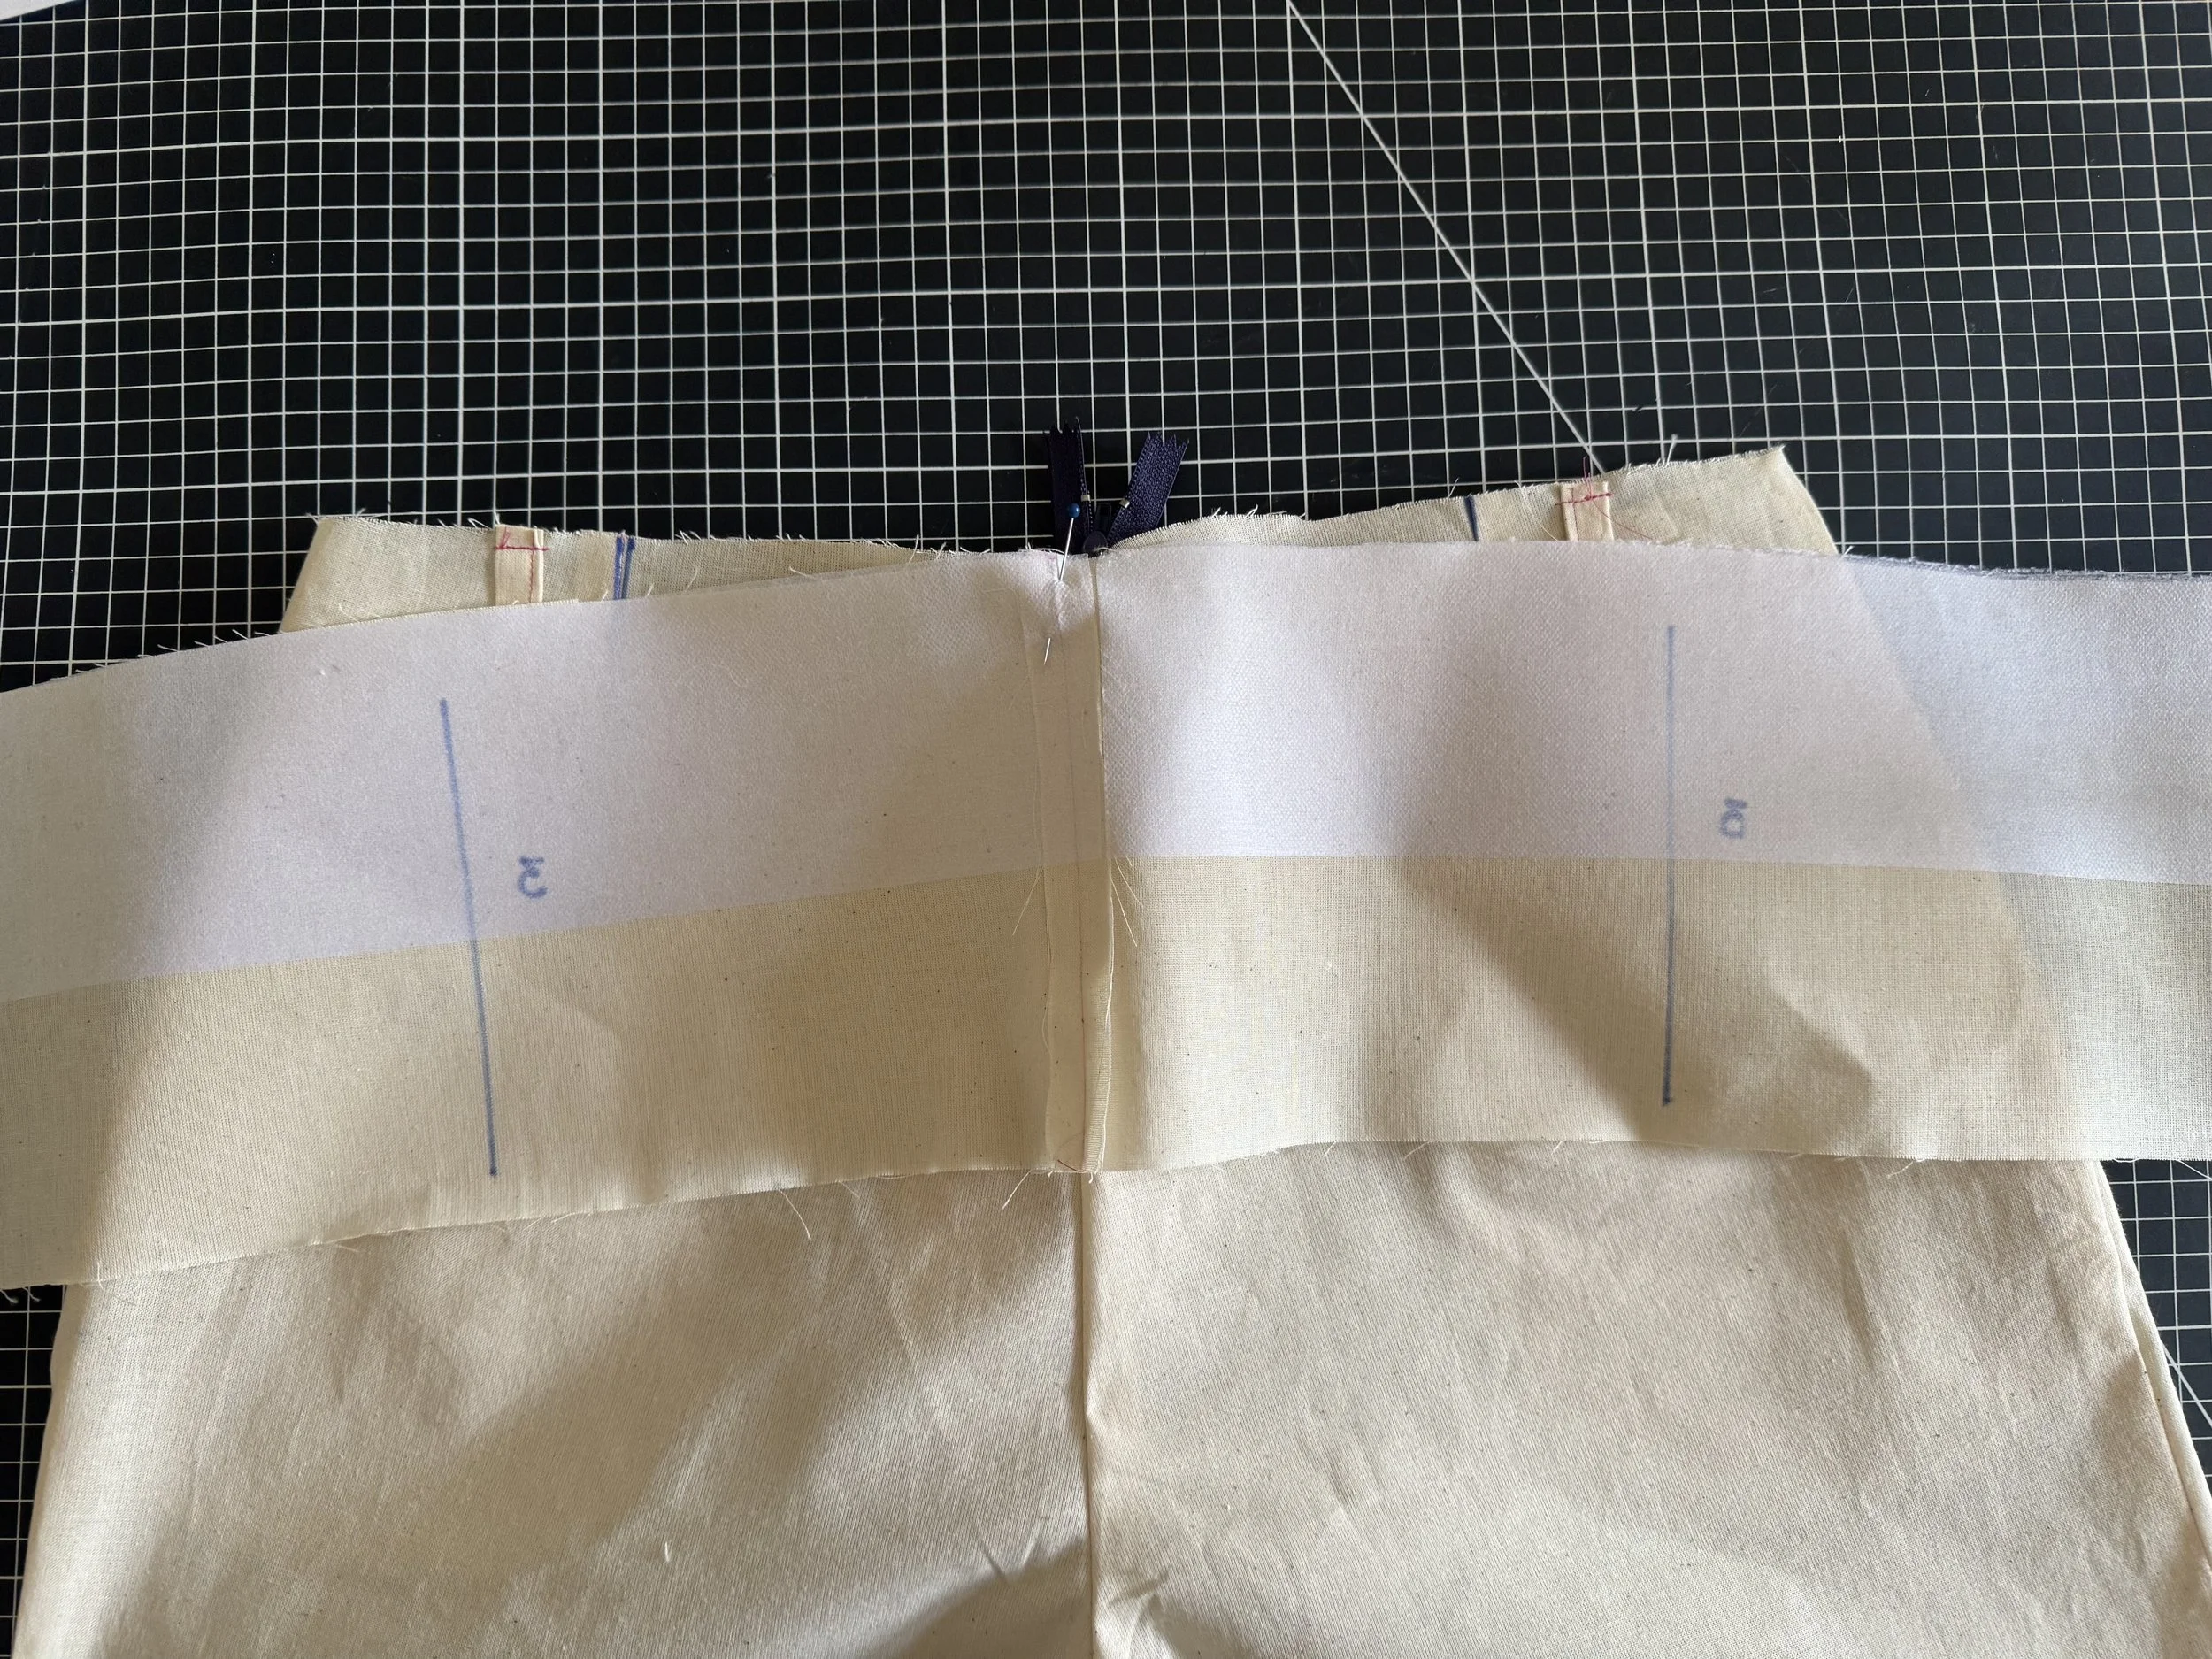
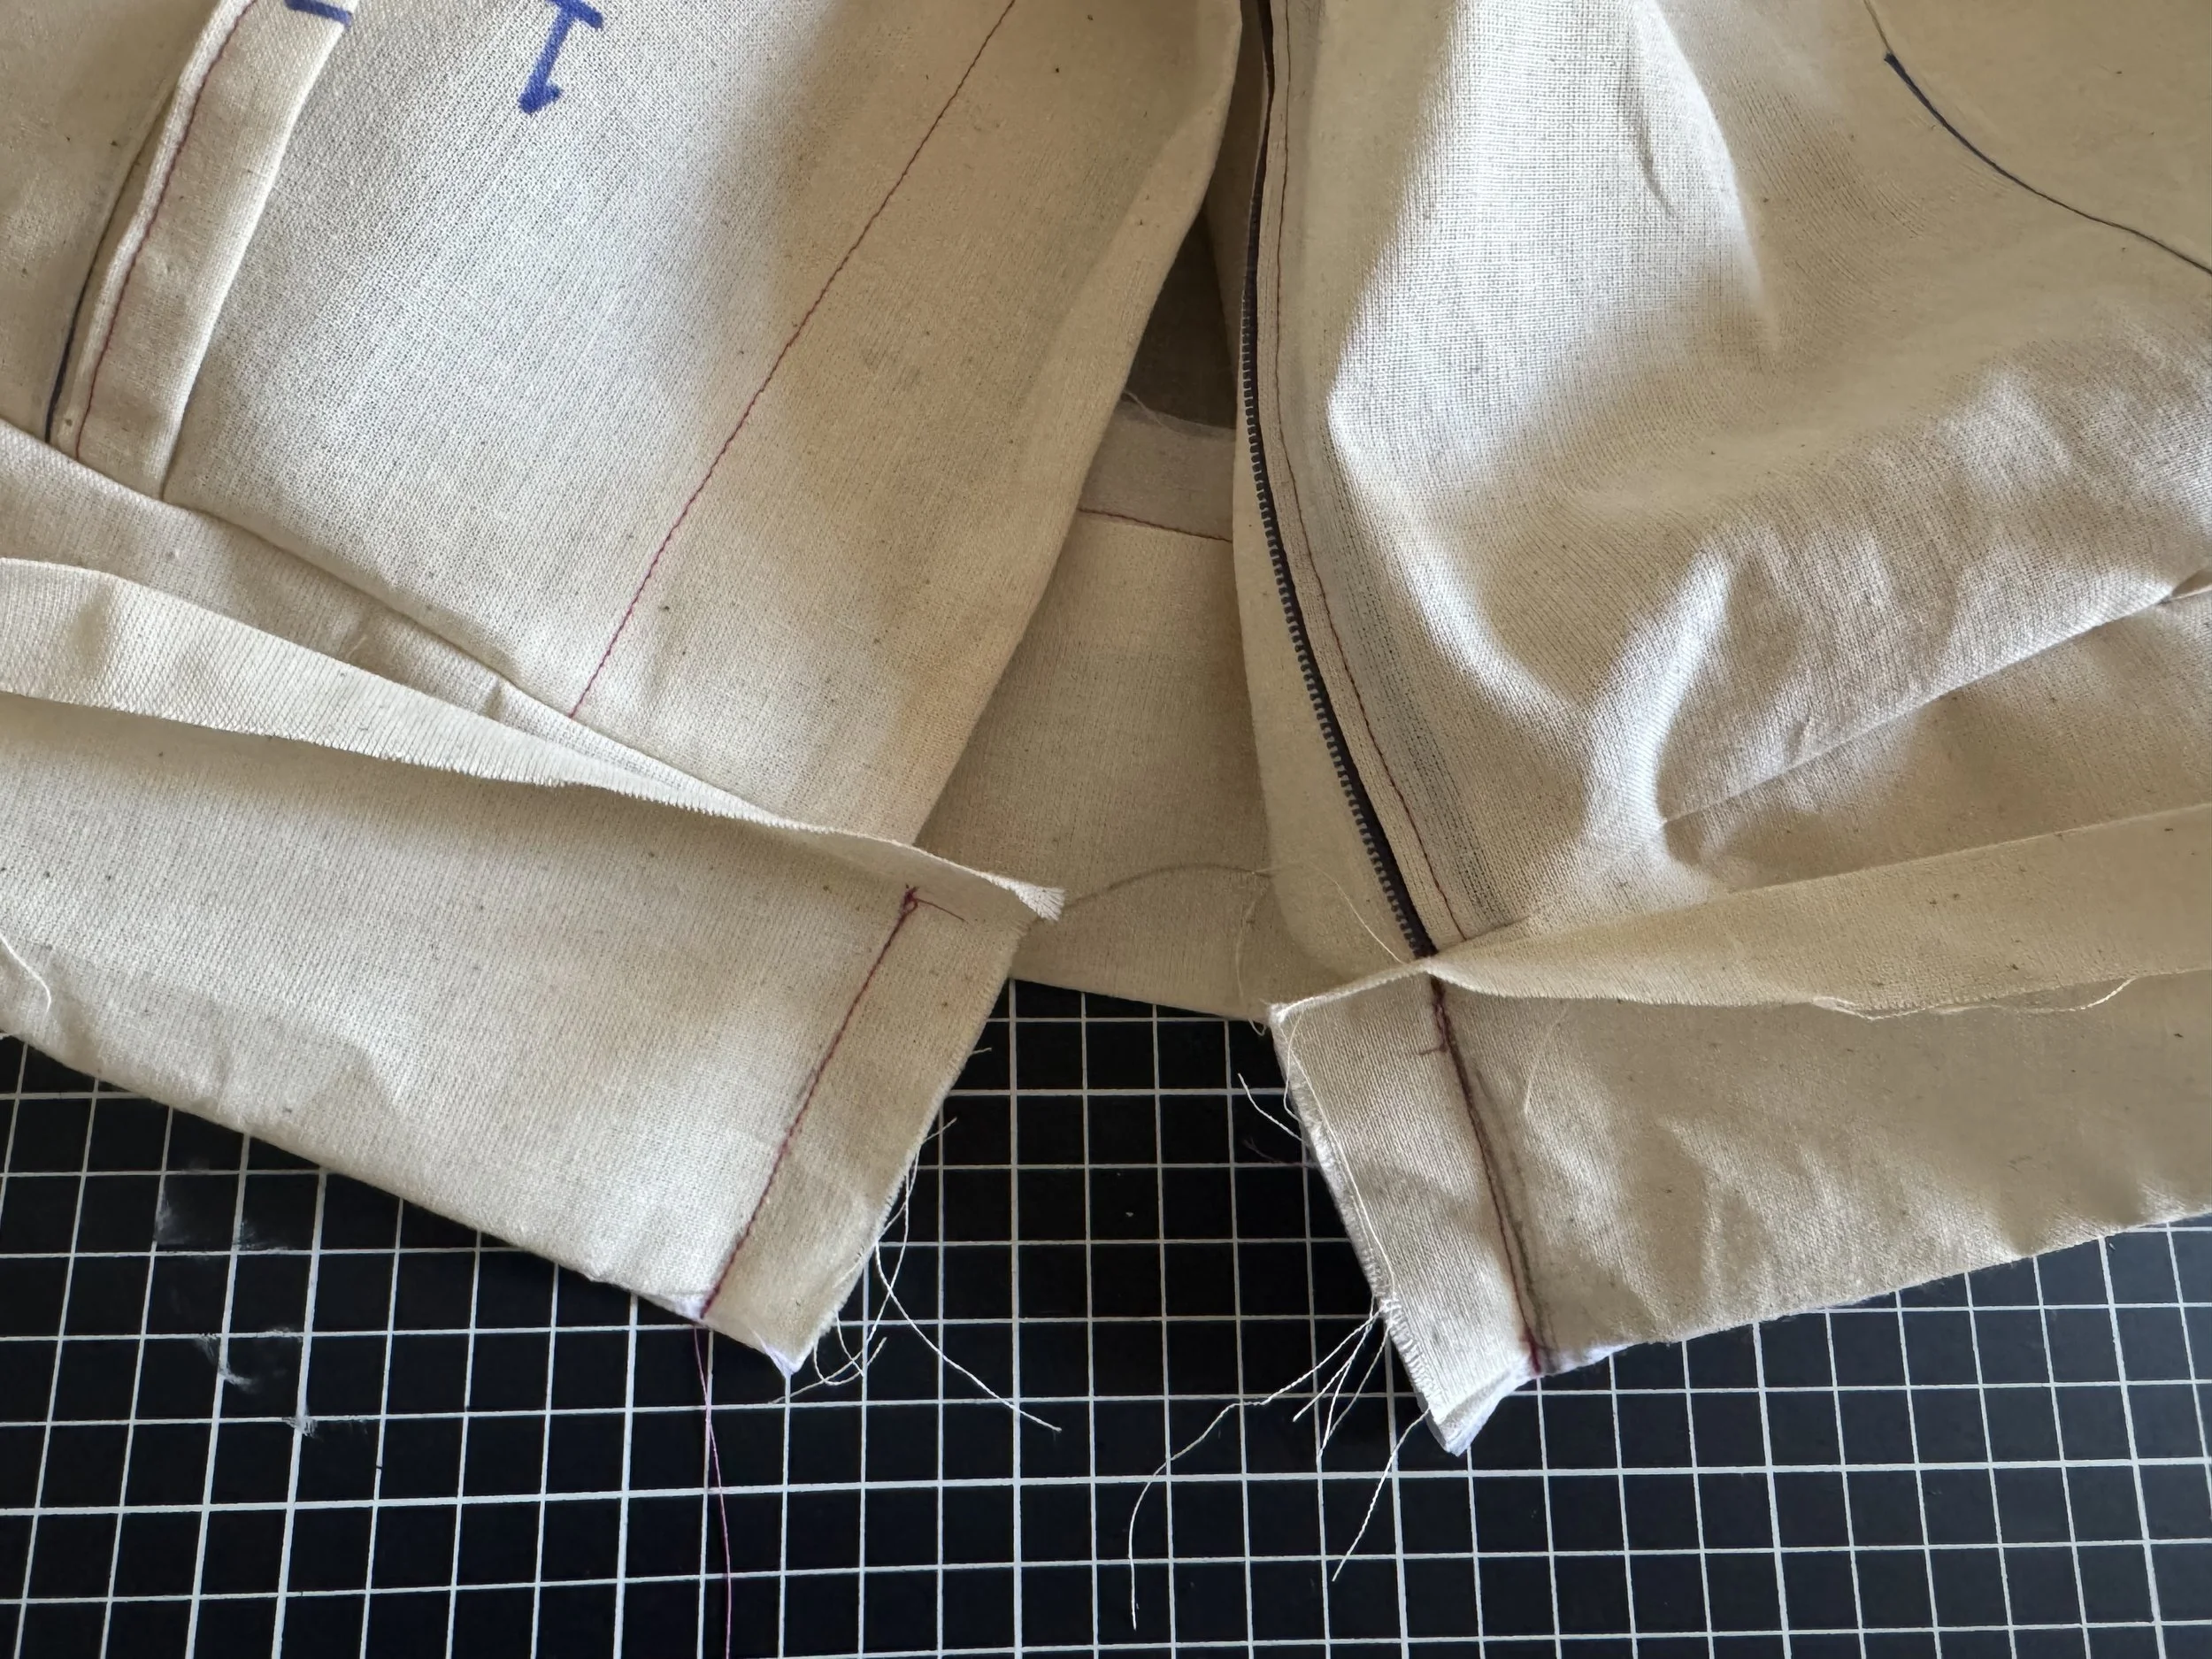
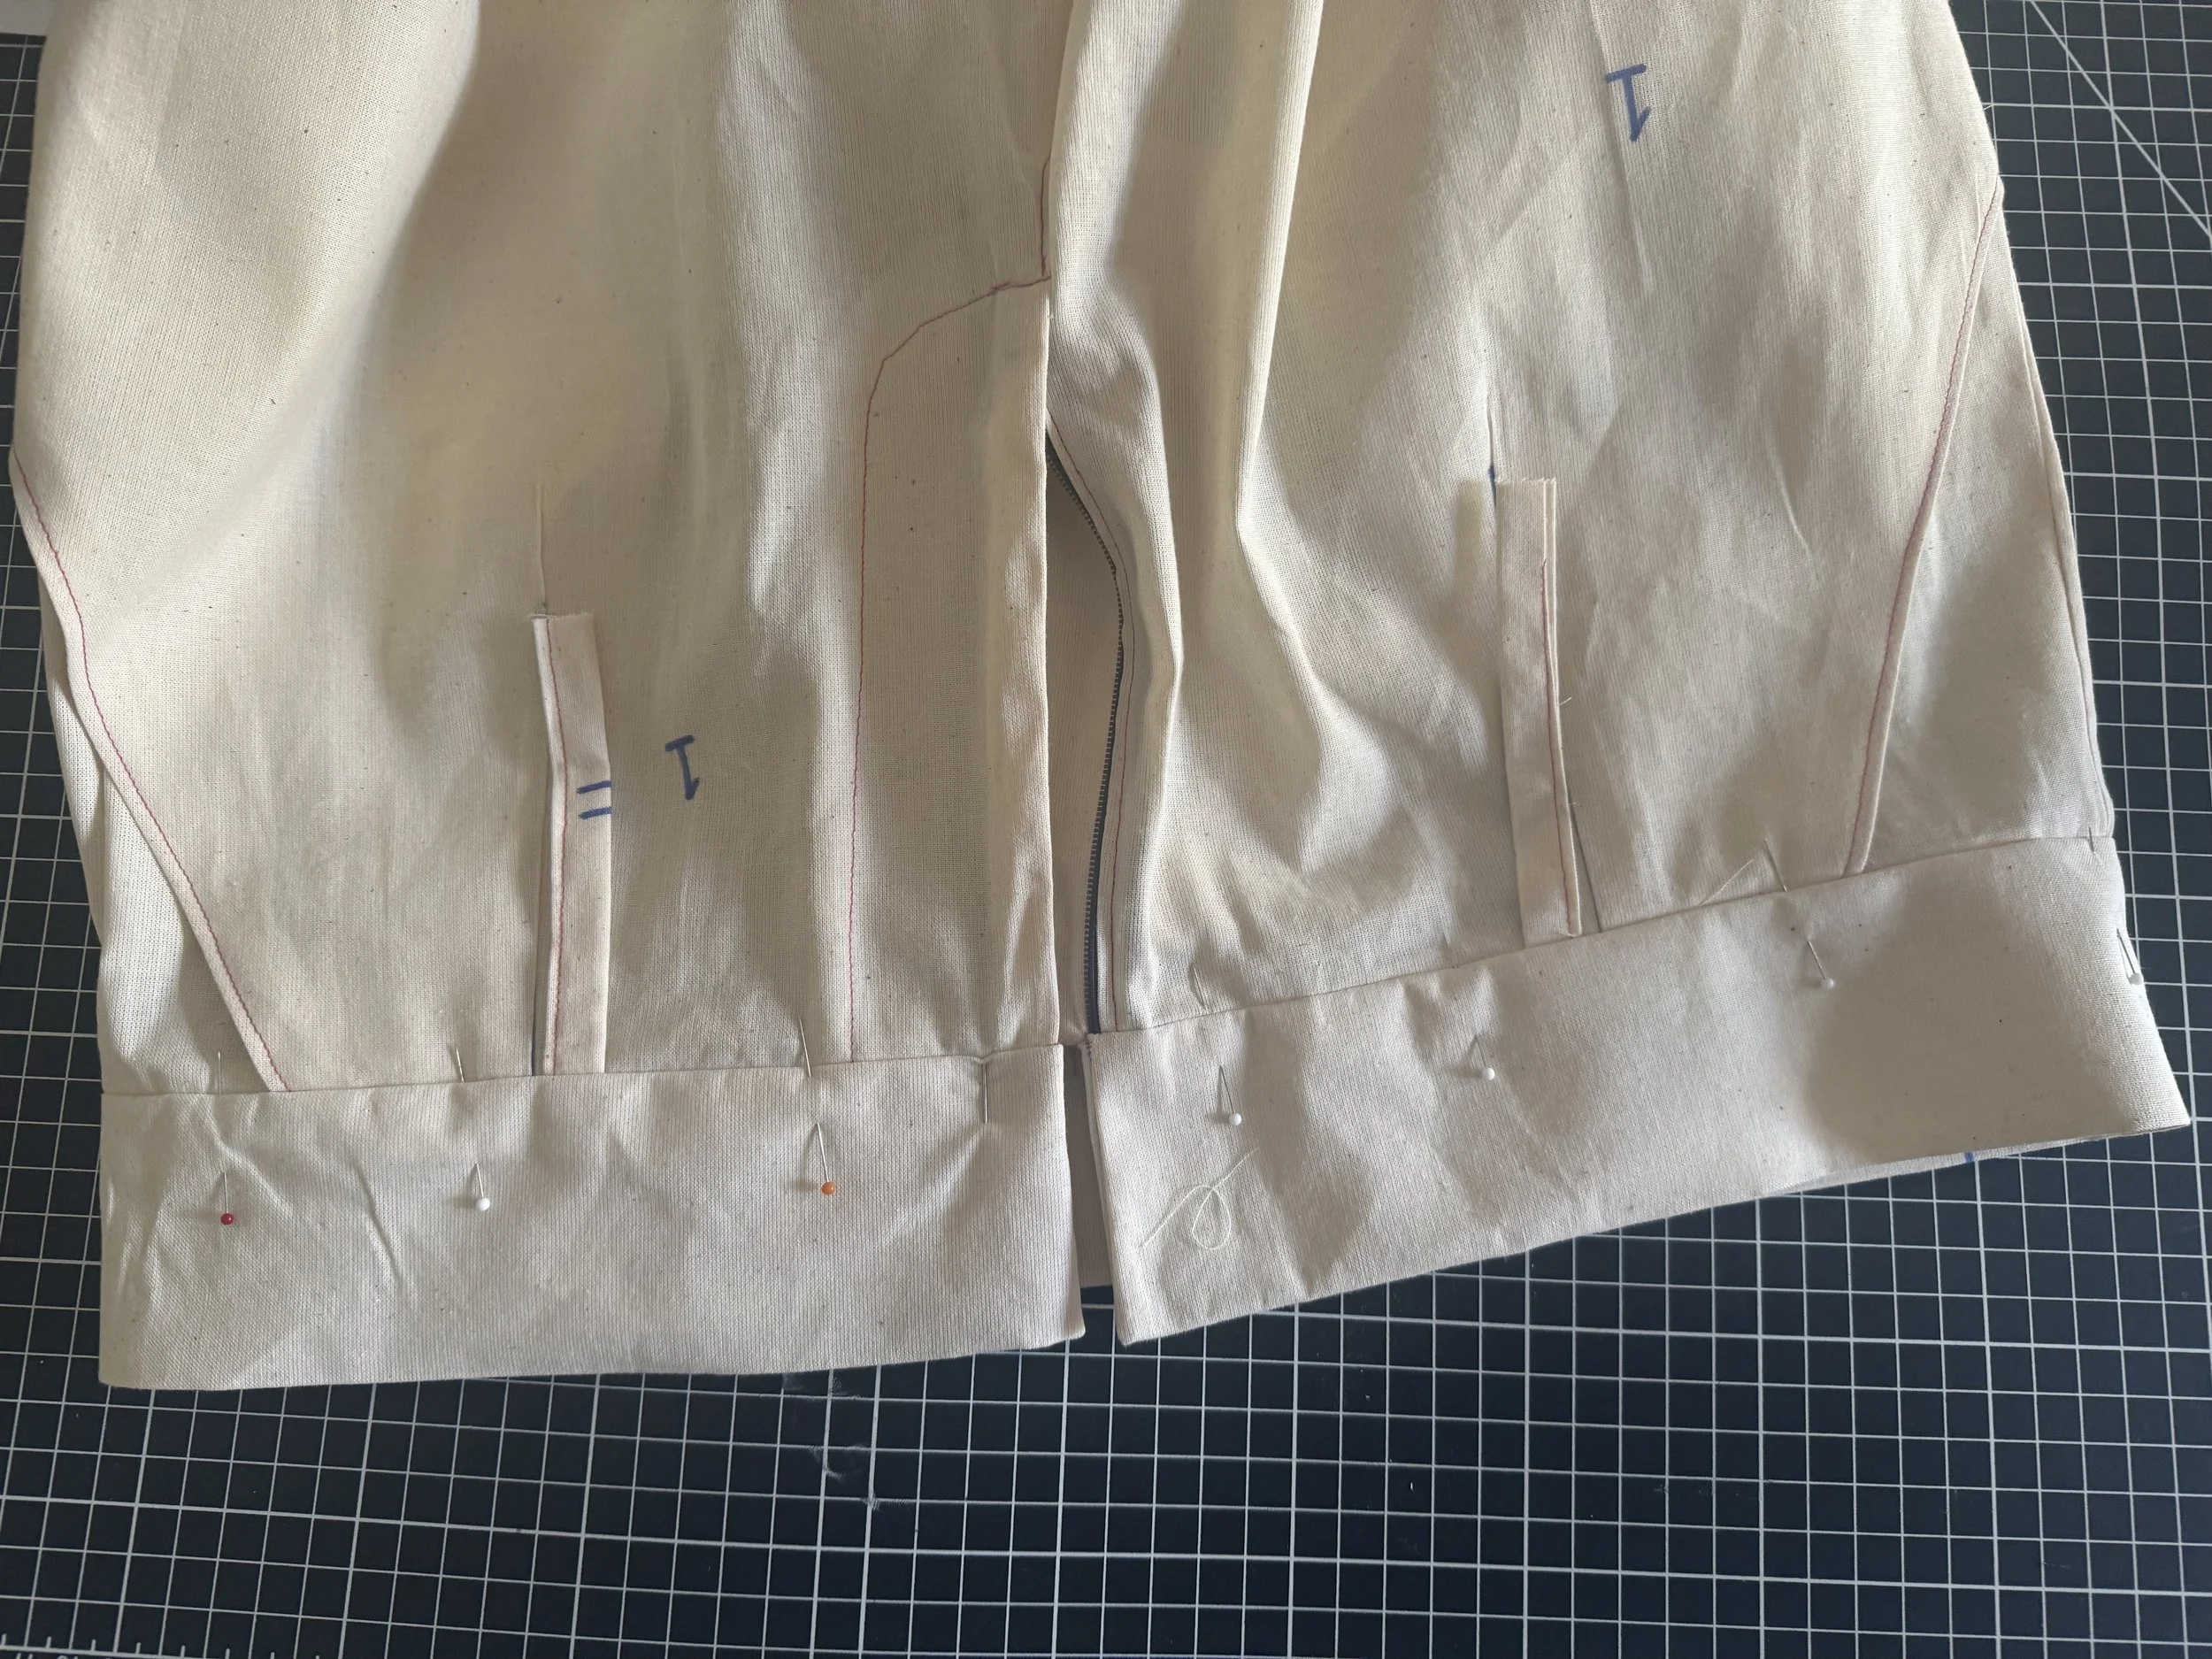
Pin the waistband center seam to the back seam of the pants.
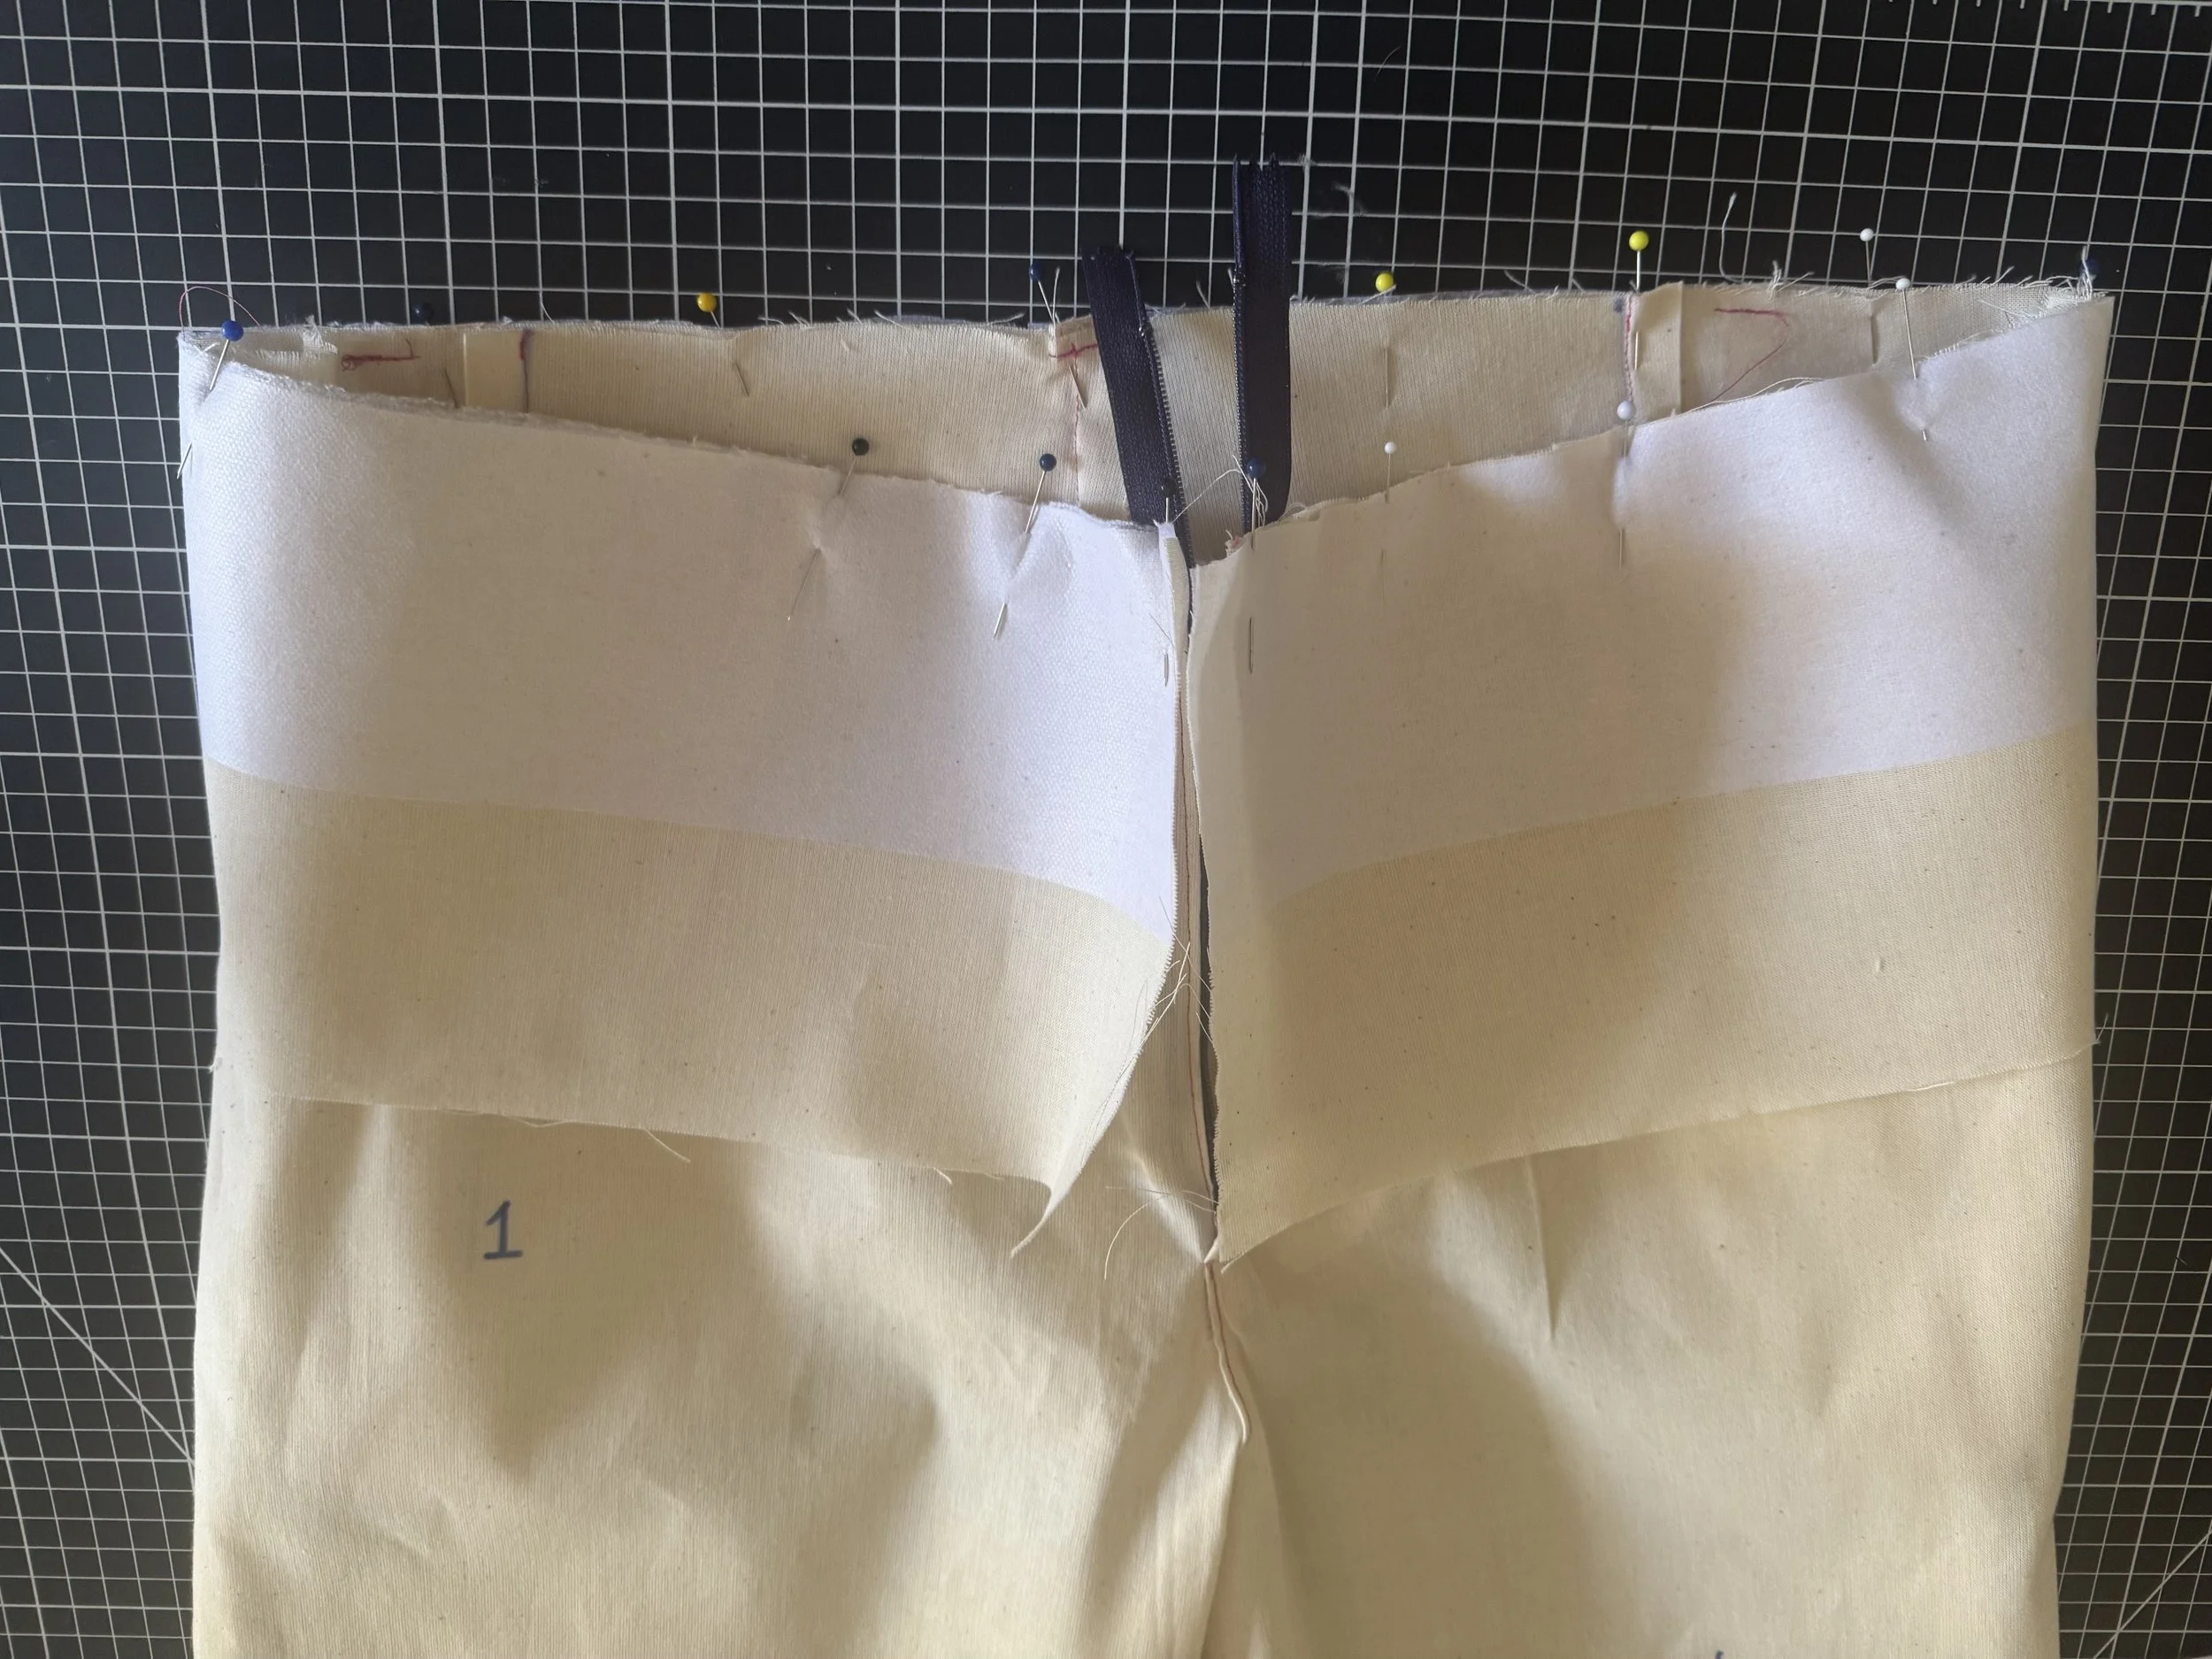
Pin well all around the pants waistline.
There should be an overlap at the zippers (you’ll need at least 1/2”)

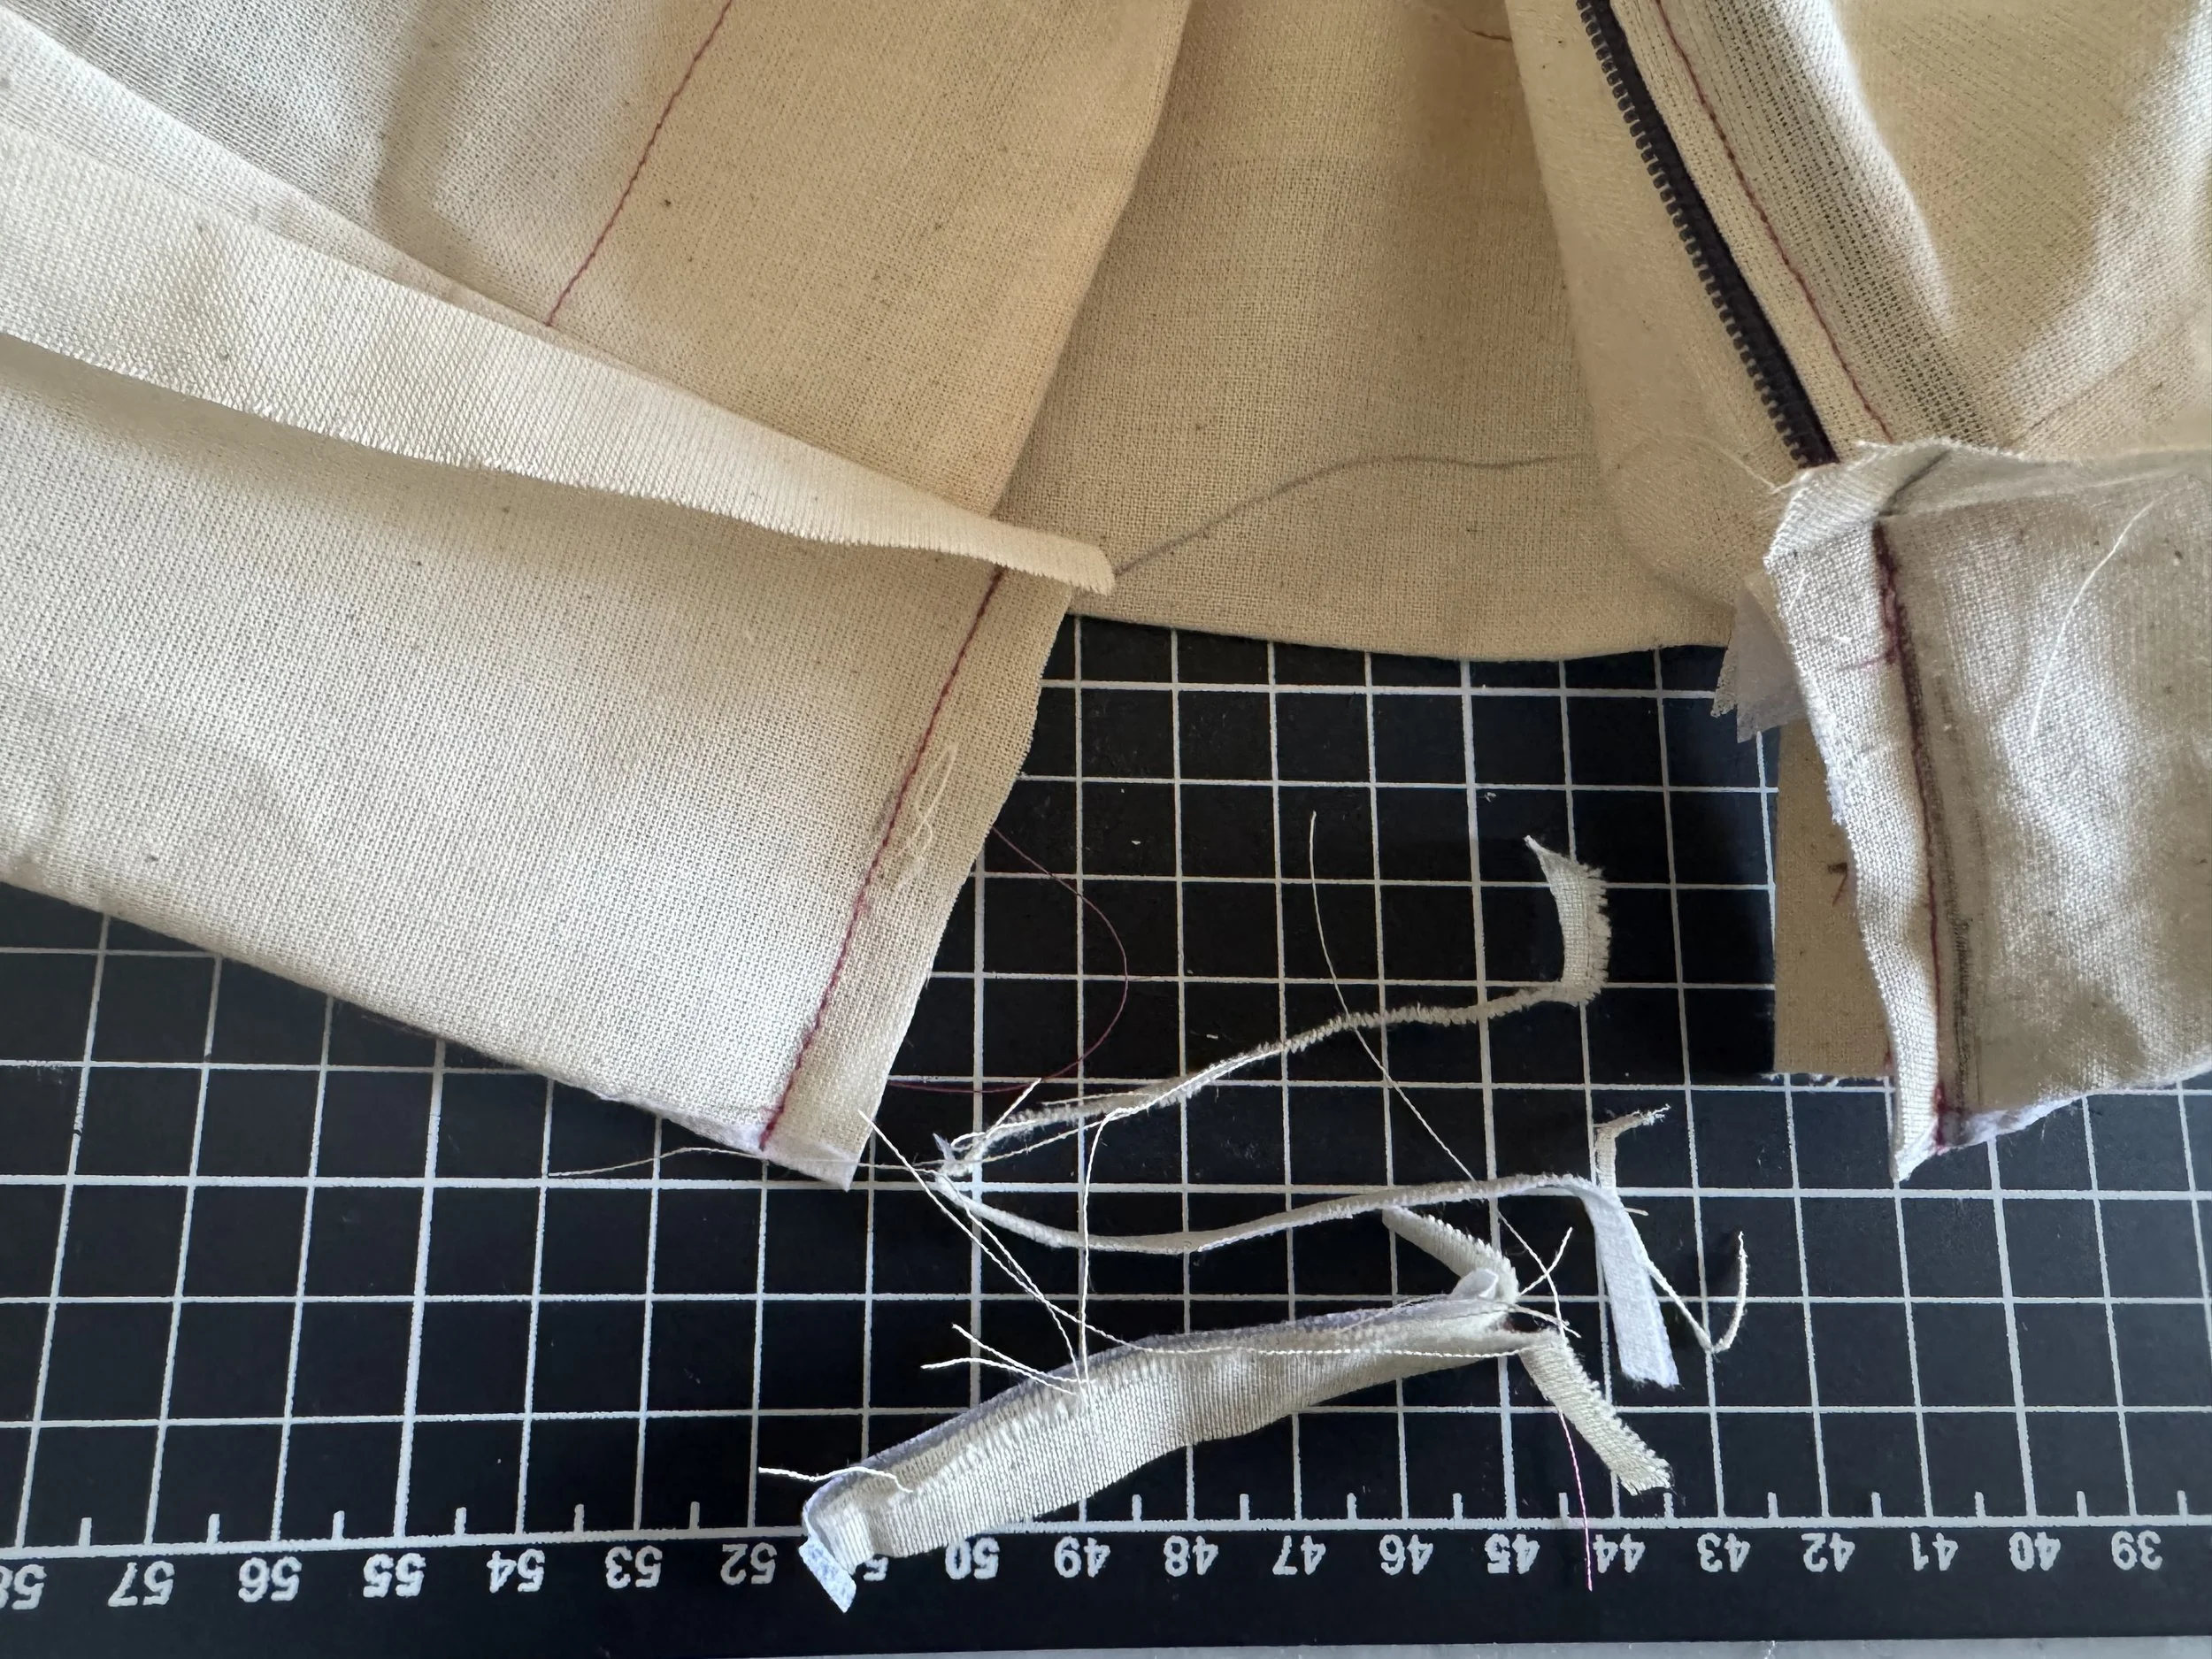
Sew your waistband using a 5/8” seam allowance. Sew over the zipper.
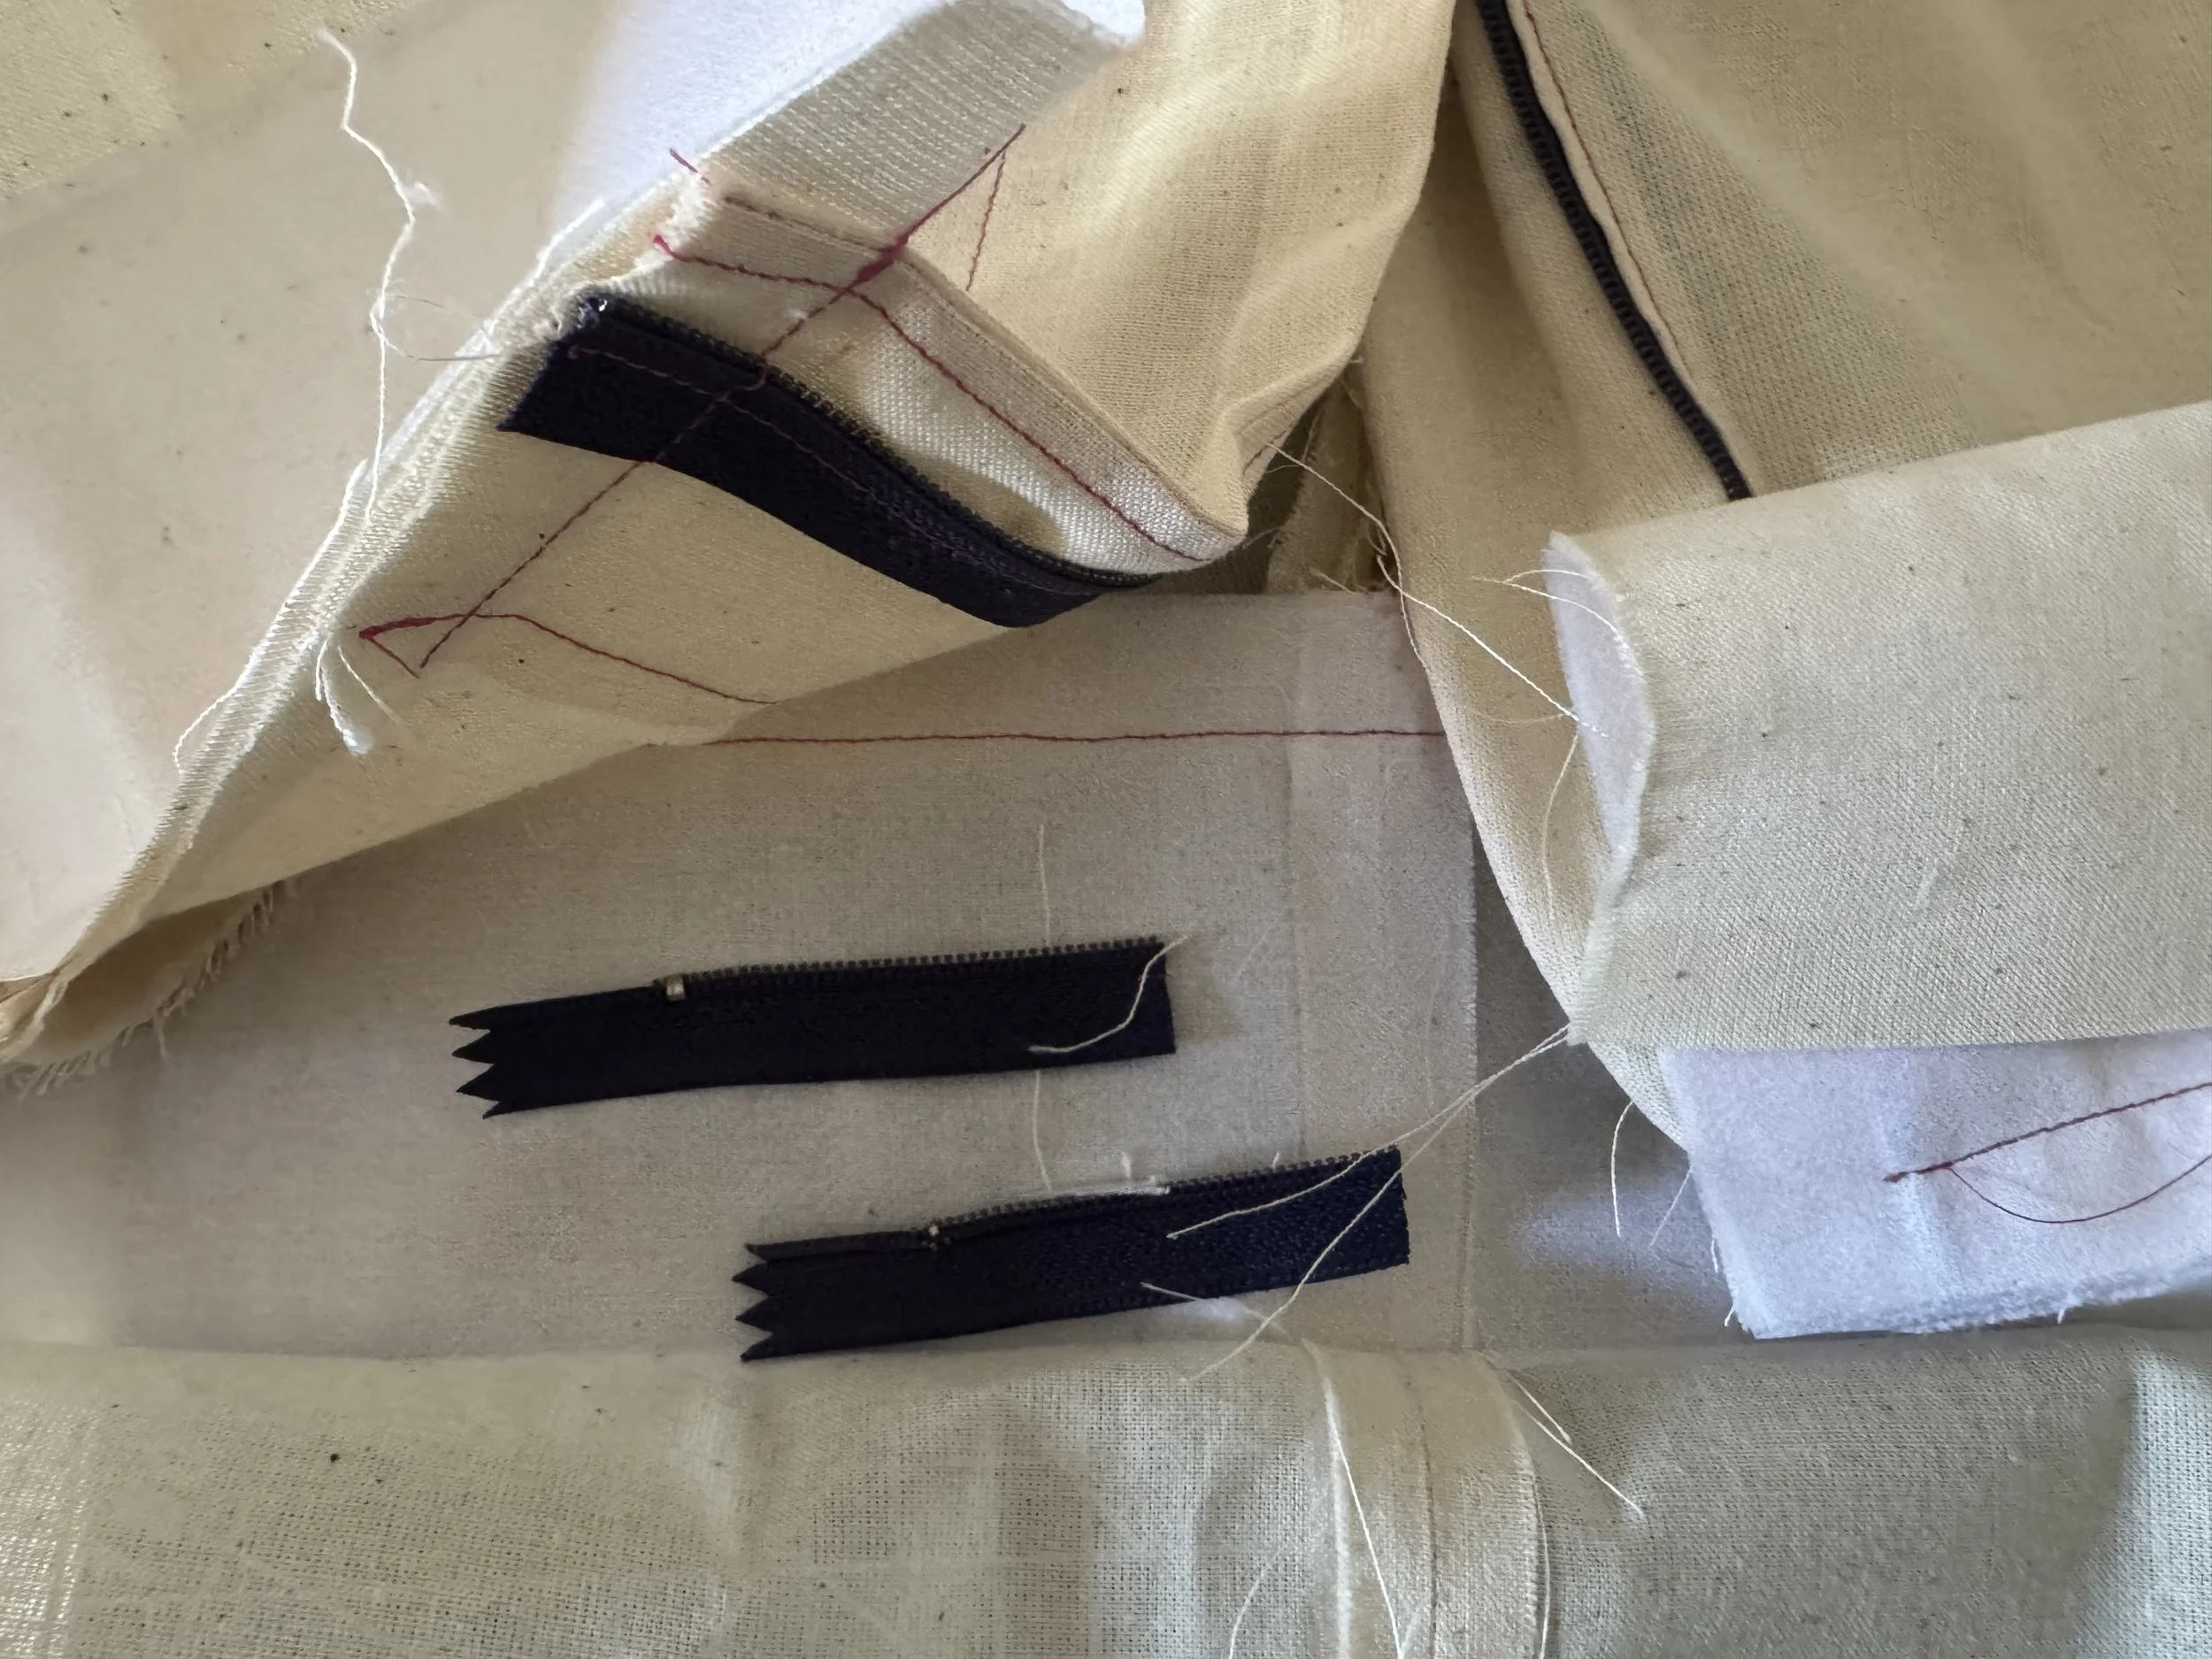
Cut the excess zipper teeth off now.
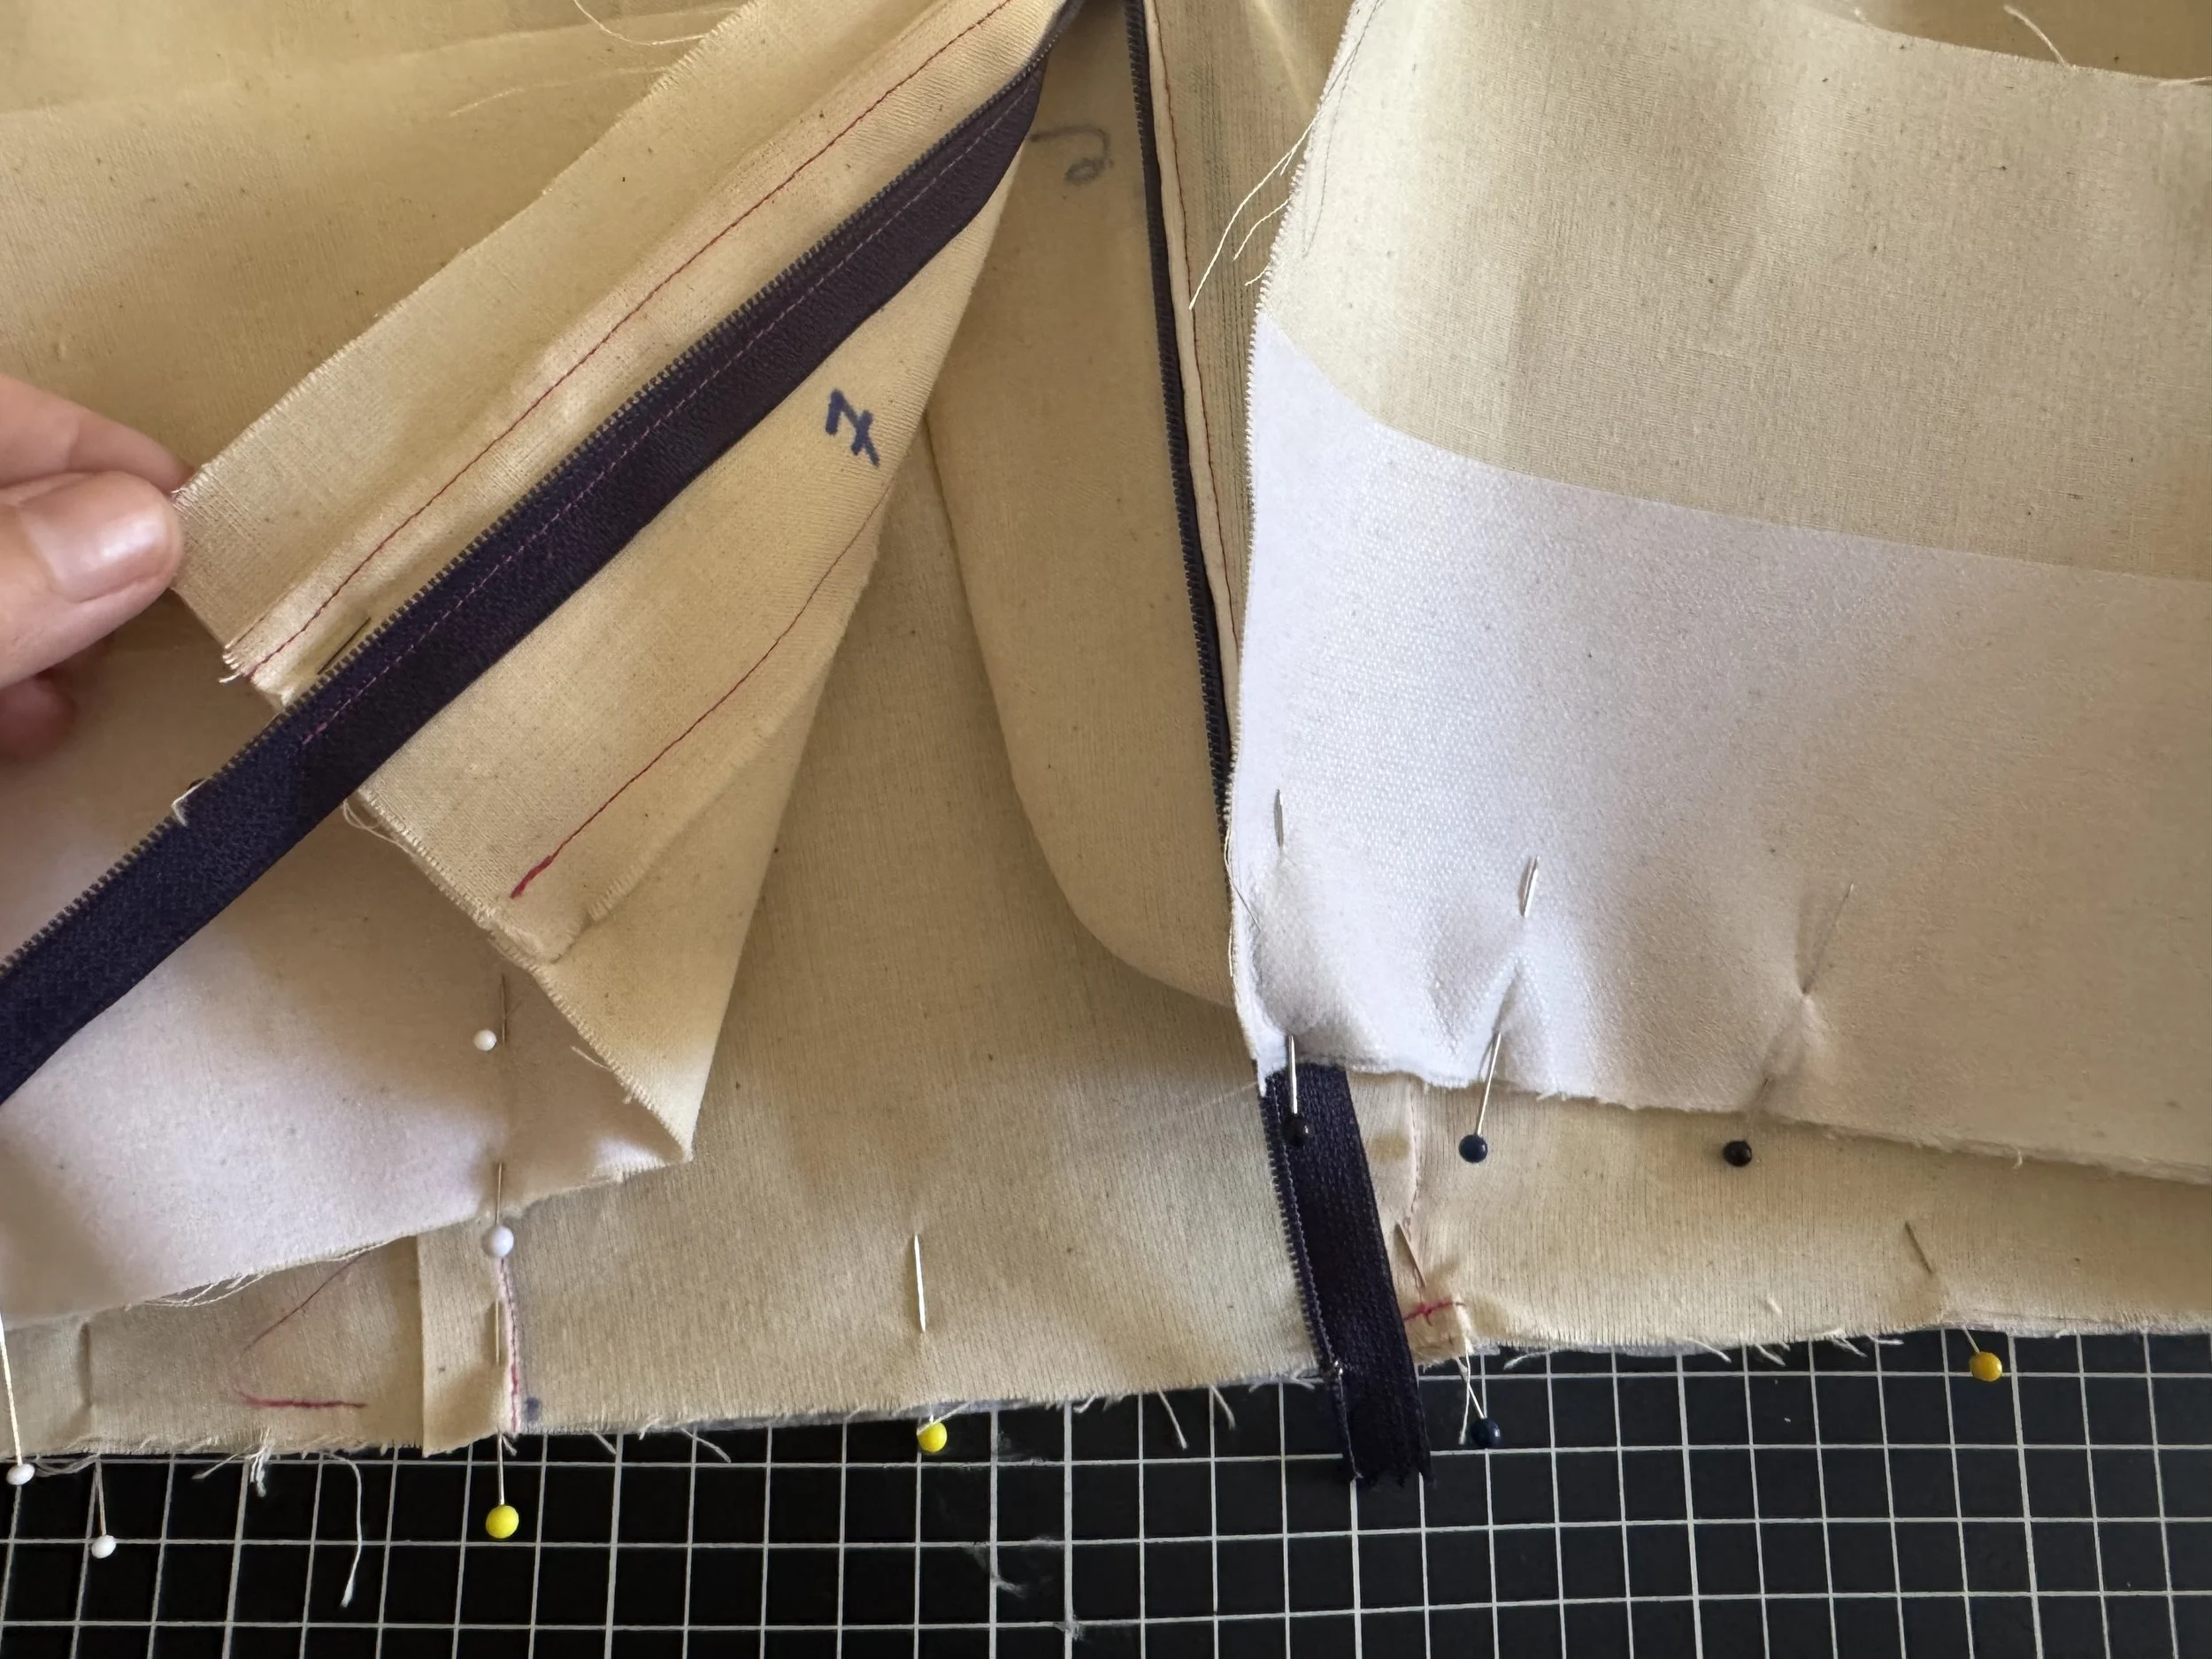
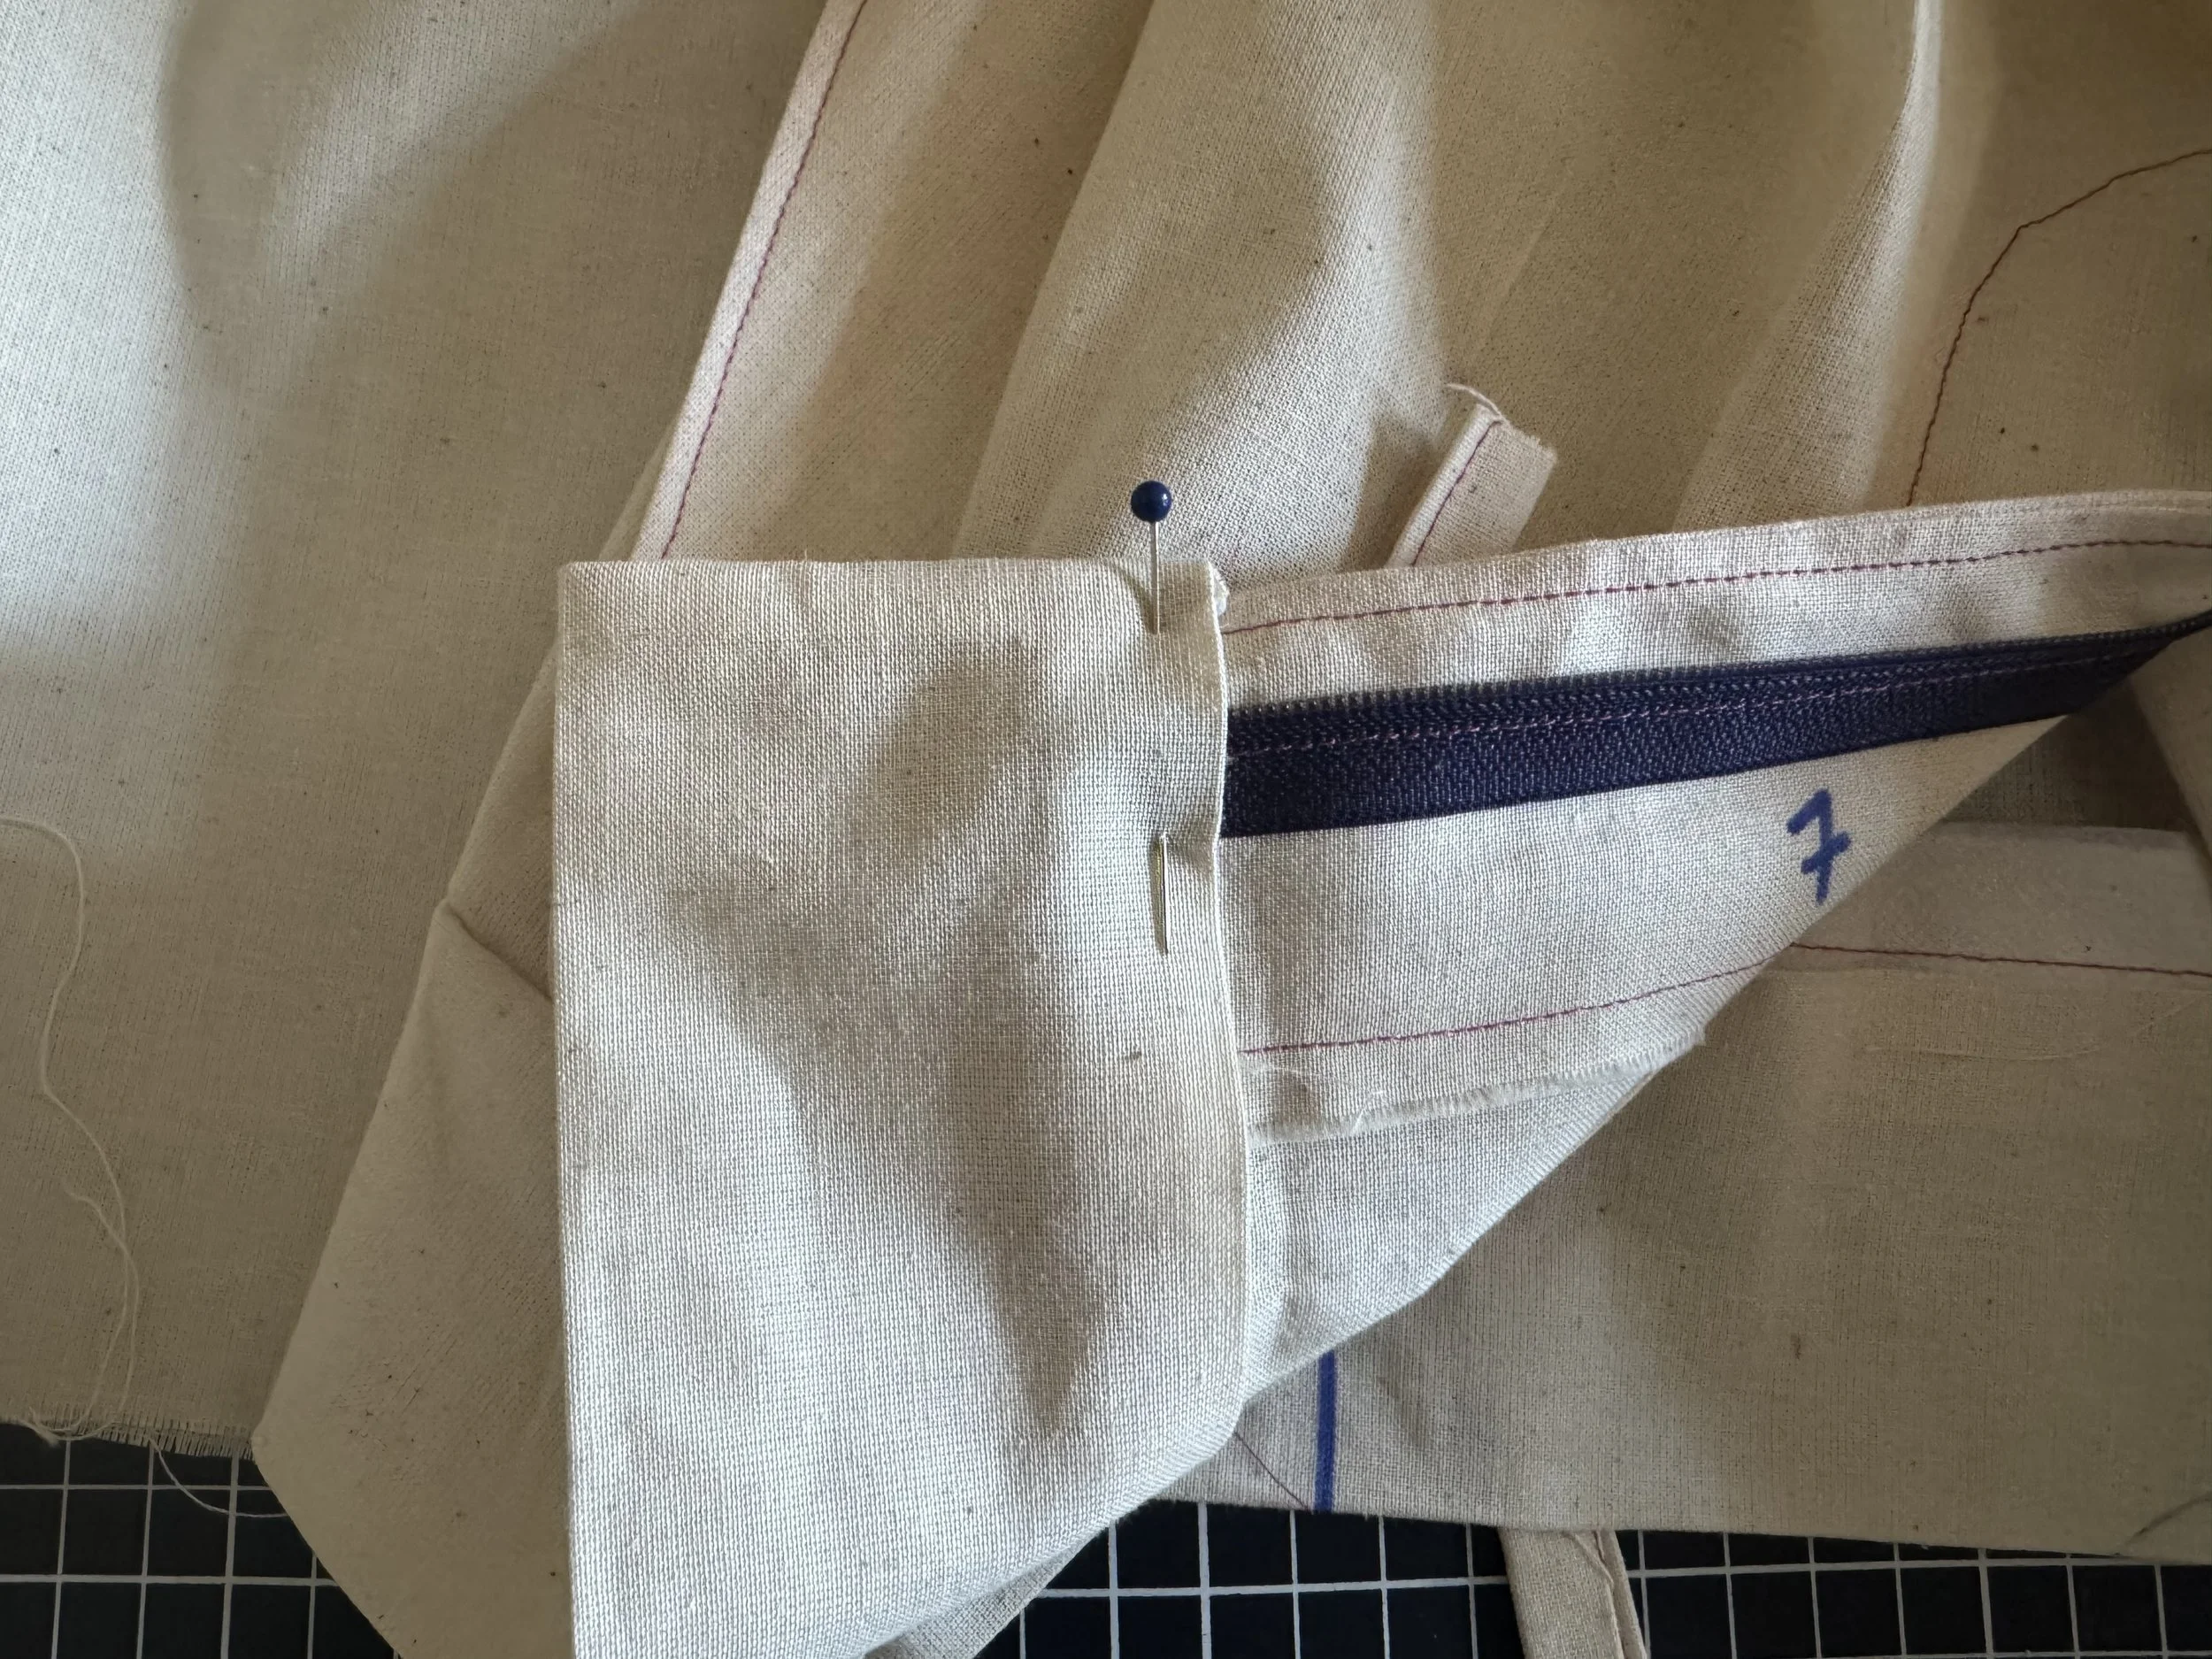
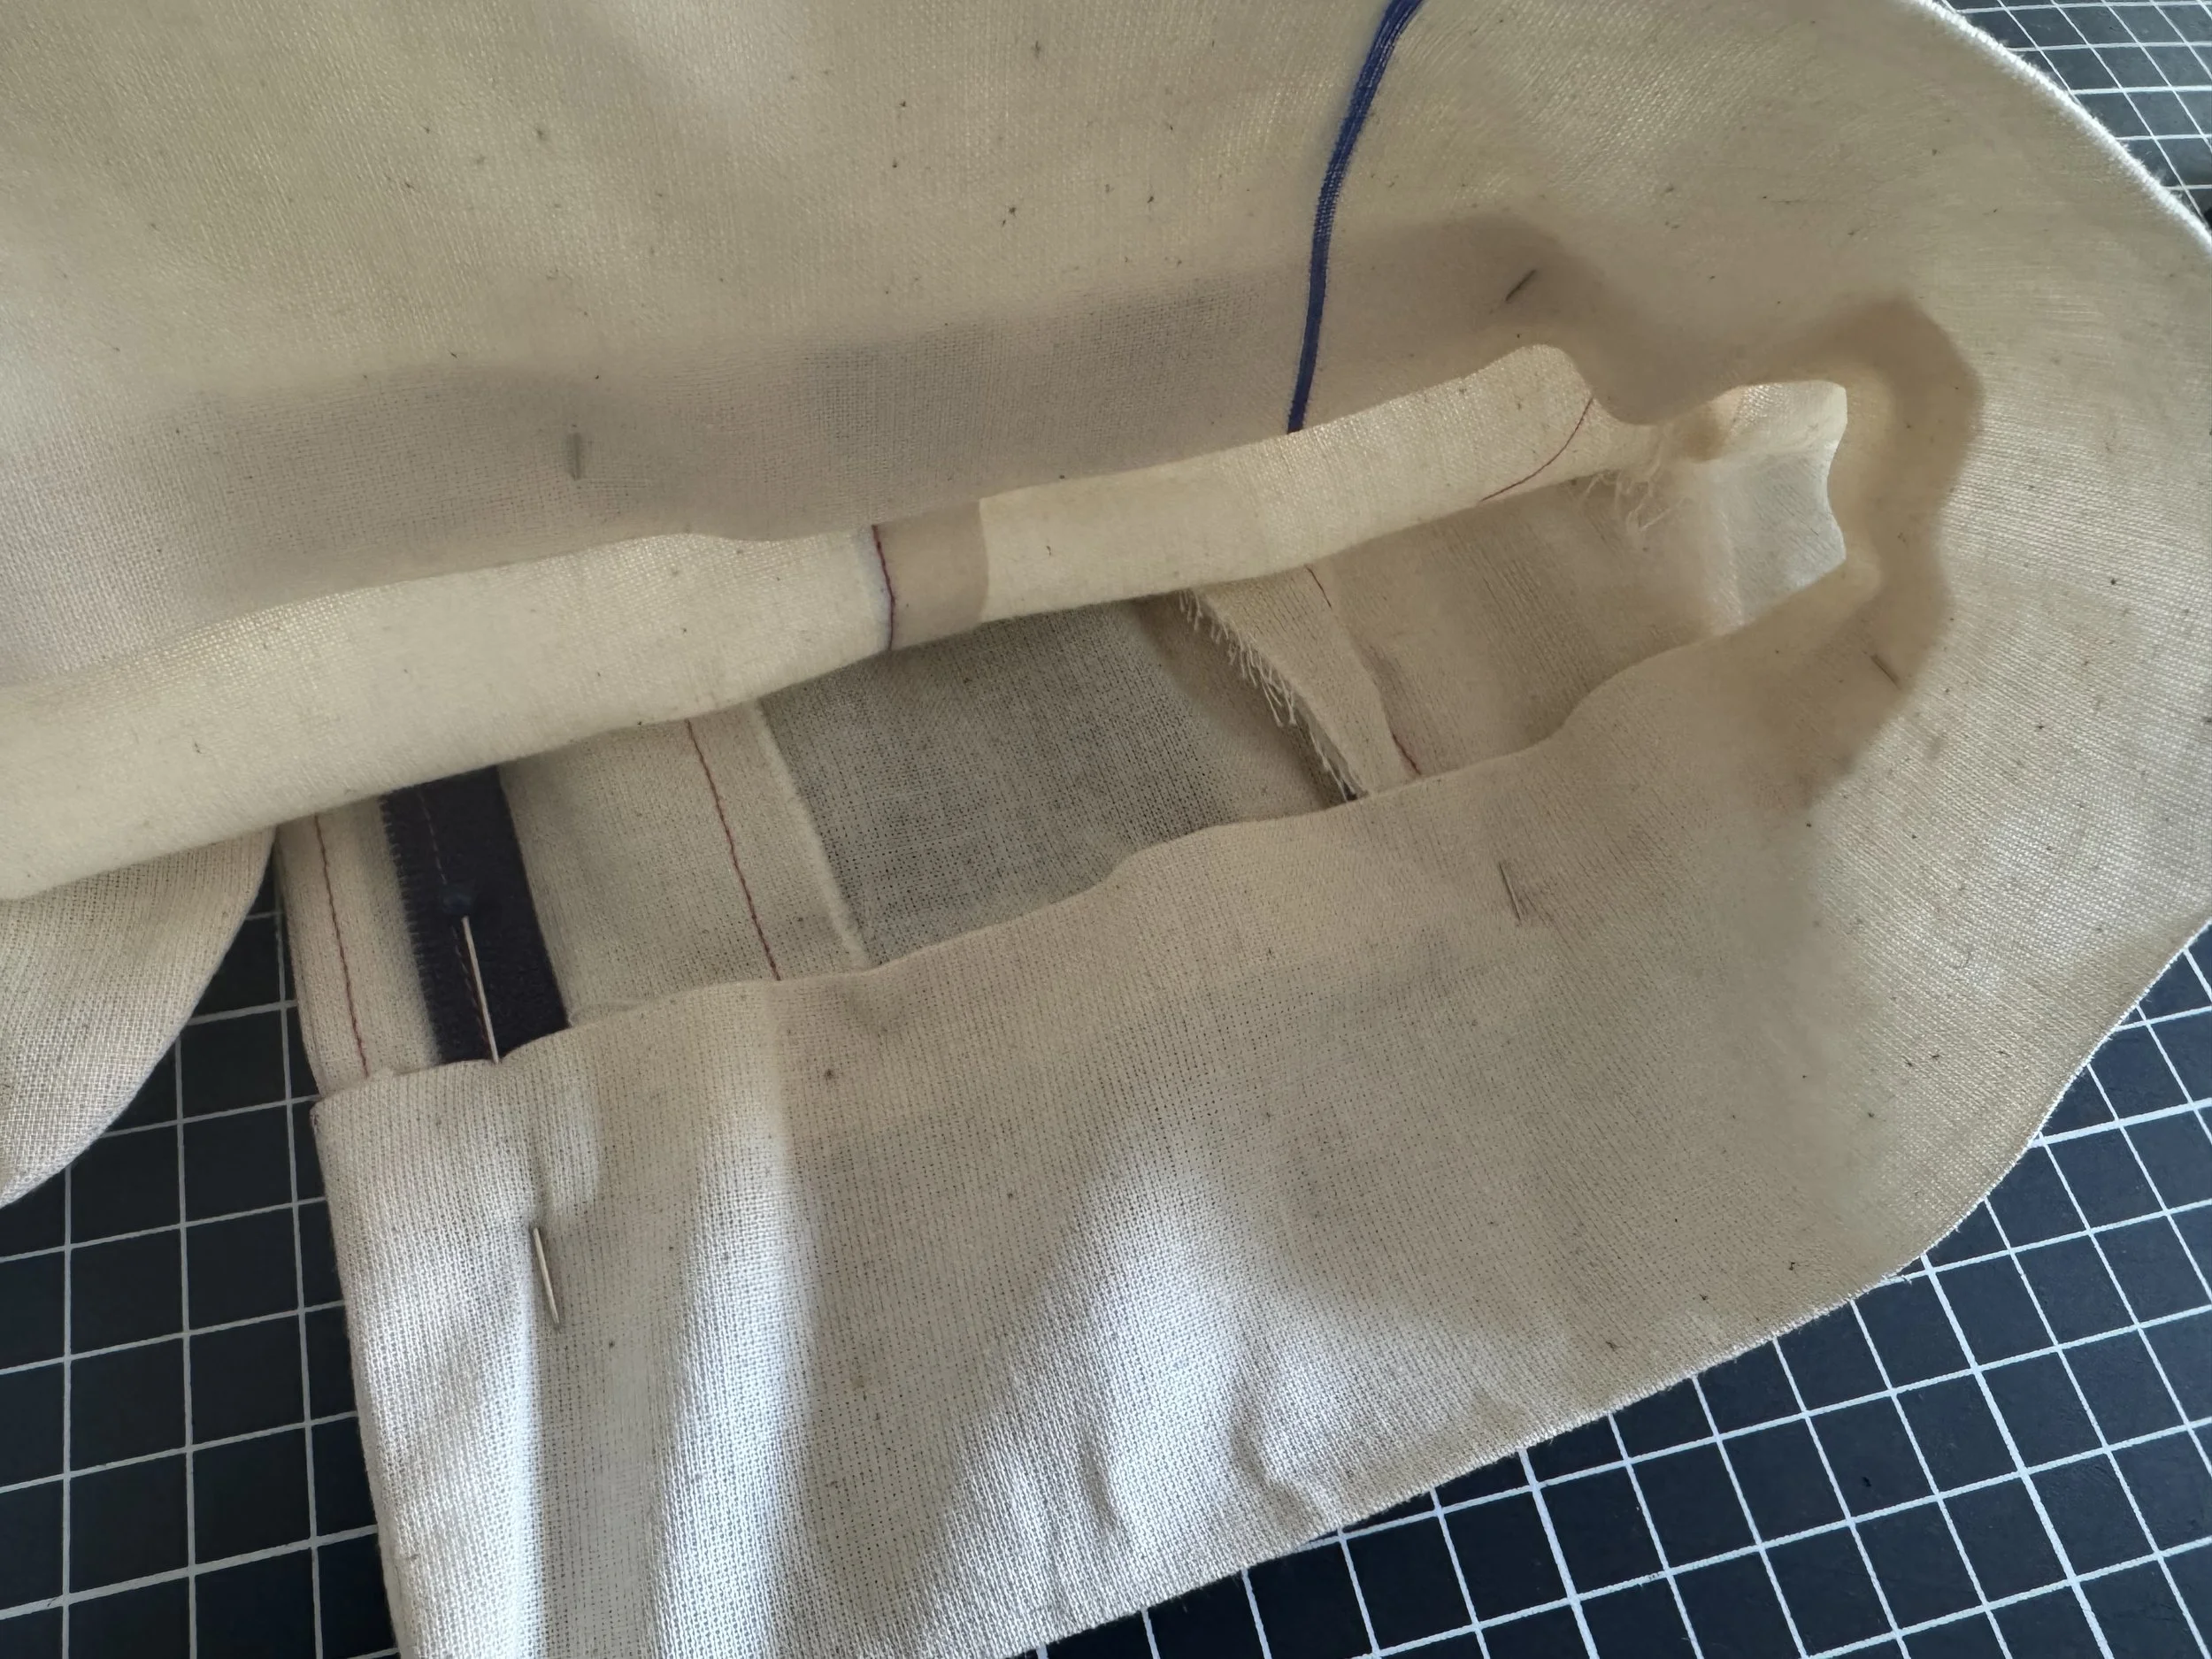
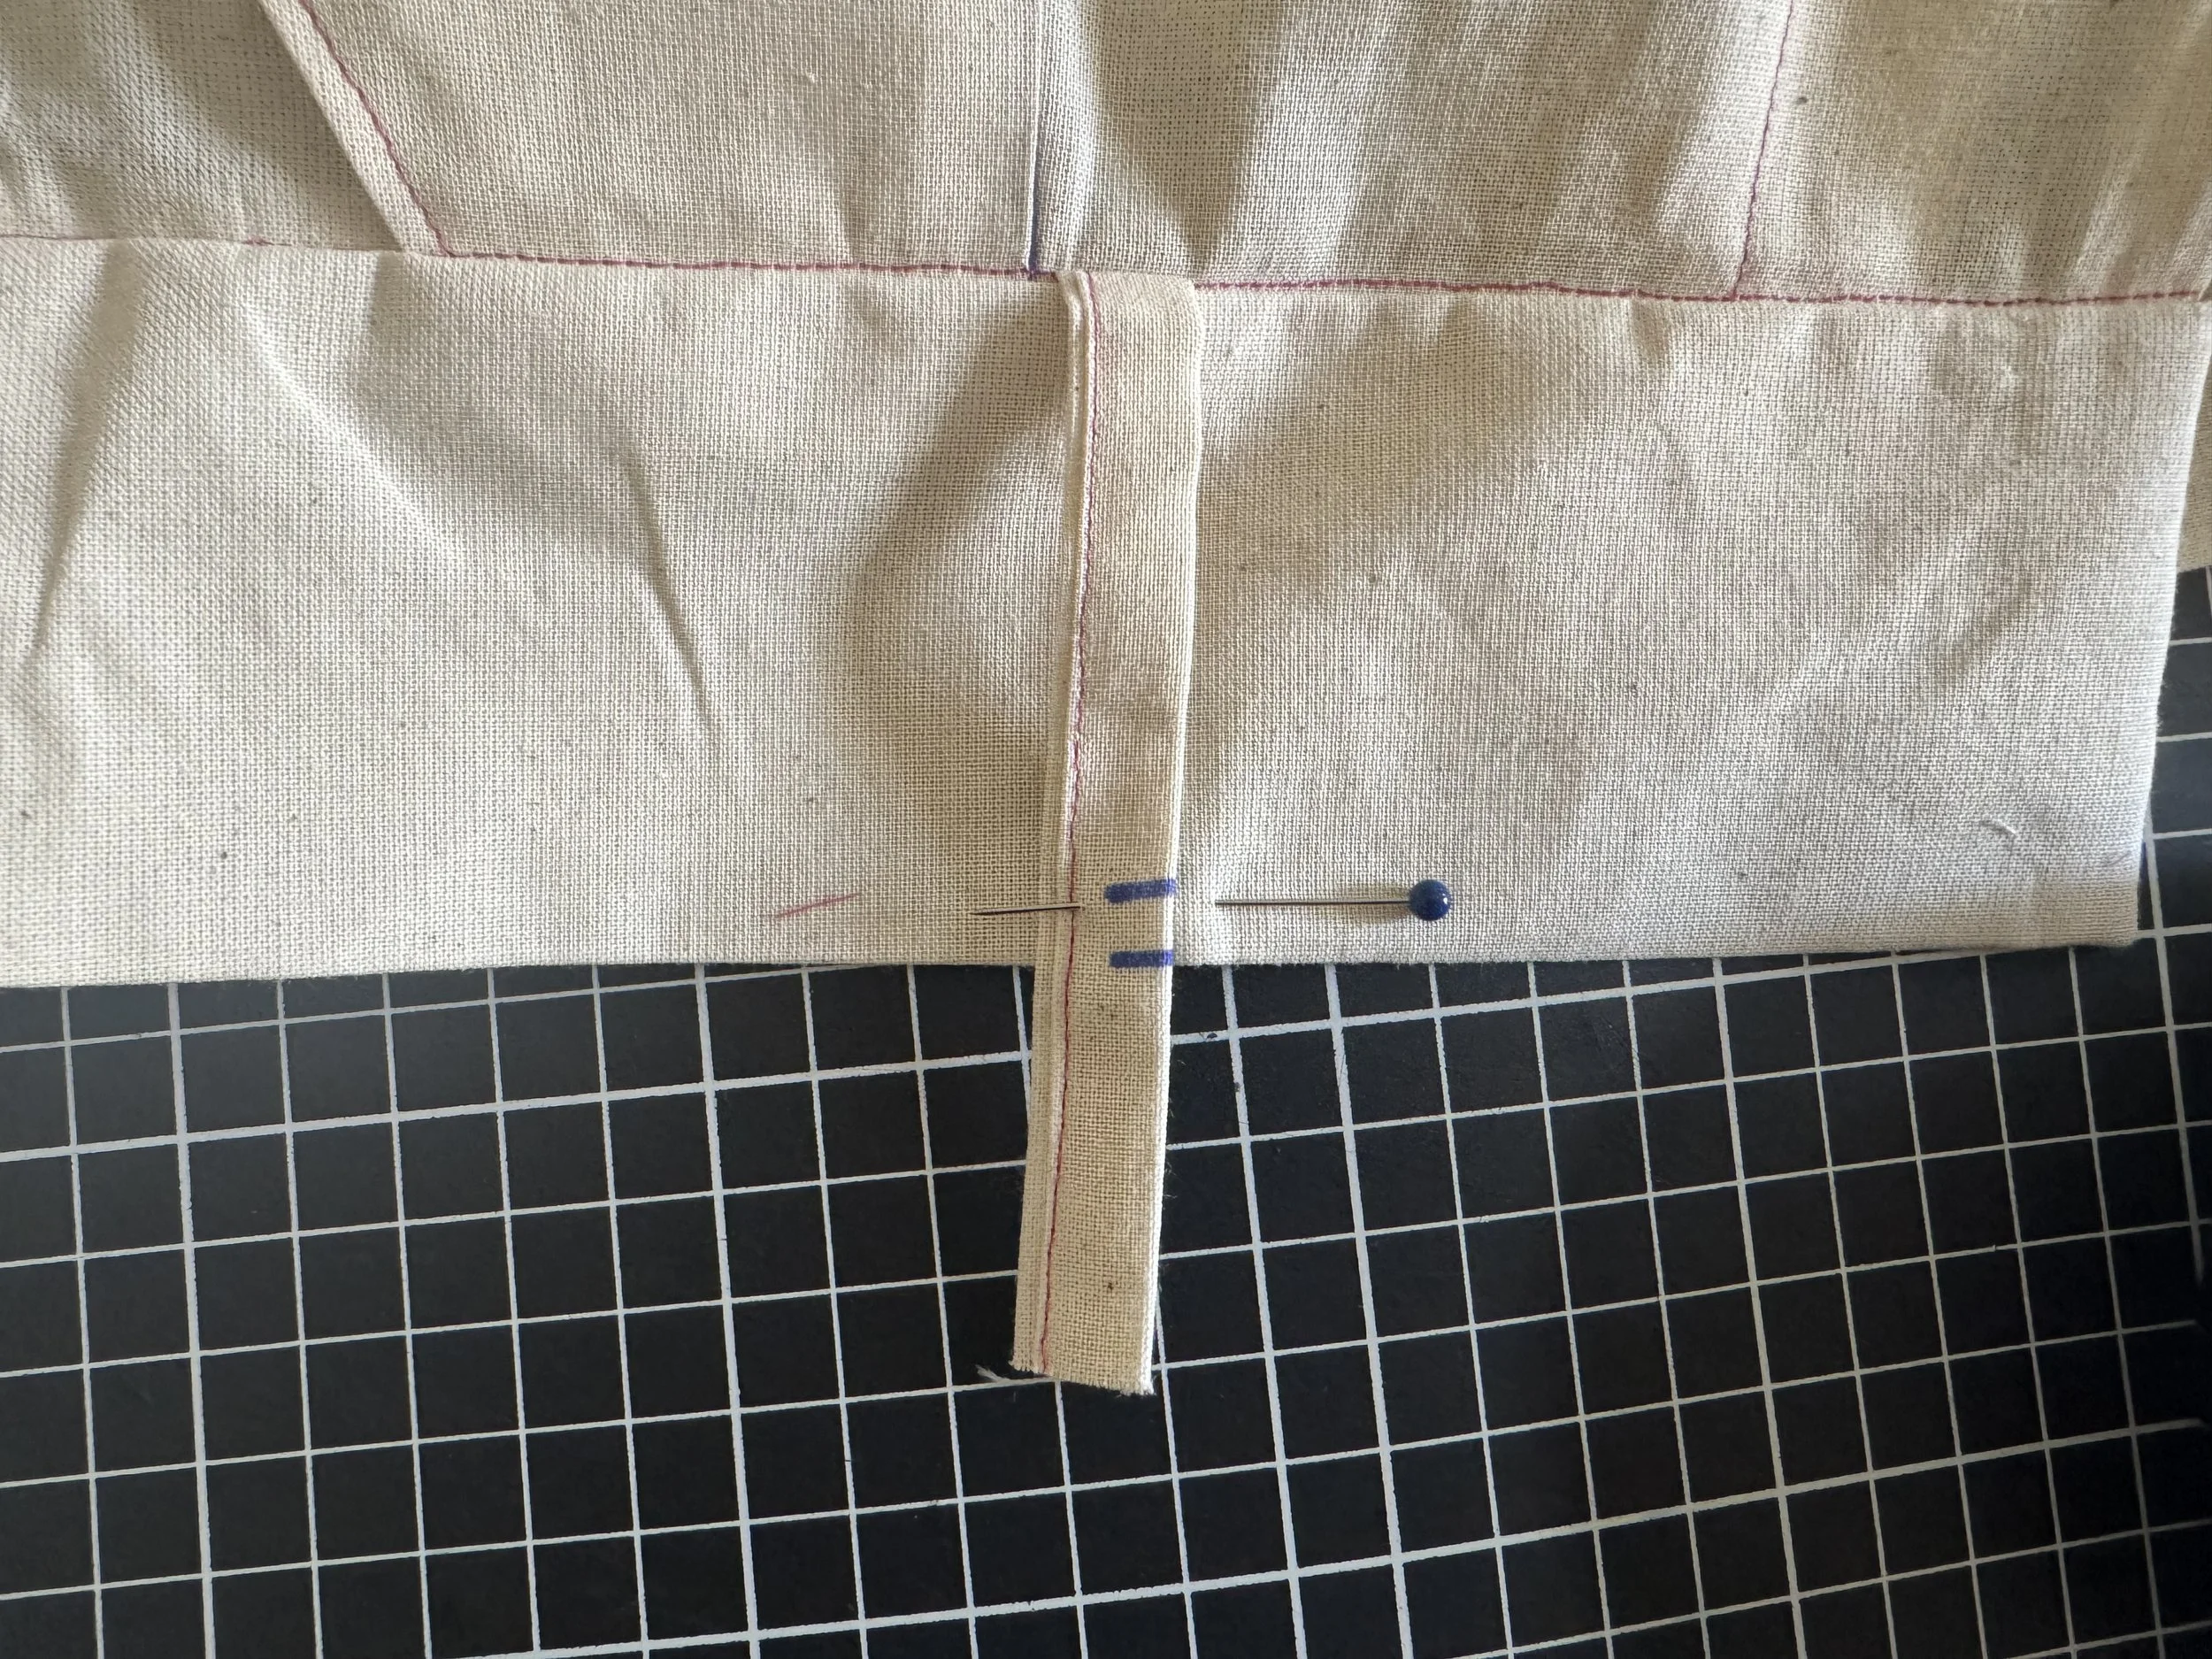
Fold your waistband over at the center - as shown on the left.
Pin at the stitch line.
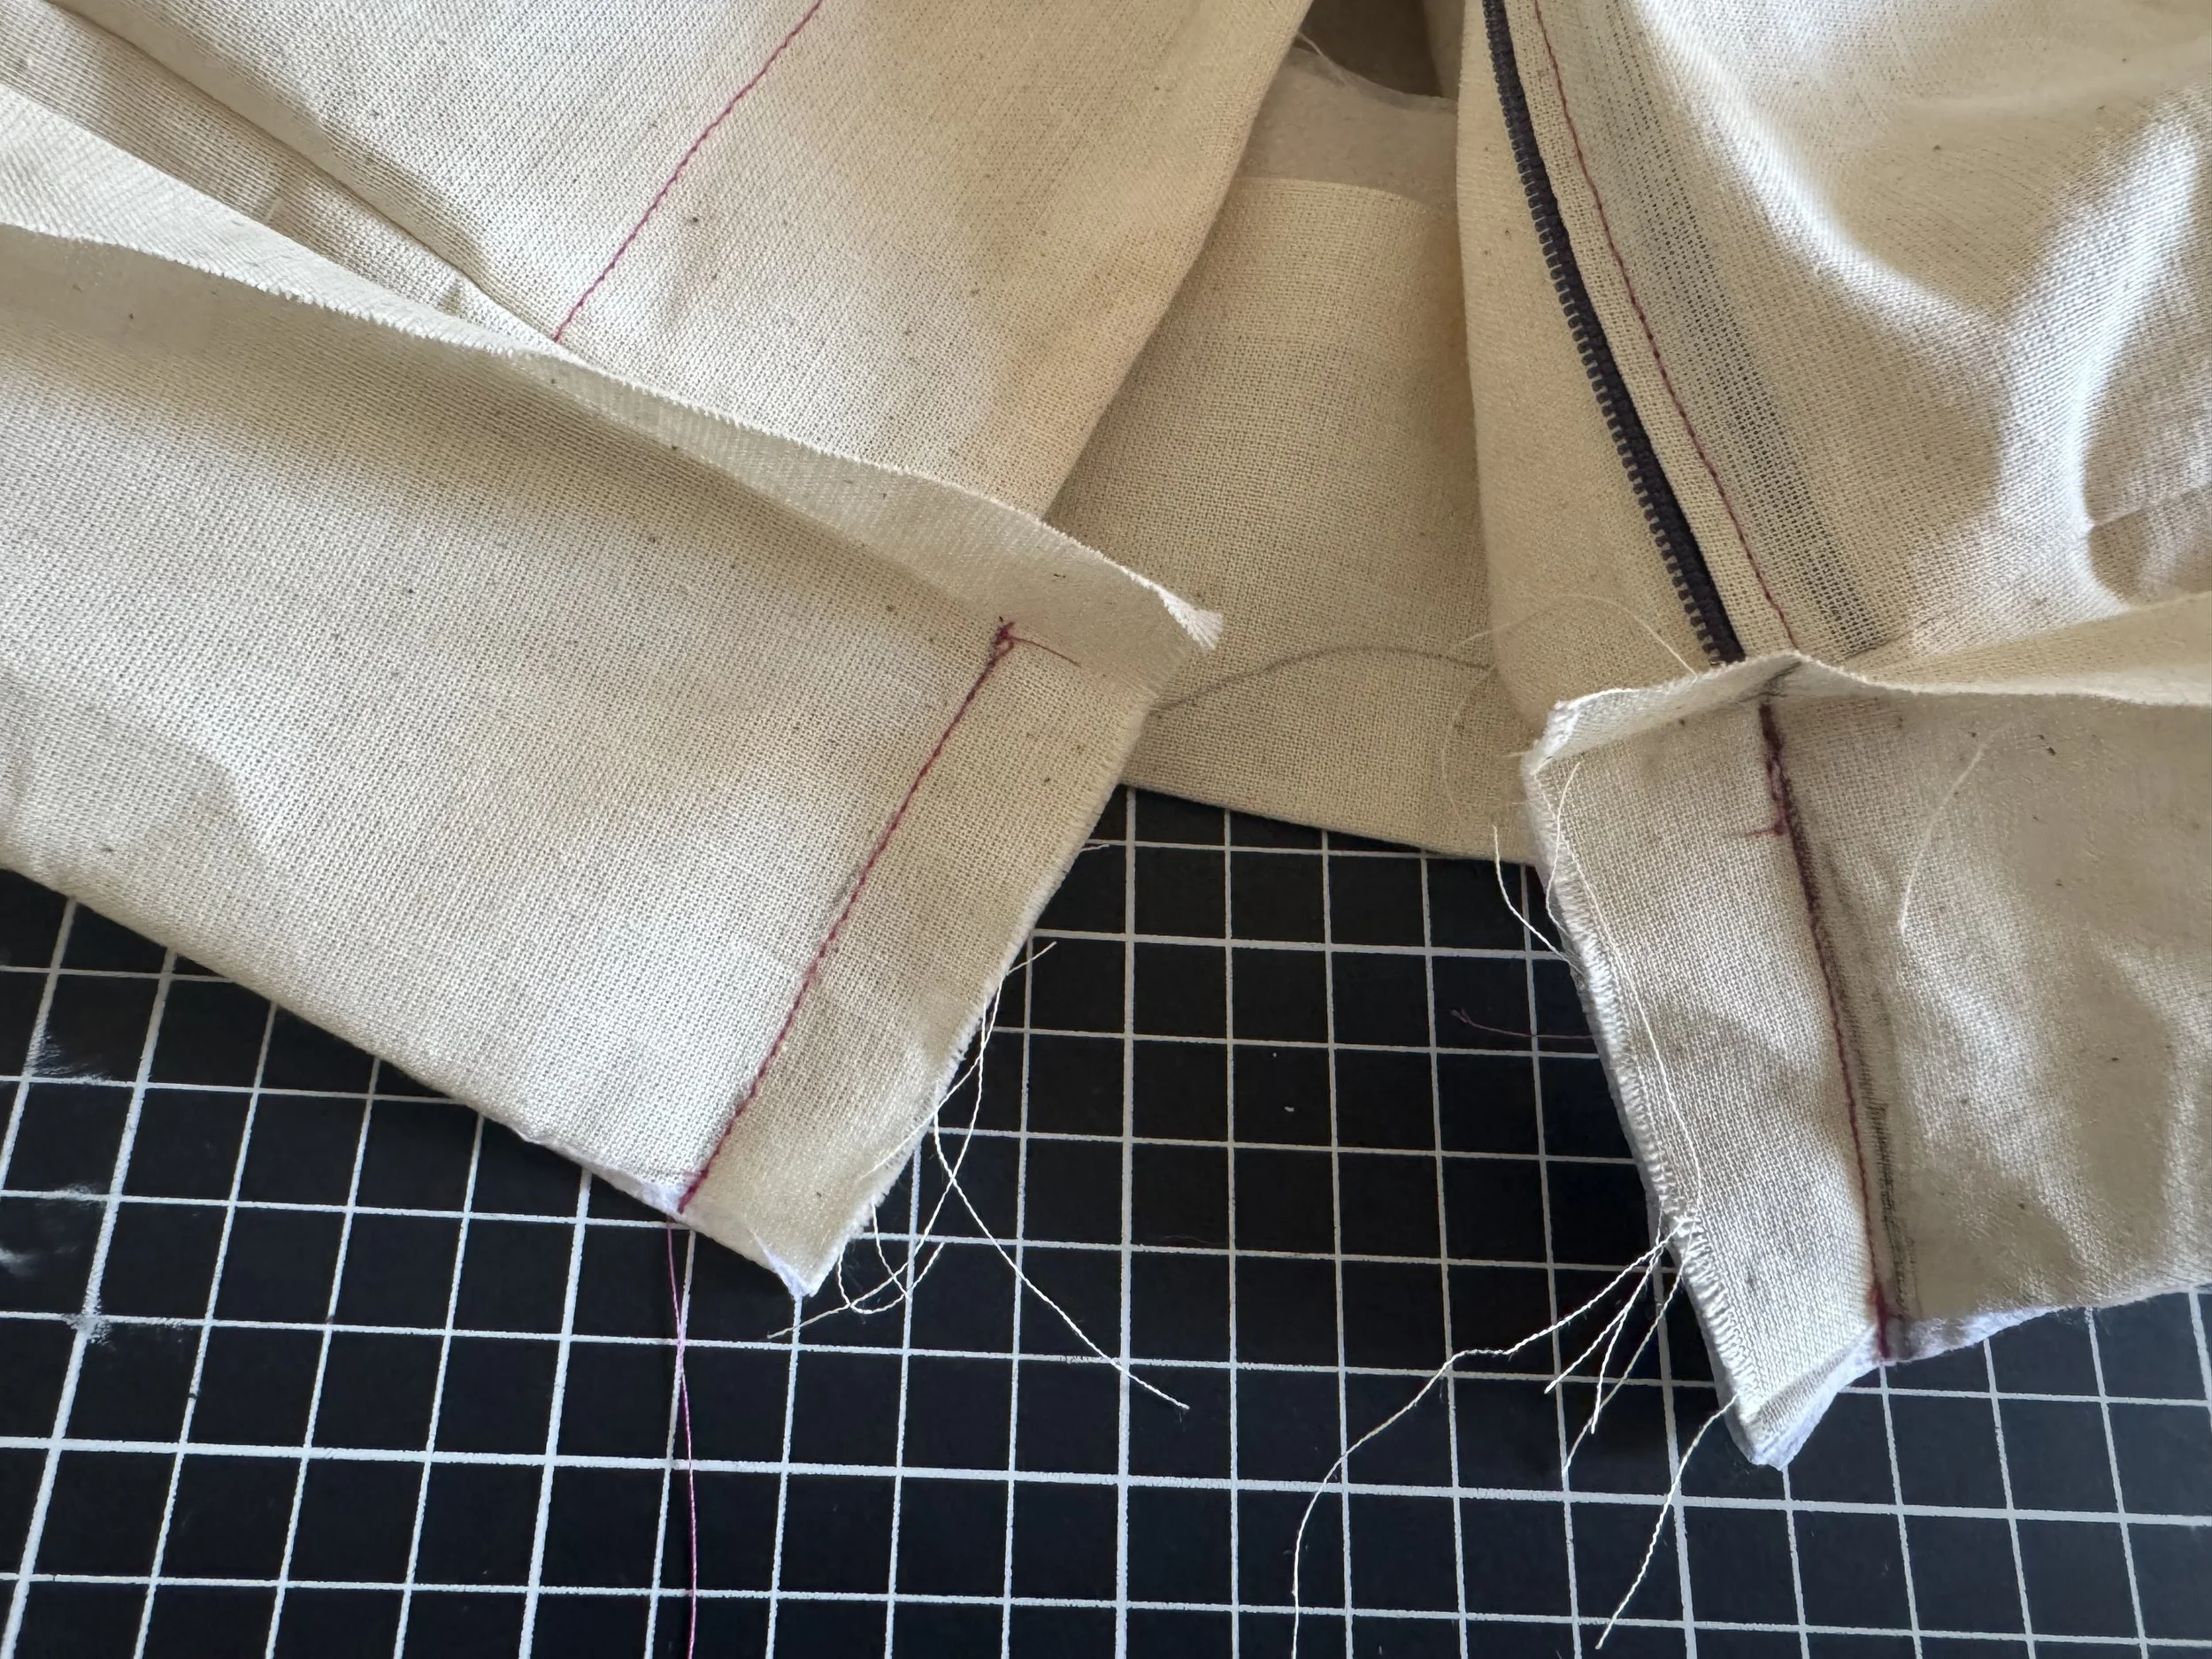
You’ll see a pencil mark for my sew line. This is to accurately line up the stitch and create a flush finish at the zipper.
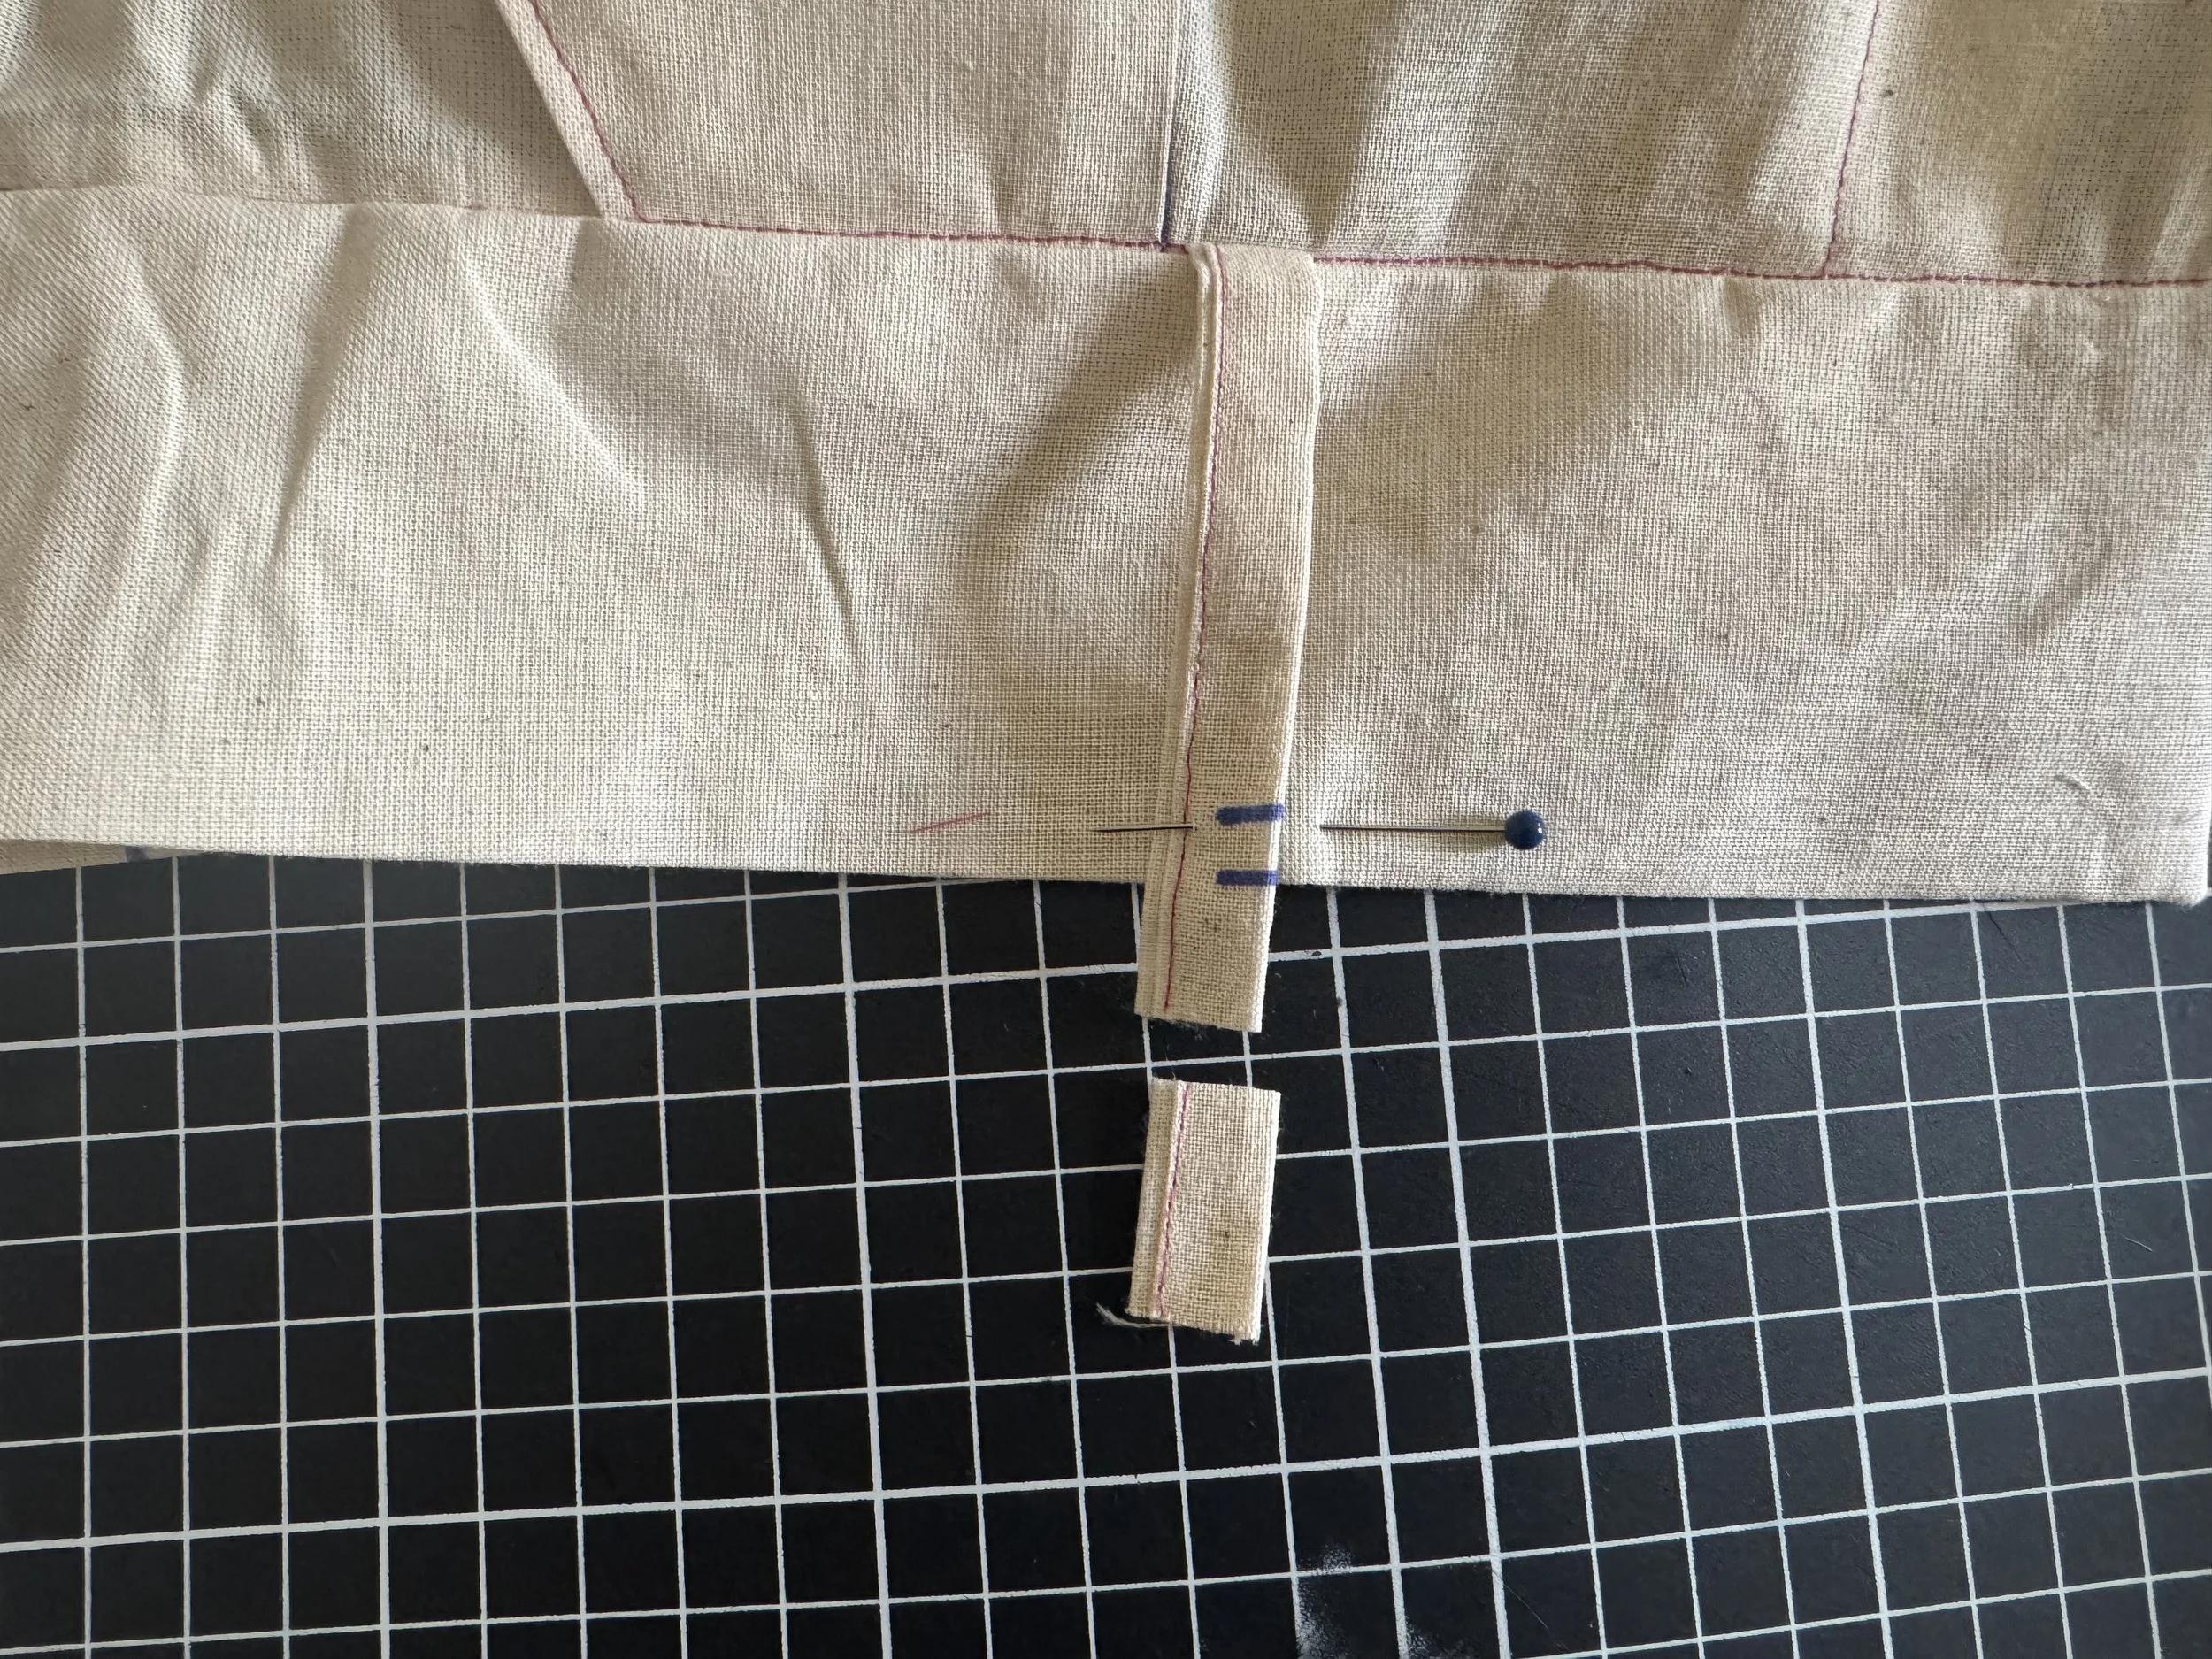
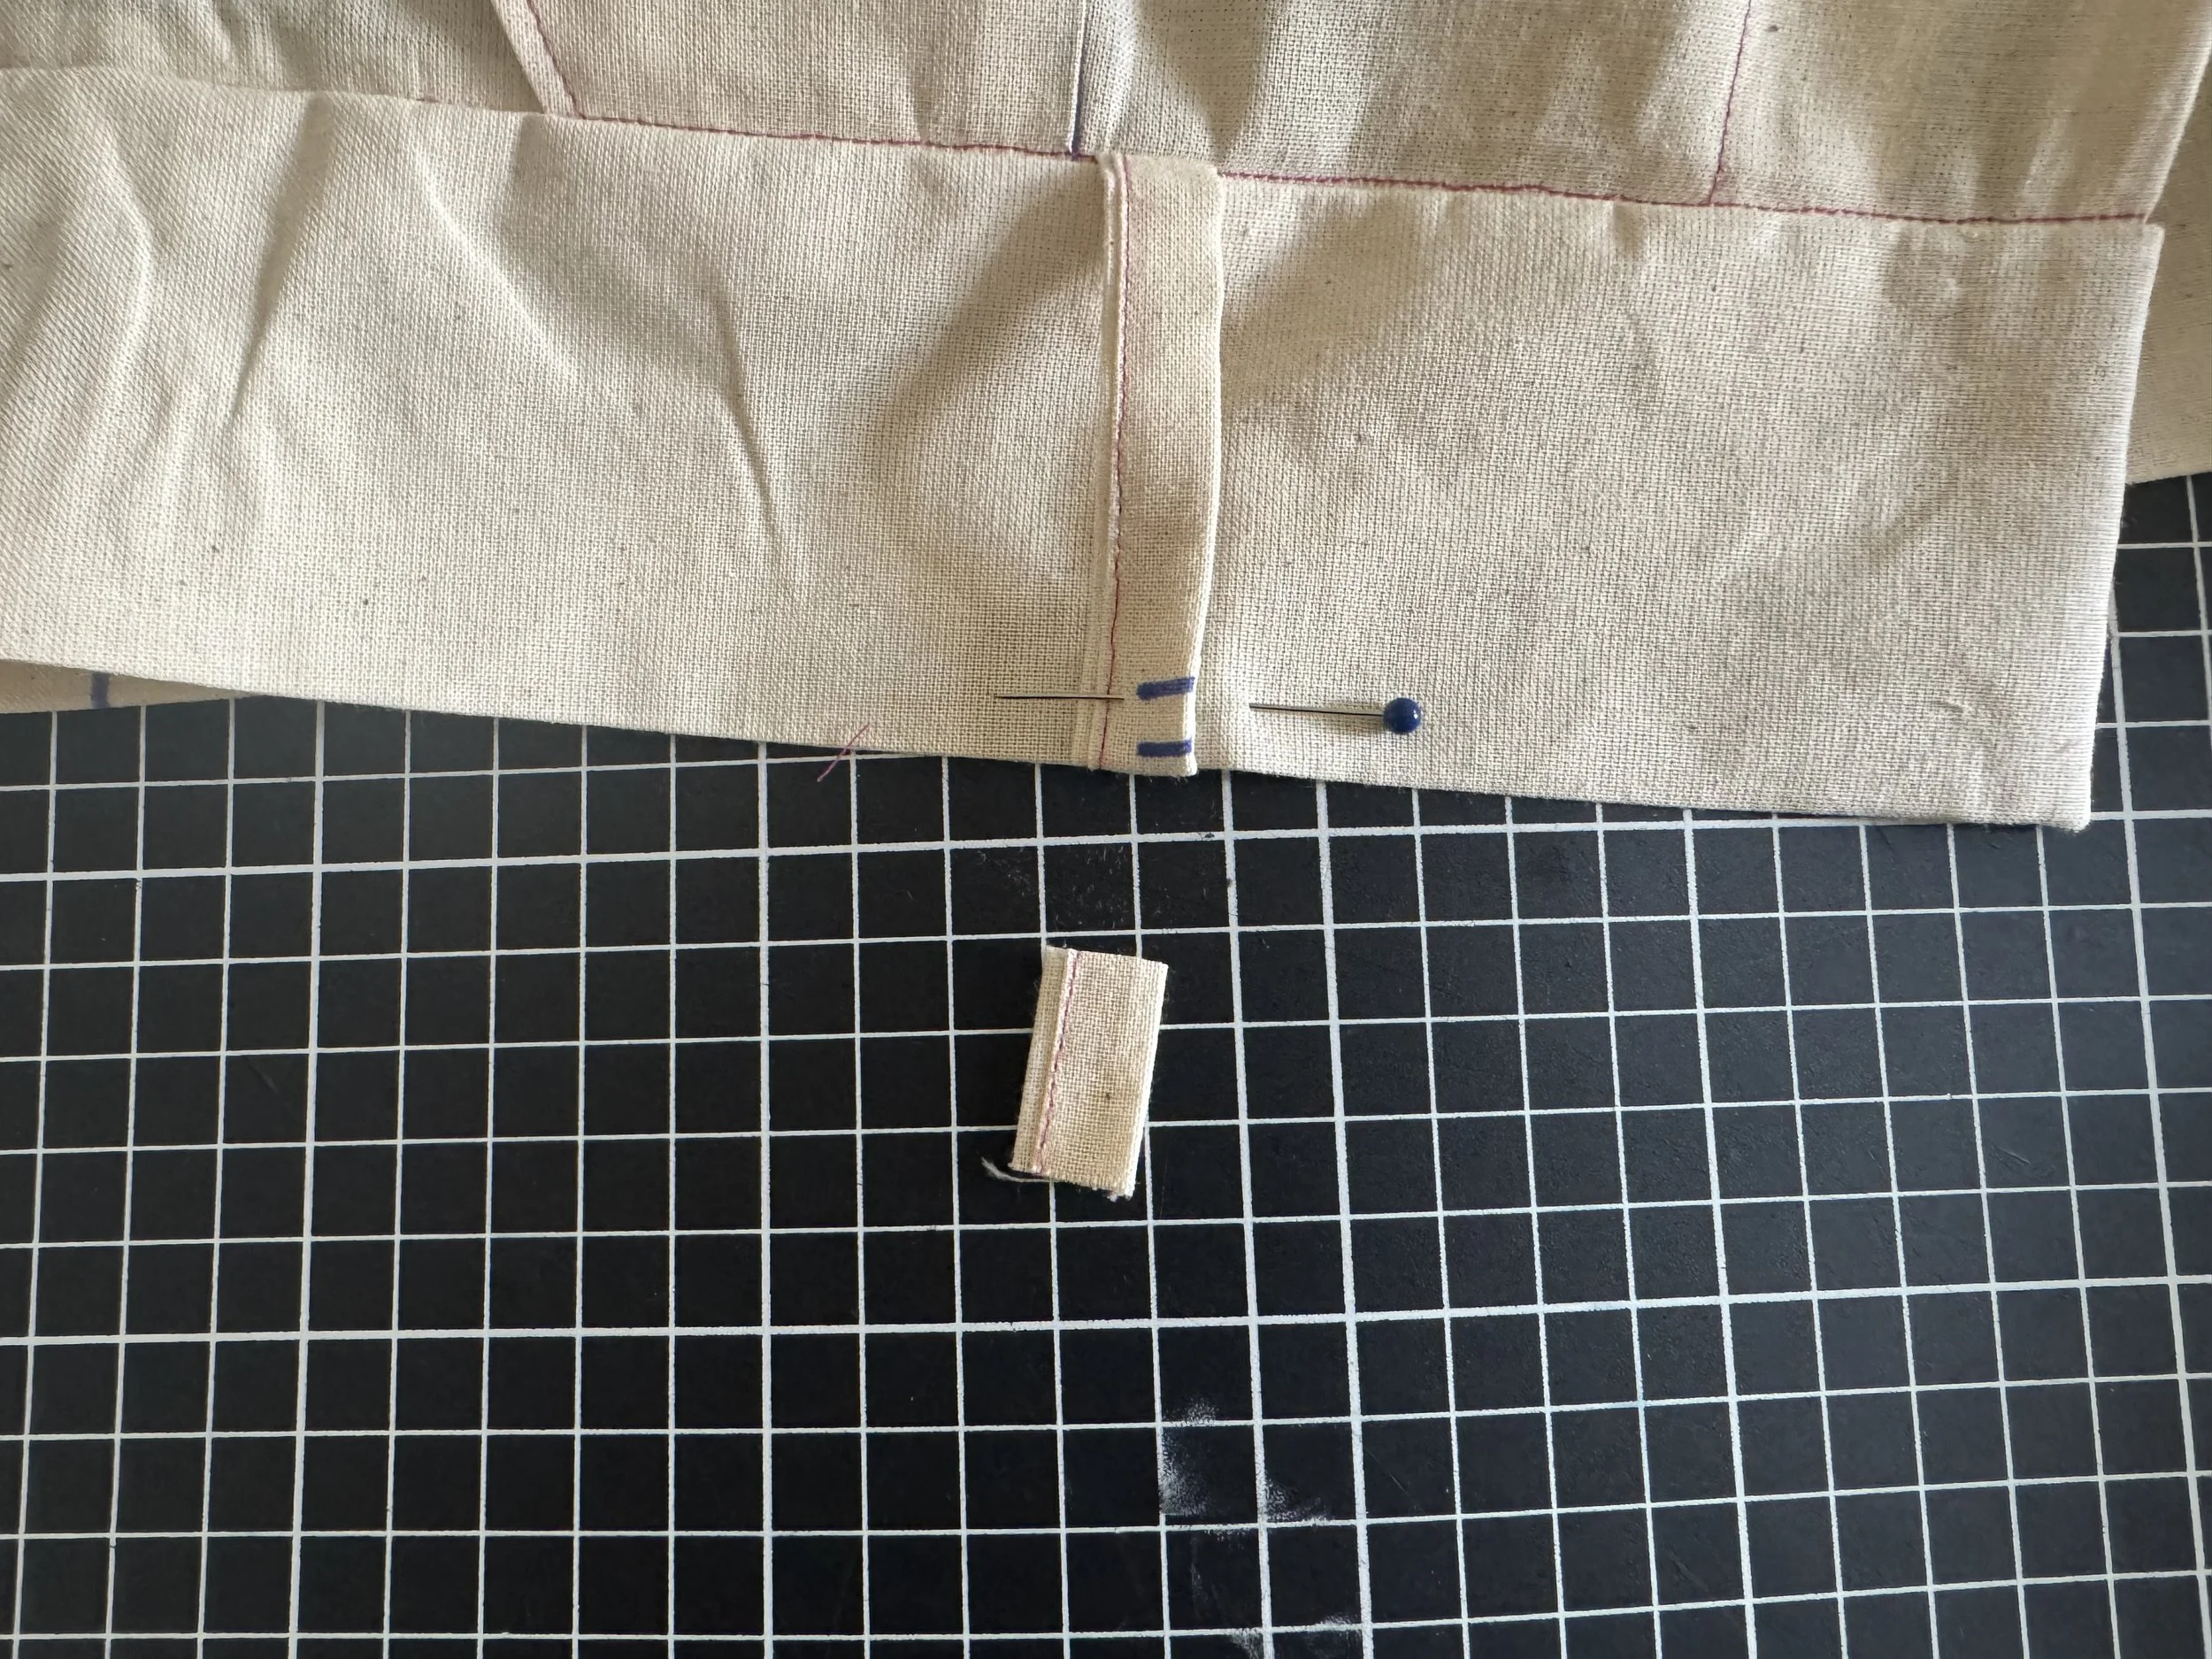
Flip right side out, and check that the stitch is lined up correctly before cutting off the excess.
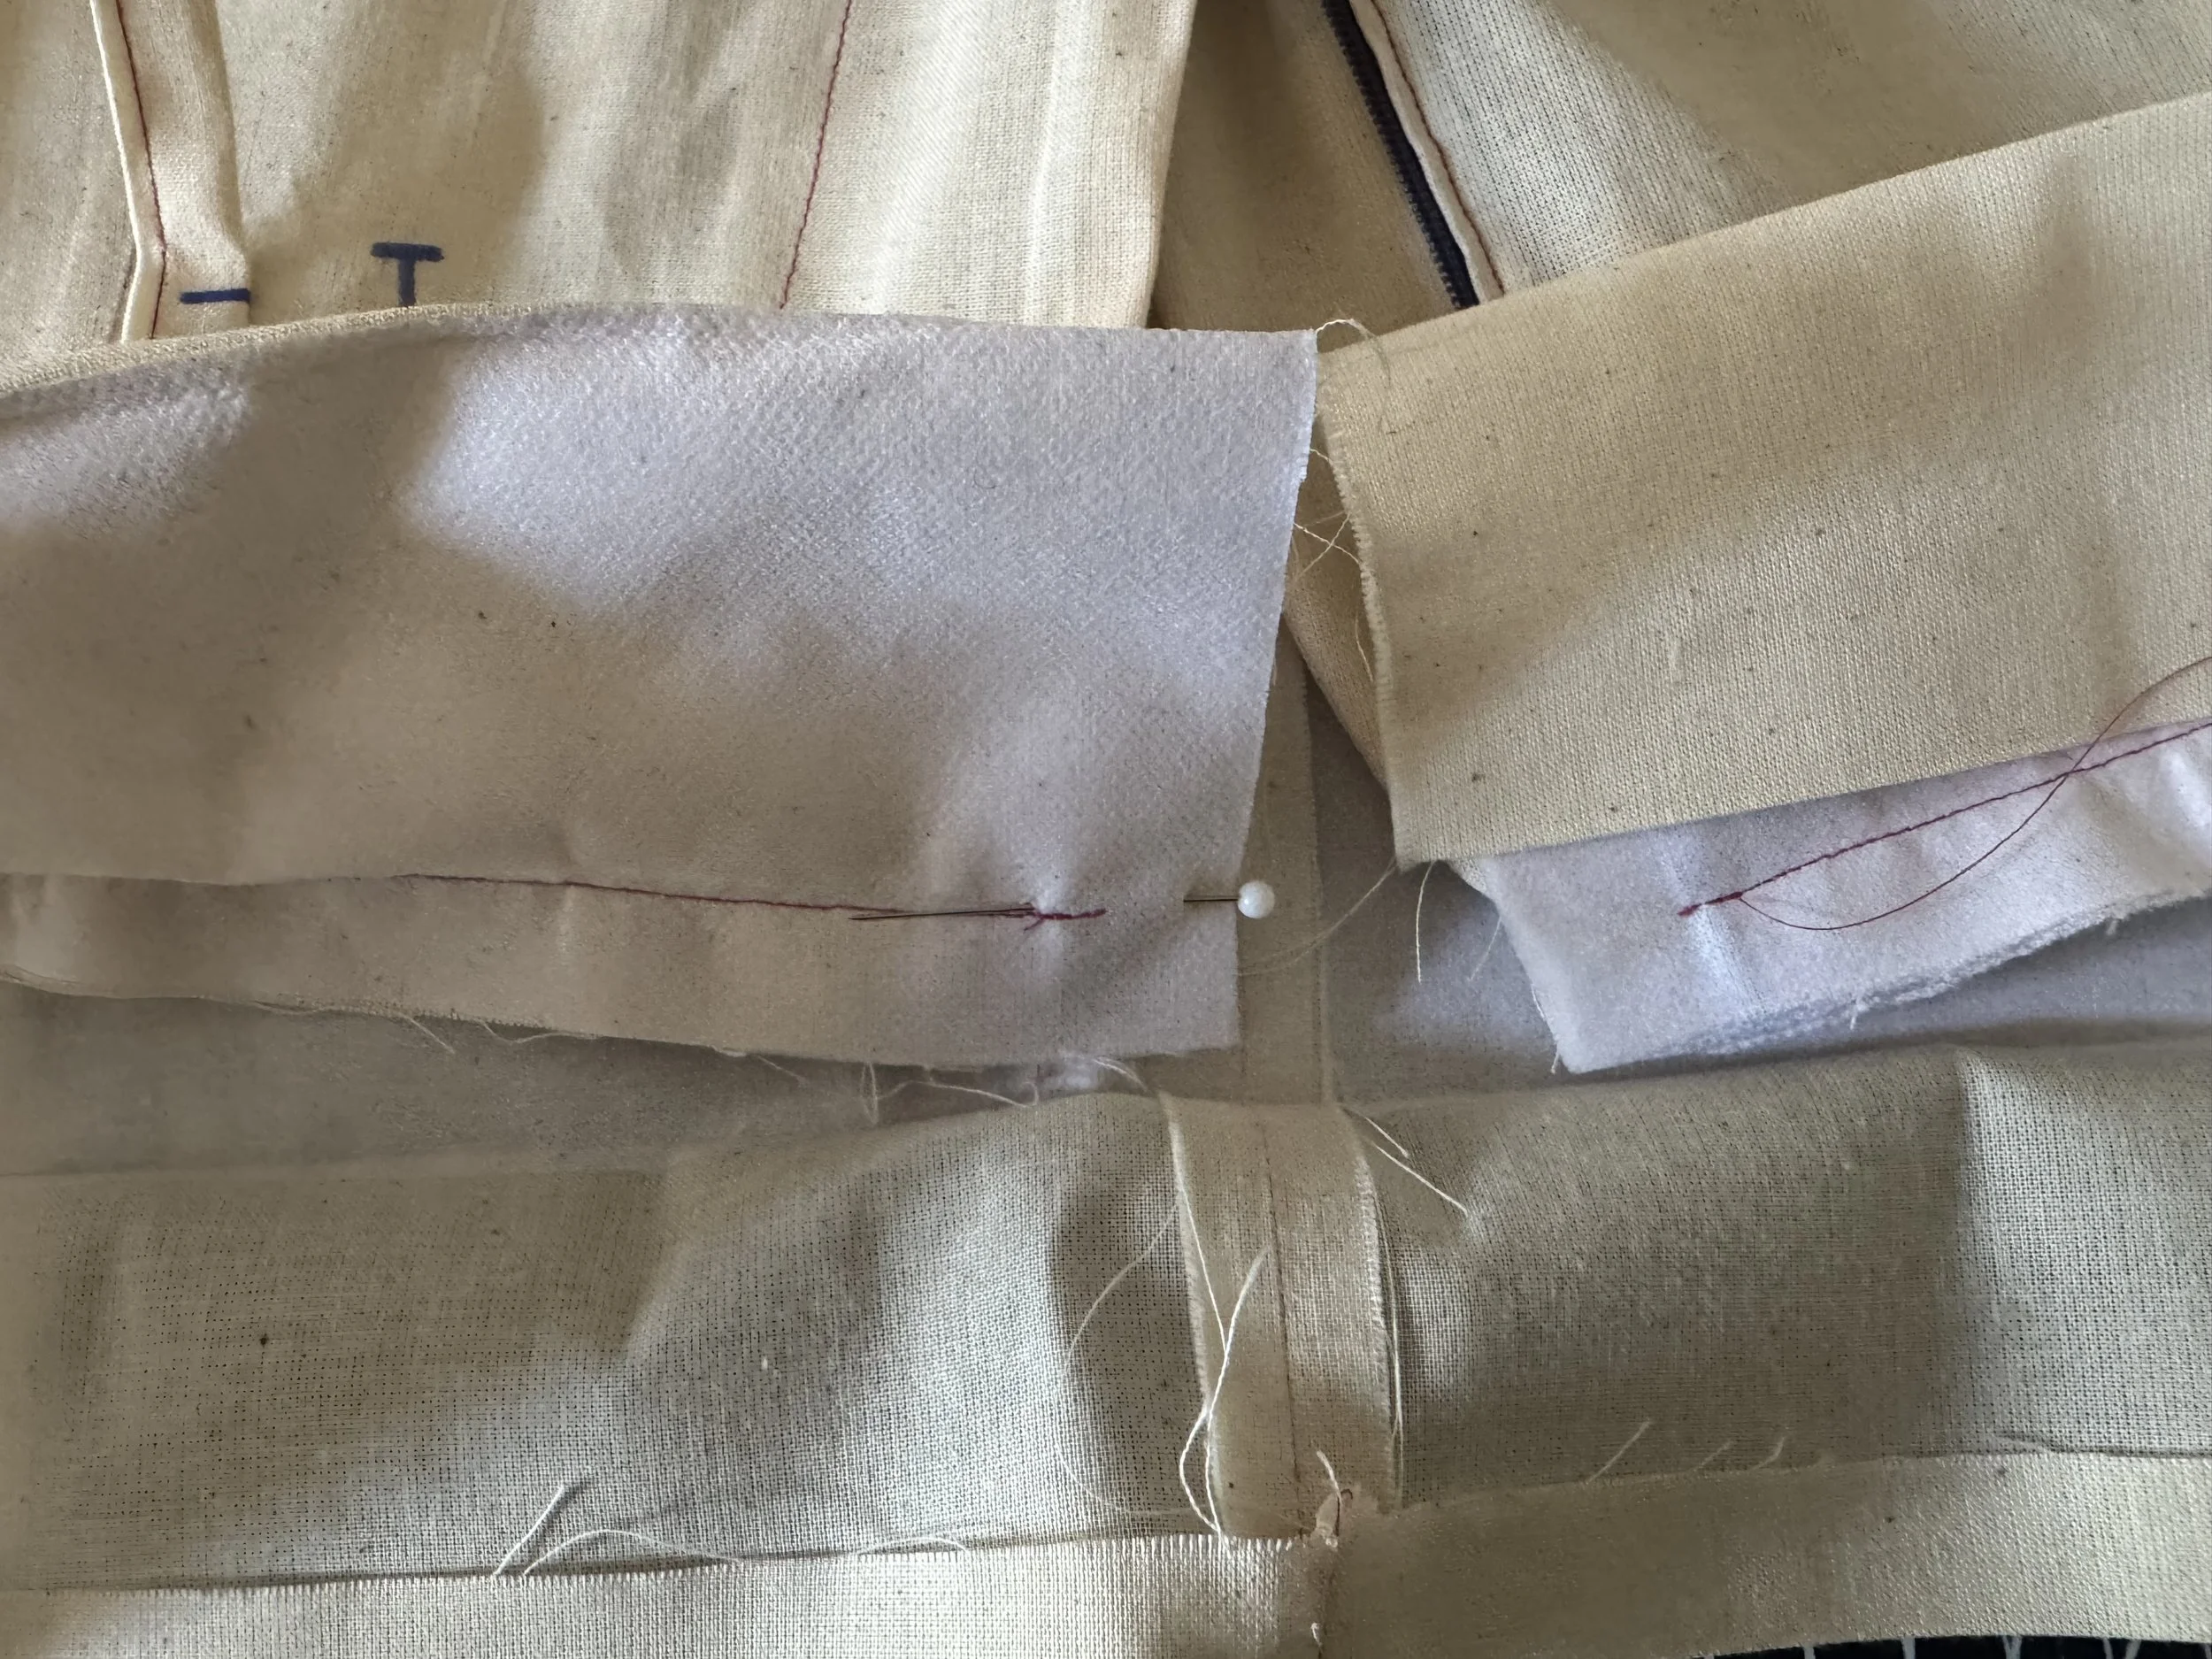
Fold to the right side and turn your seam allowance under on the inside of the pant.
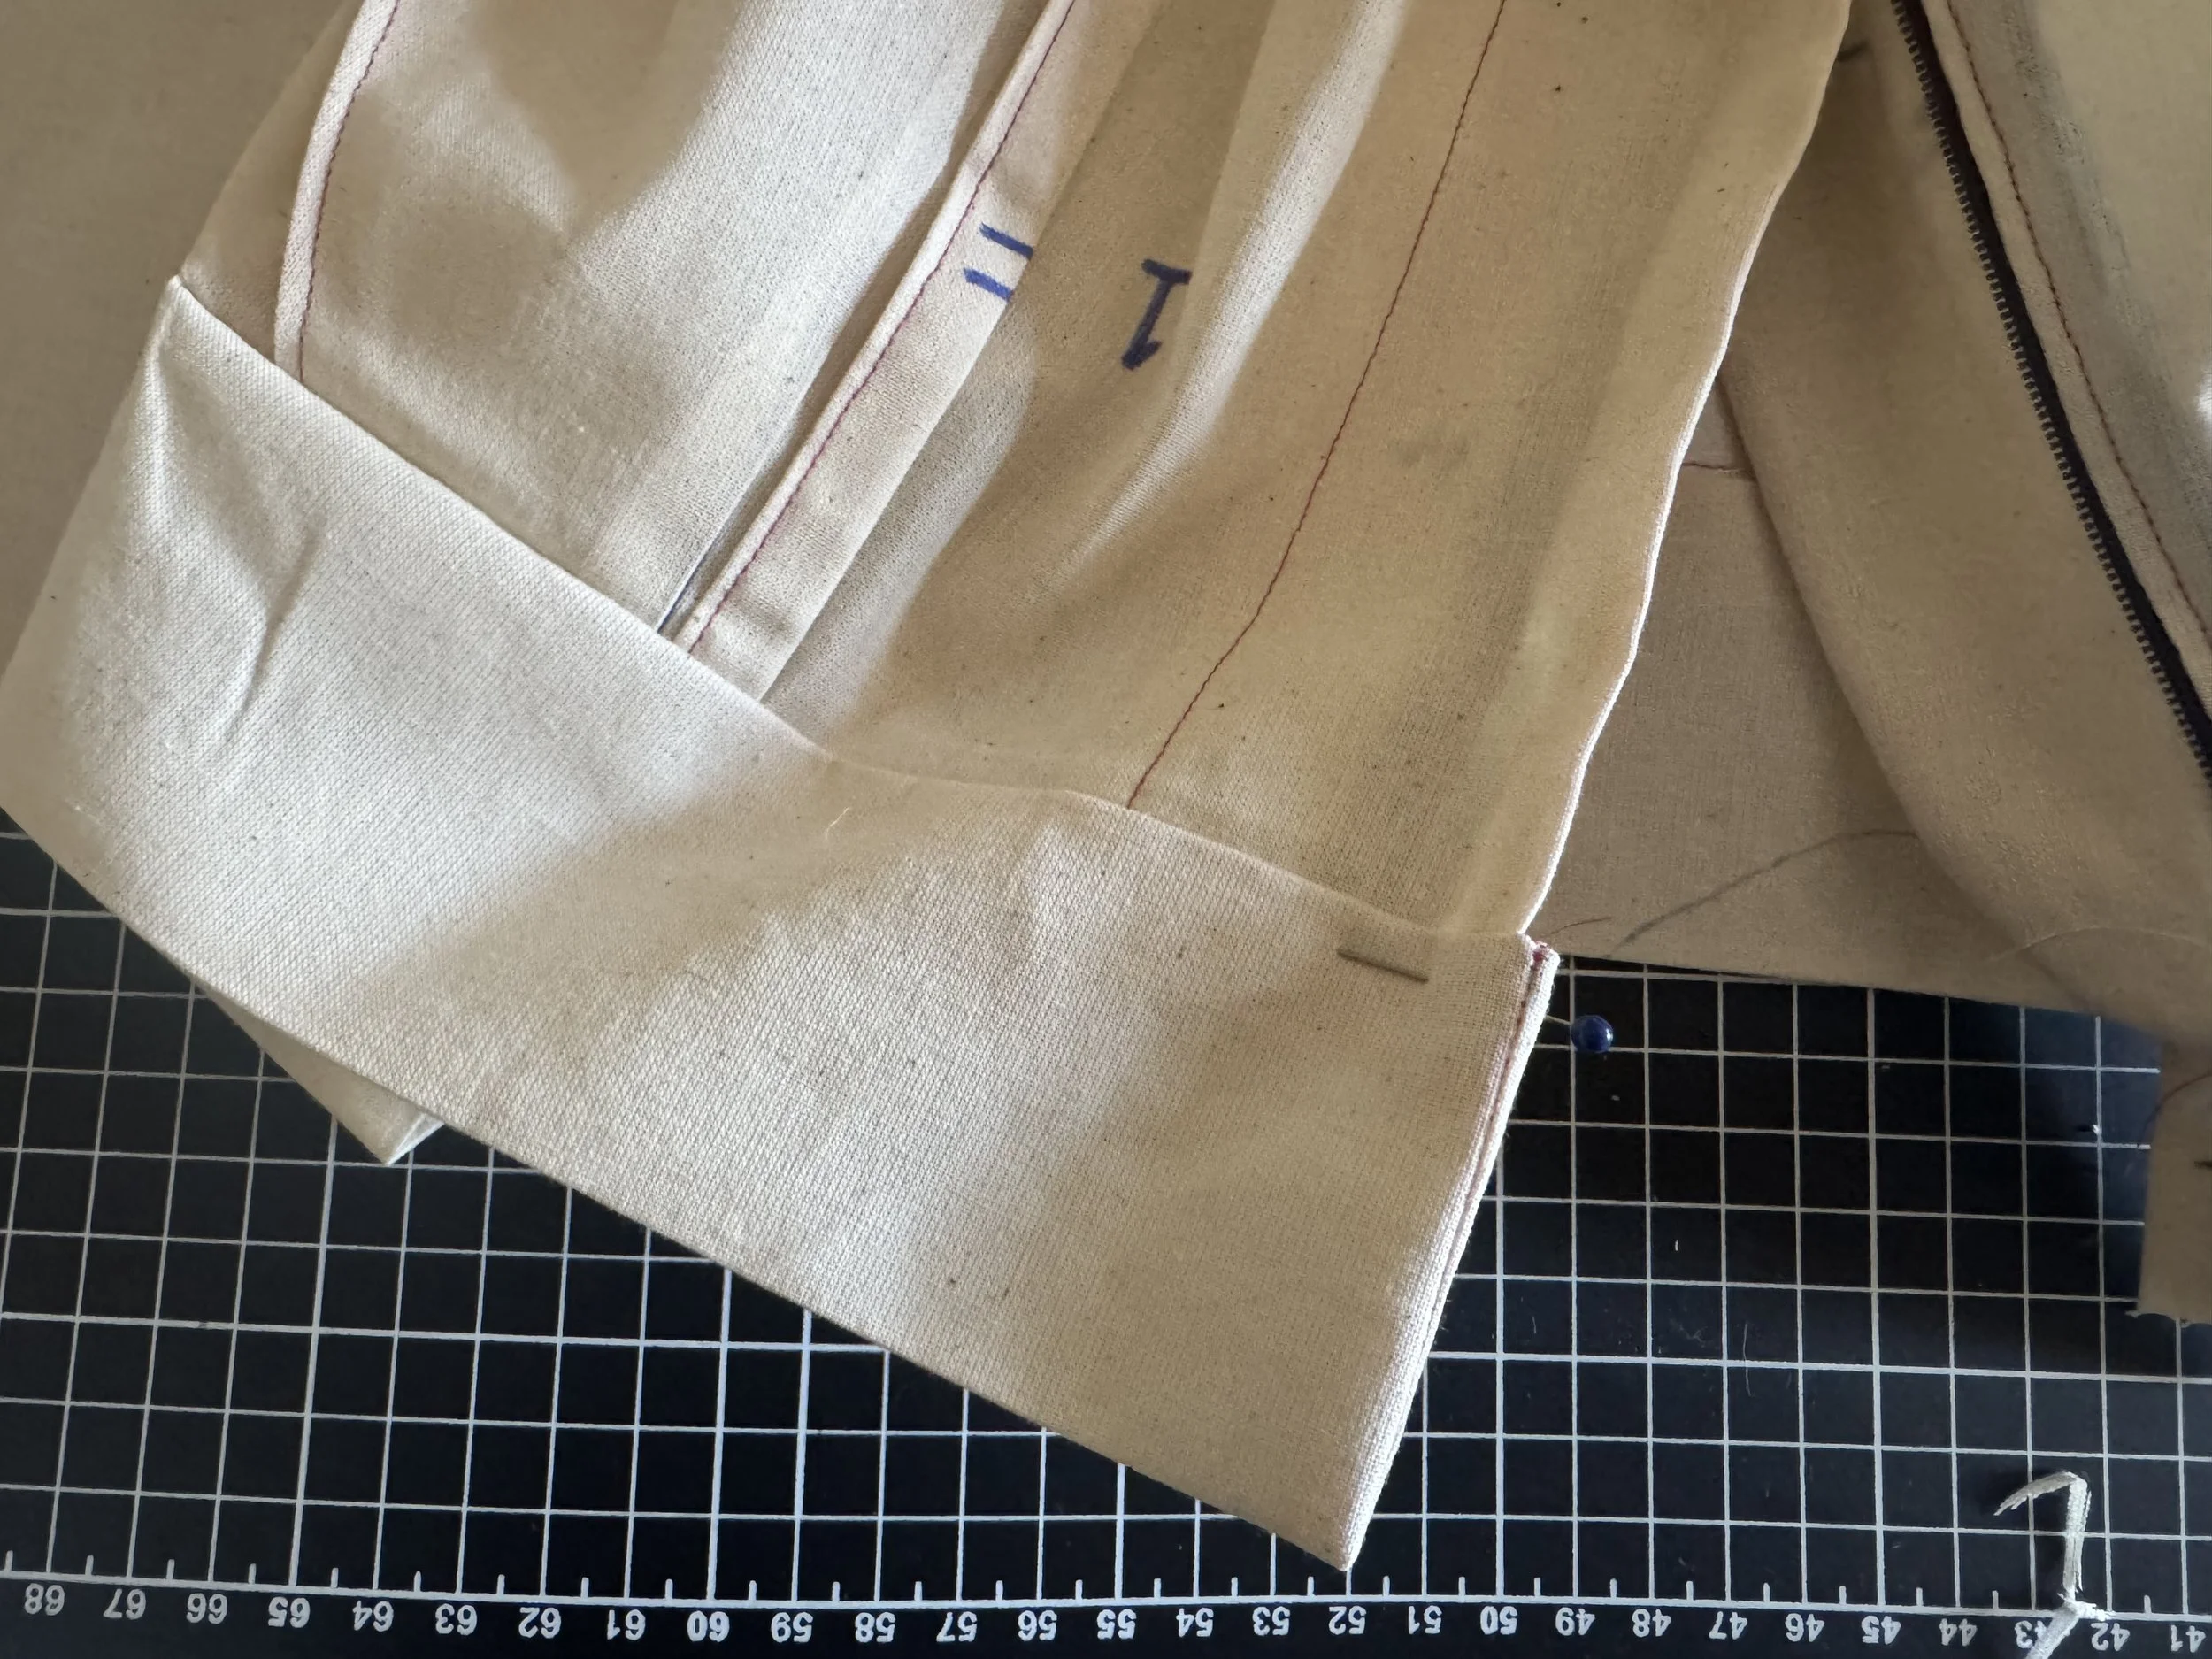
I like to run a quick iron over the right side of the seam here, pushing the waistband up to create a crisp line - which will make it easier for the stitch in the ditch.
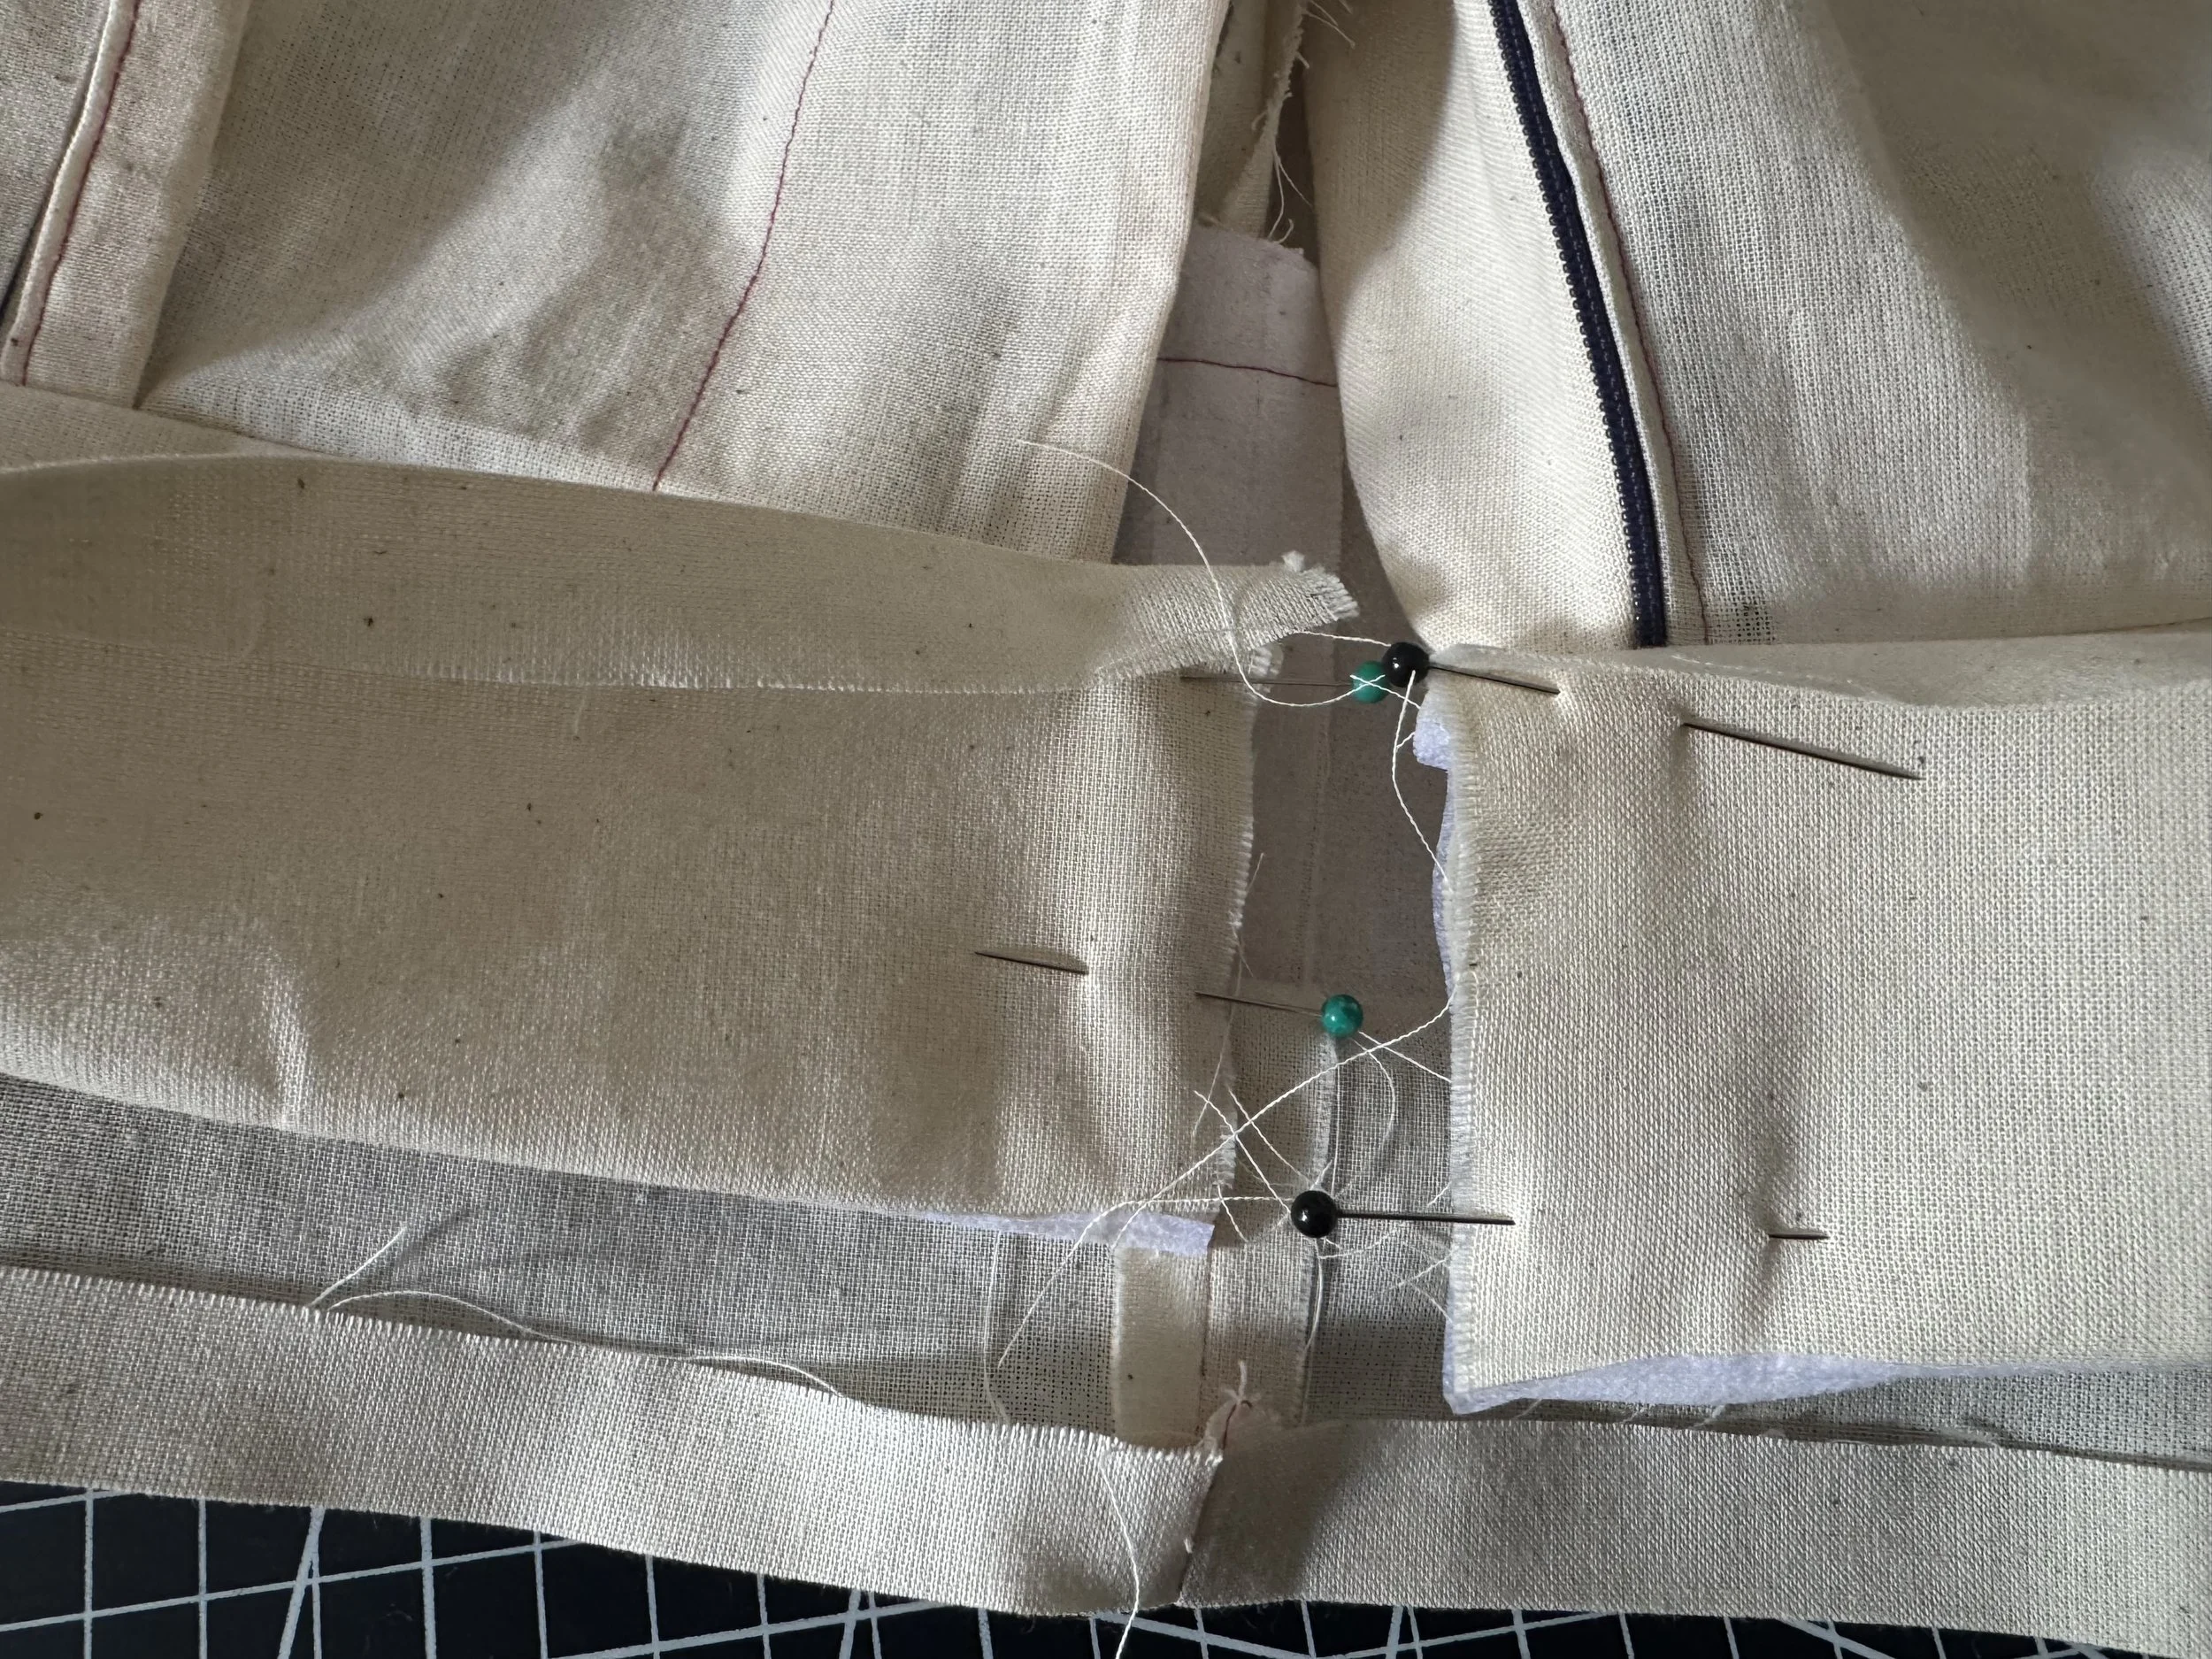
Pin your seam allowance on the right side, it has to cover the stitches that connected the waistband to the waistline on the wrong side.

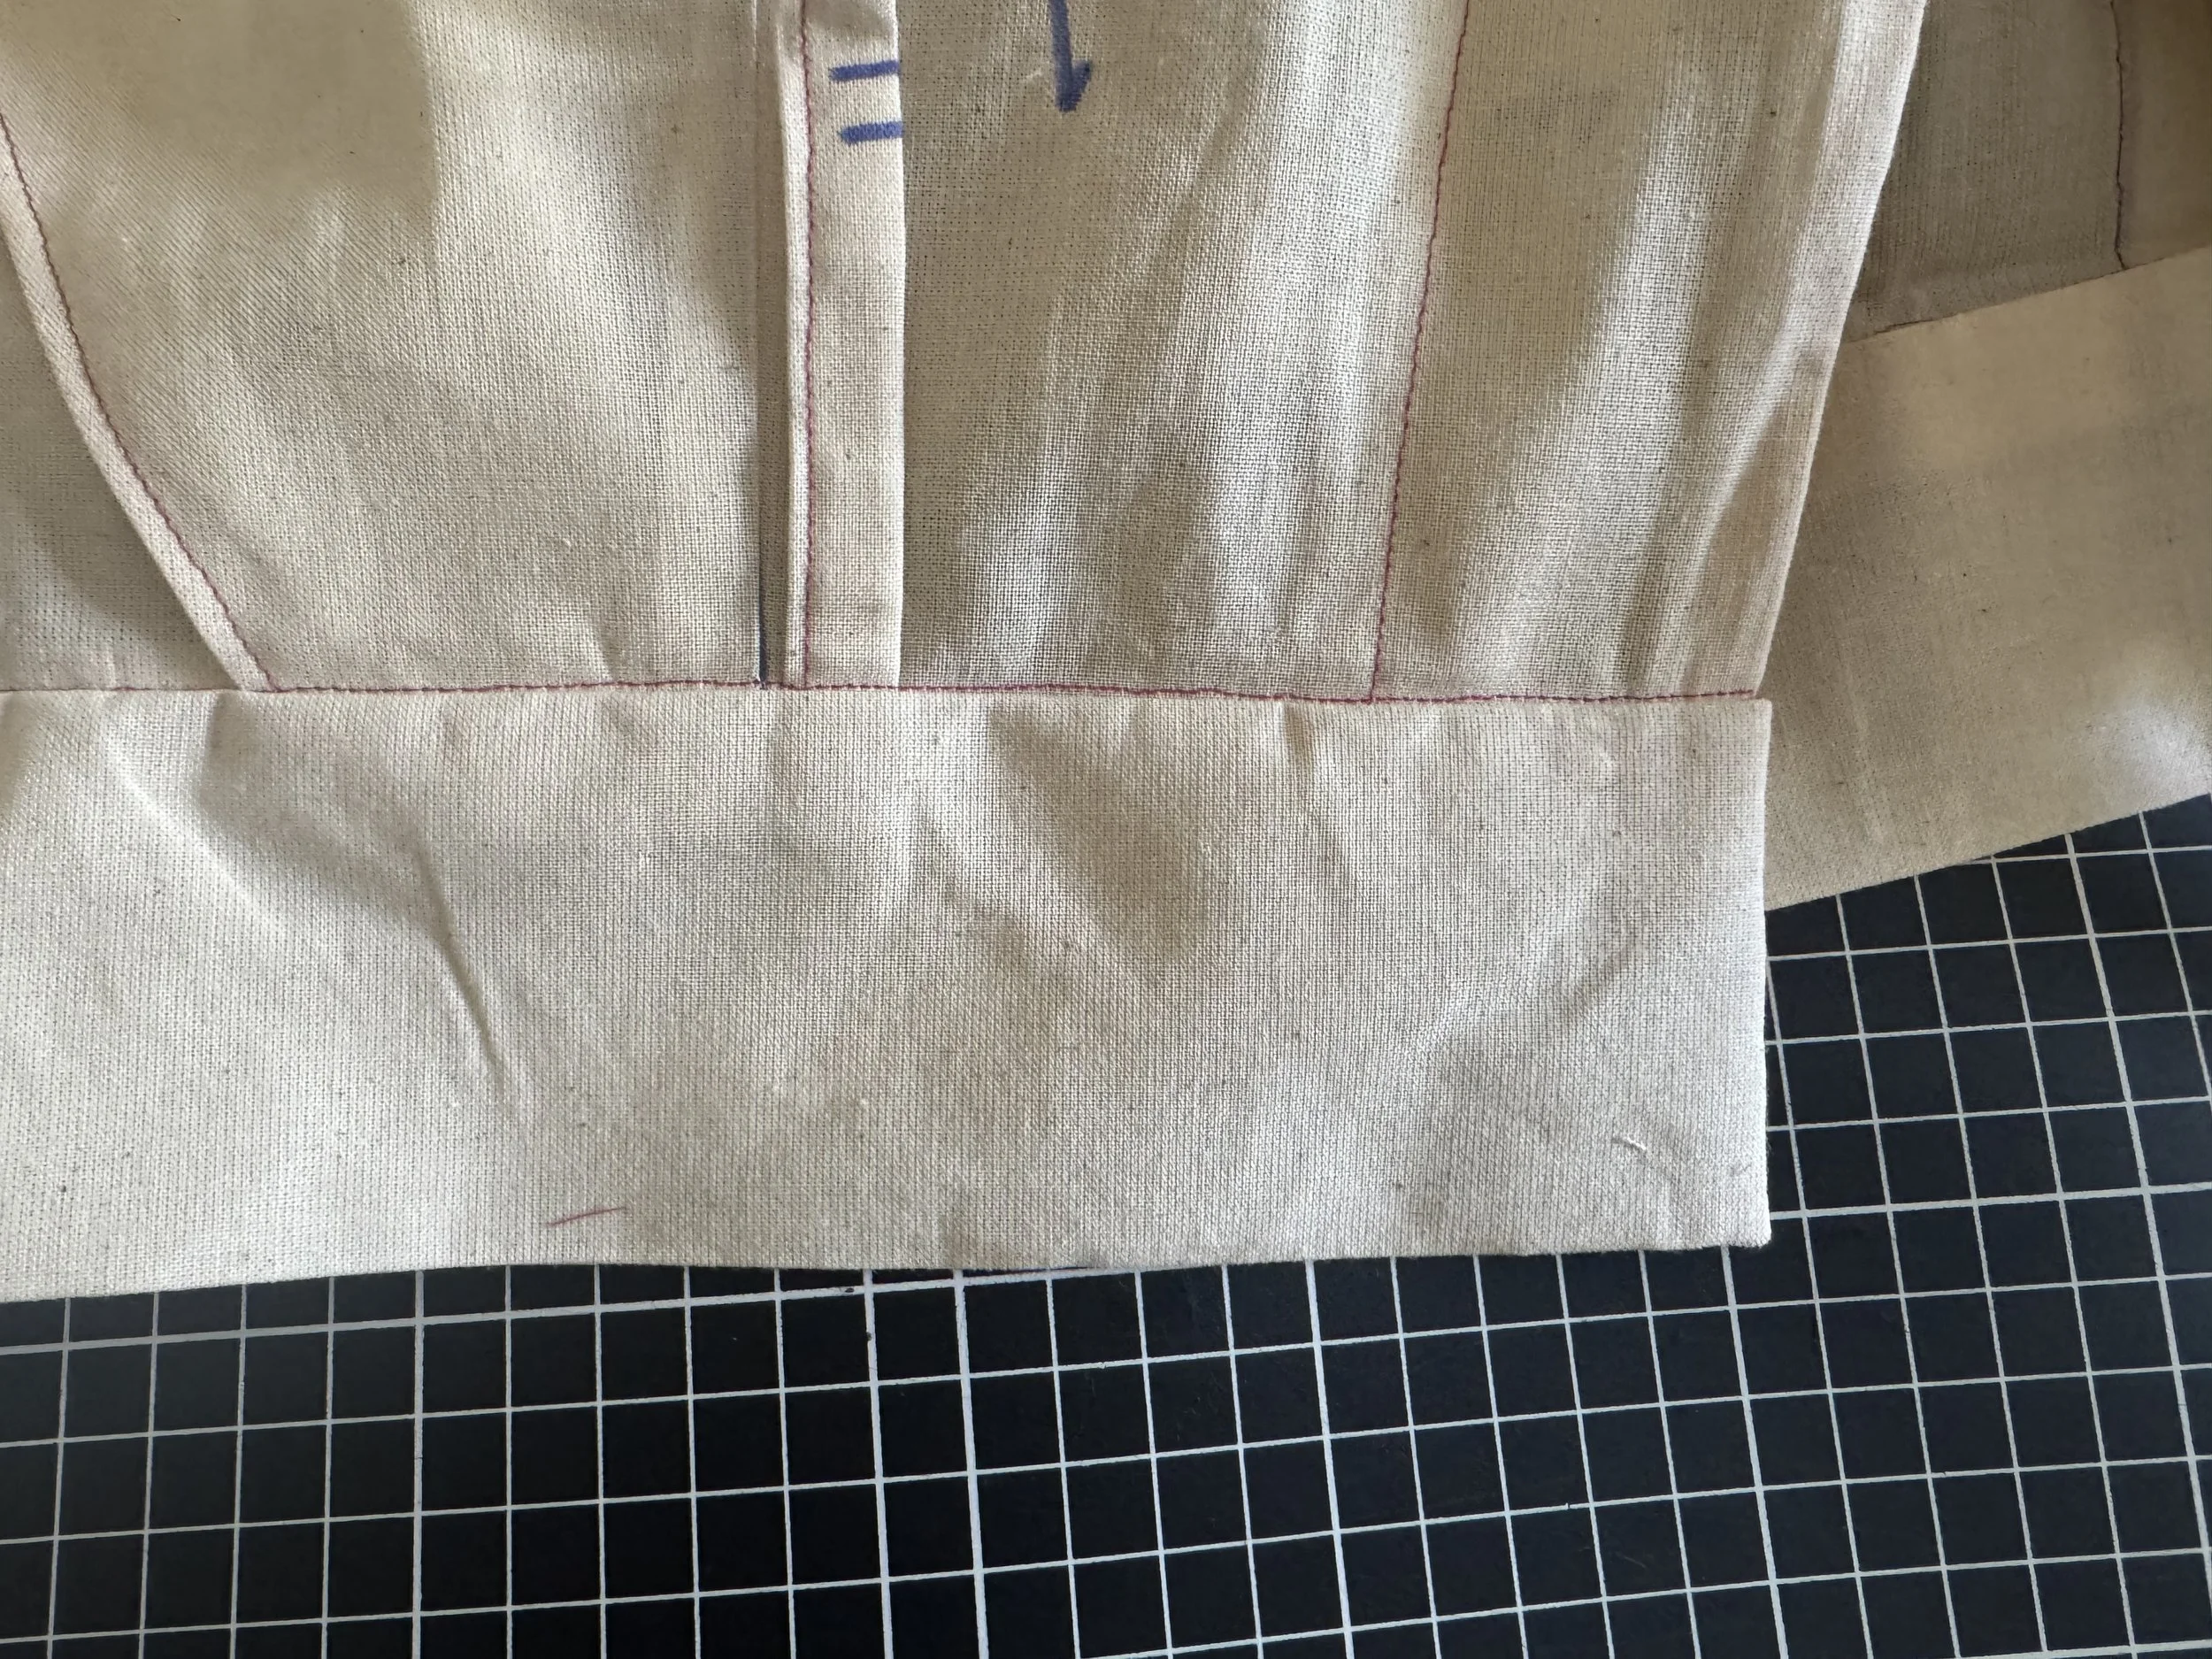
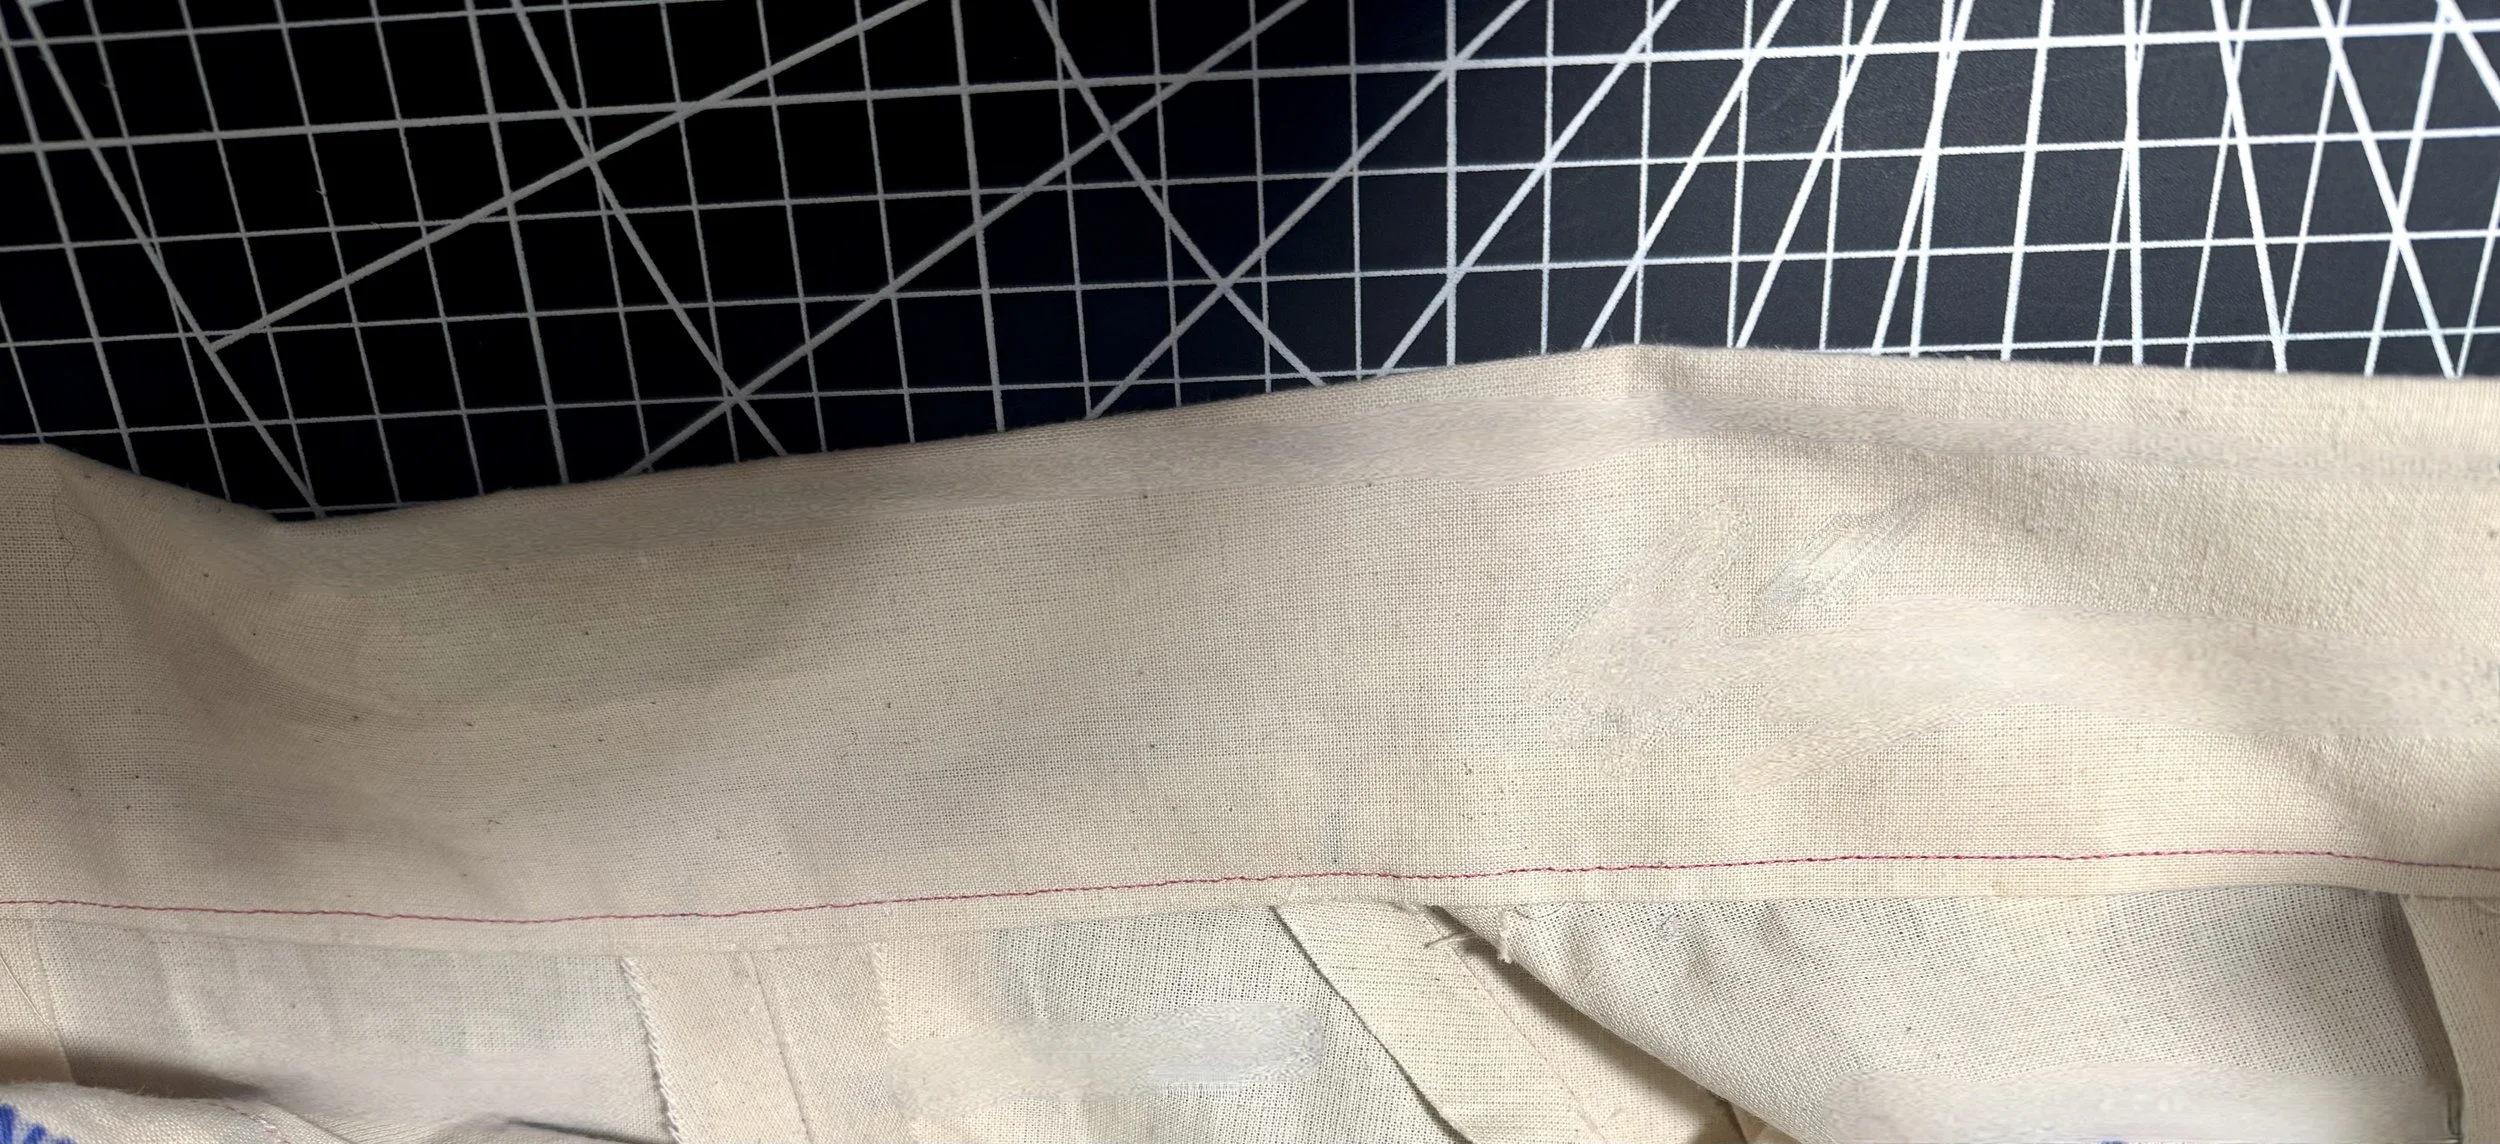
Sew on the right side in “the ditch” catching your seams on the inside for a neat finish.
(You can also hand sew from the inside, my personal favorite - I’m editing a video which I will add here showing that method)
BELT LOOPS:
To finish our belt loops, pin them in place as shown.
Trim so there is enough to turn under.
Turn the raw edge under and pin.
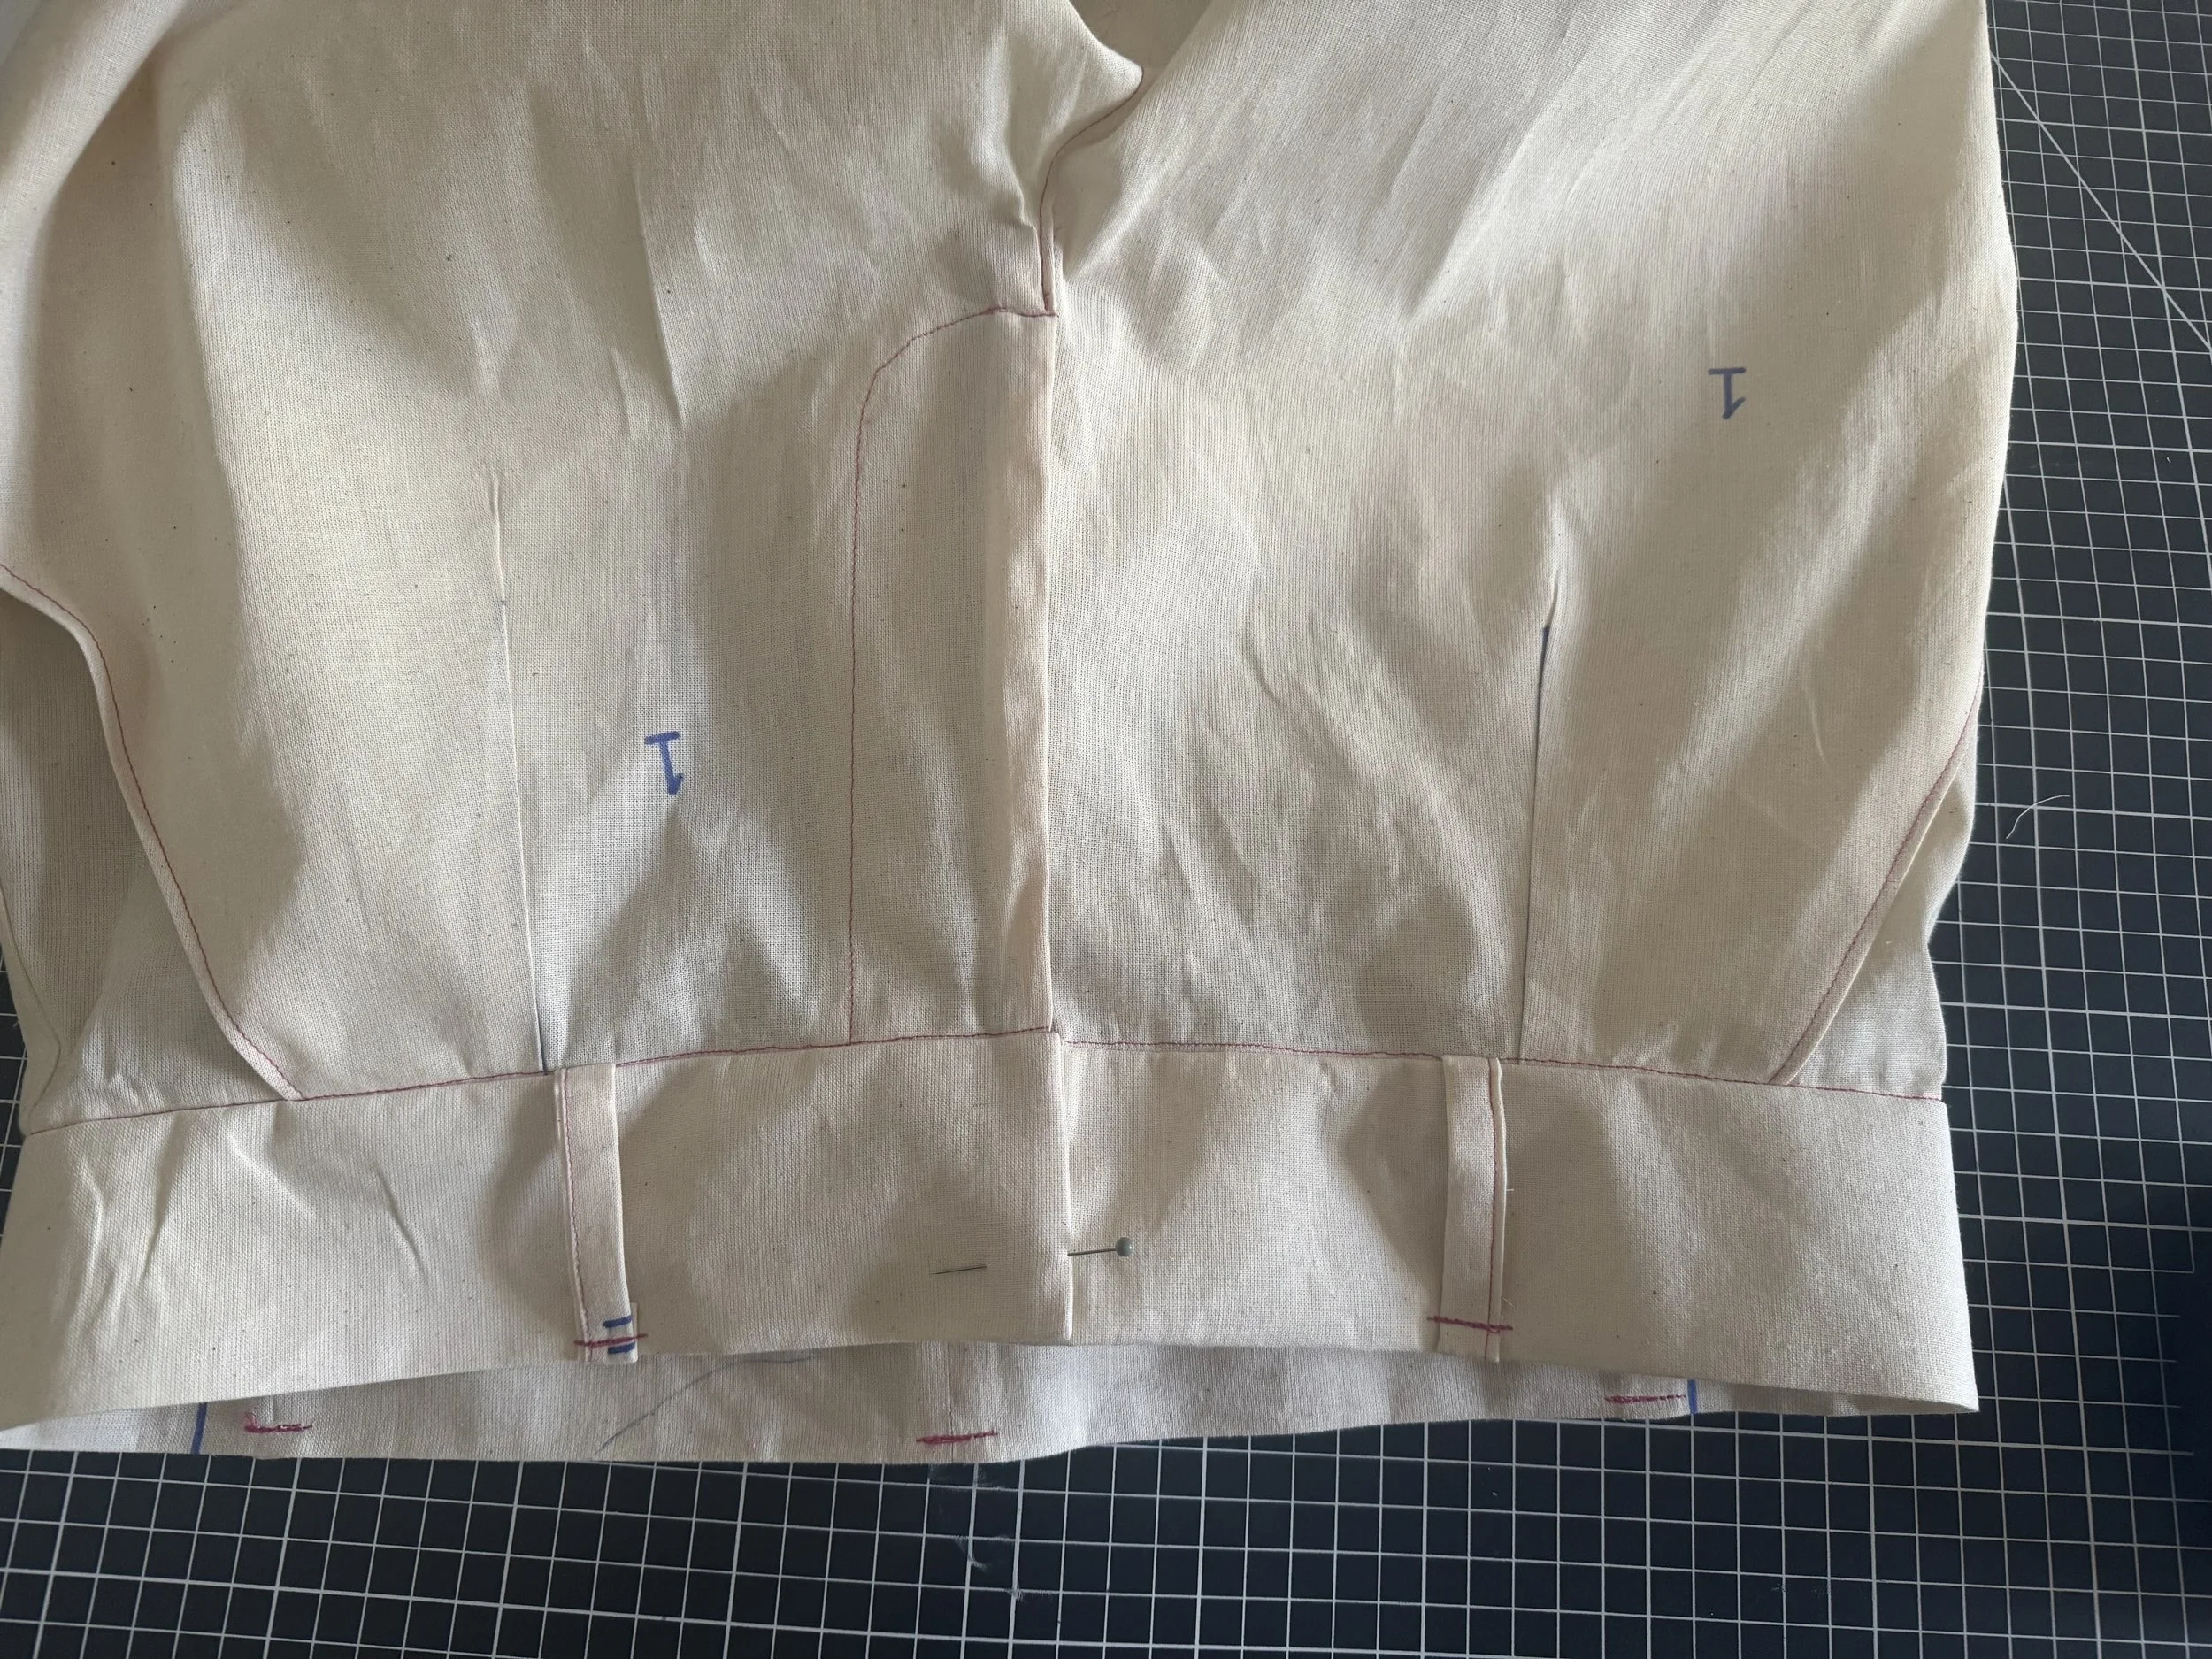
Sew each belt loop, I like to go back and forth a few times, as they are a stress area.

To finish your waistband, add two hooks and bars as shown below.