The Boheme Fit and Flare - Sleeves / Long Puff Sleeves

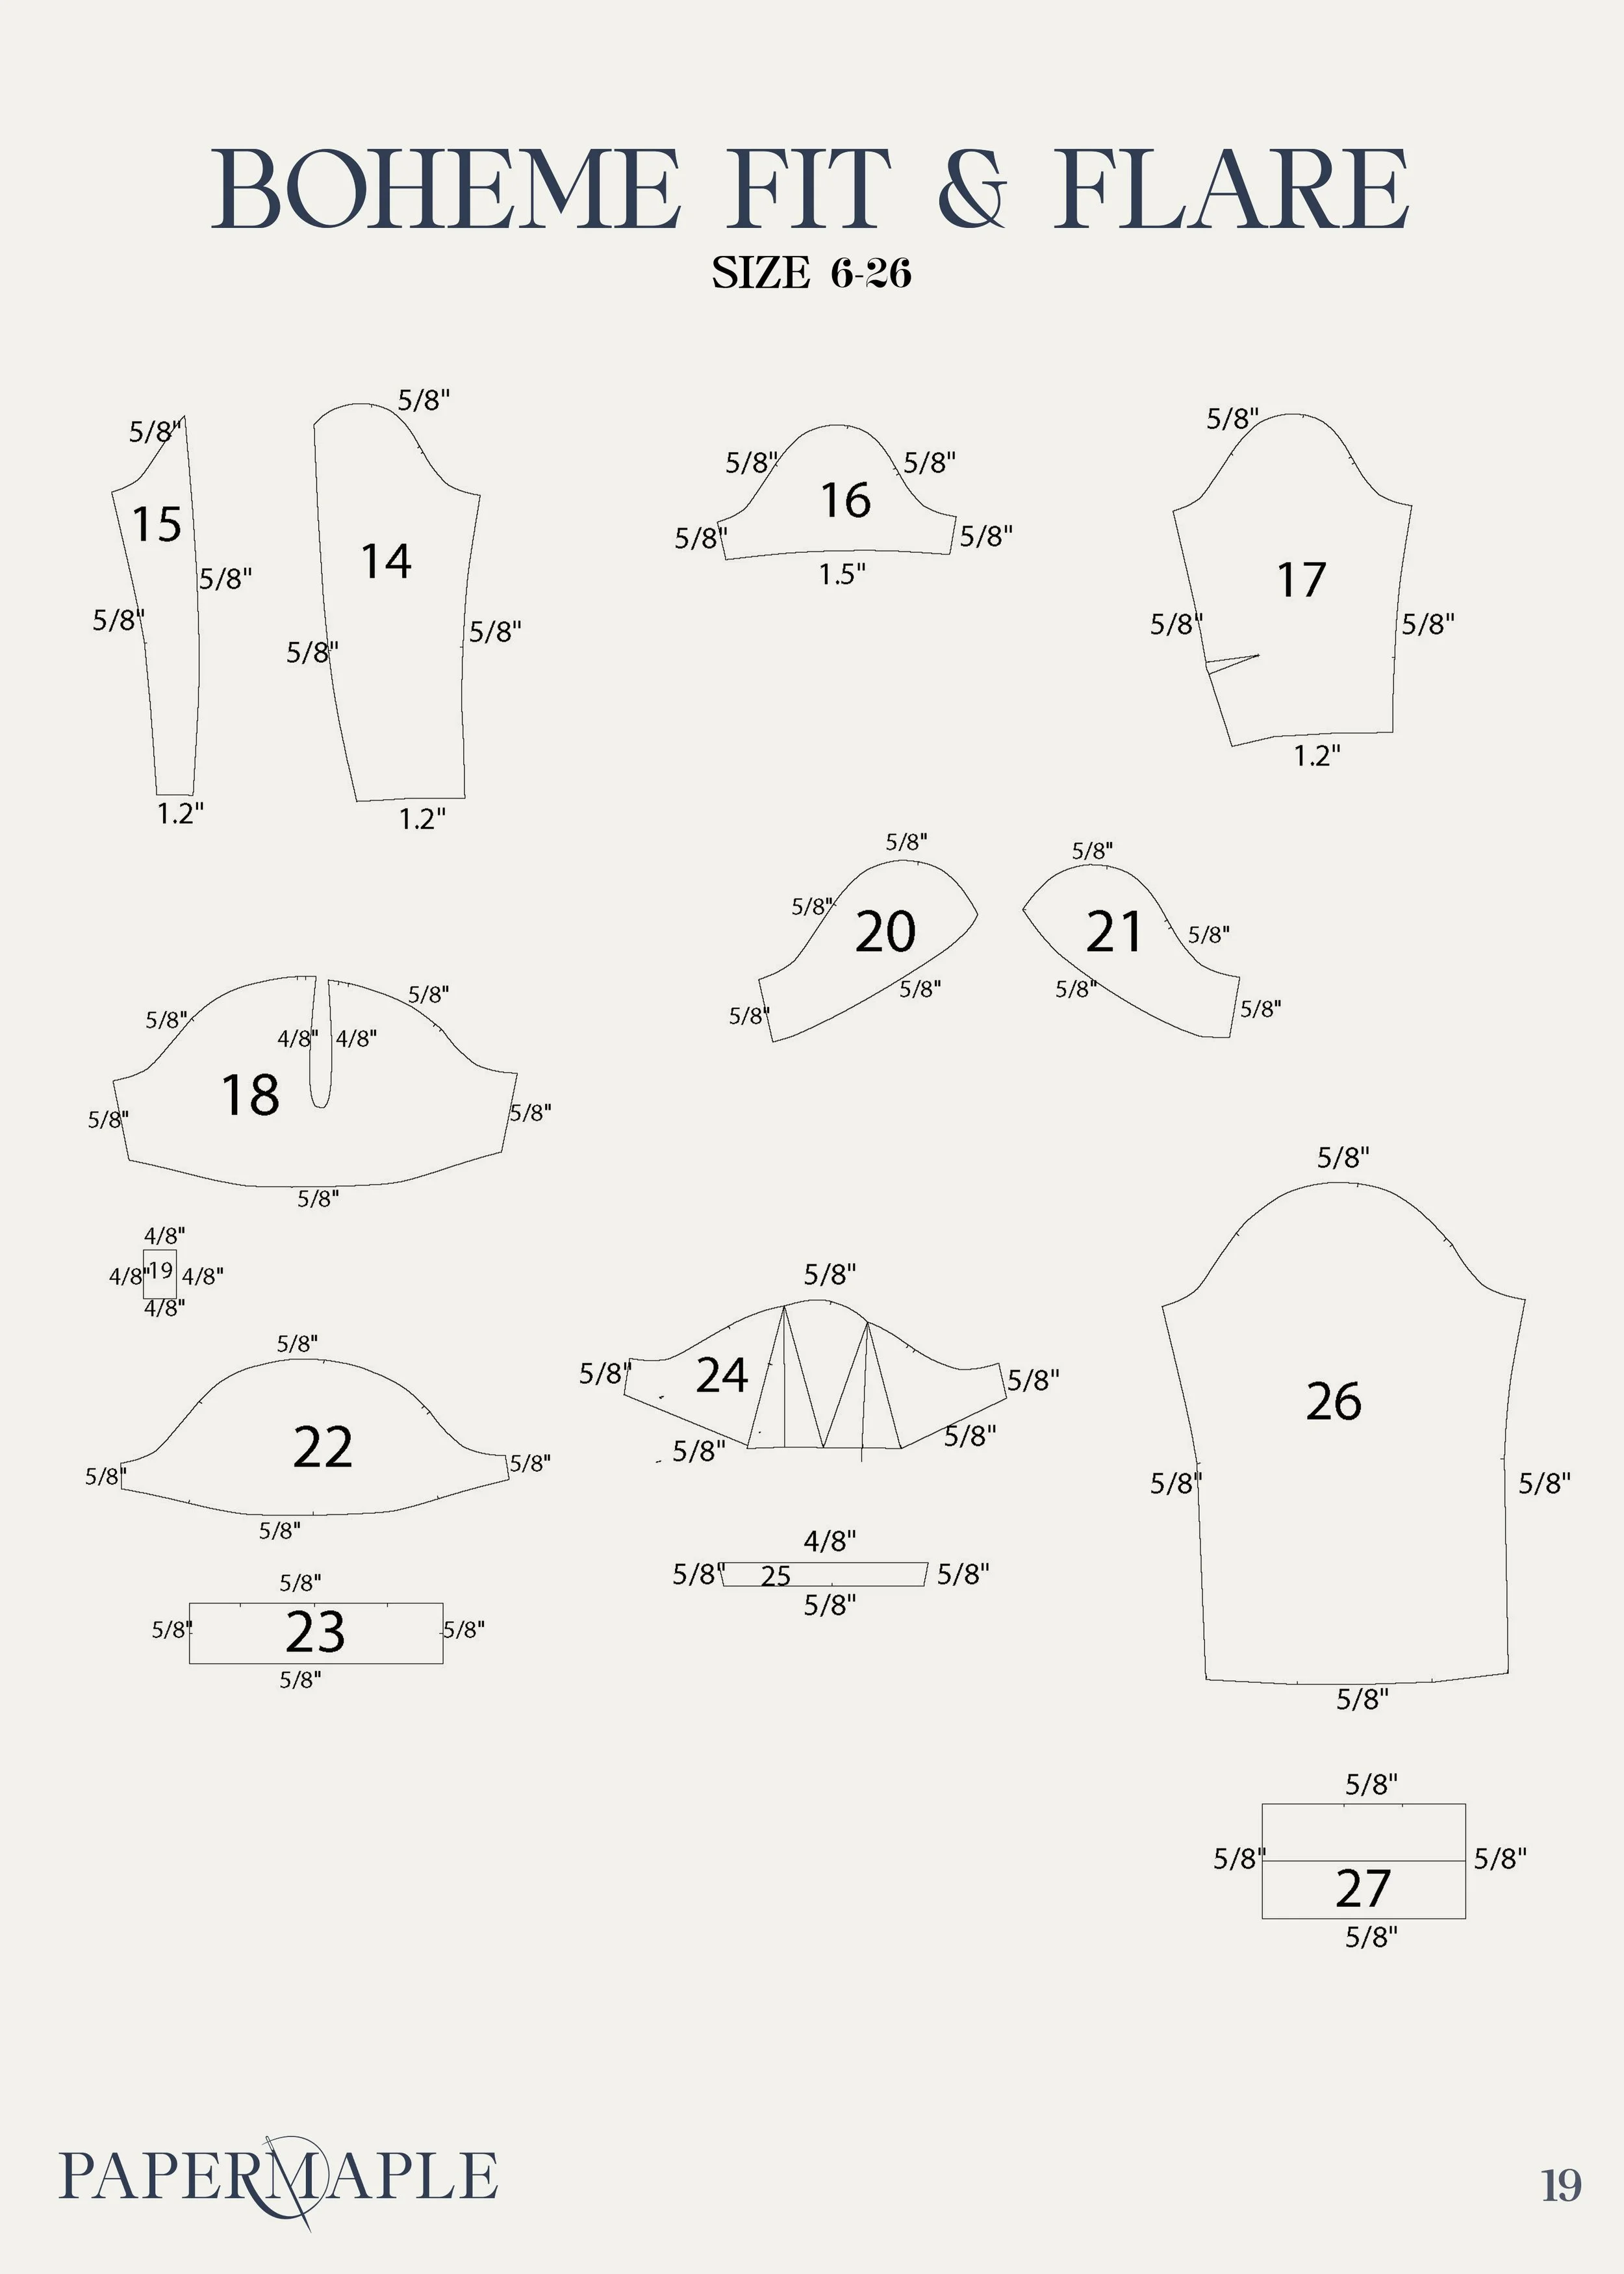
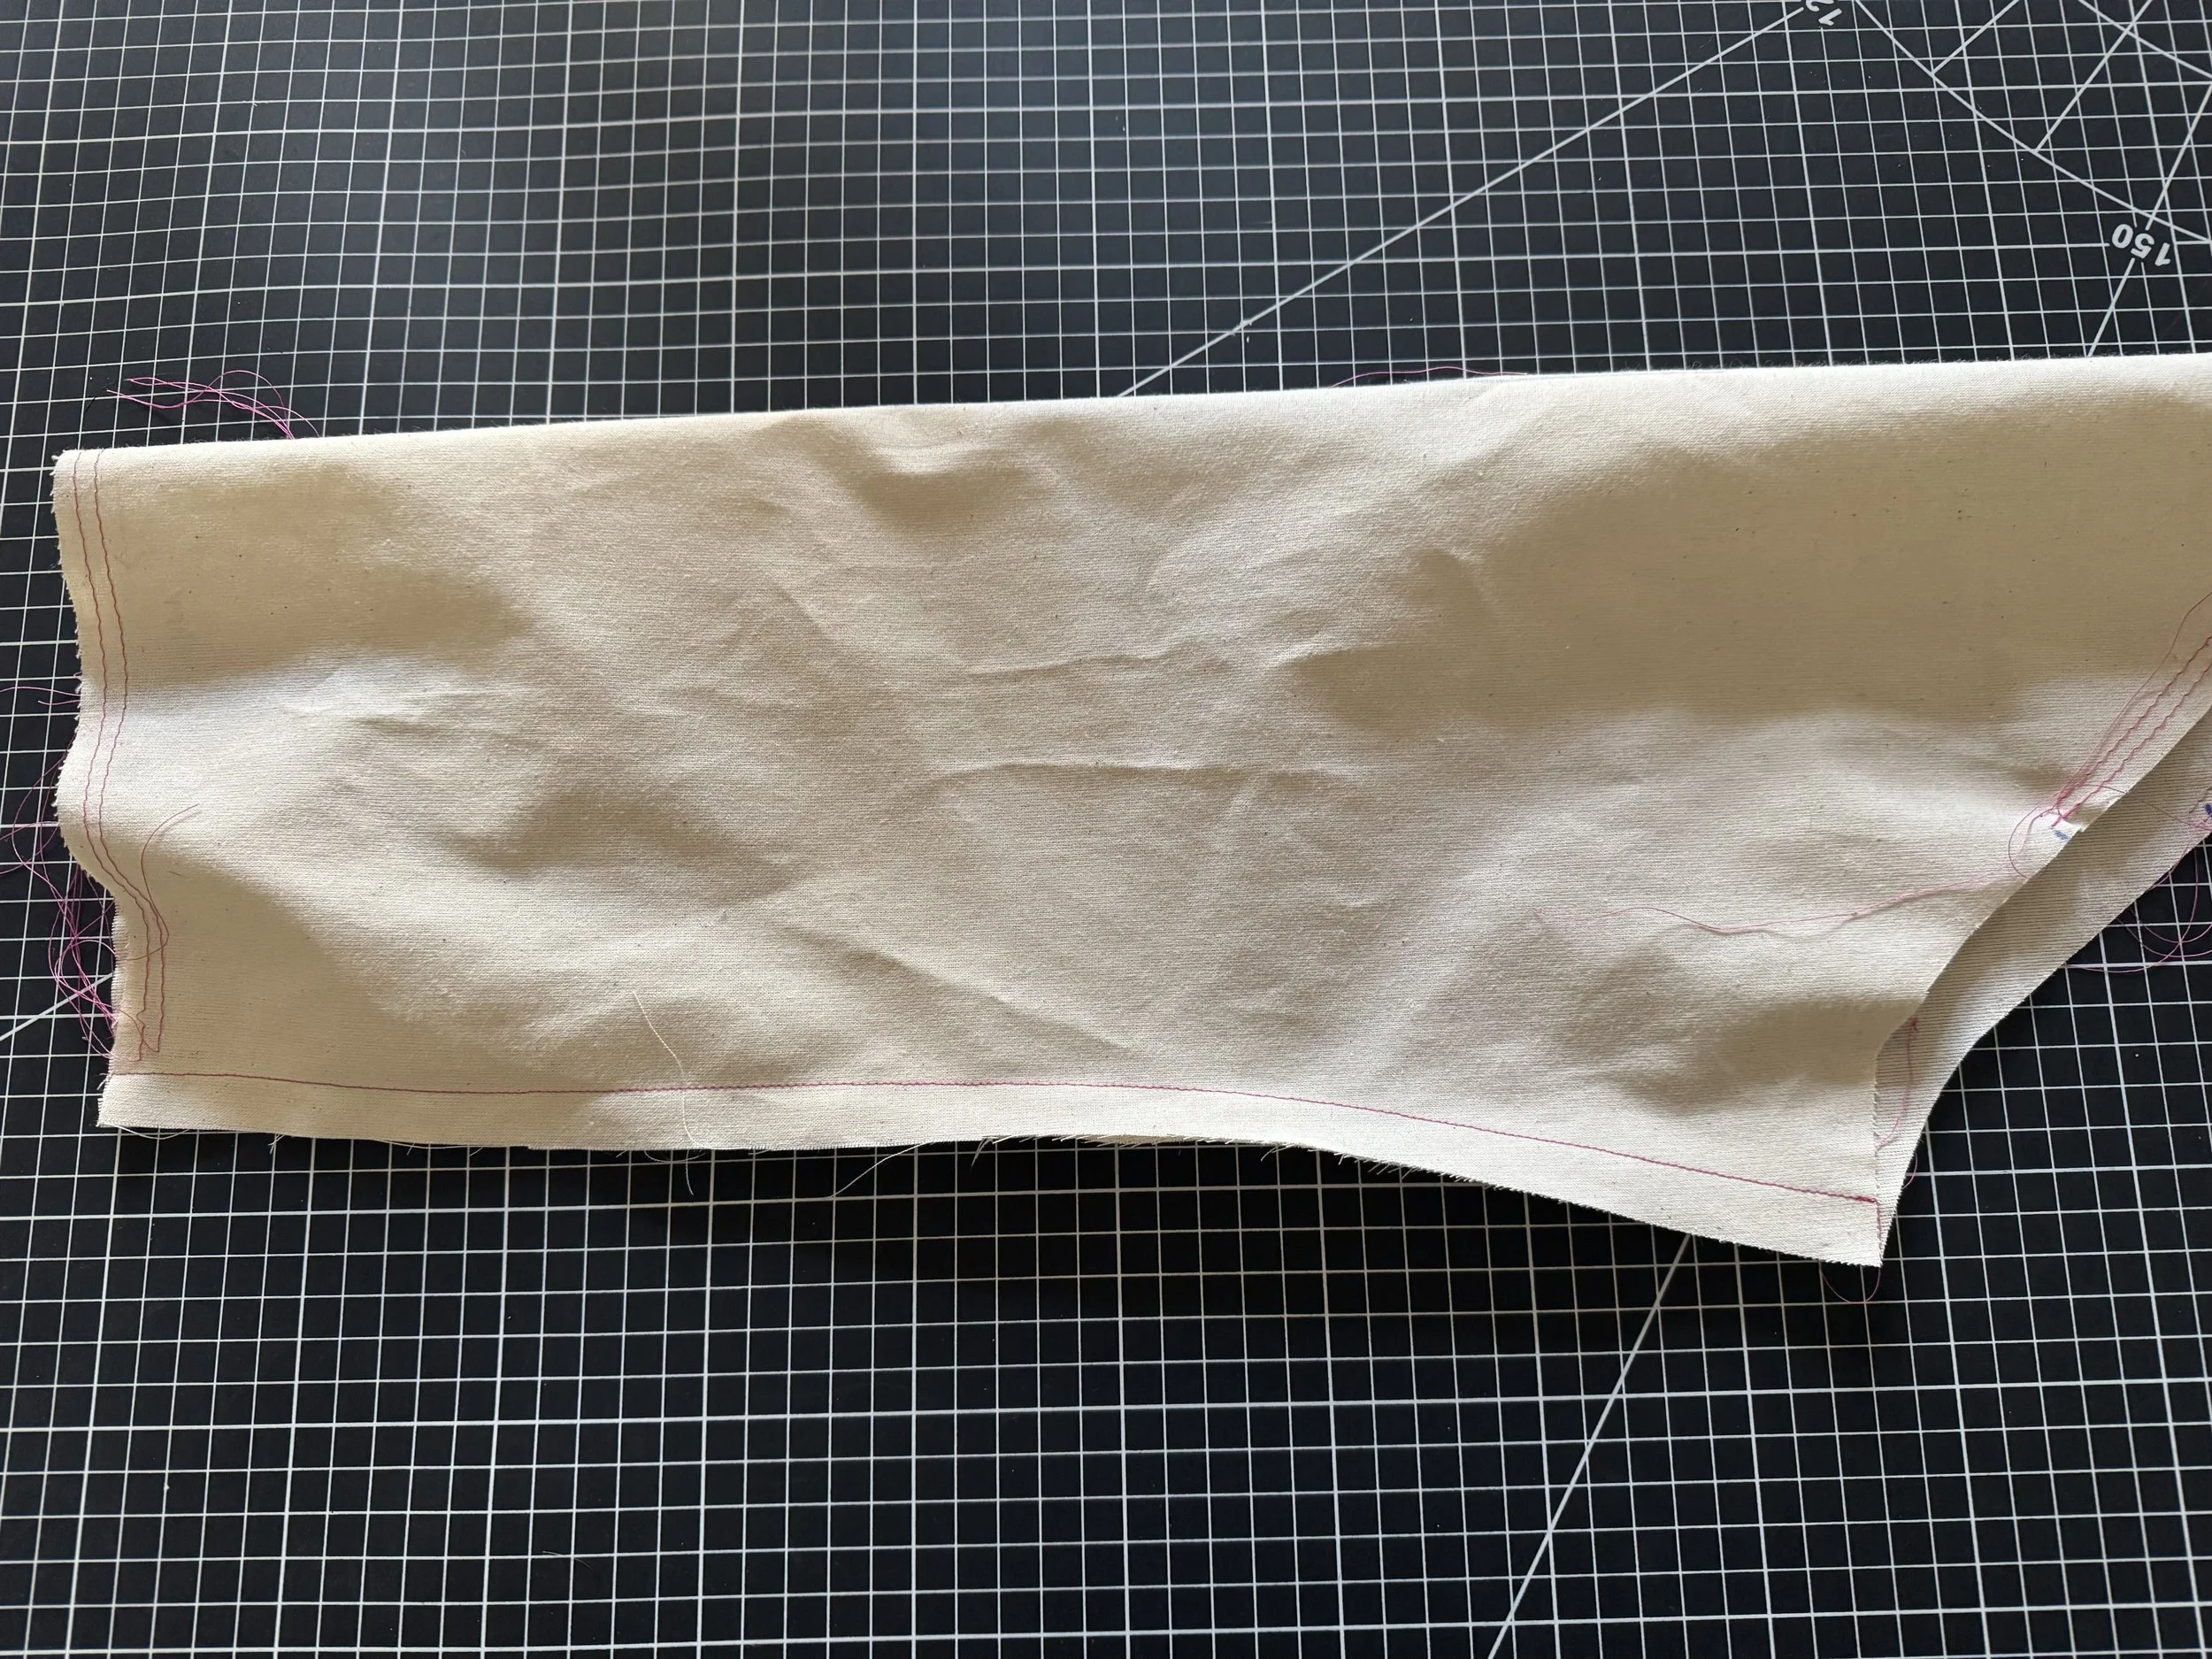
The long pleated sleeve pieces are 26 and 27. Serge the edges of your pieces. If your fashion fabric is finer and less structured, a lightweight interfacing might be needed for your cuff.
The opening on the bottom of the sleeve can be finished in a few ways, but adding a quick bias strip has become the most popular in classes - so I will highlight that today.
I’m using a lightweight black muslin with starch to demonstrate, but silk, quilting or any lightweight cotton will work well.
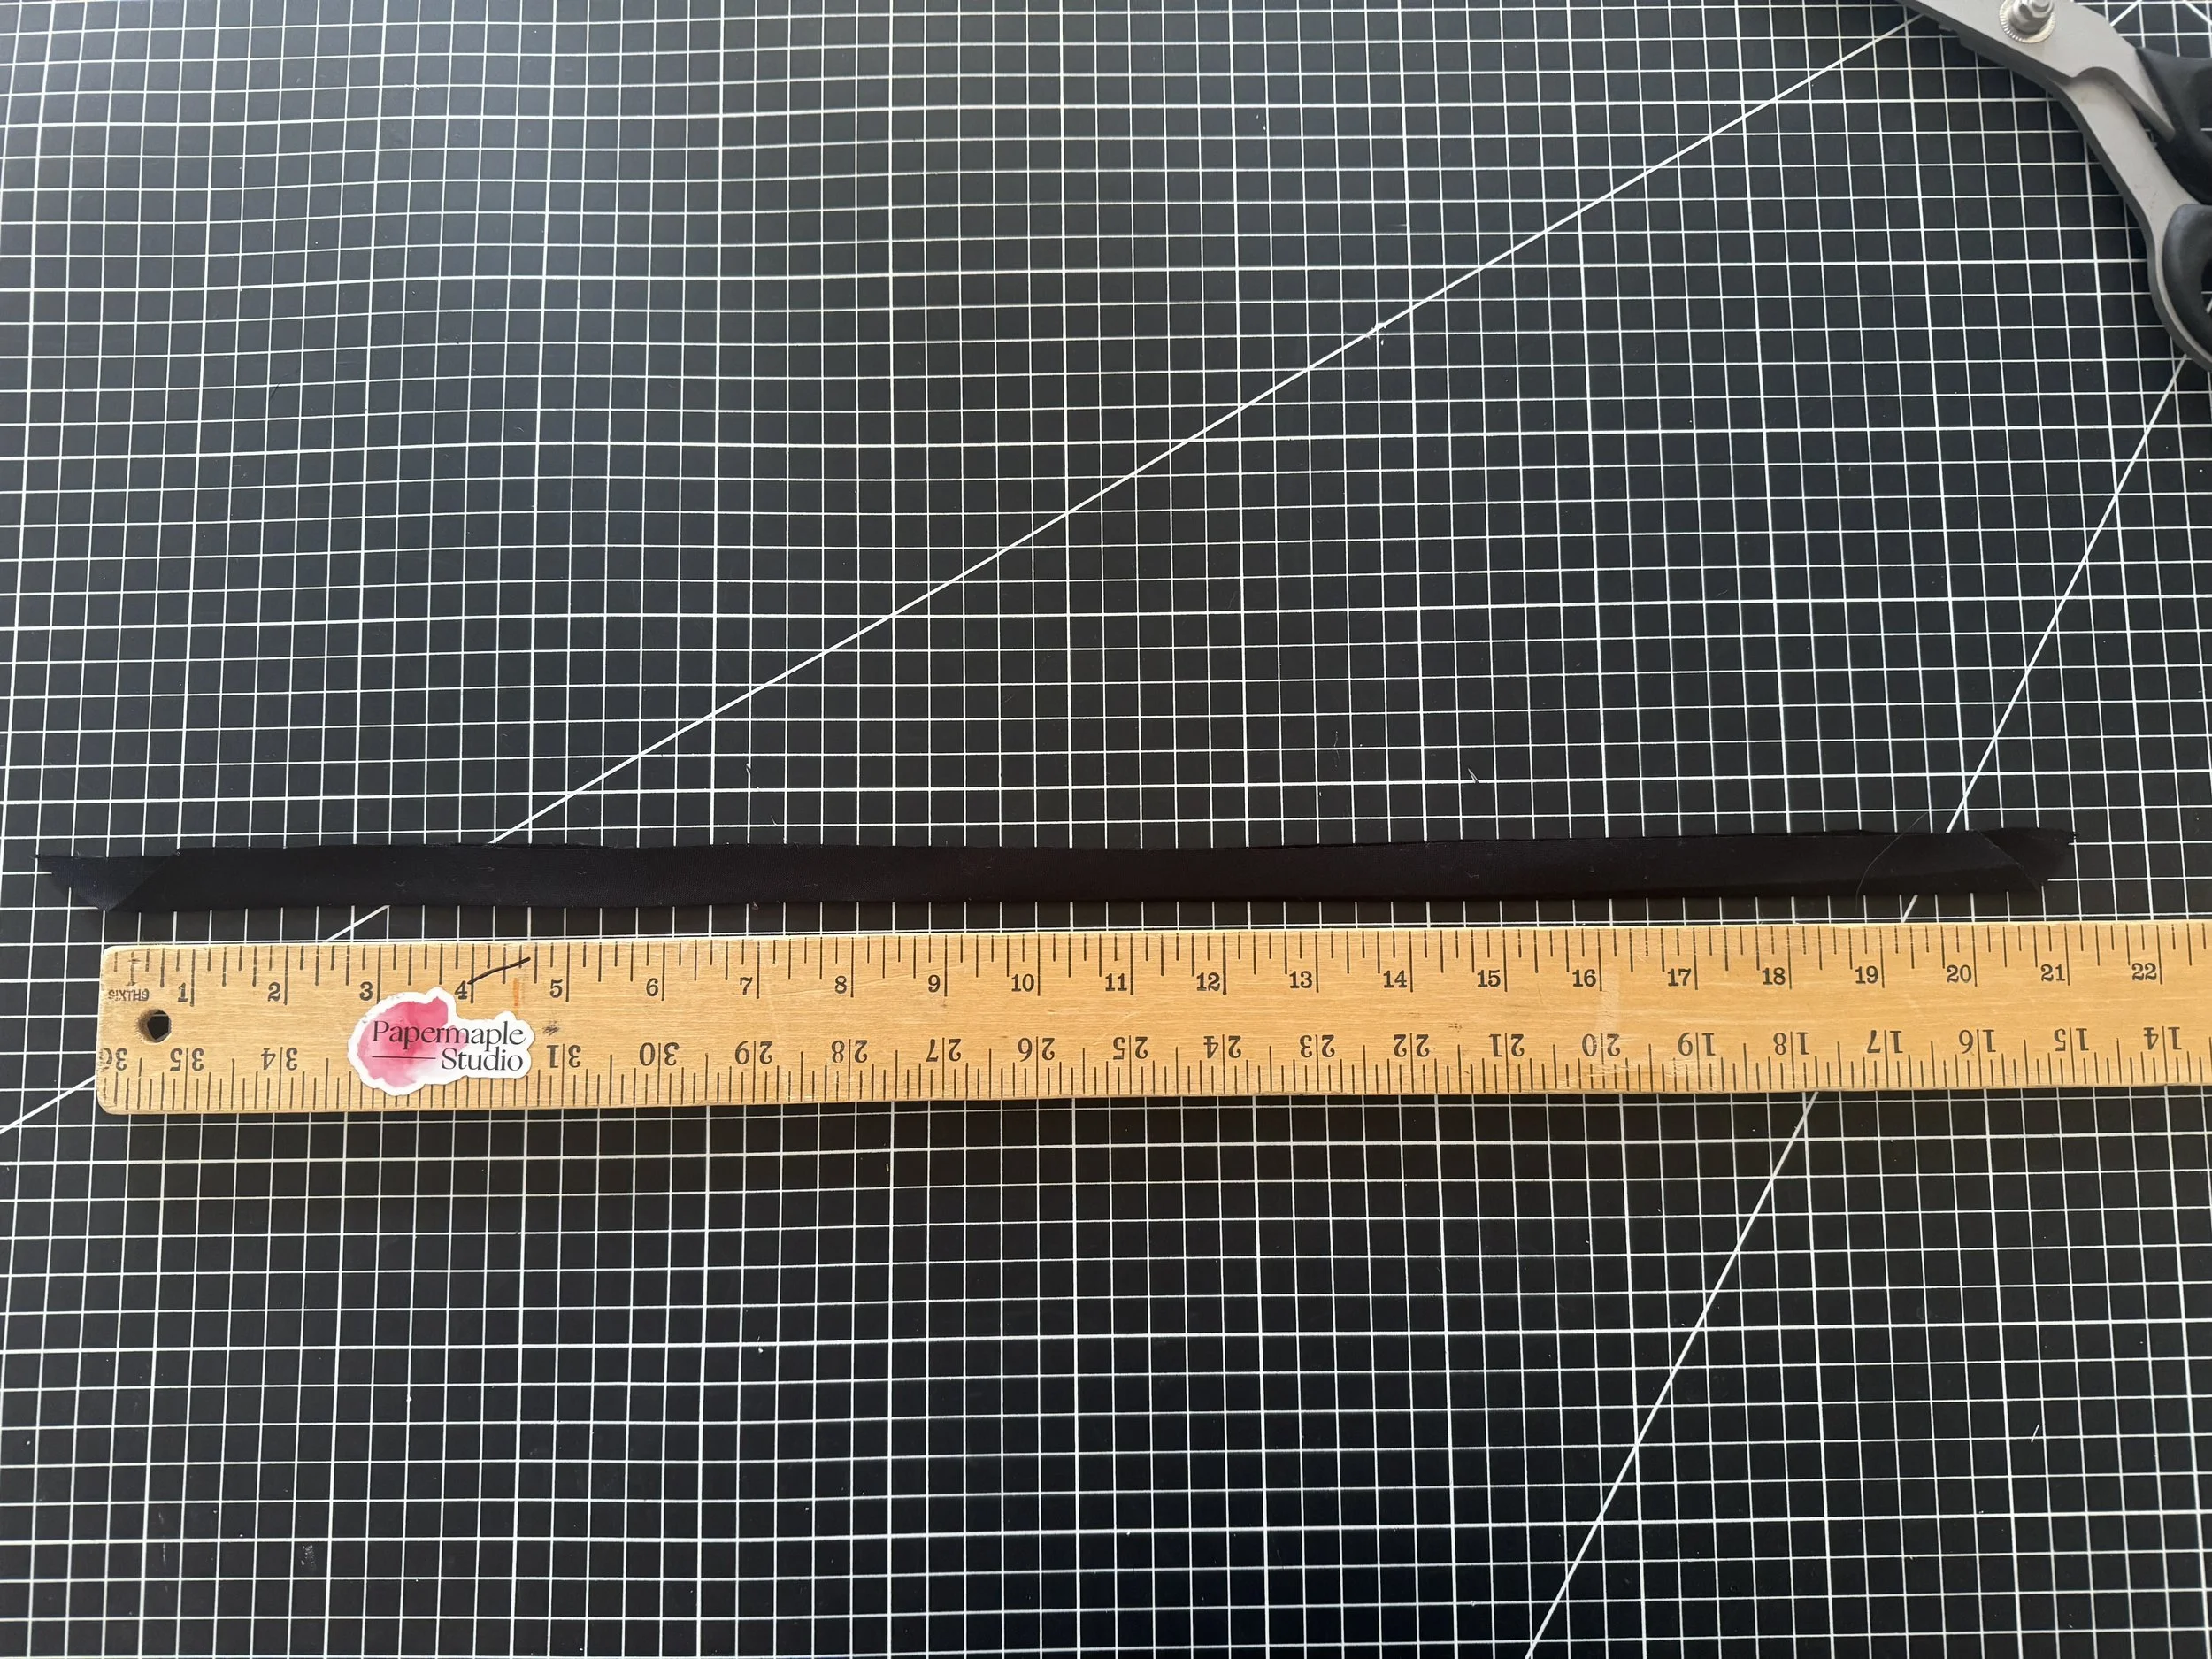
I cut a bias strip that was 21” long and 1” wide - the opening is 7” total and I added some very quick button loops as an optional cuff closure, those are each 2” long.
There is a very quick tutorial for creating bindings HERE
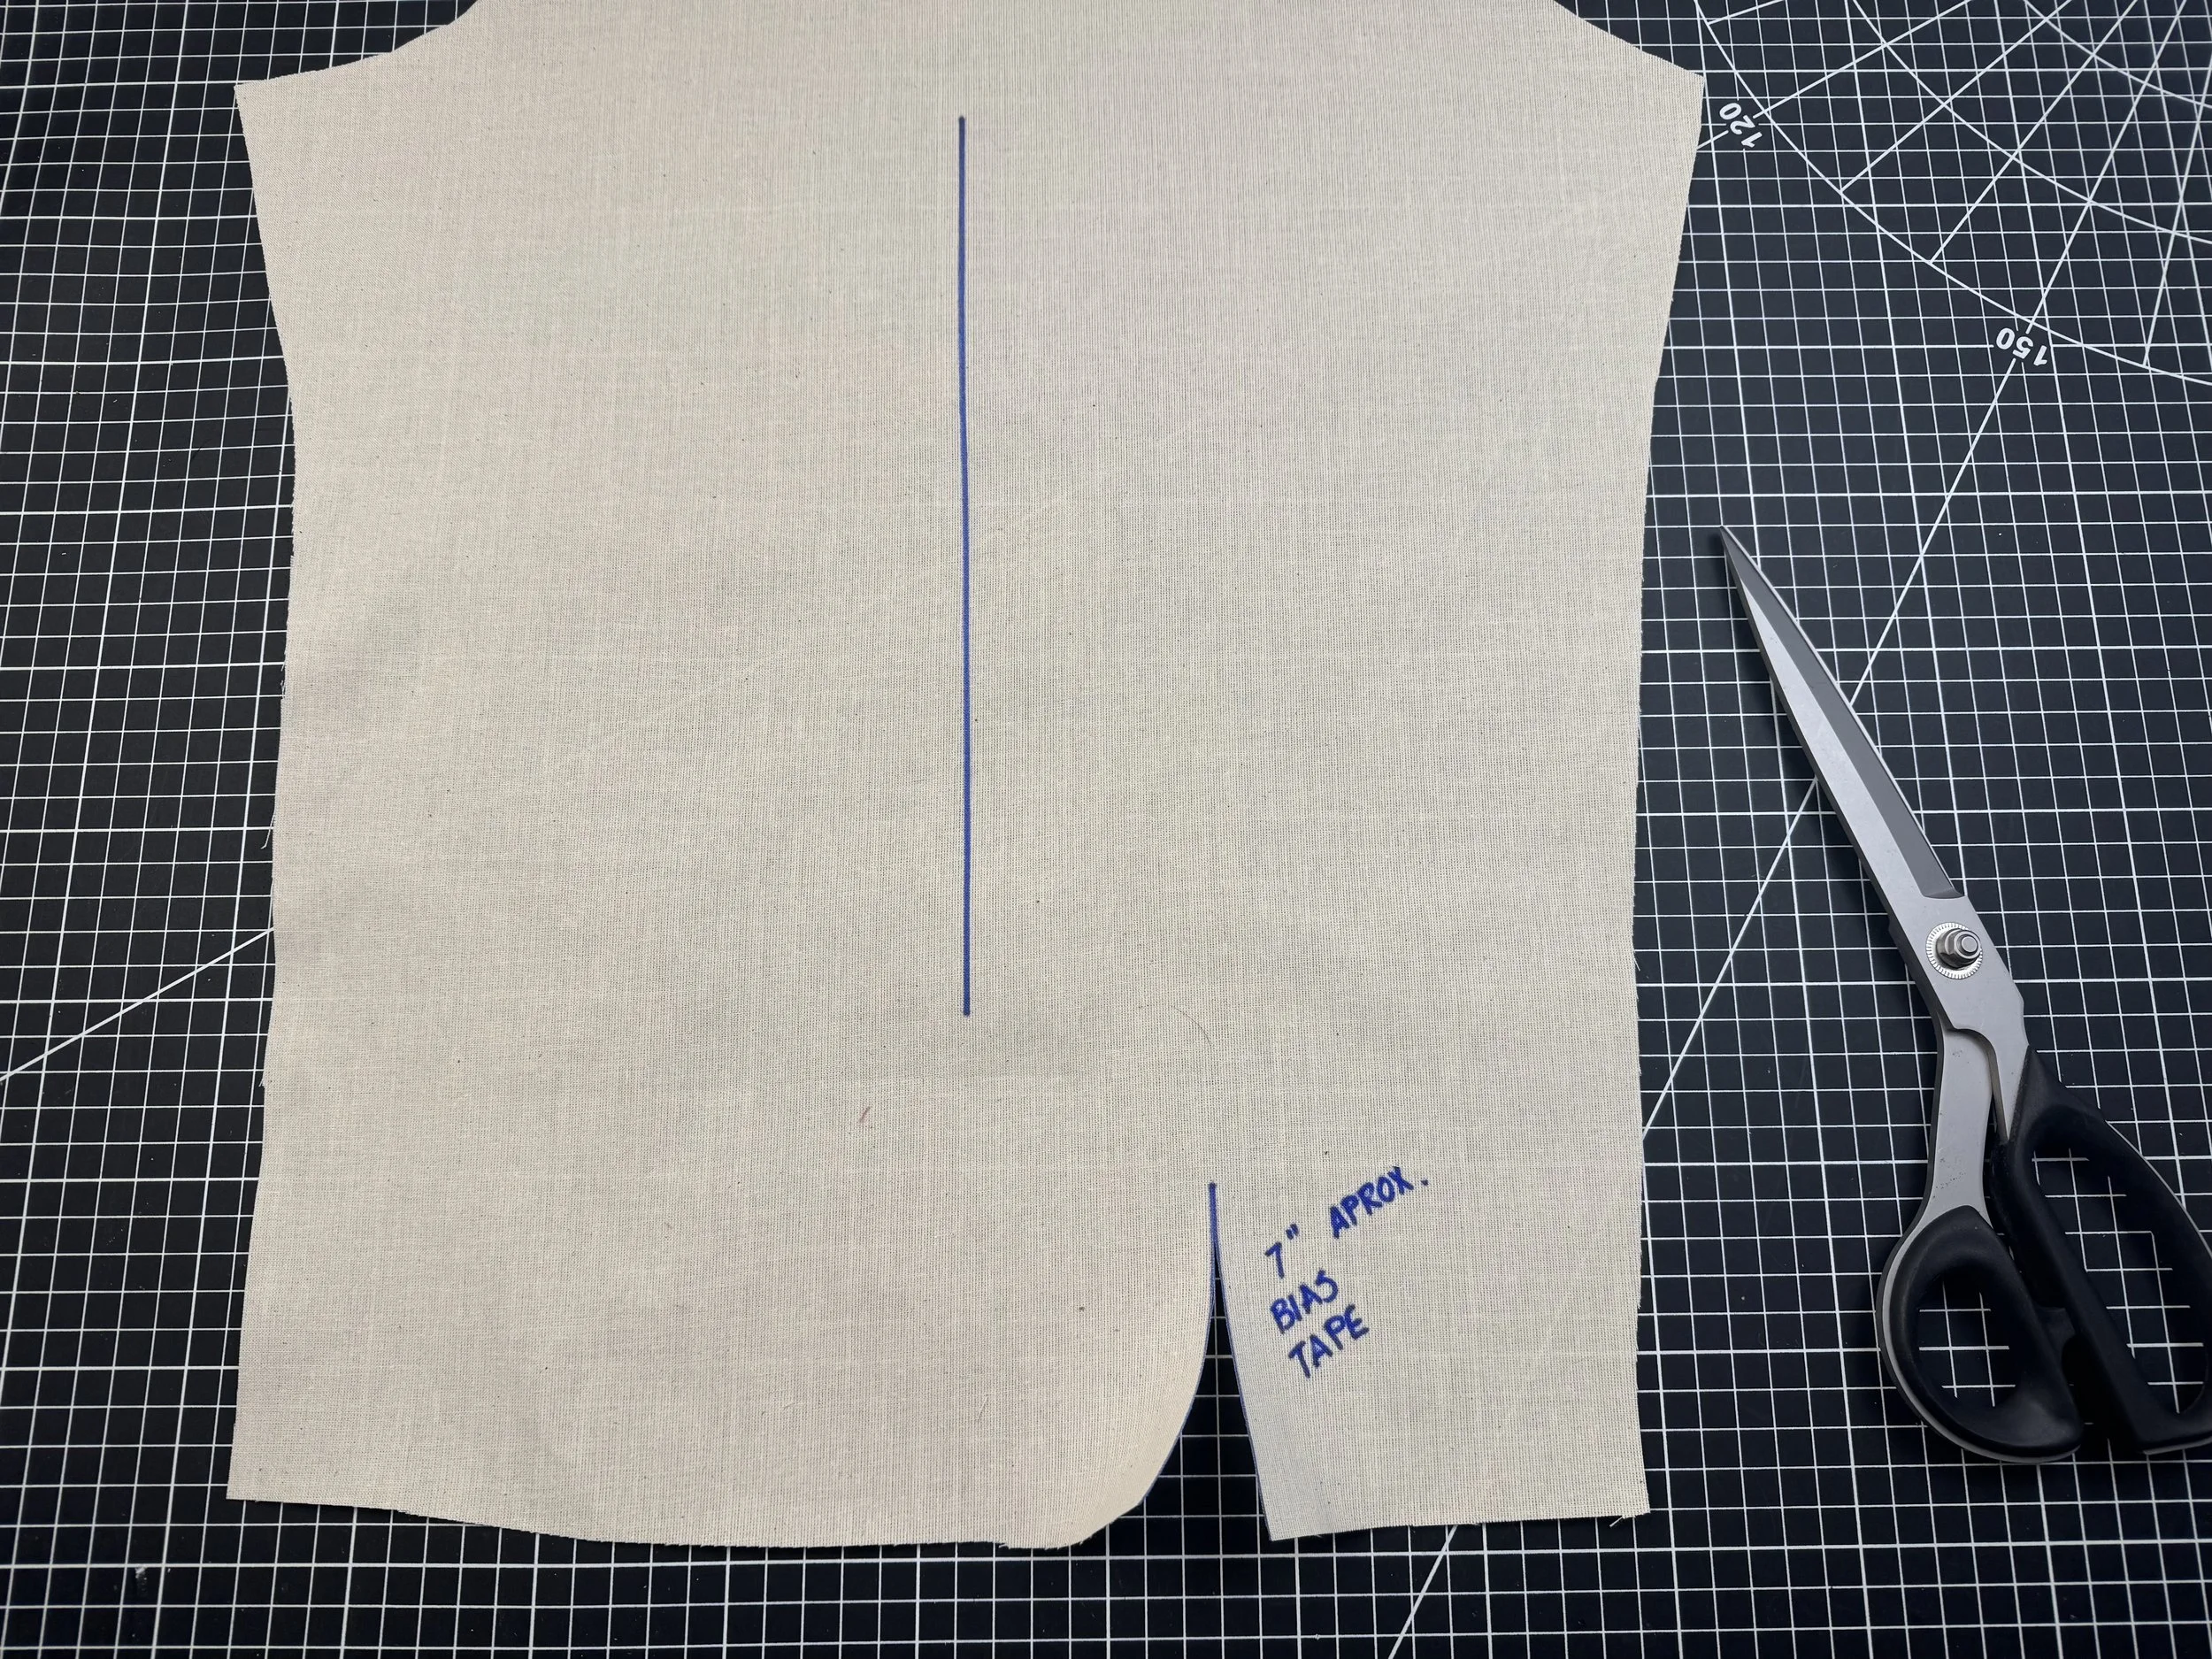
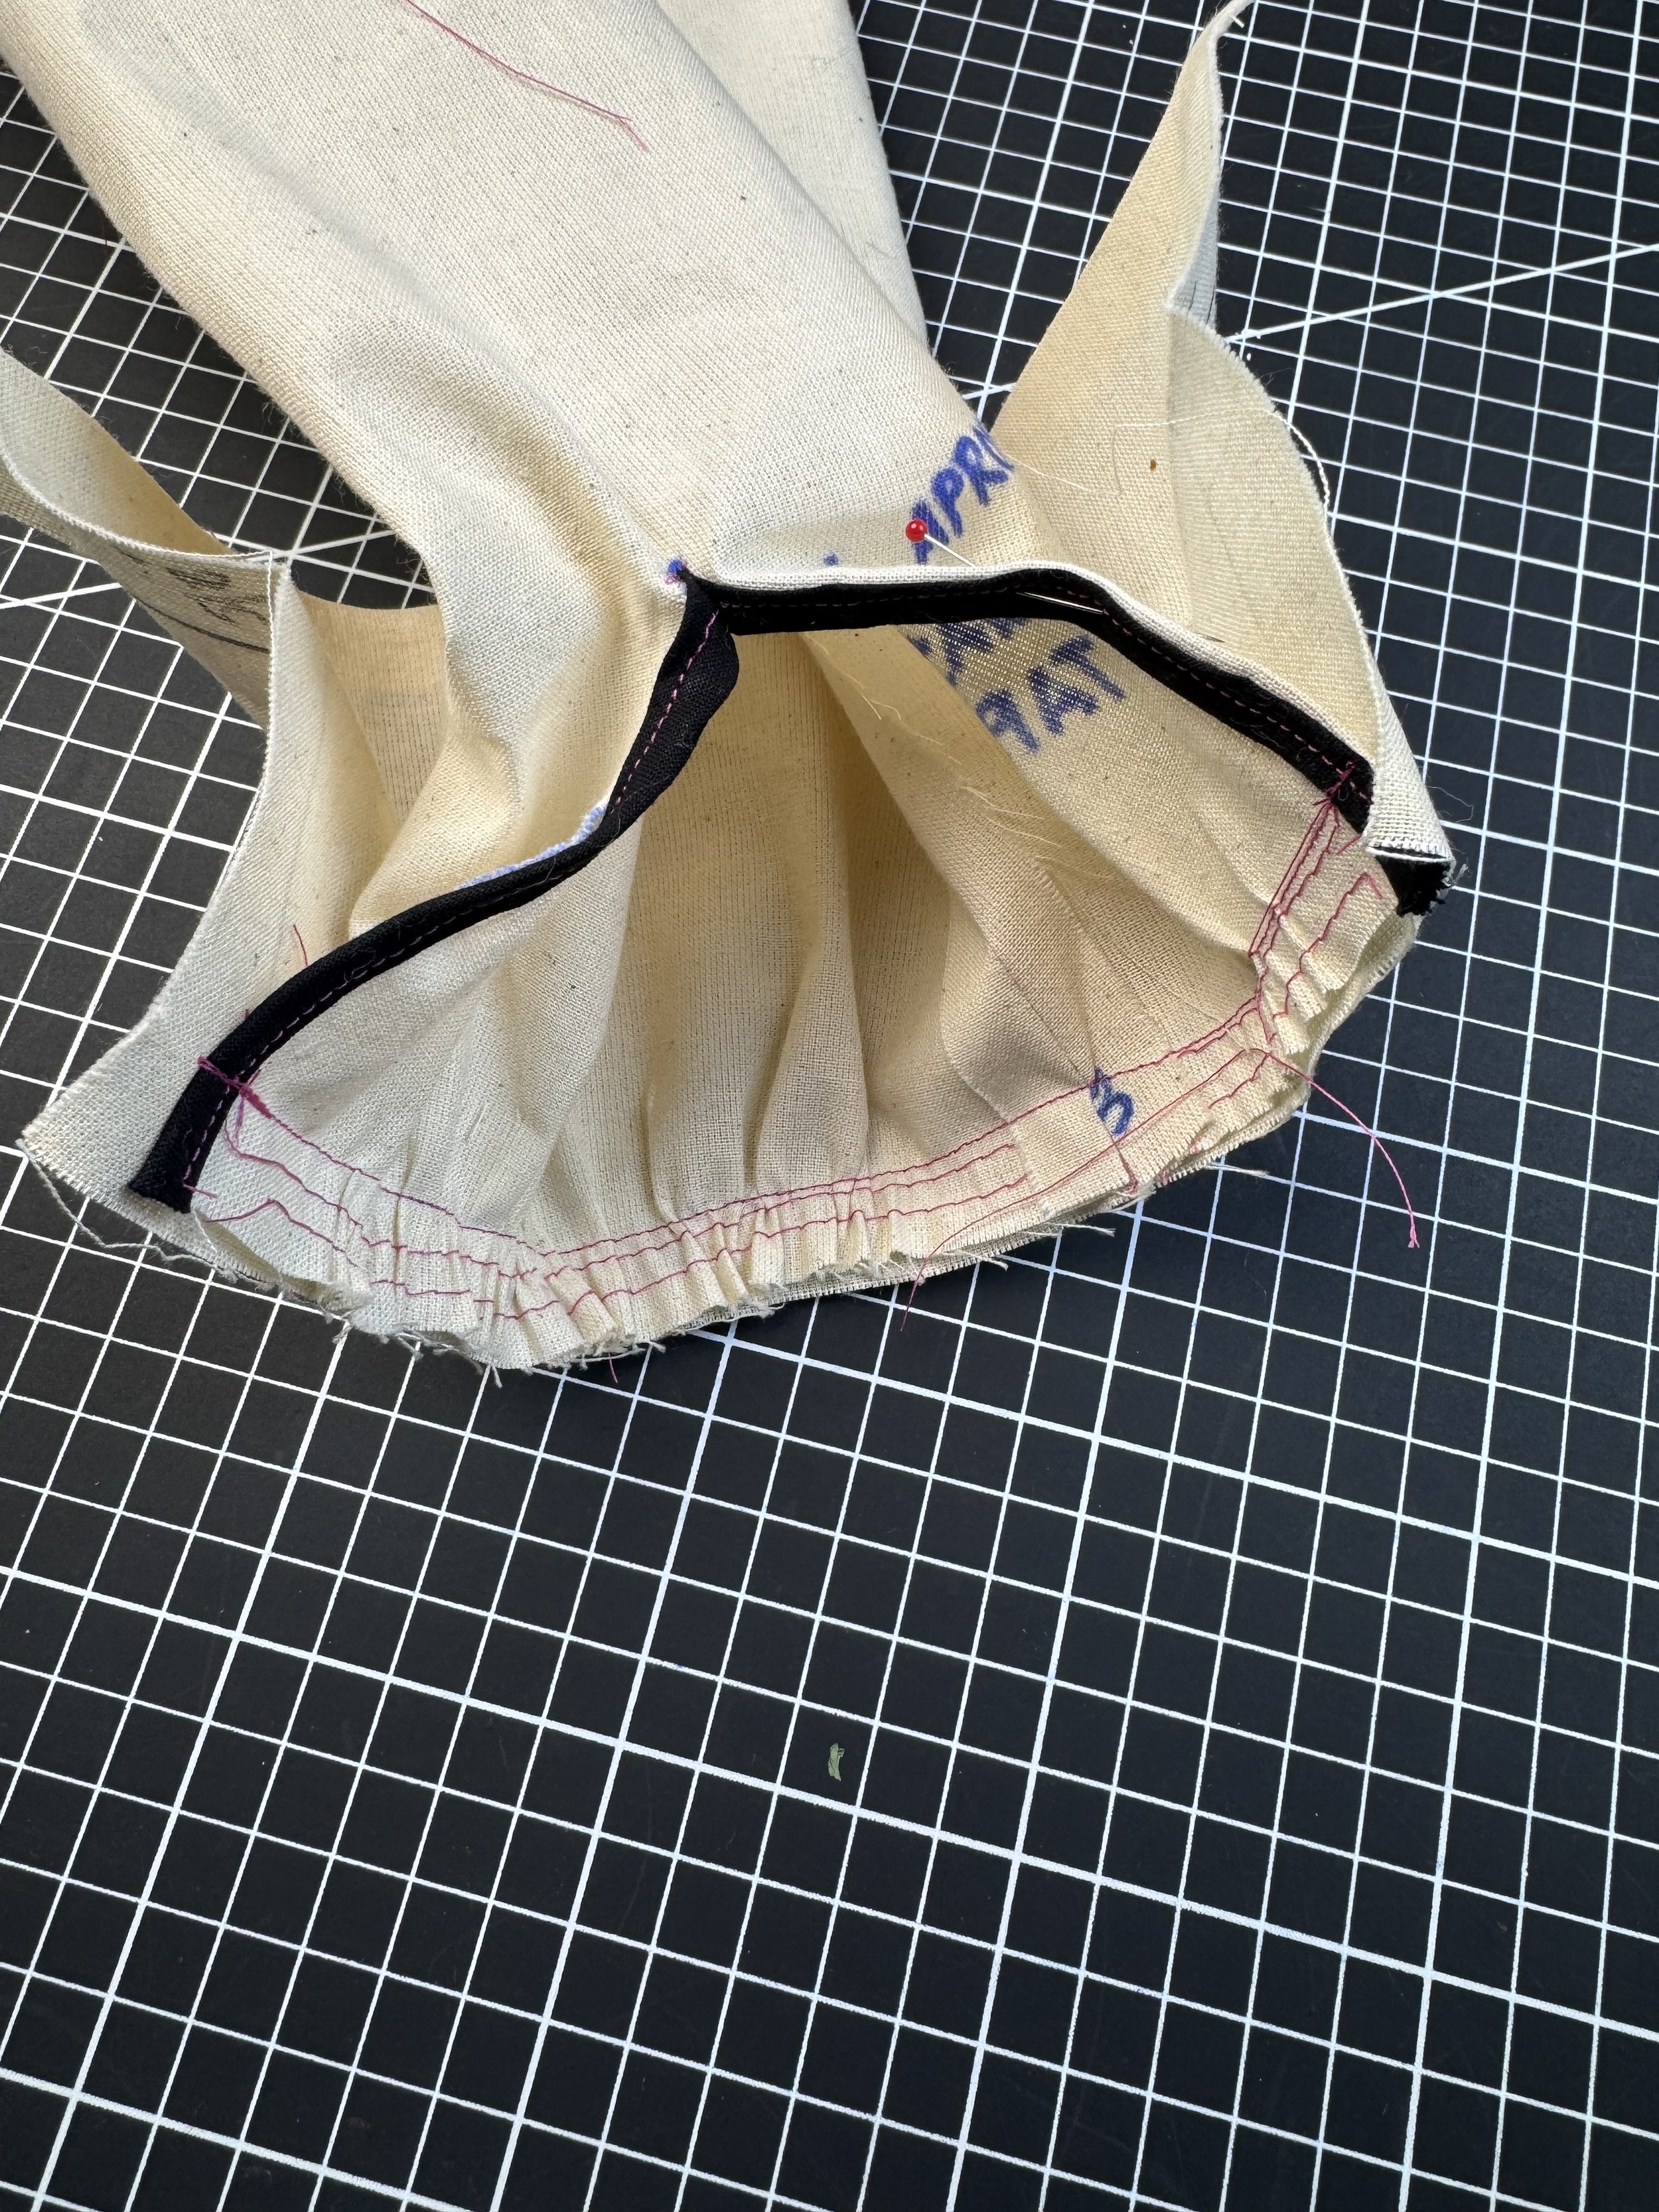
Cut the slit open
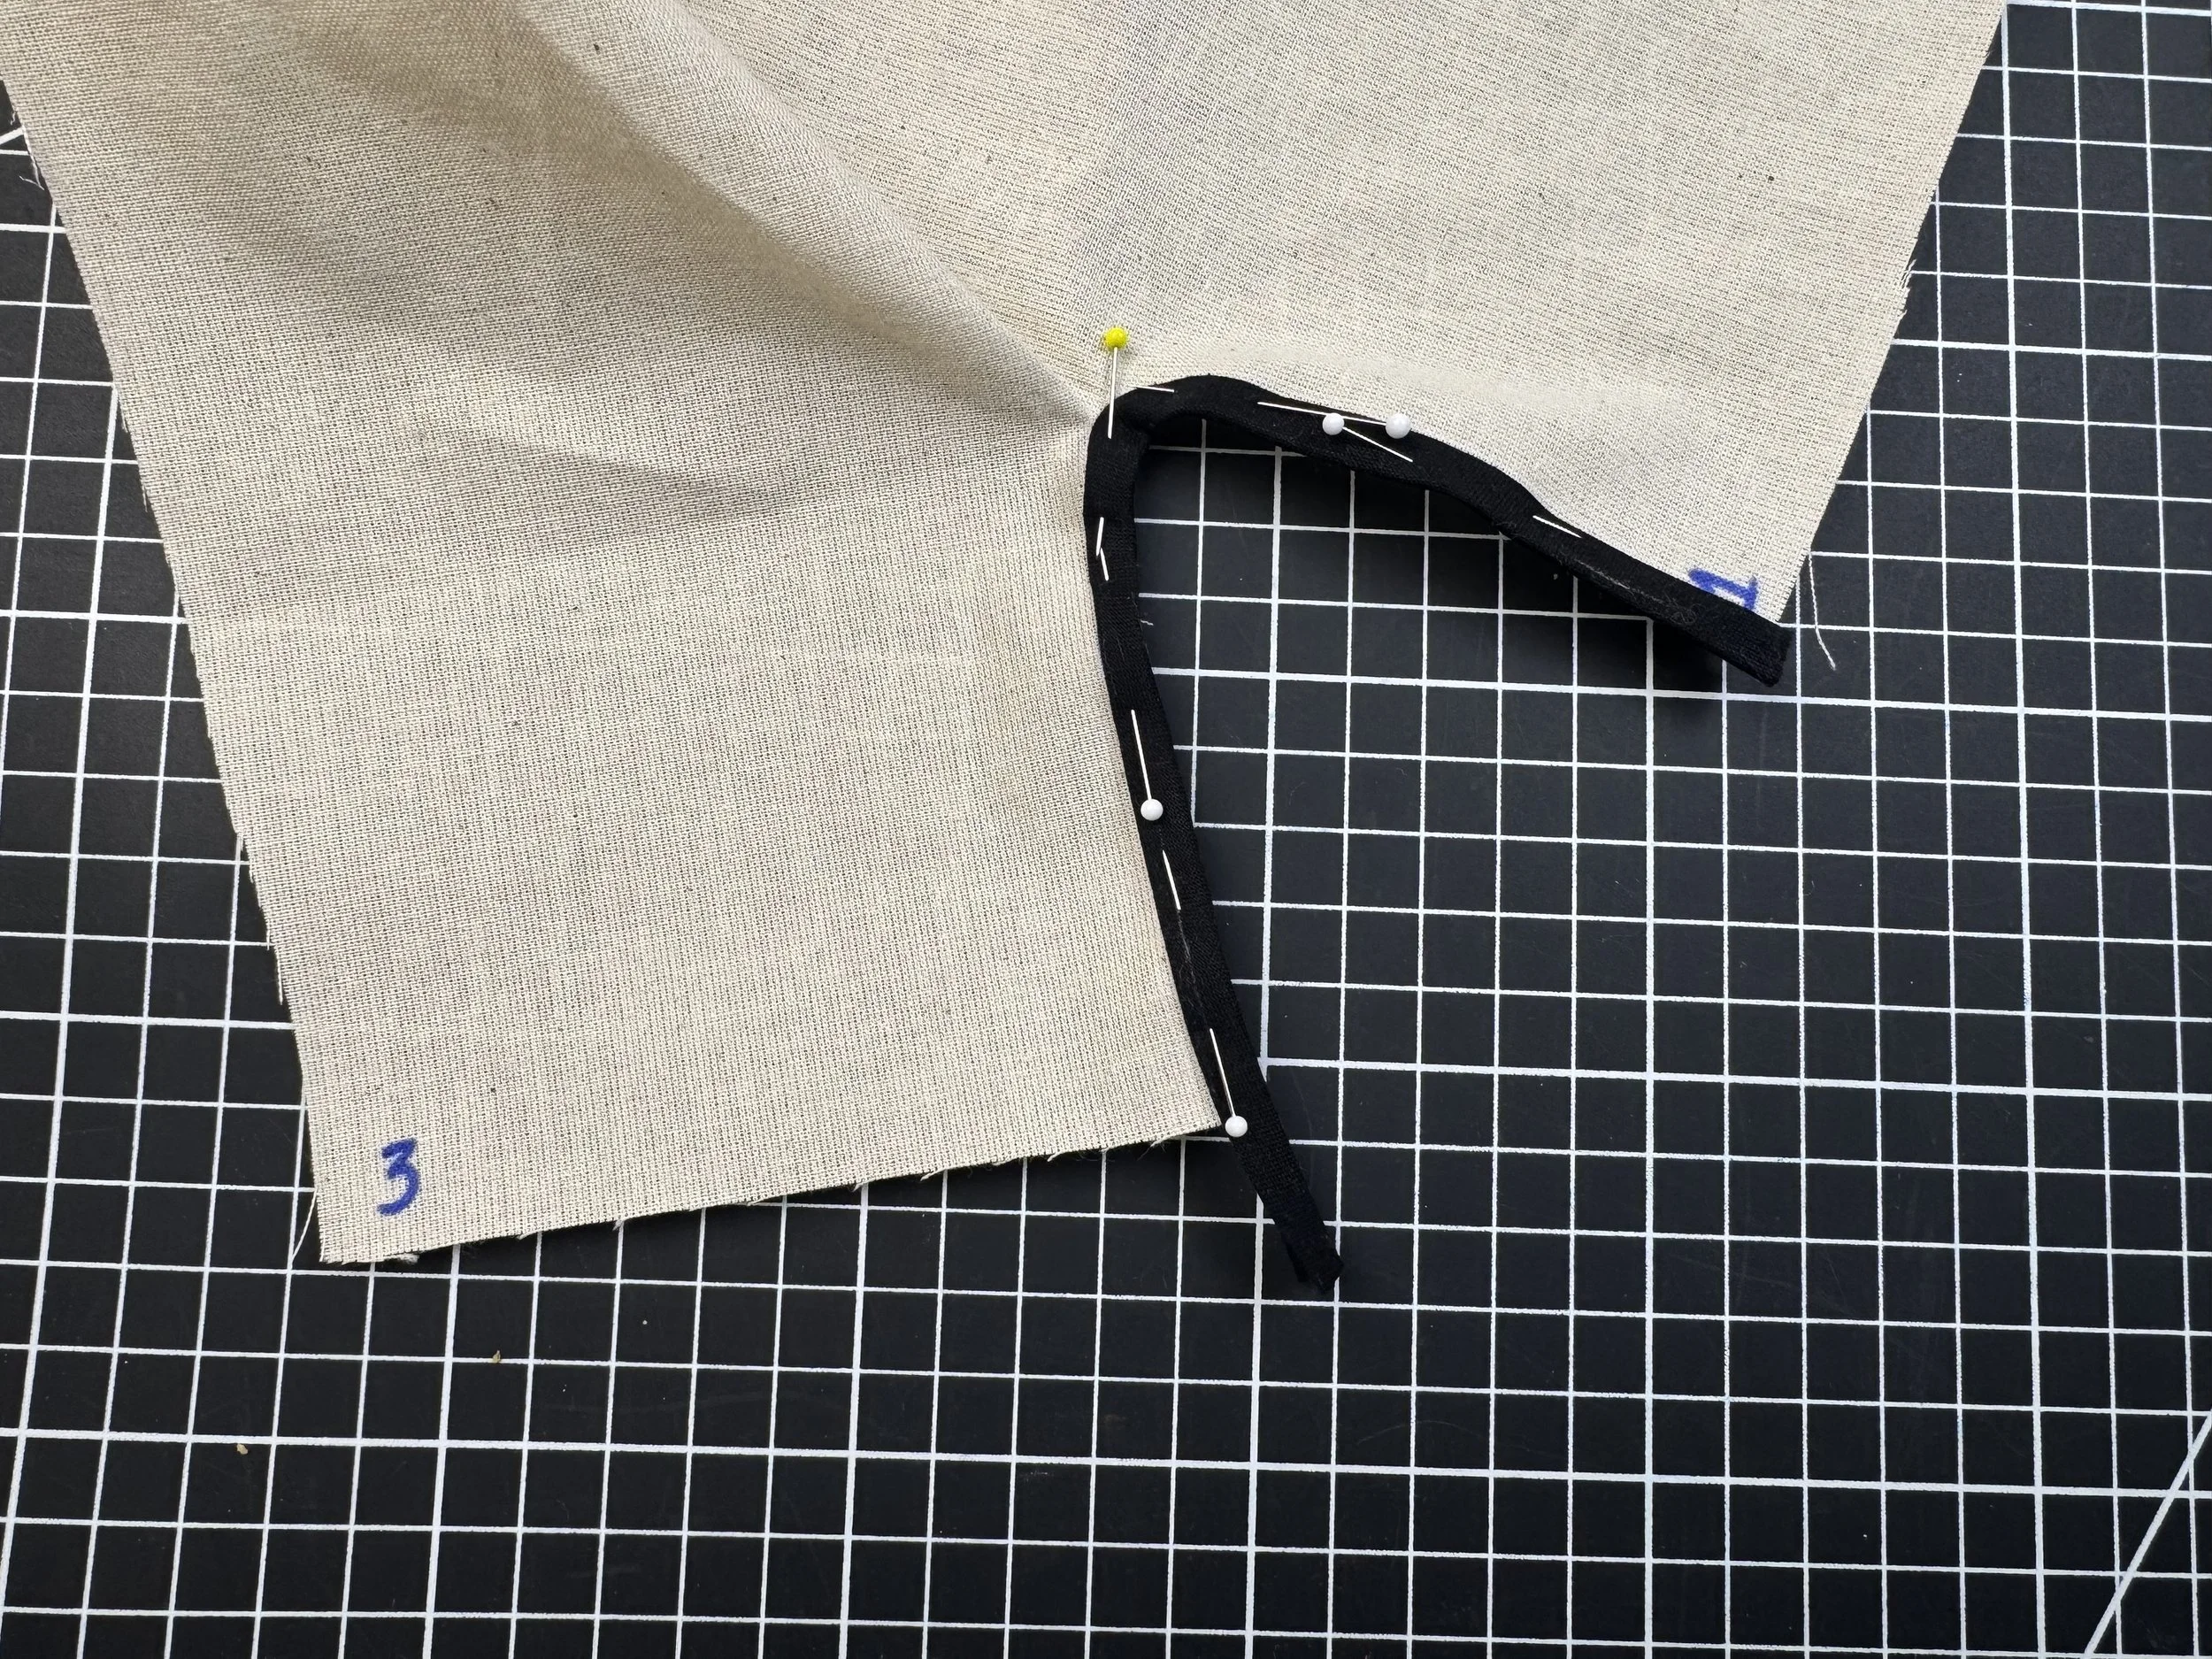
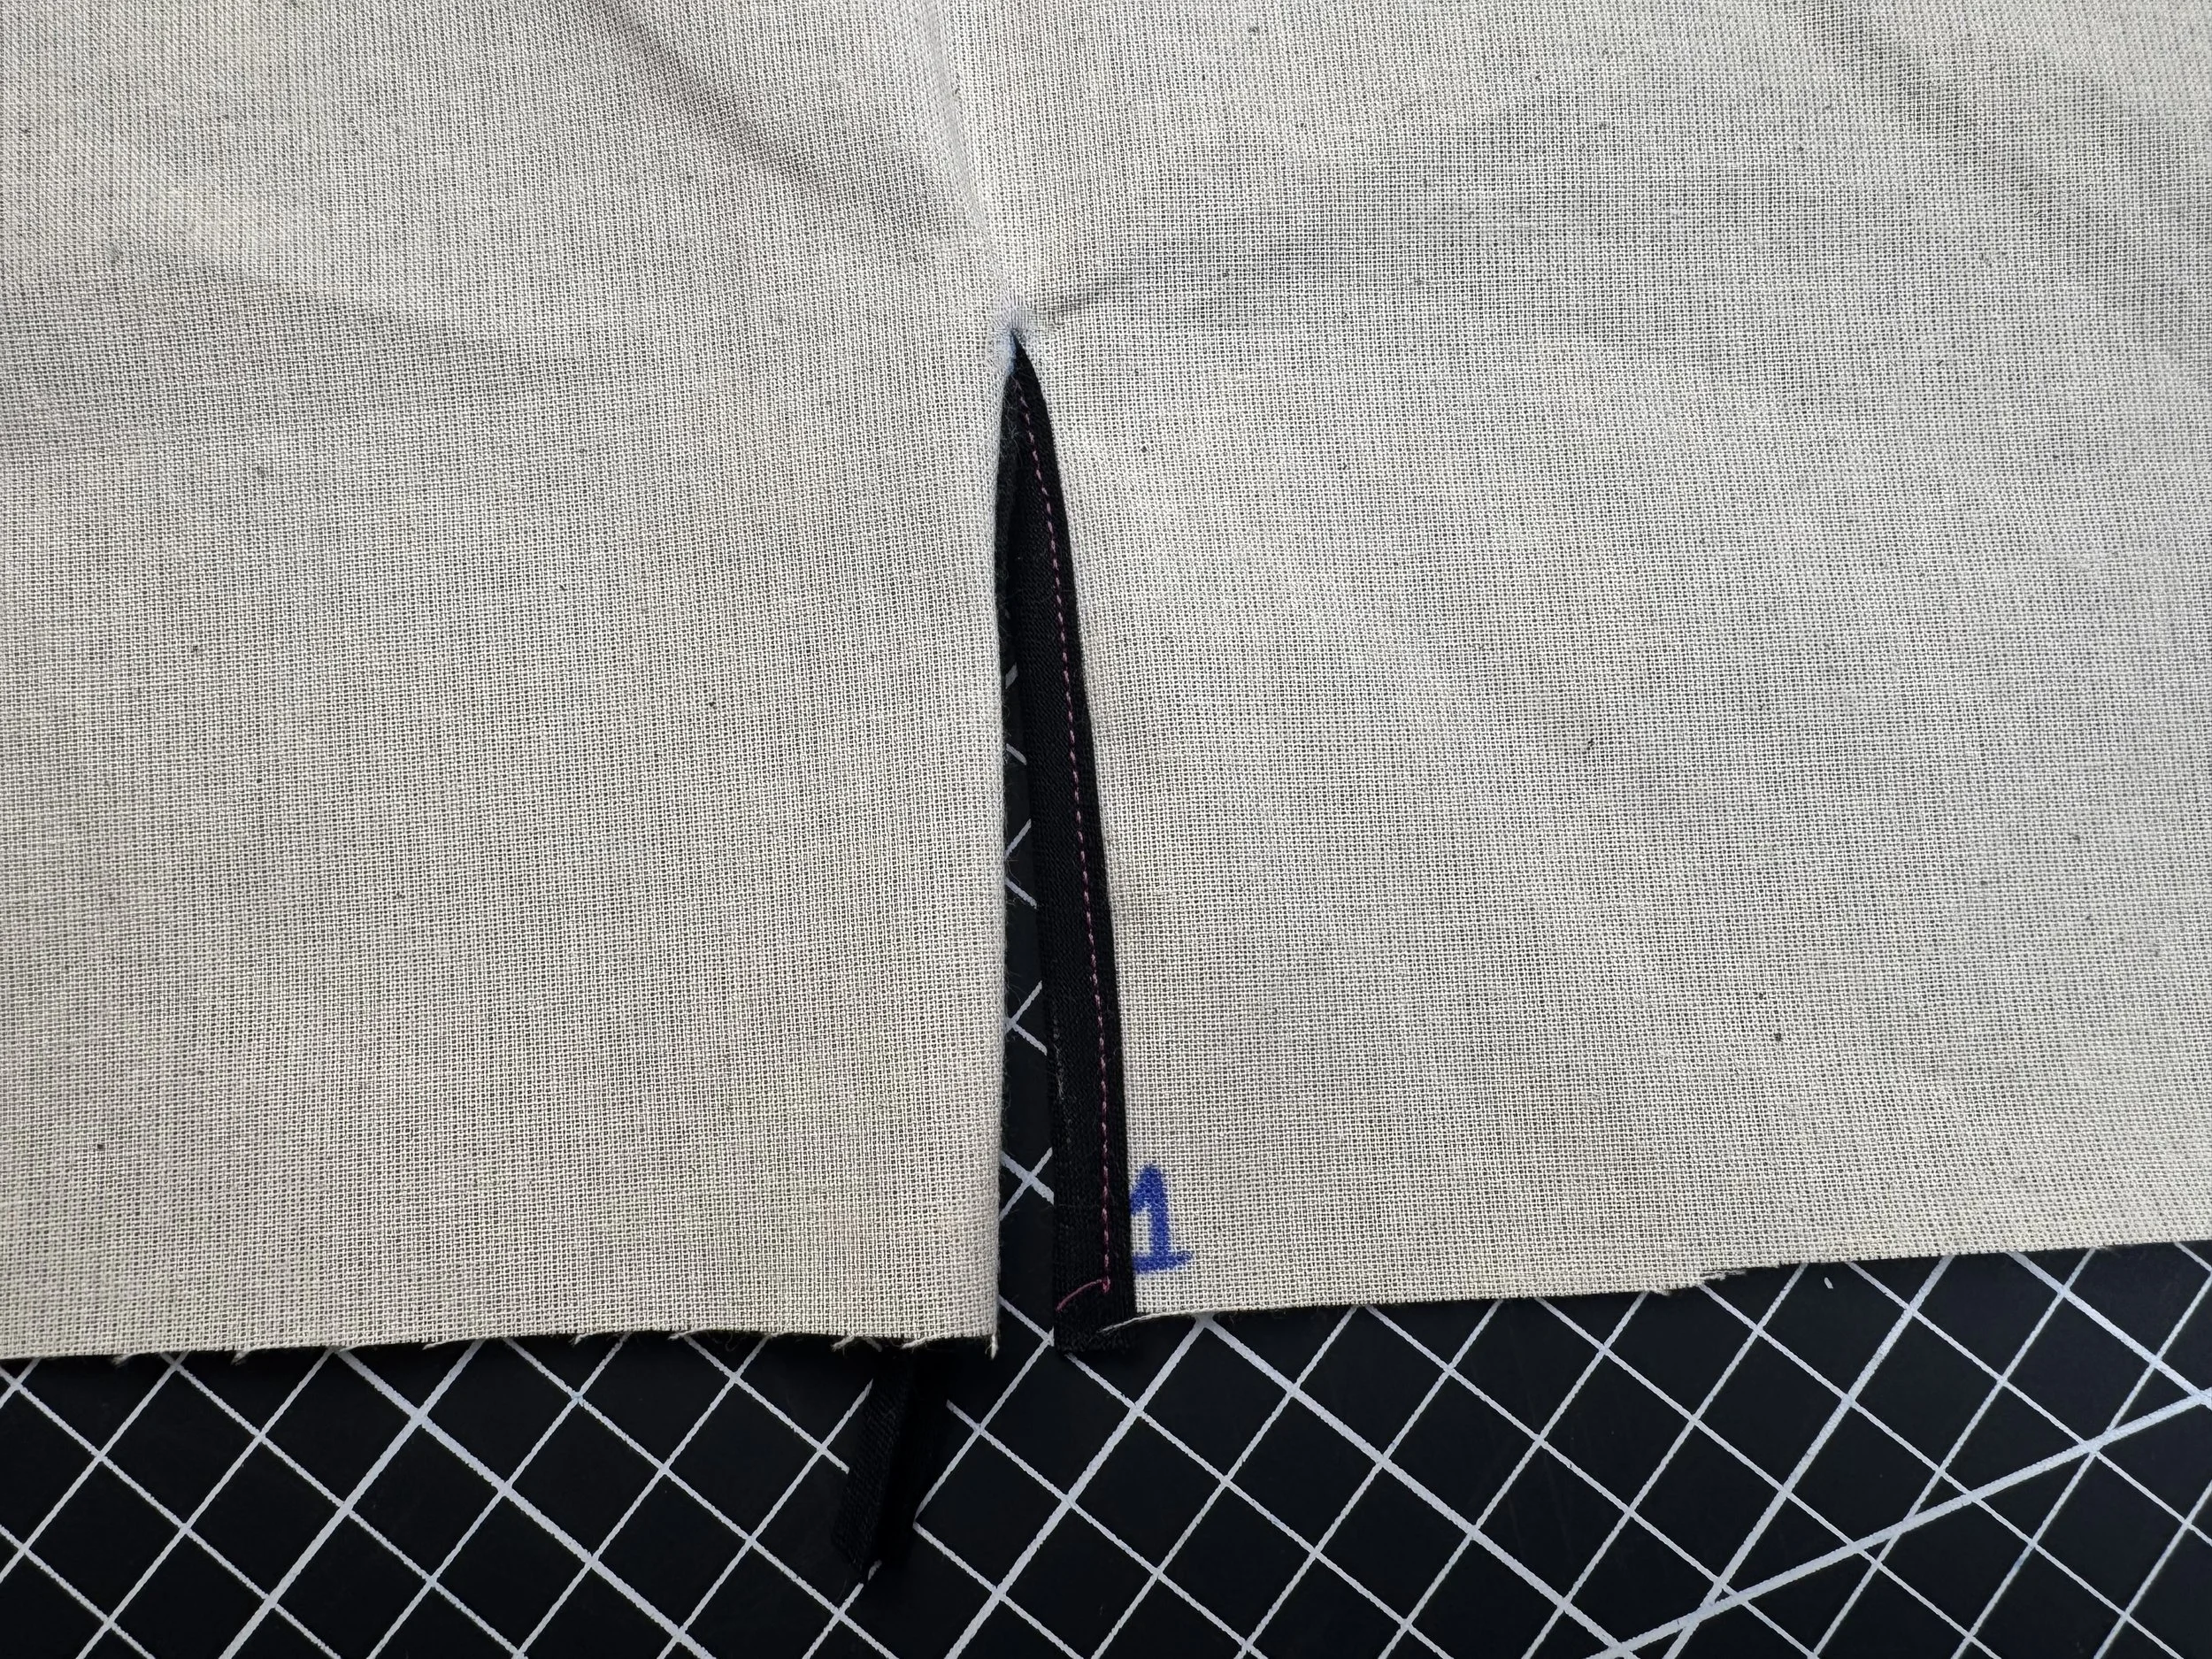
Slide the folded bias tape onto the seam, pinning well to hold it firmly in place. Adding a quick hand stitch to replace the pins before sewing can be helpful in such a small area.
Run a 2.4 stitch along the length of the bias strip catching both the front and back. When sewing, open up the entire slit so it becomes a straight line as it passes through the machine - this makes sewing the curved area easier.
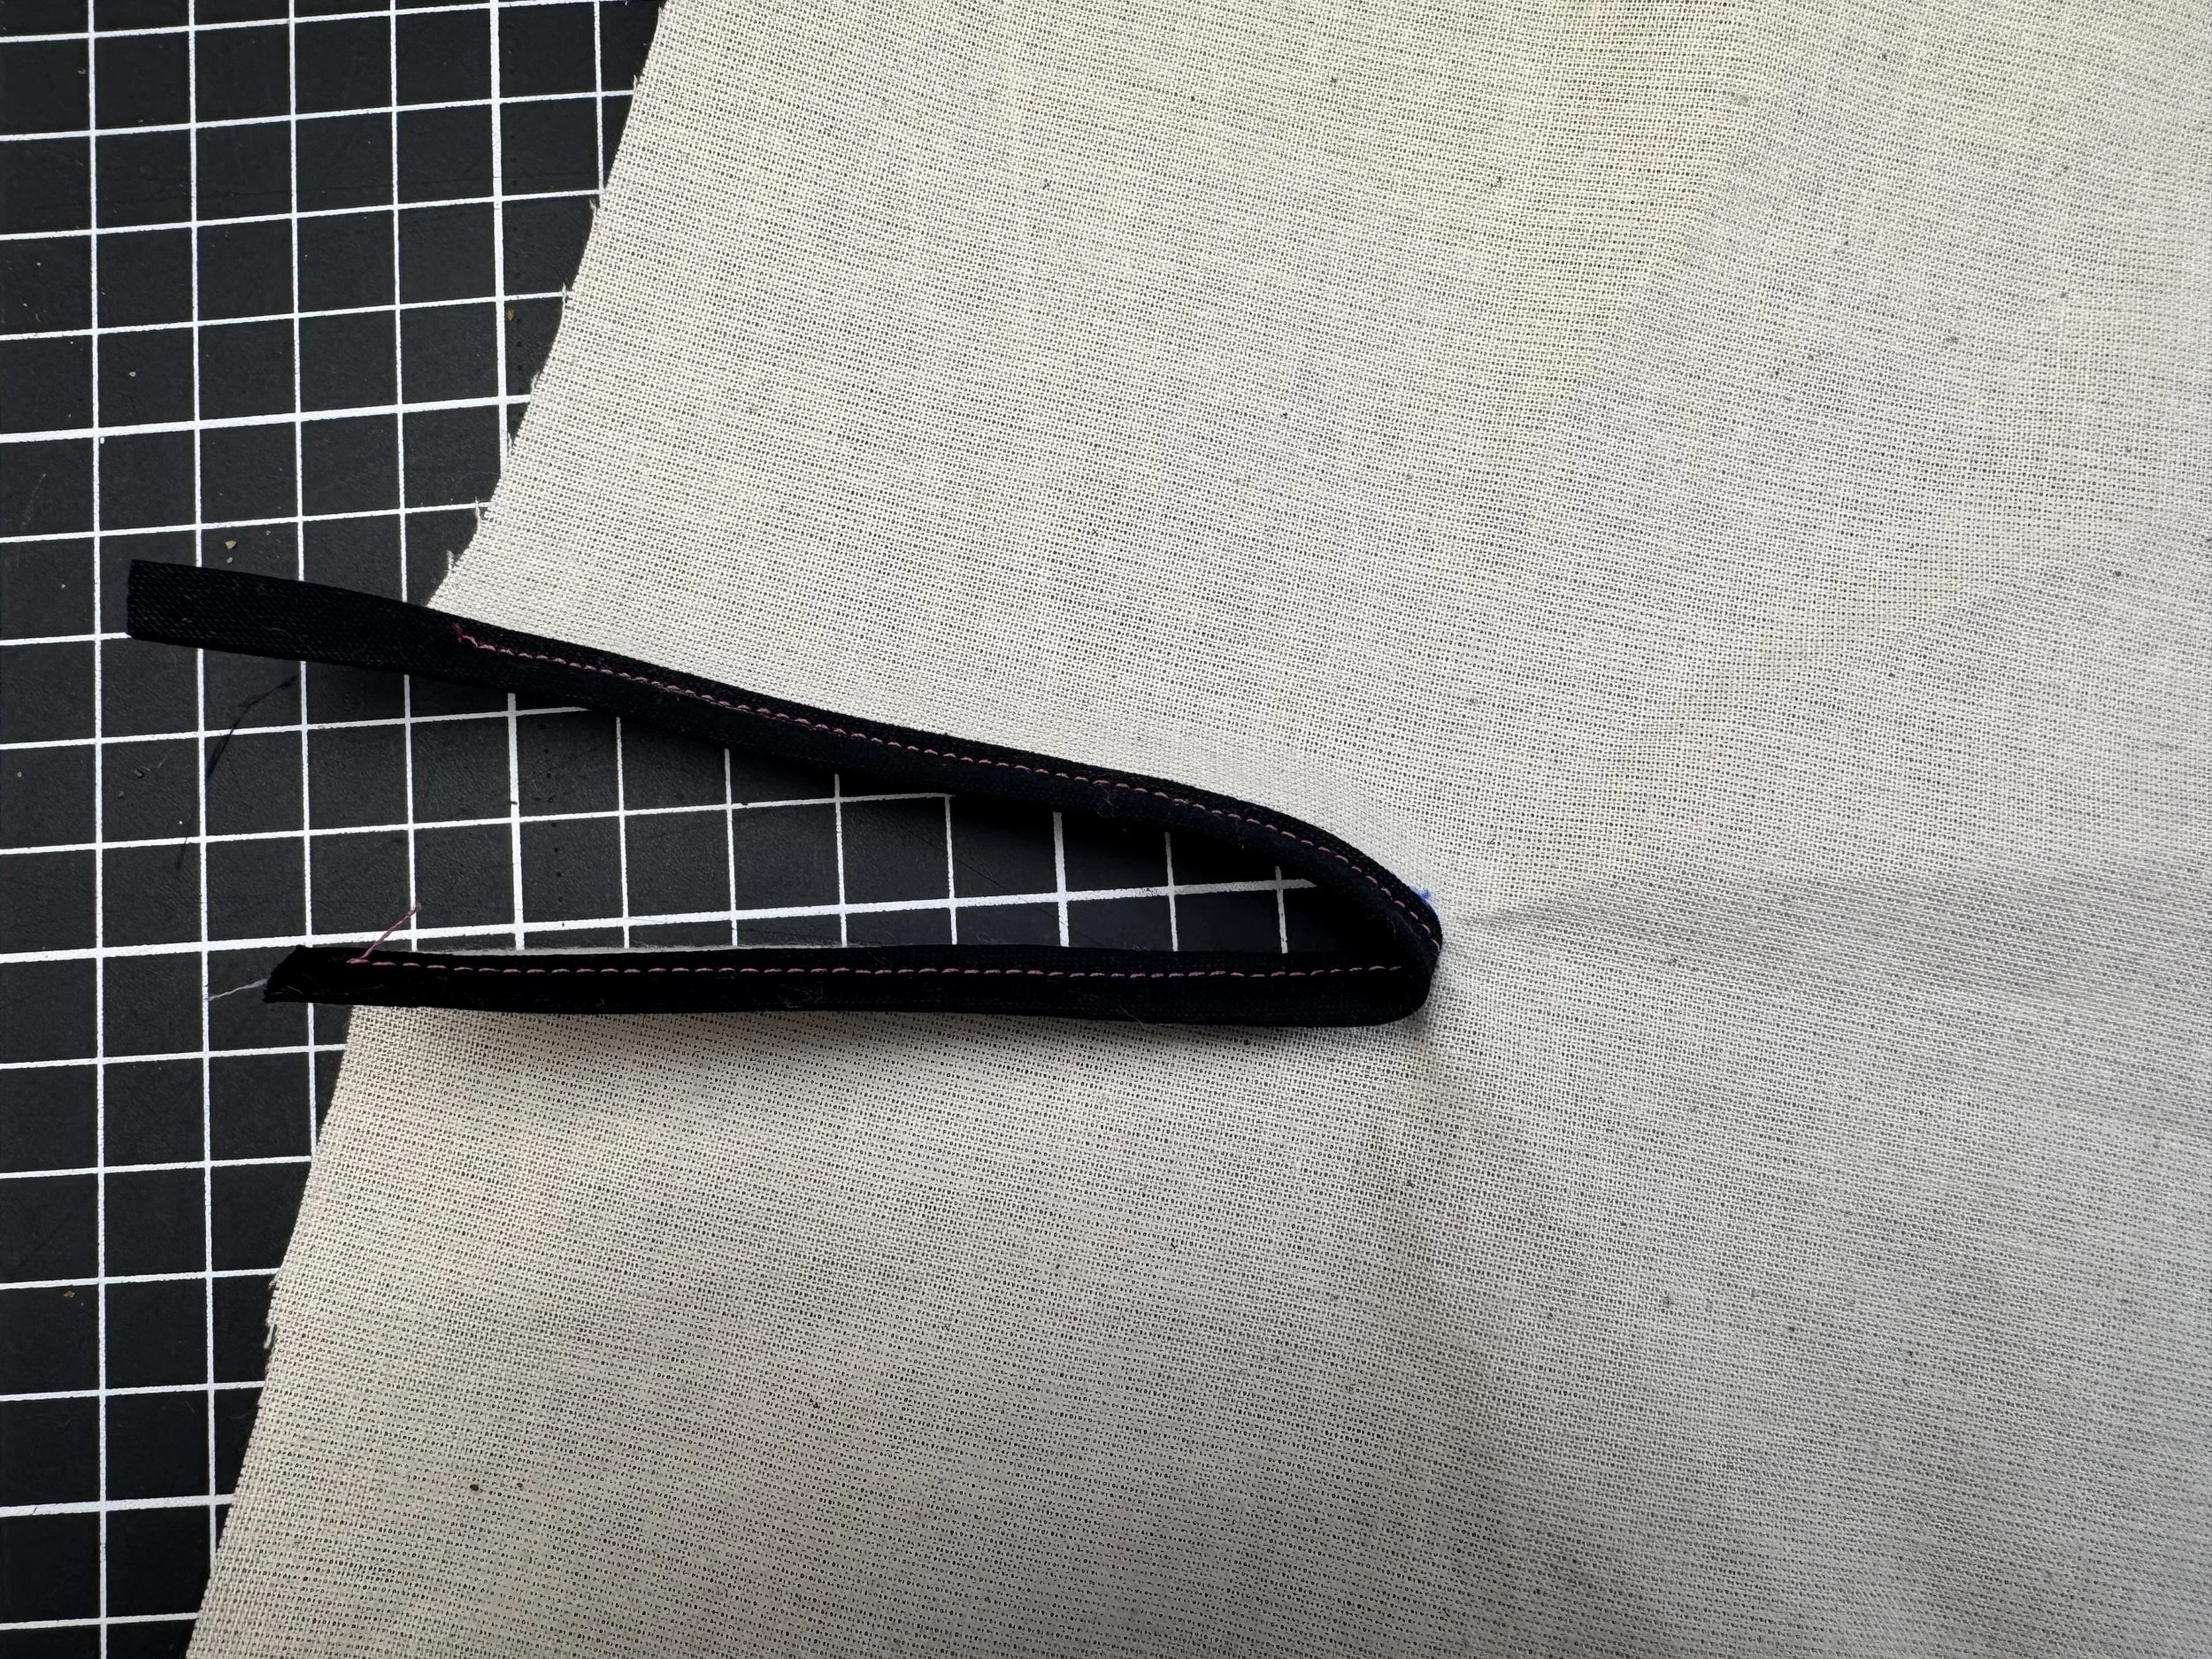
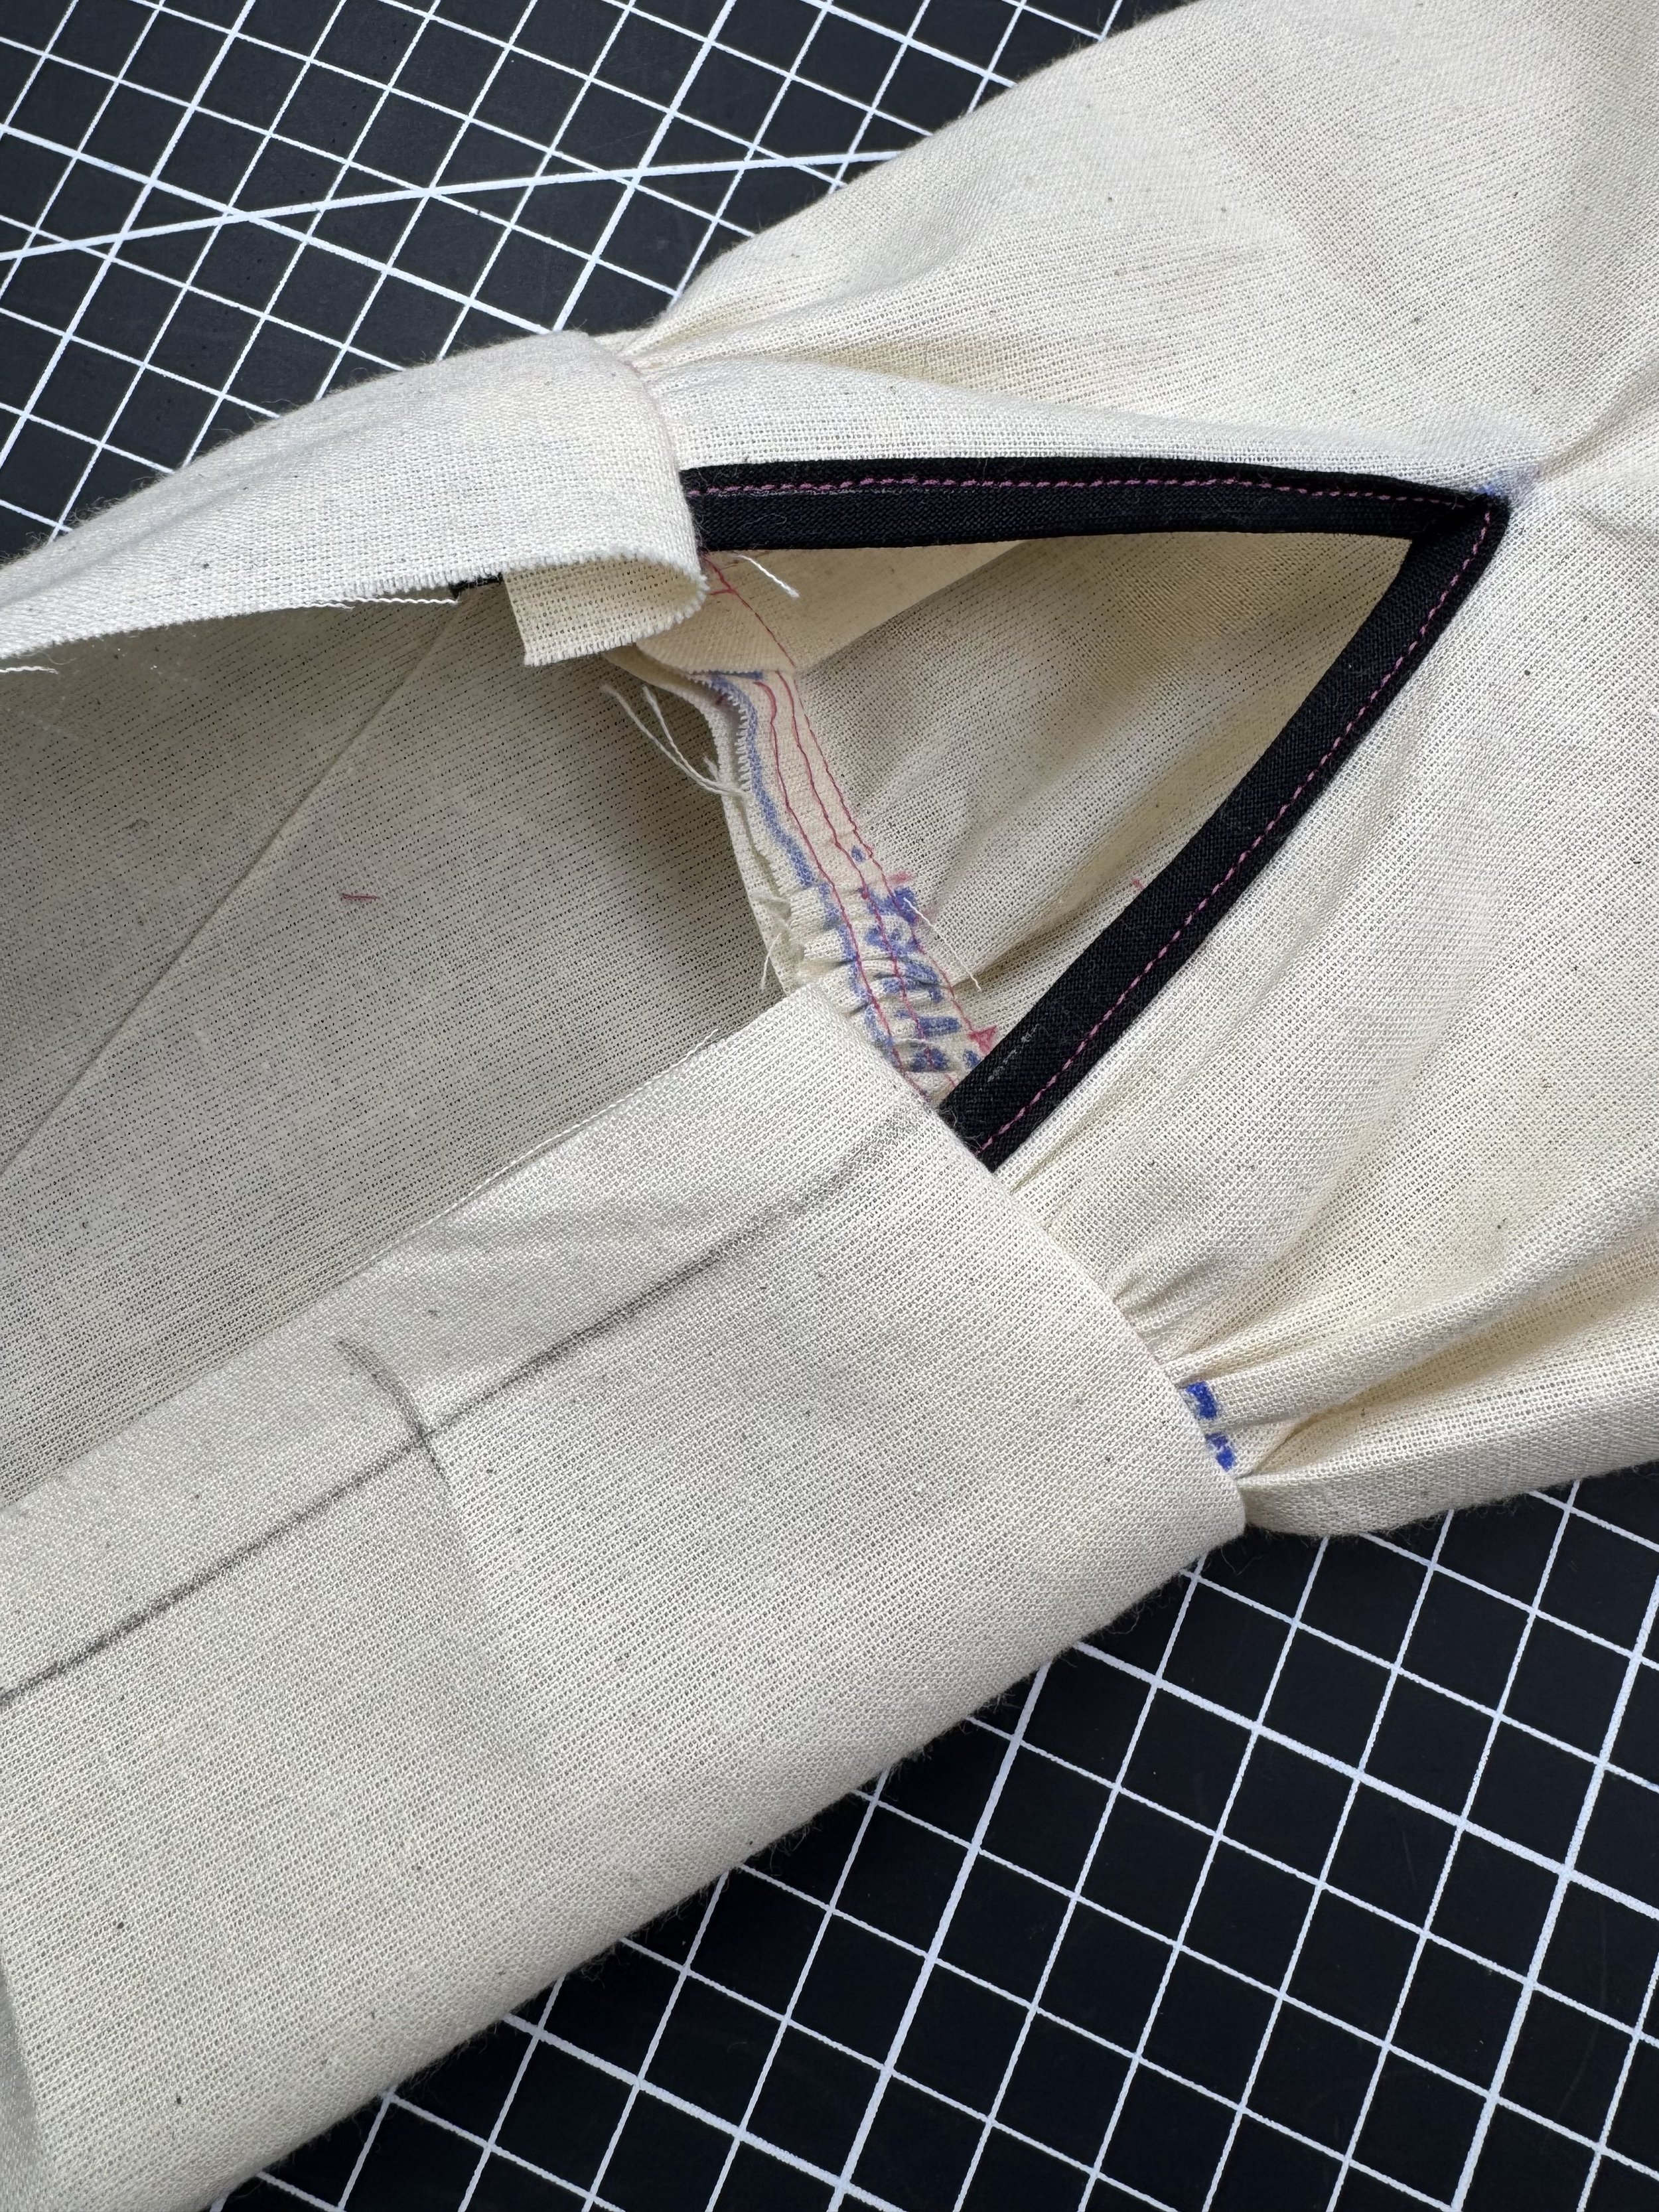
Turn your sleeve so the wrong side is facing up, and pin the two bias strips together.
Sew a small stitch as close to a 45 degree angle as possible, there are a lot of layers here, so go slowly.
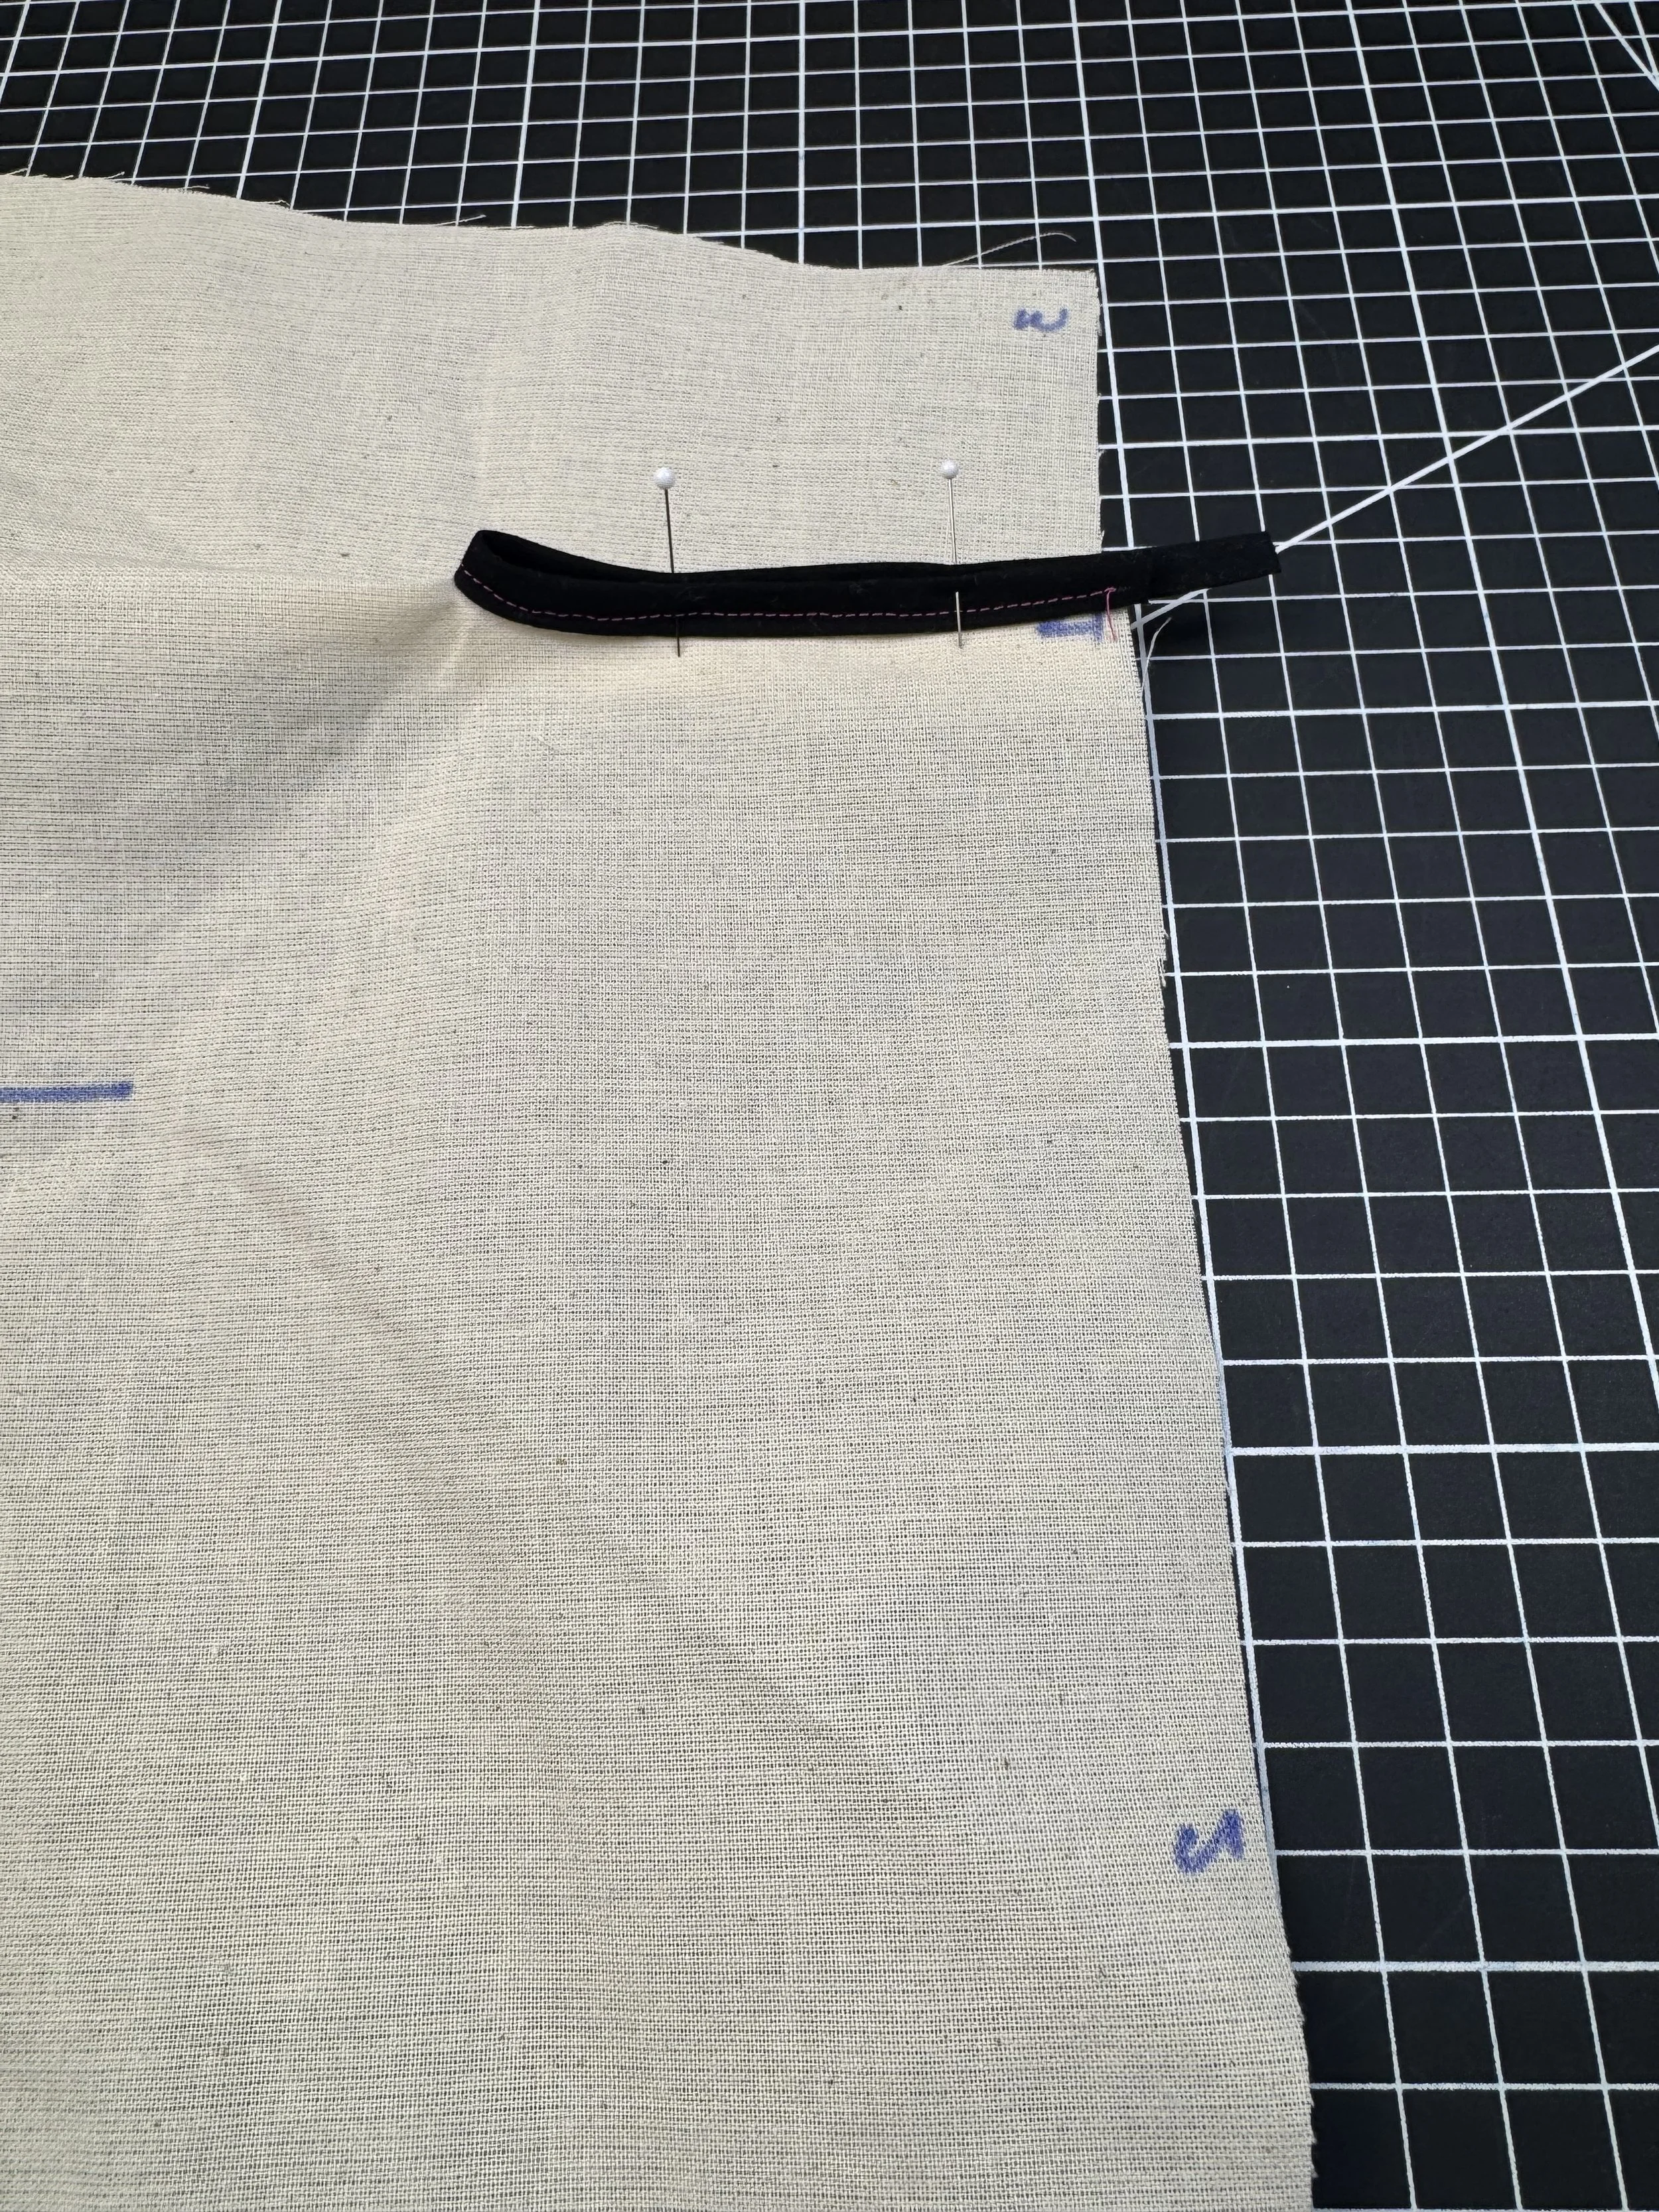
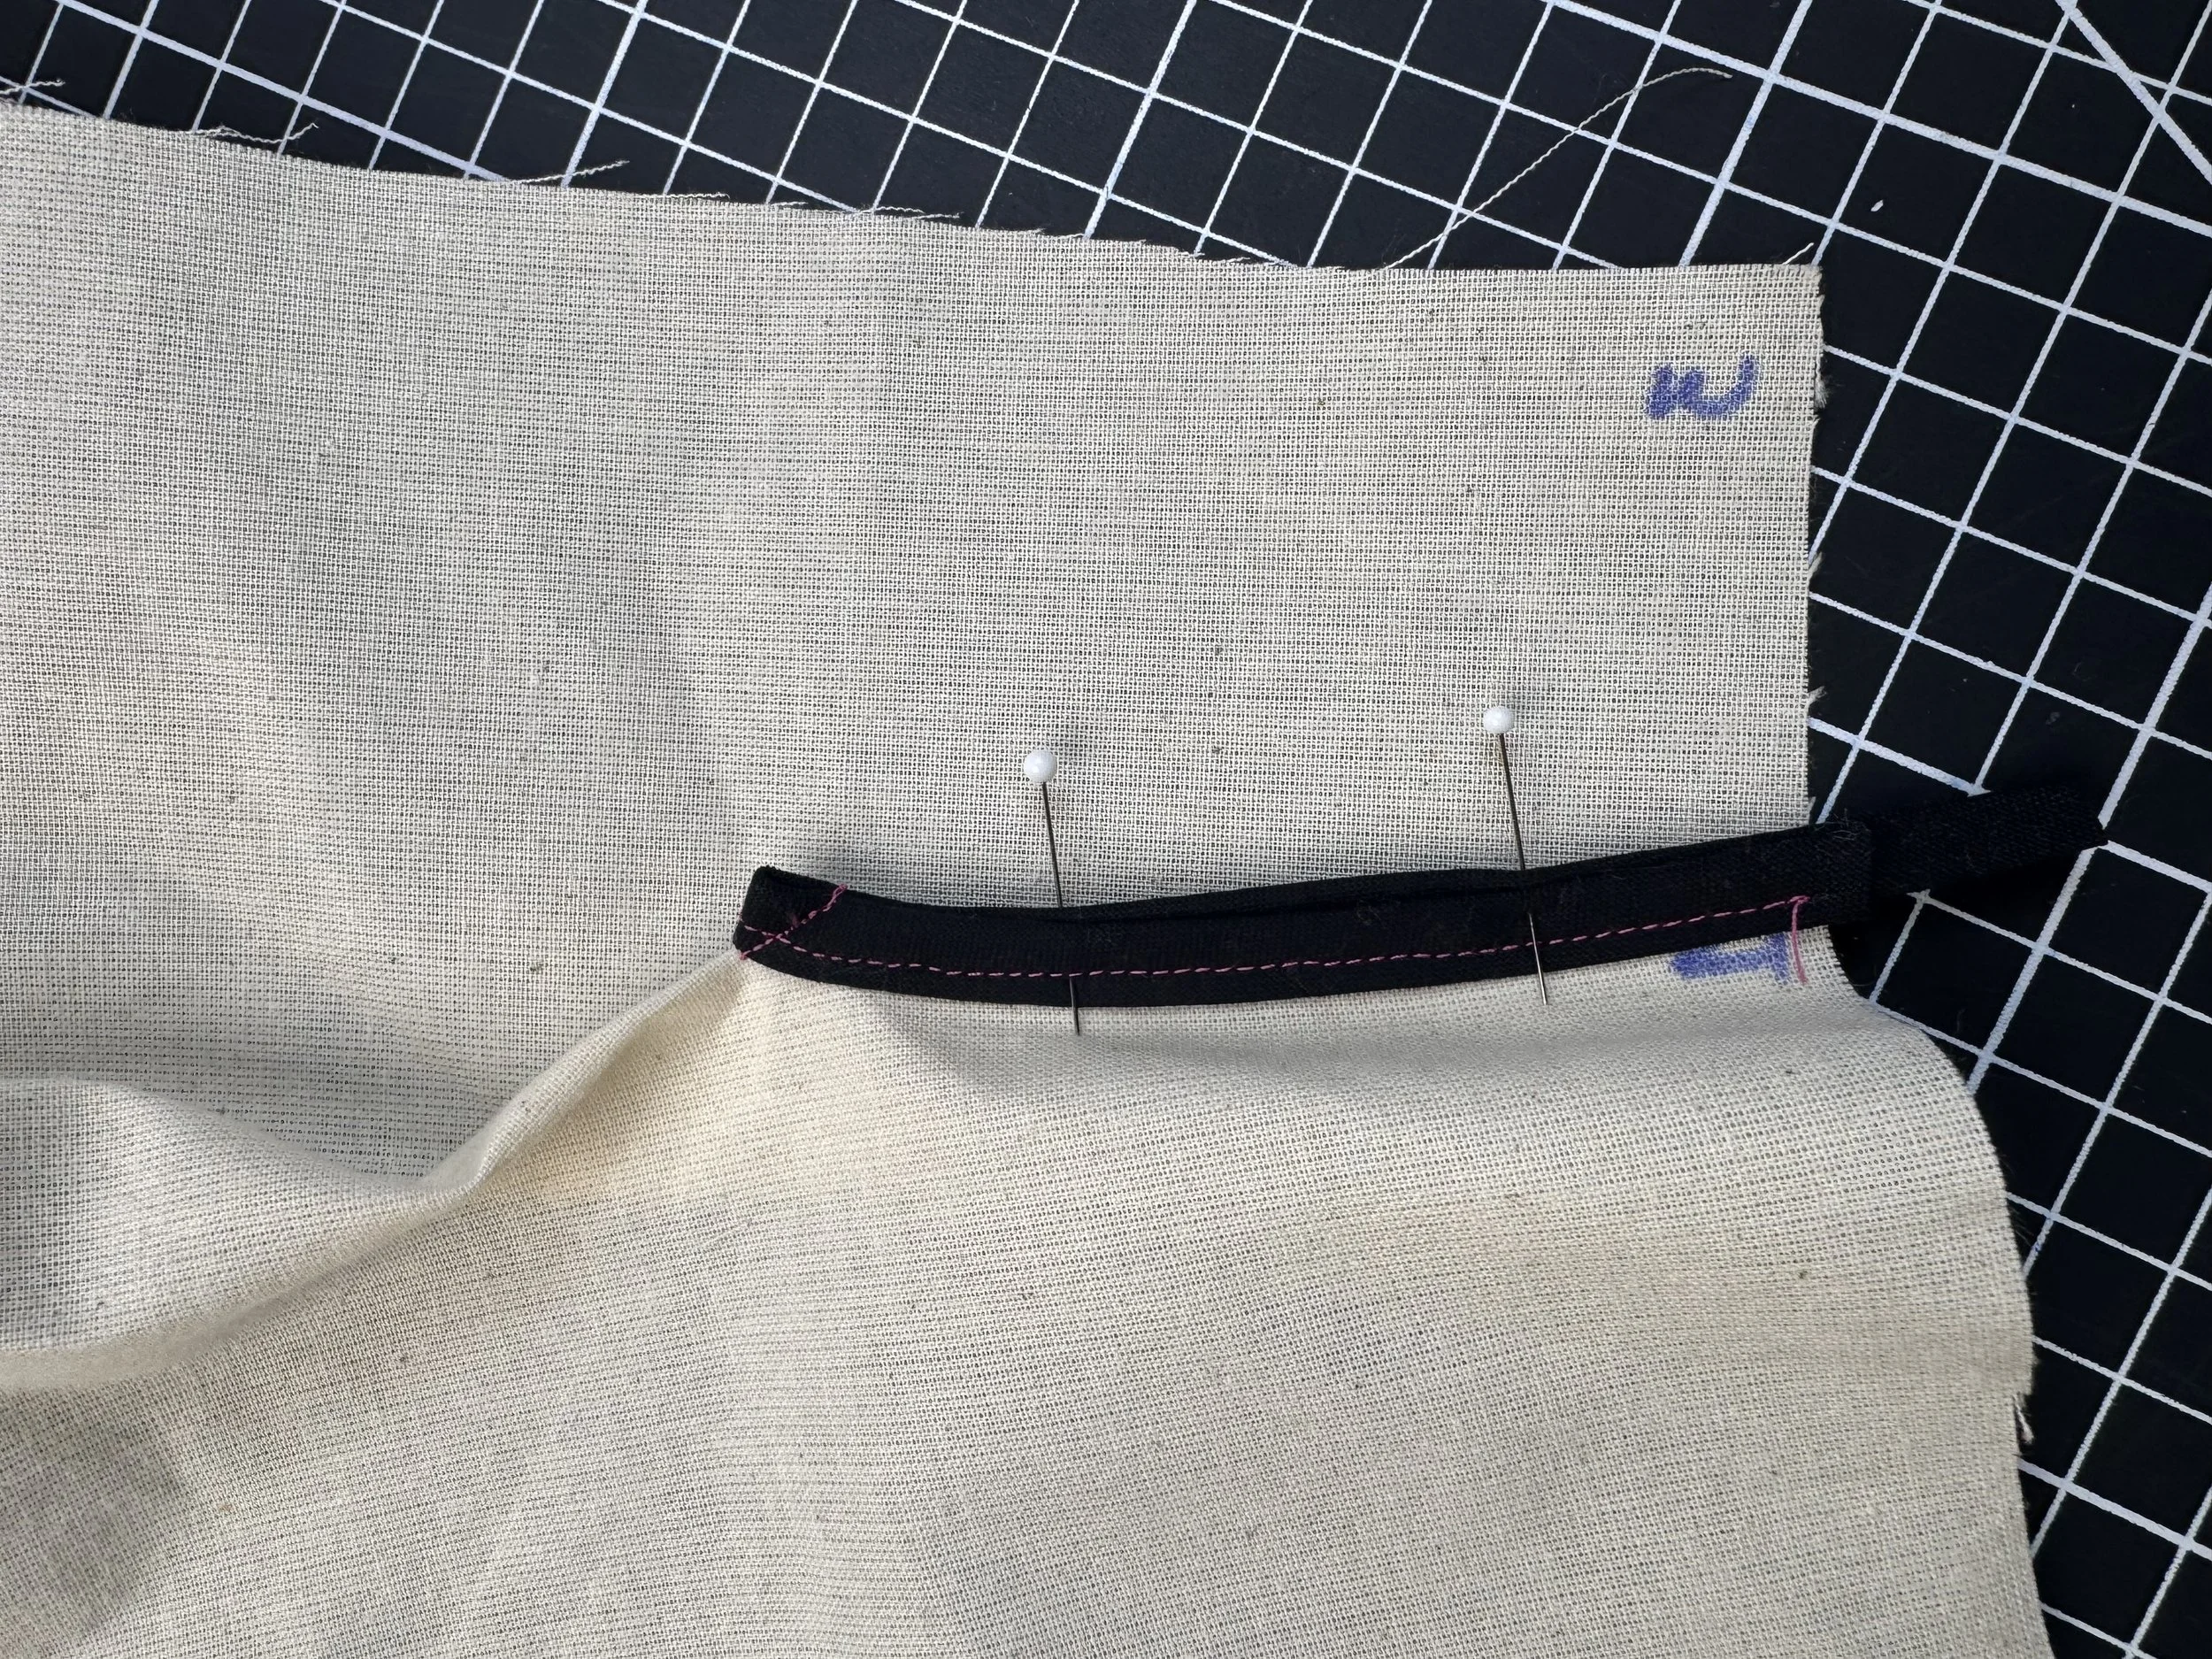
Turn your sleeve right side up again. As you can see, the angle keeps one side of the bias tape tucked under, so the two now lay one on the other.
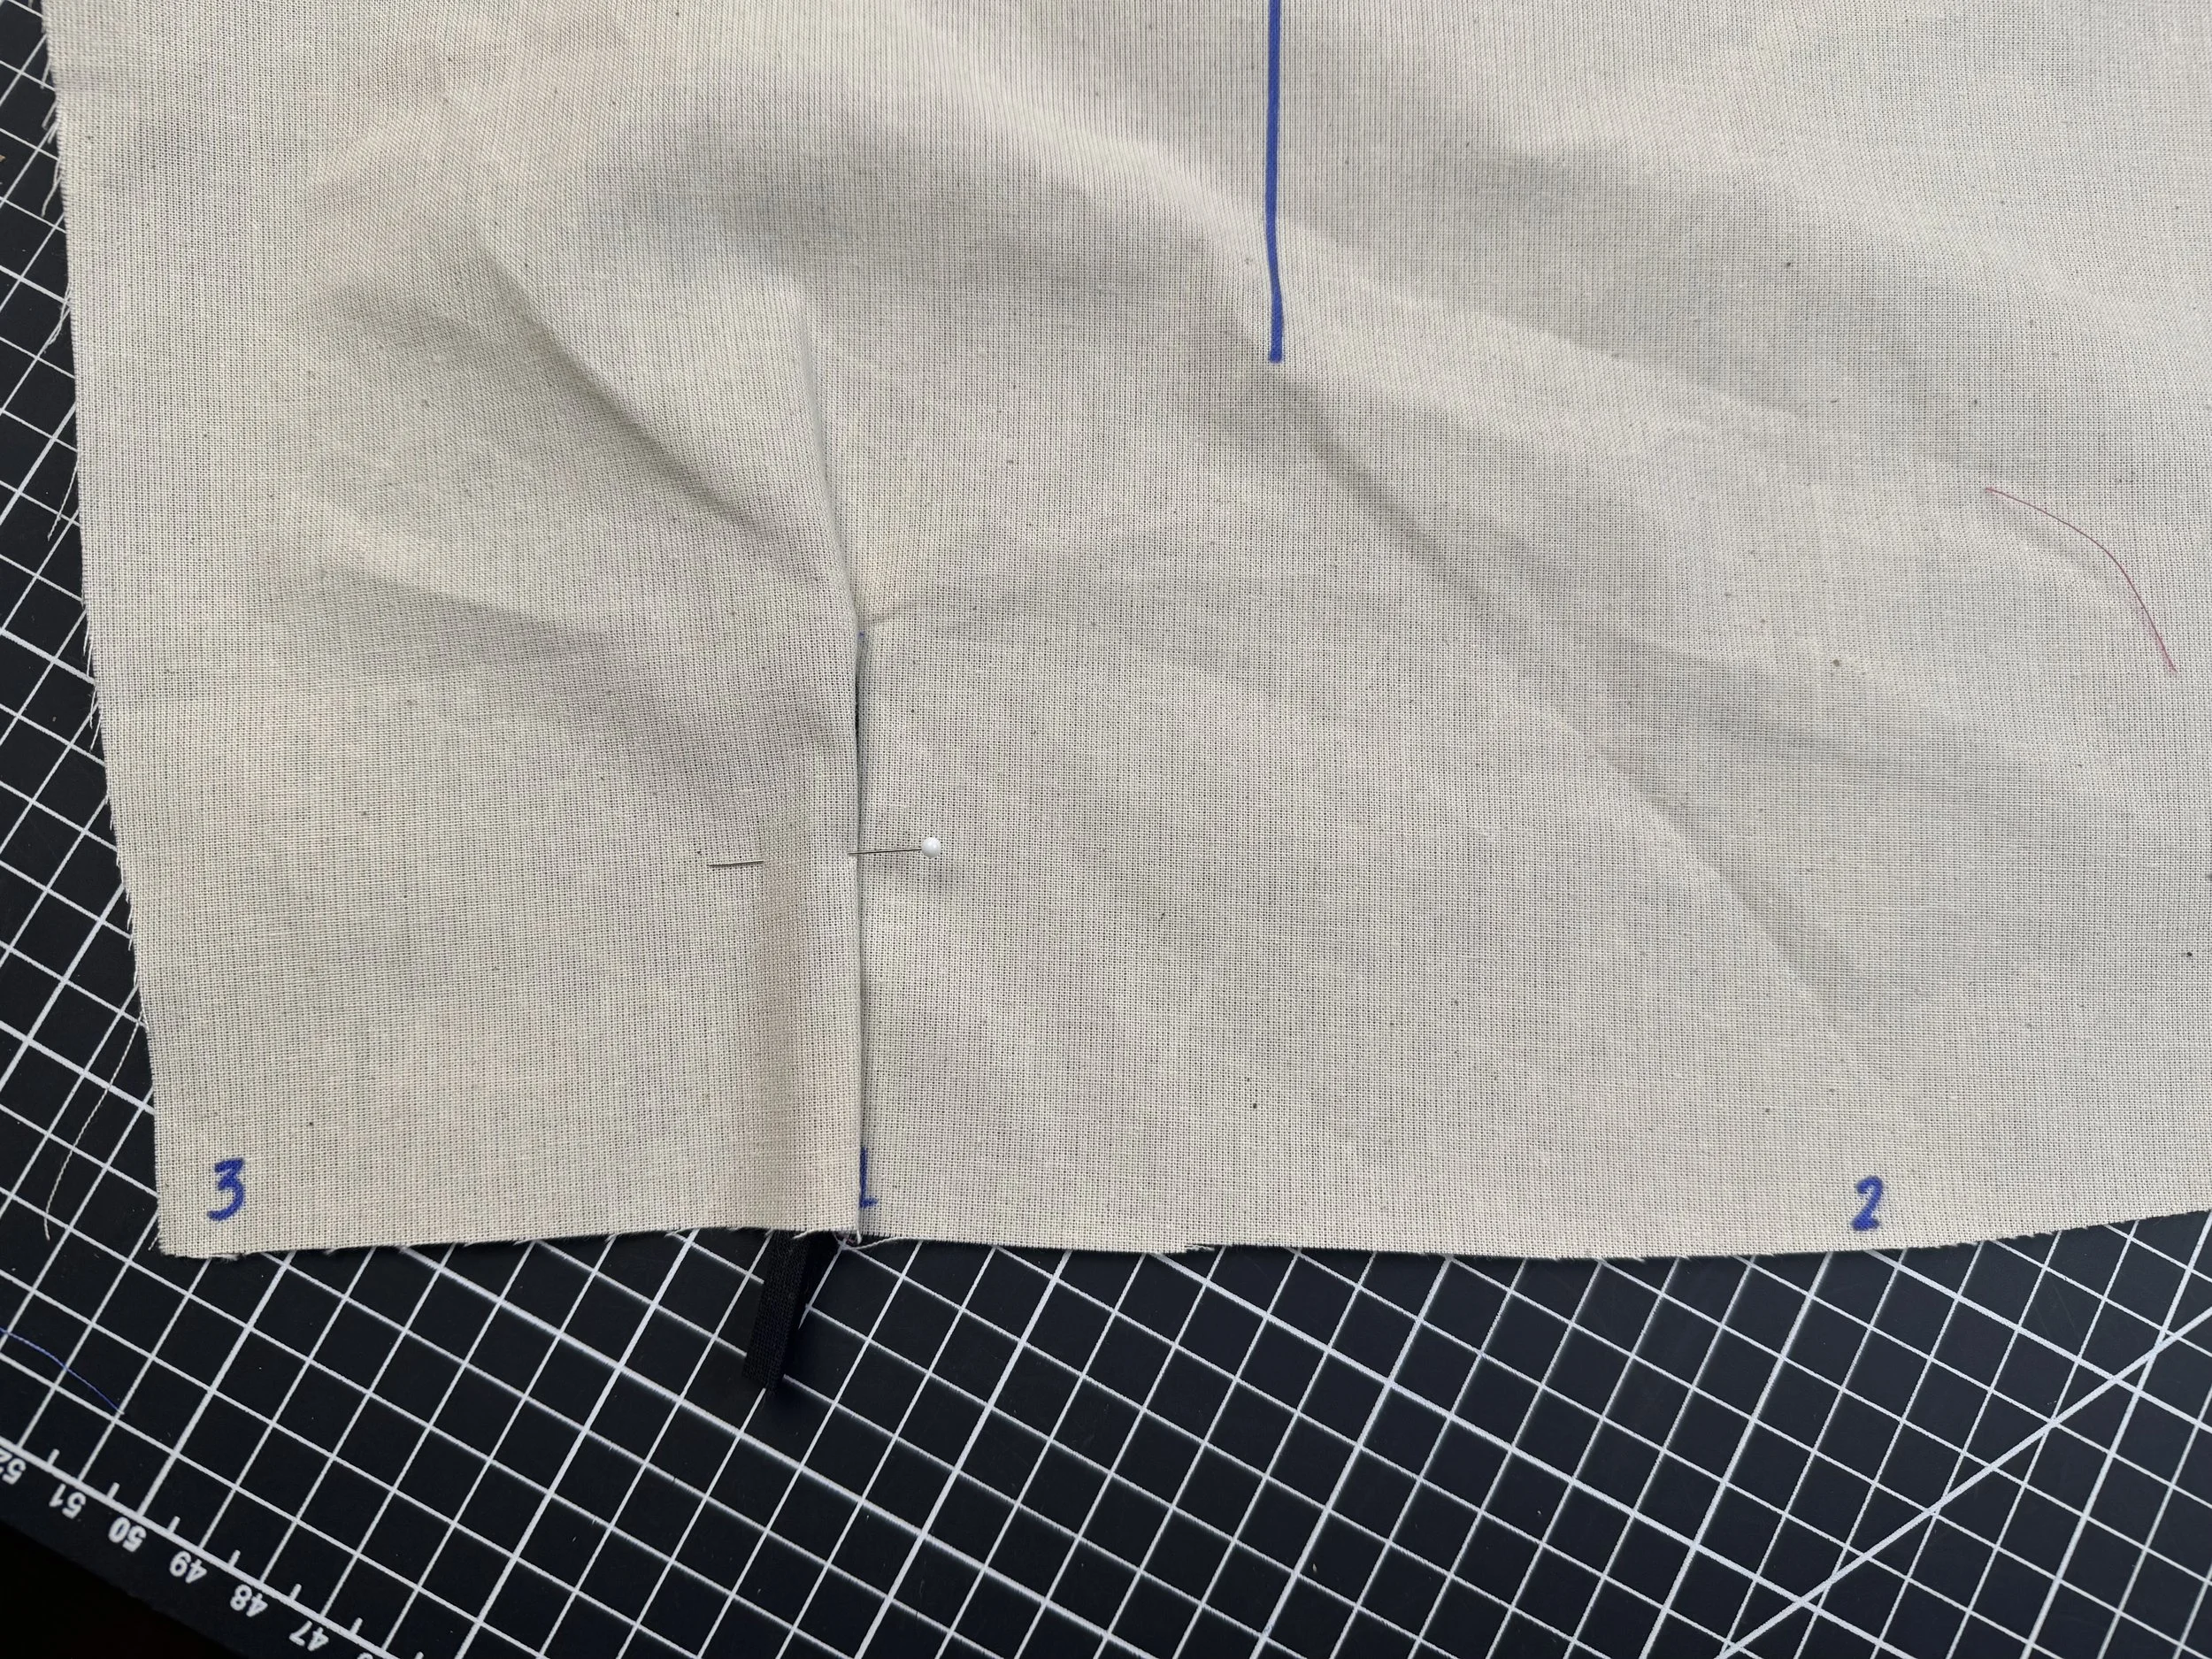
Pin to hold in place - there will be a tiny crease above the curve, that is inevitable due to the manipulation of the fabric and won’t be noticeable once we add the gathers at the cuff.
You will have seen on the cuff and sleeve that there are numbers, and it can be confusing, but I promise this next step is very simple.
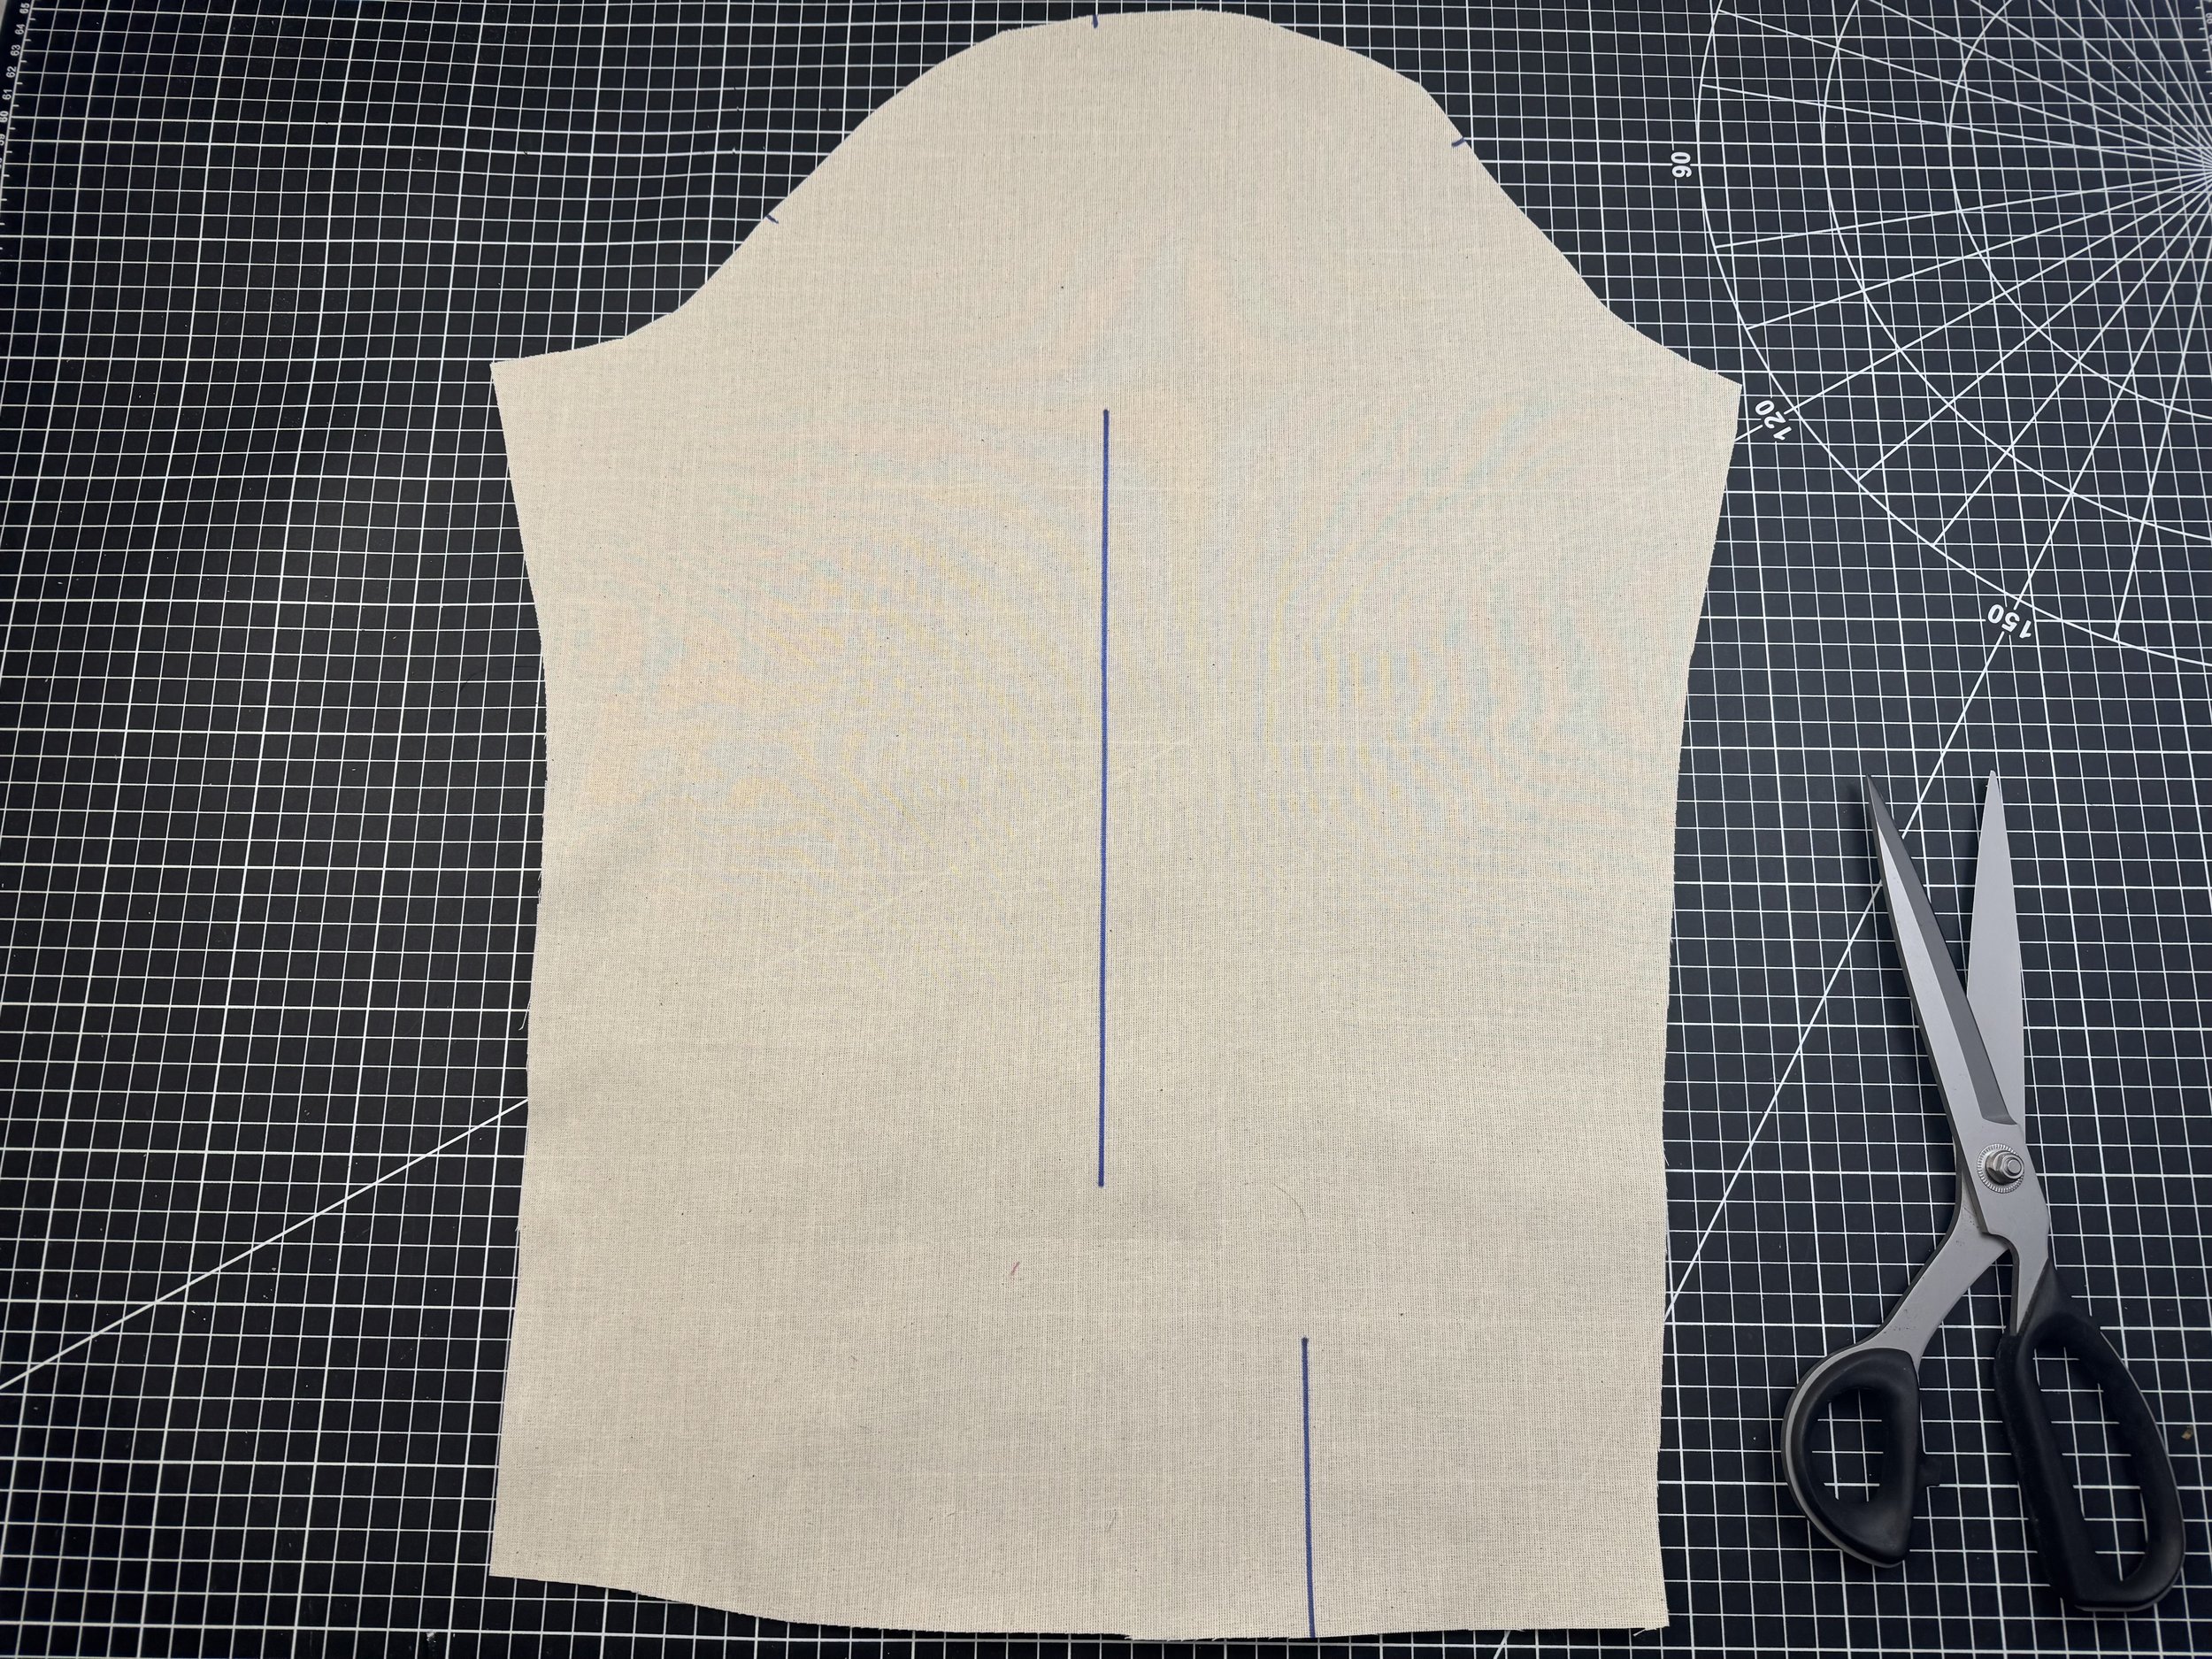
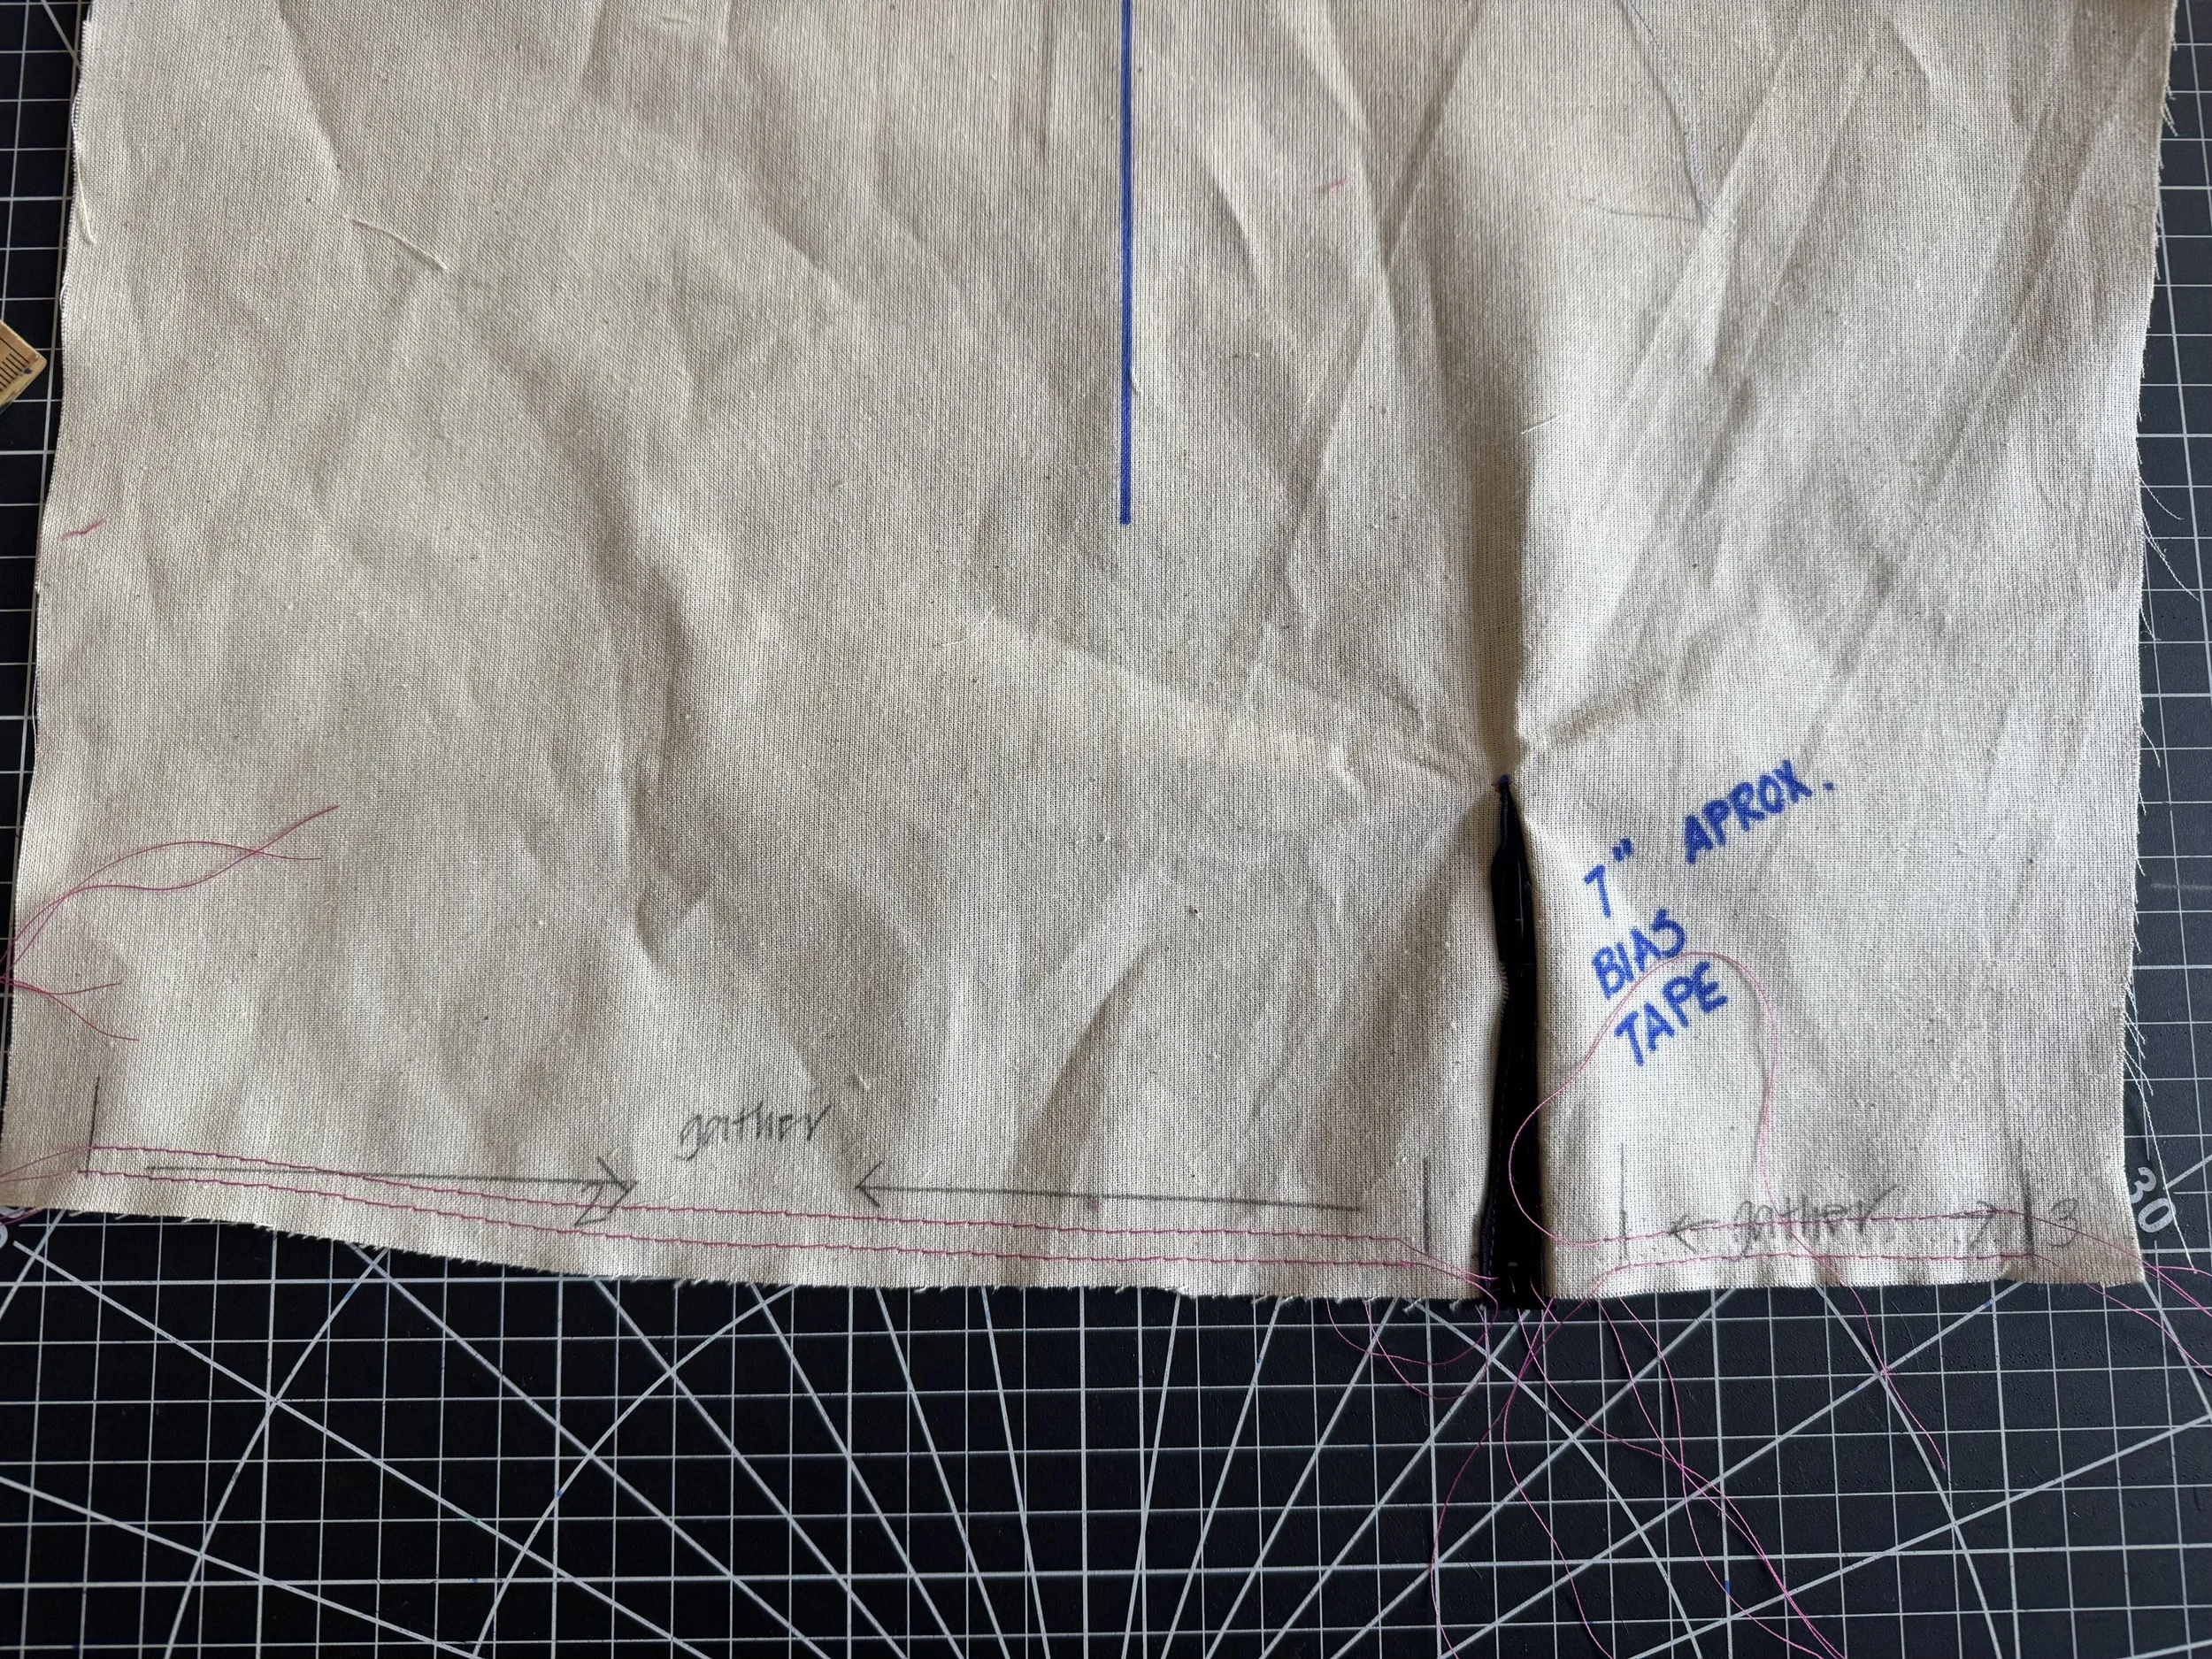
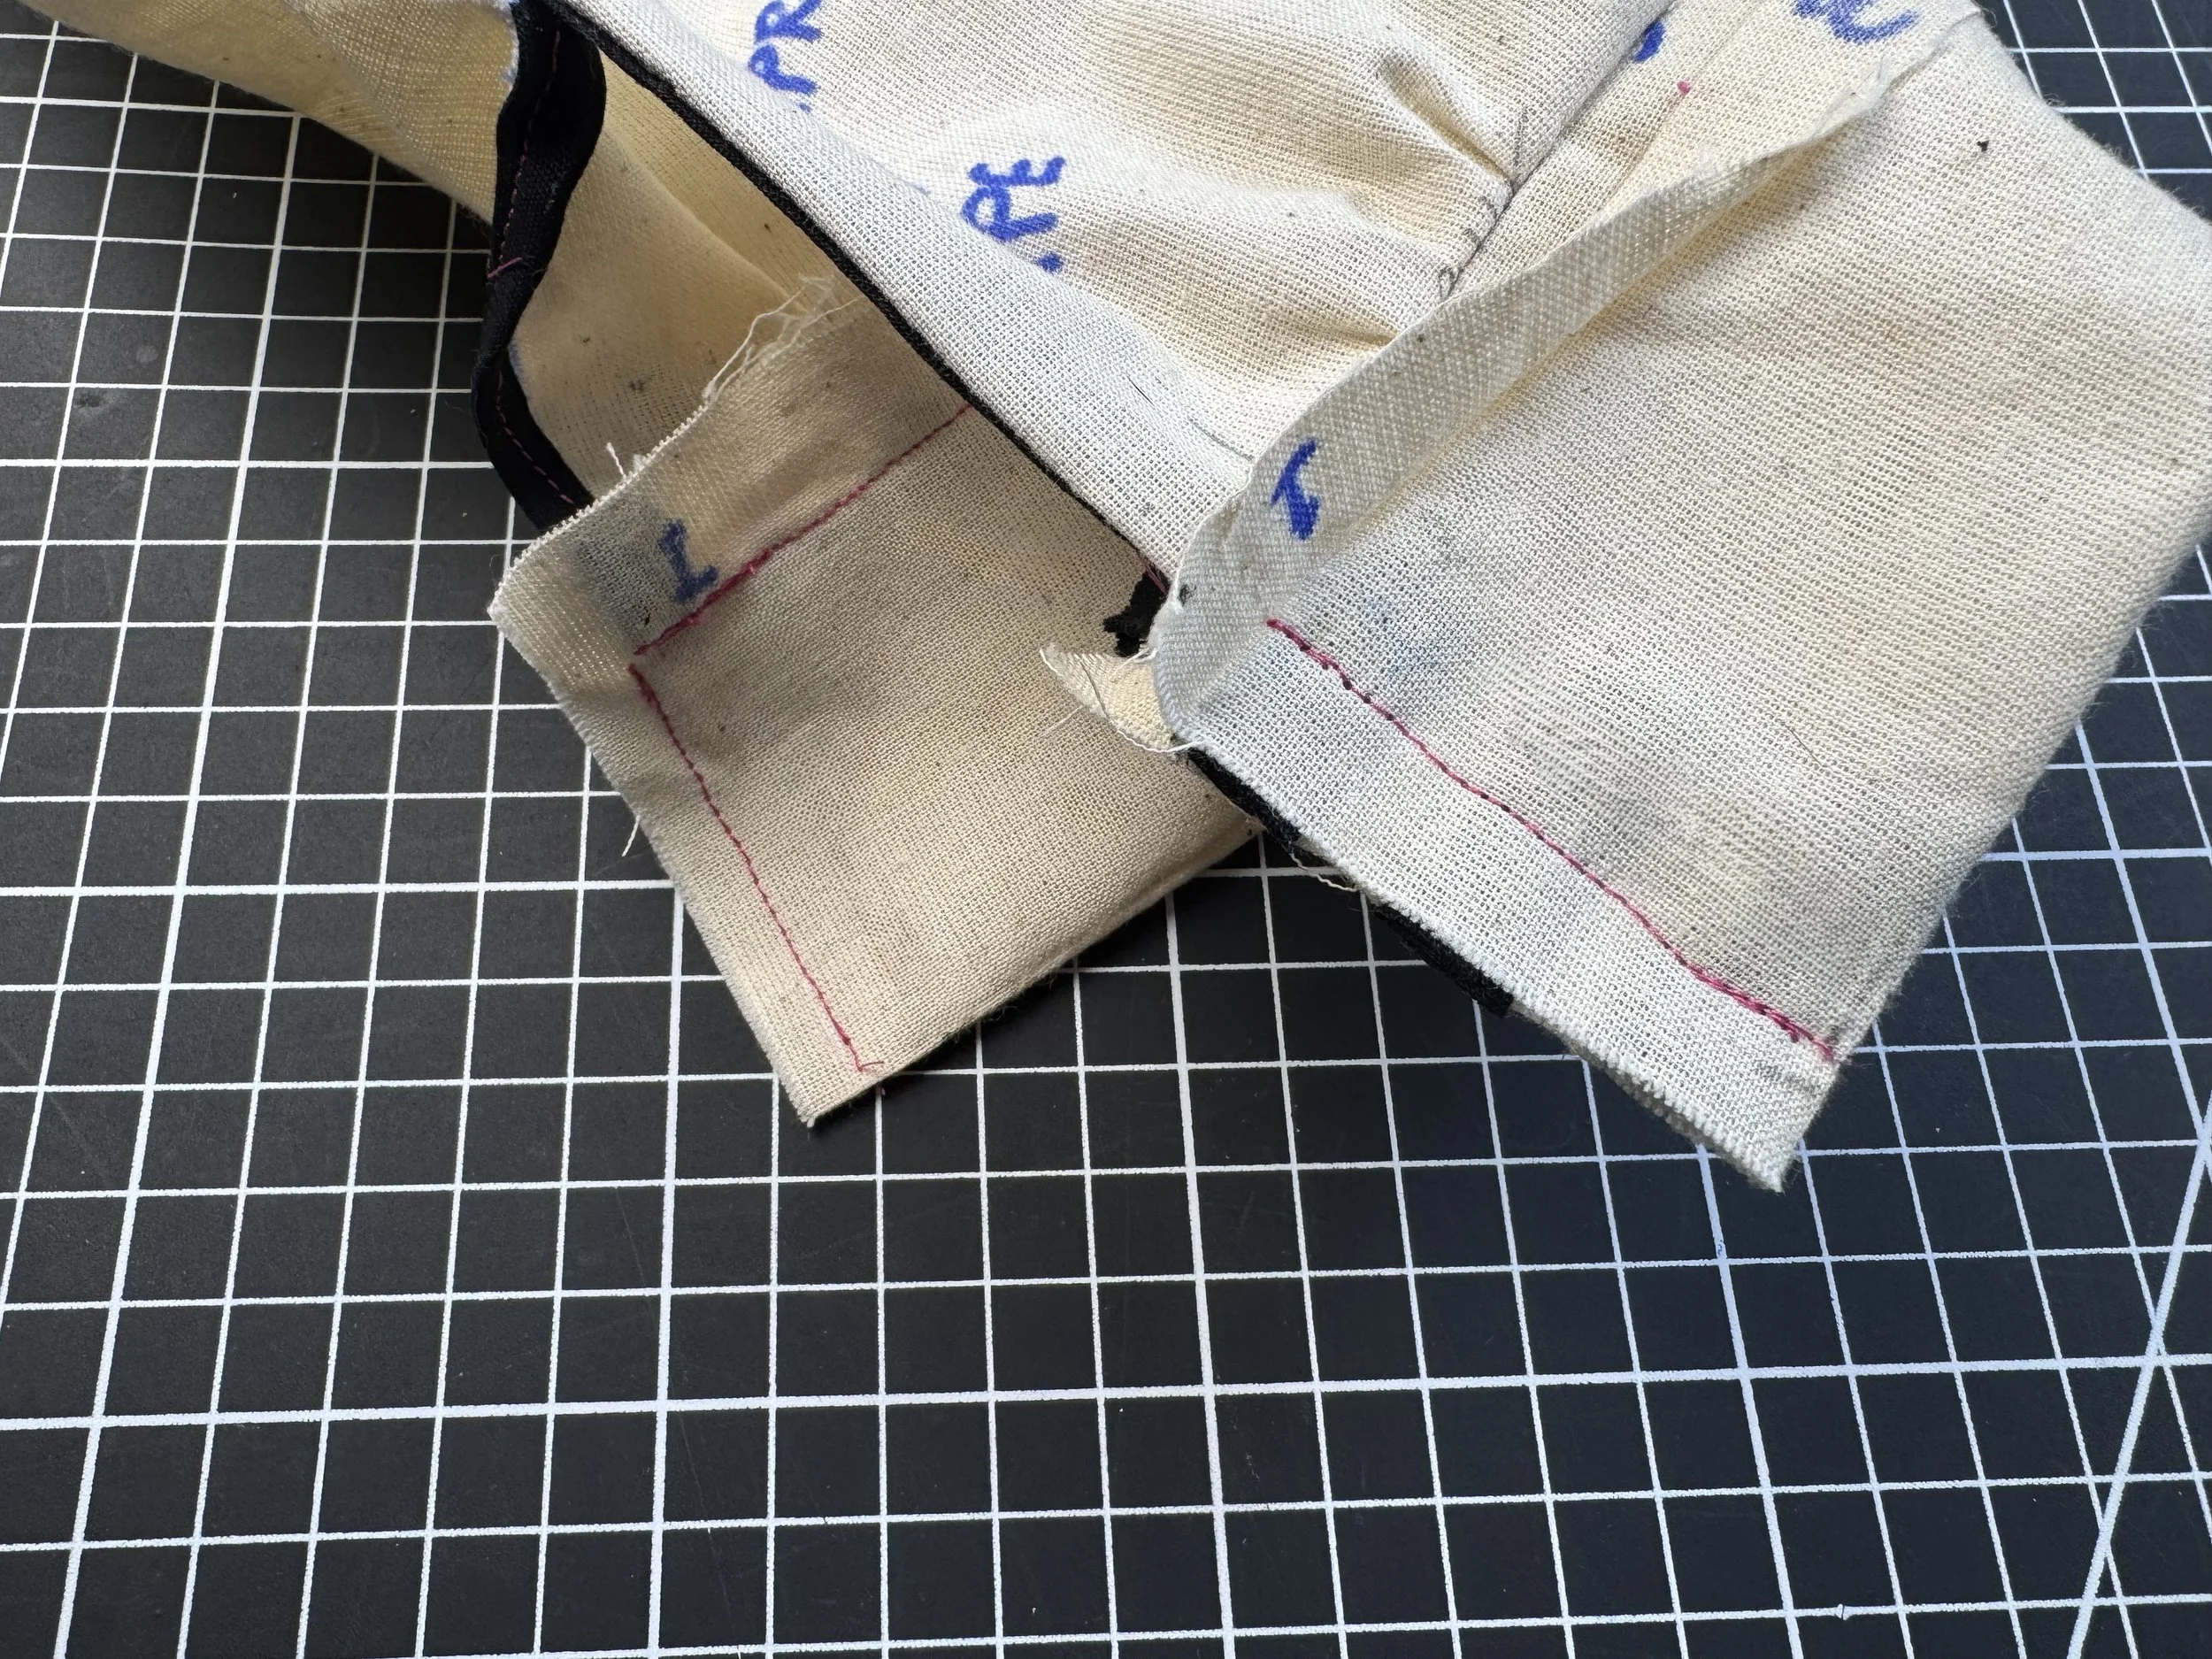
Make a mark 5/8” in from the edge of the sleeve, both sides of the slit, and the other edge of the cuff. These are your seam allowances for construction.
Run two lines of gathering stitches in the seam allowance on both sides of the slit between the seam allowance marks.
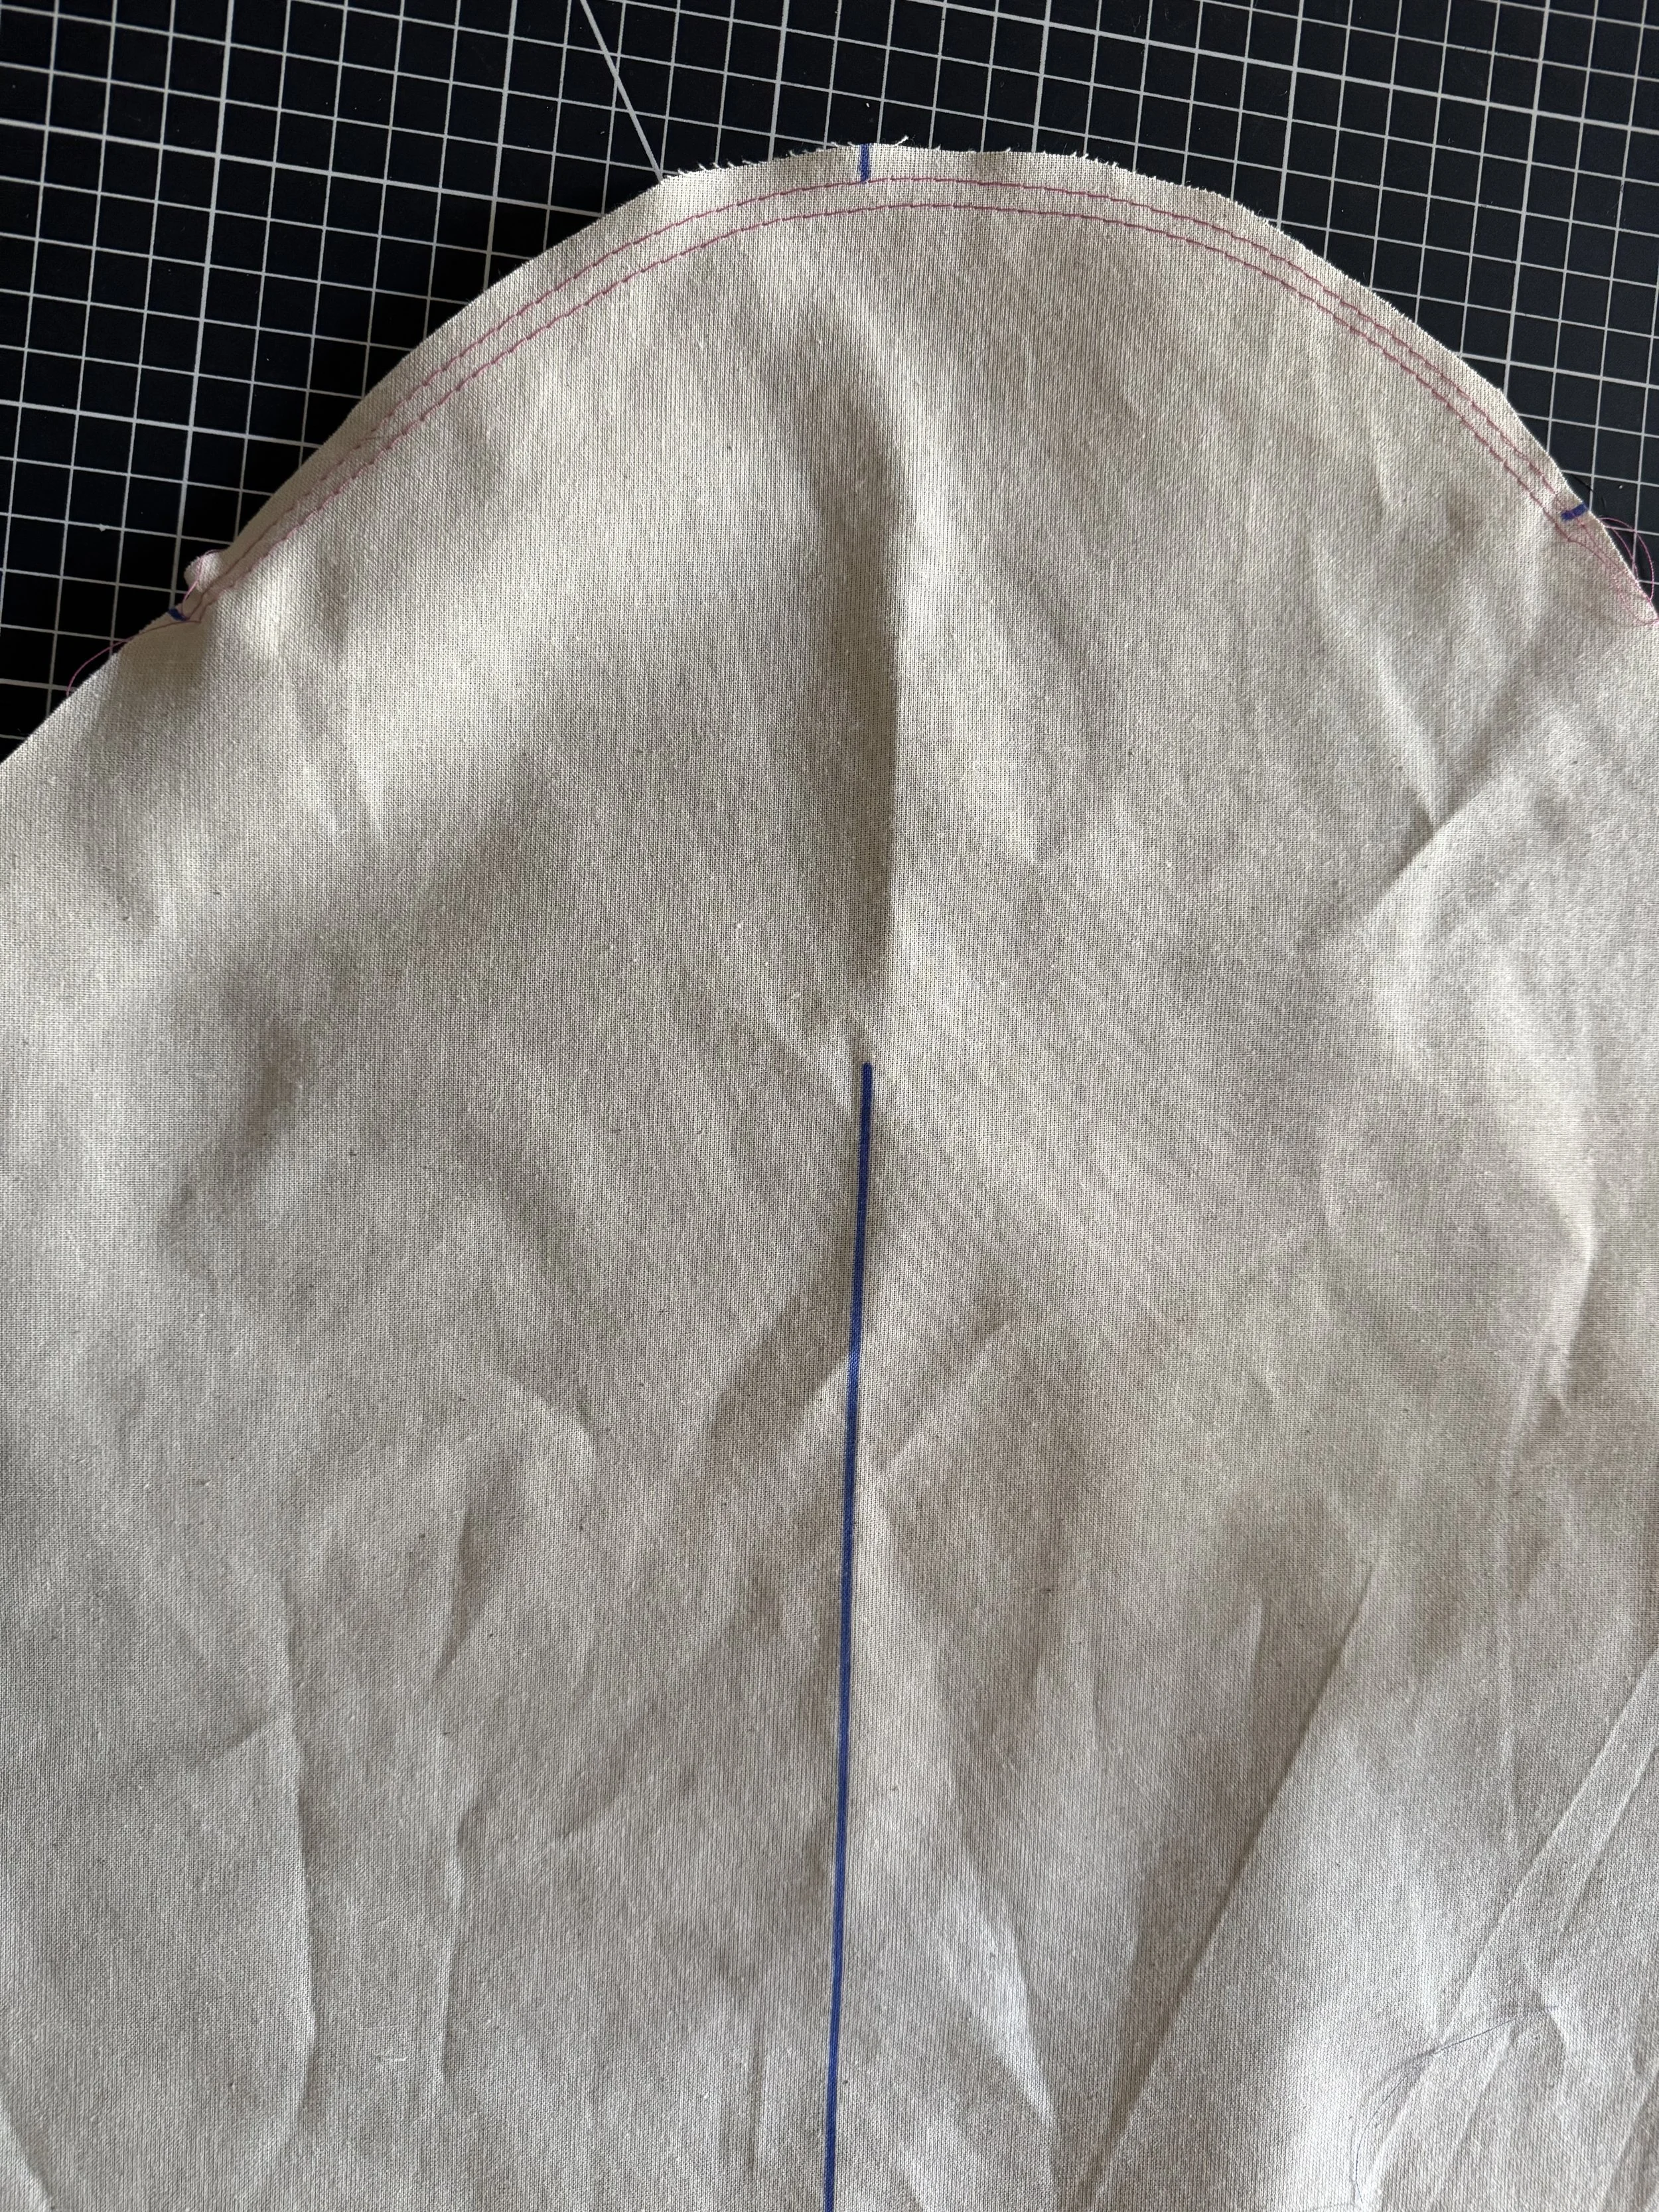
Run two lines of gathering stitches inside the seam allowance along the top of the sleeve between the notches.
Sew the seam closed using a 5/8” seam allowance.
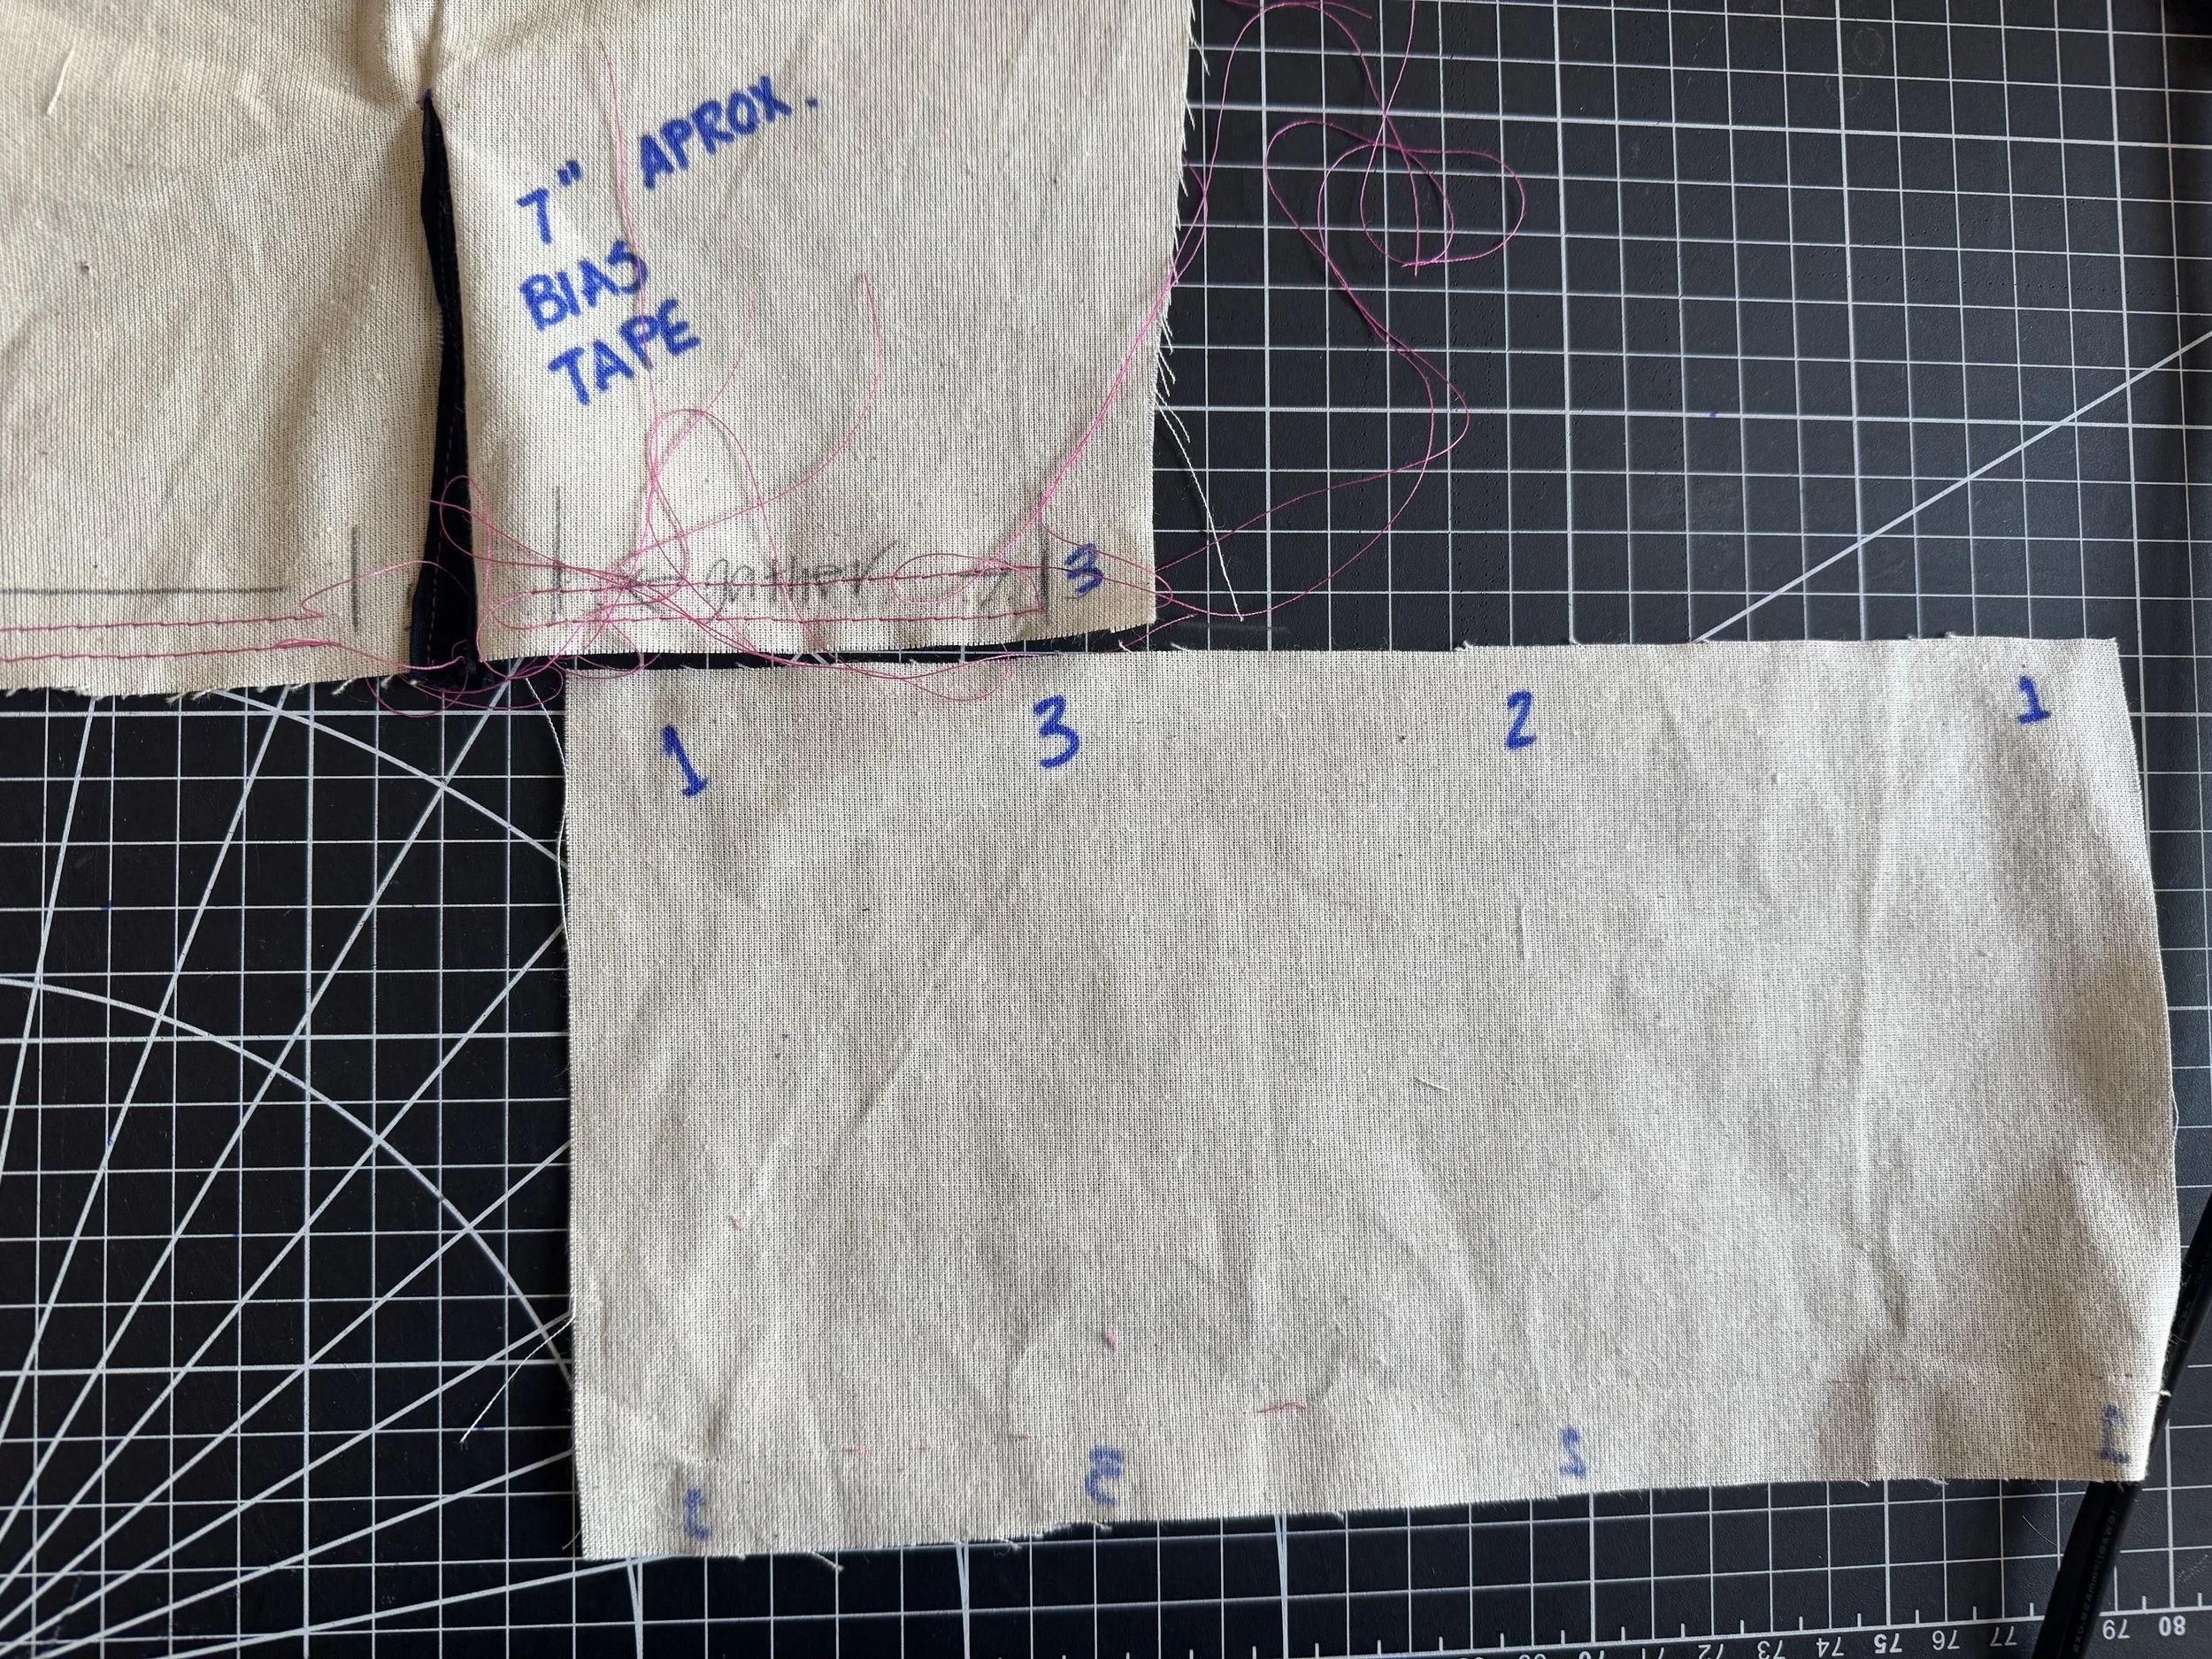
Next up is the cuff - this can be a little confusing but broken down -
The number 1 on the cuff is written on both edges, these start and finish at the slit. The remainder of the sleeve is gathered into the cuff - between 1 and 1.
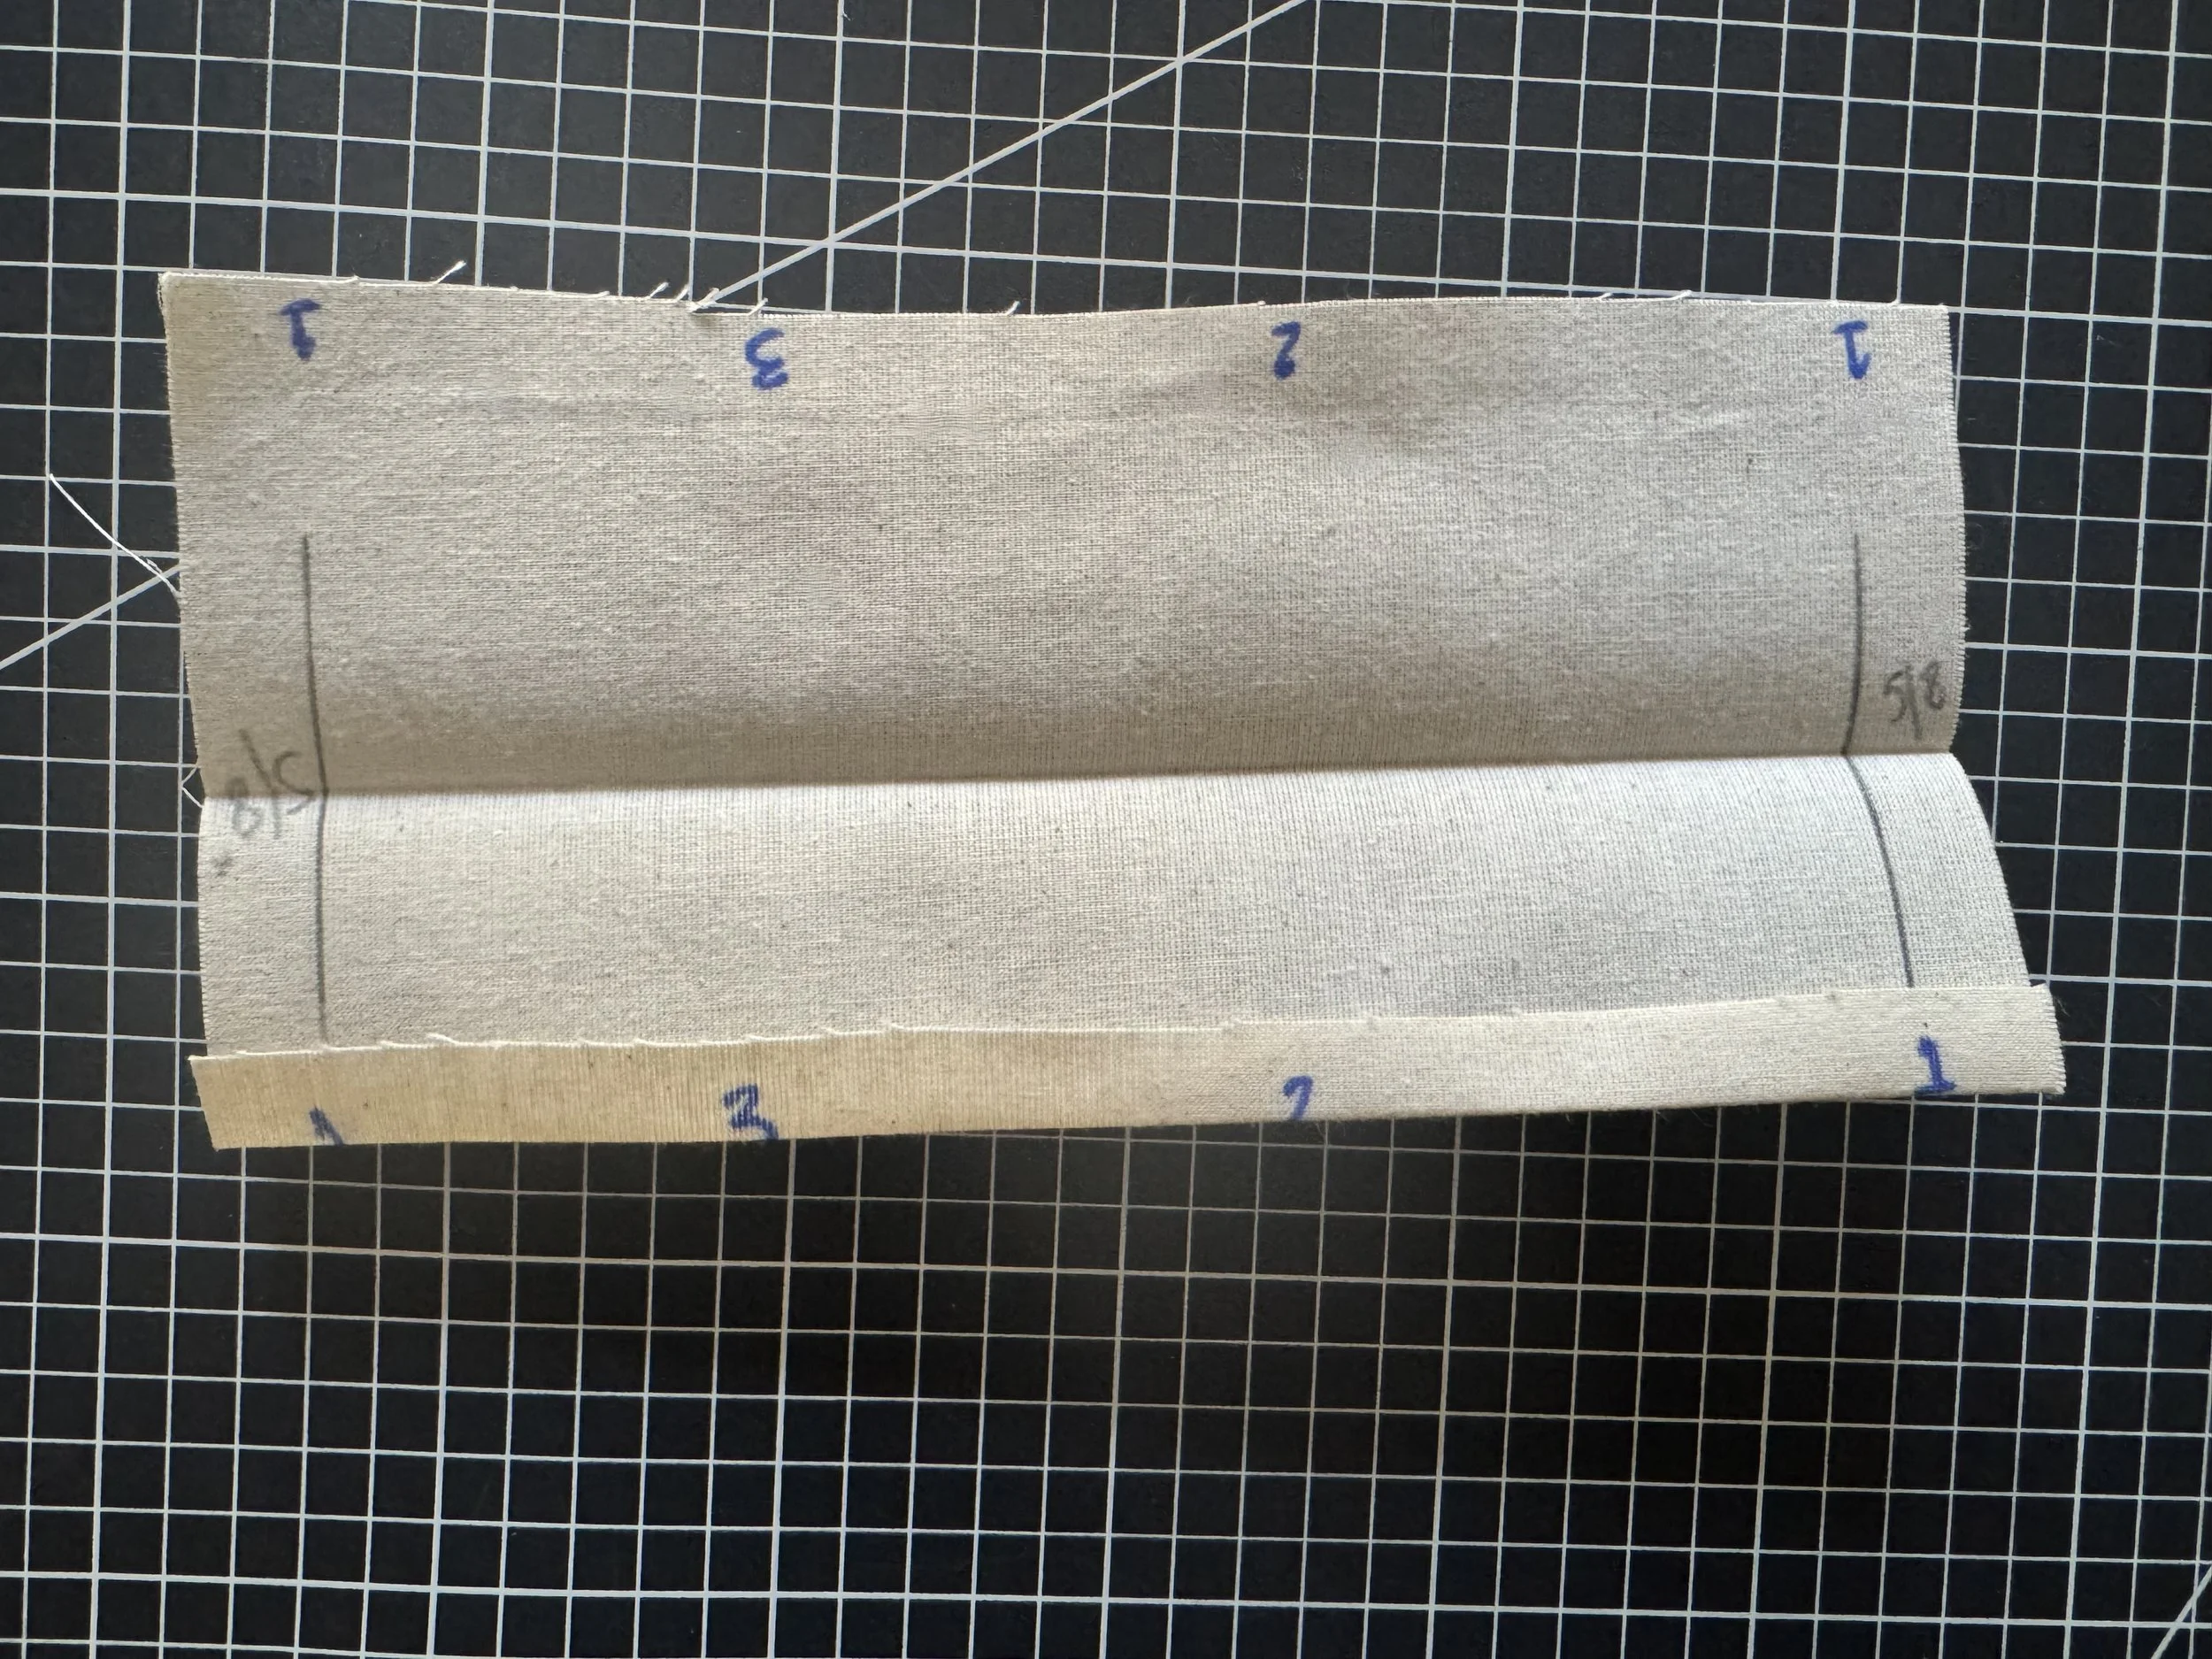
Fold and press your cuff in half. Fold a 5/8” seam allowance on one edge lengthways. Mark your 5/8” seam allowance width ways.
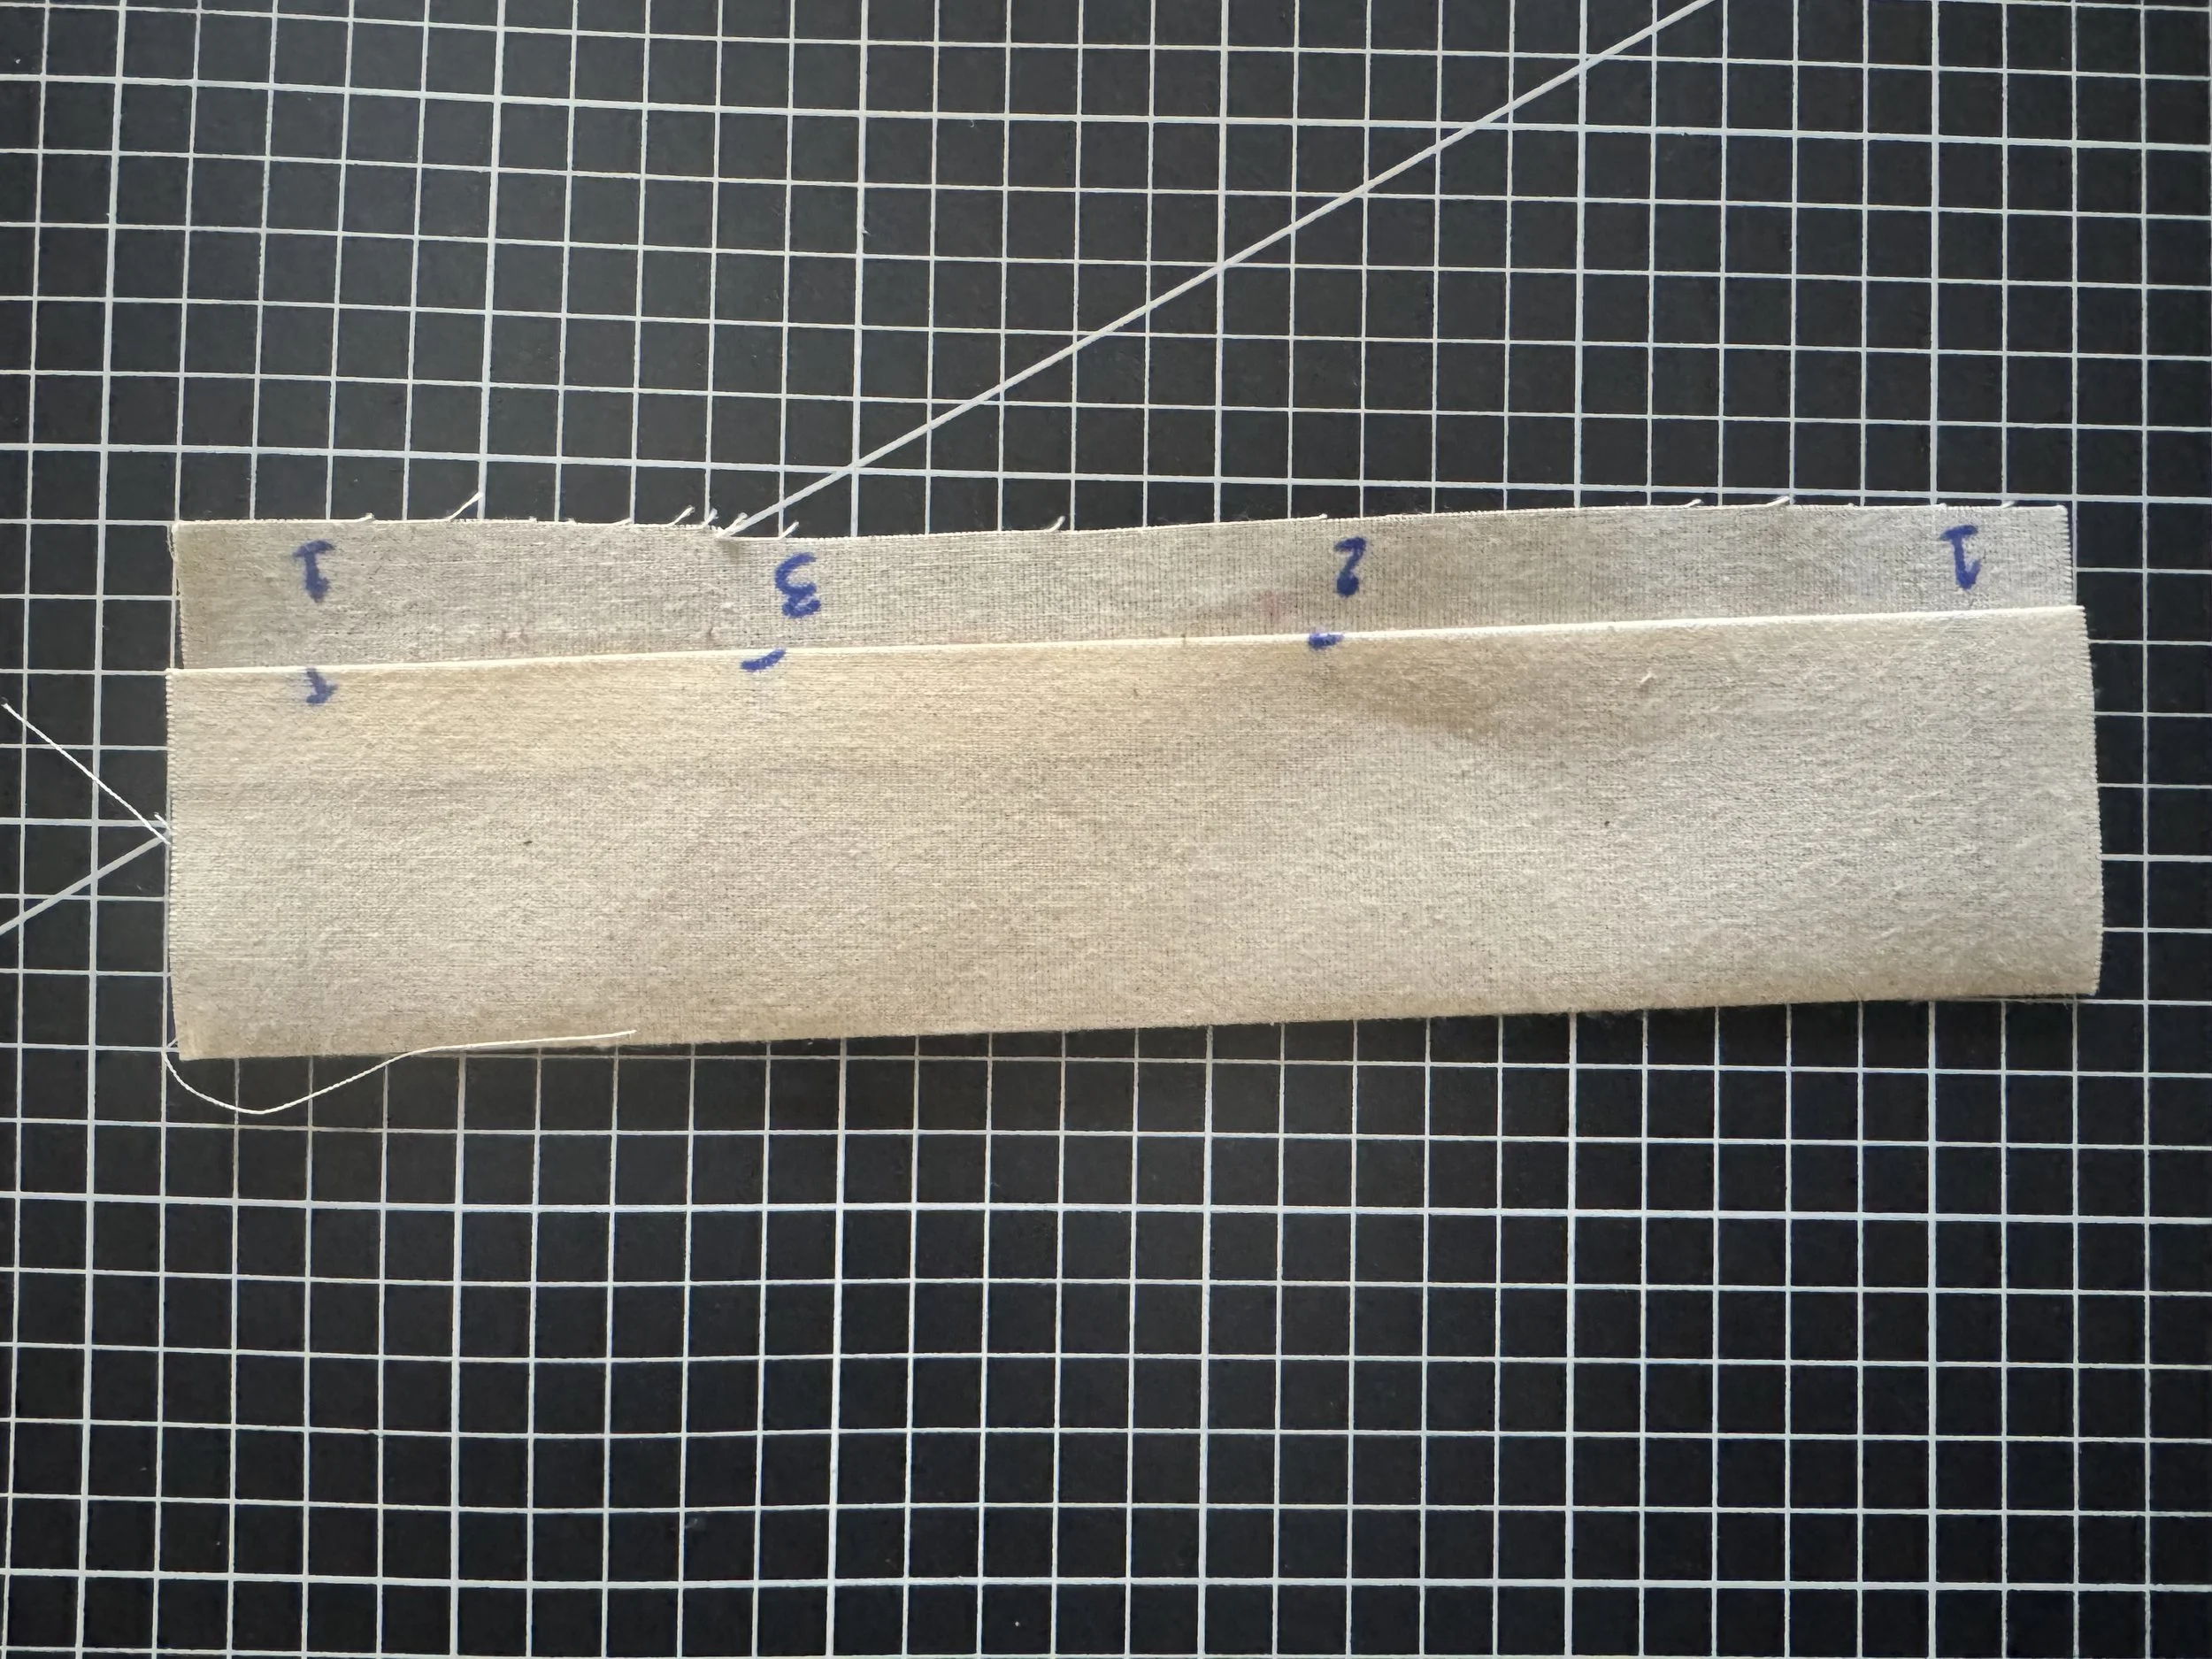
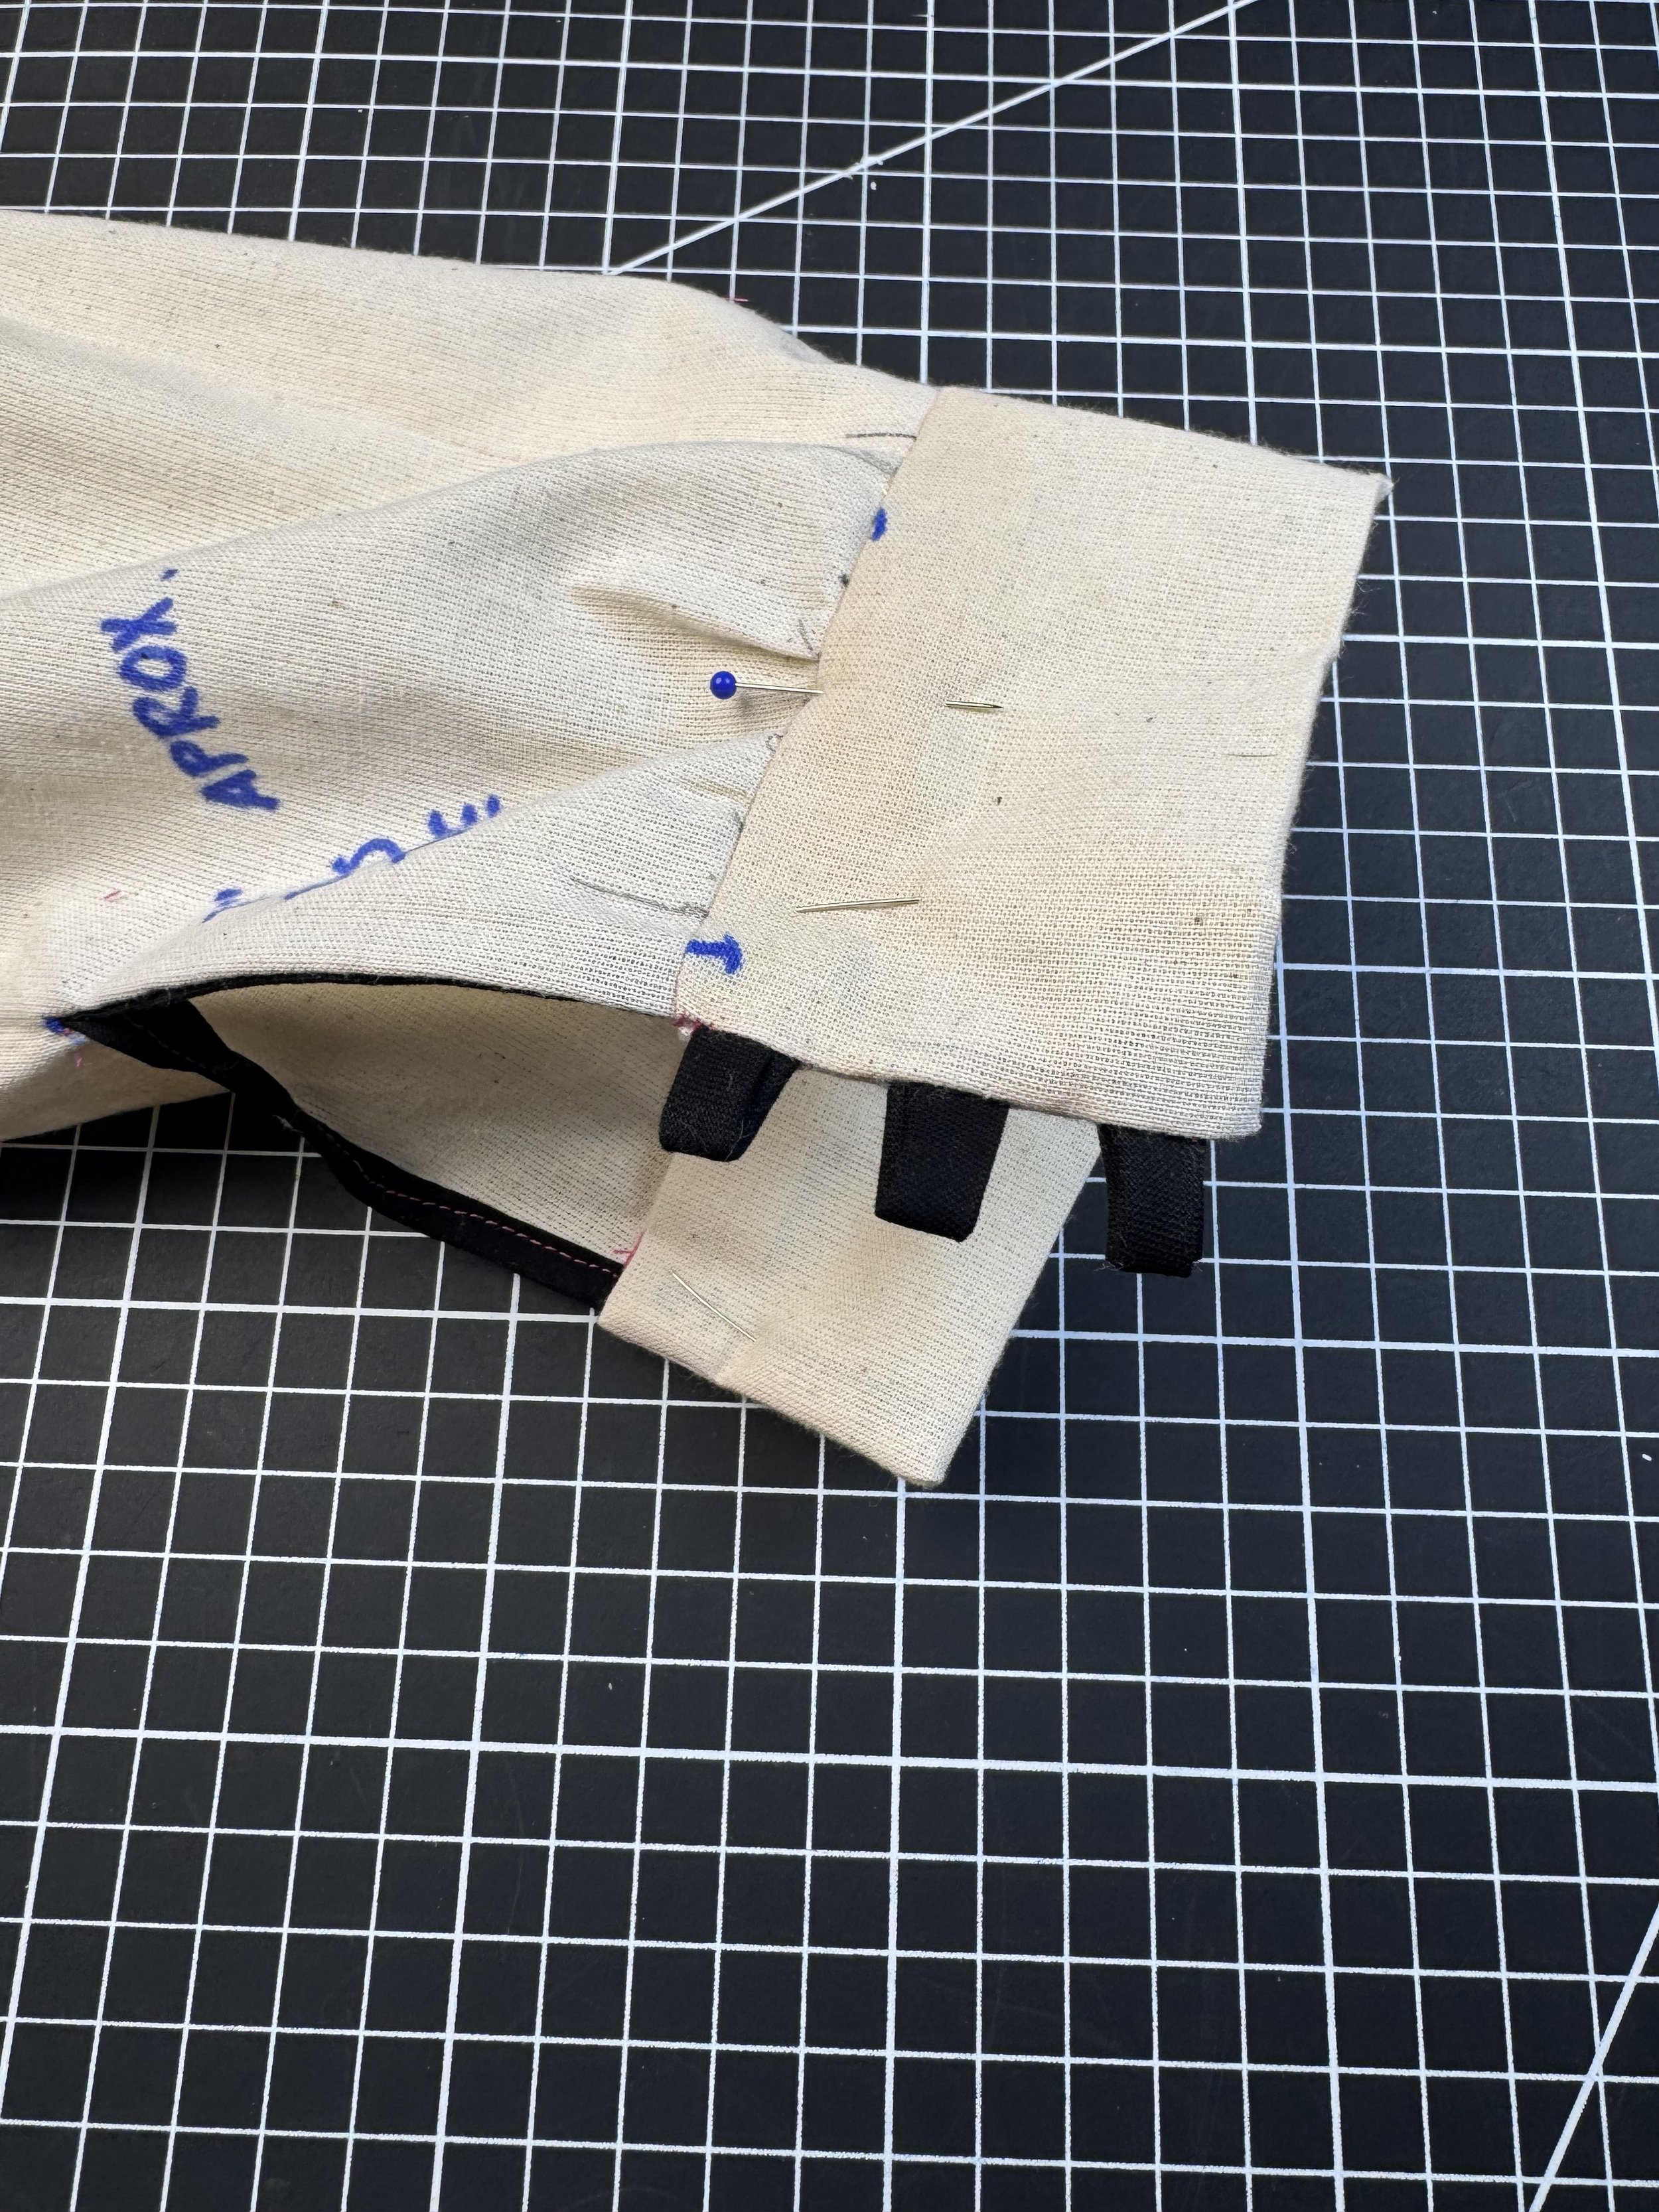
Pin the edges of your cuff - 1 and 1 to your sleeve slit, overlapping the sleeve seam with the 5/8” seam allowance. Gather your stitches on the sleeve until it fits the remainder of the cuff and sew using a 5/8” seam allowance.
Closing the cuff -
We have not marked a placement for buttons and buttonholes, as I find this to be very subjective to each sewer - but I did want to offer an alternative and show some very quick loops for seed buttons. It’s simple and very lovely when finished.
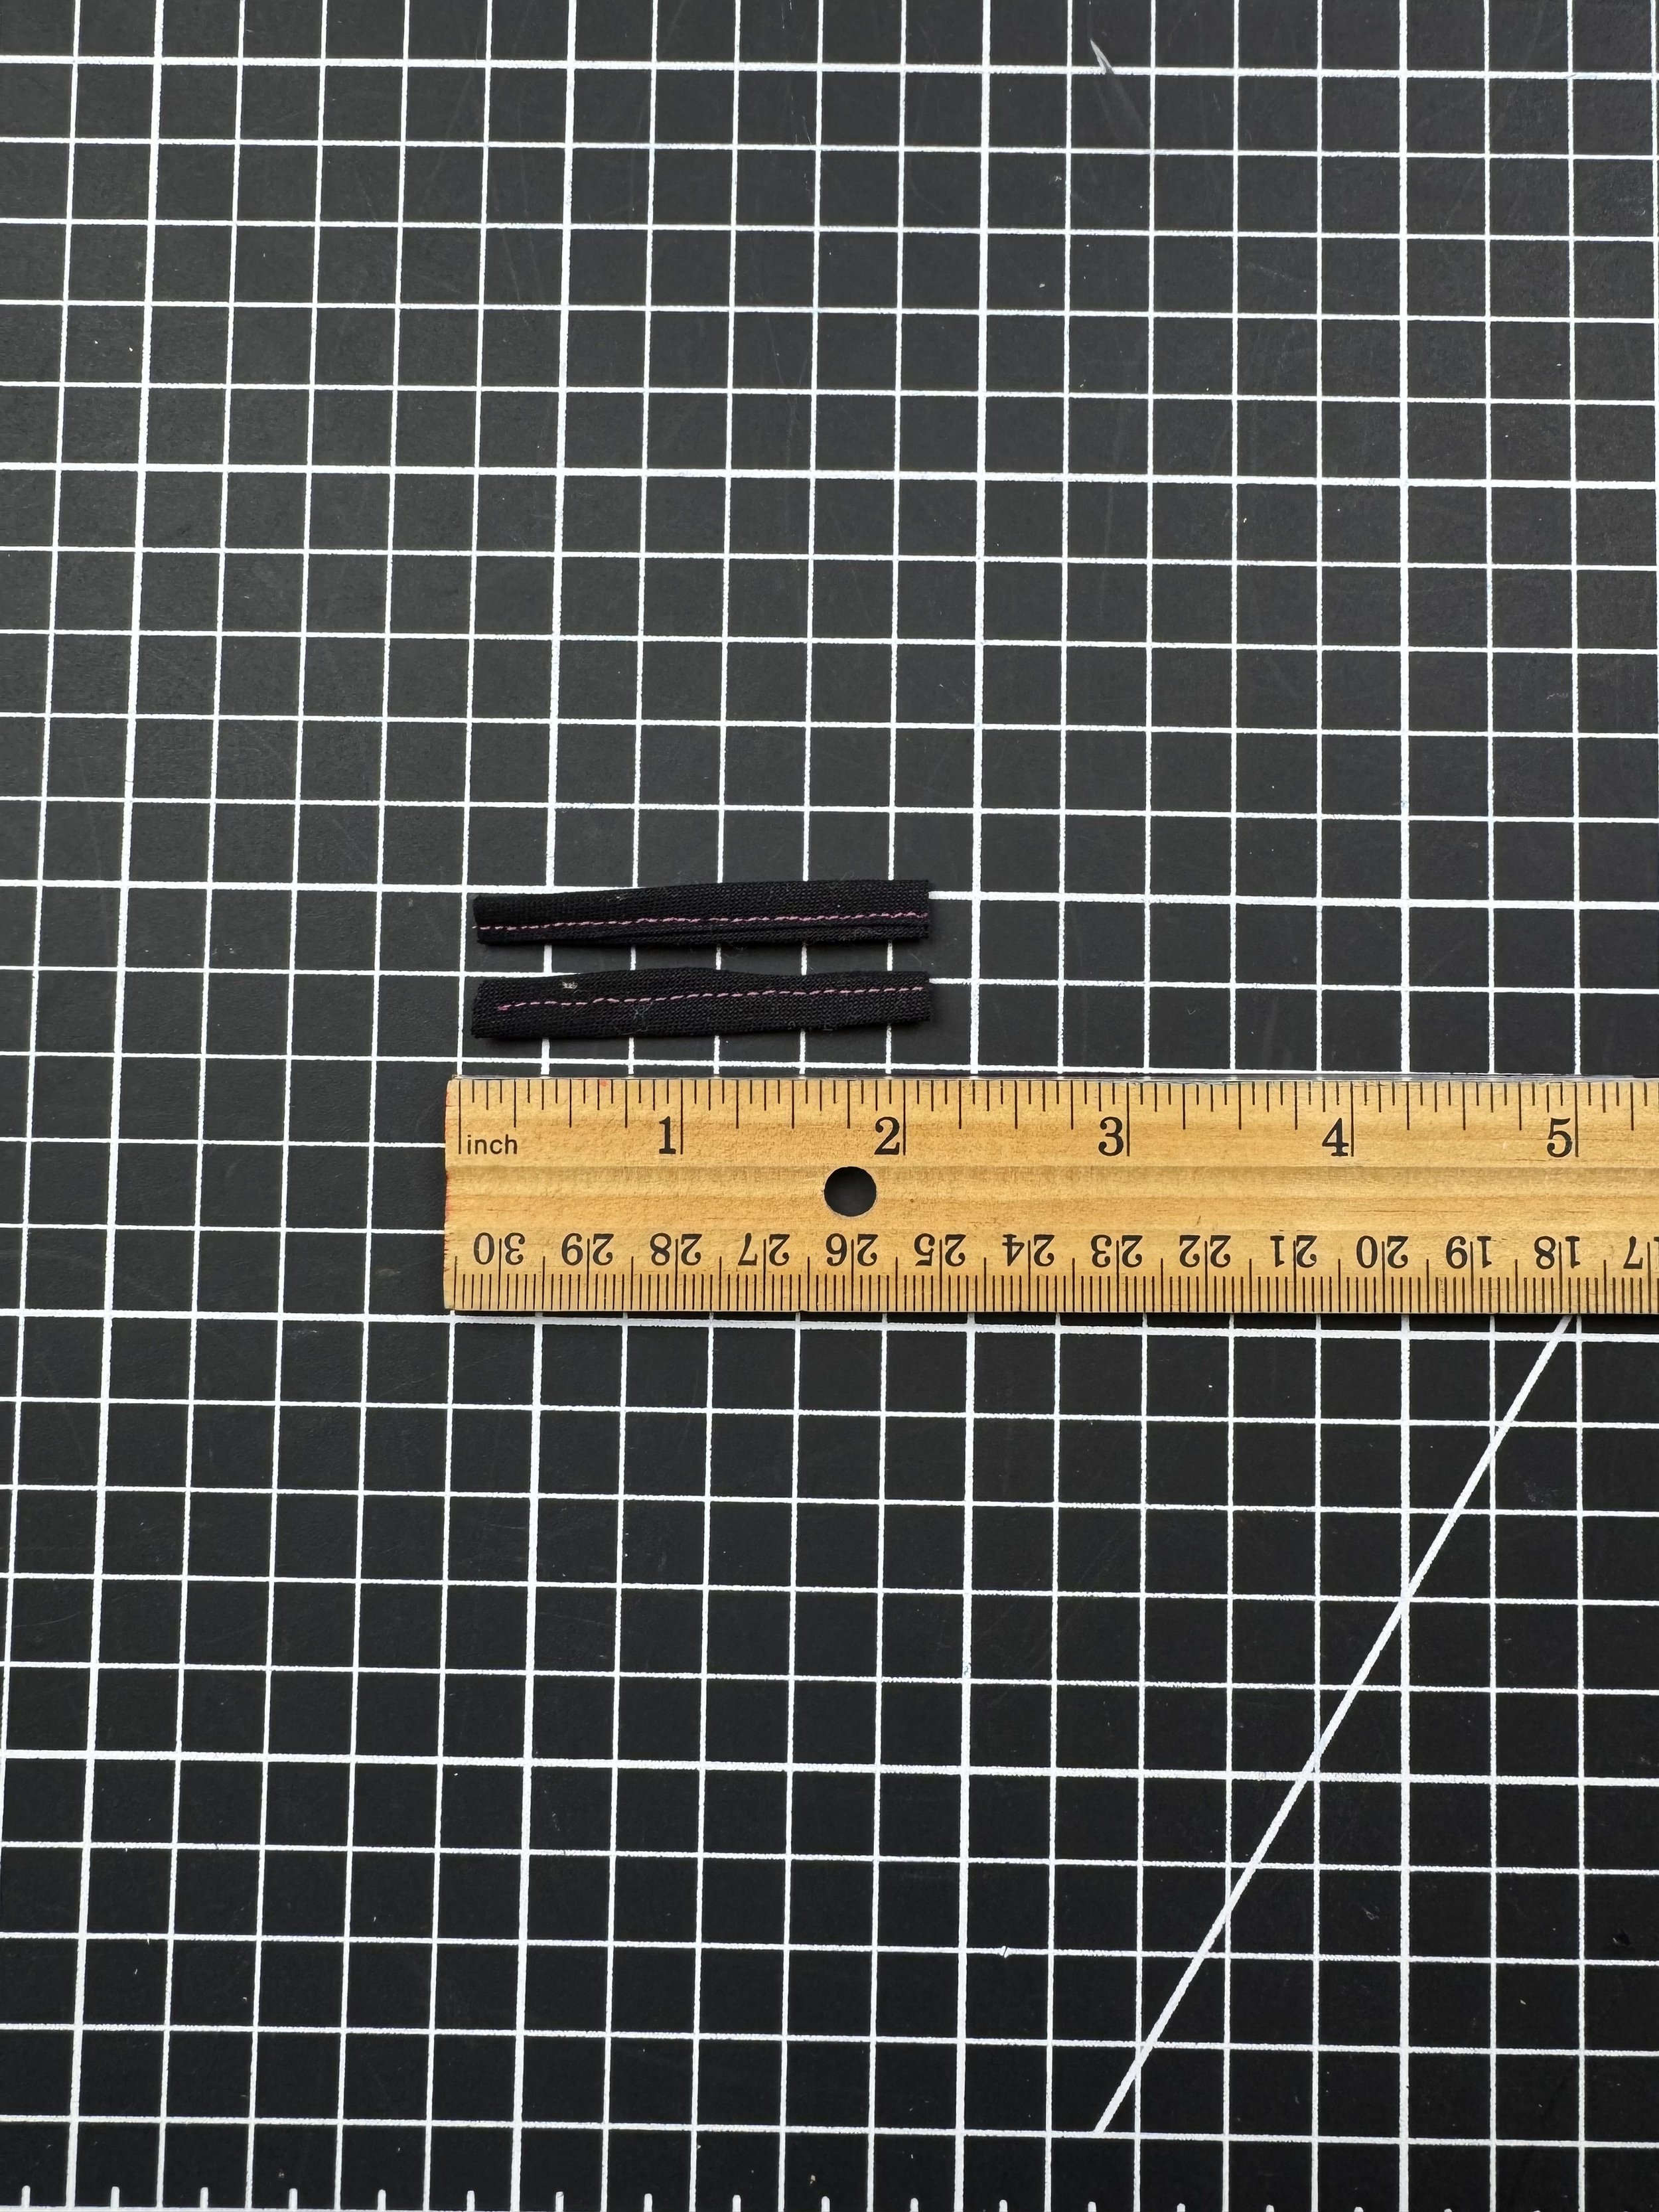
Depending on the size of the buttons, cut the remaining bias strip into section. I choose 2”, as they are quite thick.
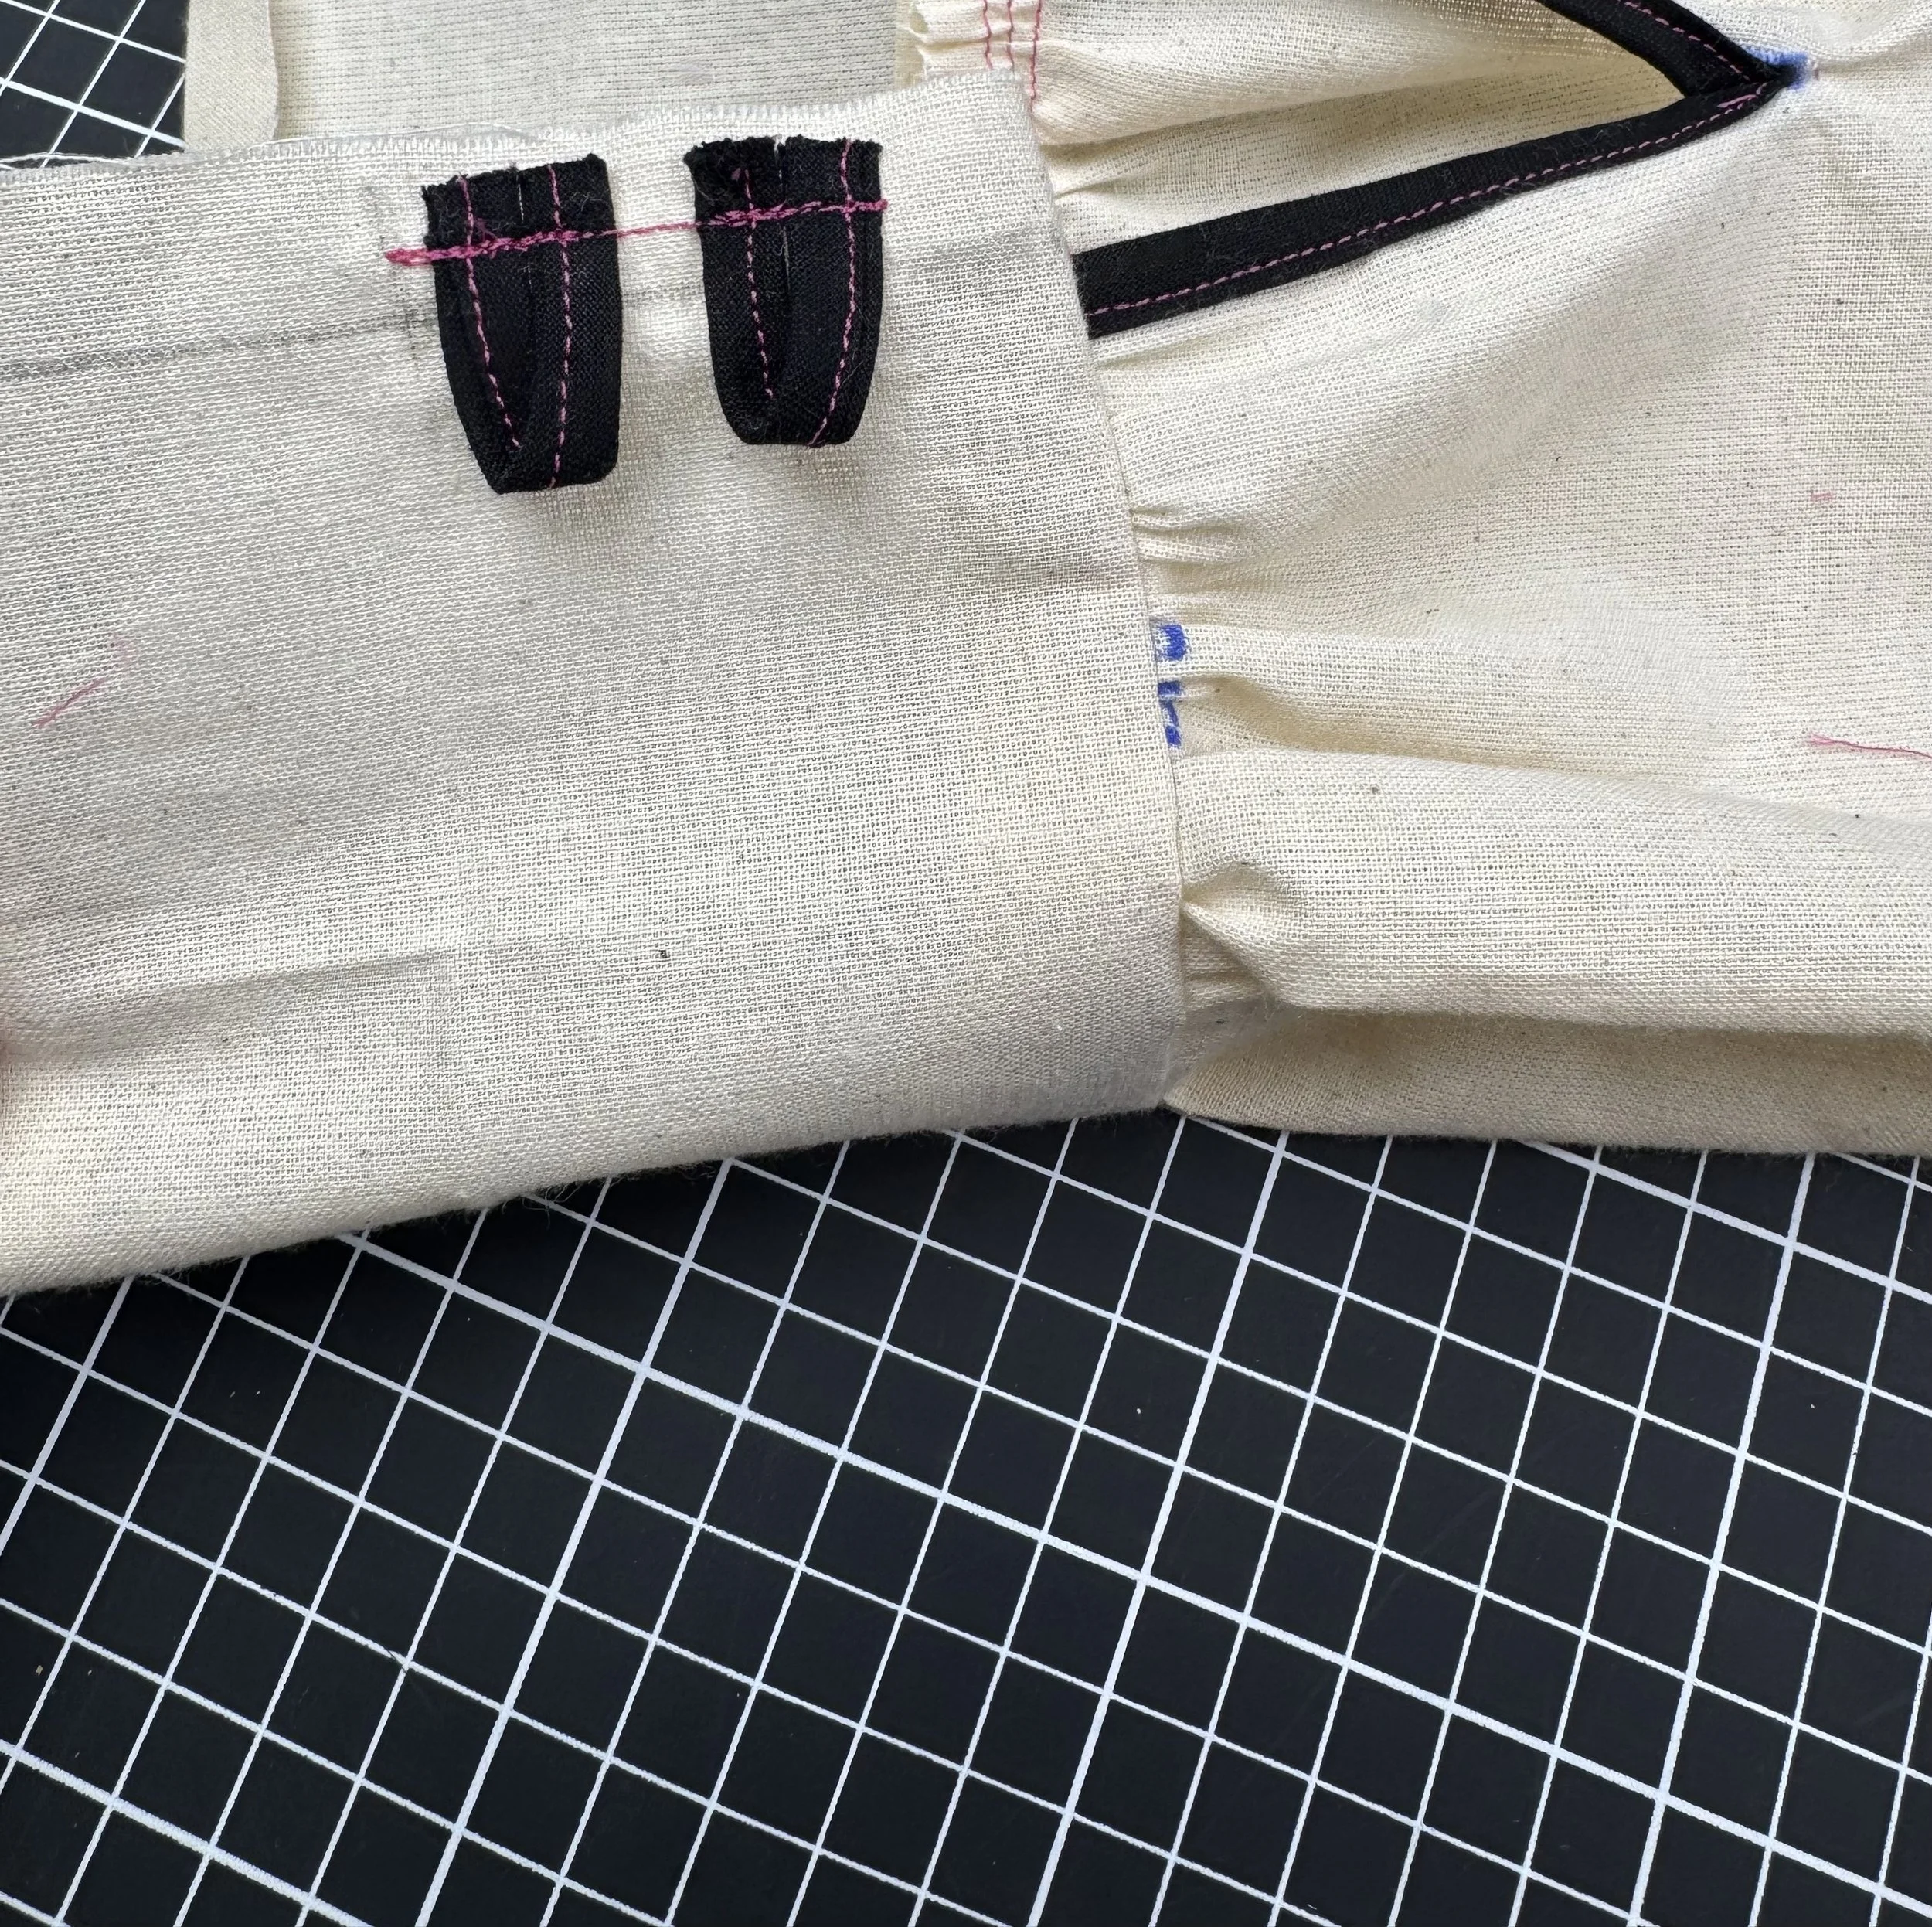
Sew your loops with the edges inside of the seam allowance. Pass a stitch over them at least twice to hold them in place. Here I placed two, but on the other sleeve, I did add three smaller loops with the potential for one more.
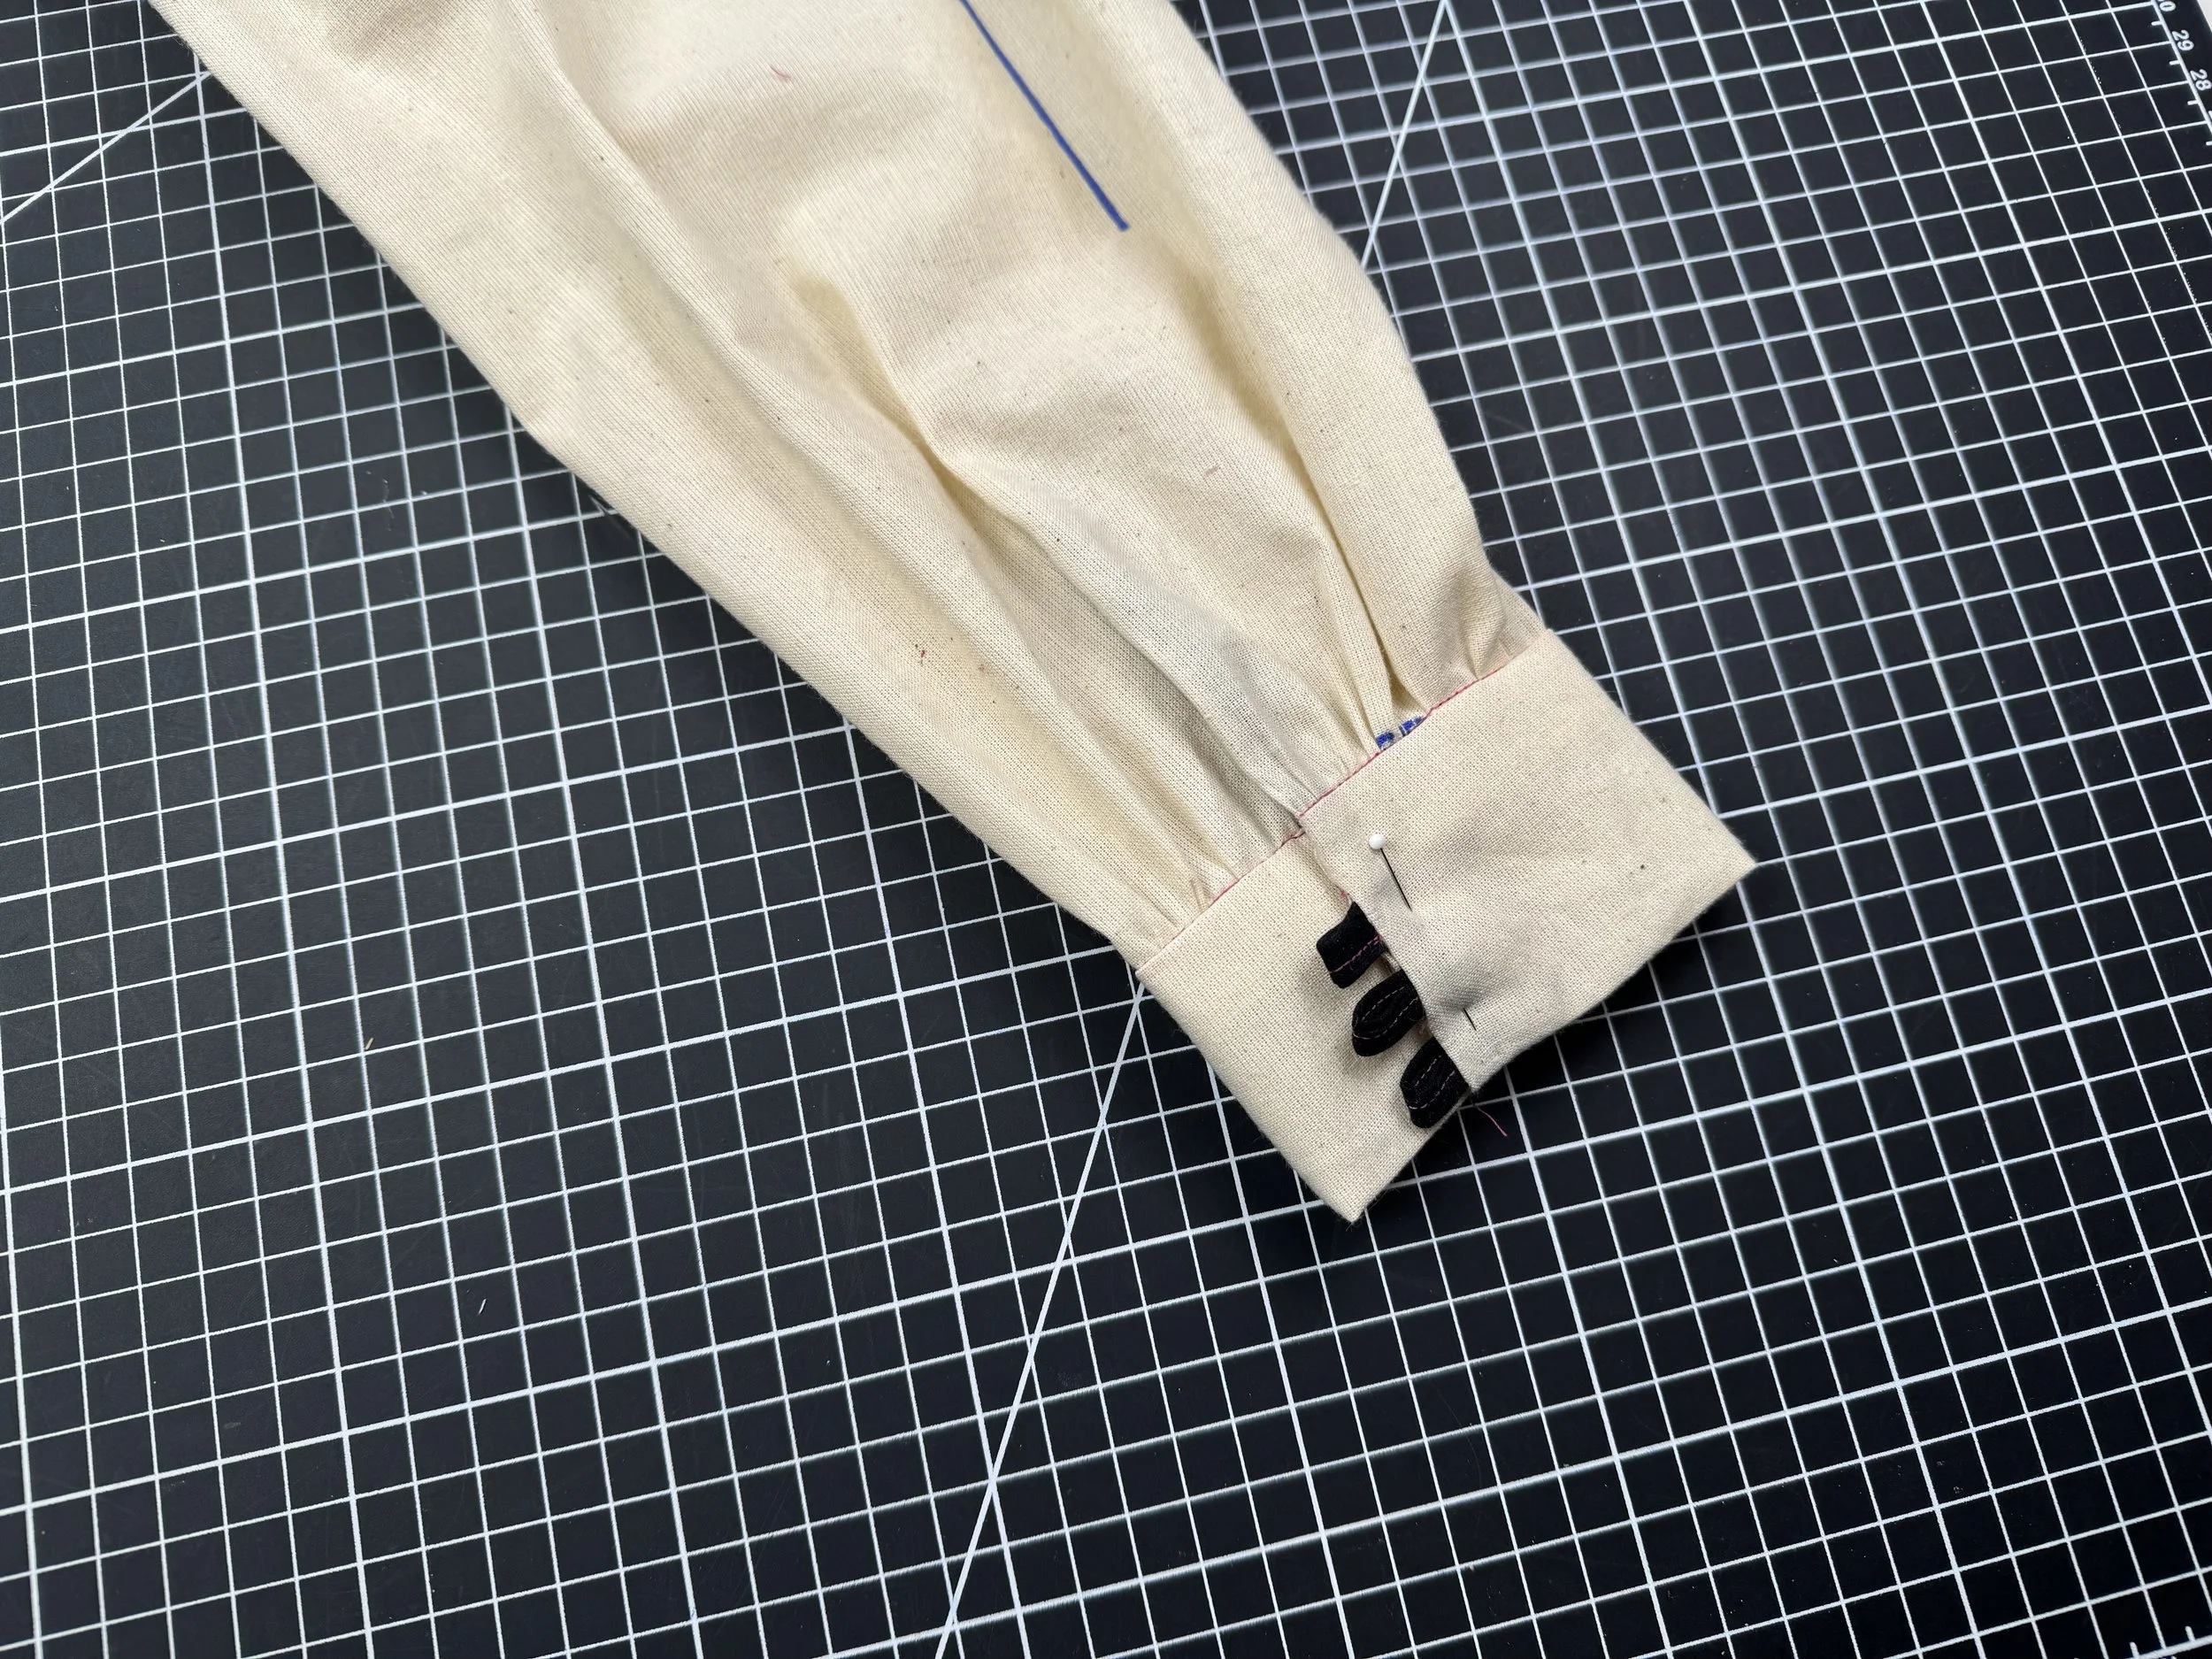
Fold the edges of the cuffs - right side to right side. Sew the edges, this might not be exactly 5/8”. Your seam should follow the line of the bias tape for a clean straight finish. Trim the edges to reduce bulk.
Fold half the cuff to the inside and pin the pre-folded seam allowance over the cuff and sleeve seam.

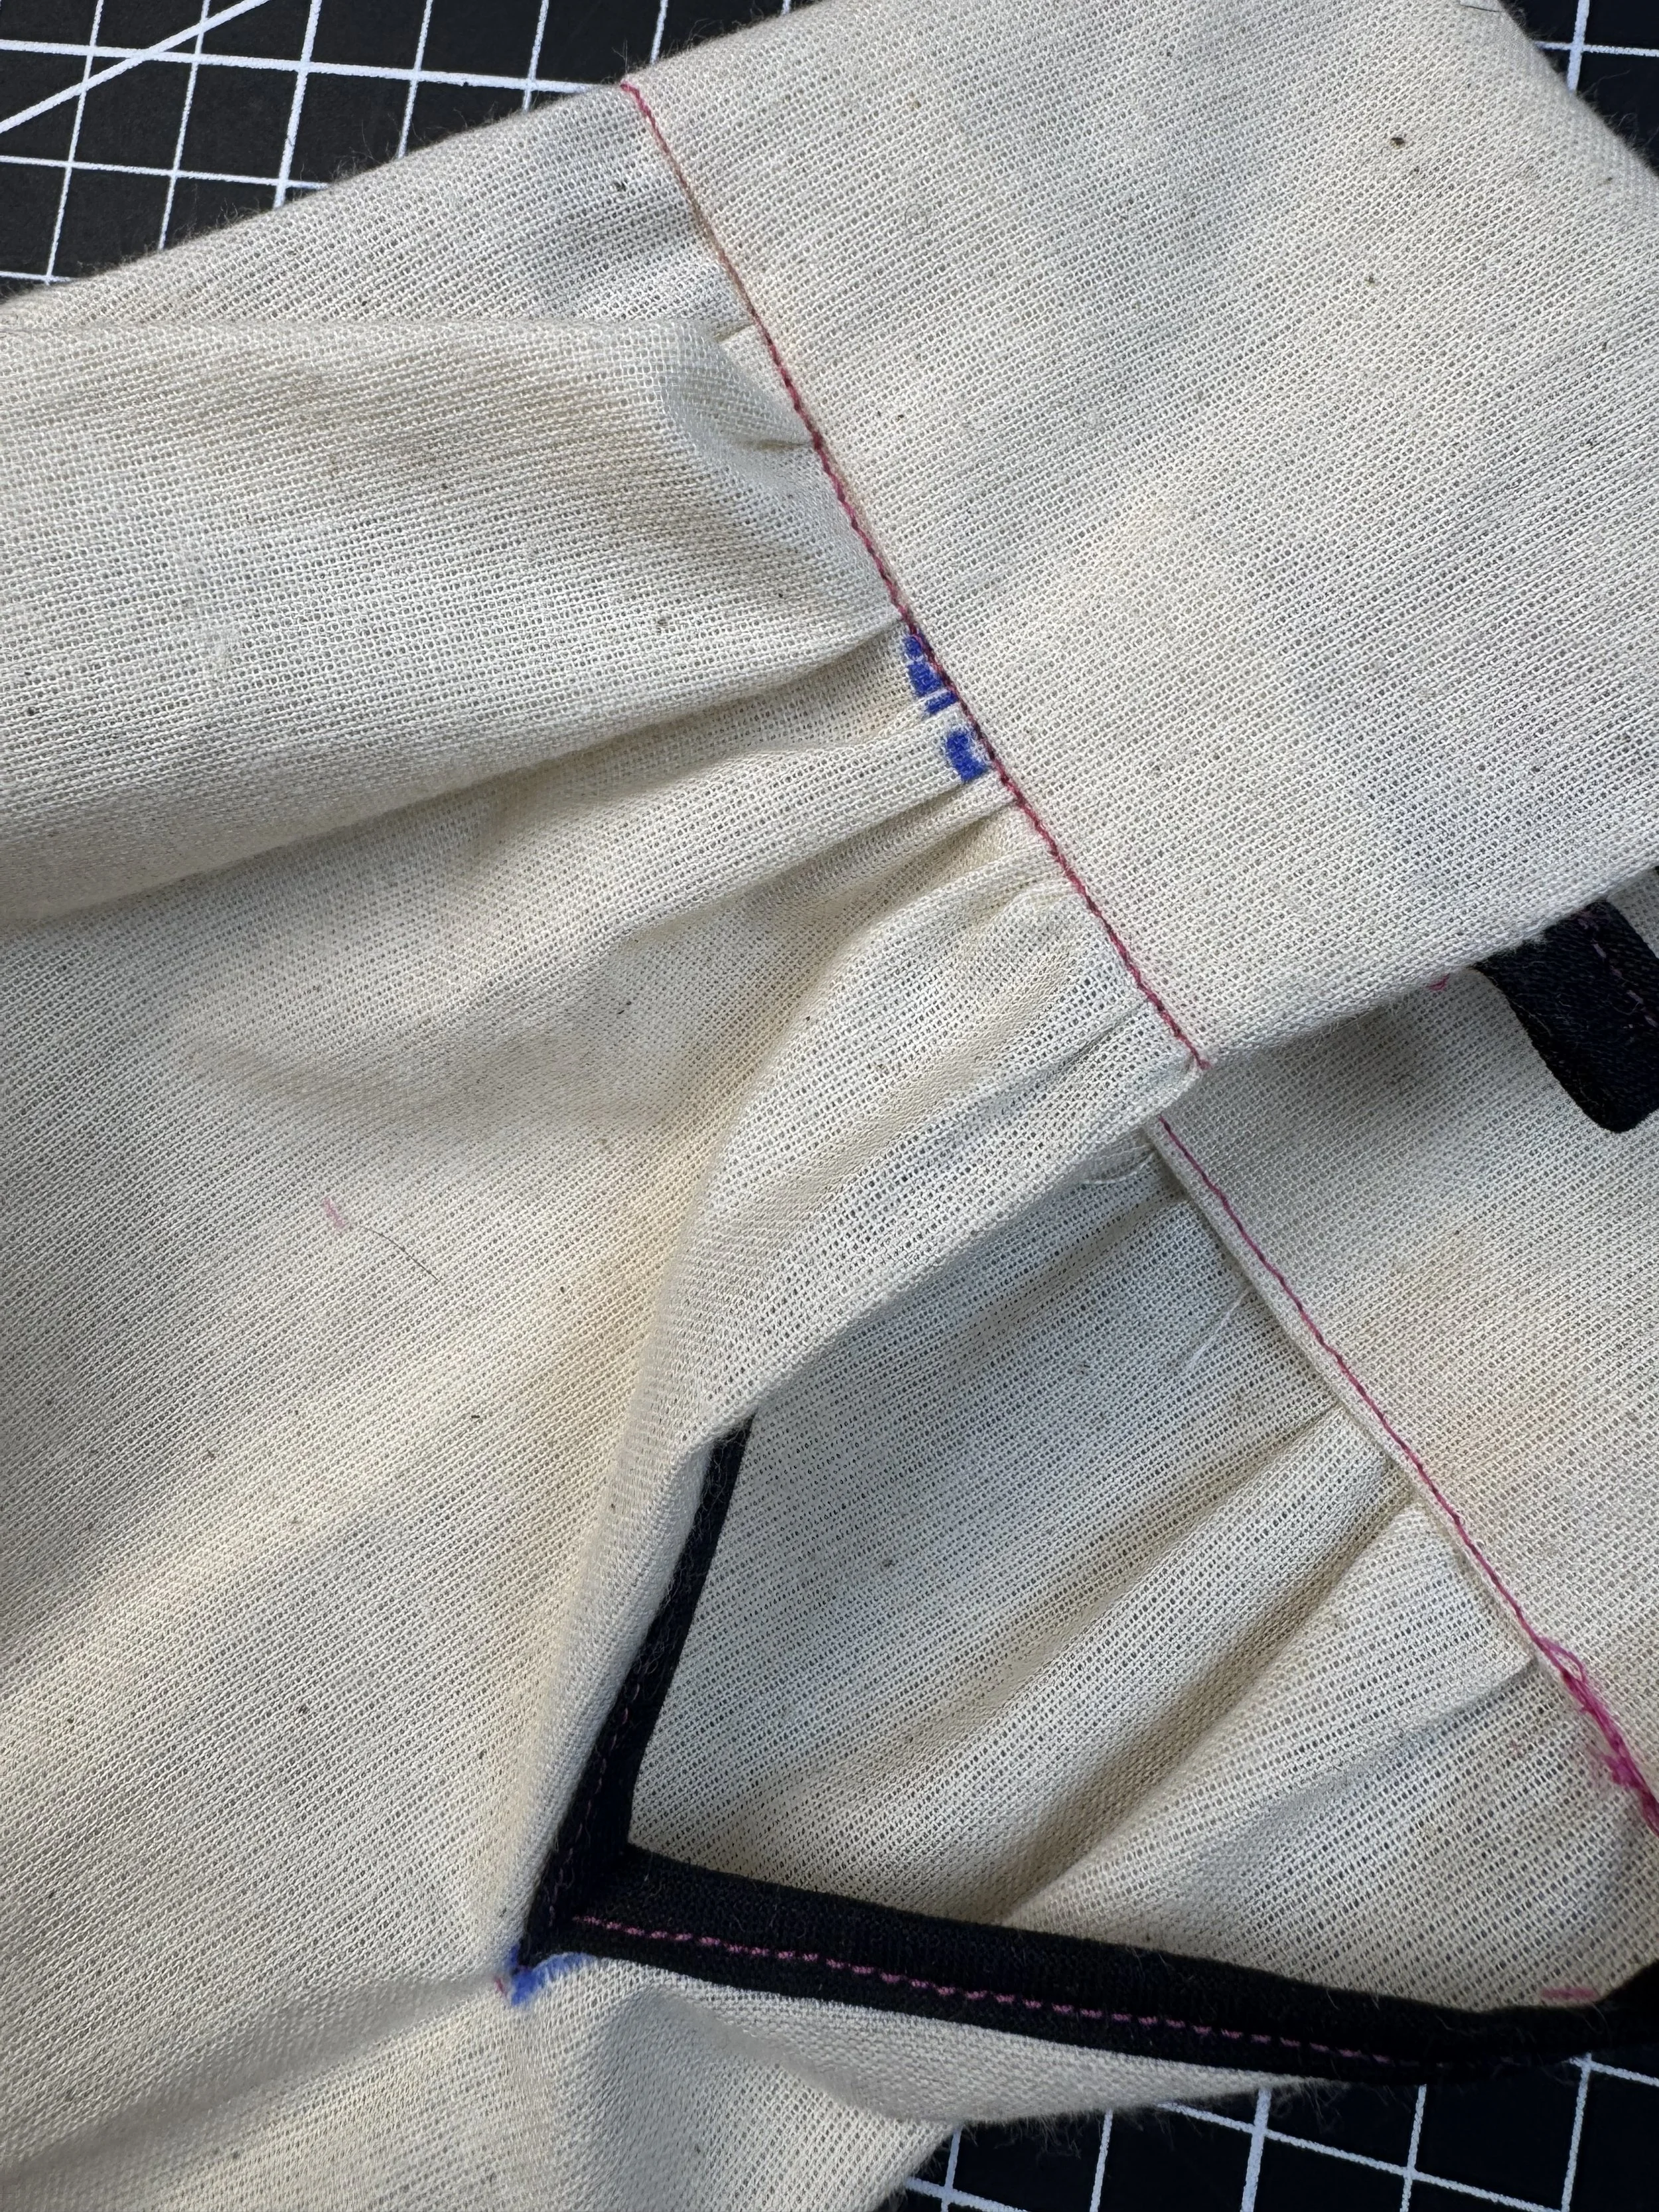
Sew from the outside using the stitch in the ditch method, working slowly around the sleeve.