7 - The Dauphine Shorts - Construction / Lining
I’ve included a lining with the shorts, as there are multiple inside seams, and some are close to the skin. This is an optional step, but a lightweight cotton, or silk would be a lovely addition.
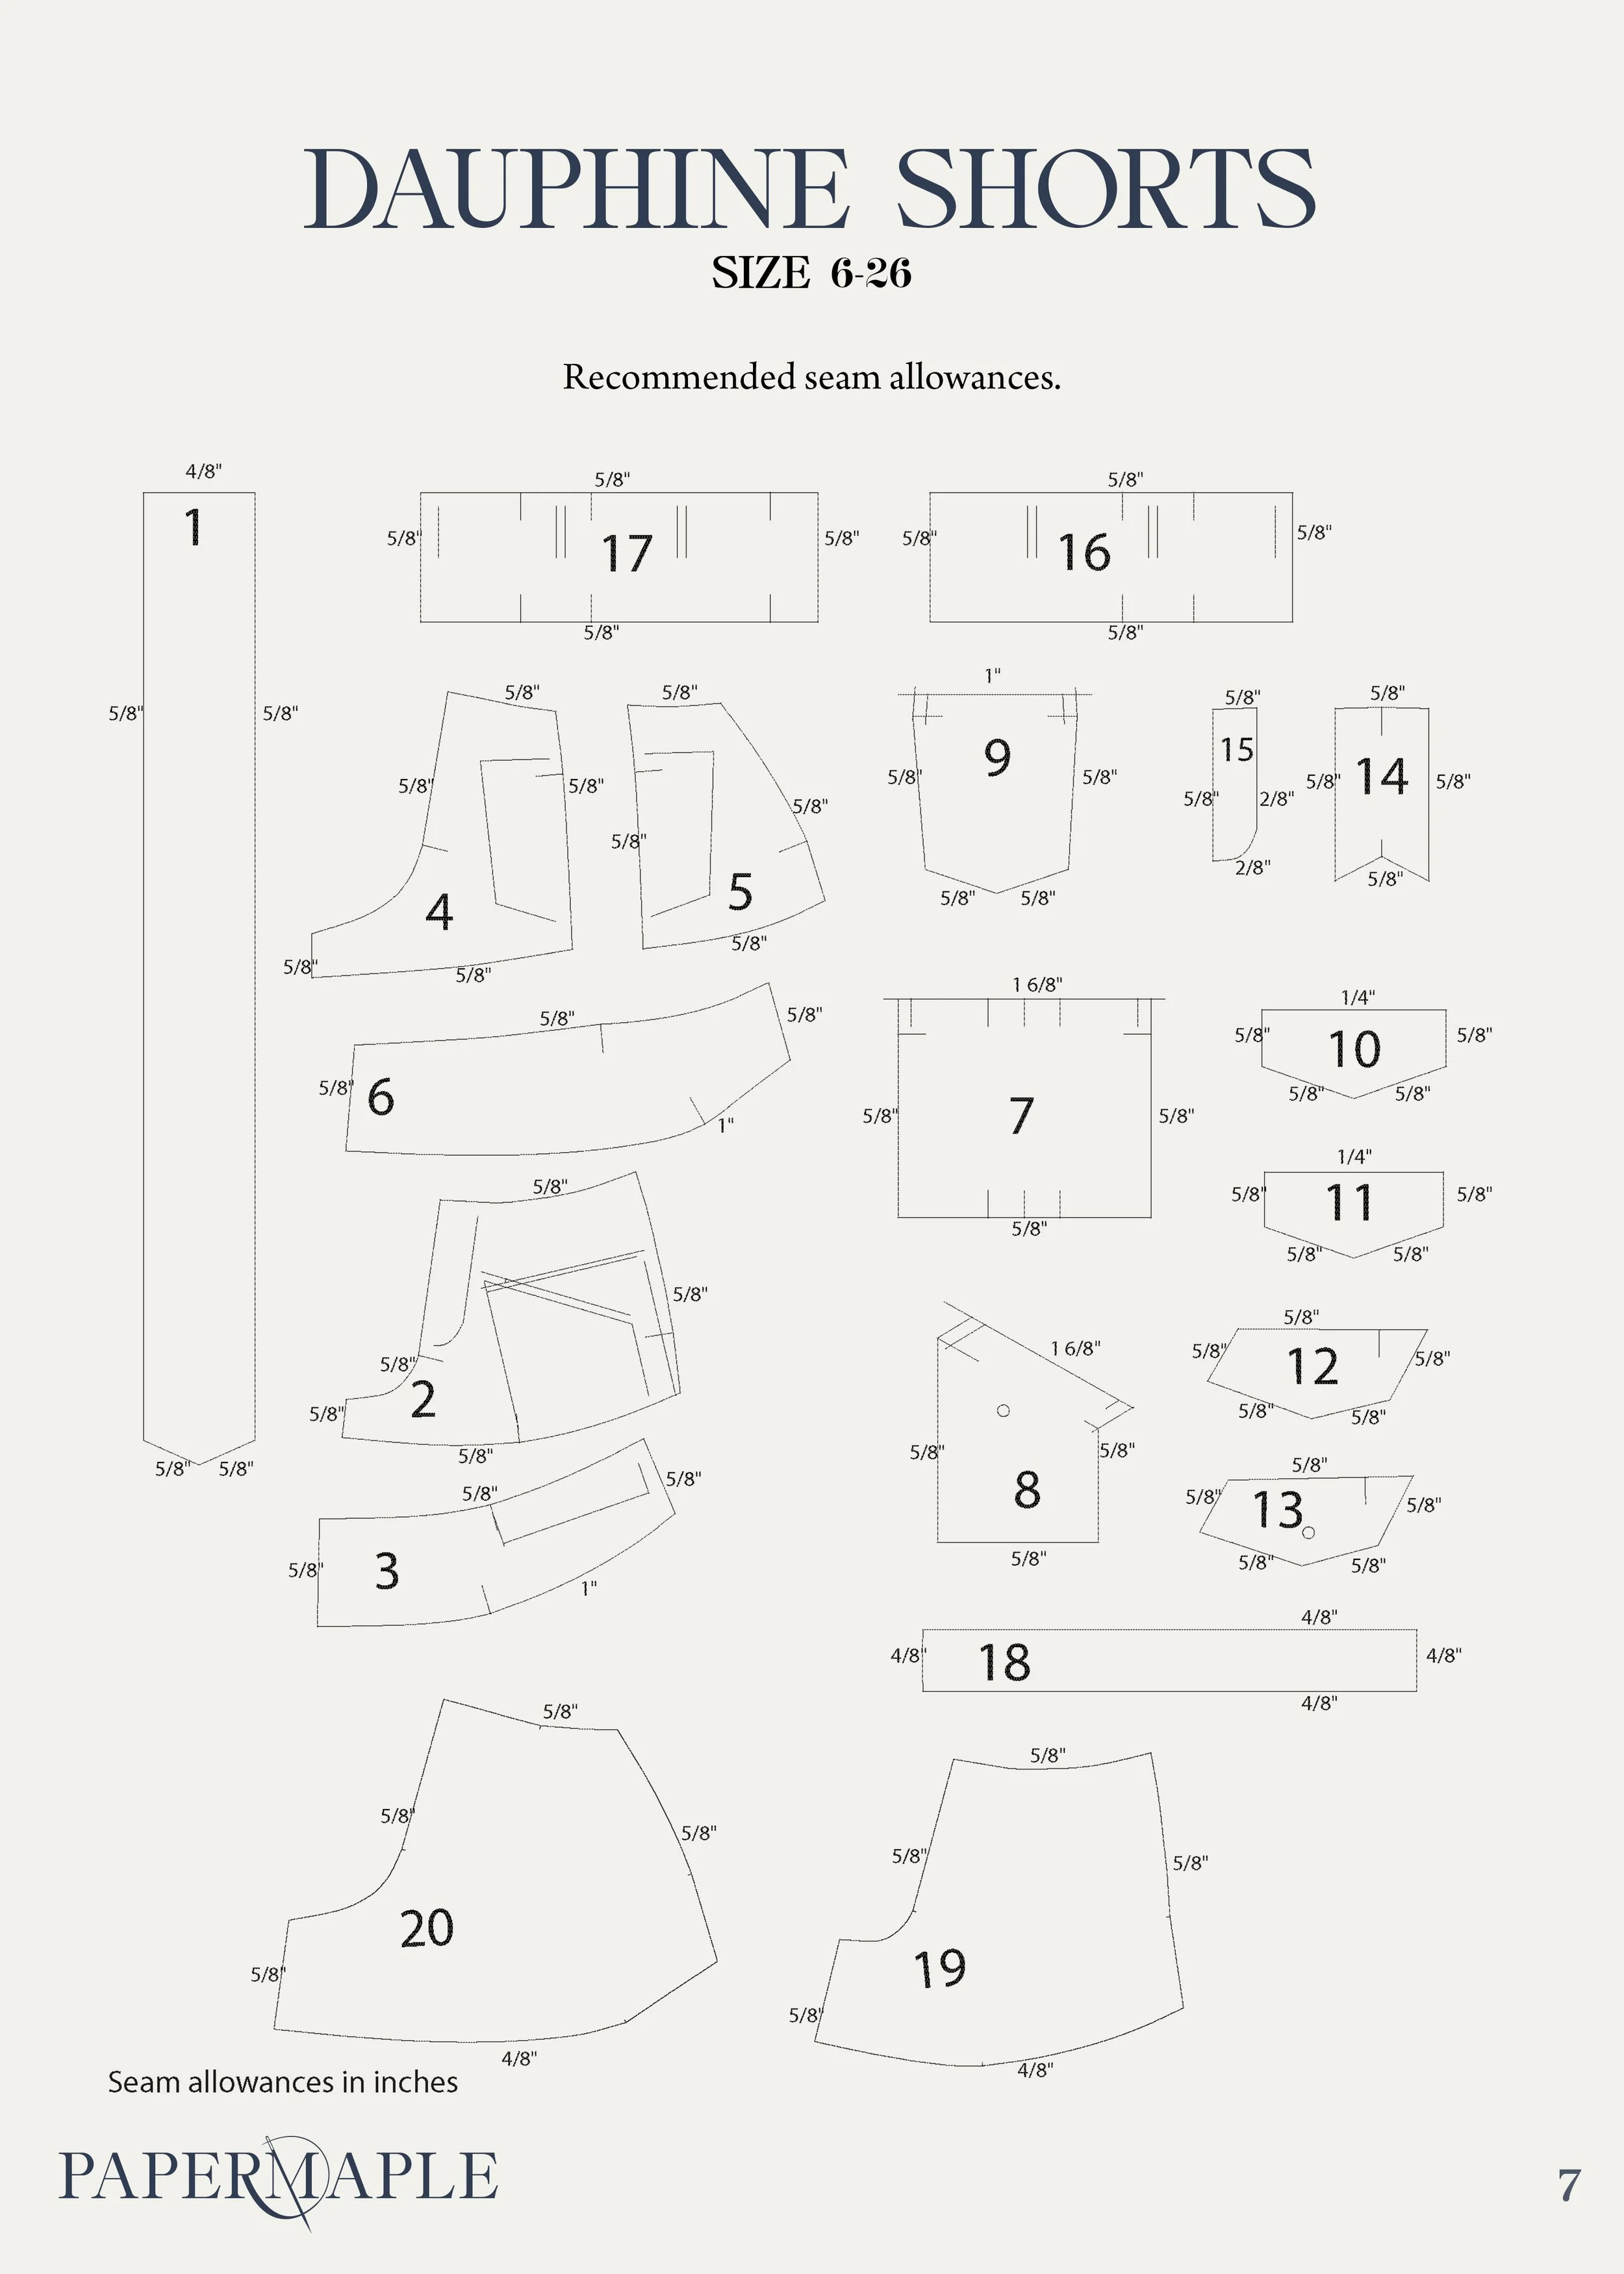
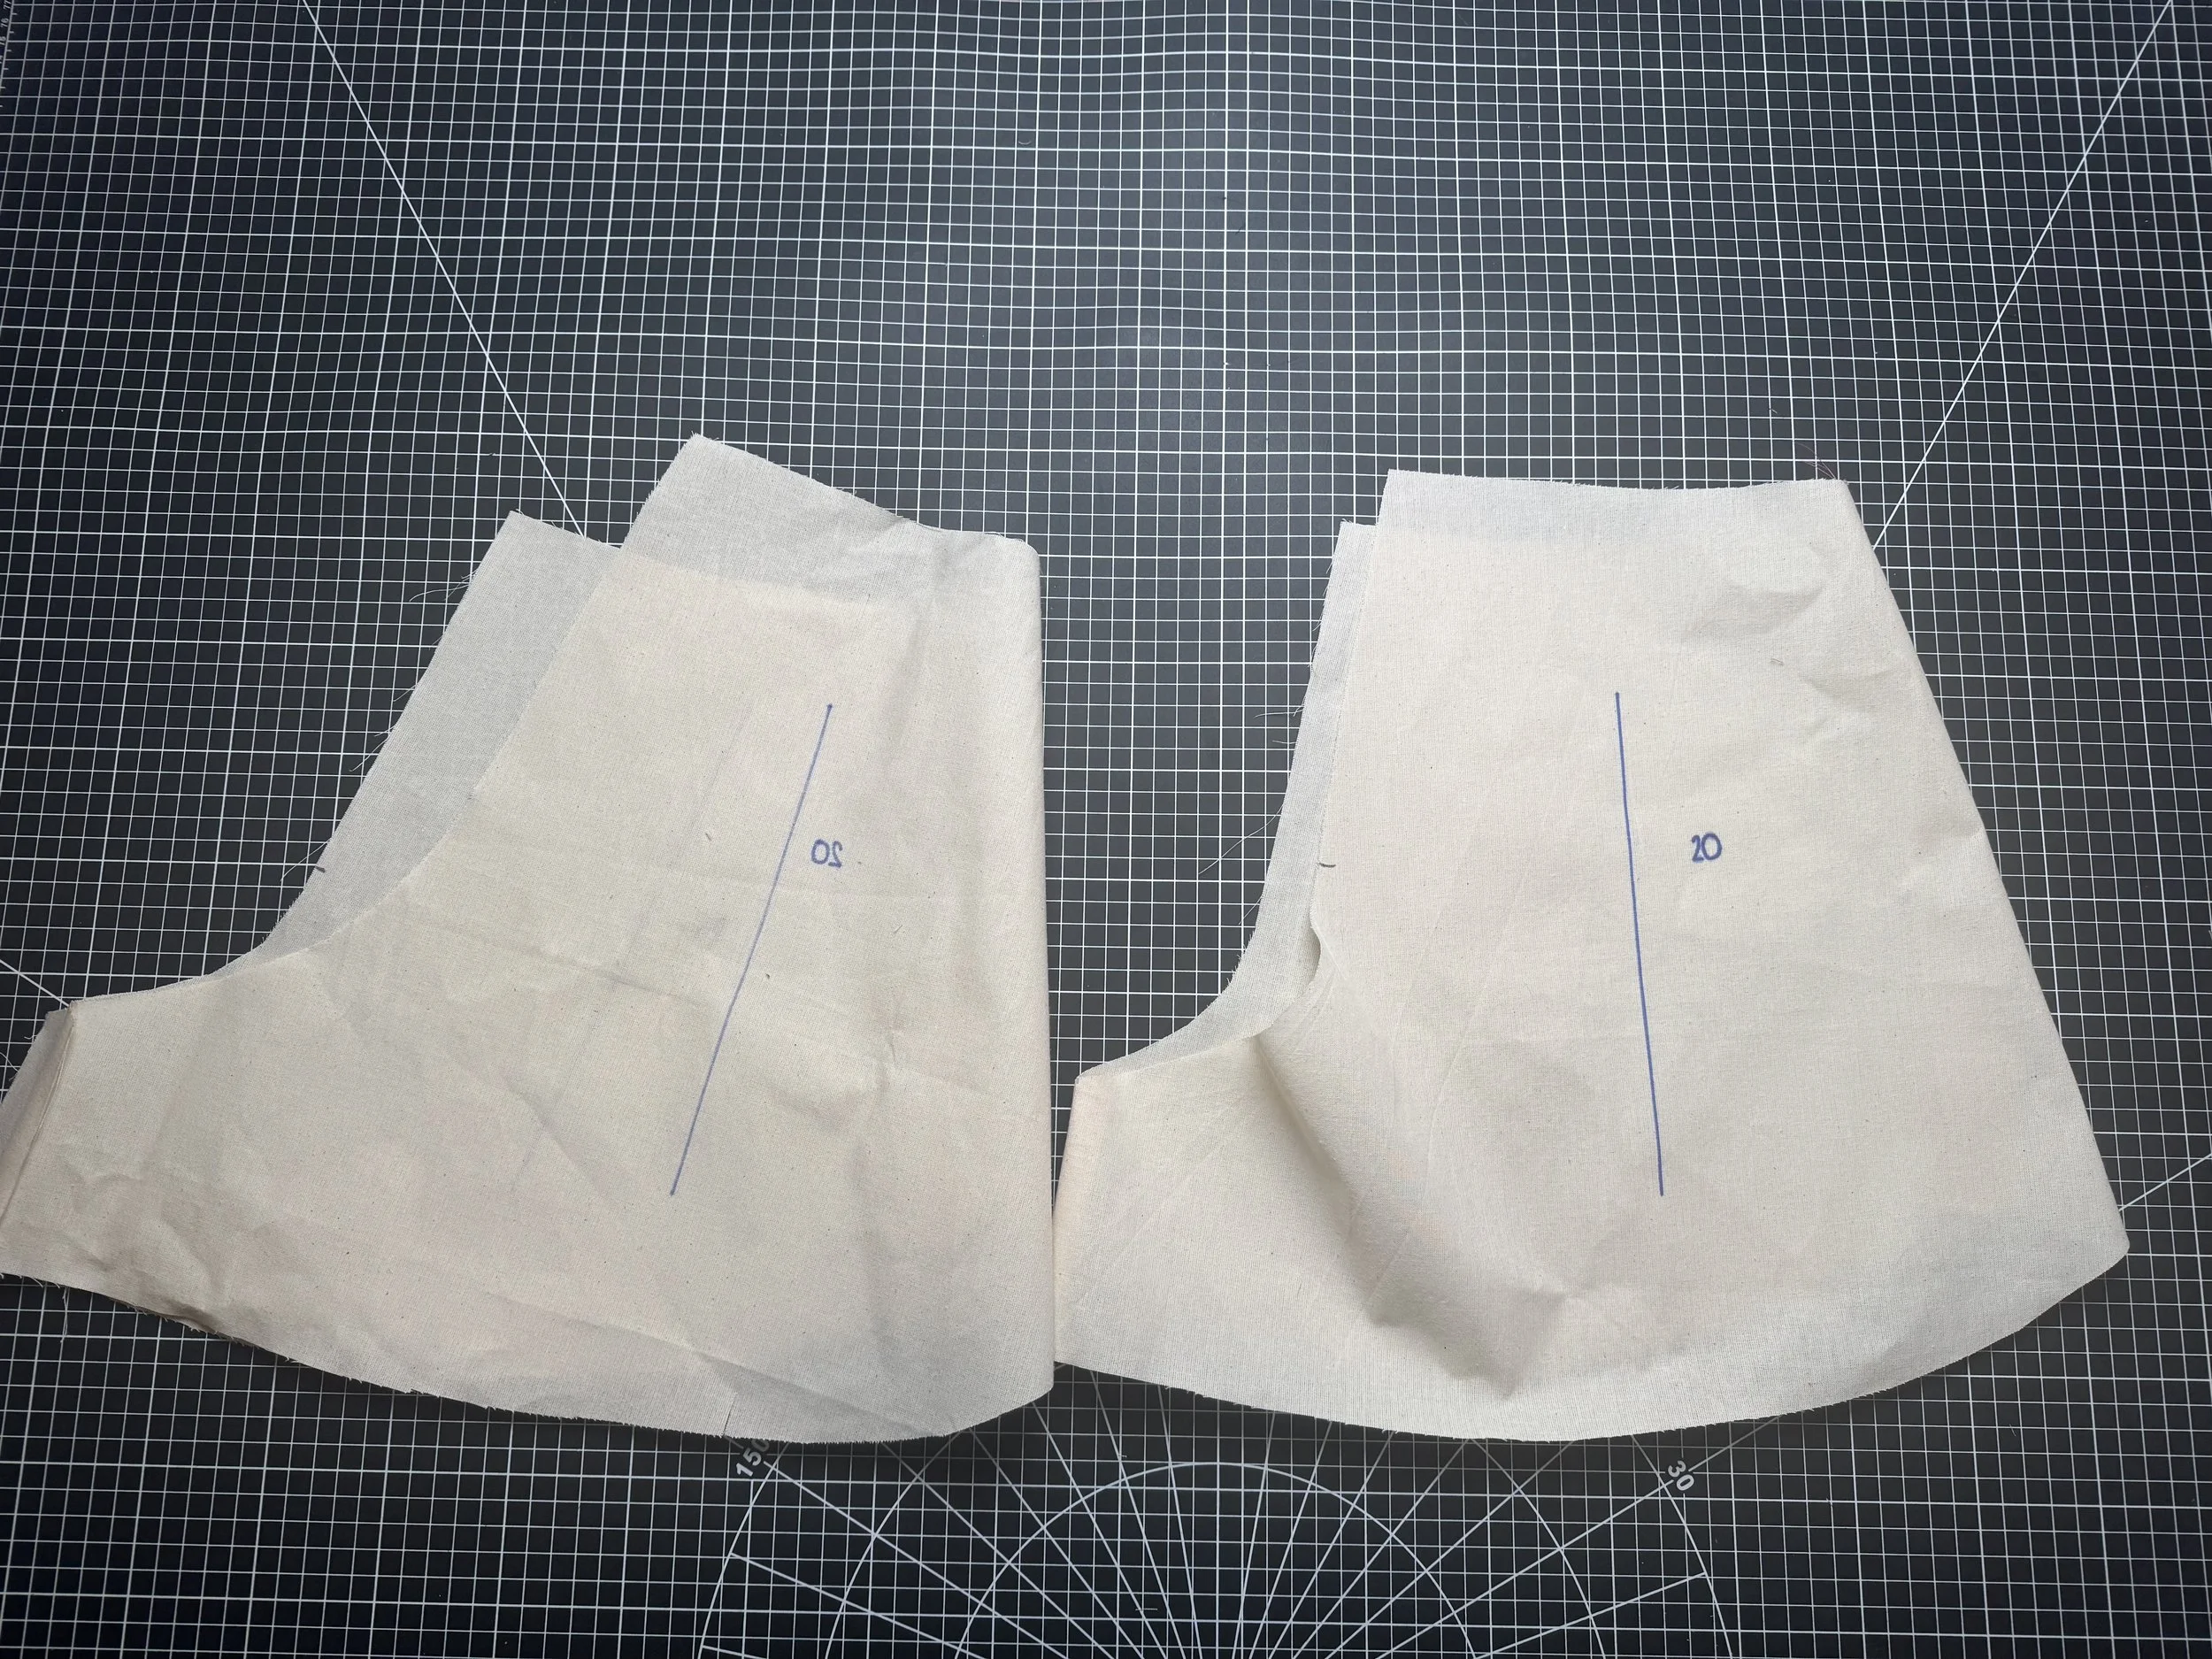
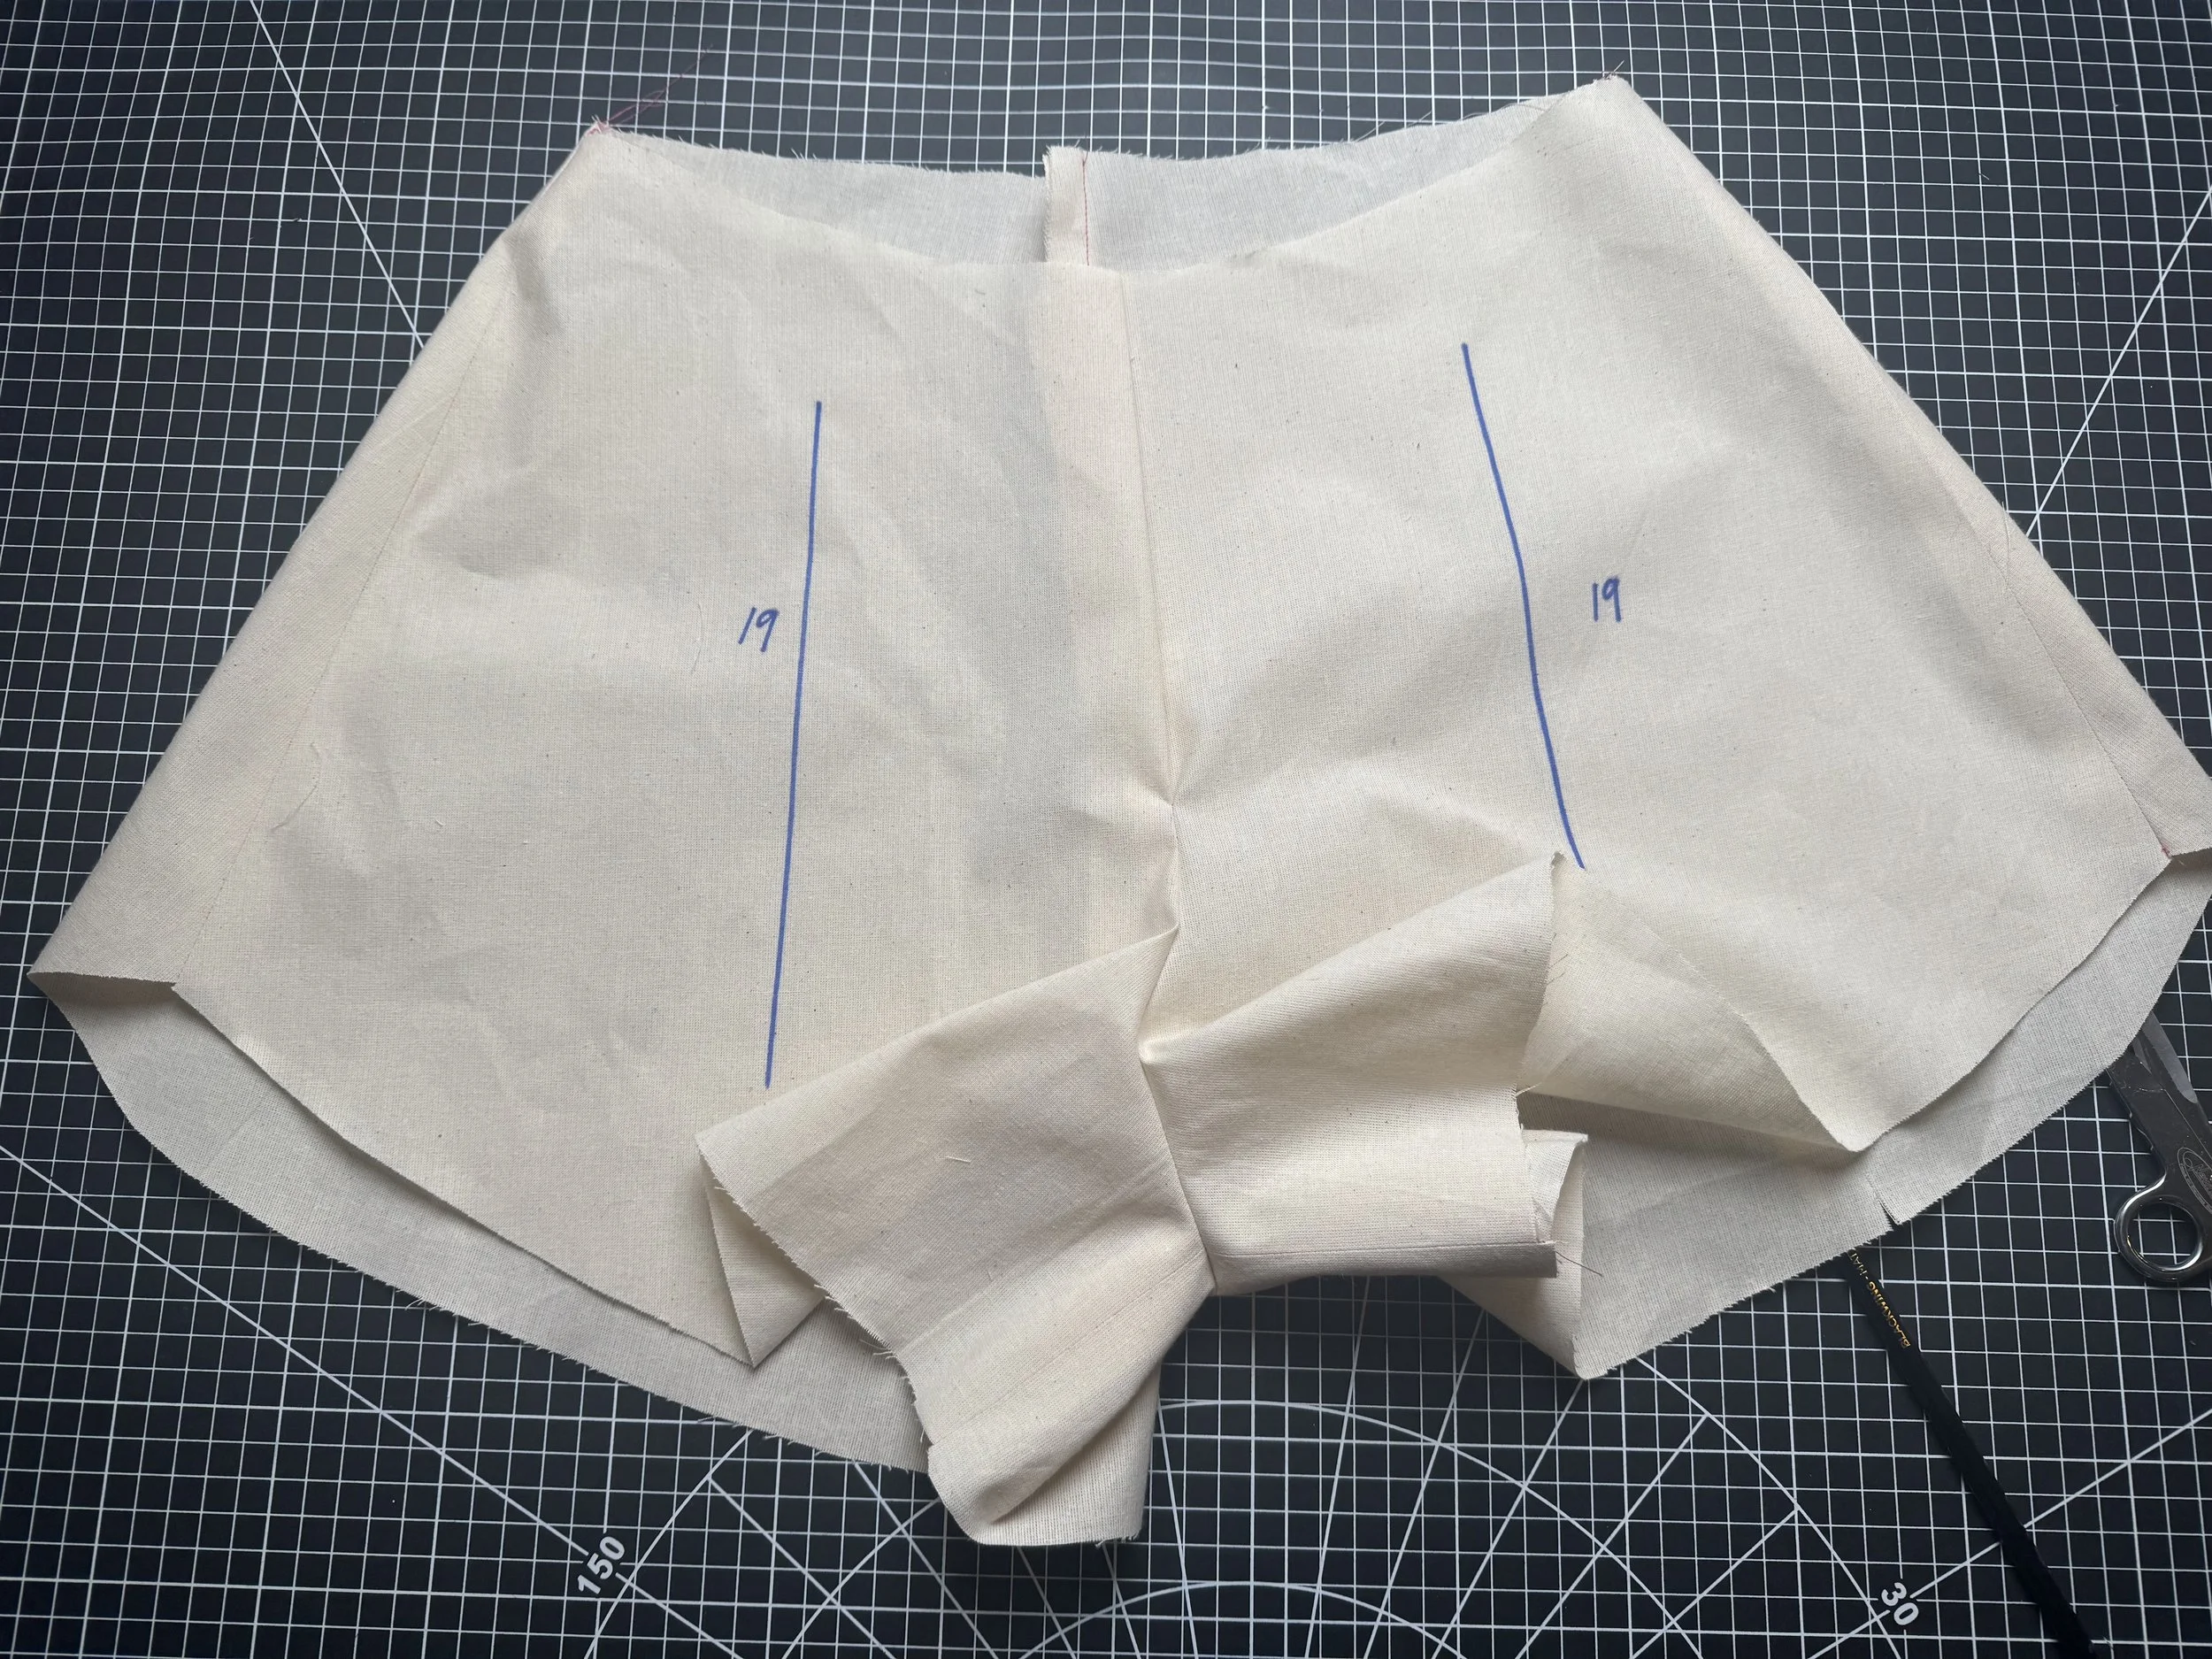
These are pieces 19 and 20.
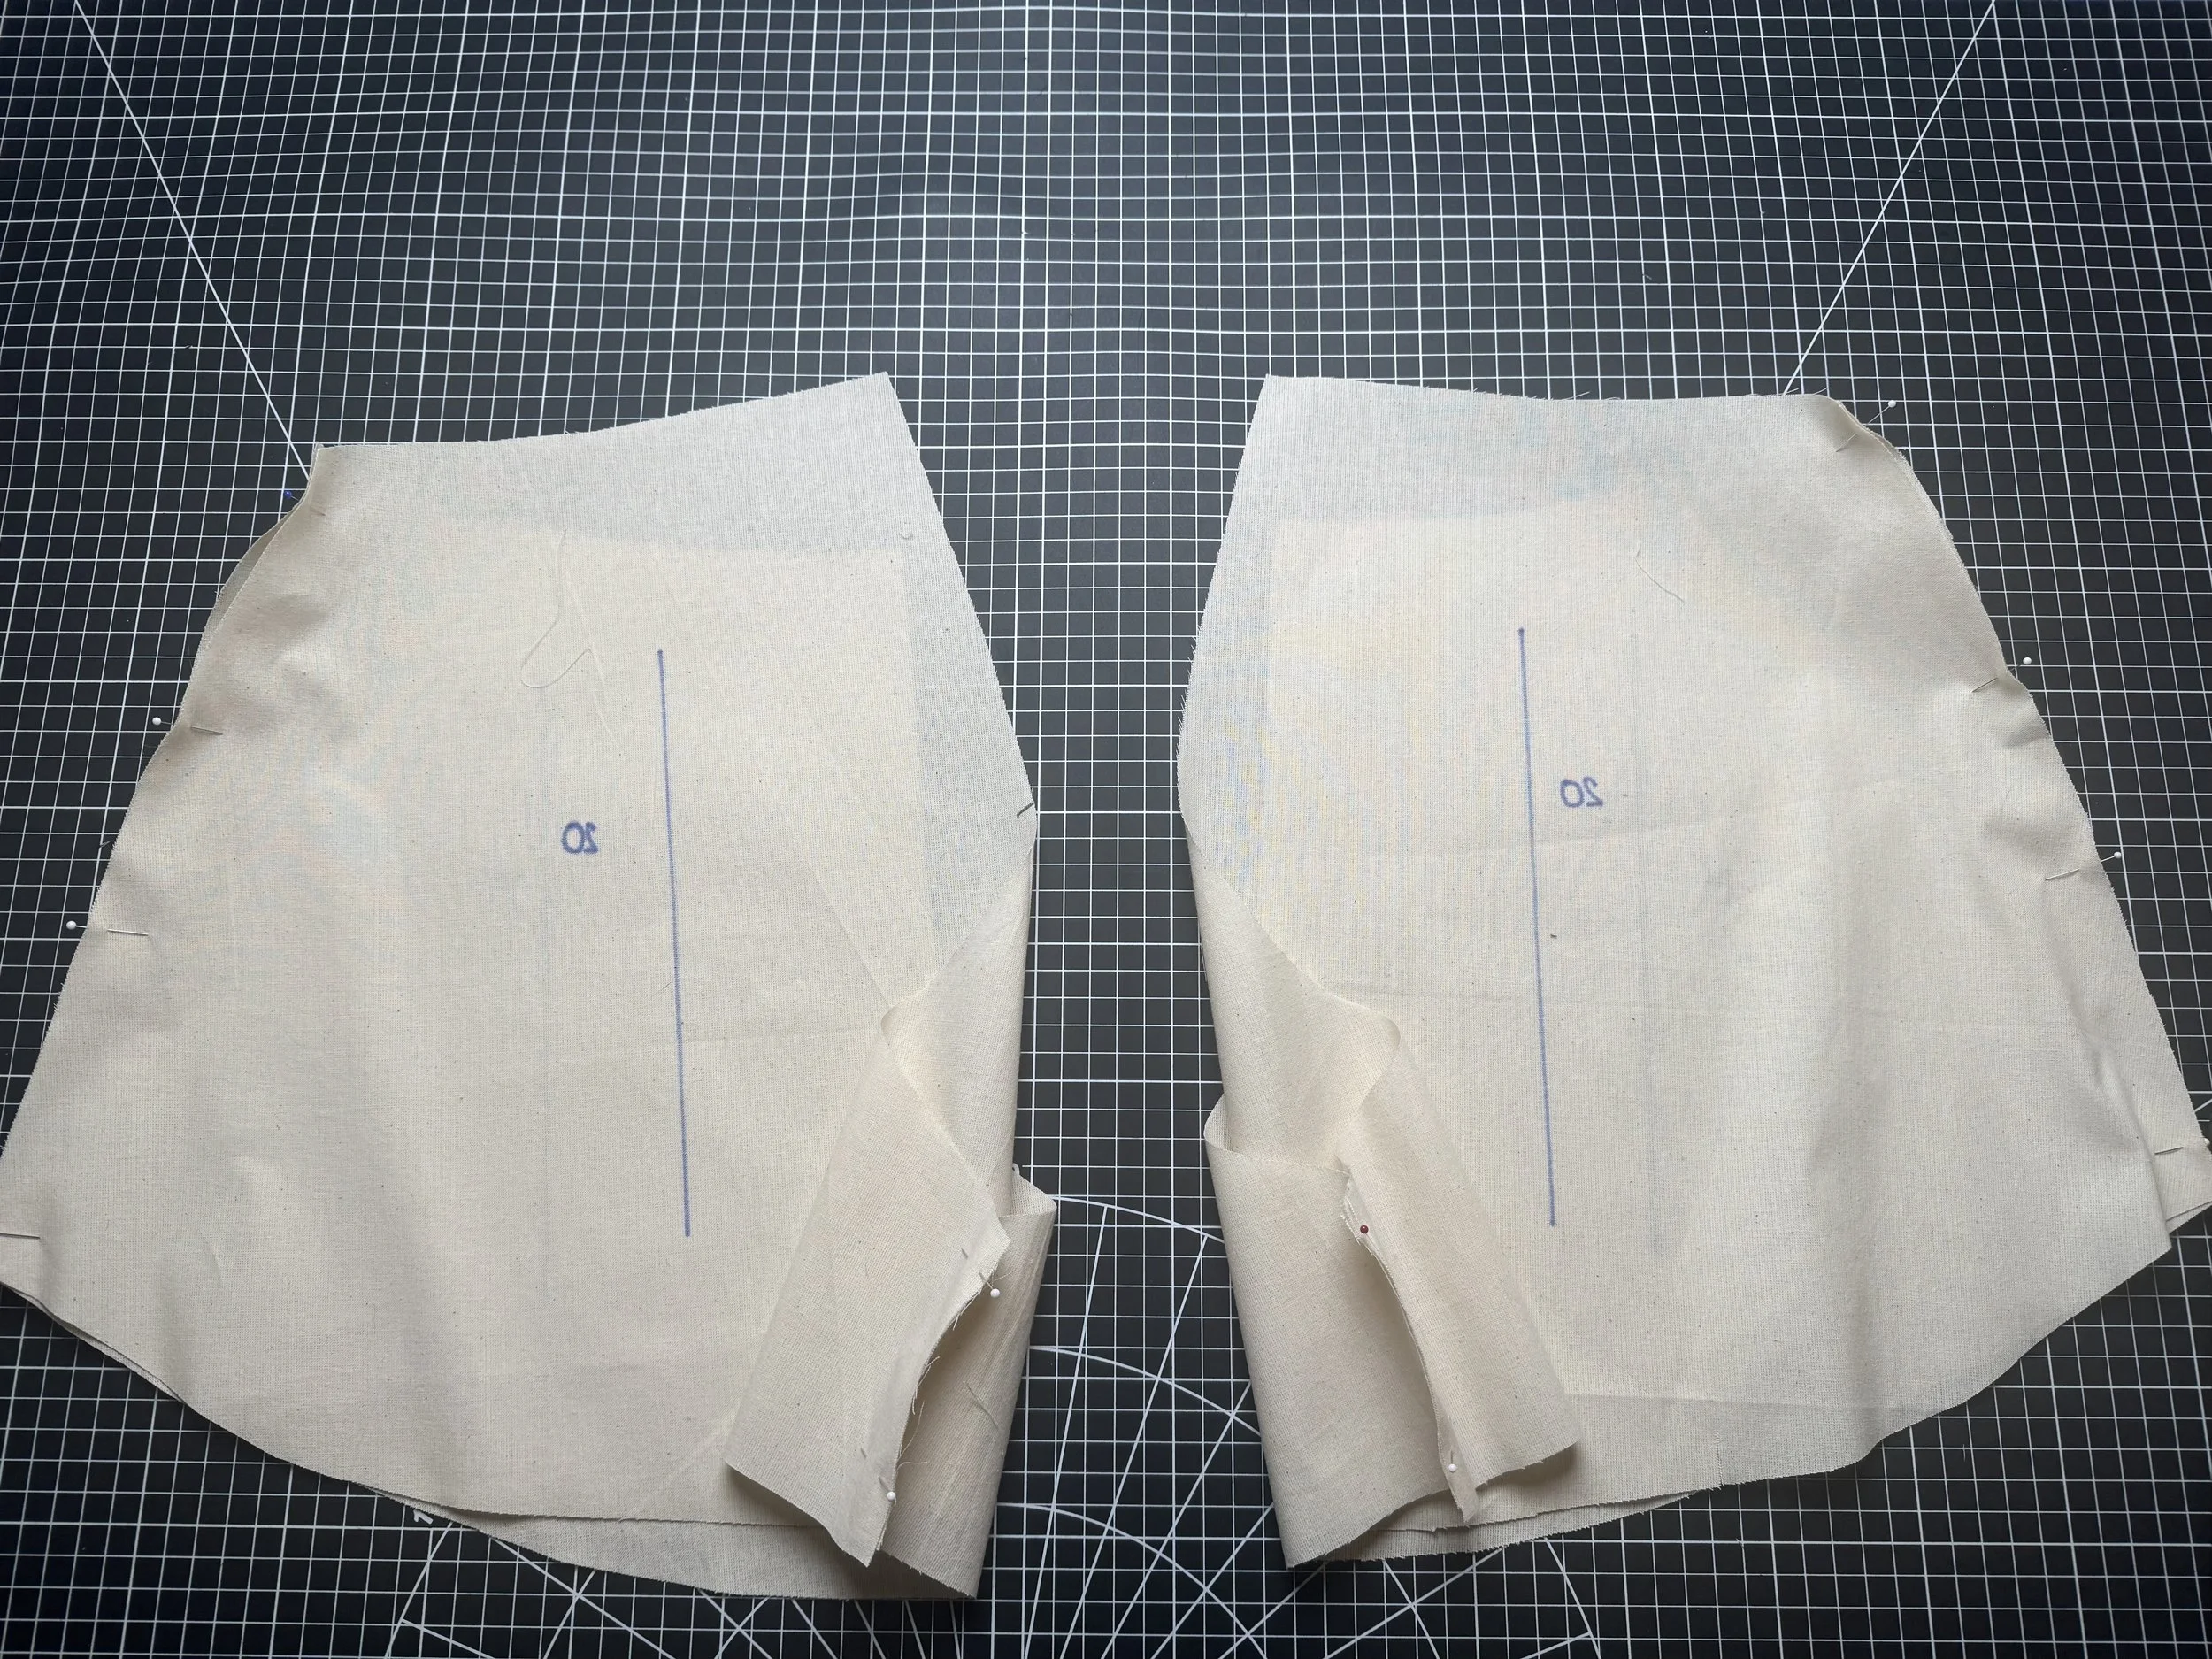
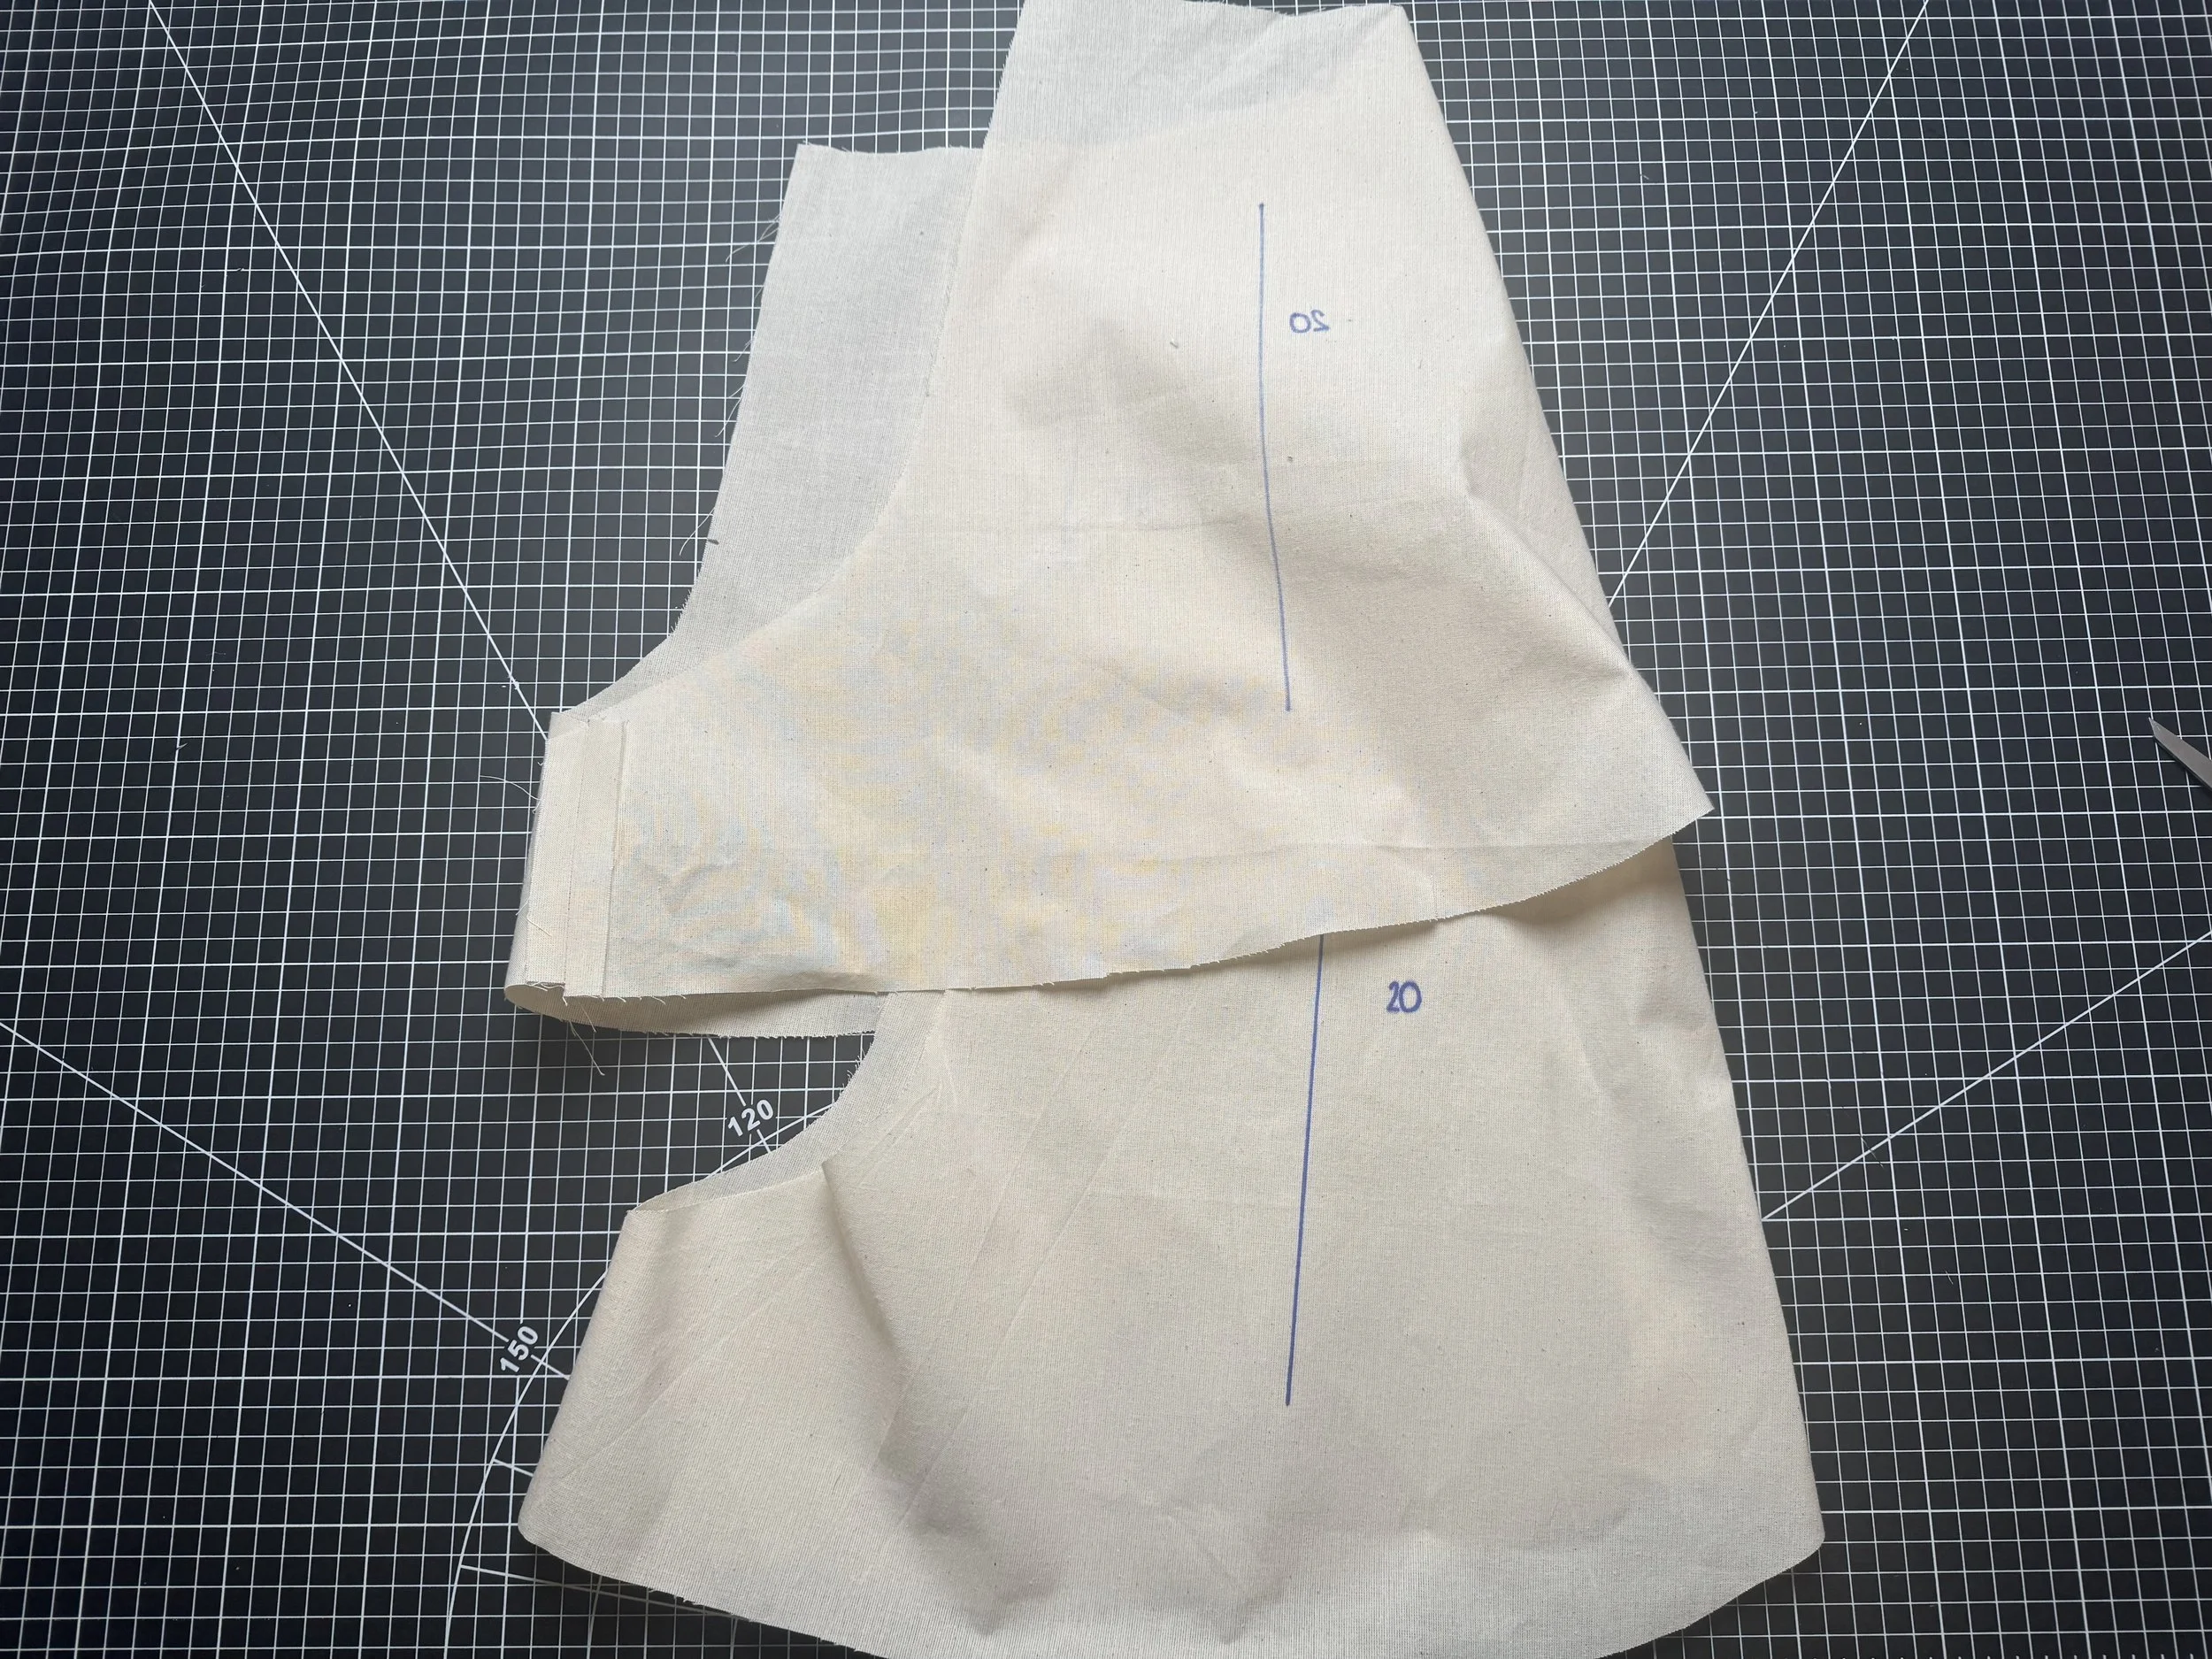
Lay 20 on 19, and pin as before - both the outside and inner leg seams.
Each side will need to be manipulated to pin, as each is shaped very differently. The seam allowance is 4/8” but 5/8” is fine!
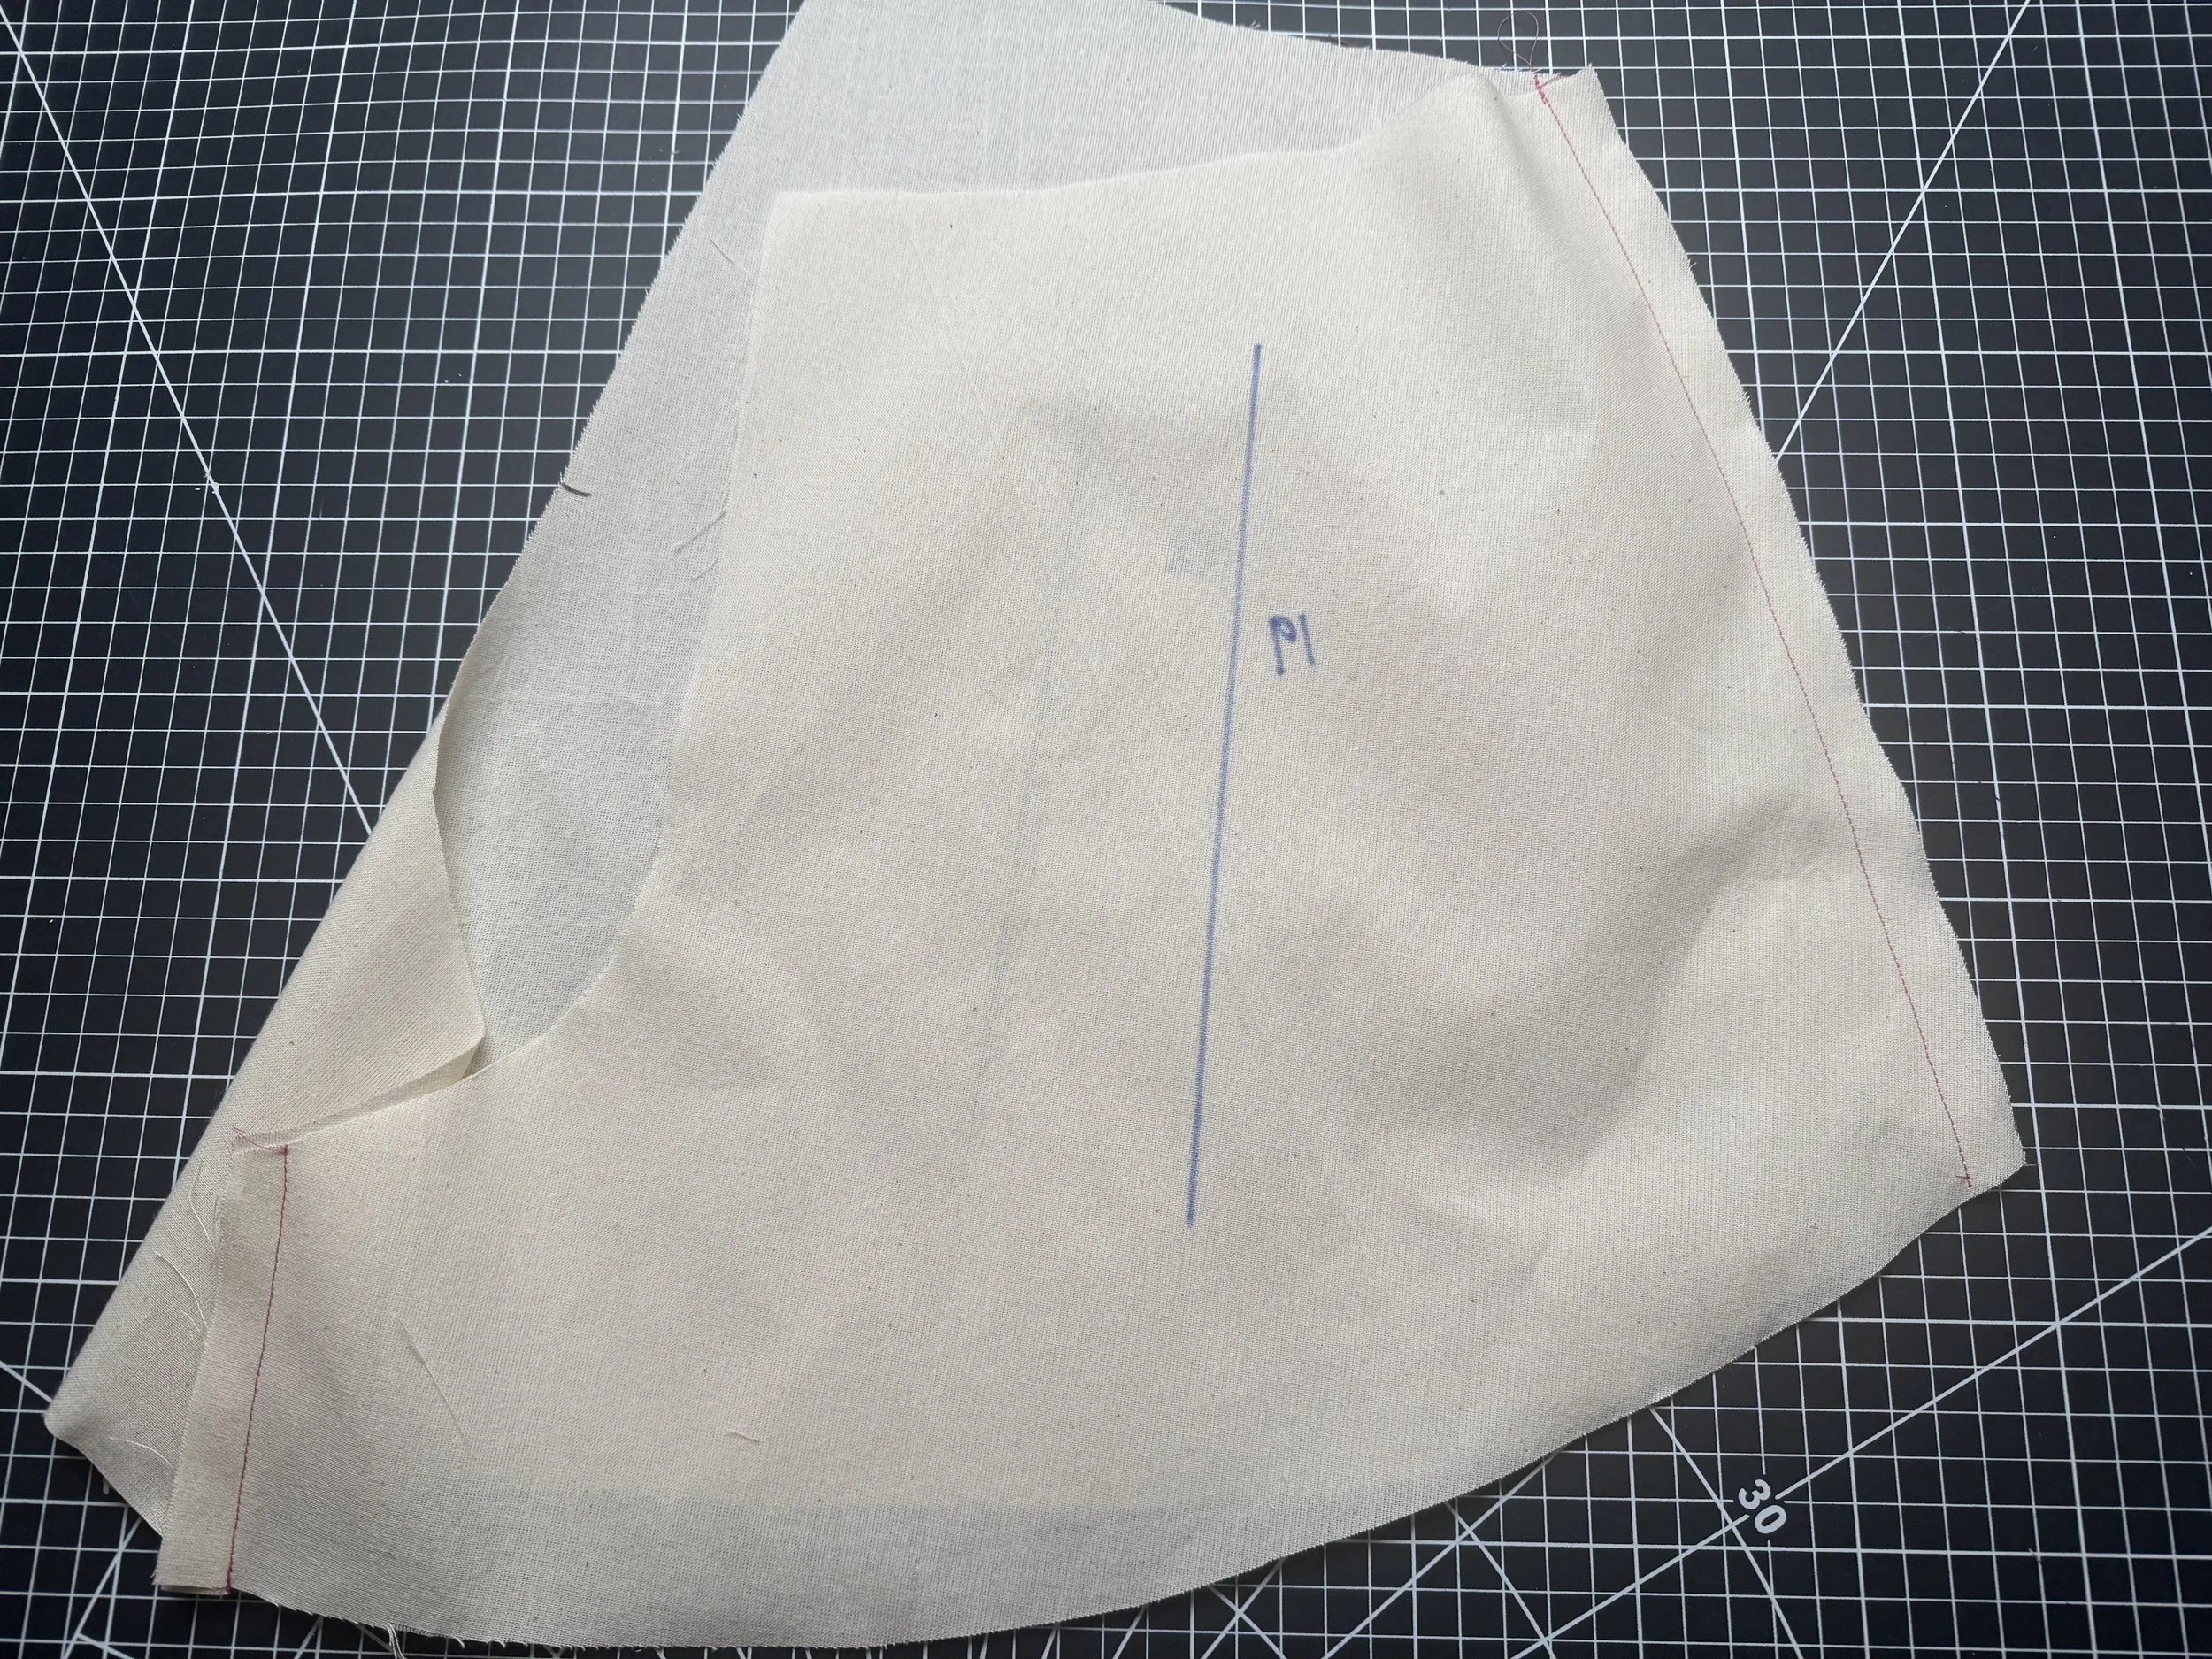
Stitch both sides on each leg.
Each leg could be hemmed now, or once the shorts are complete.
Turn one leg right side out - here it’s on the right.
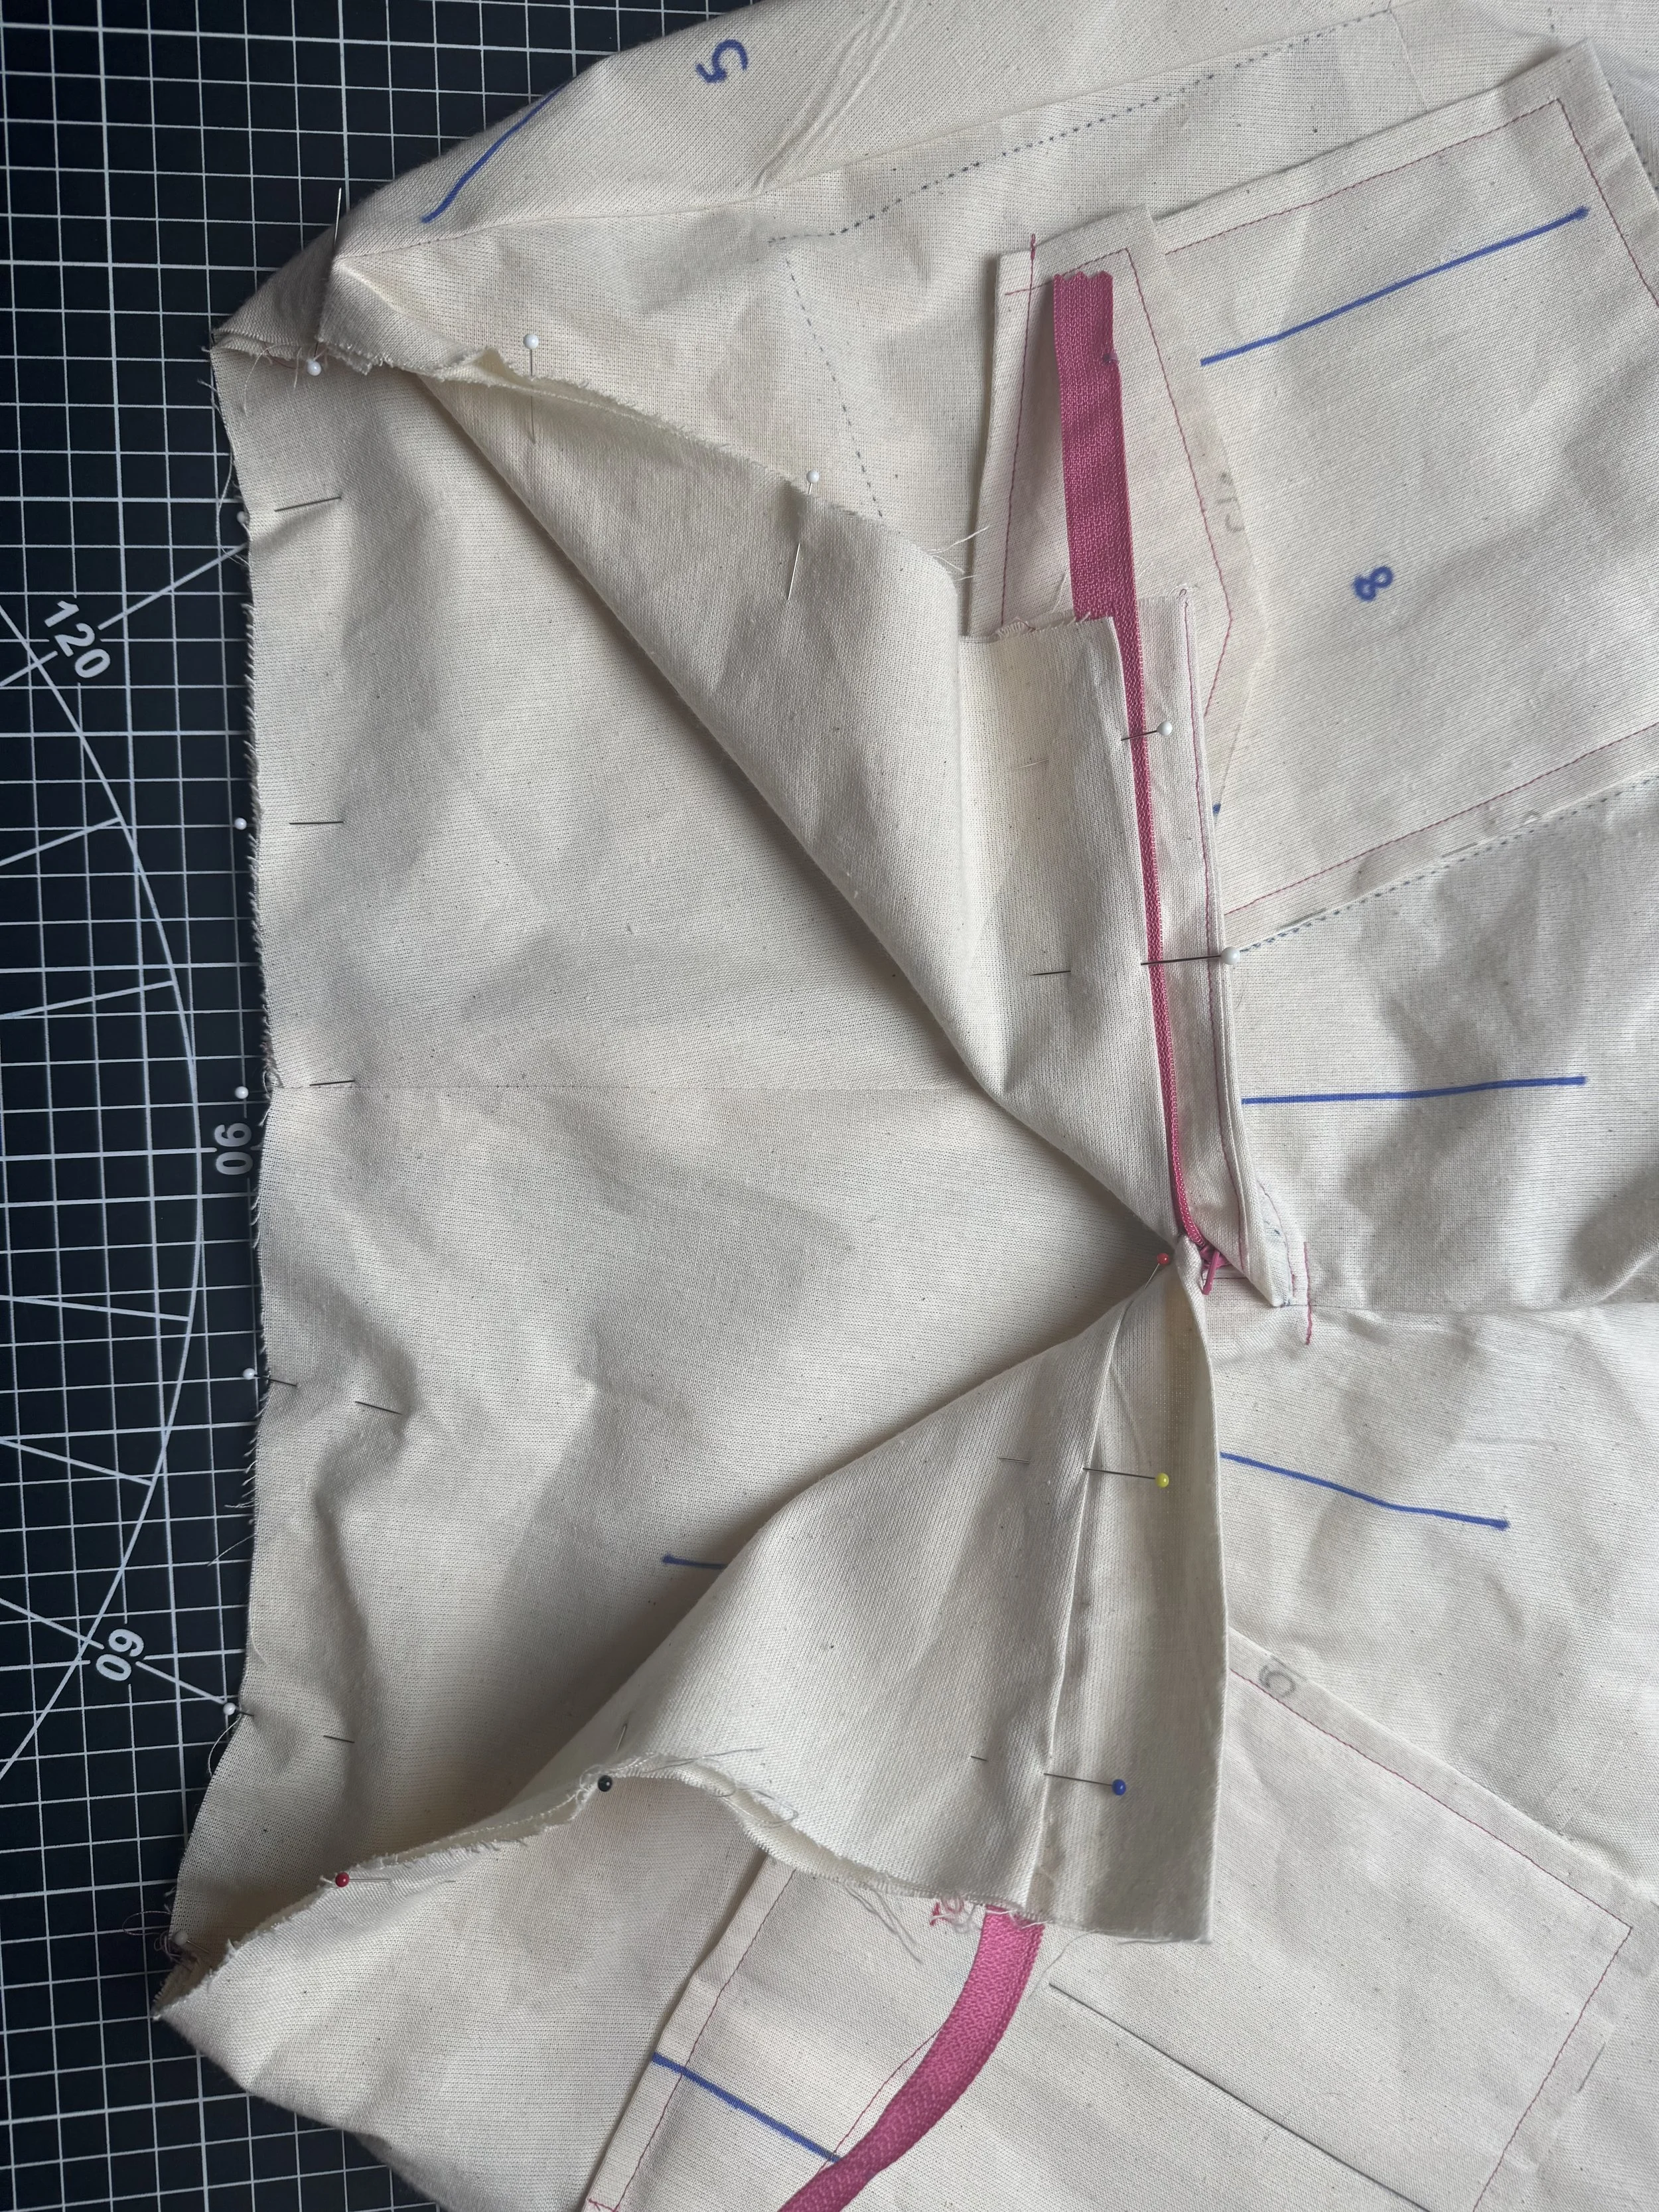
Place the leg that is right side out, inside the wrong side out leg.
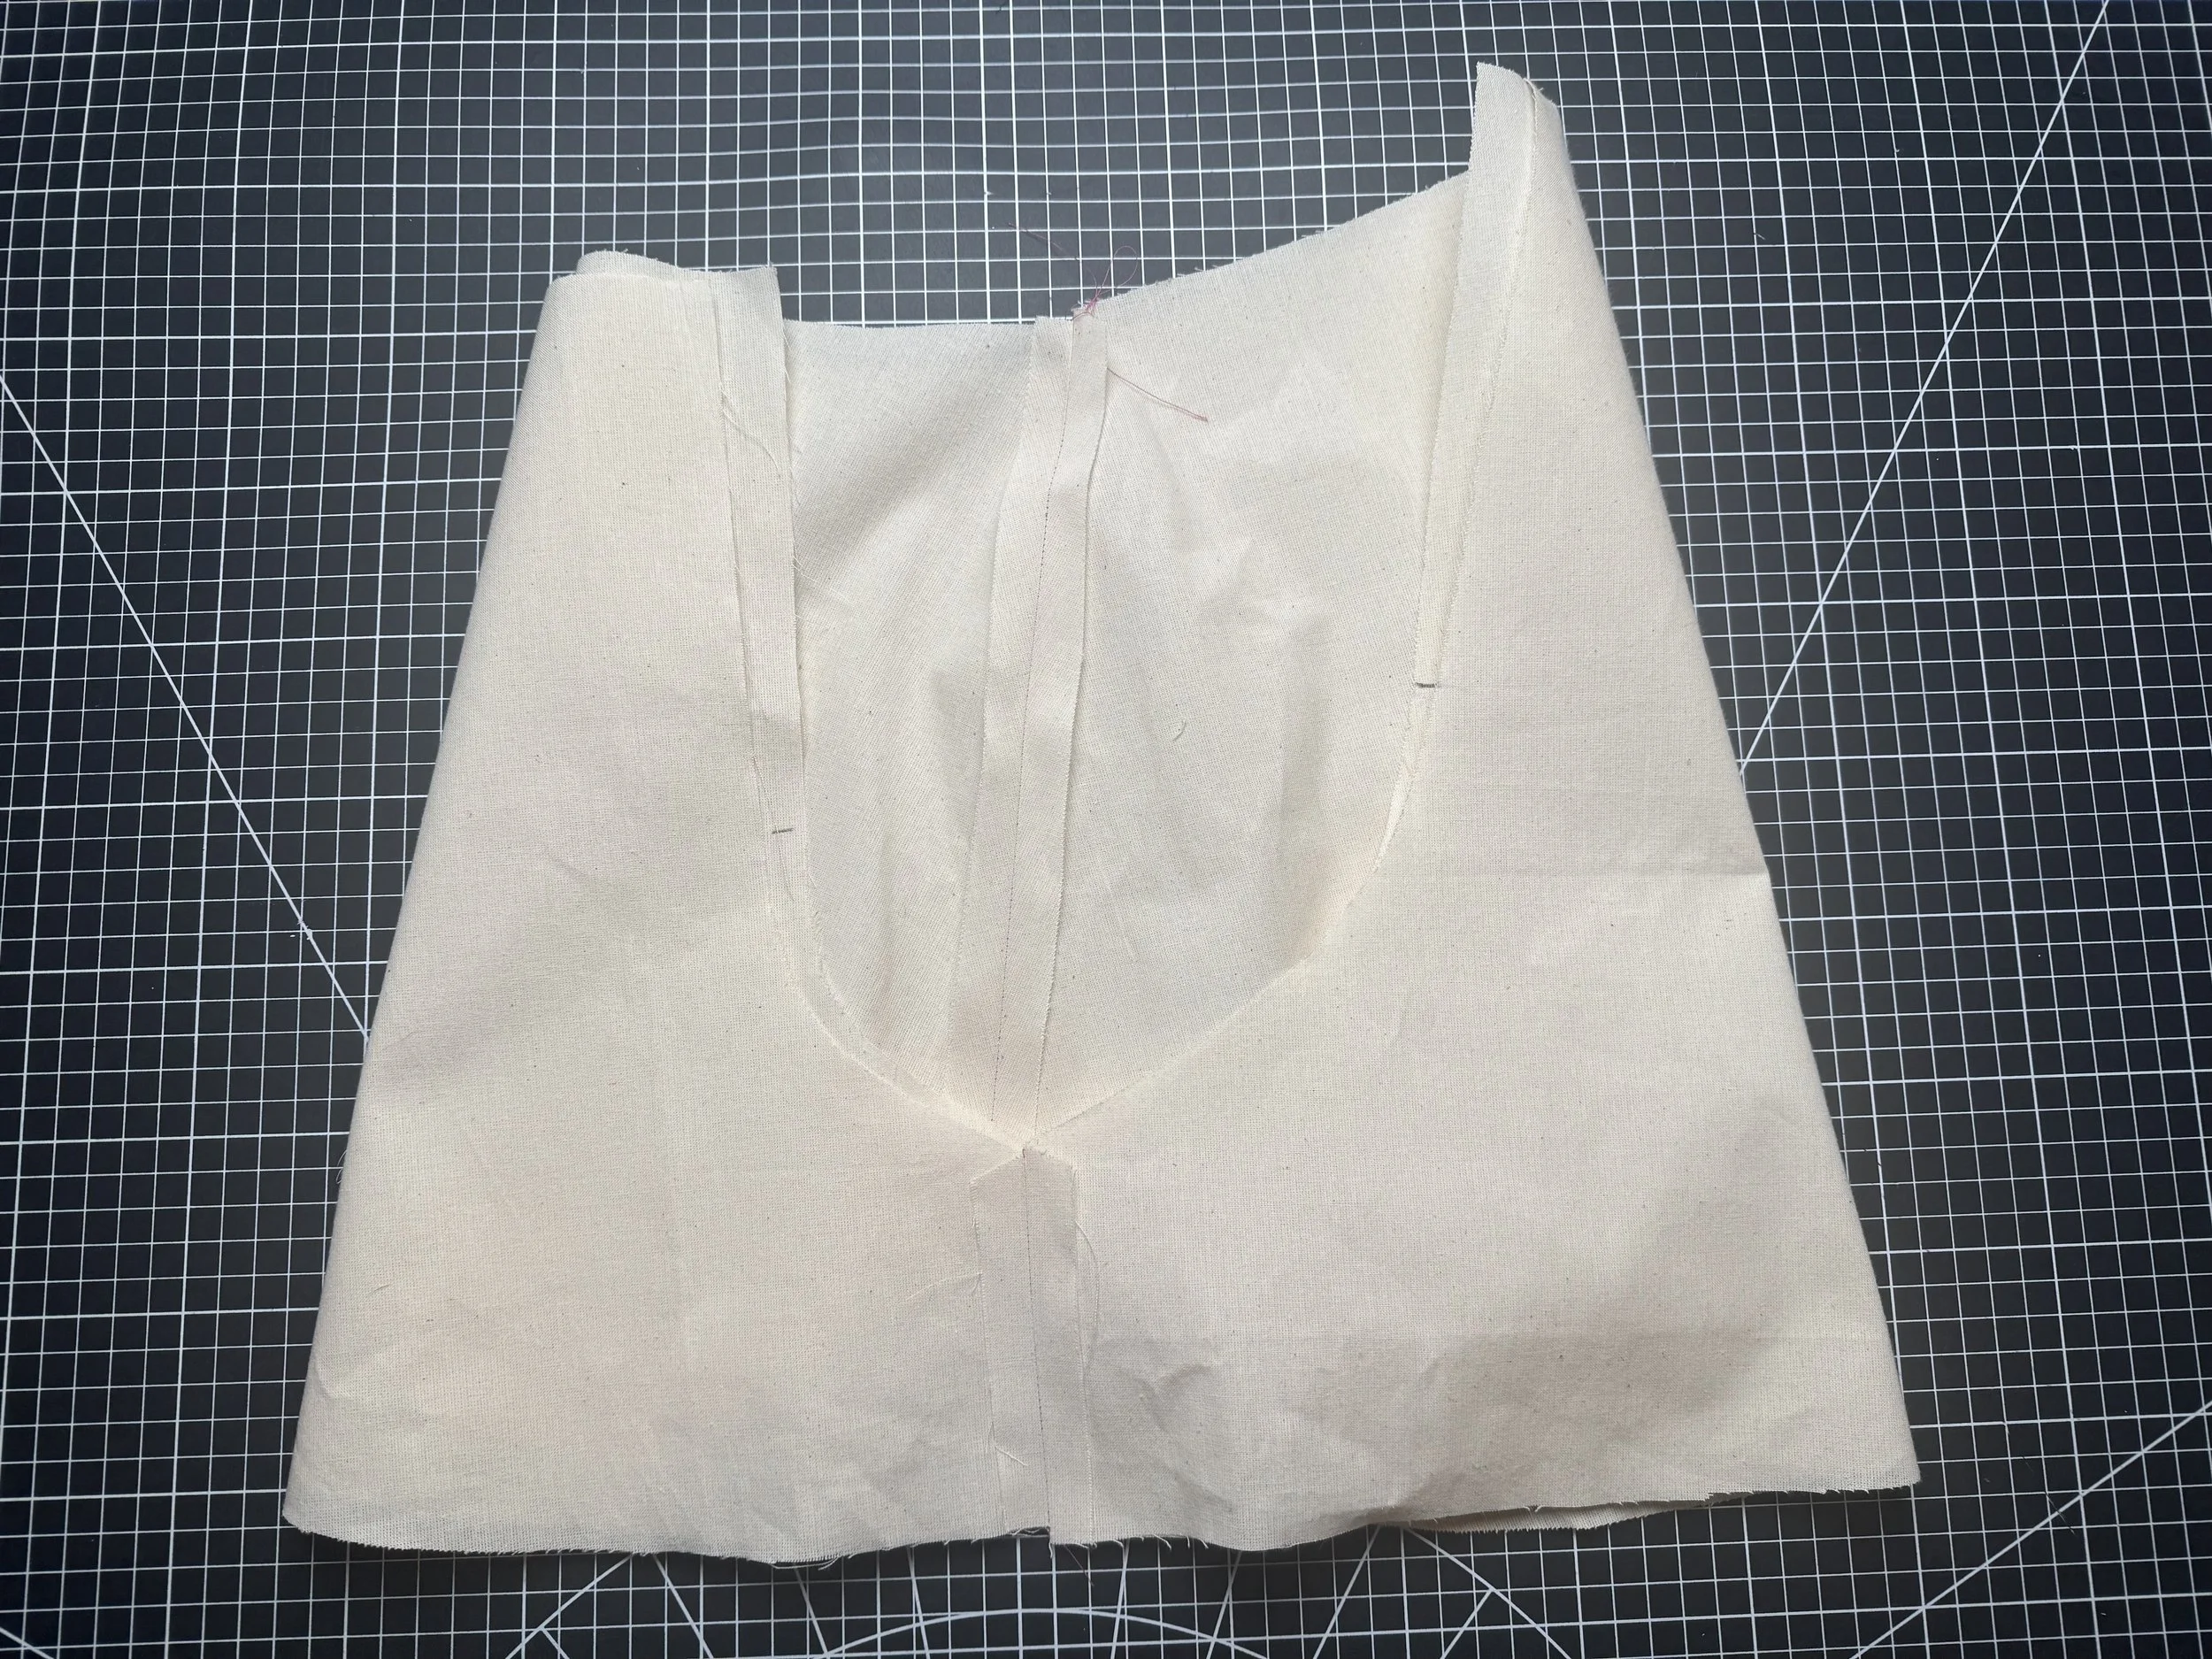
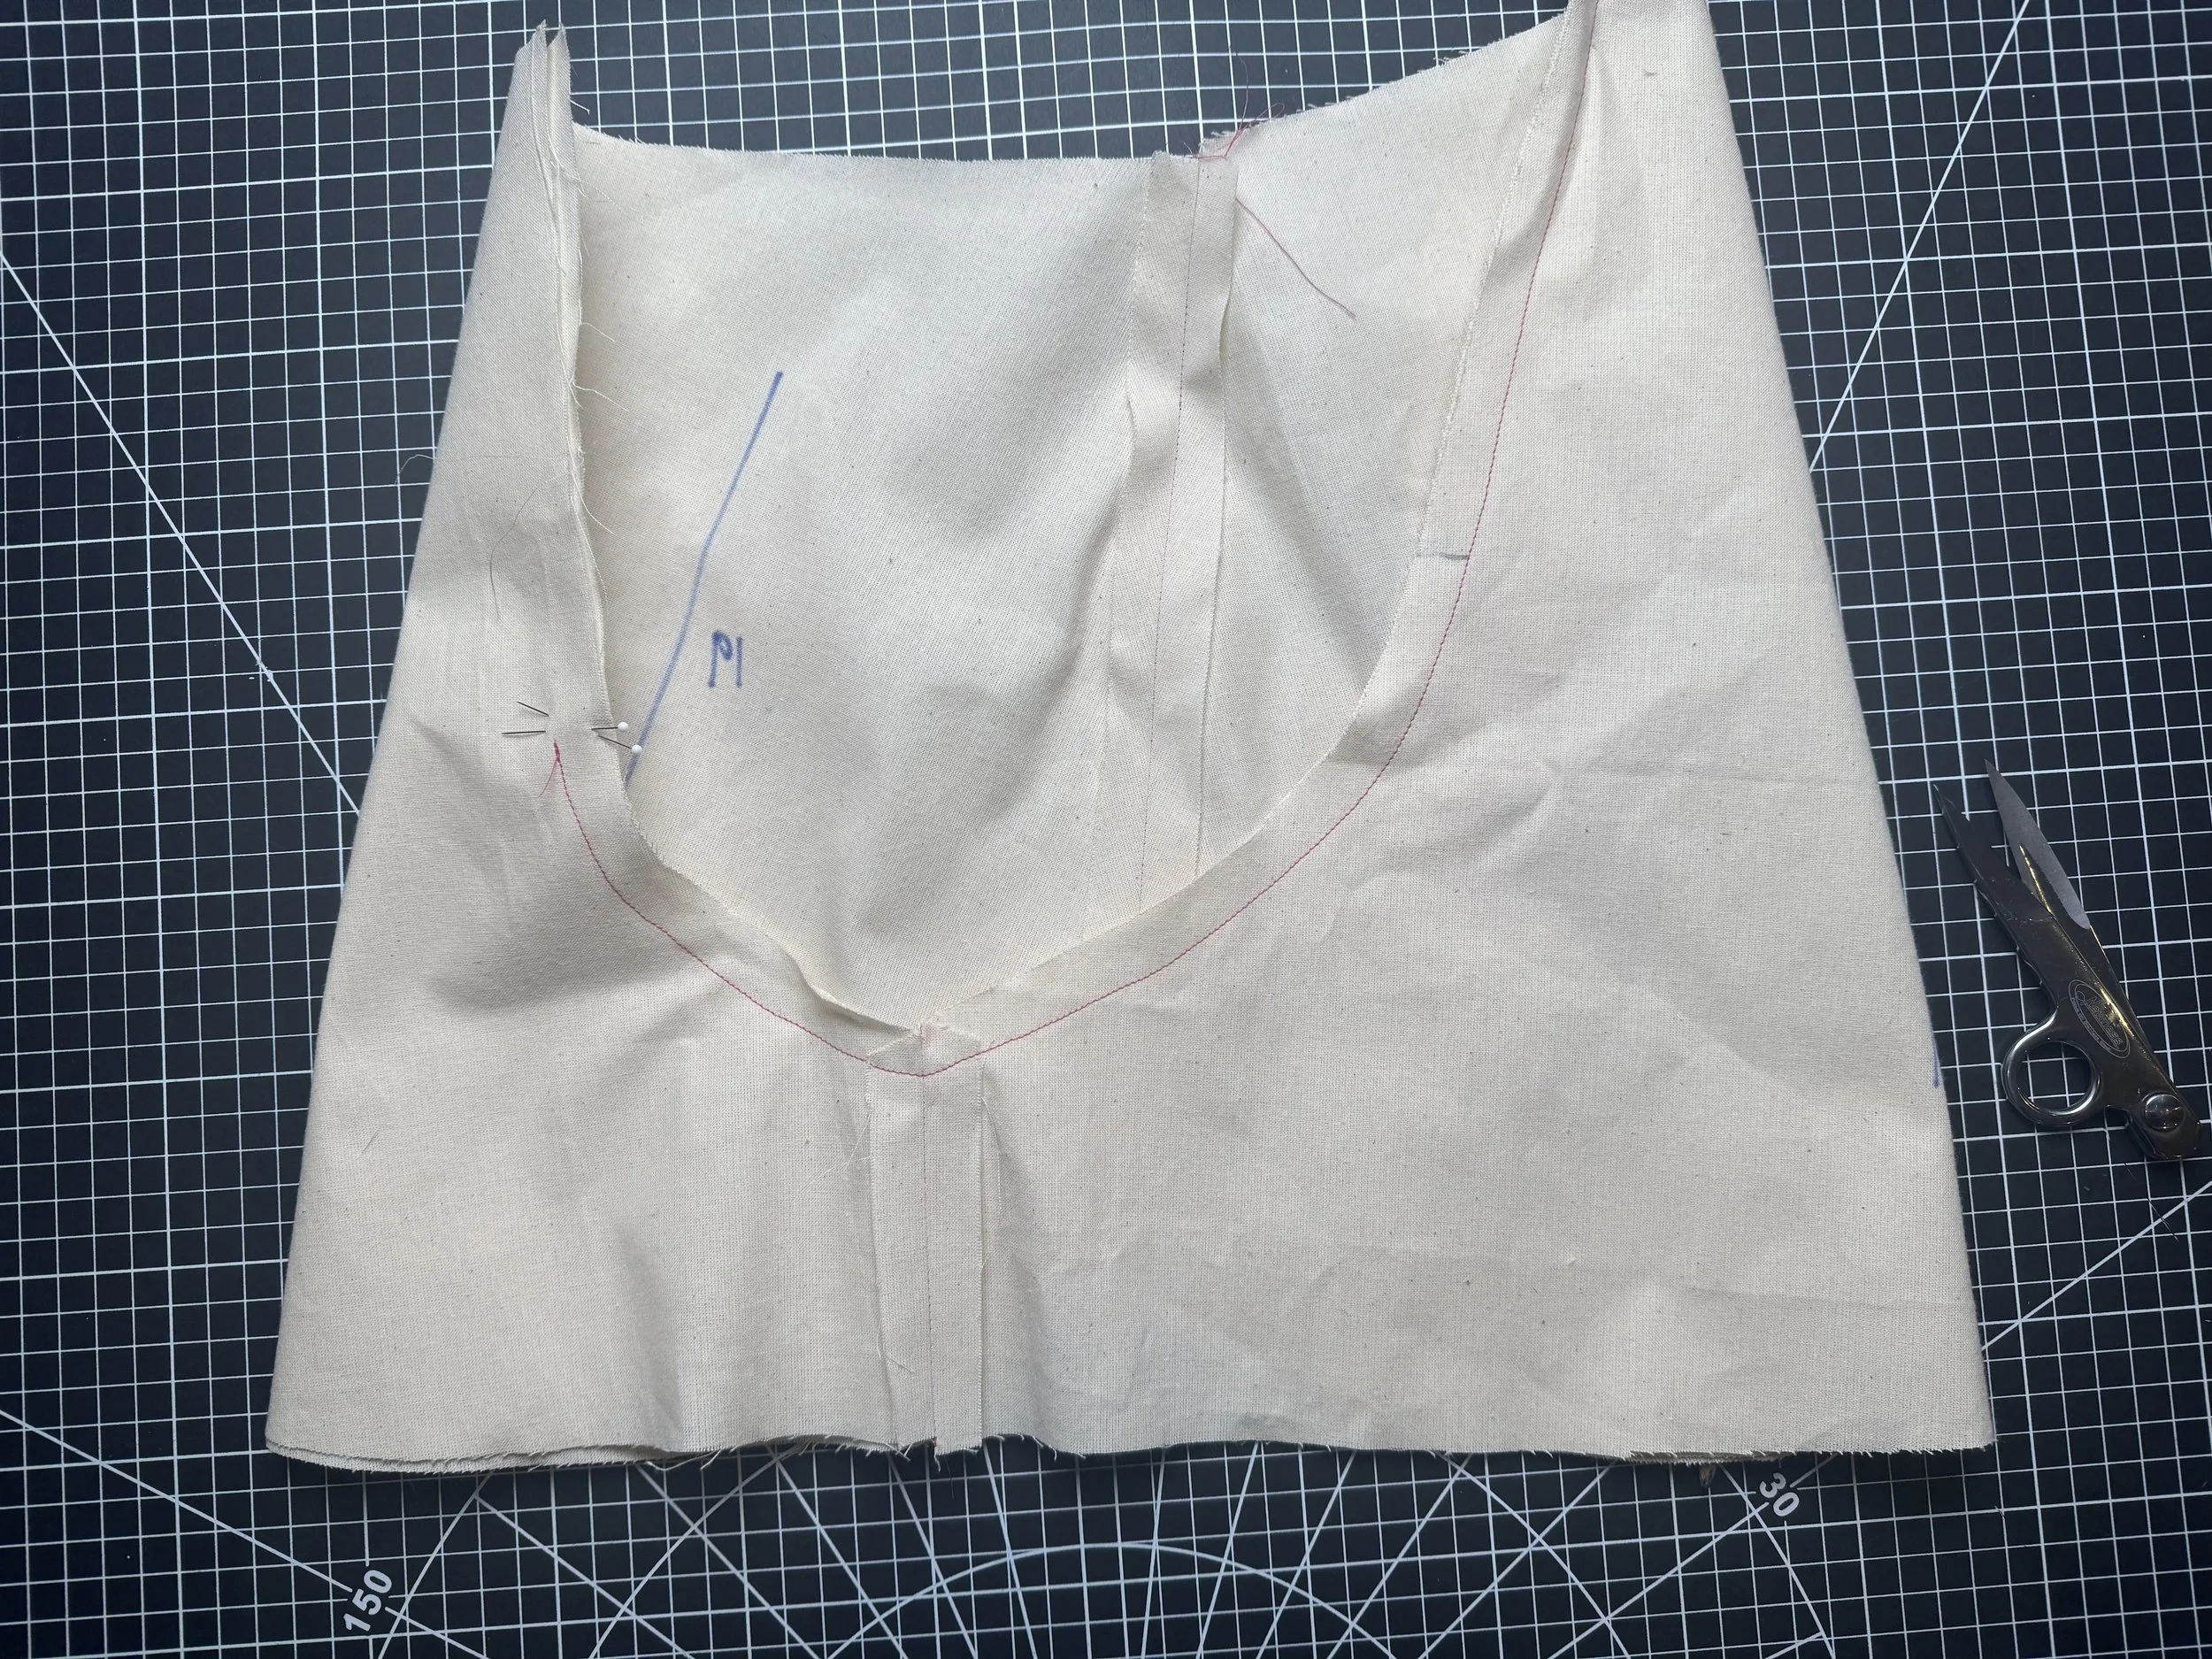
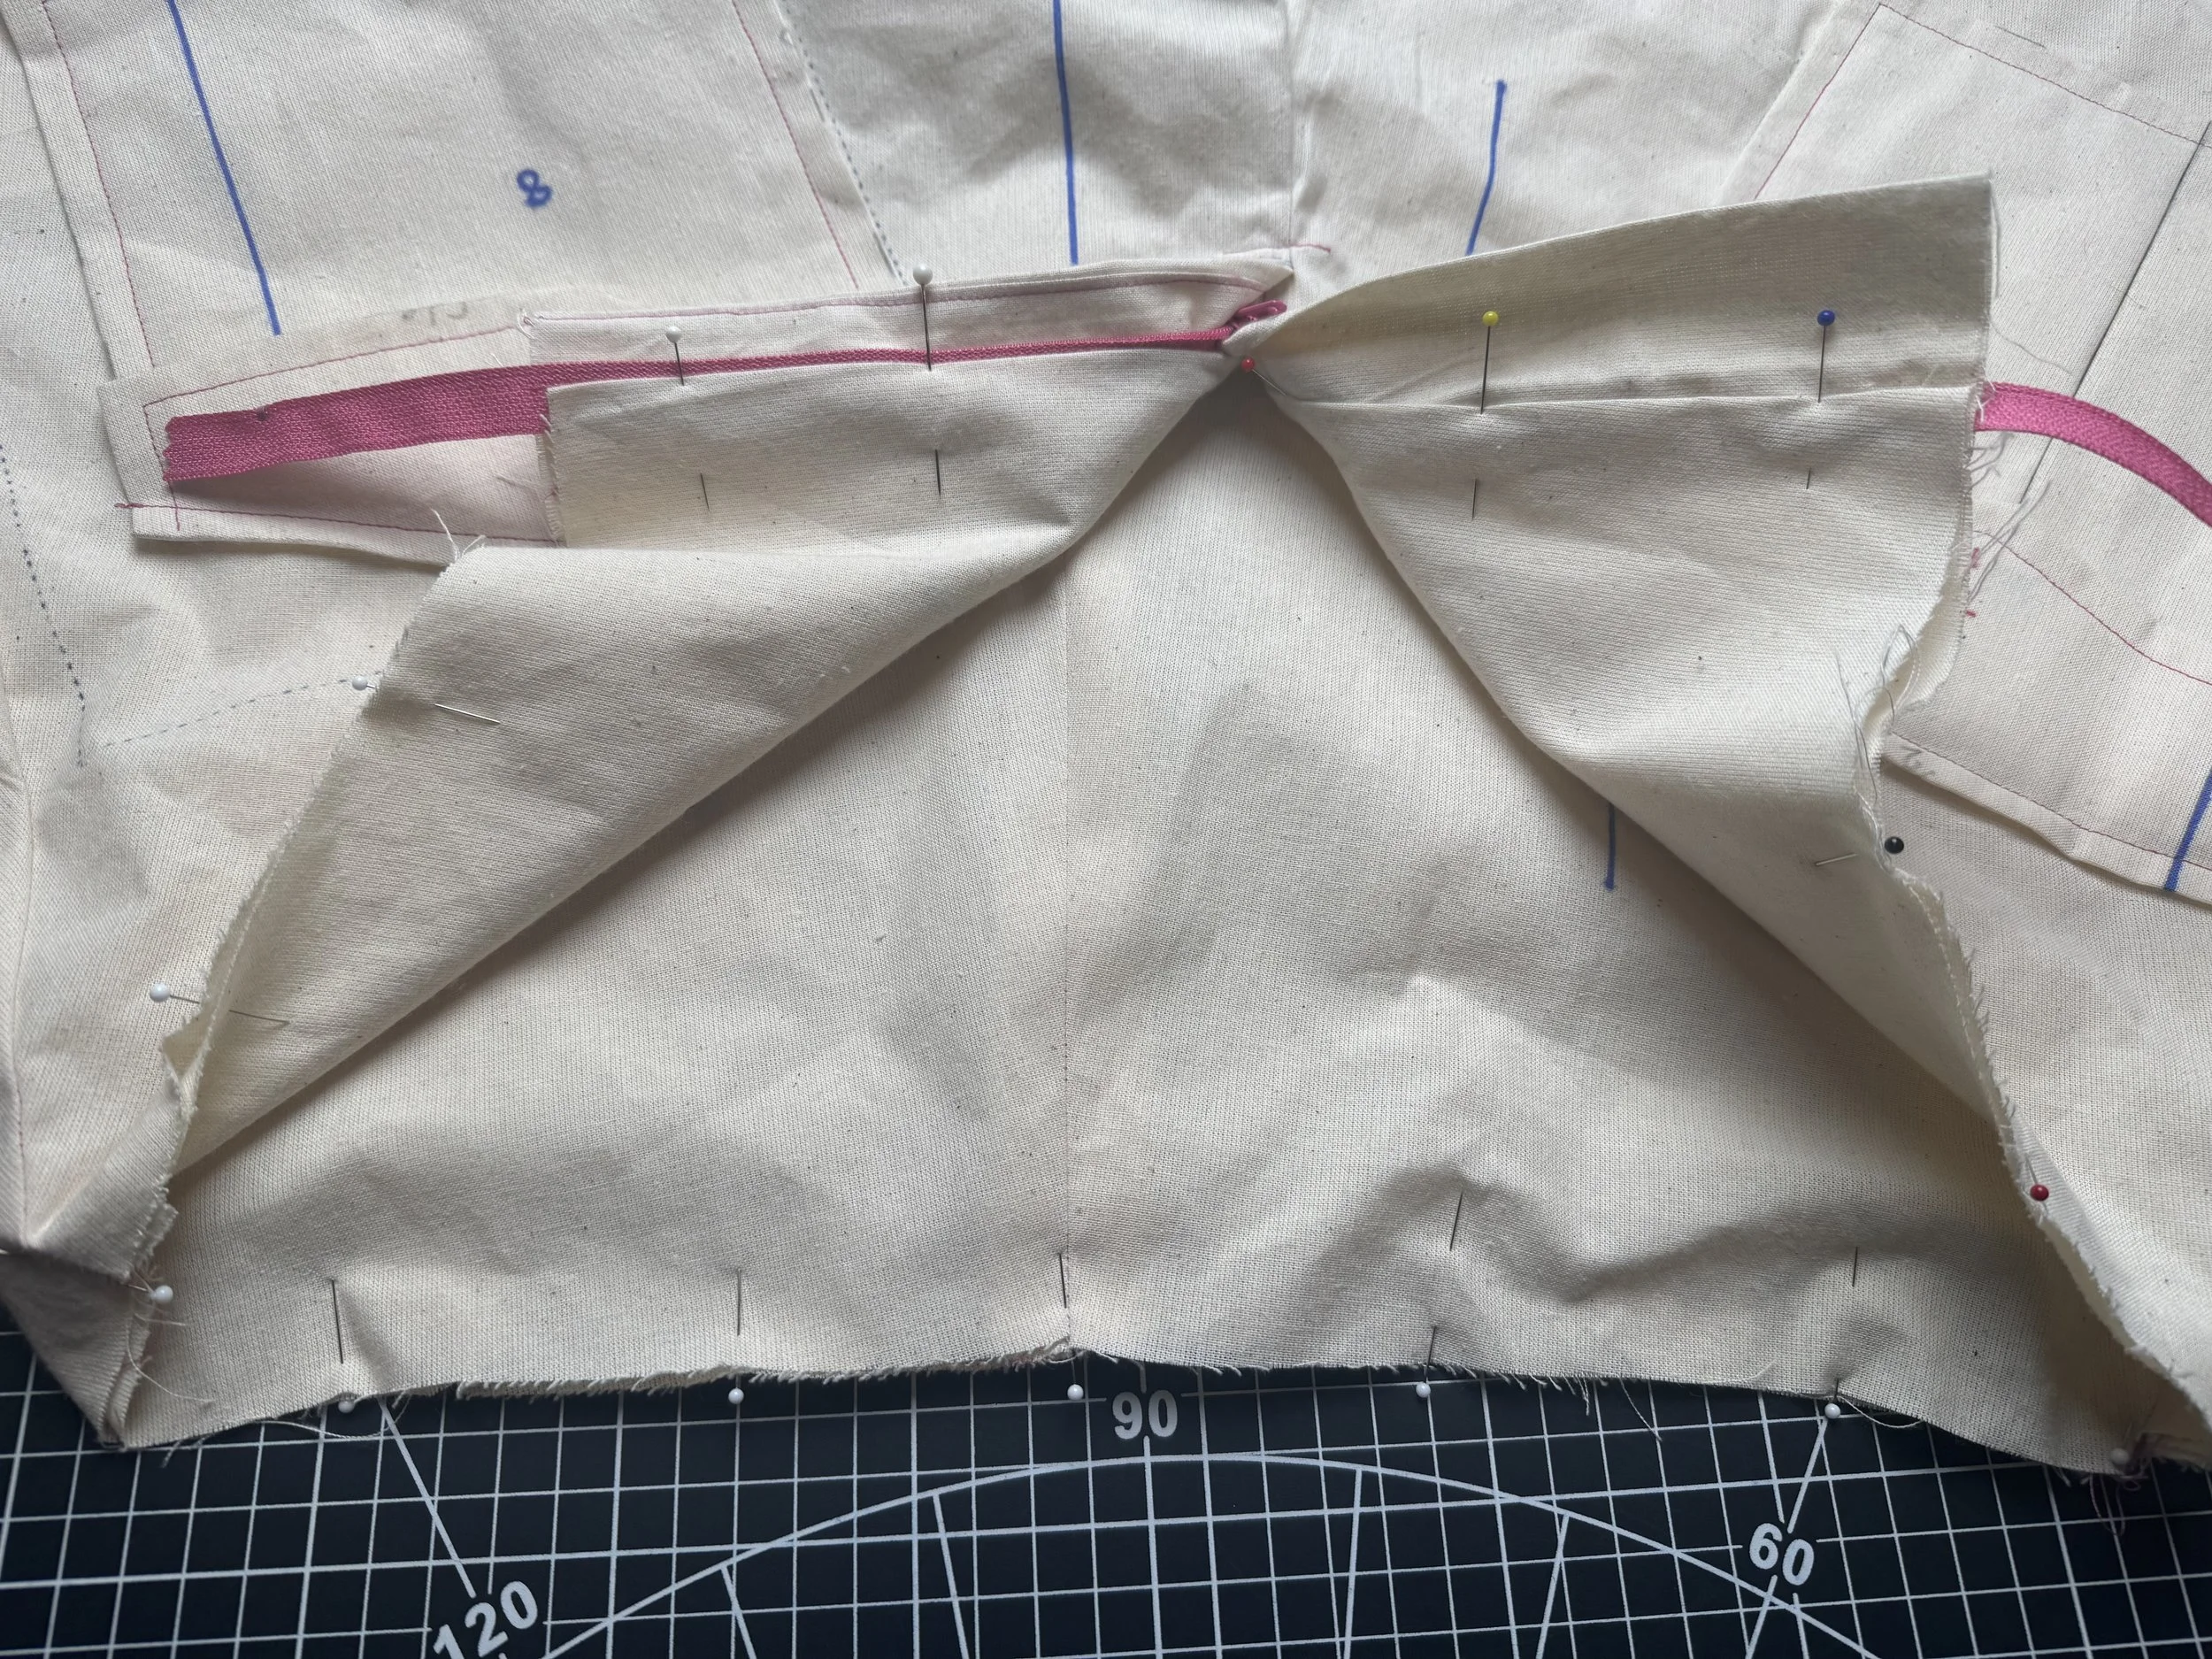
Line the crotch seam up, and pin well.
I made two notch lines on my lining, both marked on the pattern pieces. The one on the right which is a match point.
The left side shows where the zipper starts, don’t sew past this point.
Pull the inside leg out, and flip the shorts to the right side.
Drop the lining into the shorts, and pin around the zipper, folding seam allowances under.
And again, around the waist seam.
Use a machine basting stitch to hold the waist seam in place. Grade if the seams are getting bulky.
Machine sewing around the zipper is possible, but having tried multiple ways, I do think a quick fell stitch works beautifully, and is very quick and easy.
I won’t include the lining going forward, muslin shorts and muslin linings are far to thick to handle!
Next up: Finishings