5 - The Dauphine Skirt - Construction / Finishes
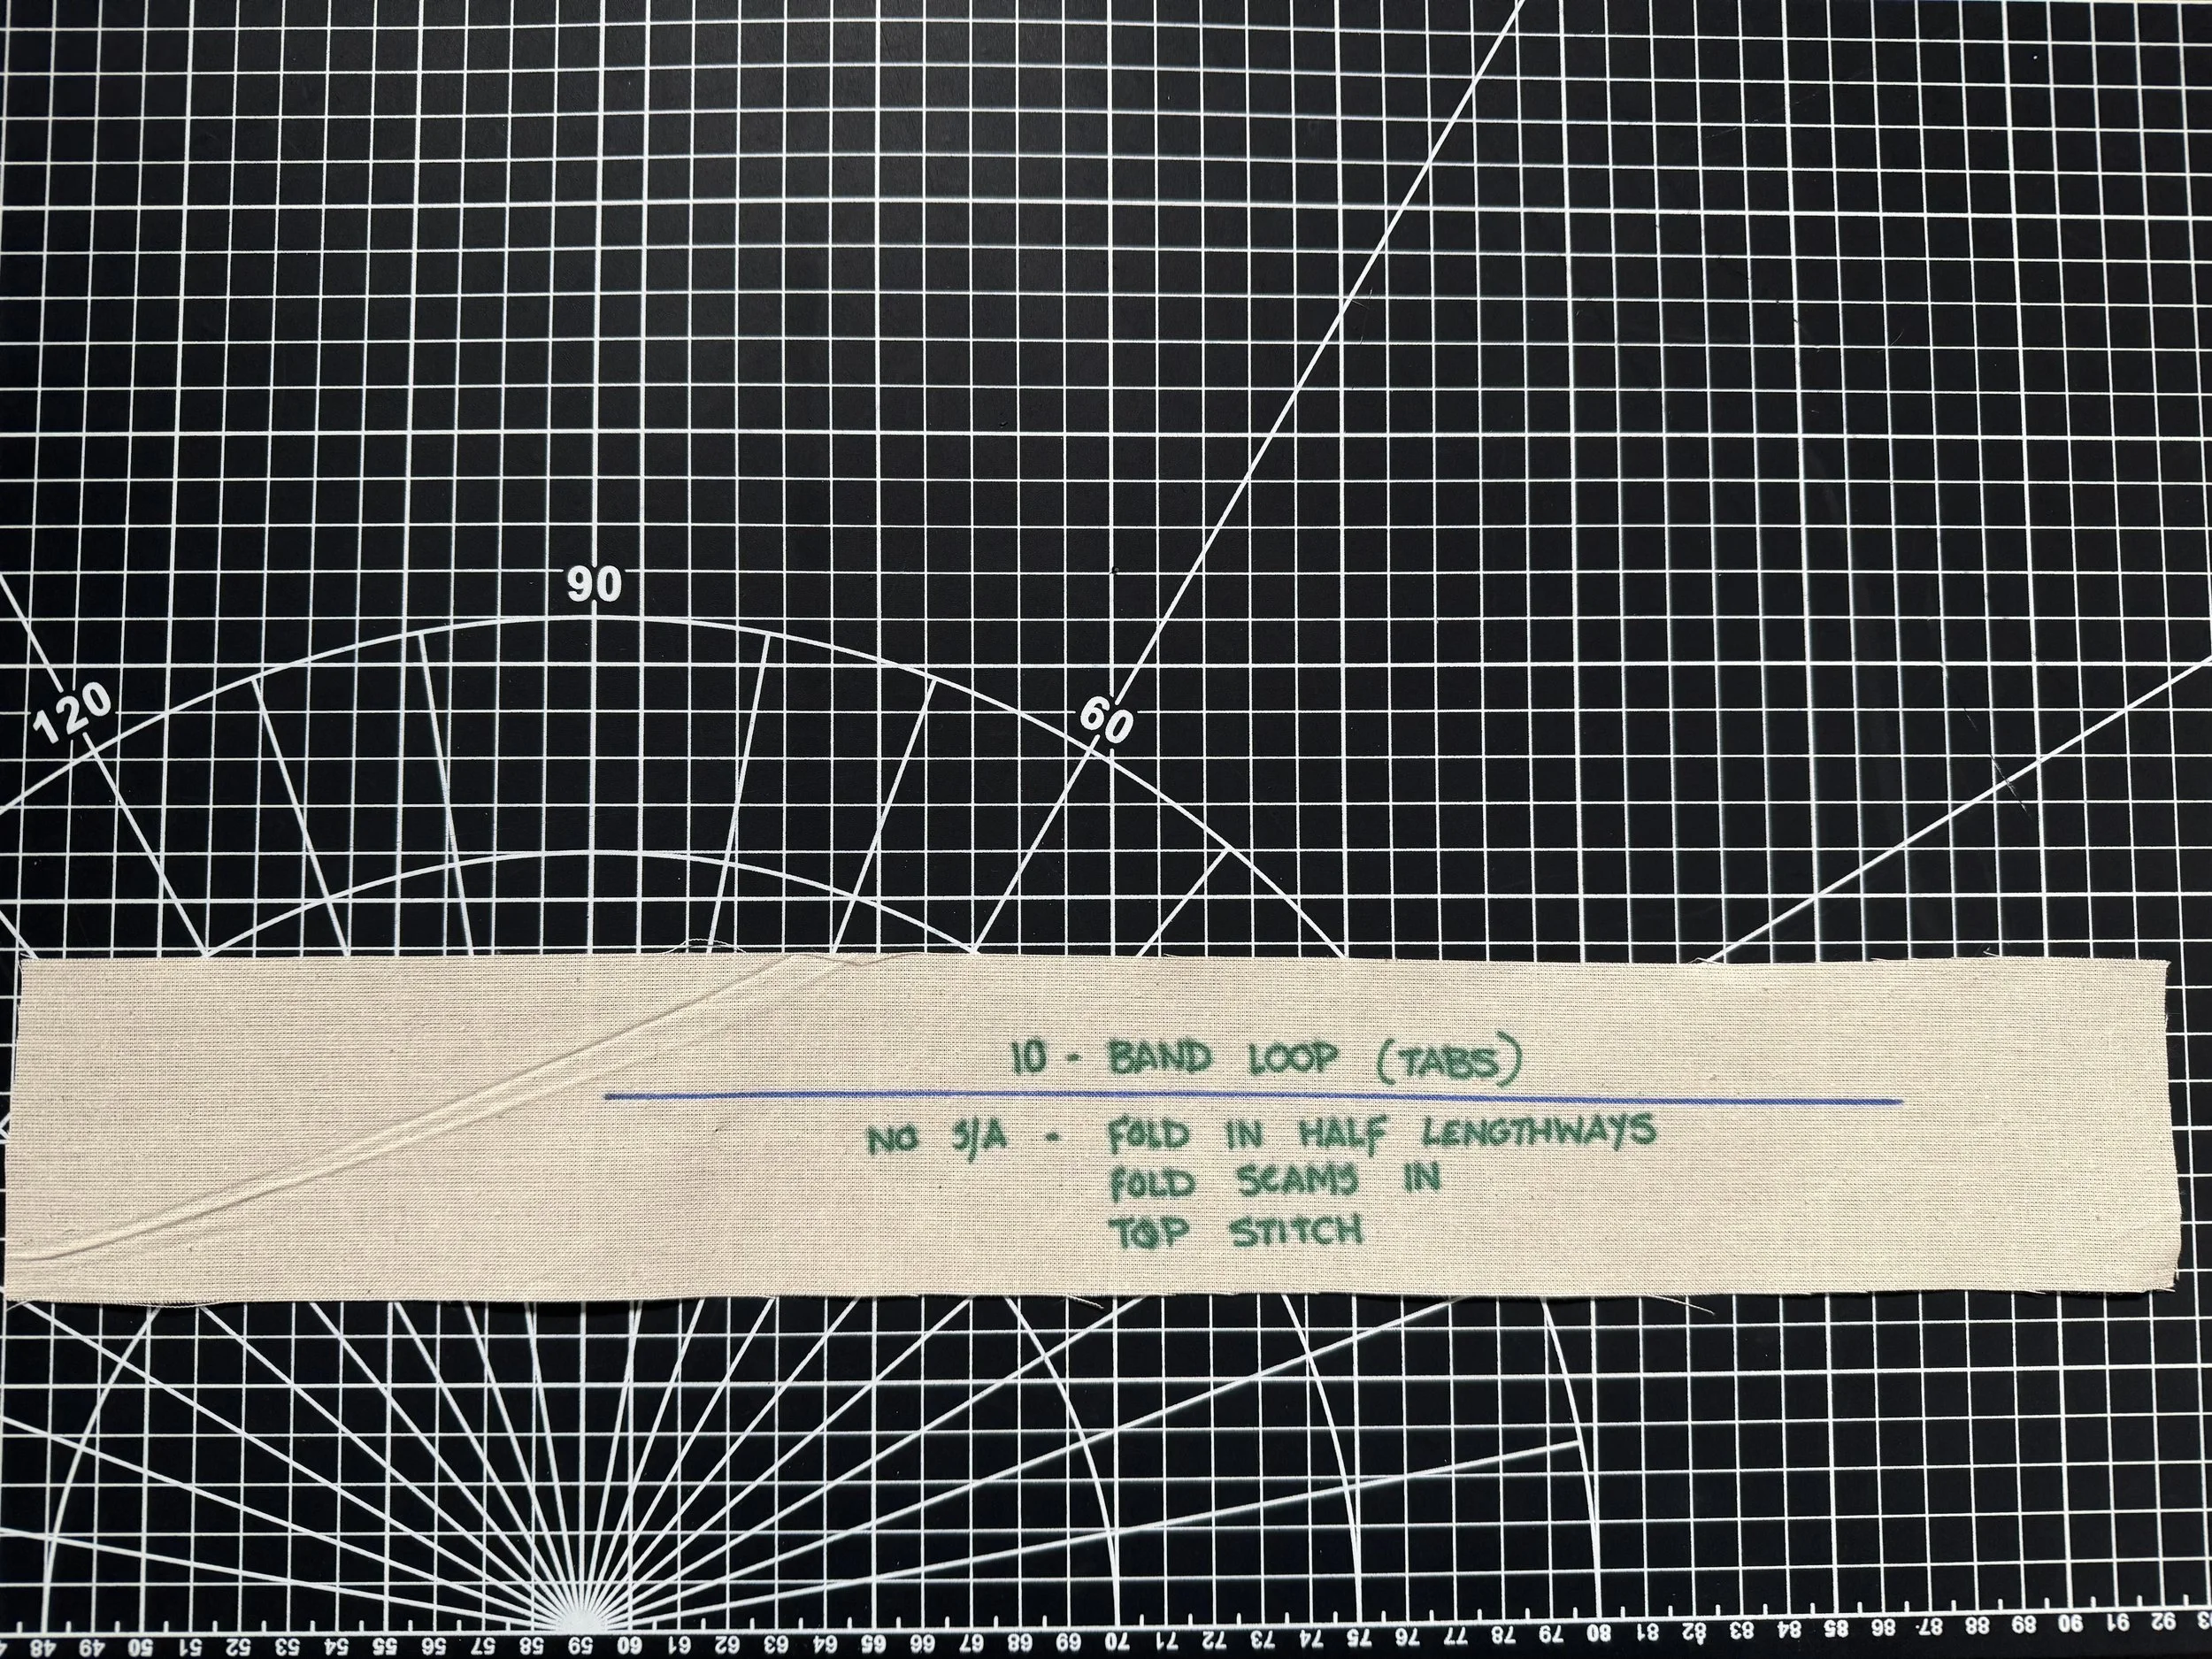
Belt loops next….
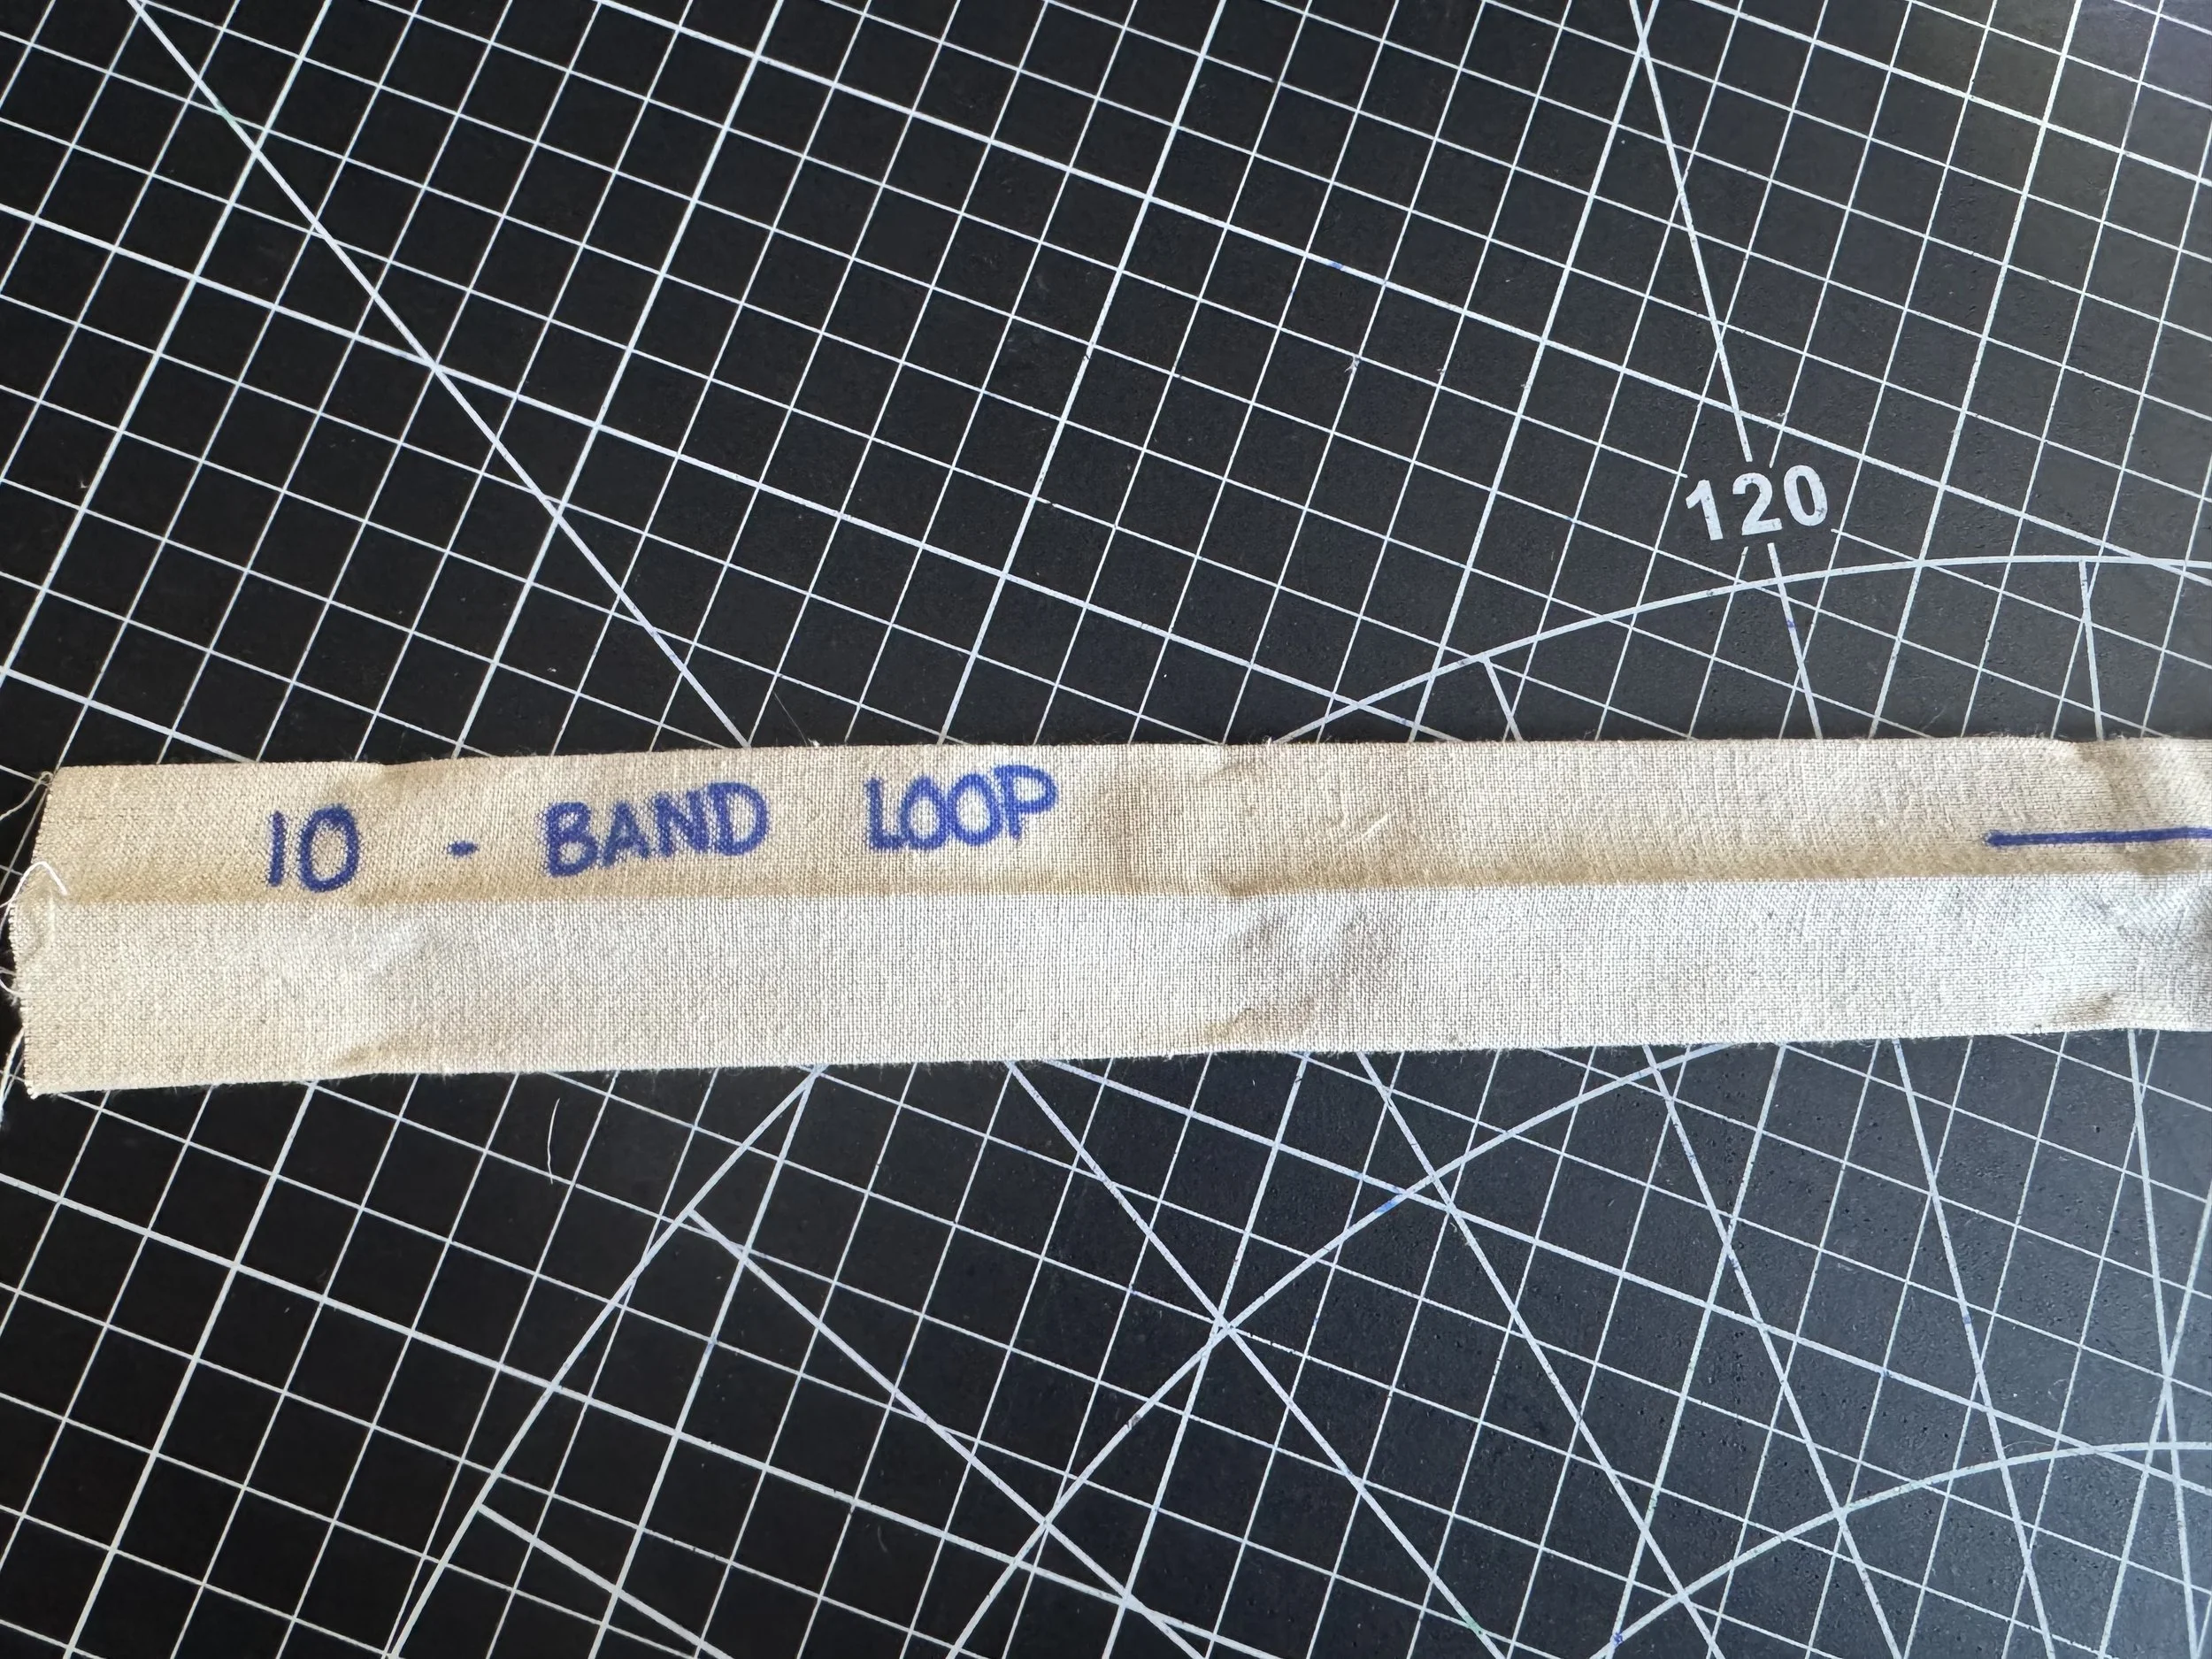
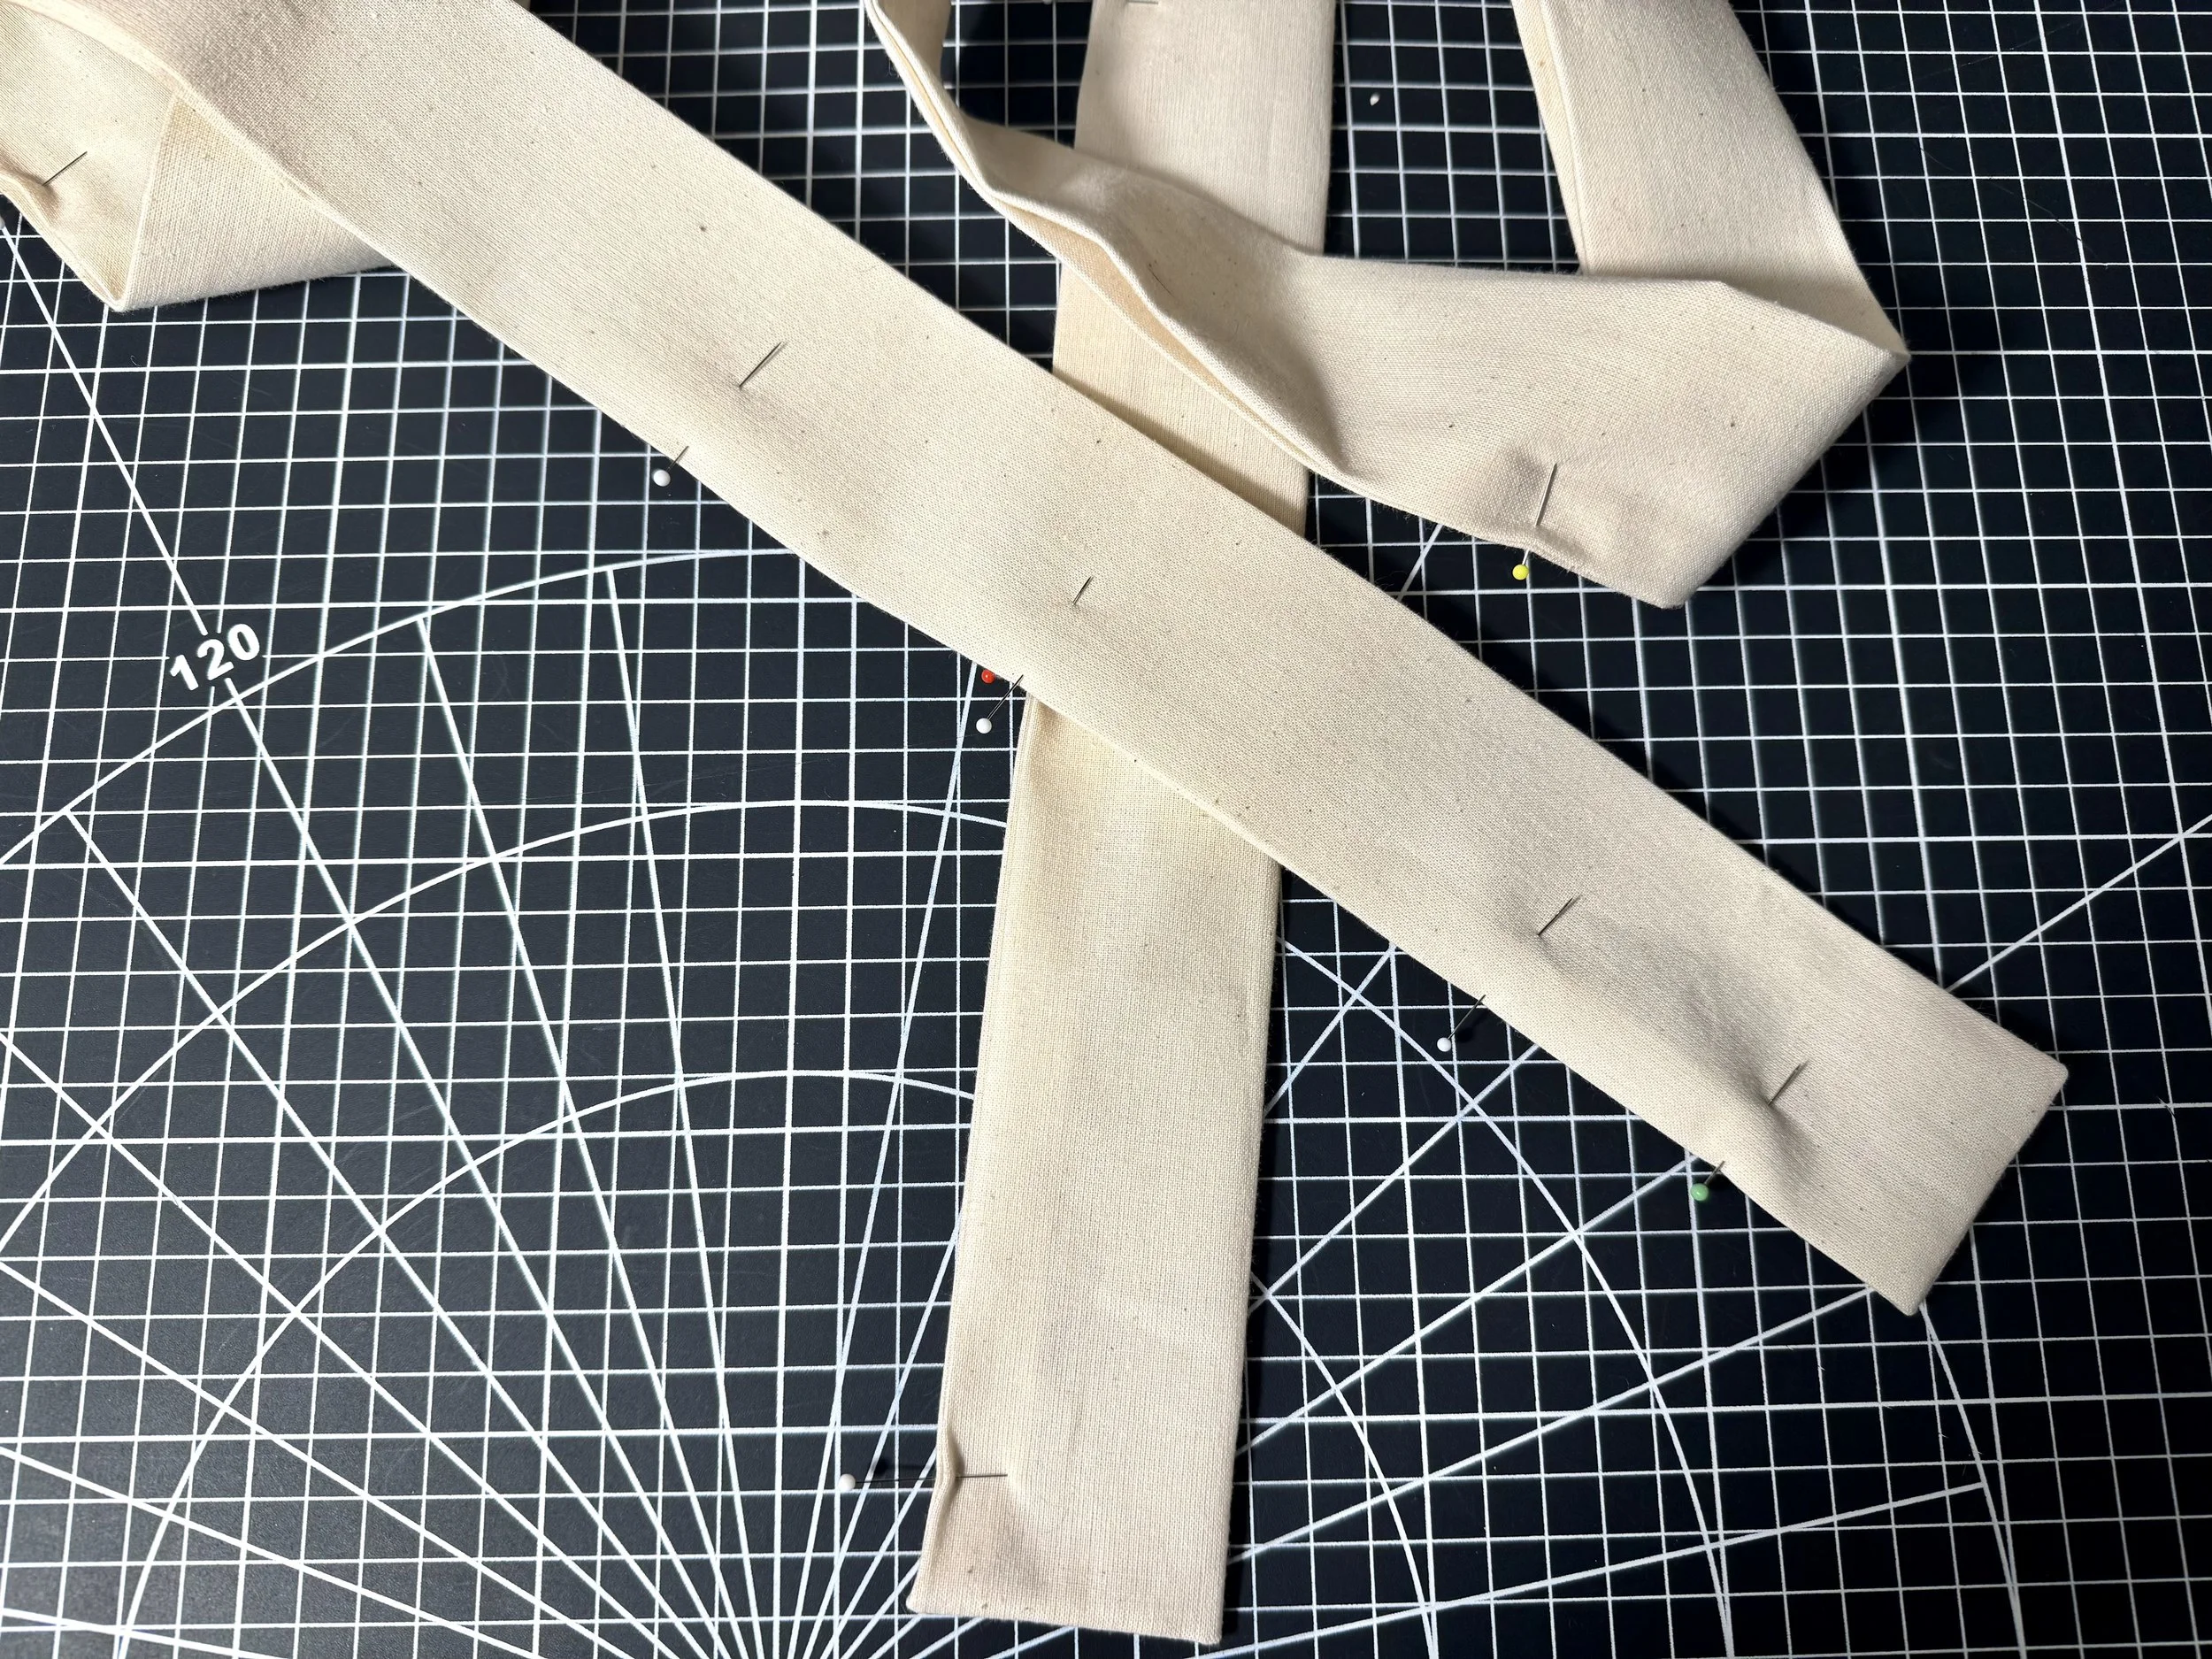
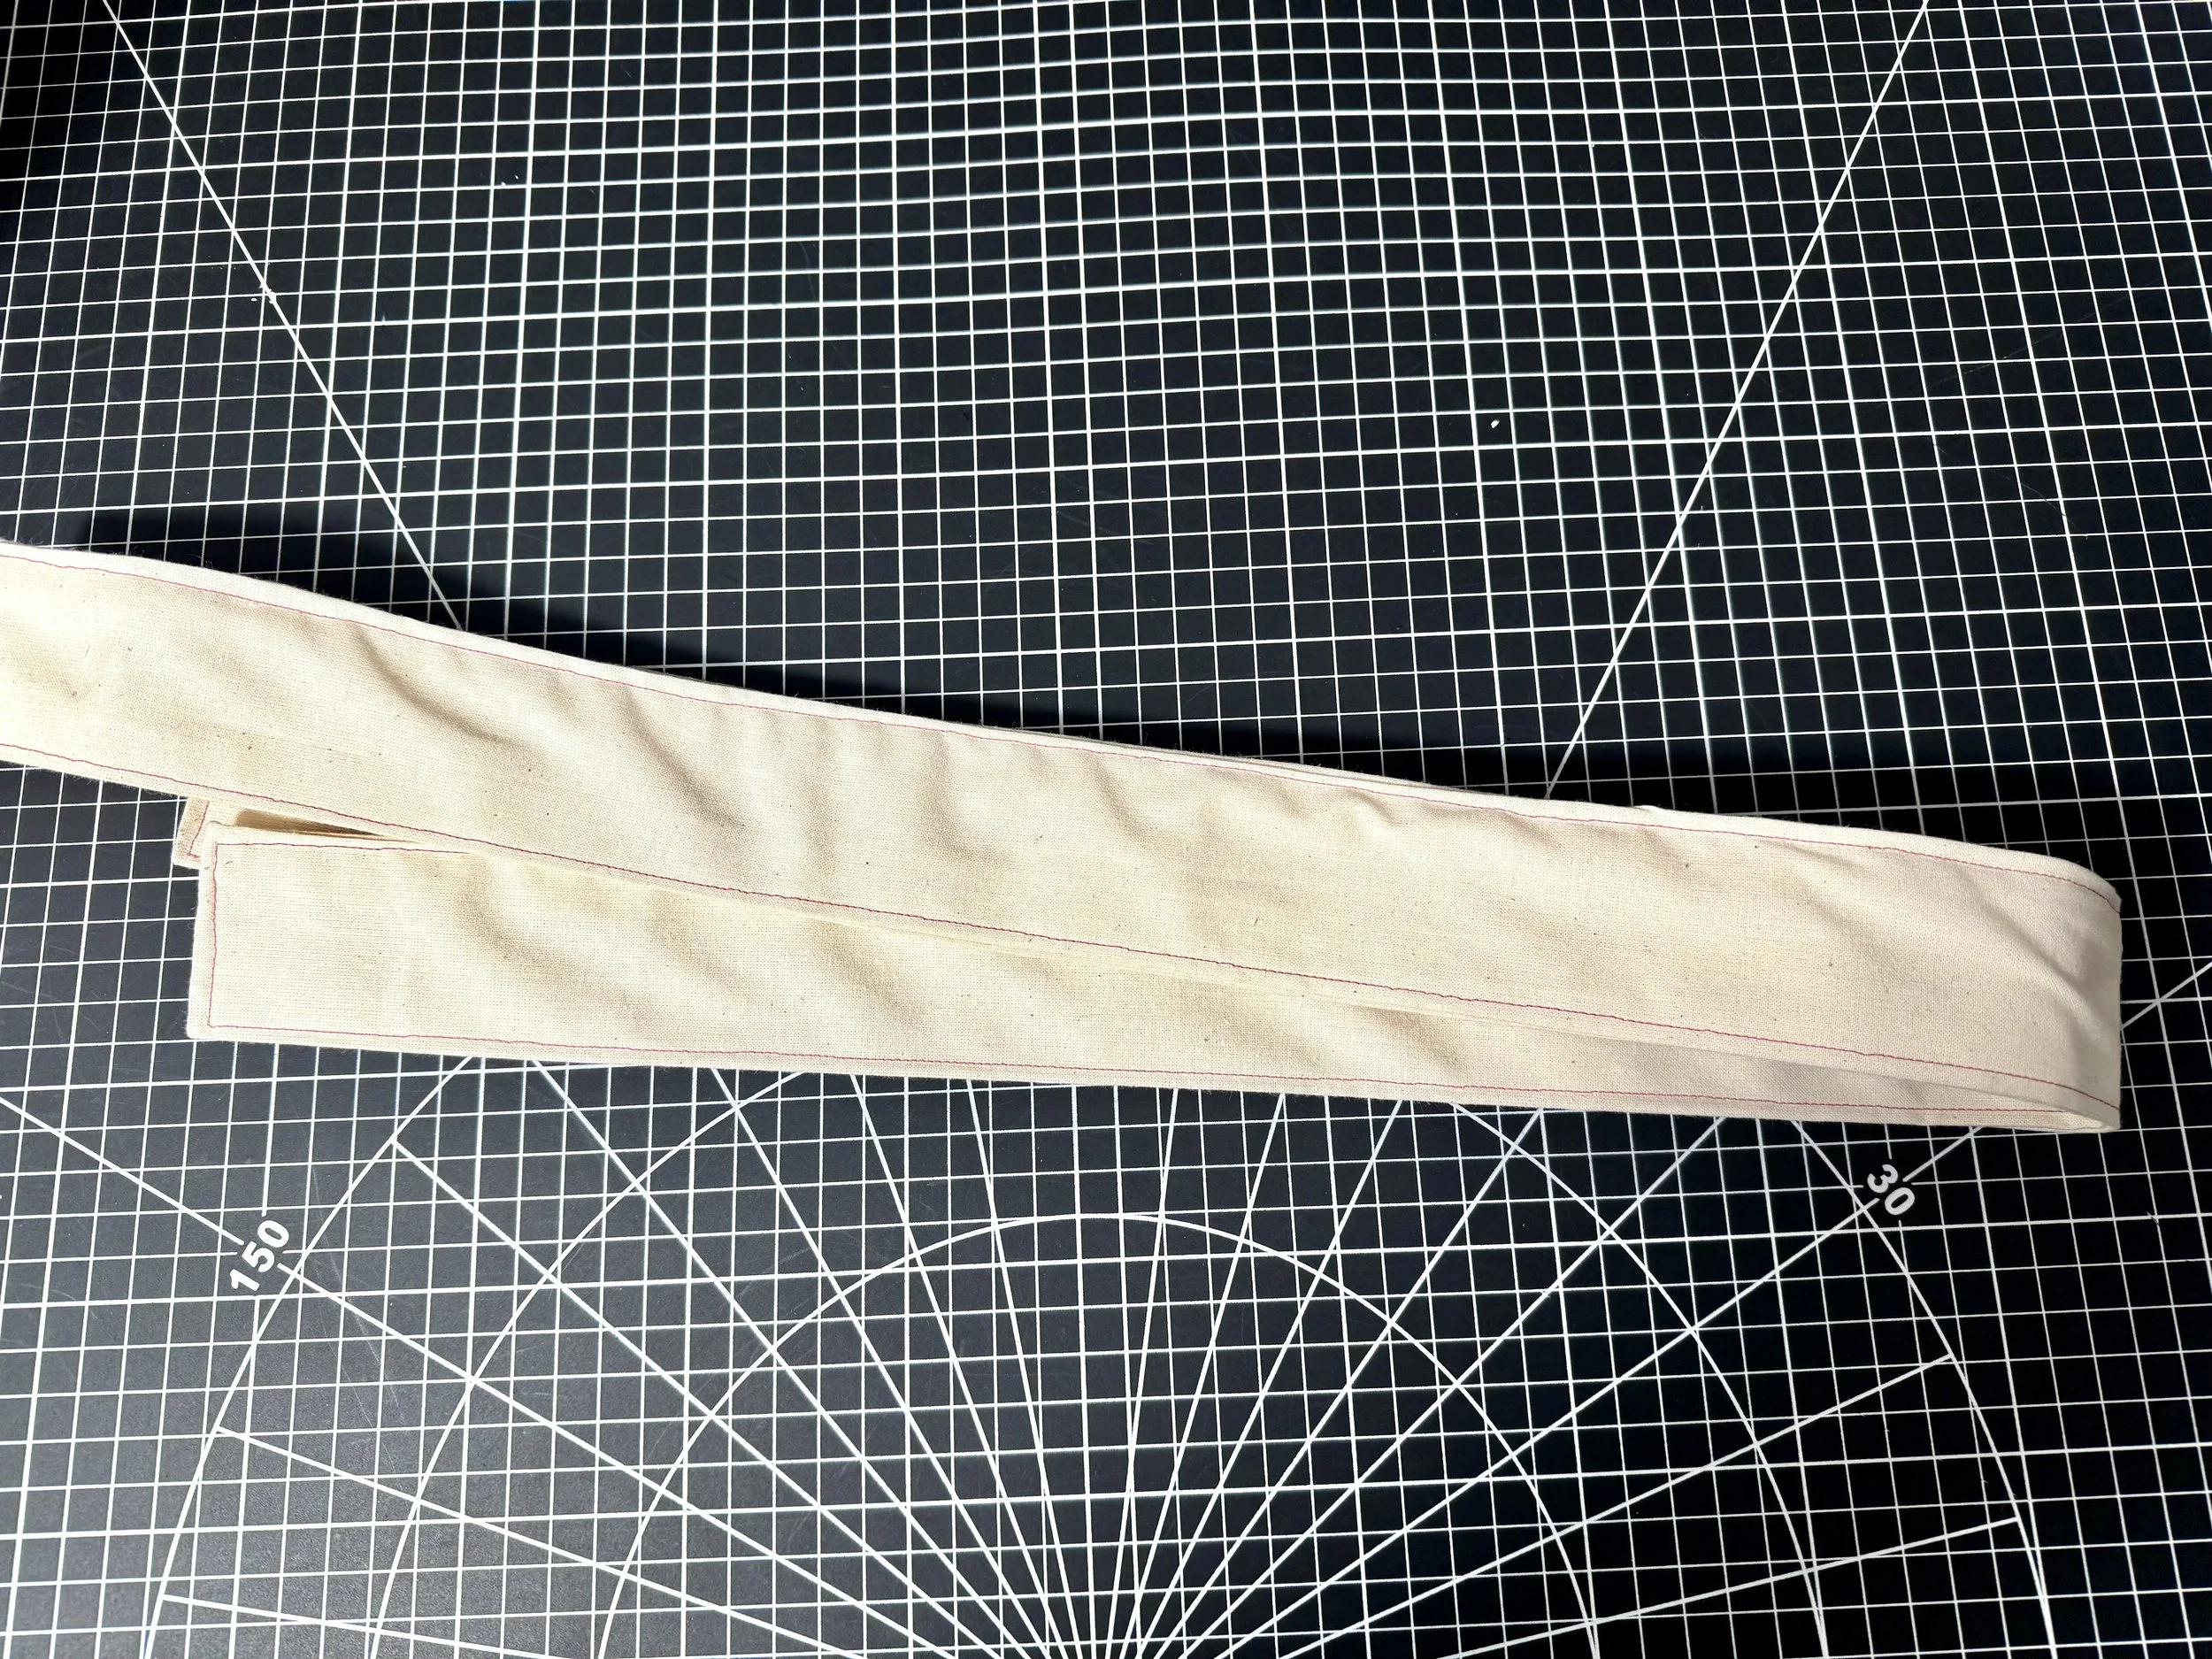
Fold in half lengthways, and press lightly.
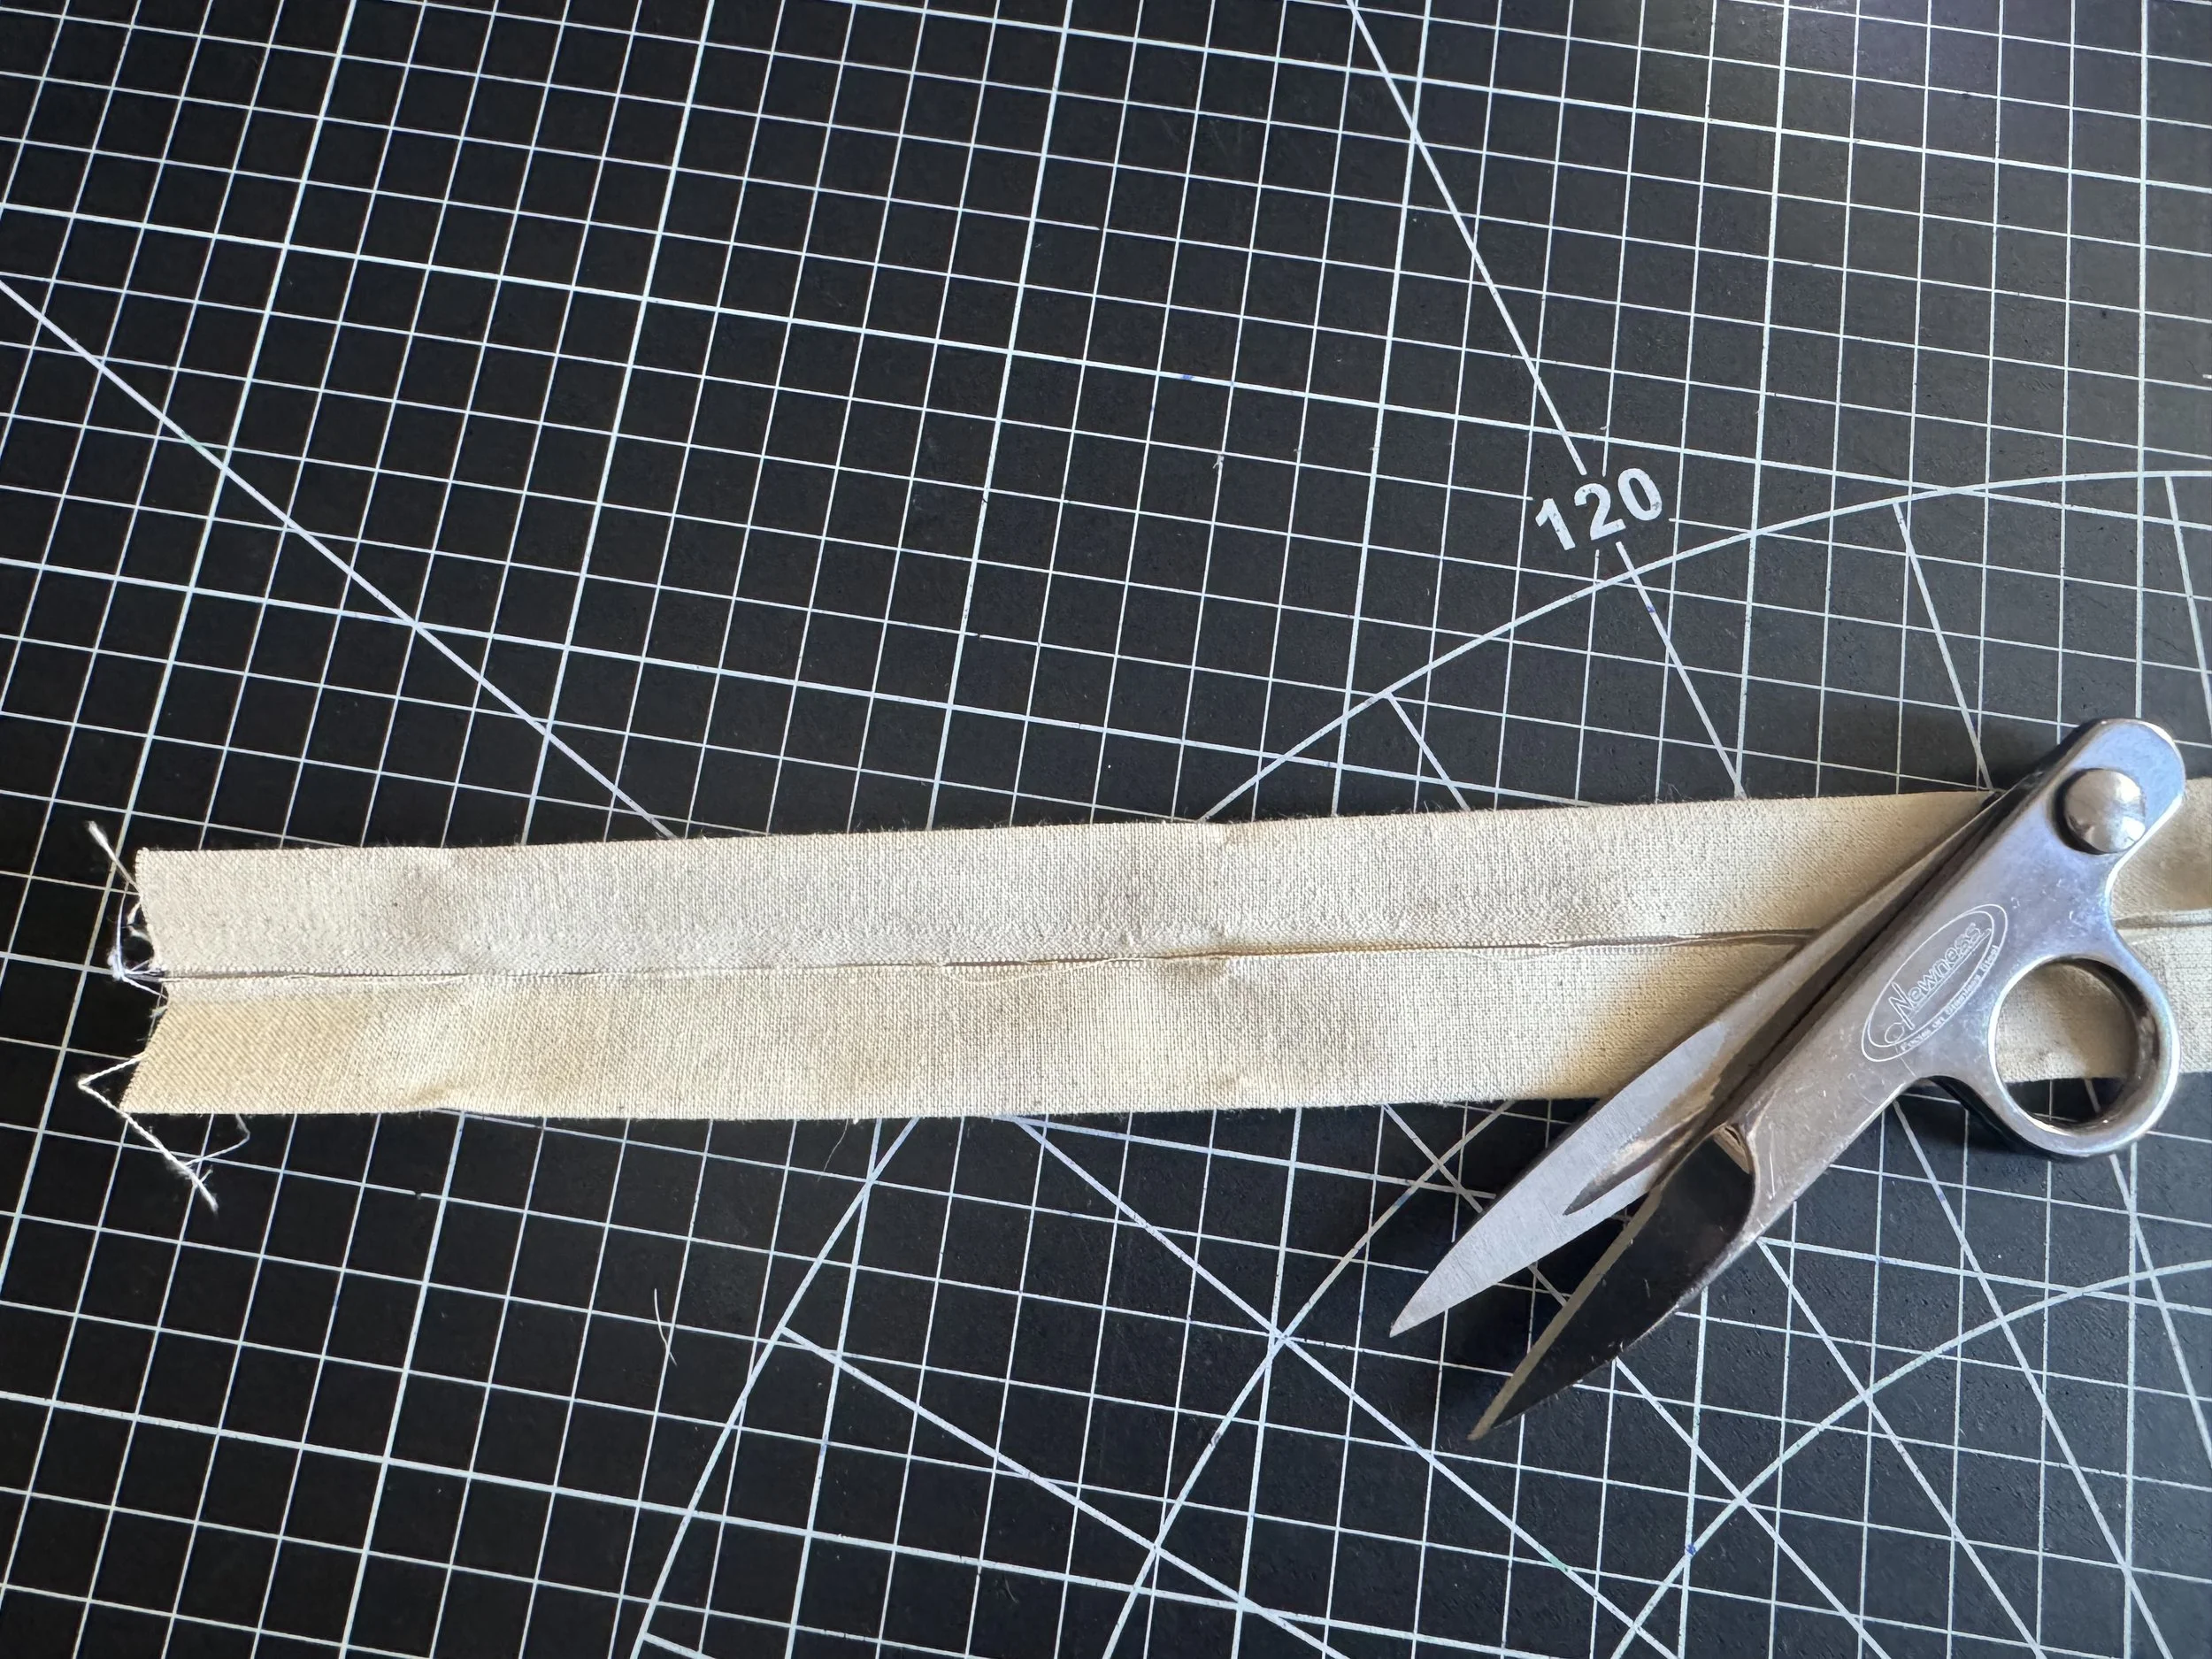
Using the center line as a guide, fold the seam allowance on each side in to meet in the center.
And fold once more, press again.
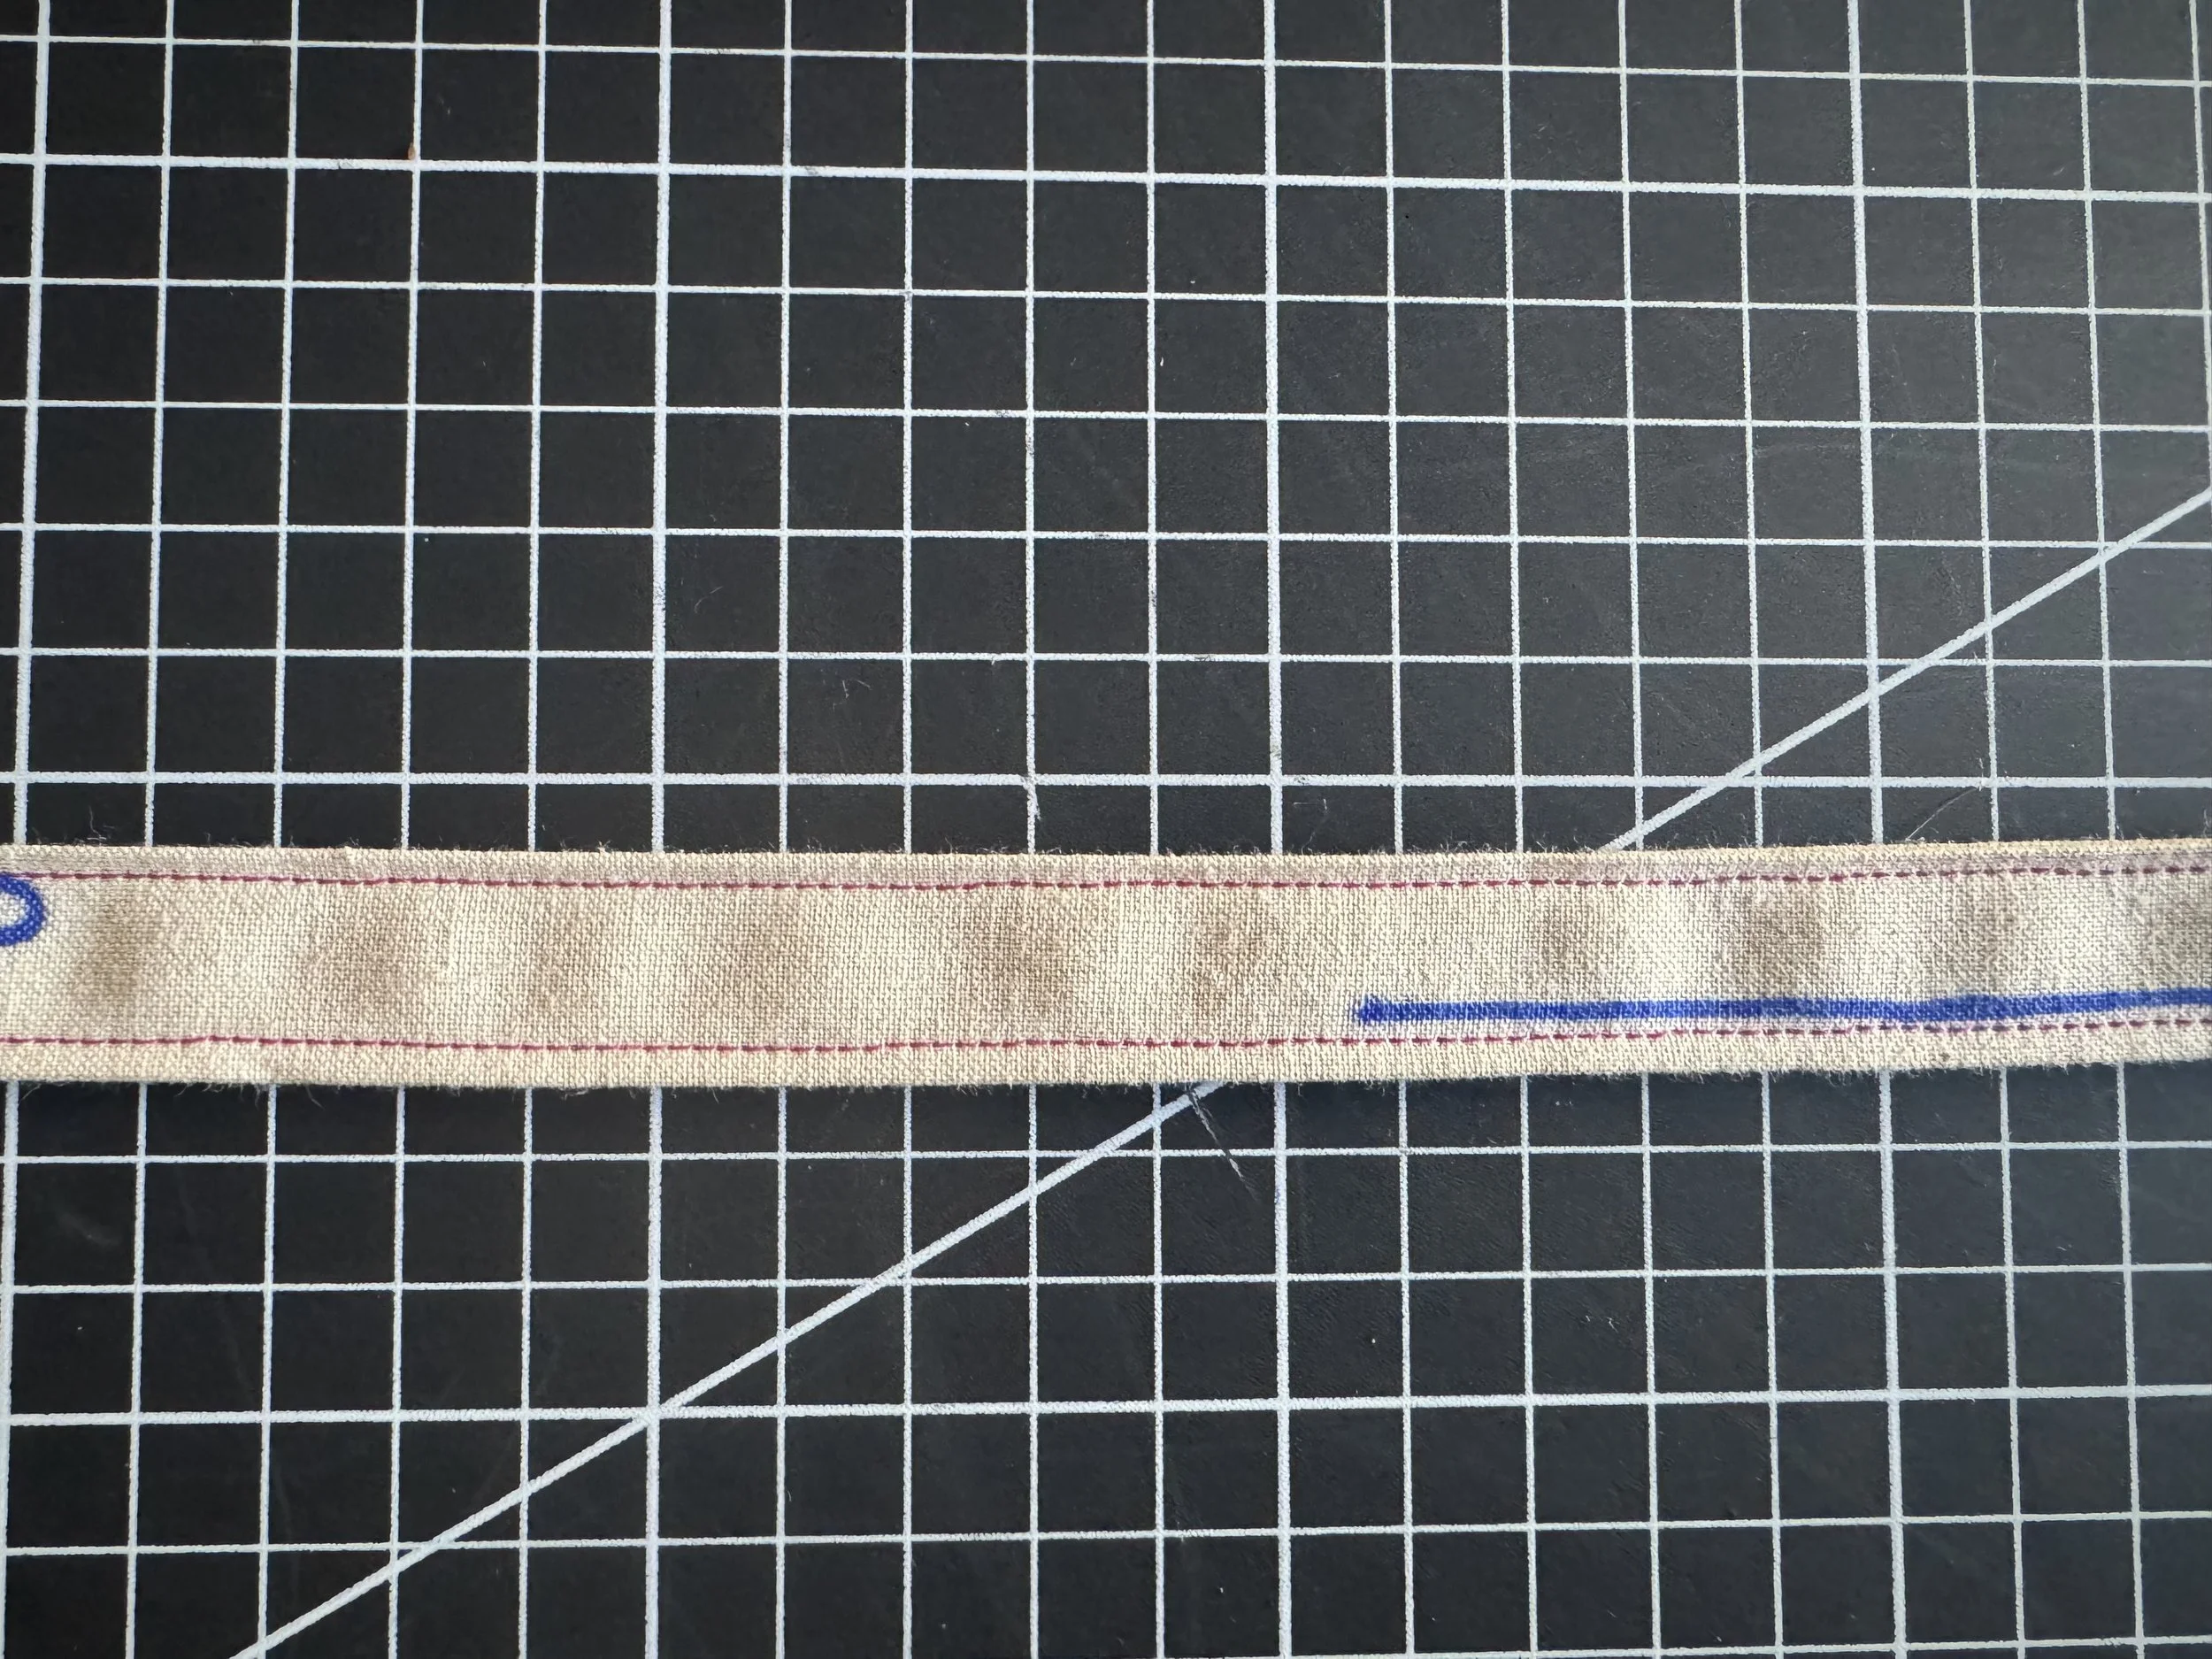
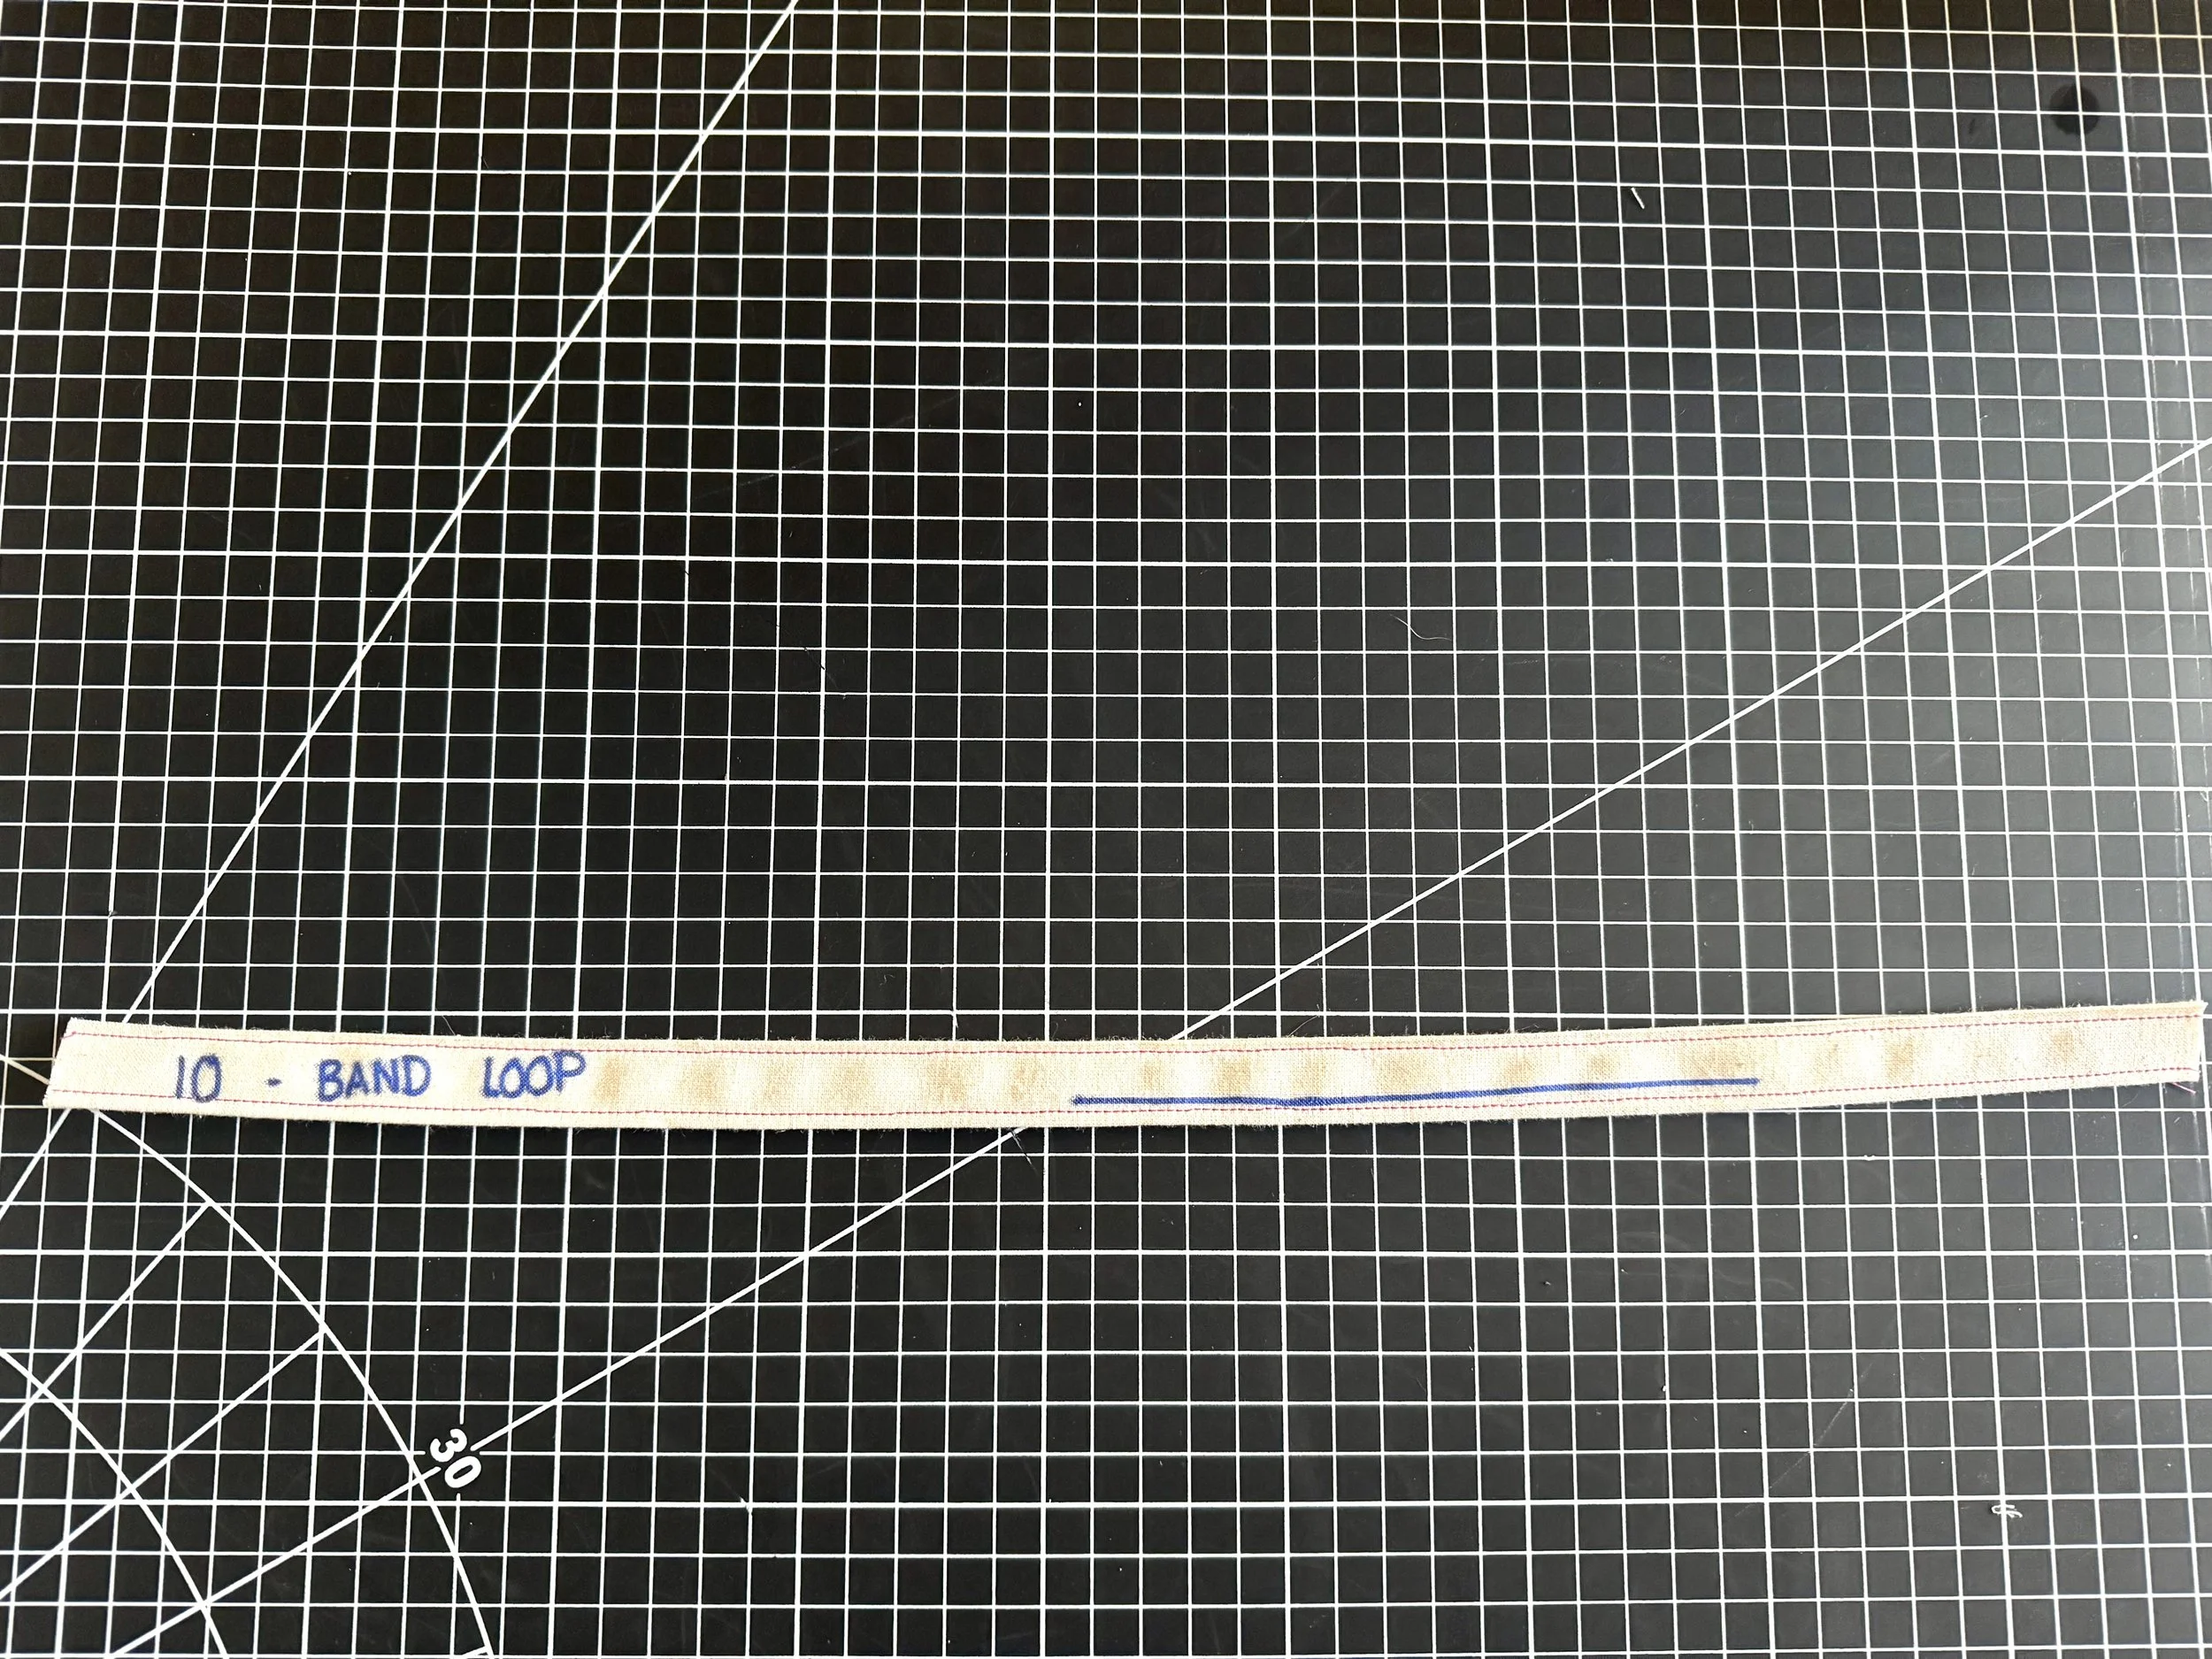
Run a topstitch down both edges to close your band.
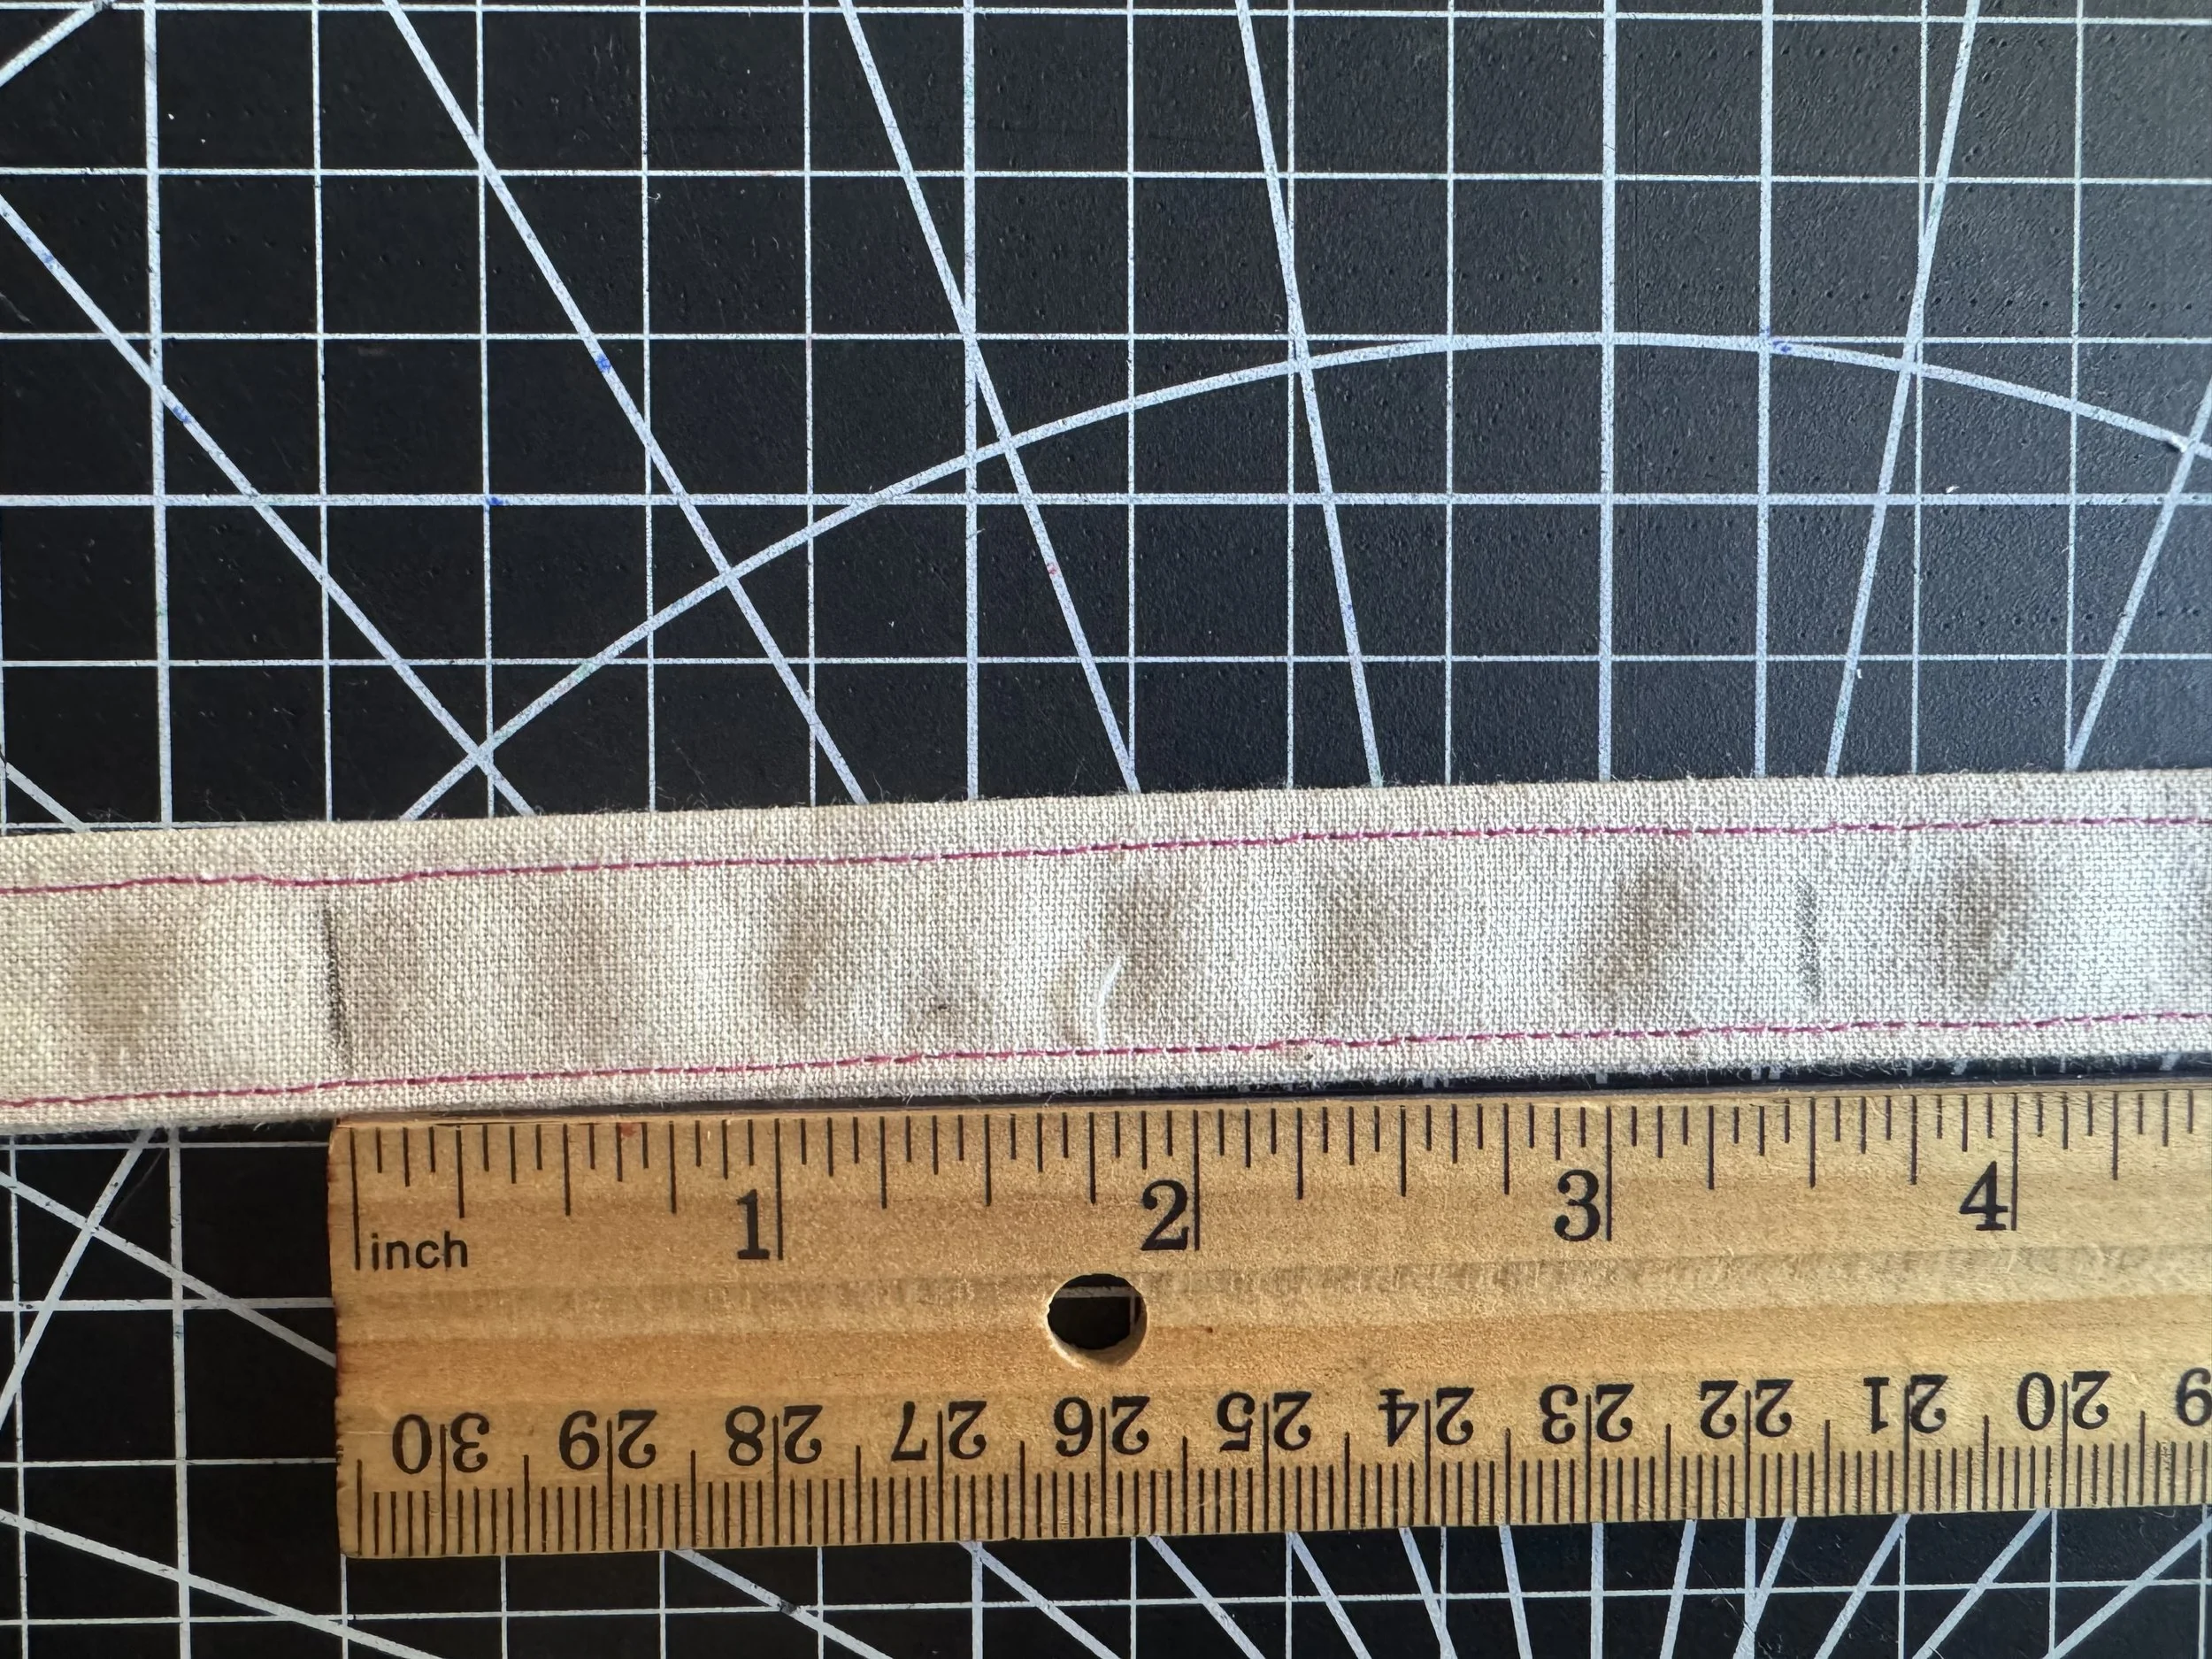
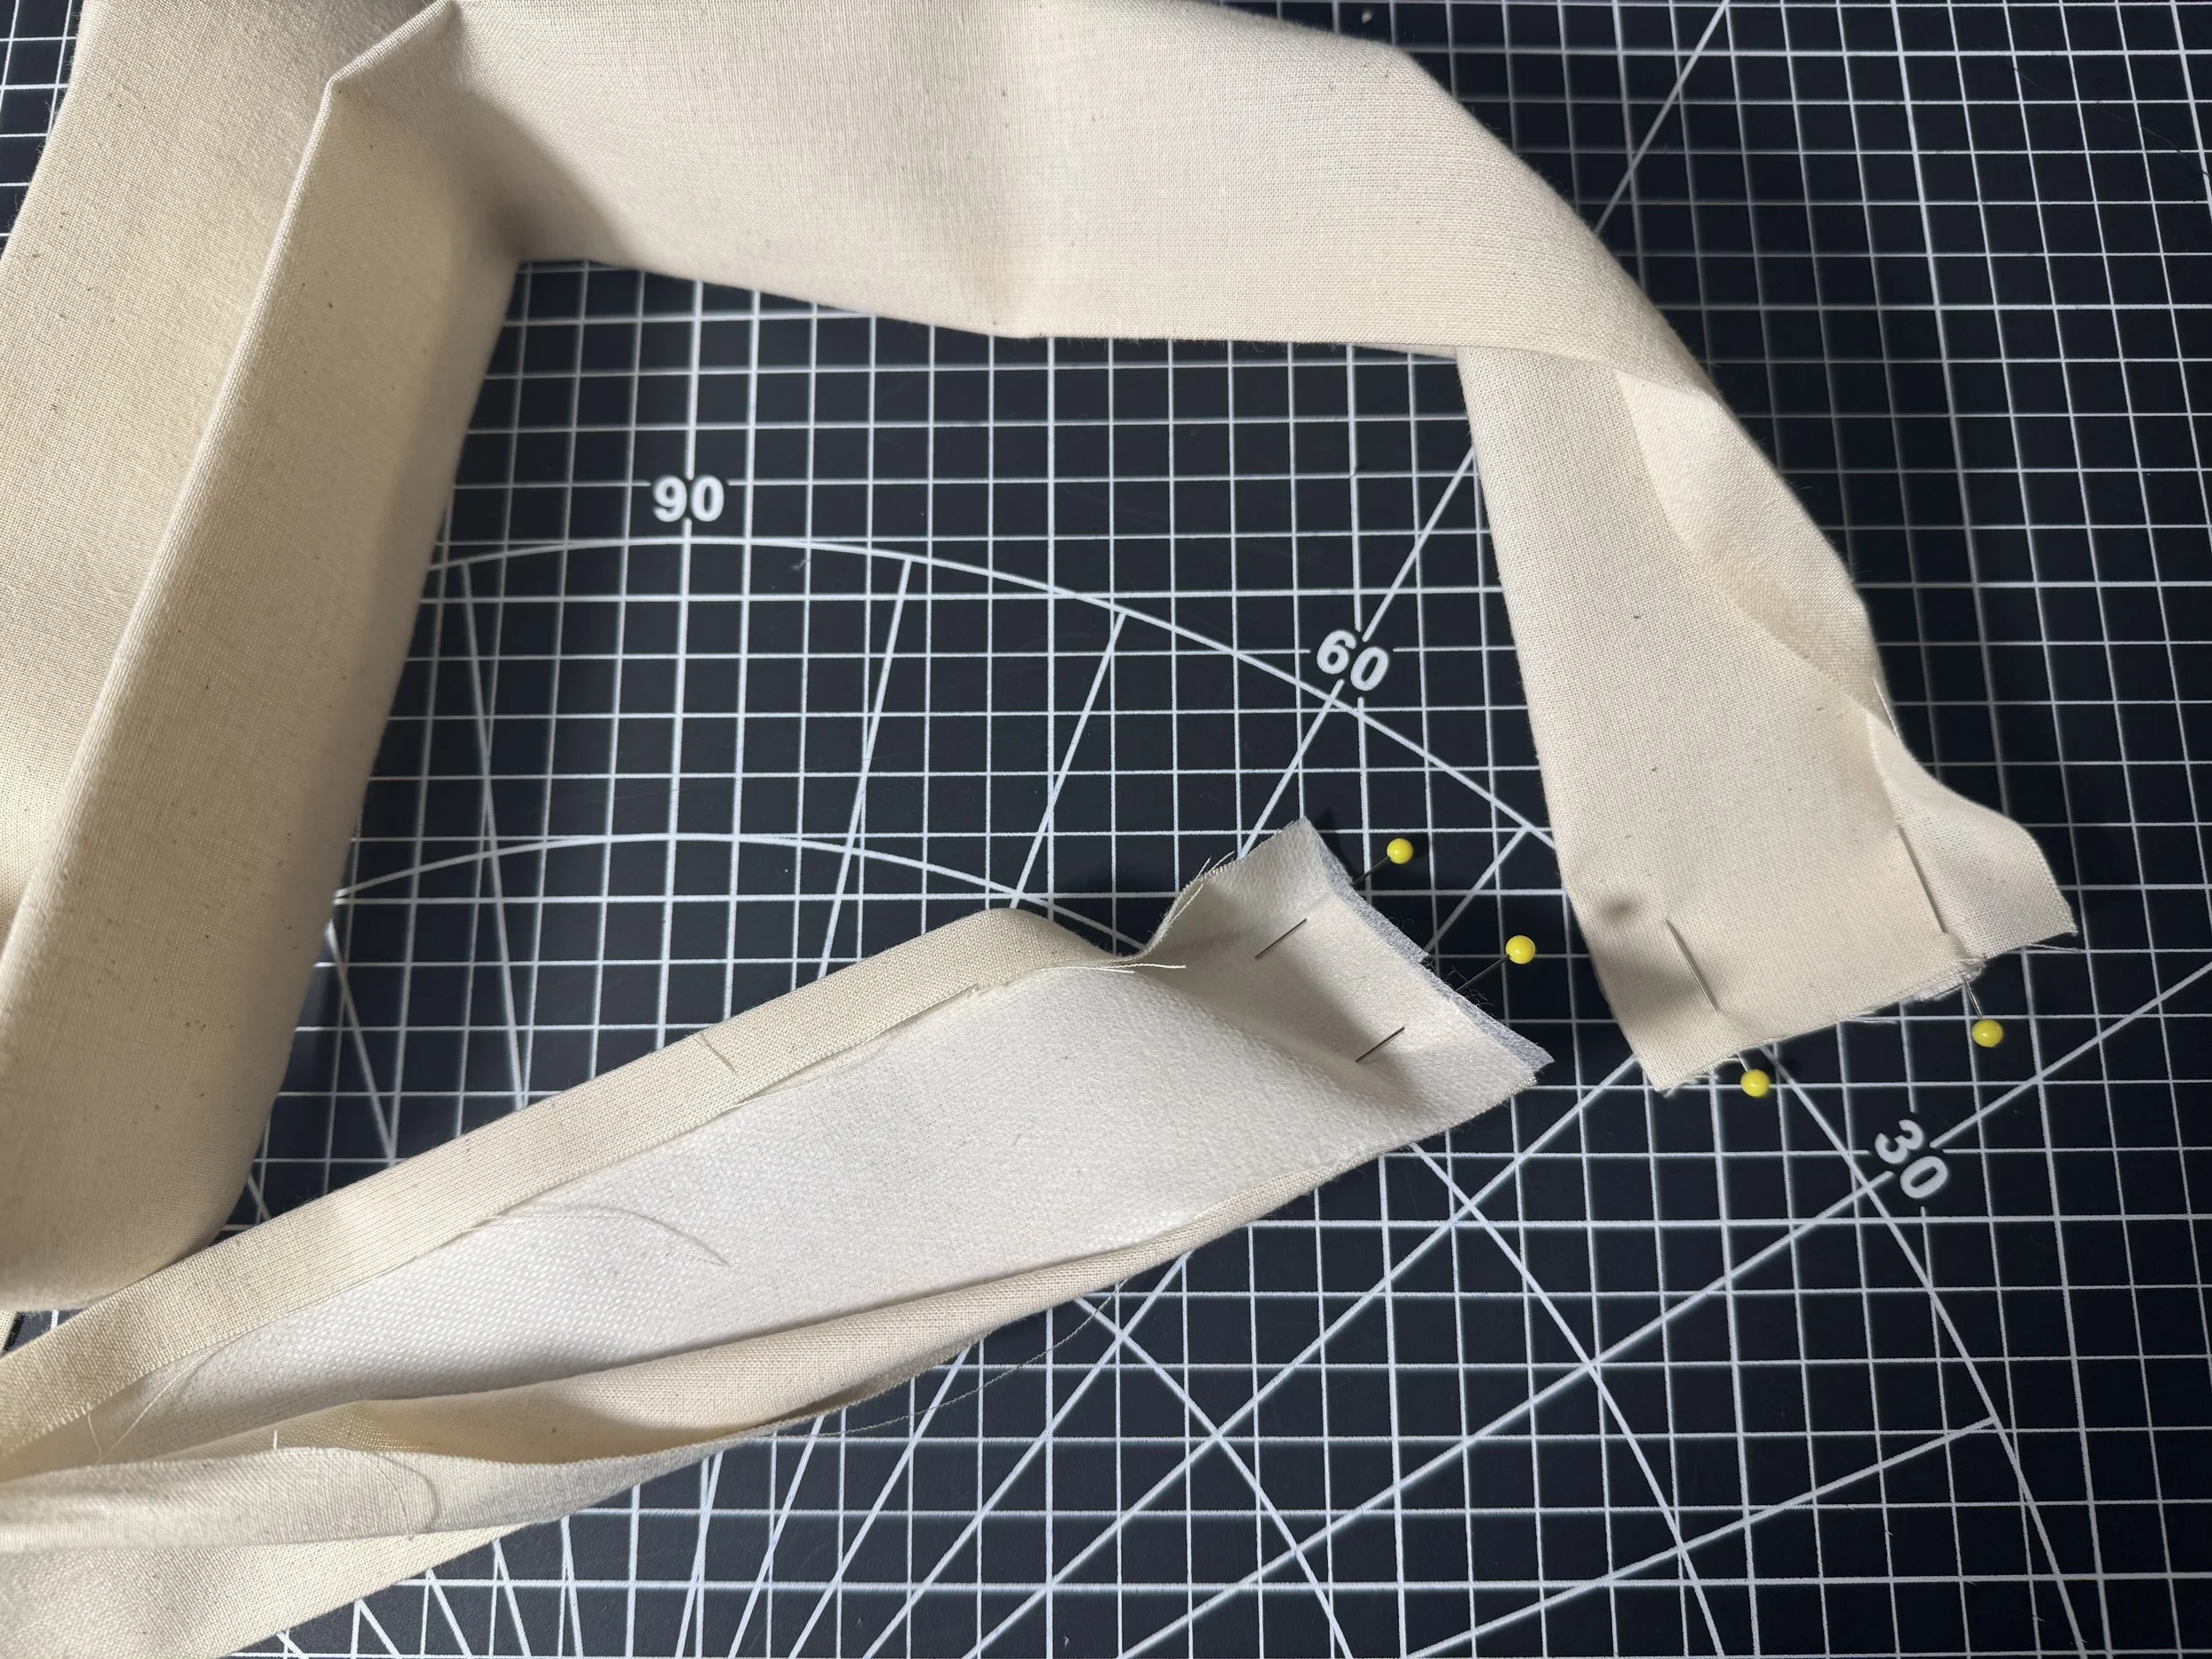
Divide the length of your band between 5 - mine was roughly 3.5” for each, and cut each section. The final piece will probably be slightly longer, but we will trim them all after the waistband is attached.
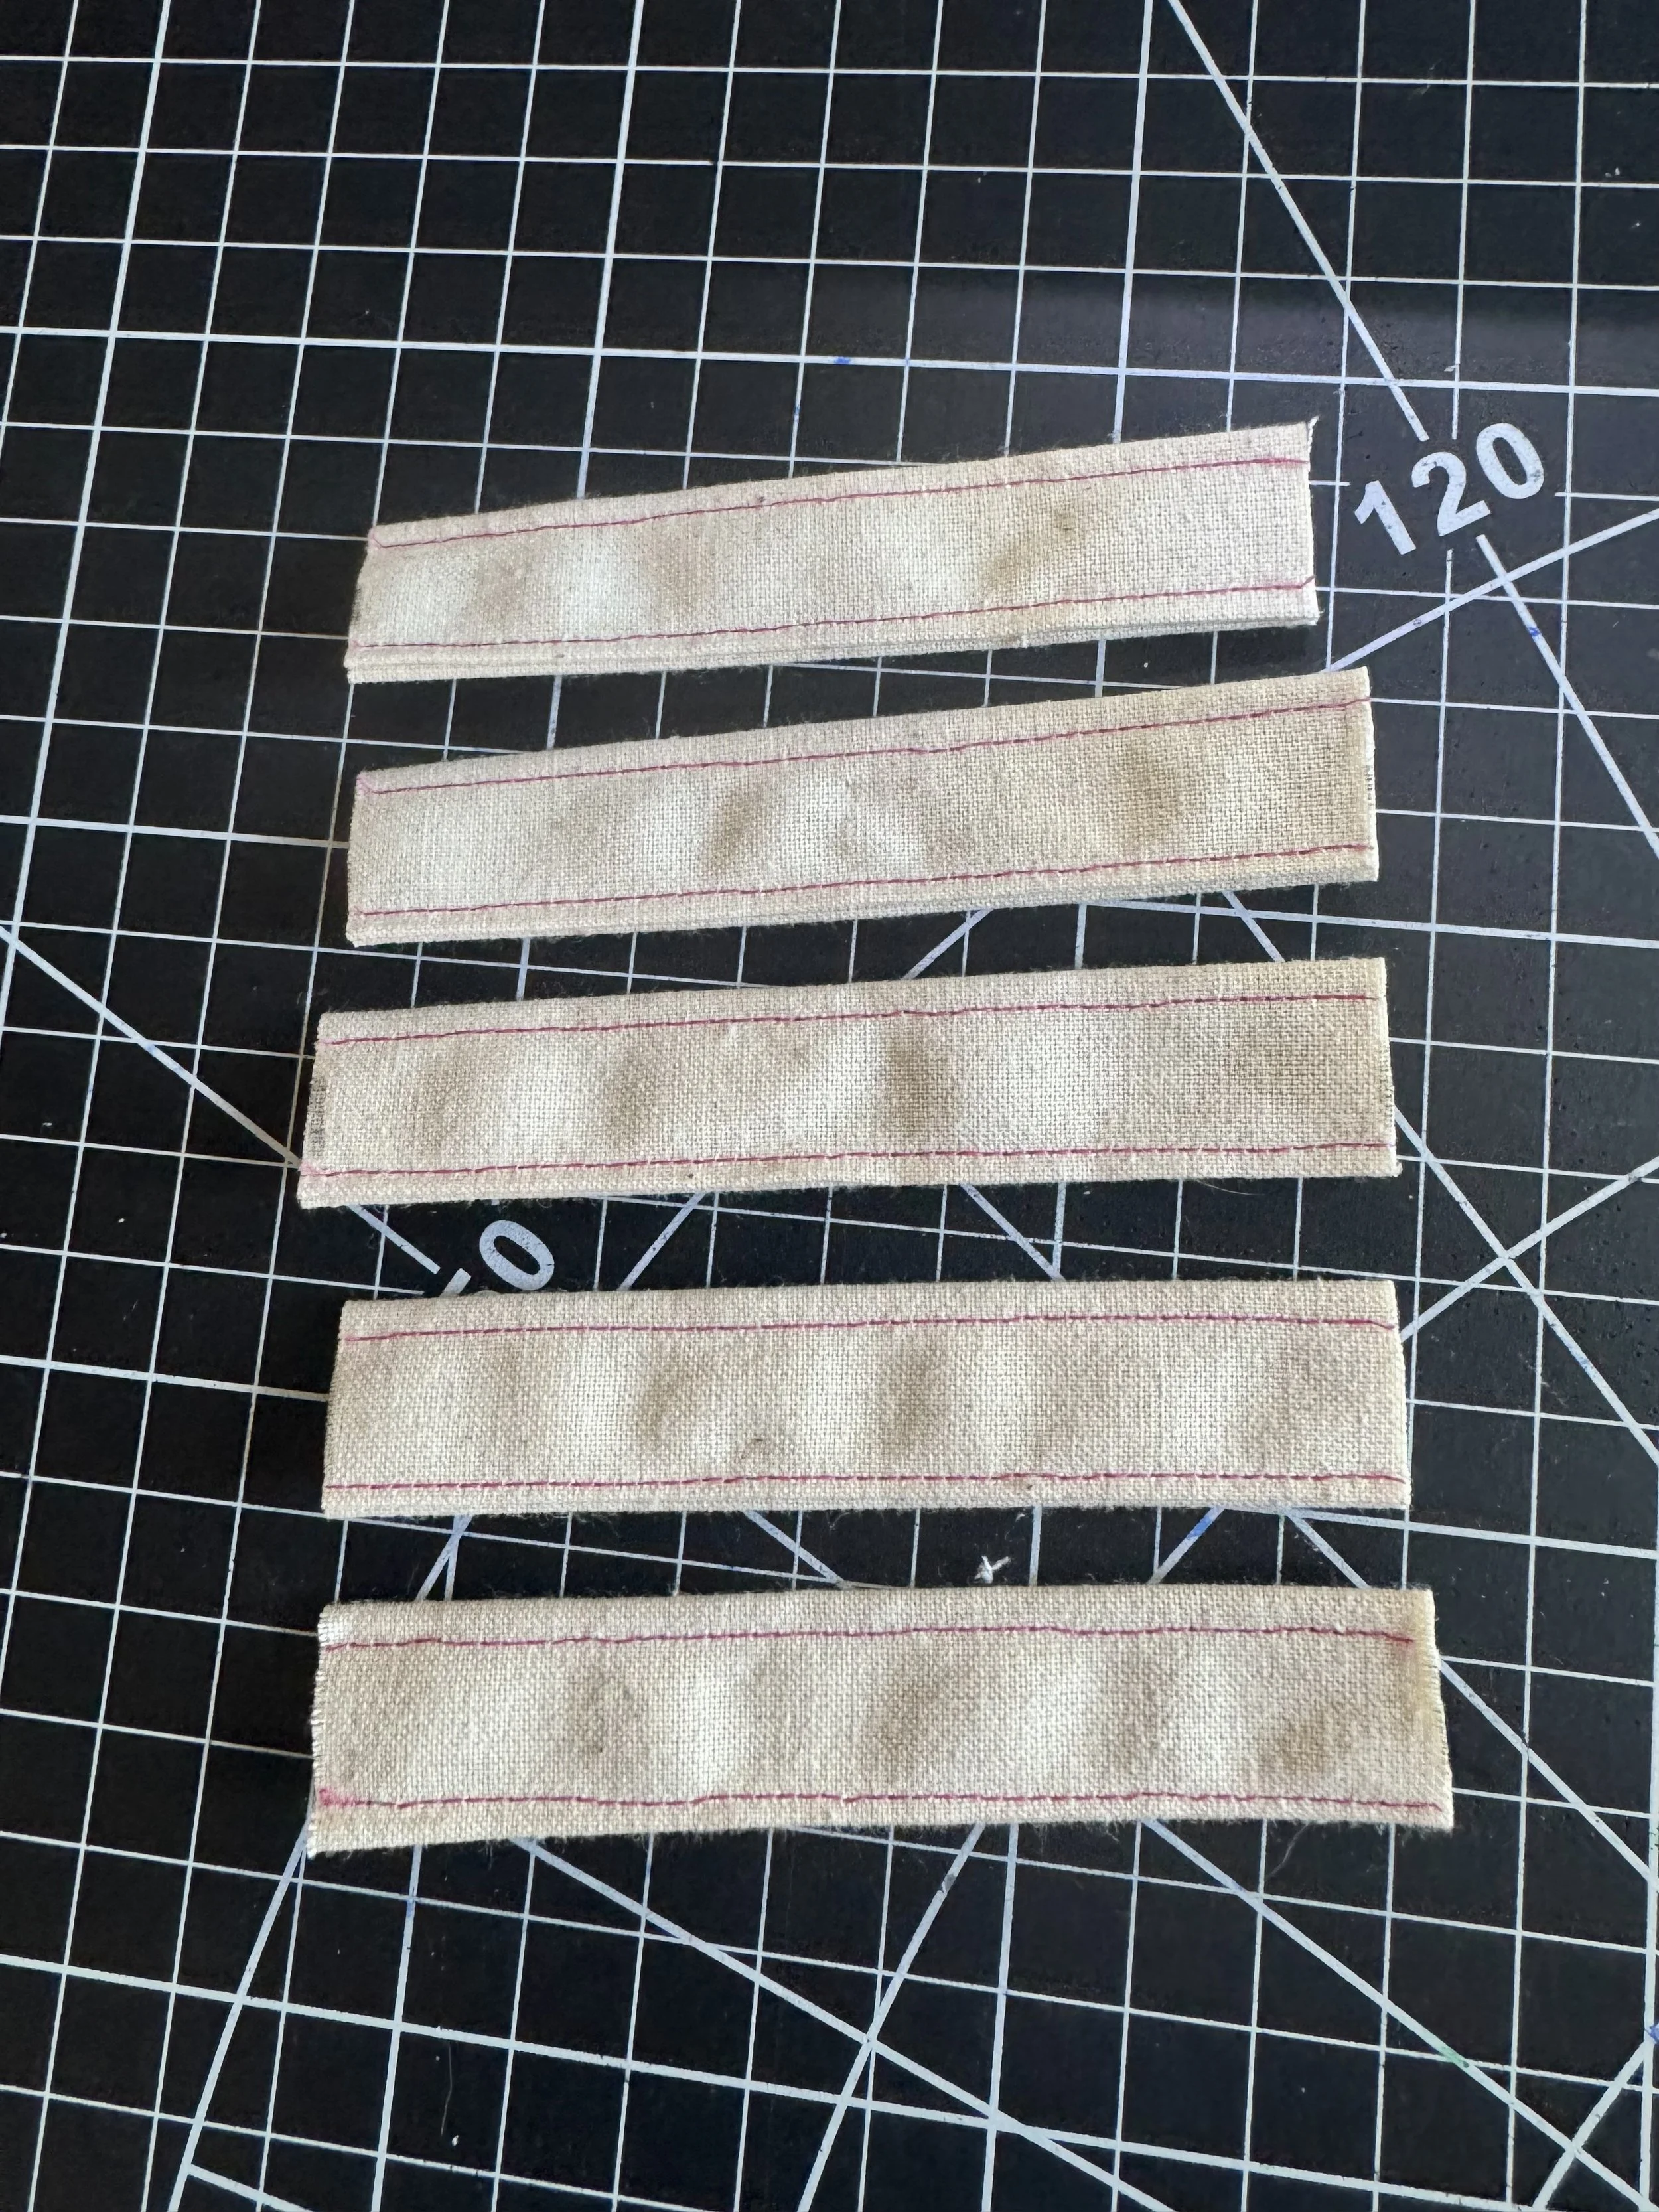
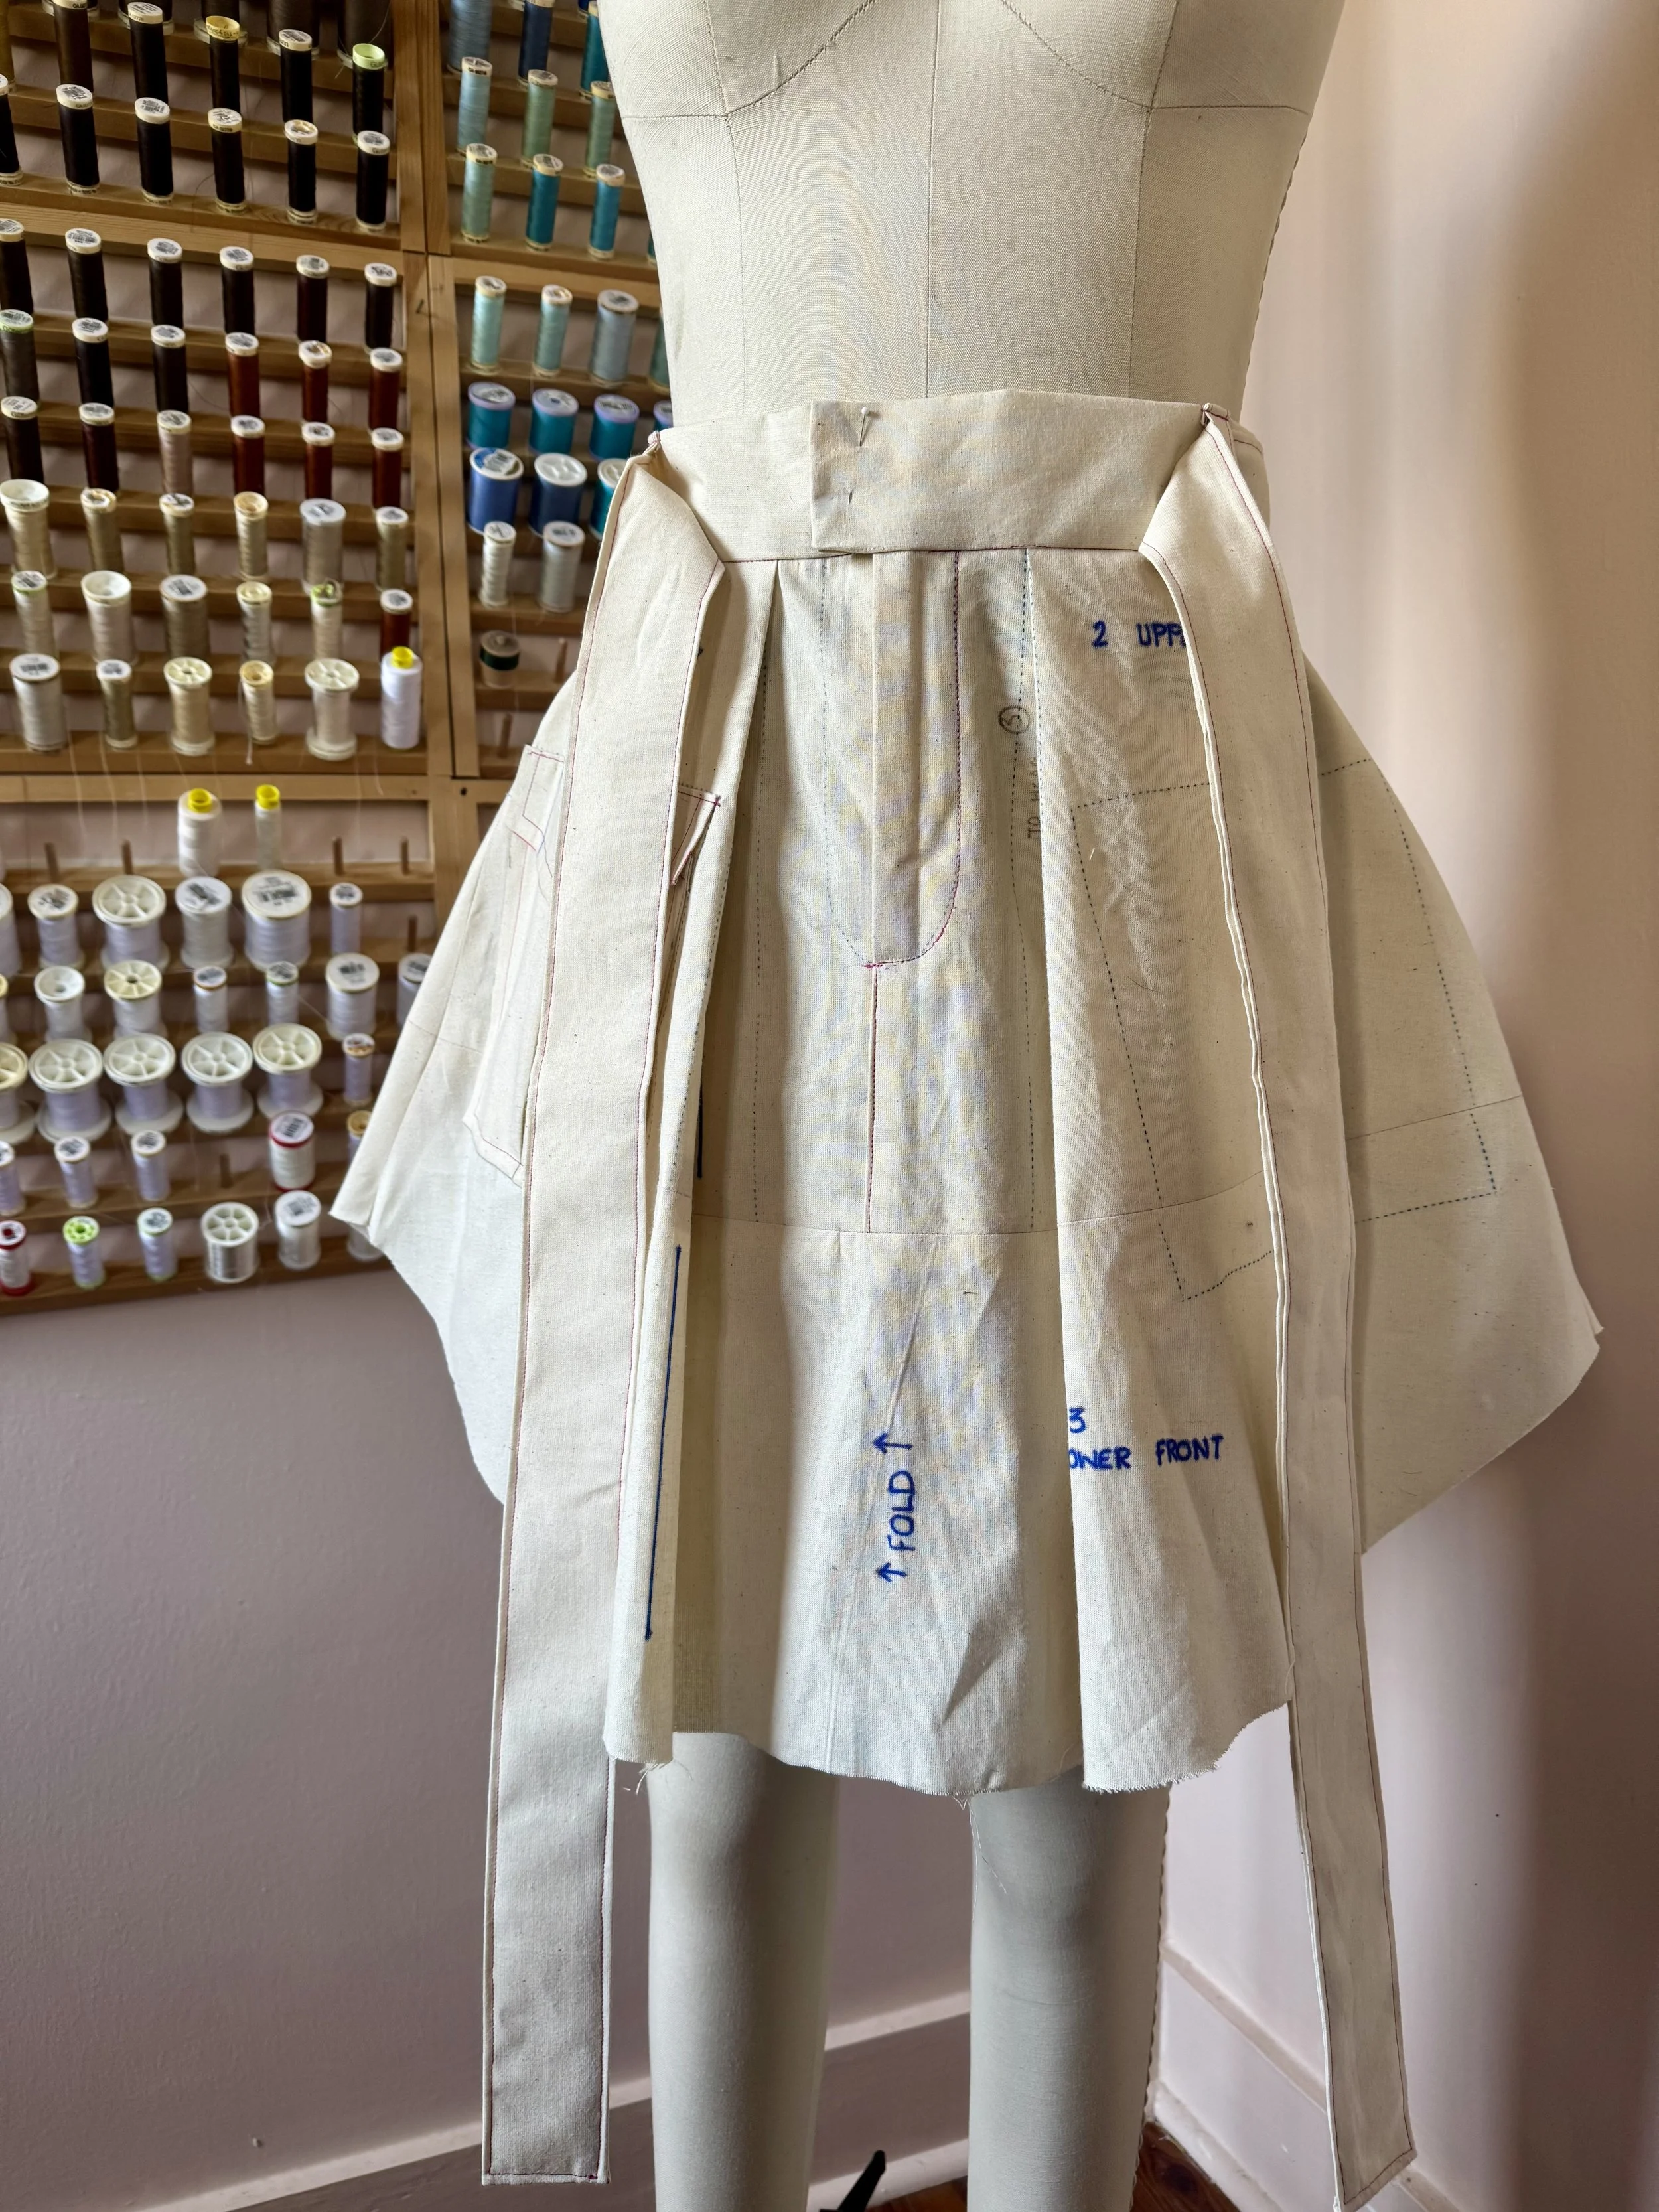
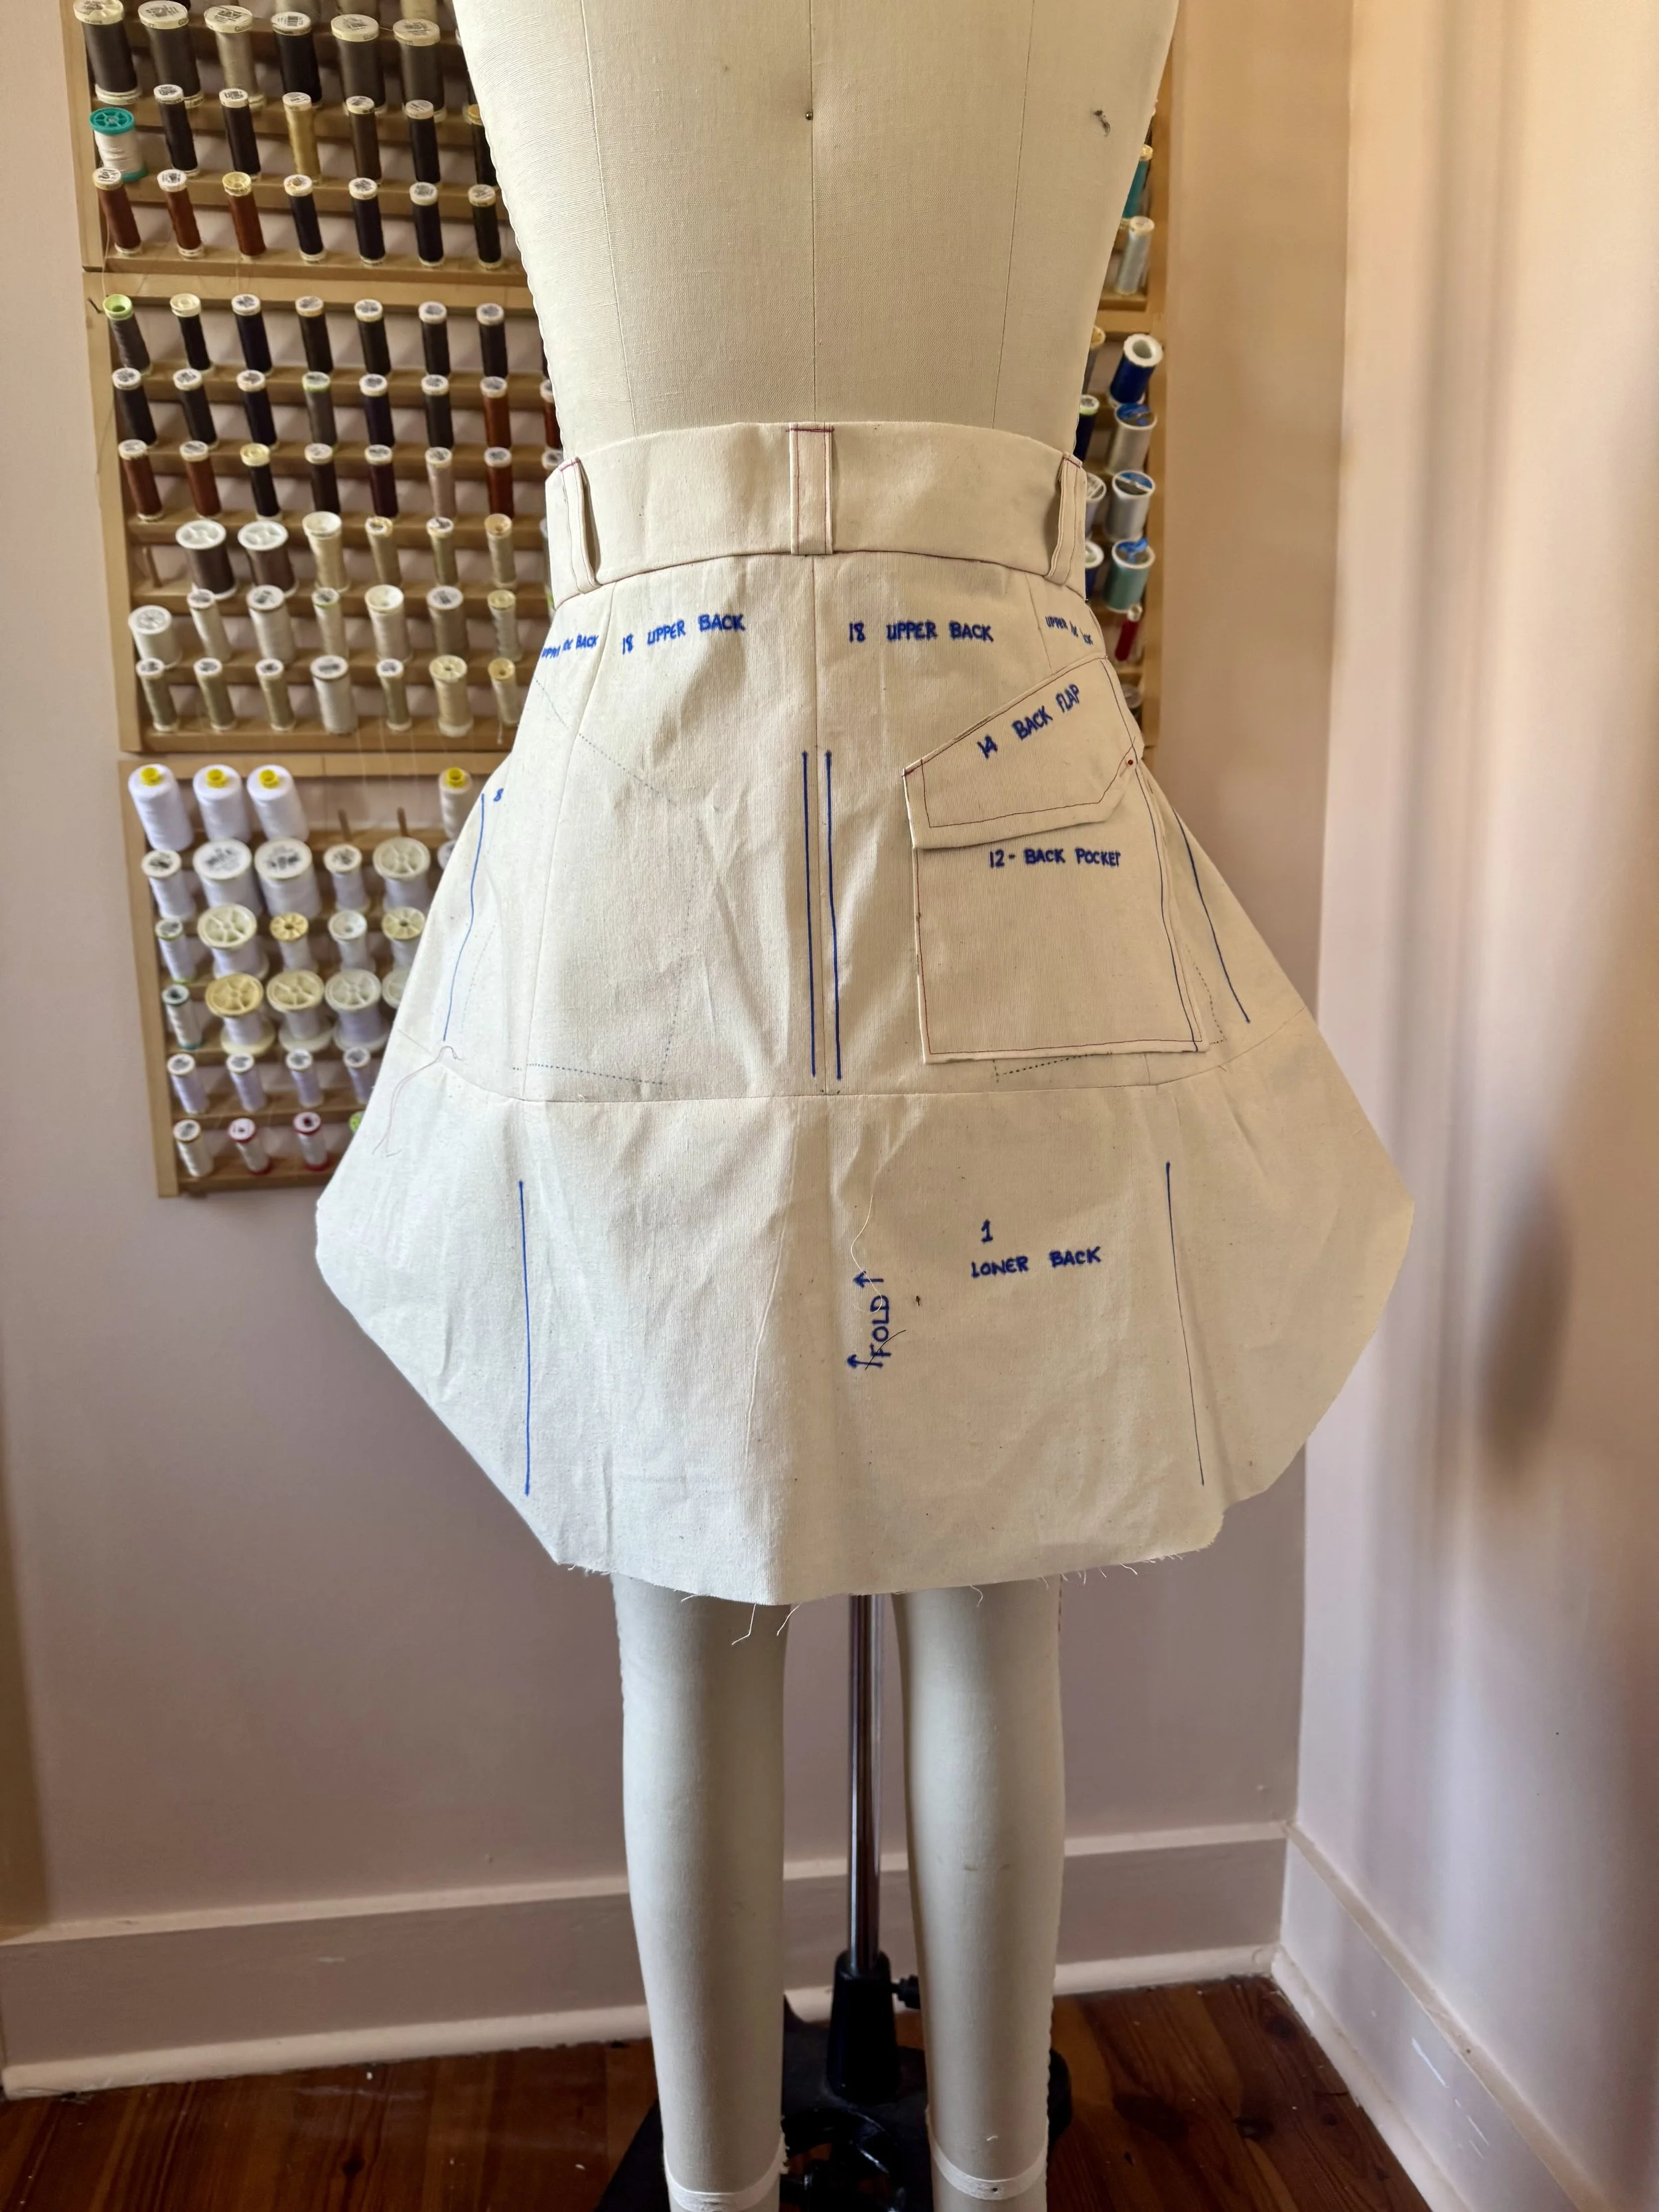
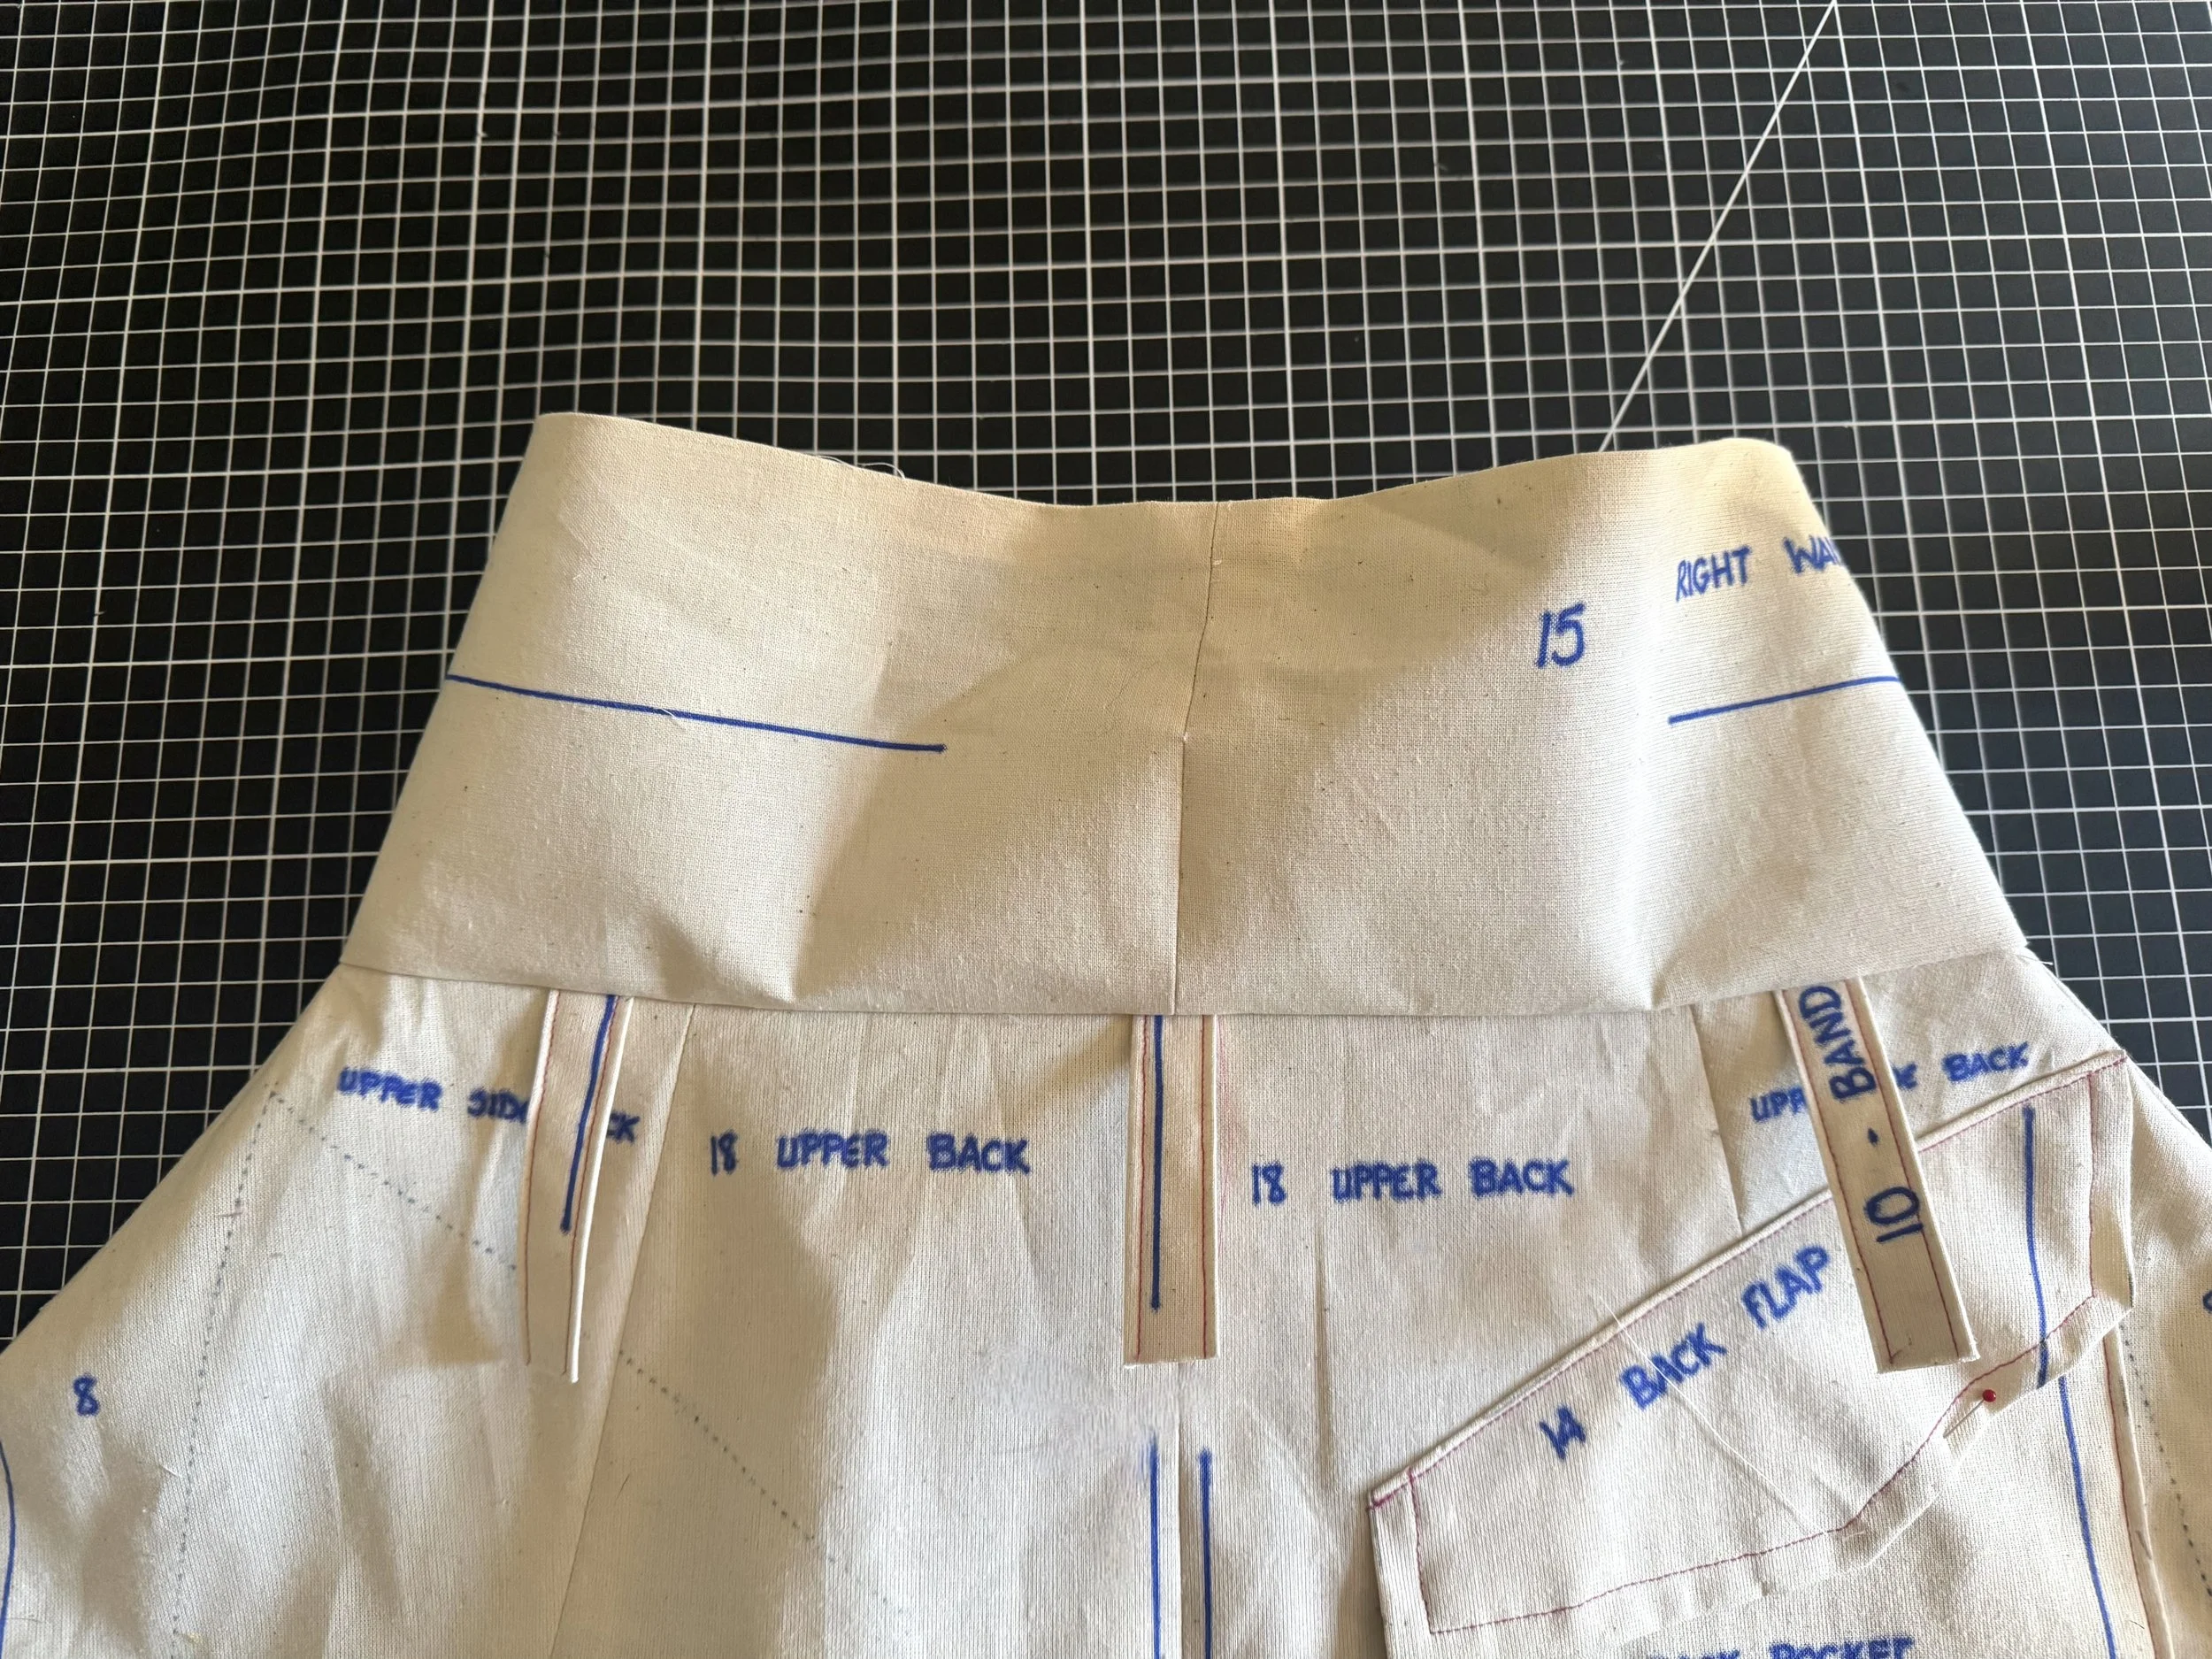
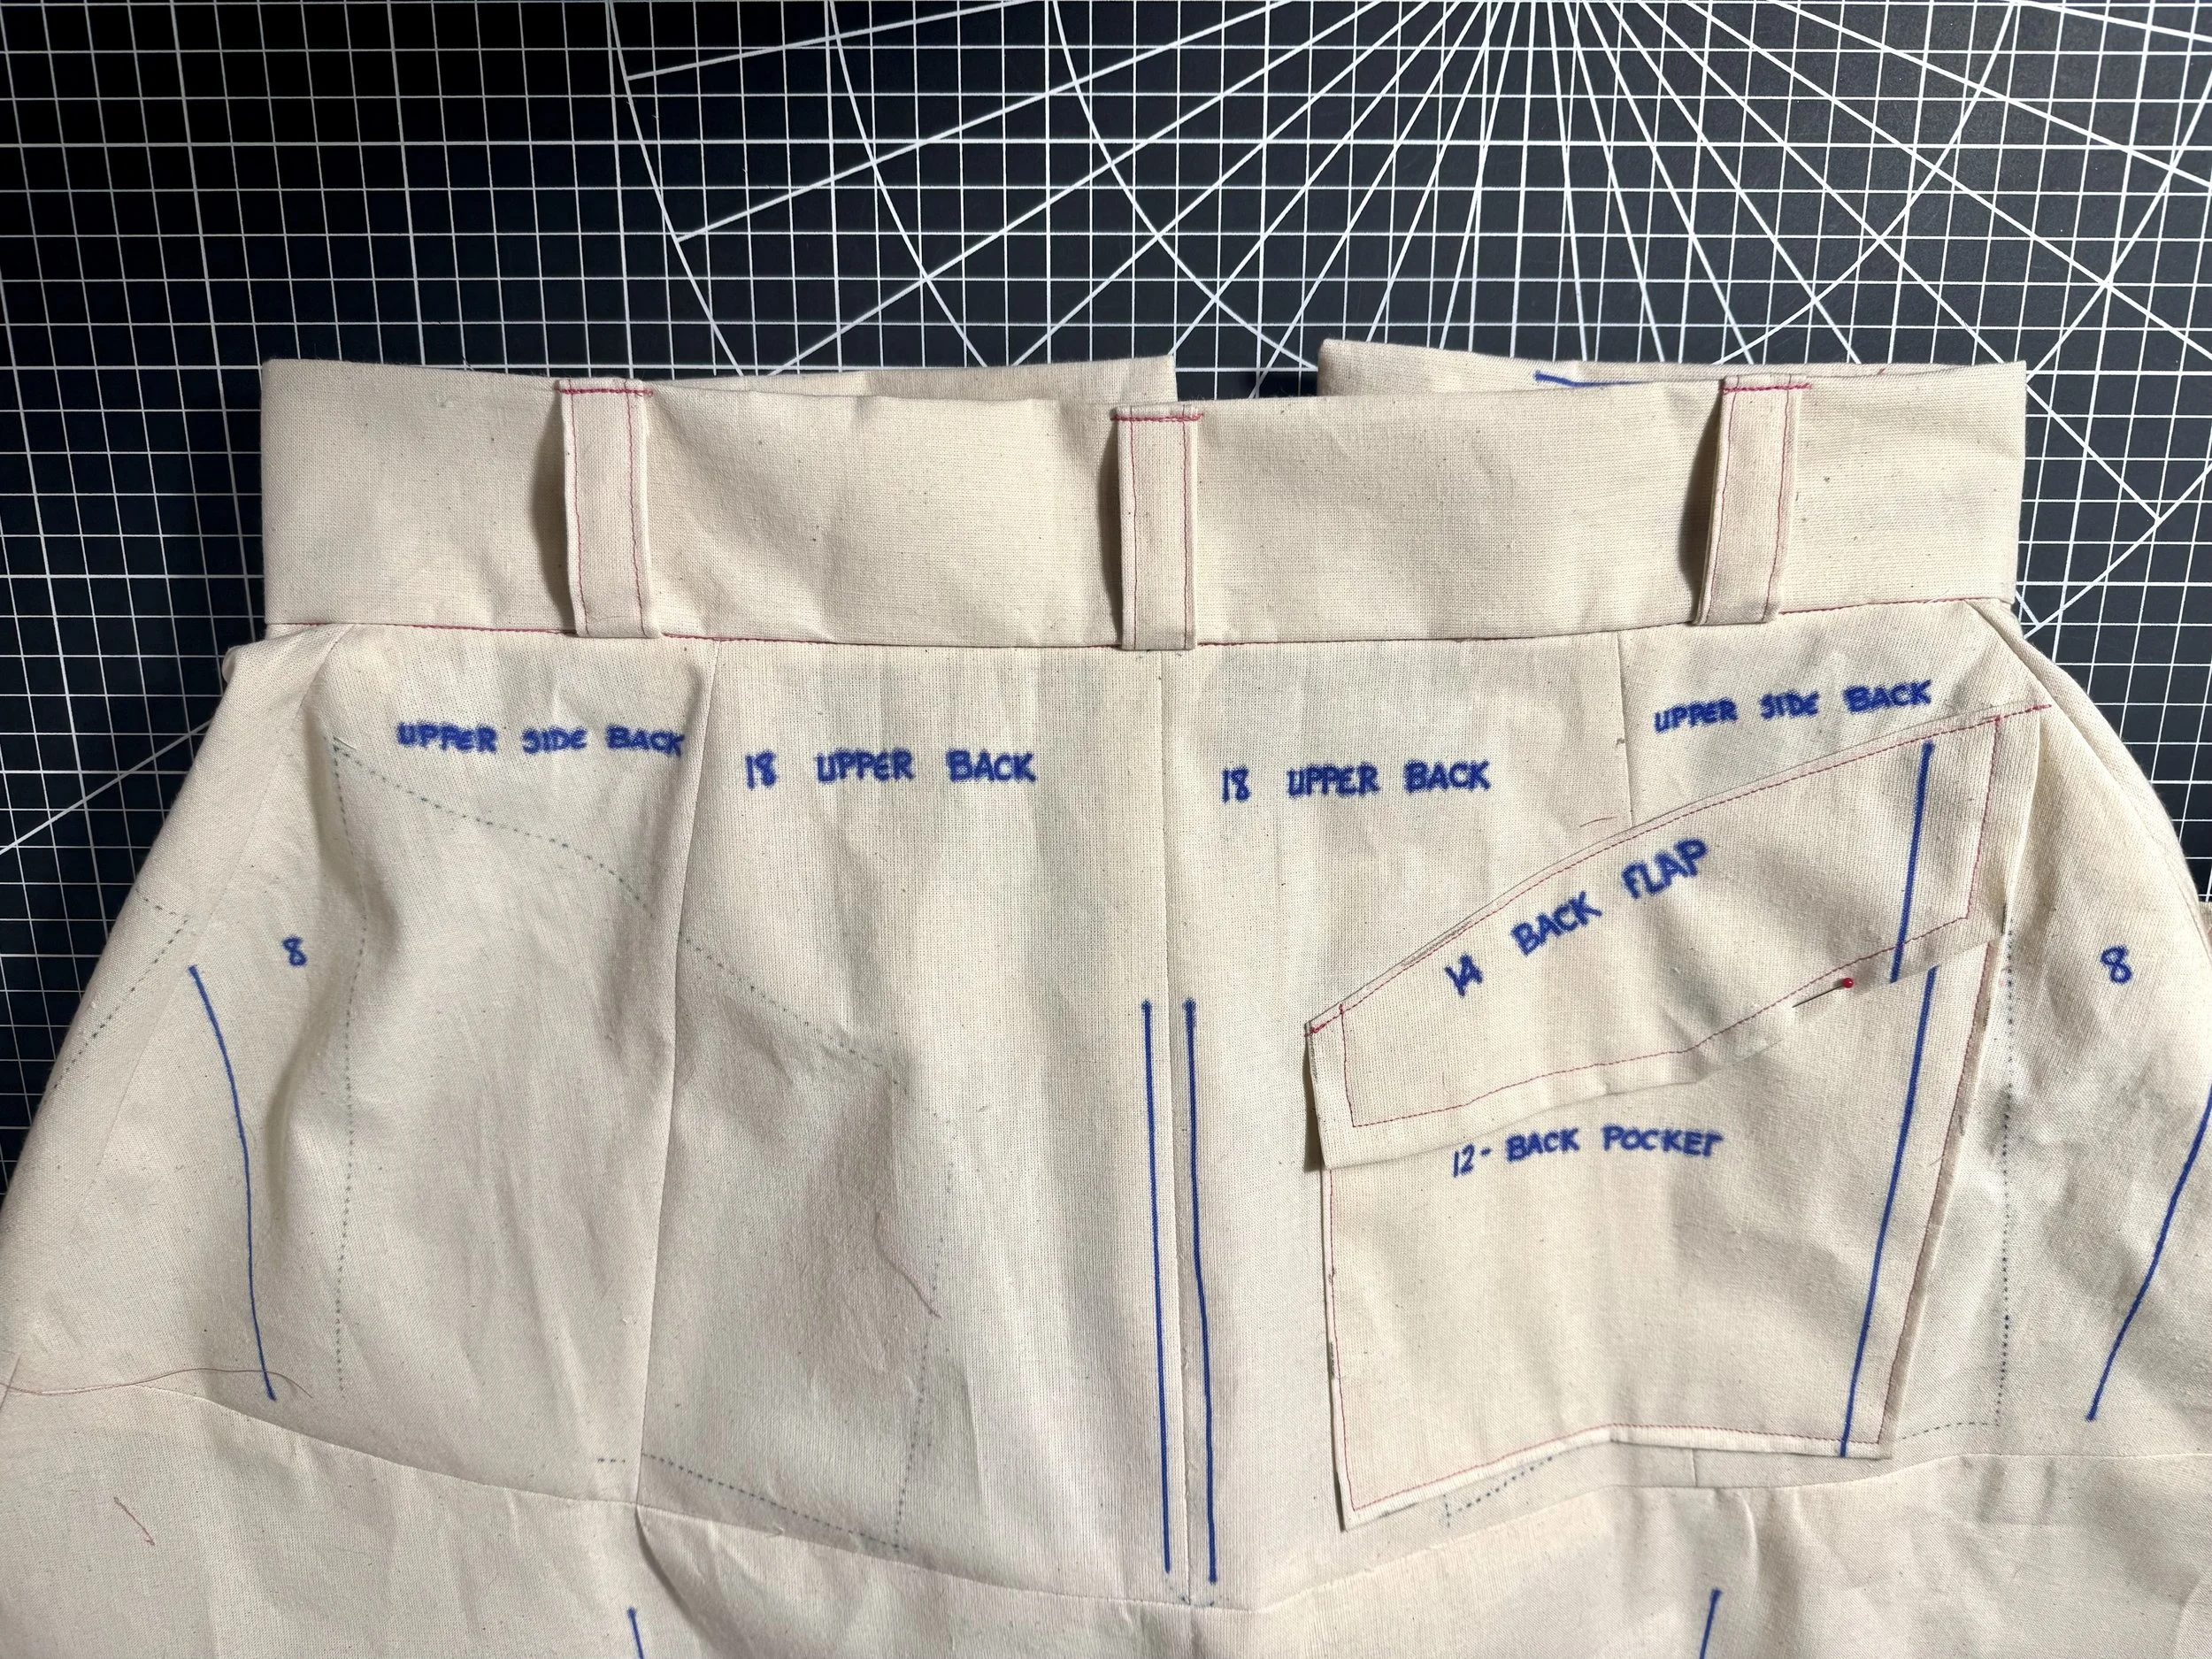
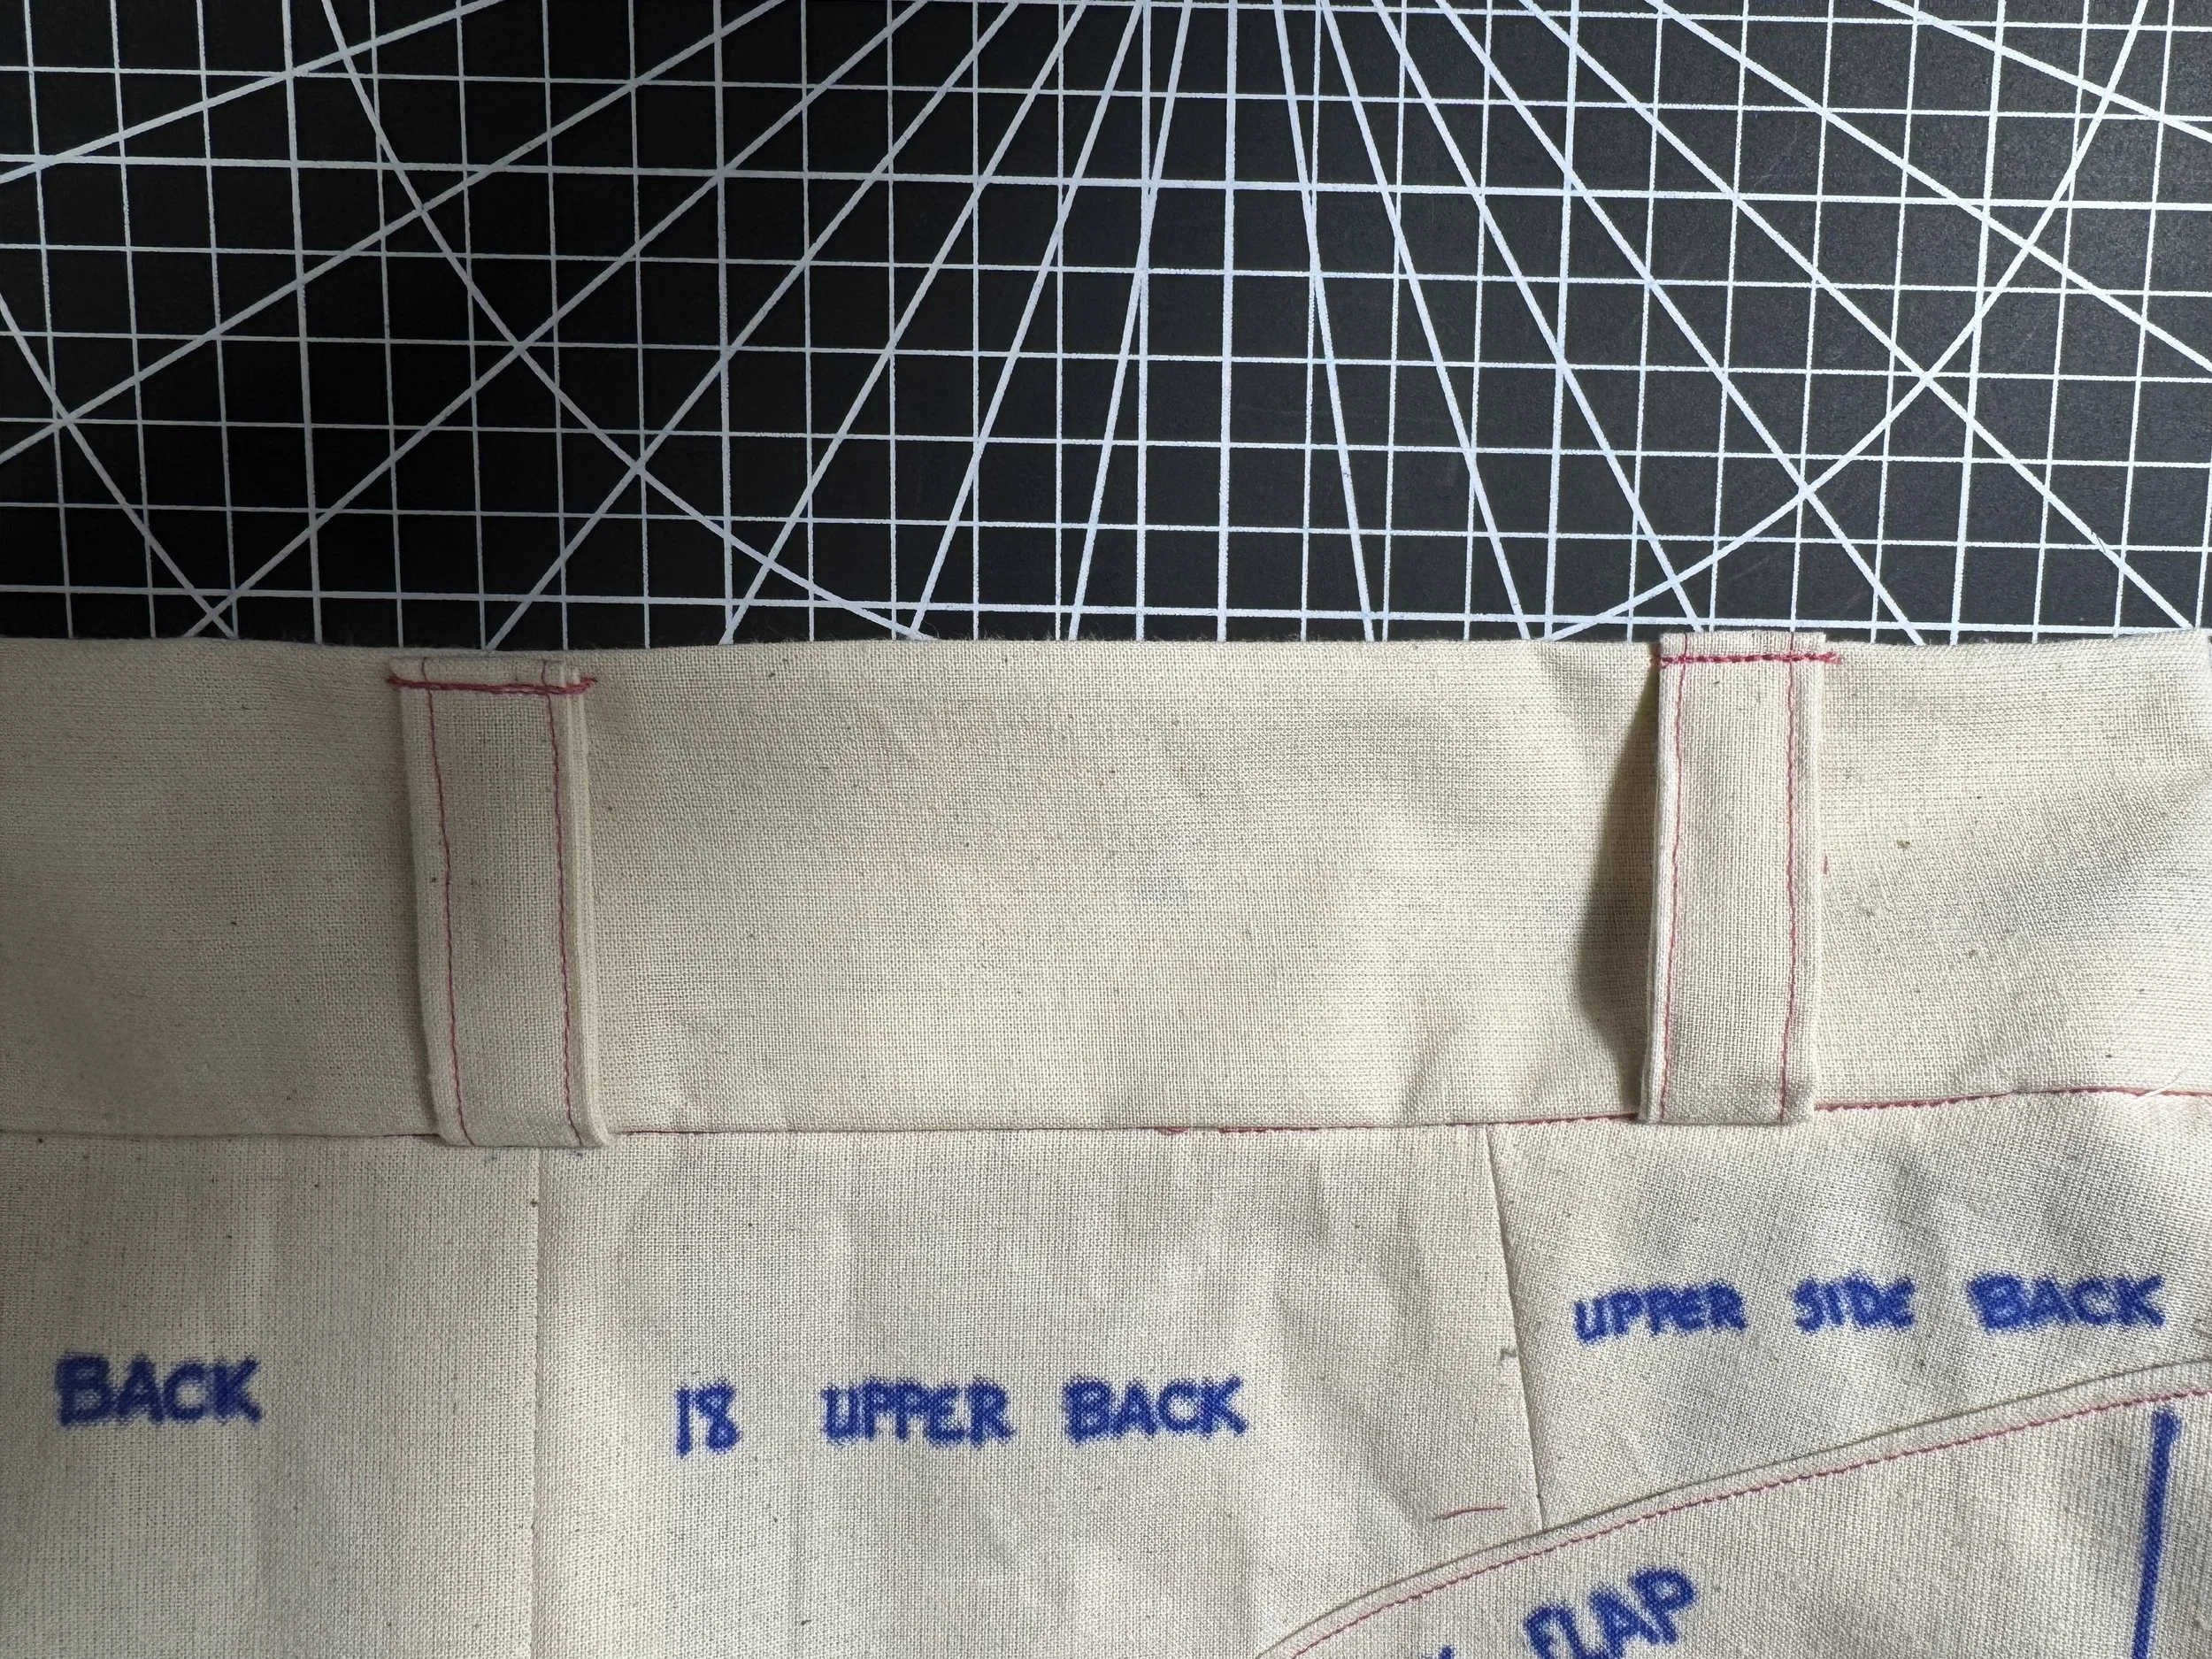
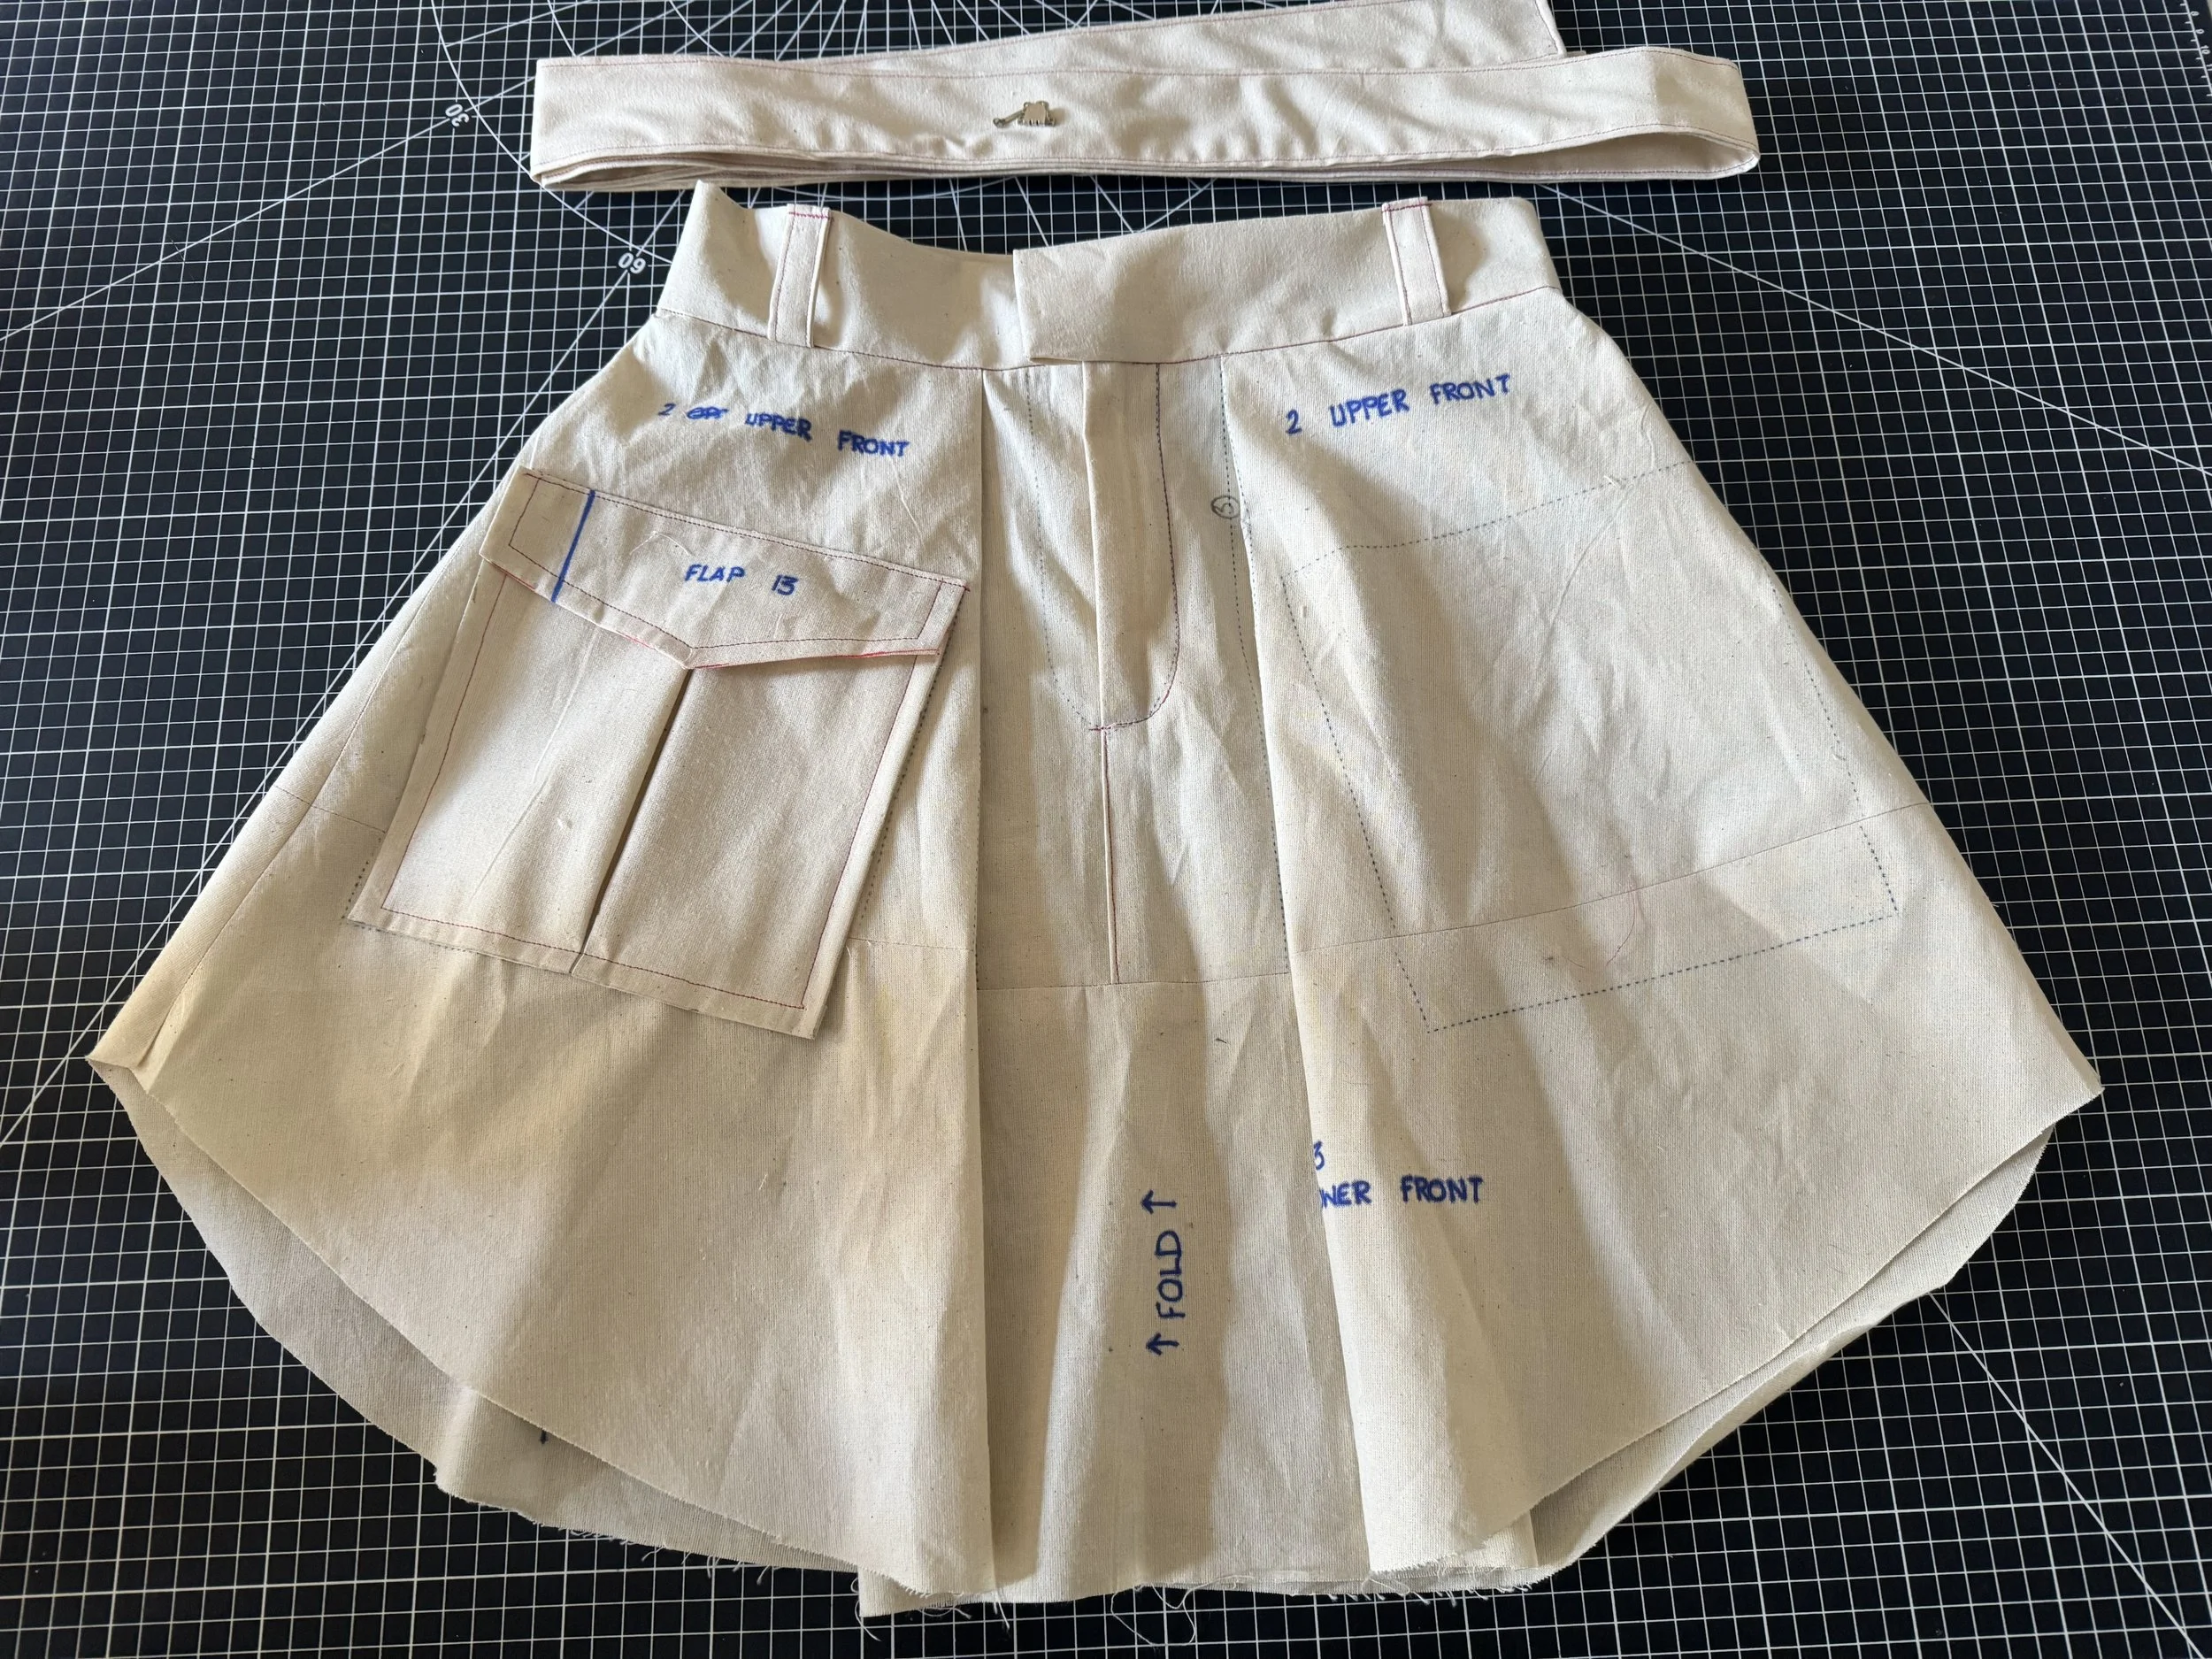
I added two tabs close to my pleats and….
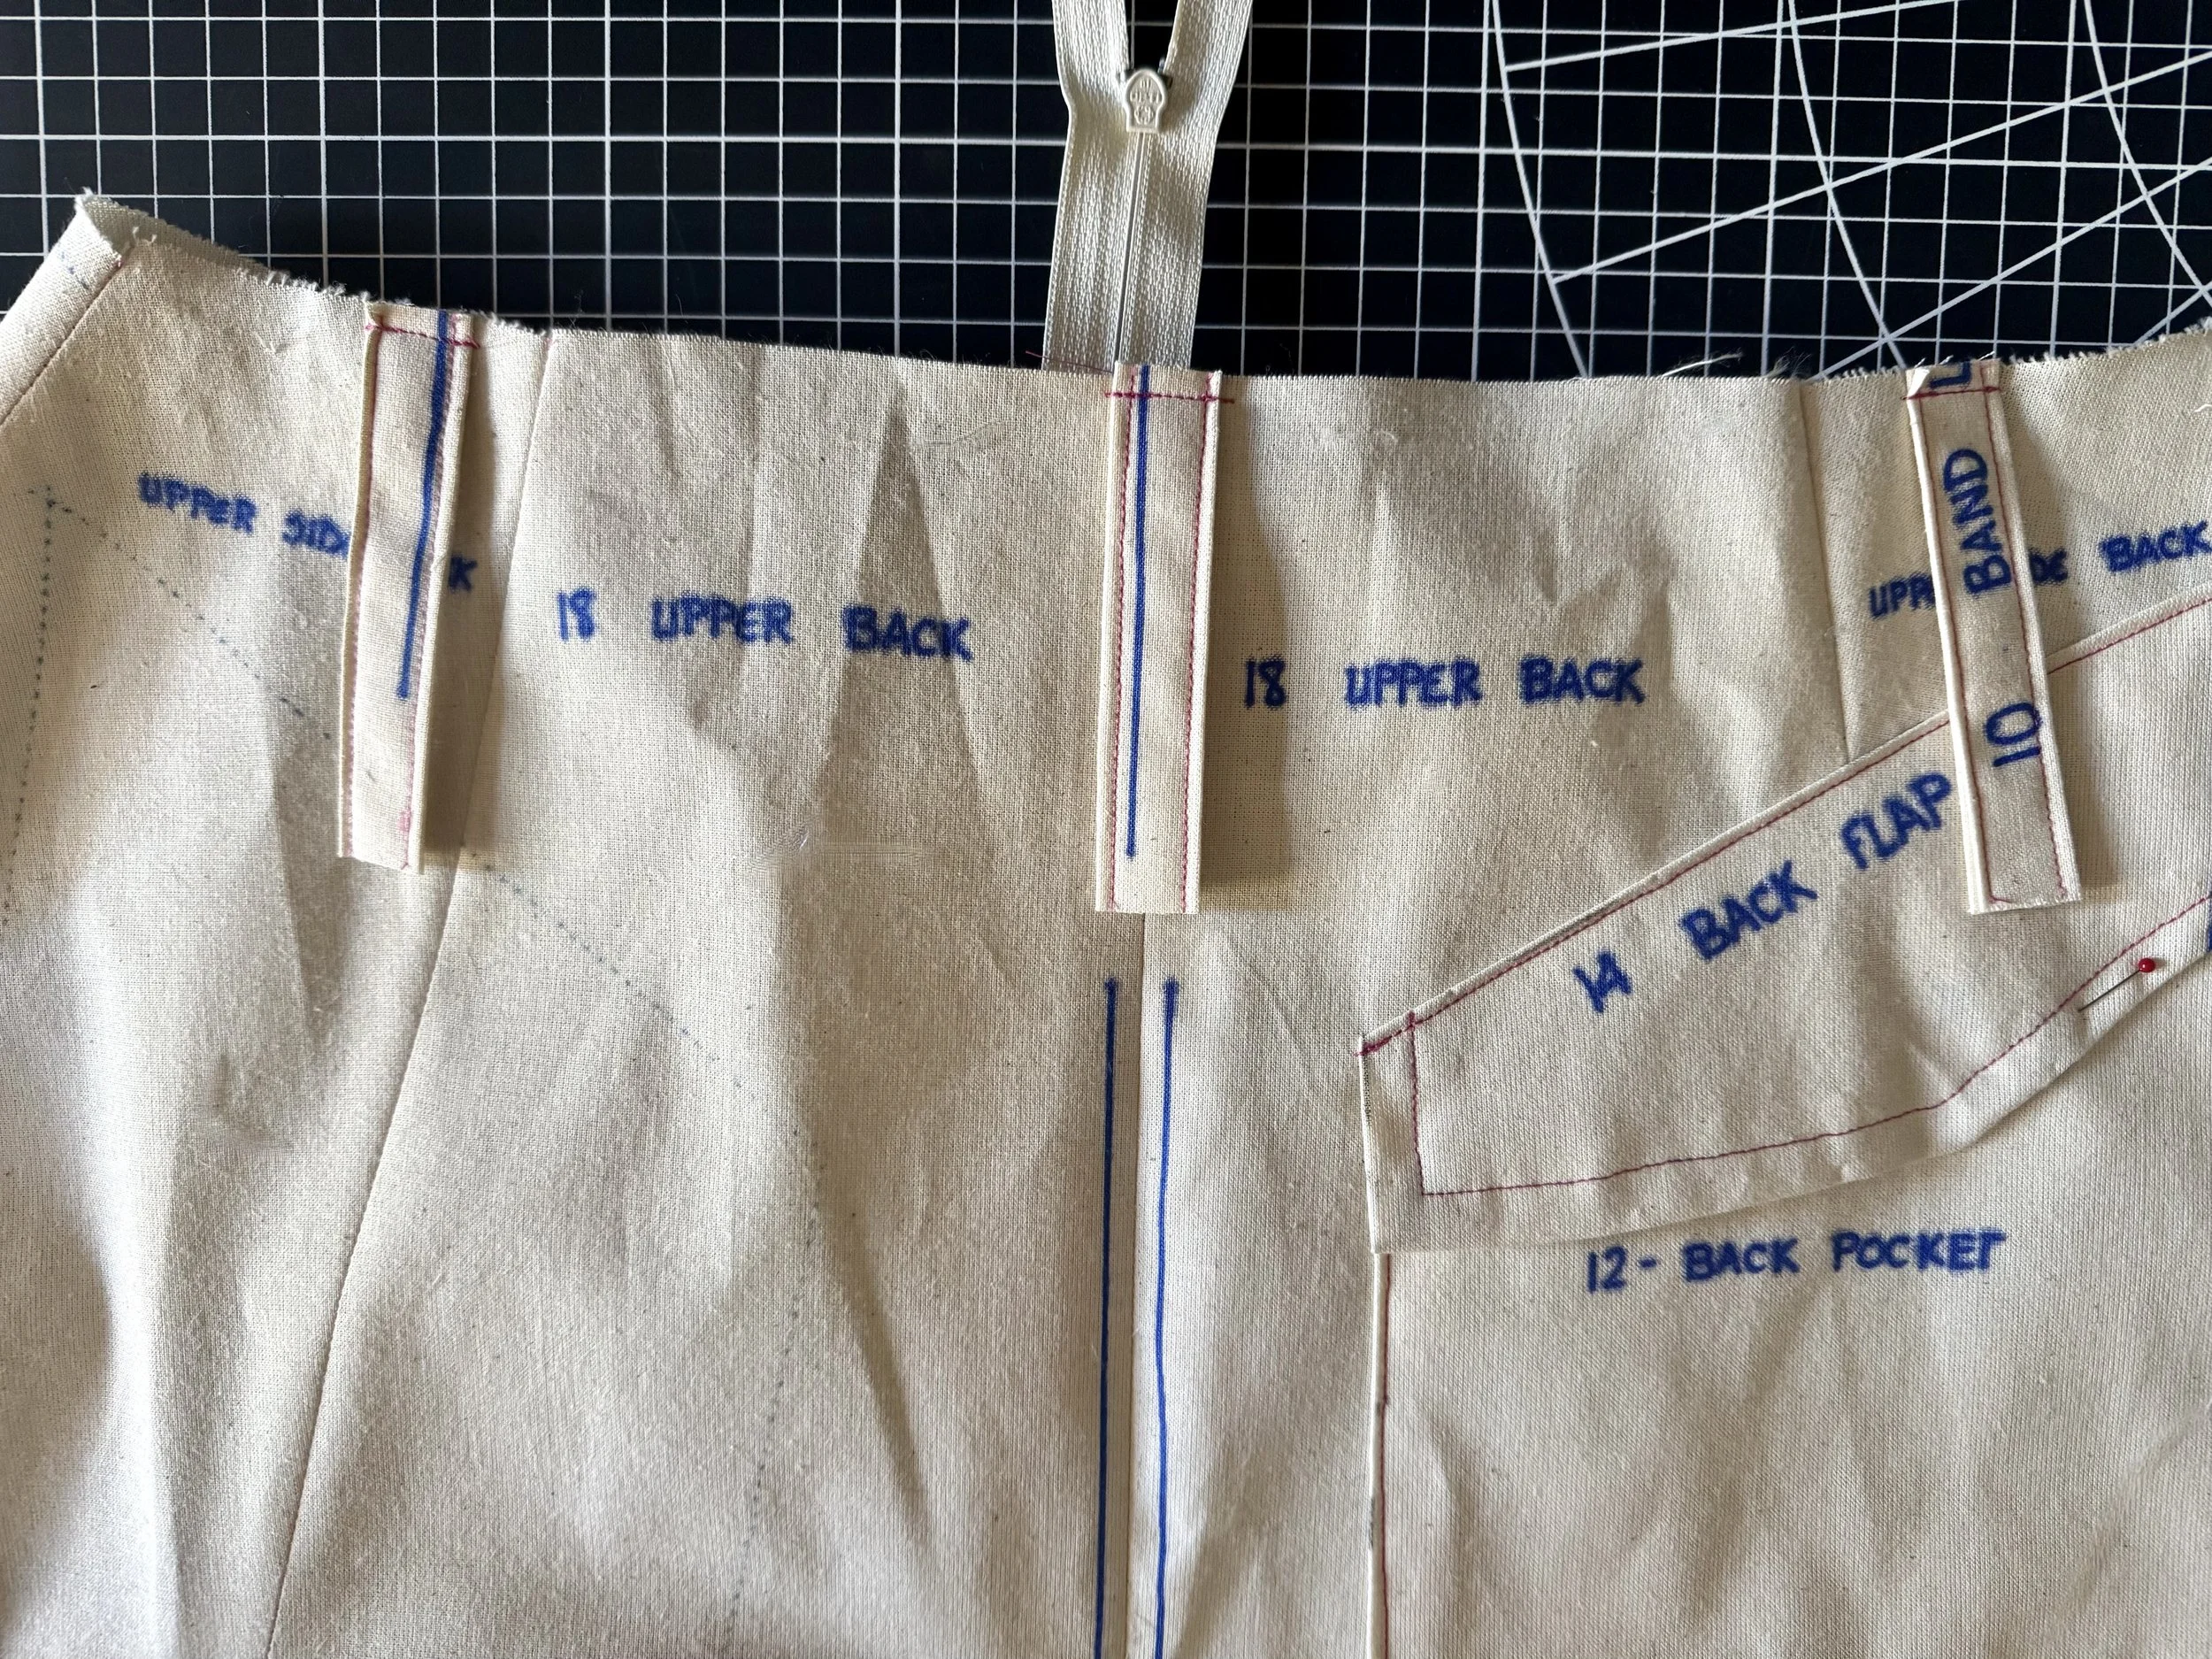
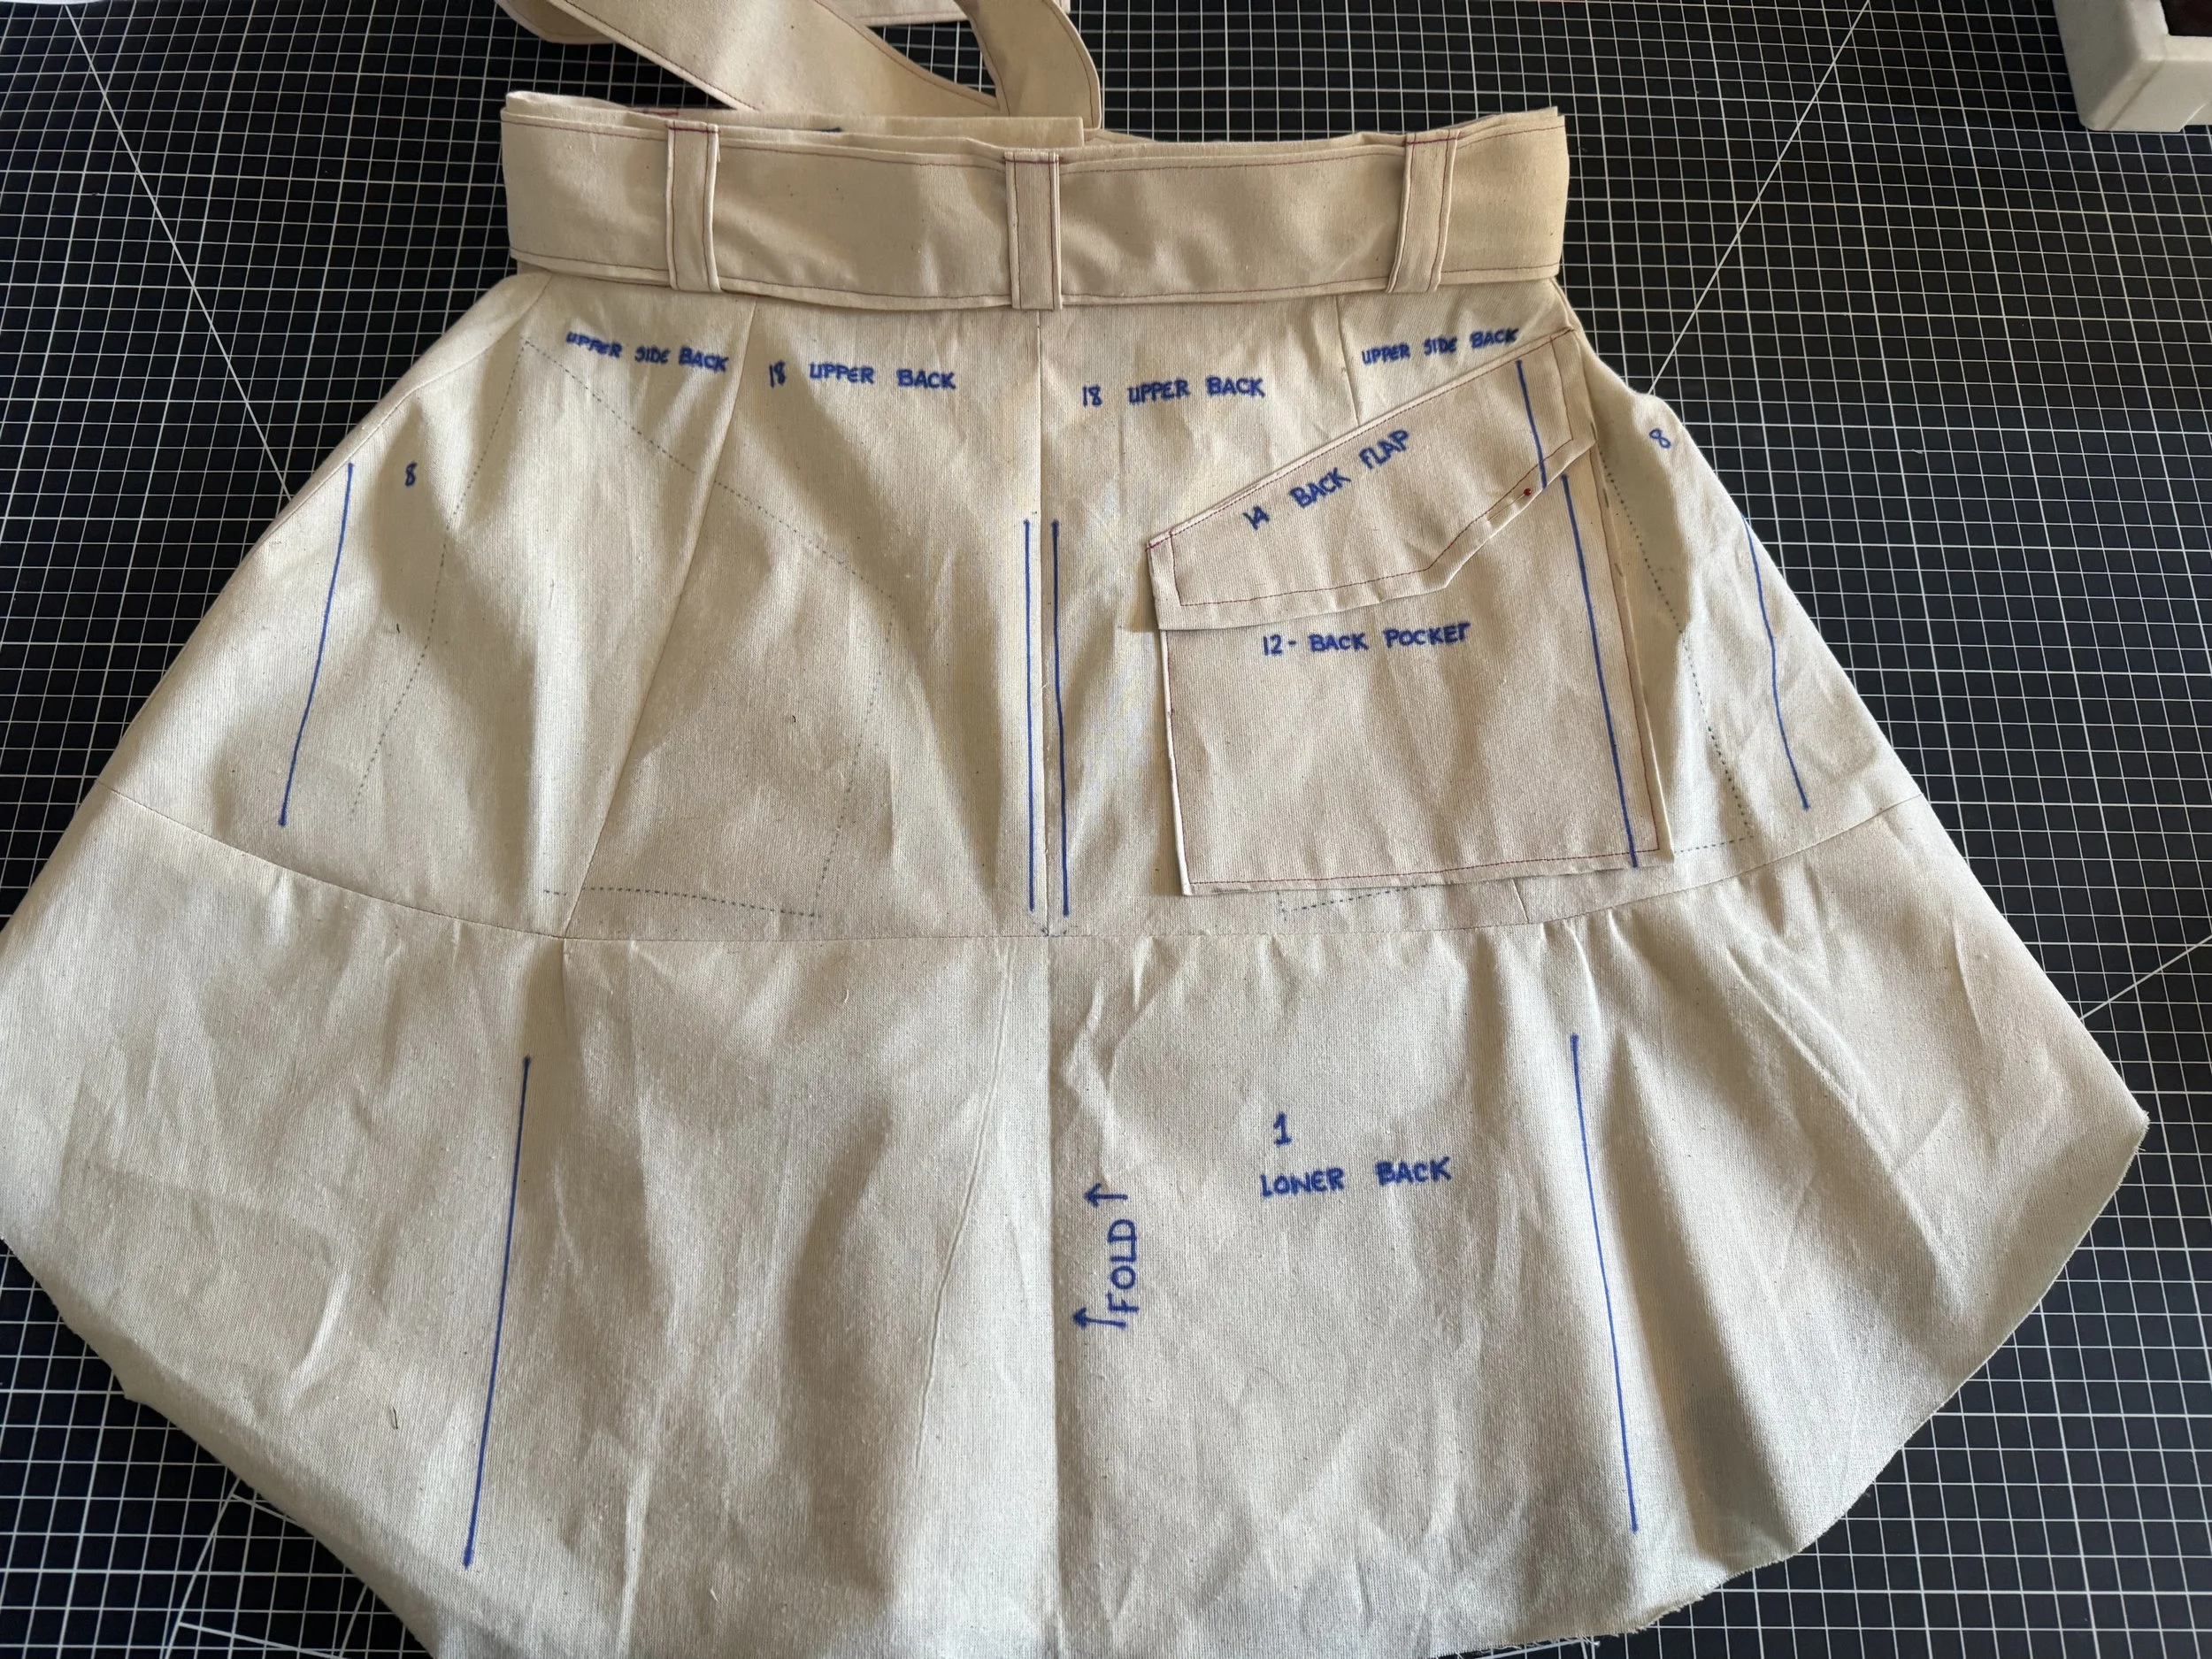
And the other three on the back as shown above. Sew them in the seam allowance so the stitch will be hidden in the waistband.
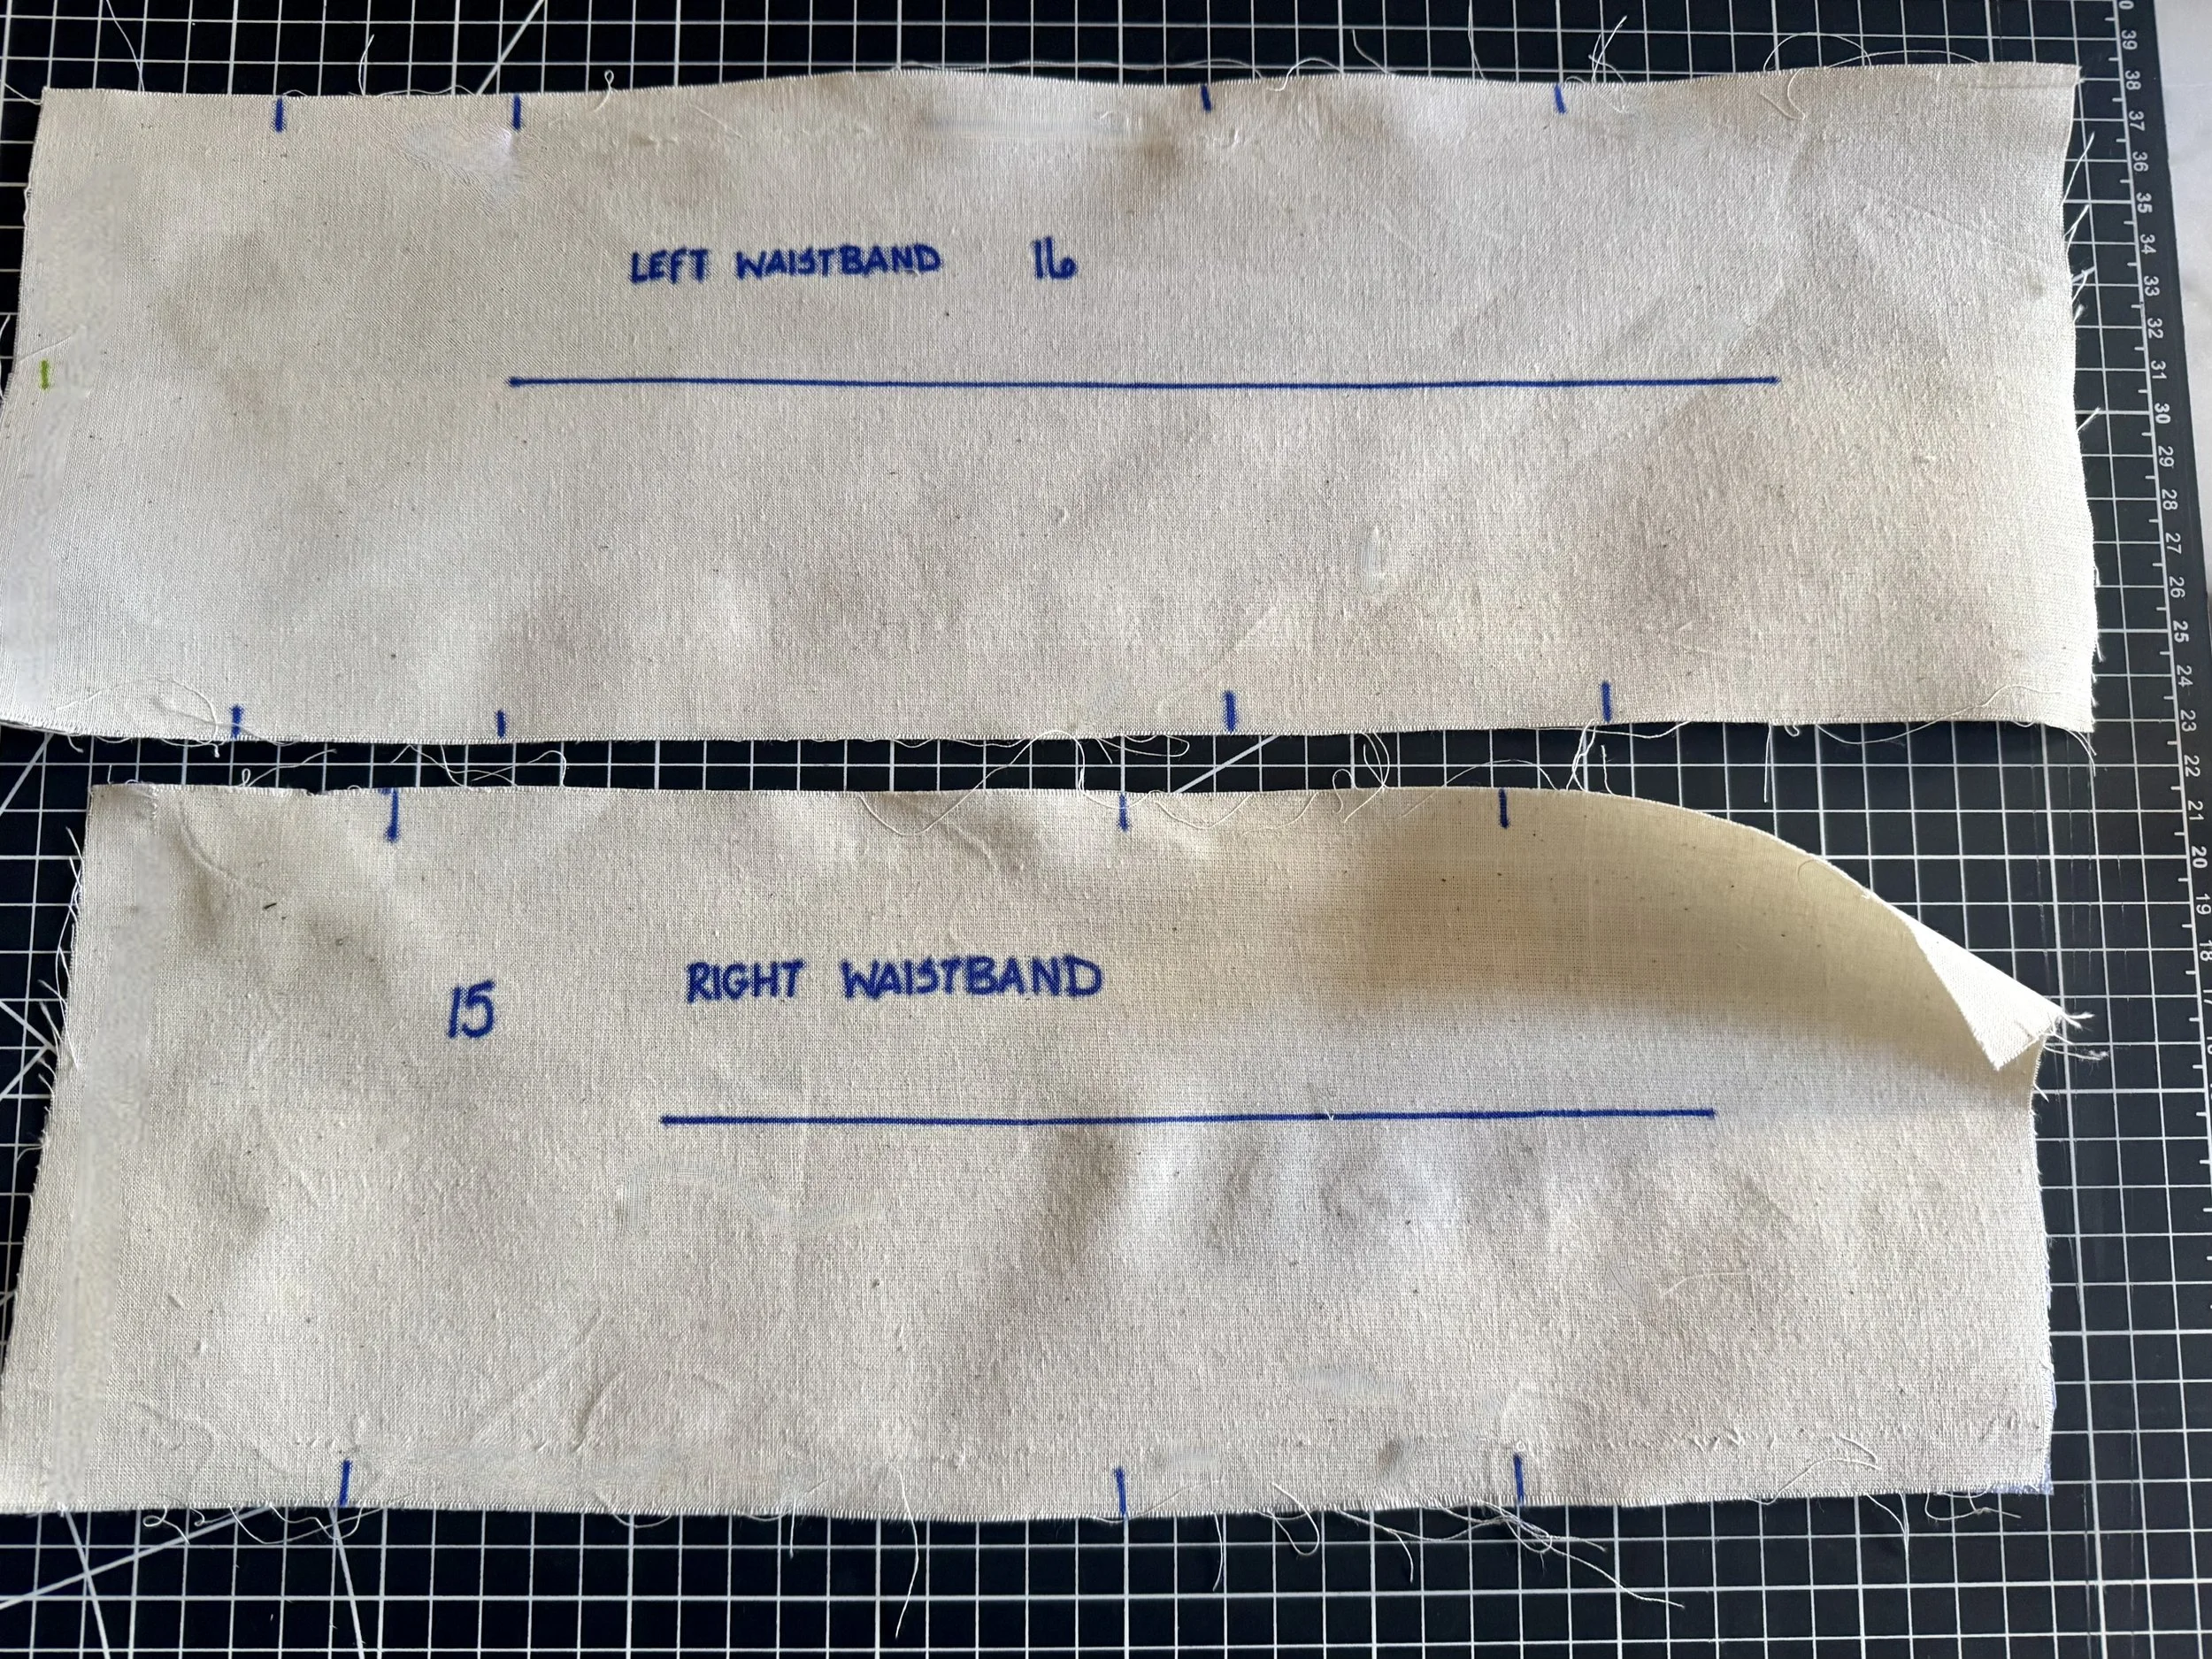
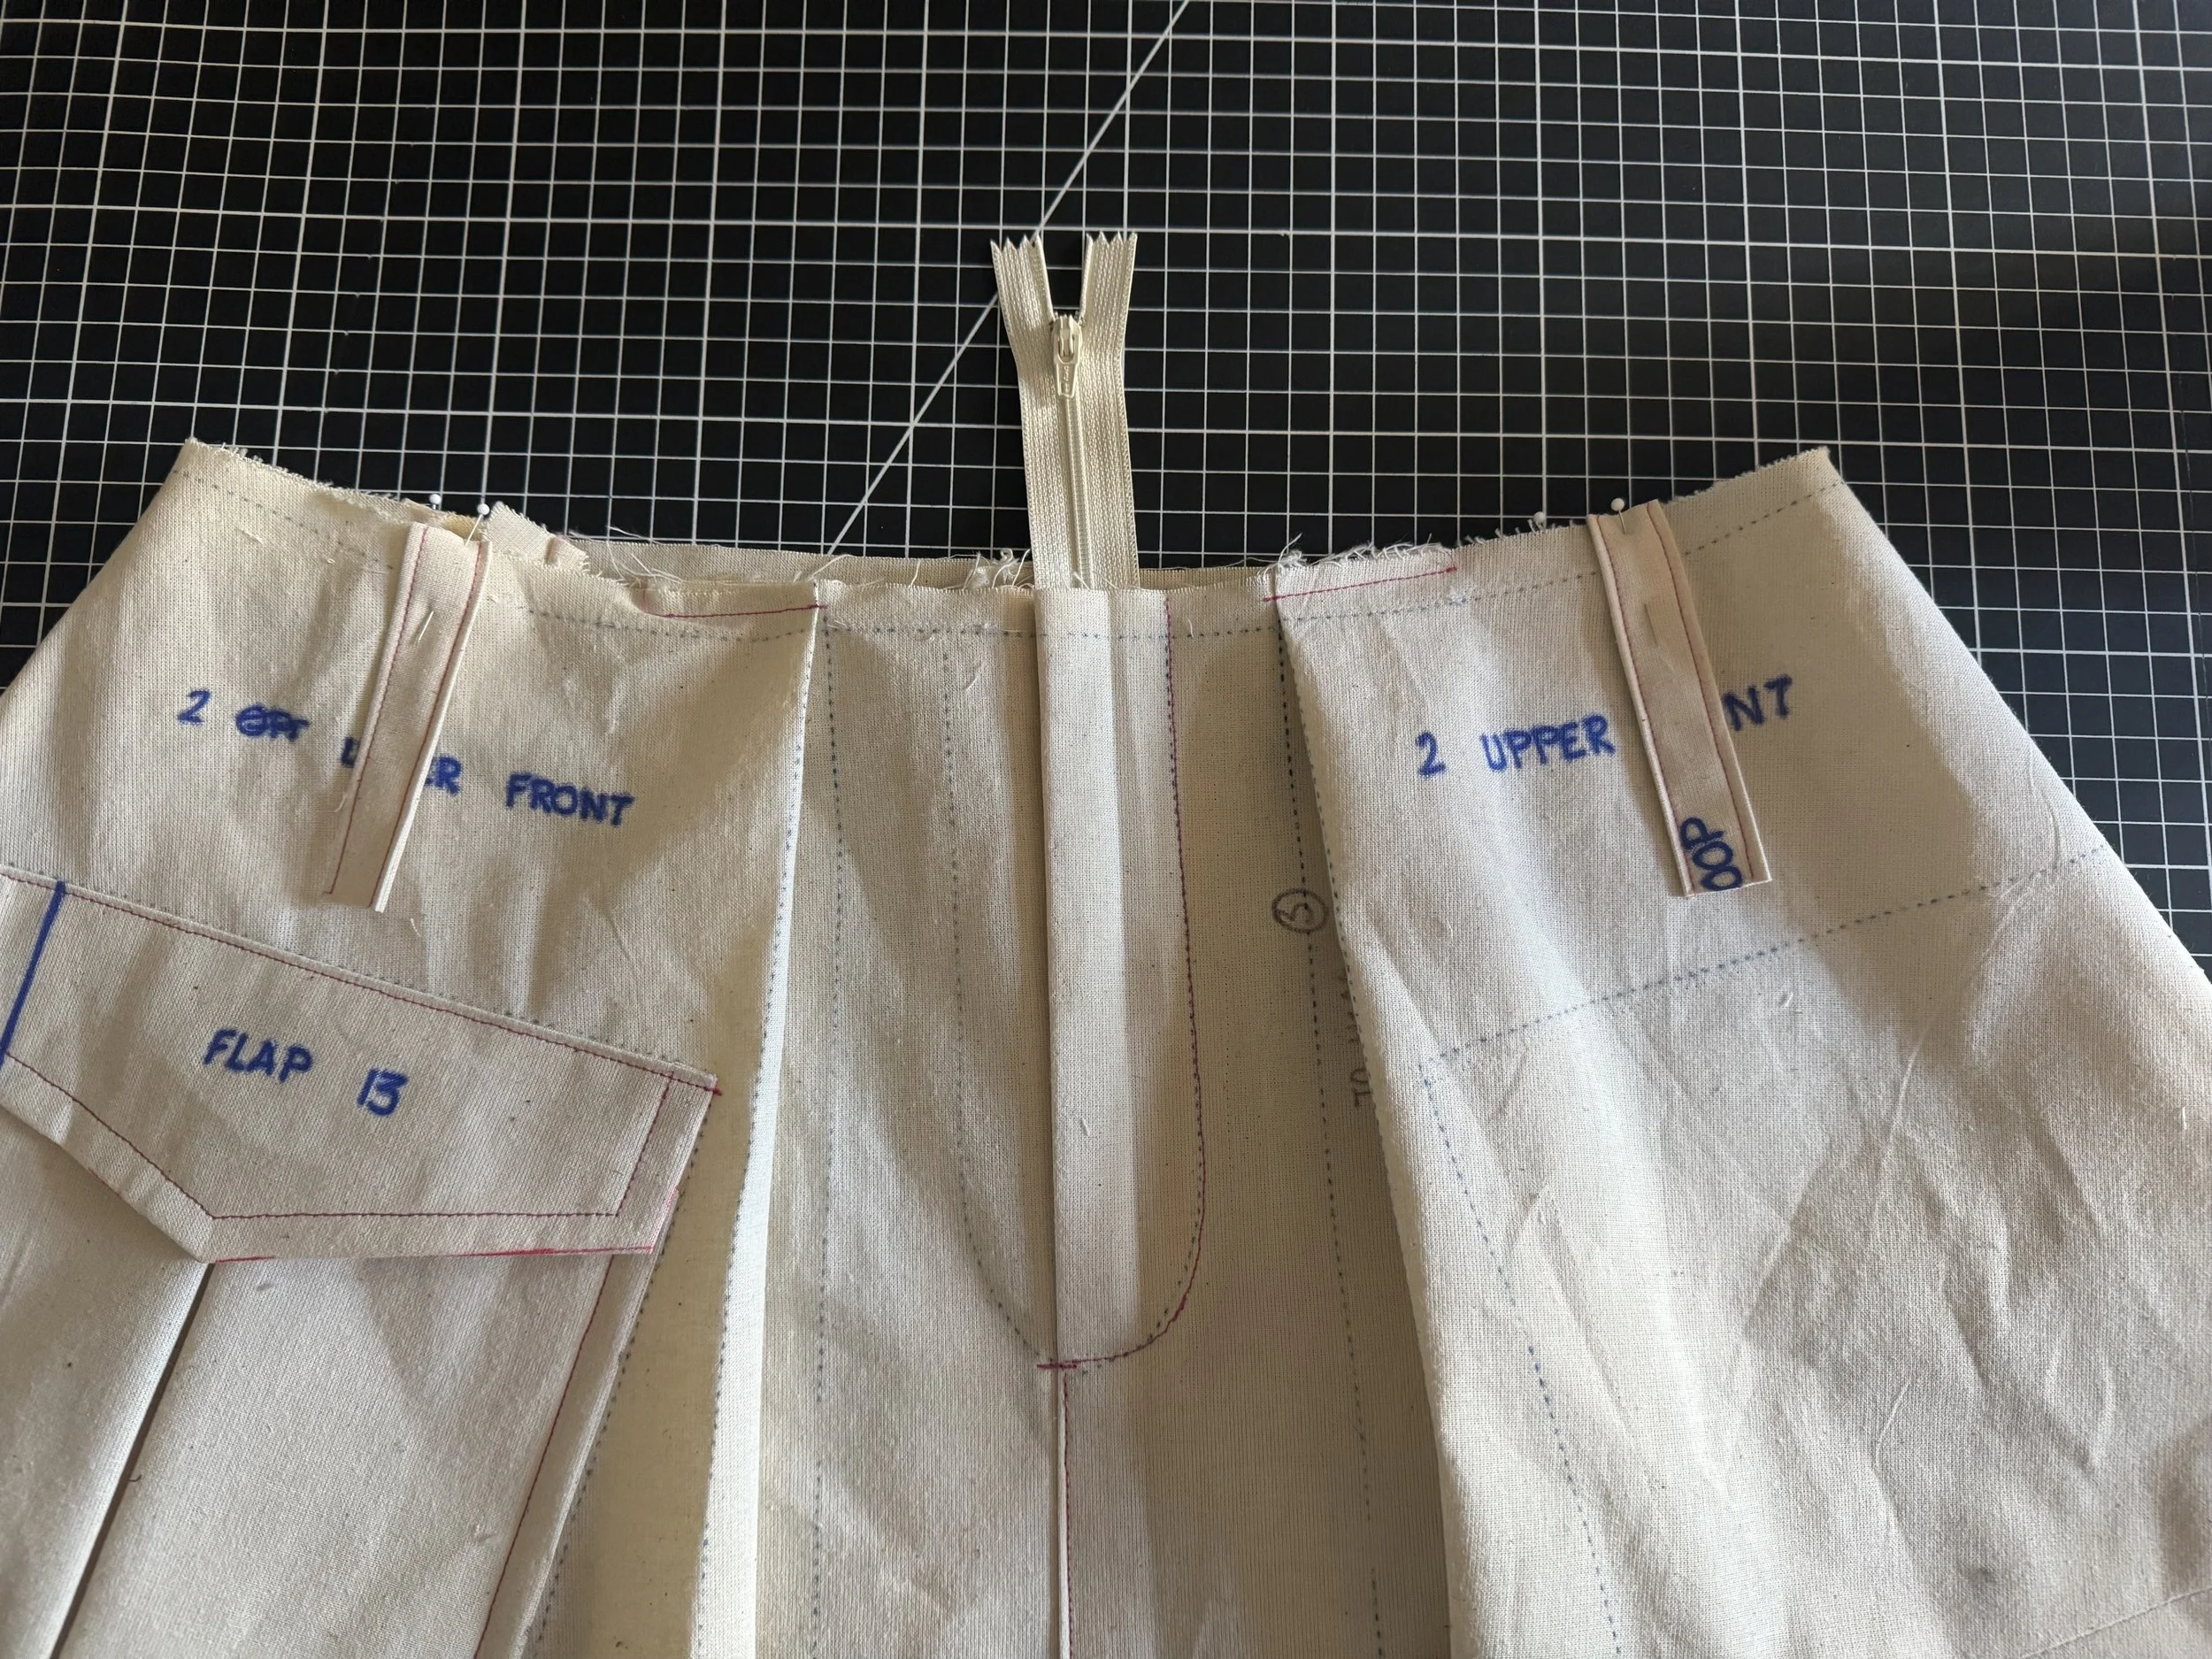
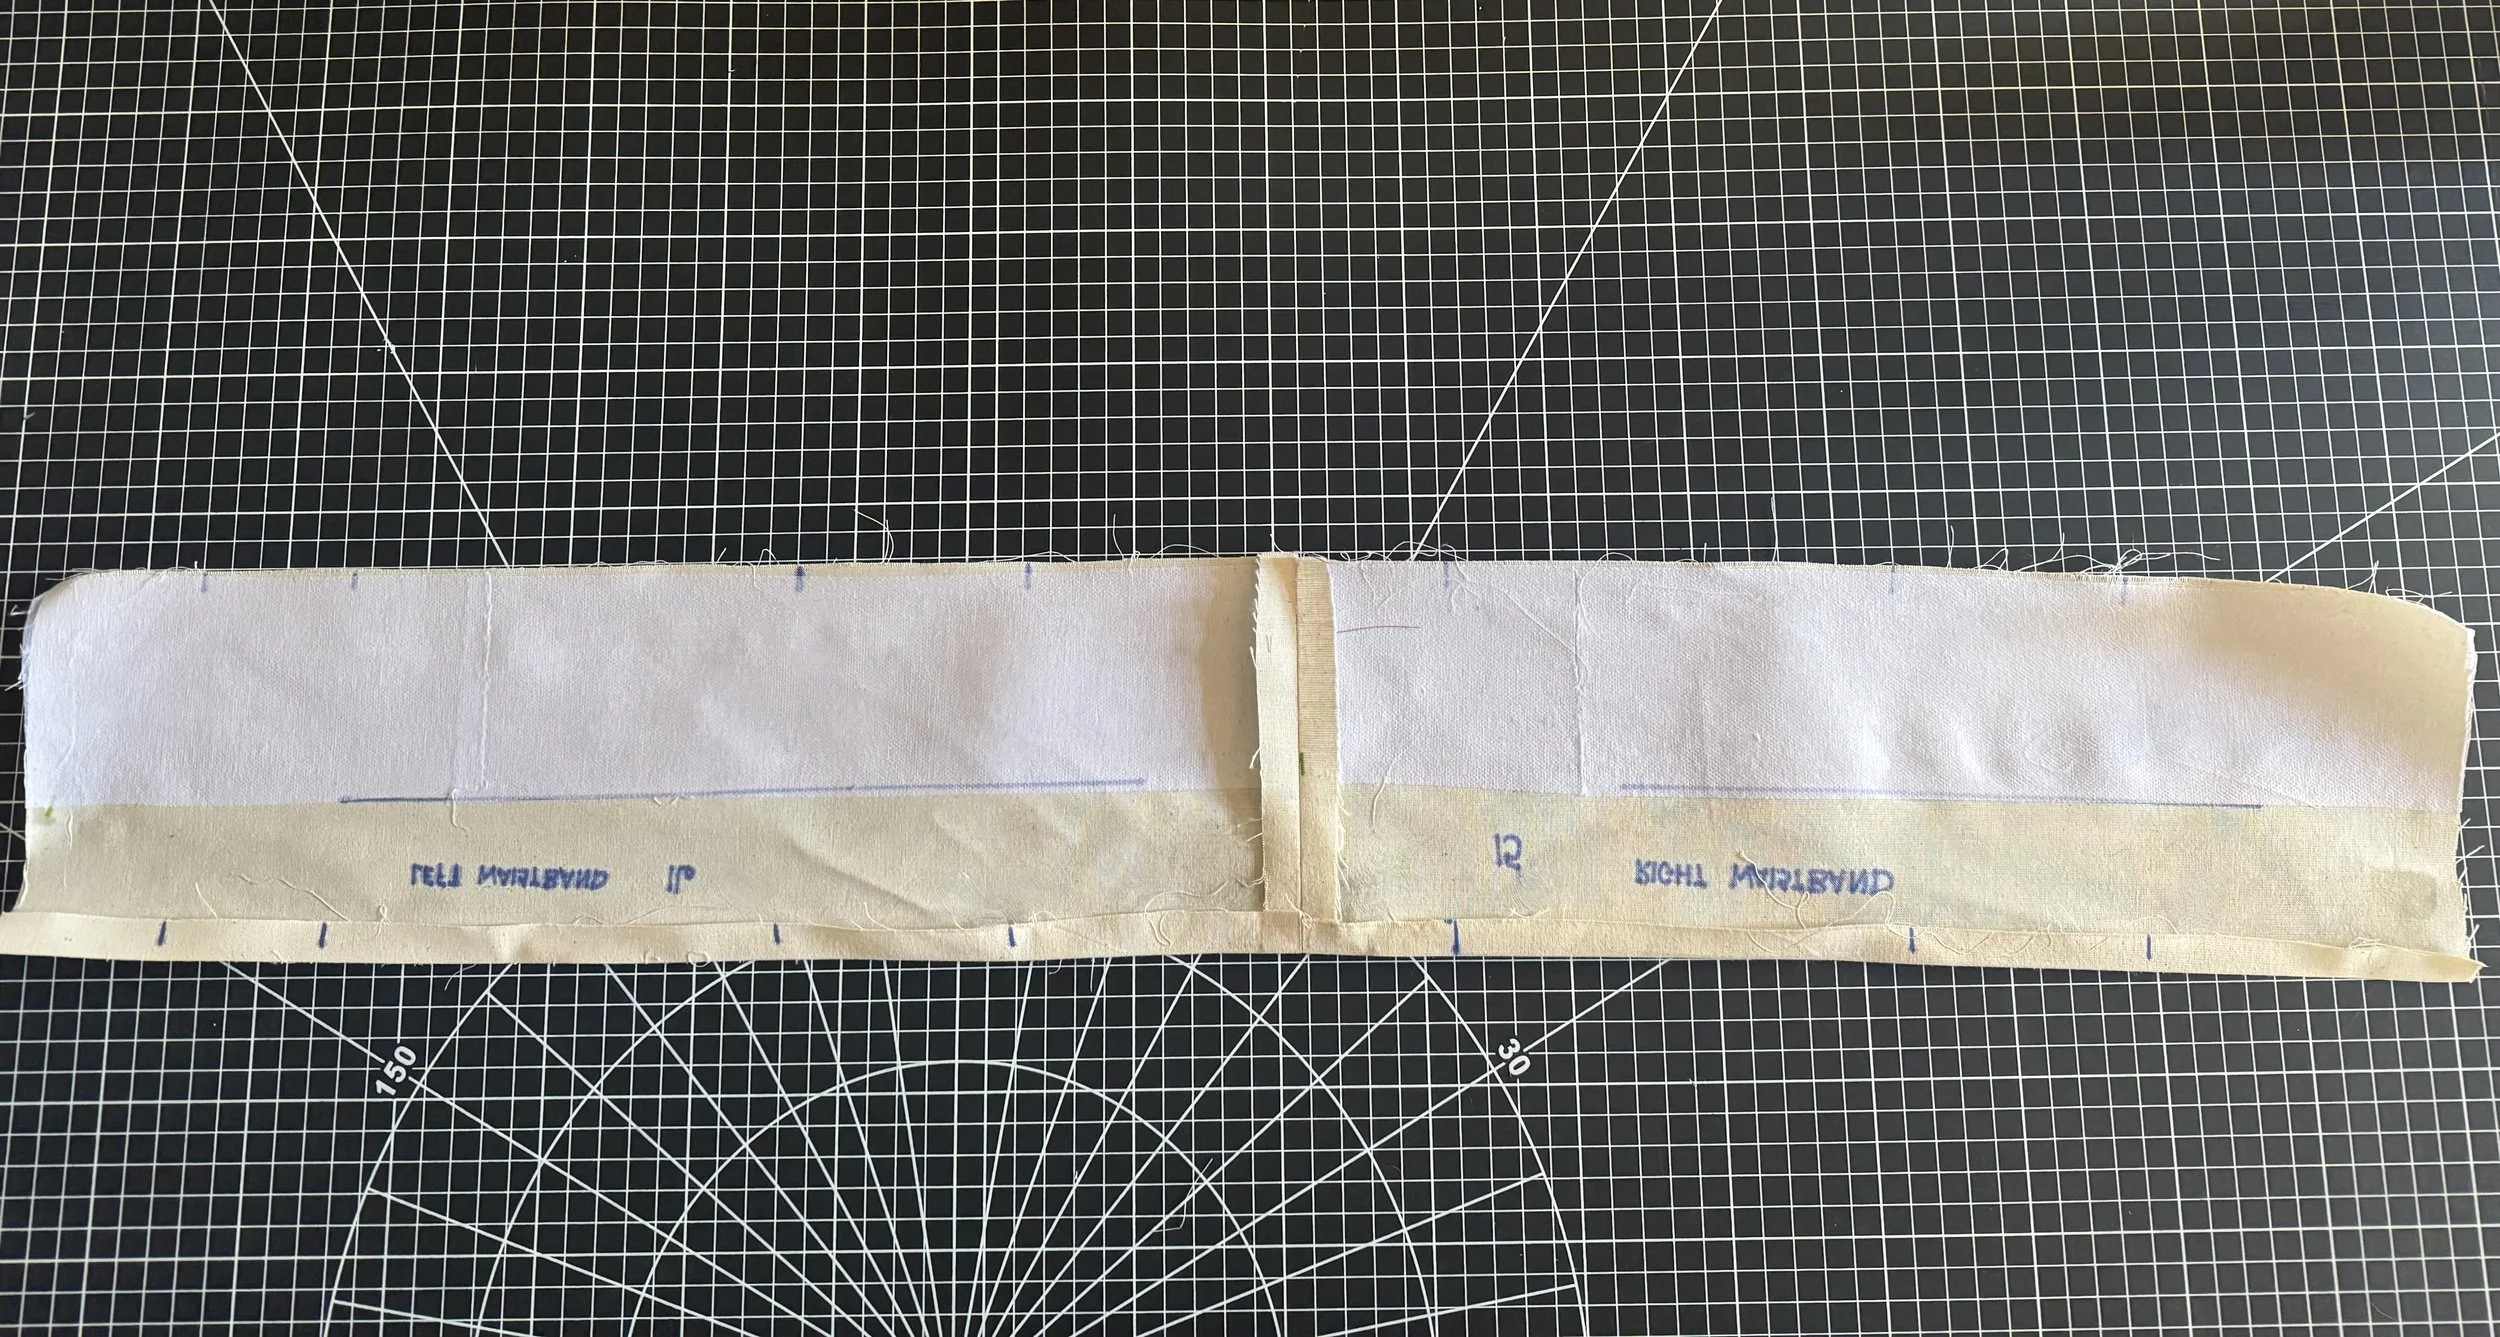
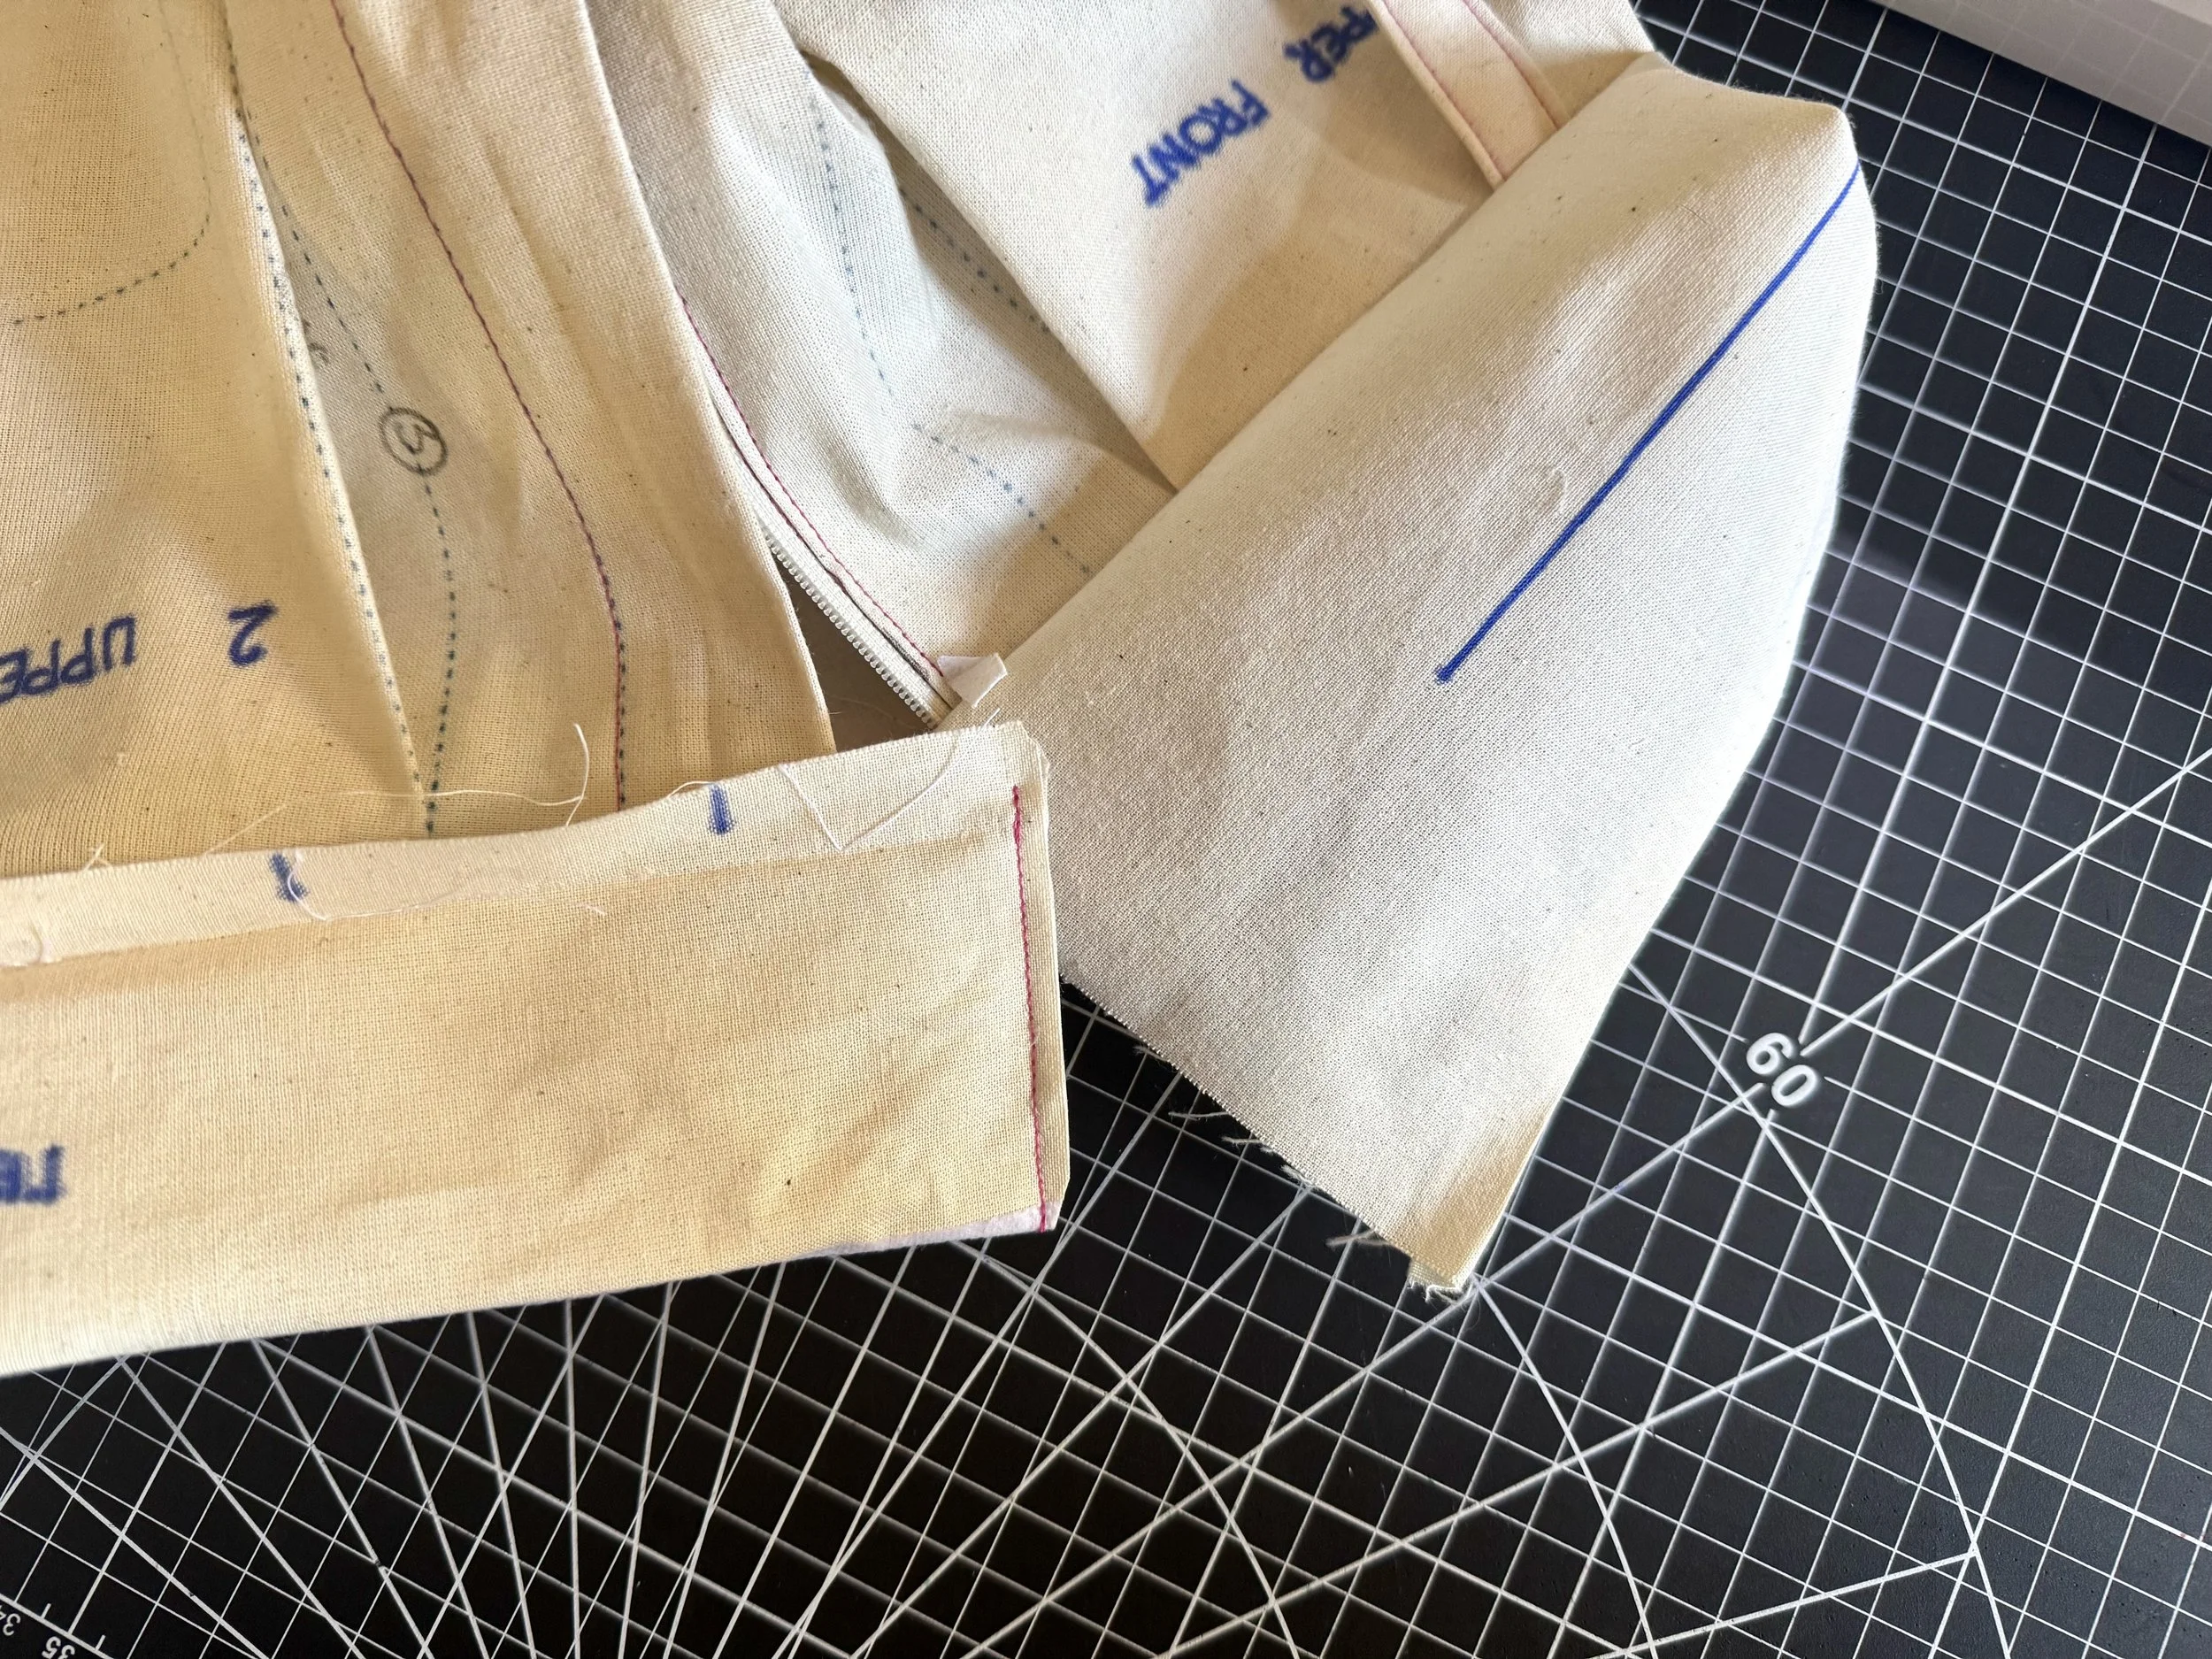
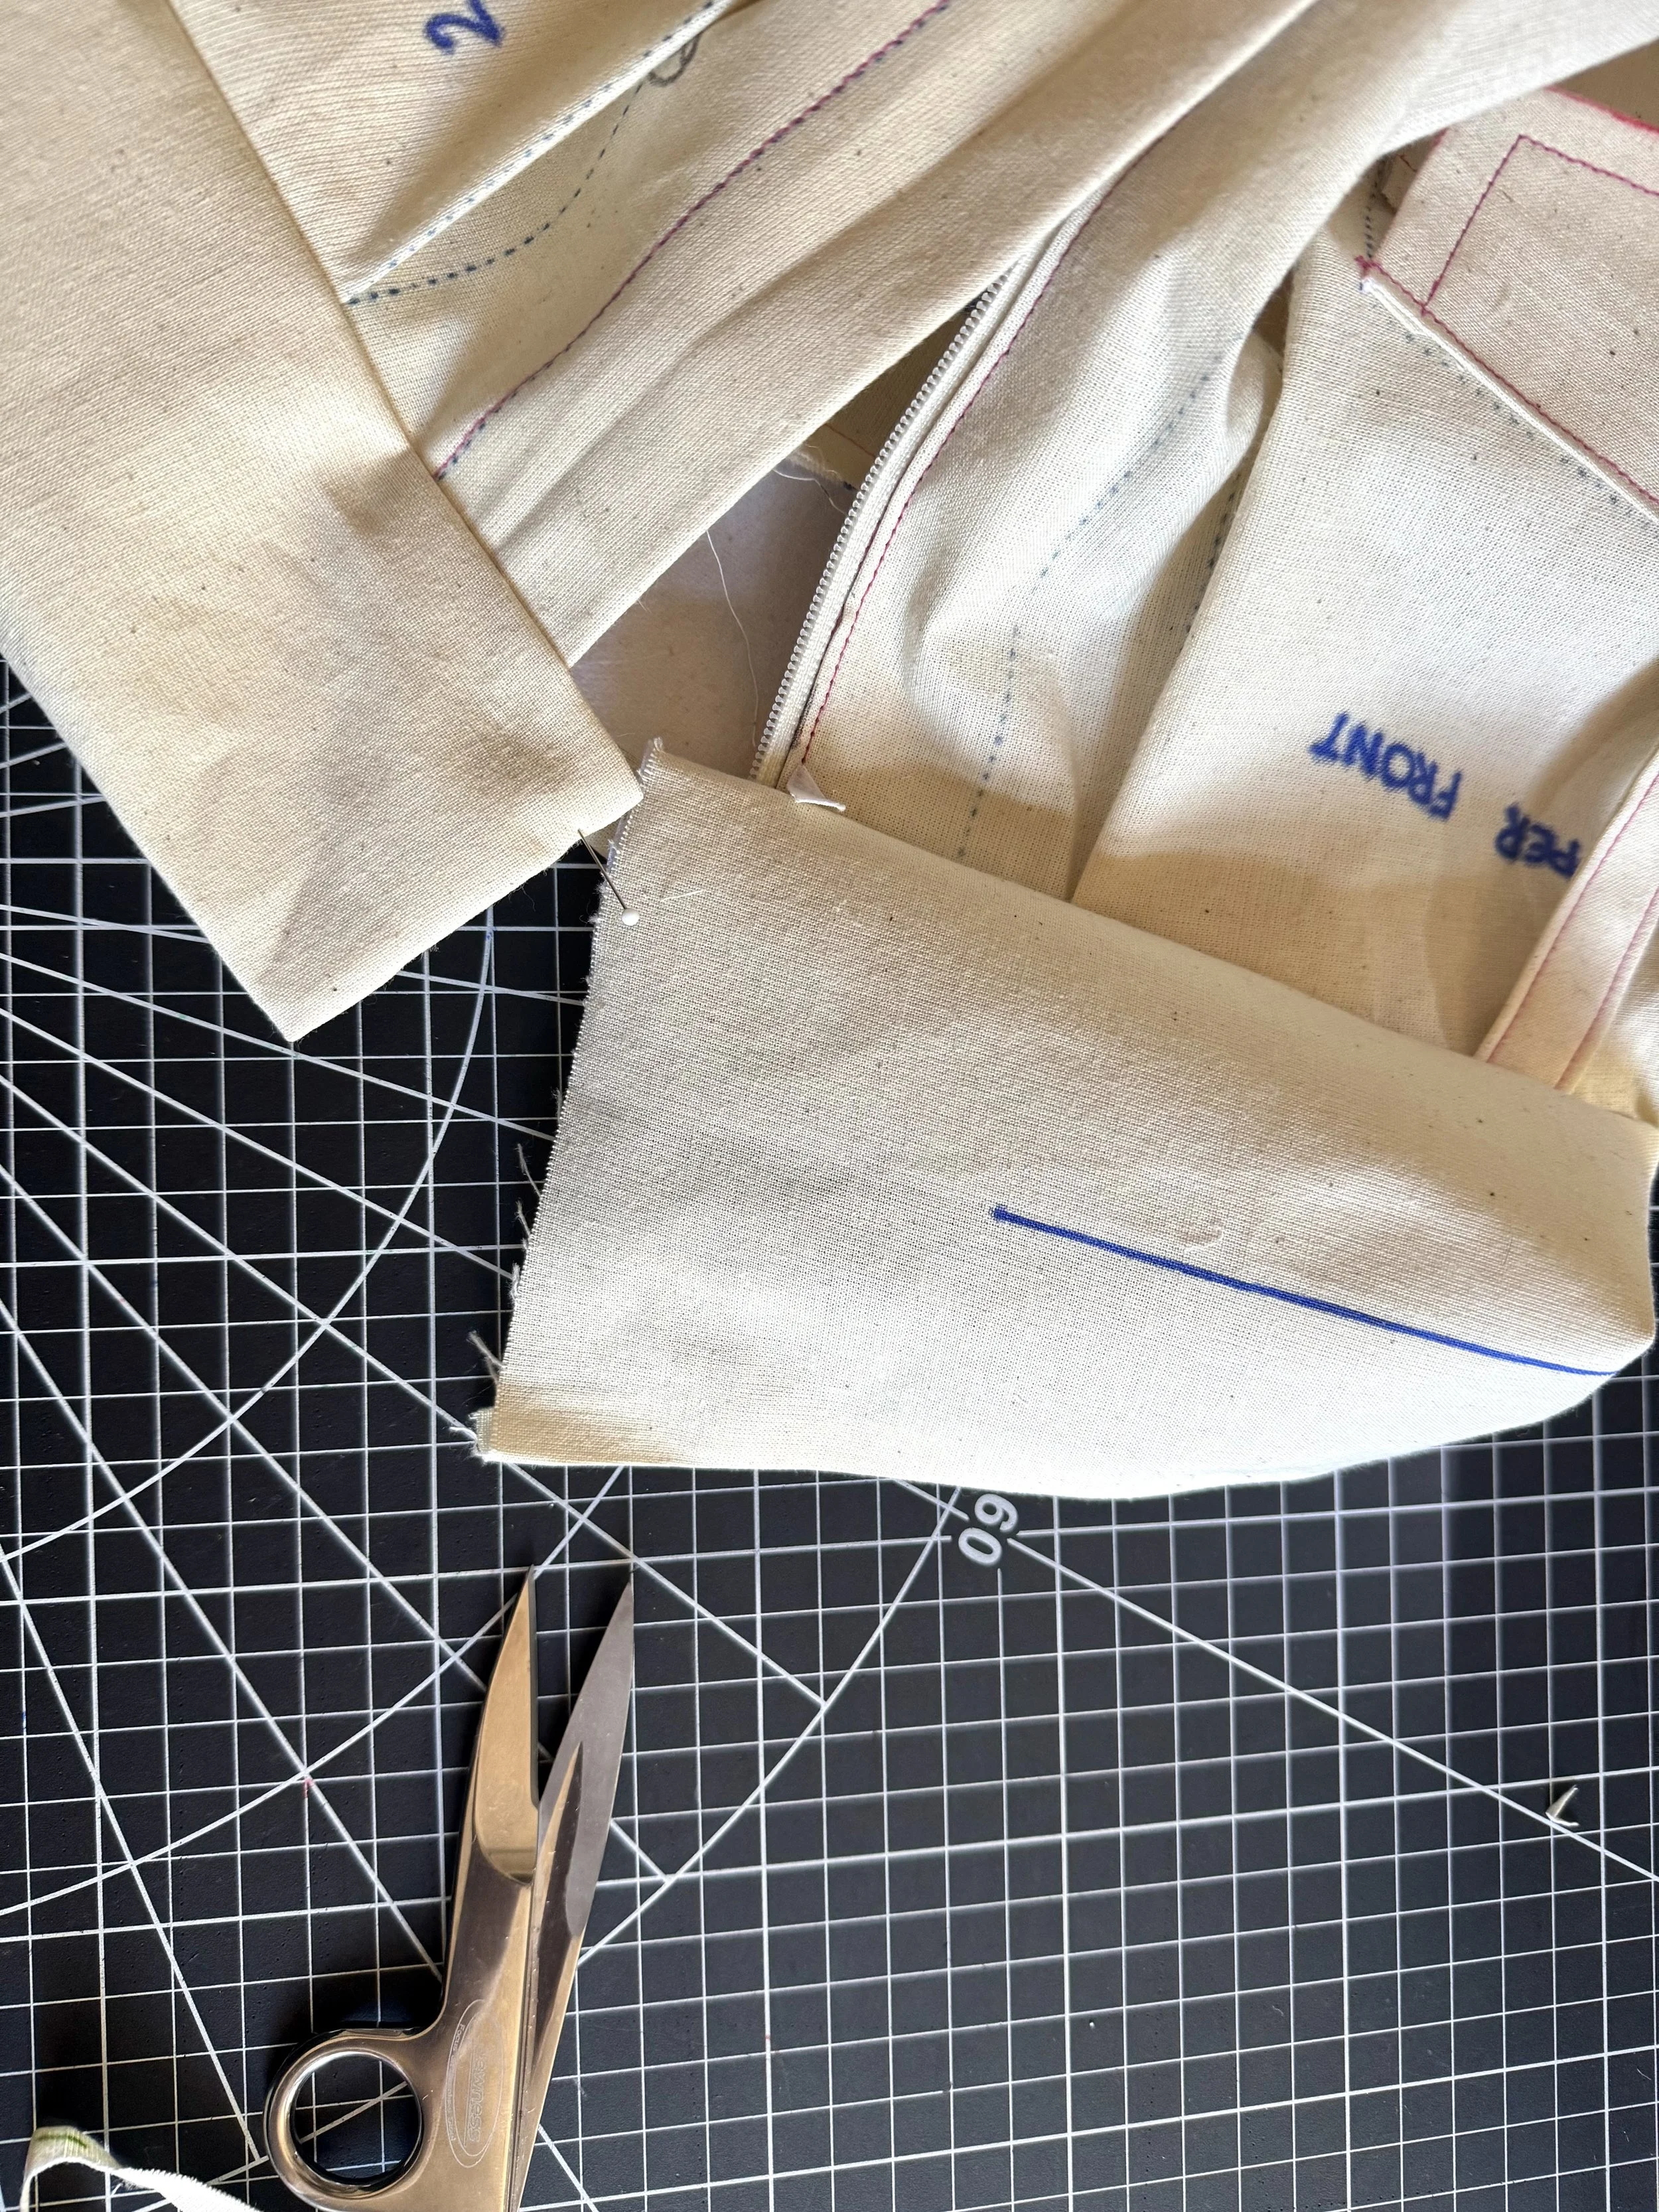
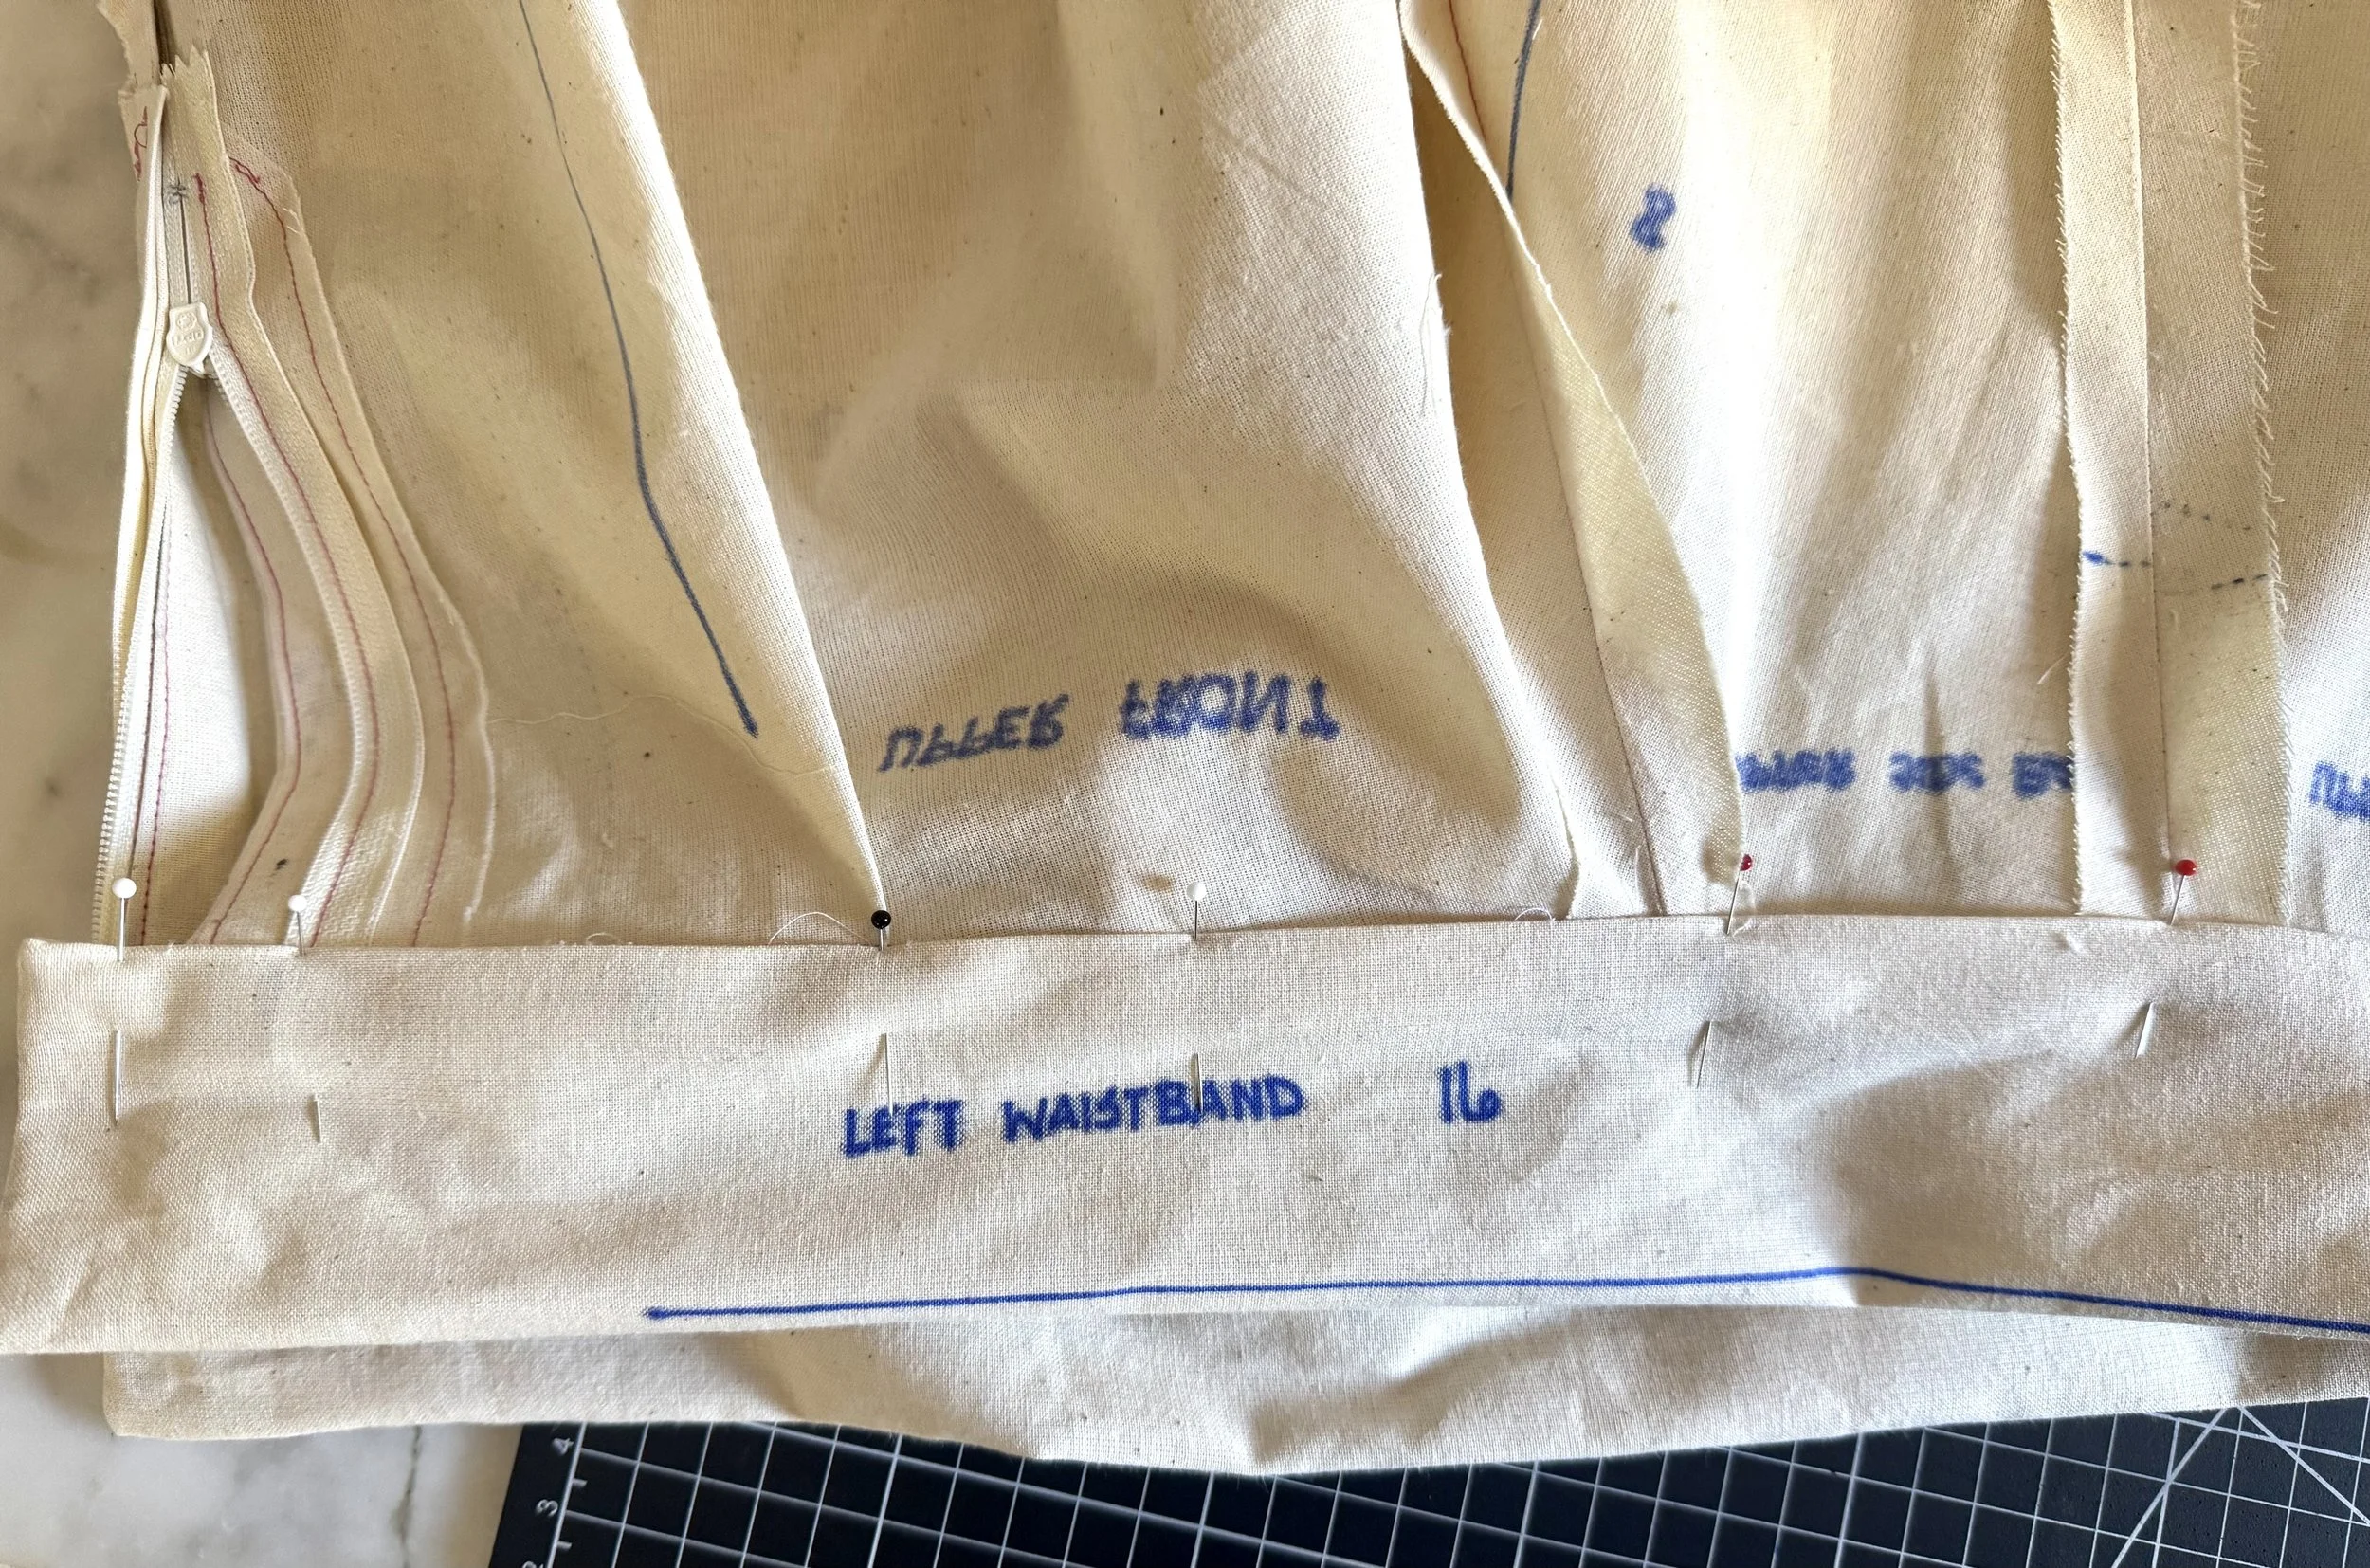
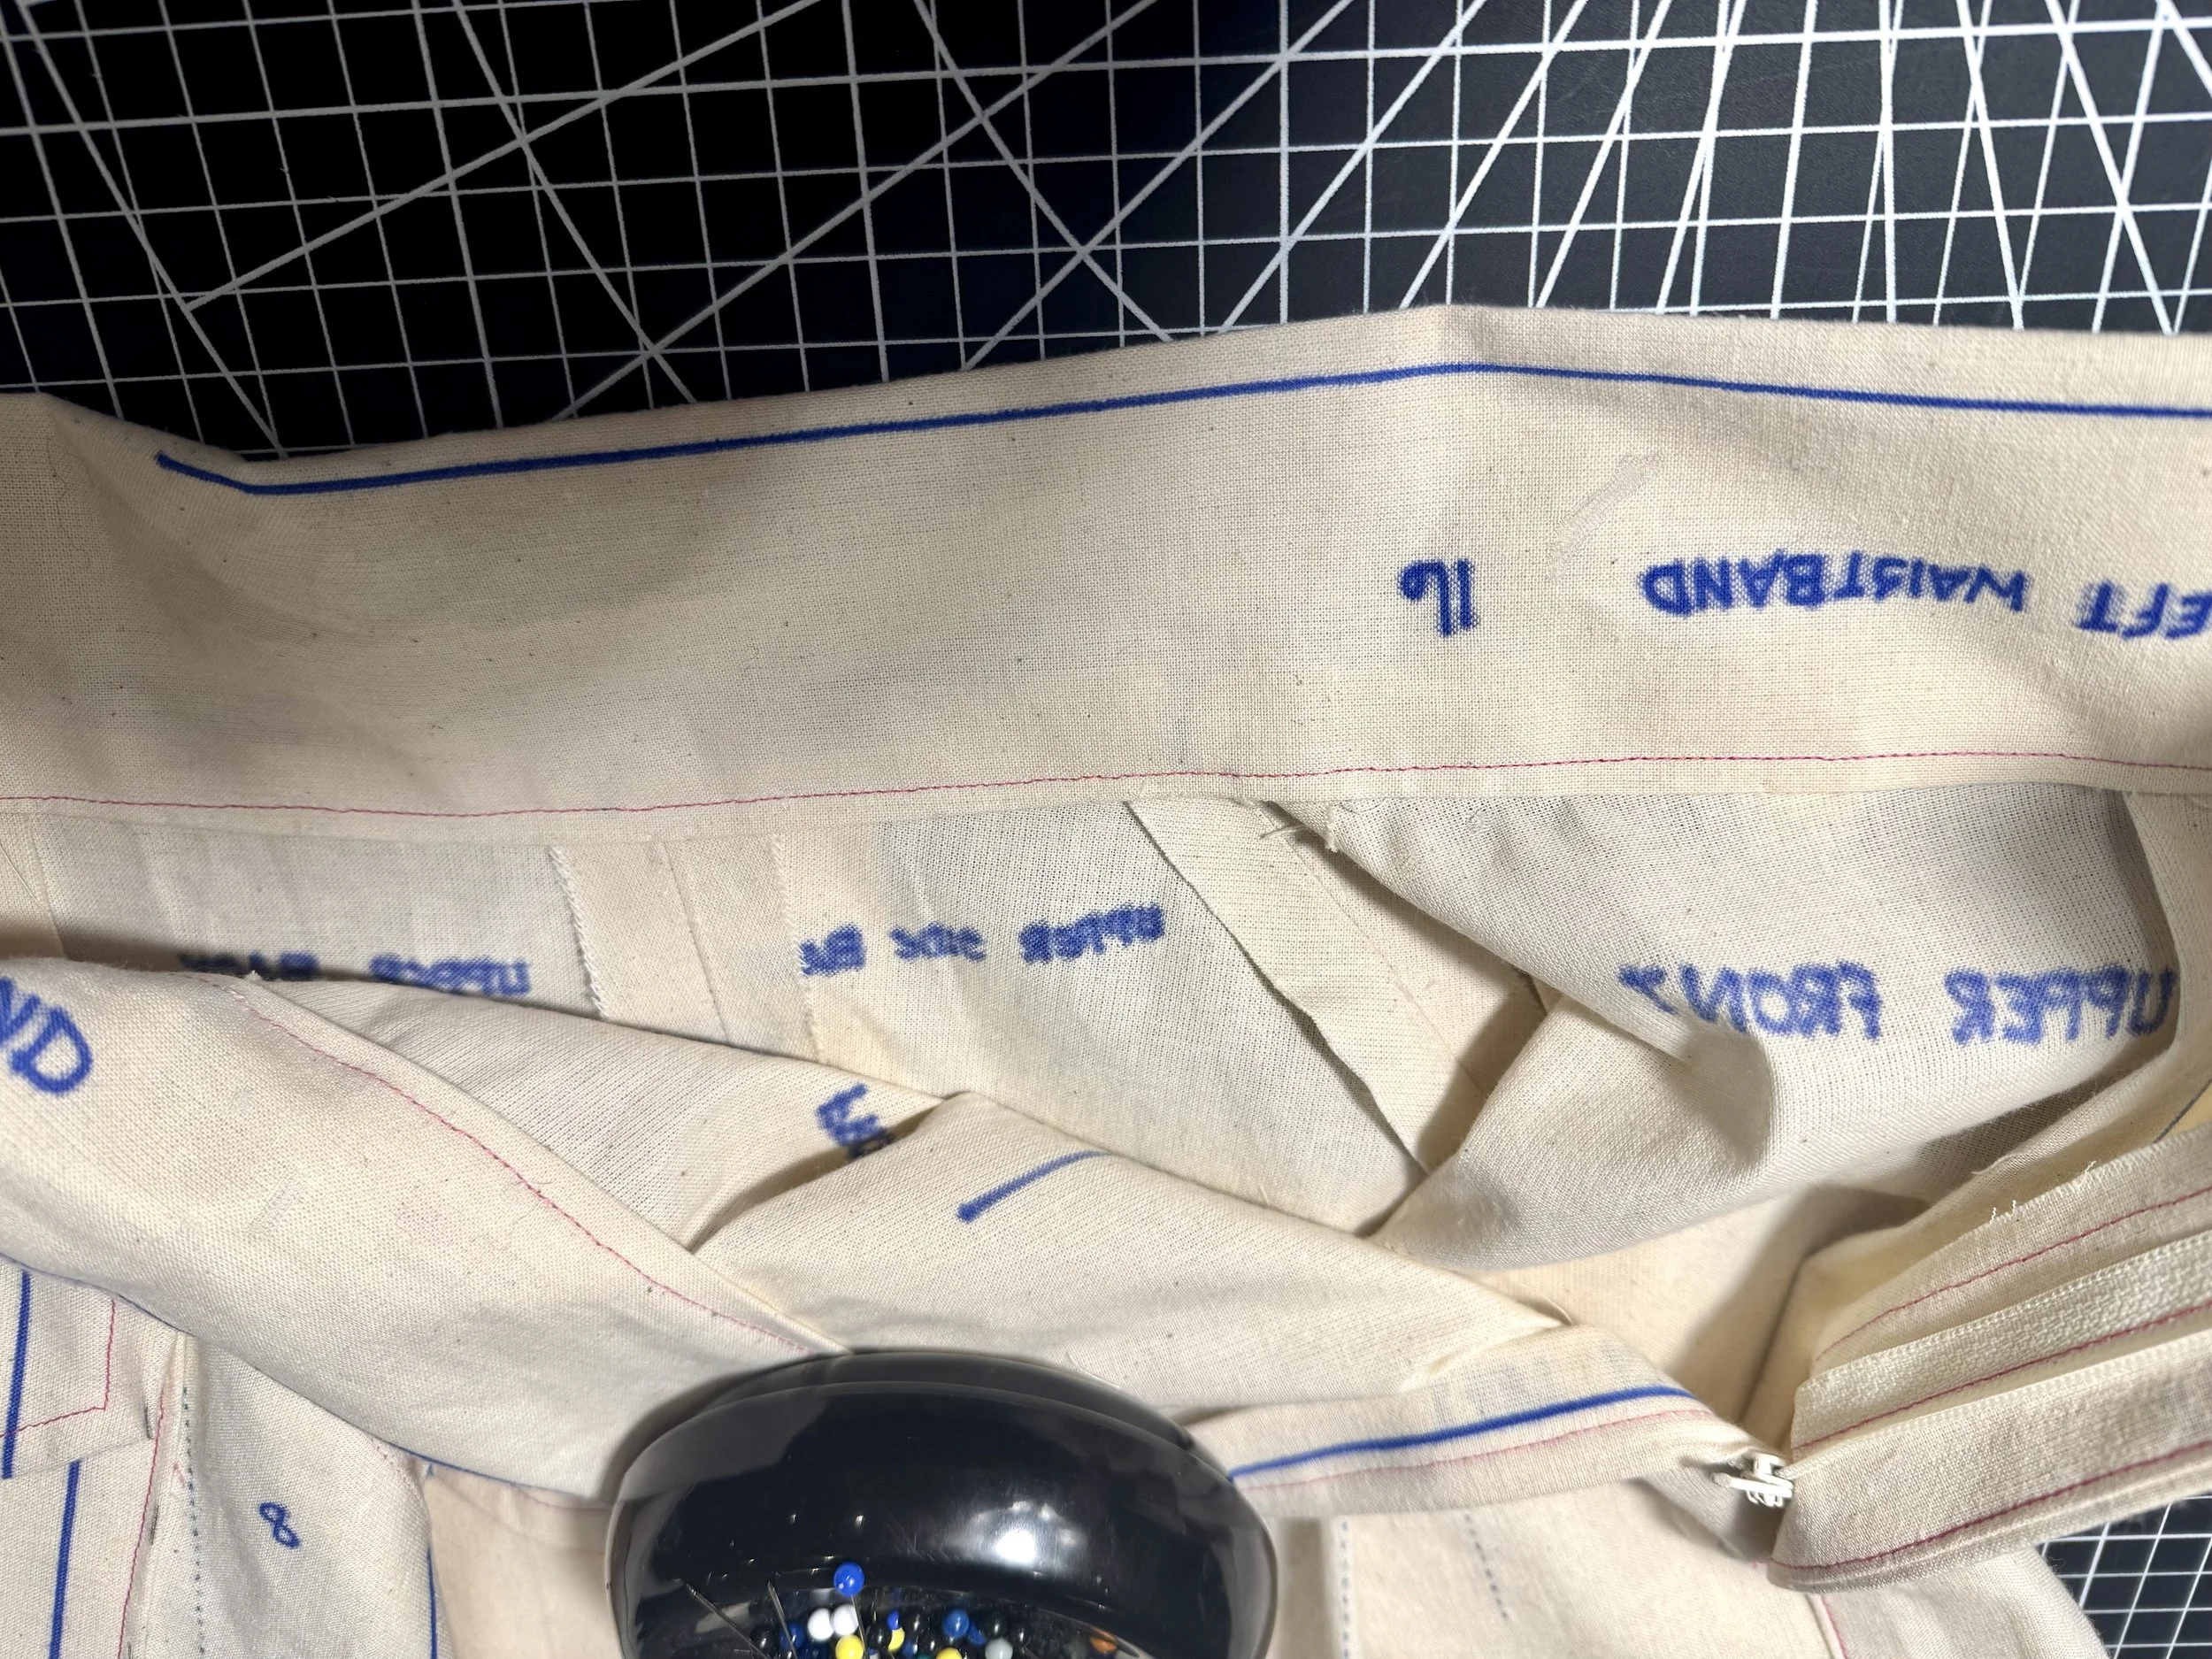
Join the two waistband pieces together. The left piece is longer than the right, as there is an overlap at the waistband zipper edge.
Press the seam allowance of 5/8” in on one end of the strip lengthways, this side will turn to the inside of your skirt for stitch in the ditch.
Sew the waistband to the skirt using a 5/8” seam allowance. The center back seam of the skirt will match the seam on the waistband for a match point.
The left side has a longer overlap at the zipper than the right side.
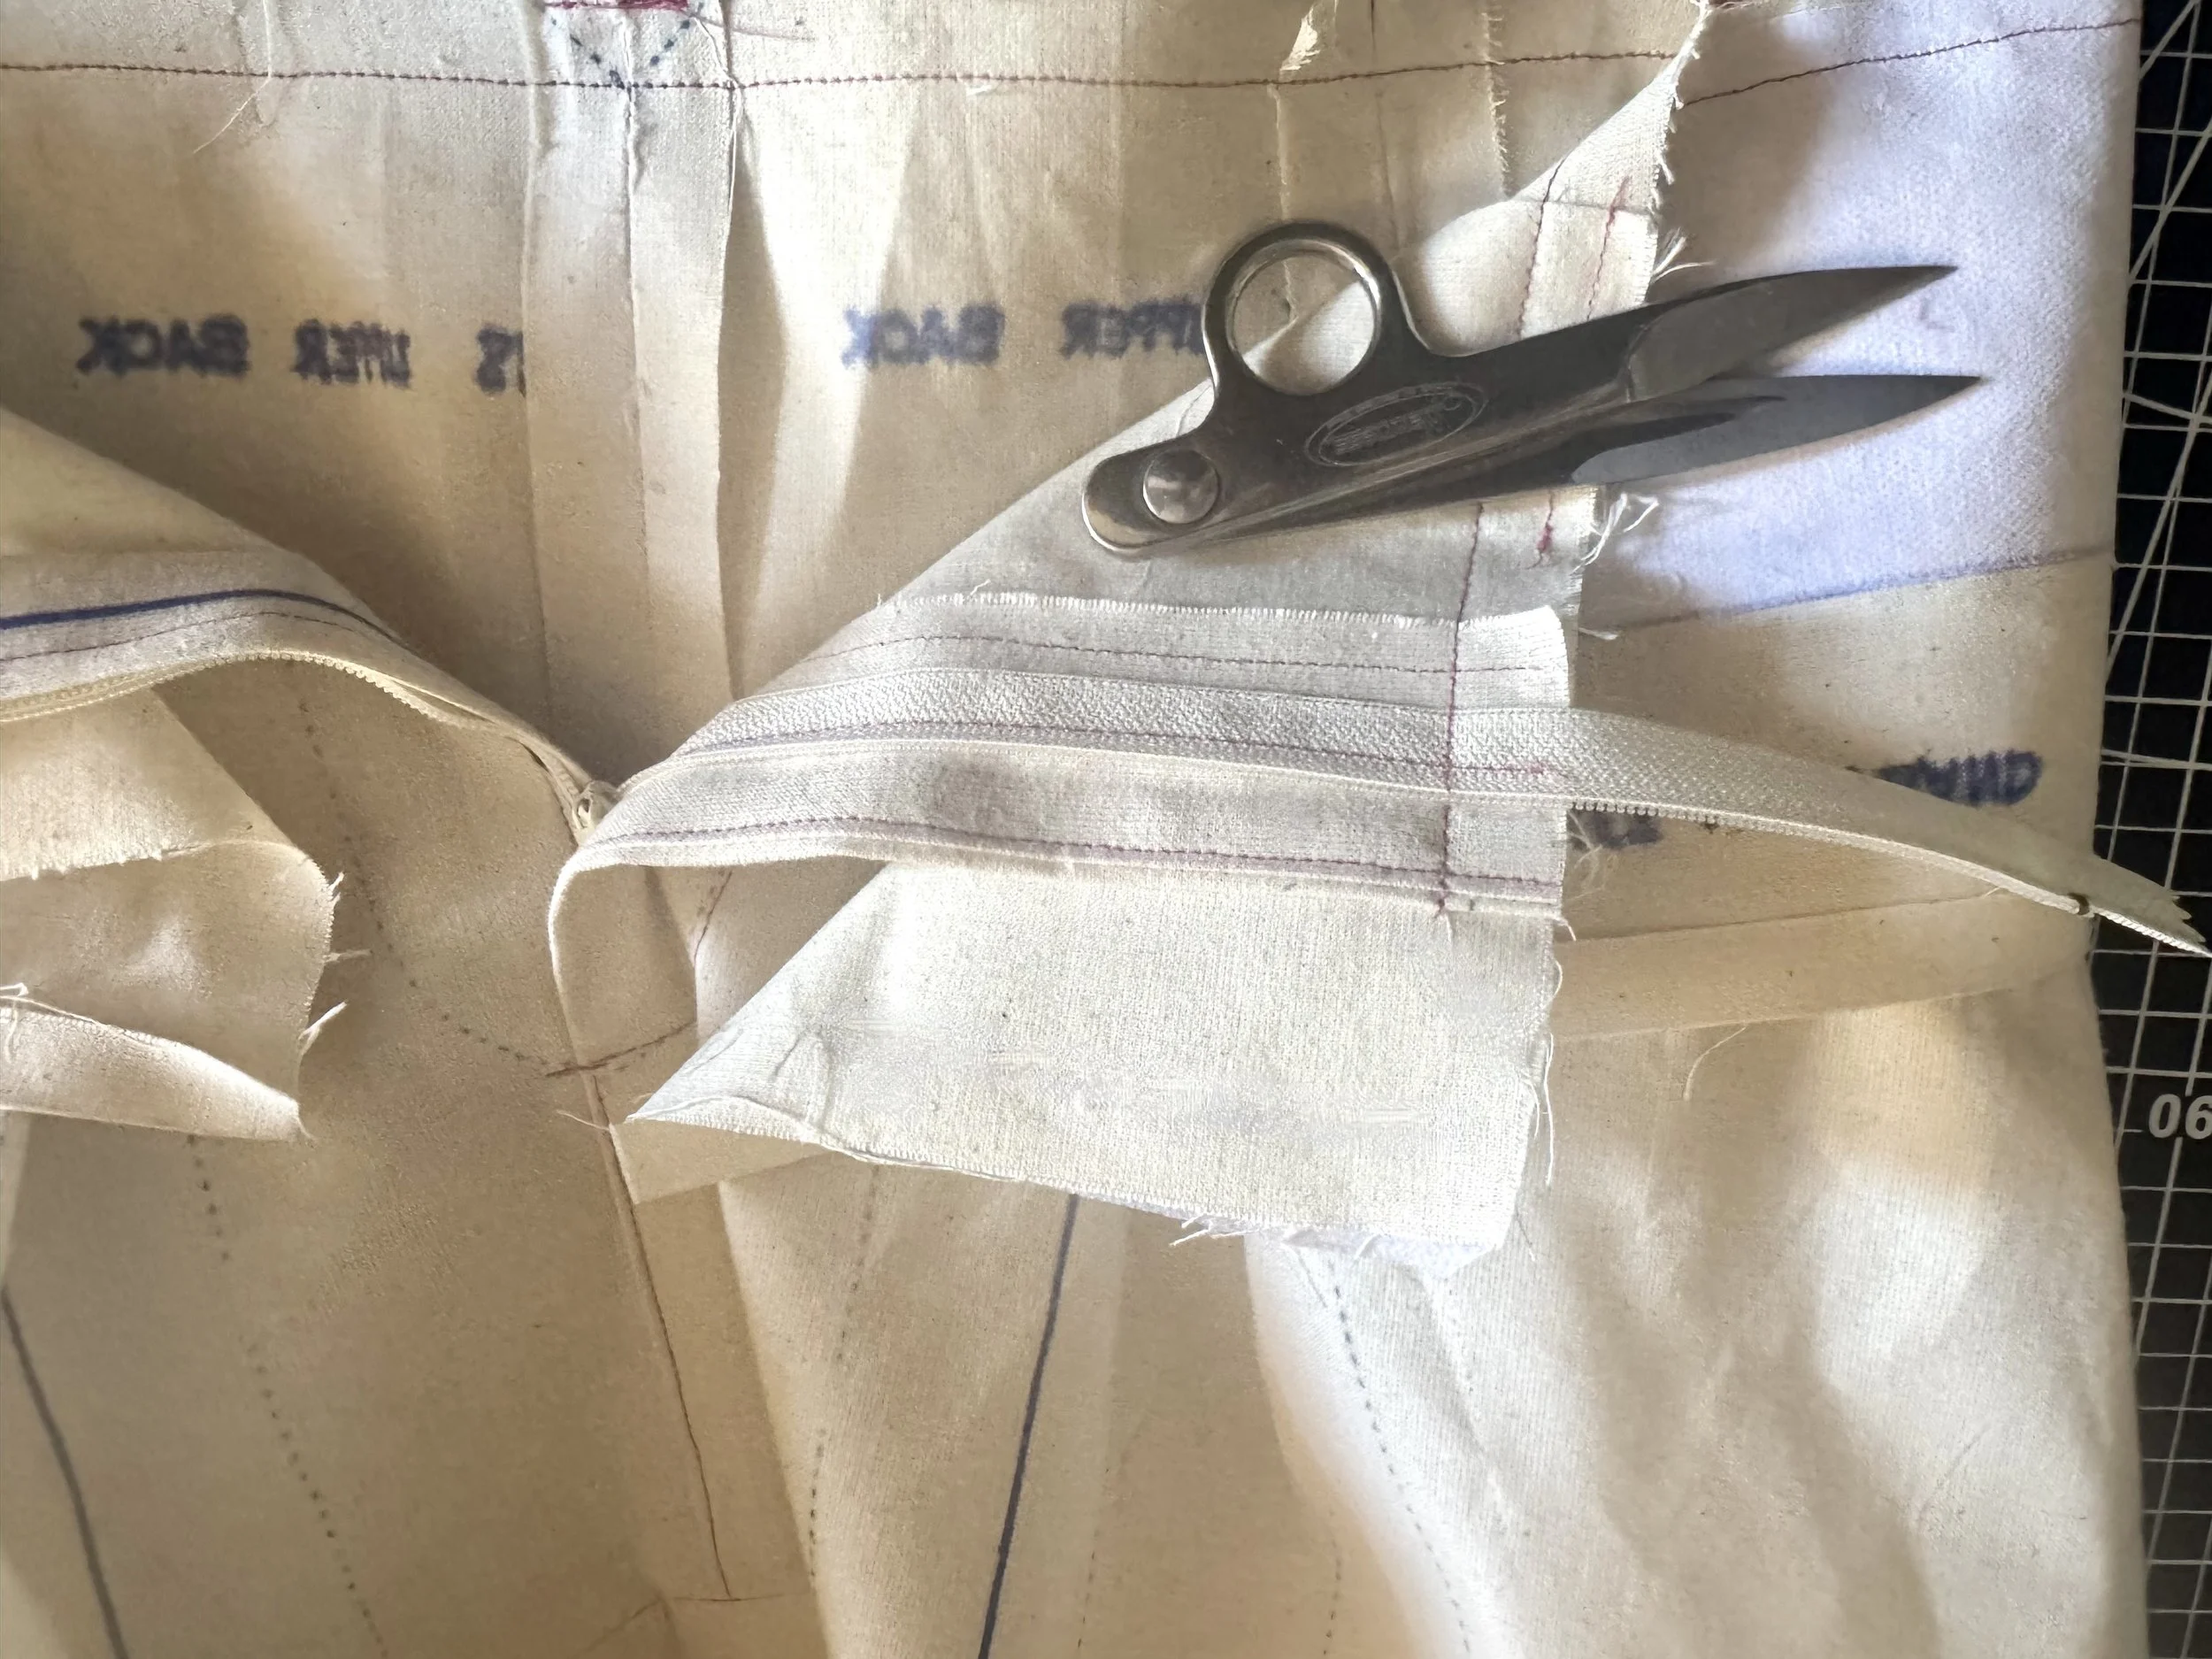
Grade your seams if using a thicker fashion fabric, and snip any zipper tape that extends past the waistband seam.
Your waistband seam allowance fold should be at the top of your opened waistband, as shown.

Closing the edges:
Make a mark where your waistband lines up with the edge of your skirt, past the zipper tape and flip the waistband edges to the inside.
Pin, and stitch, grade if bulky and snip the corner for a clean point if needed. Flip back to the right side and turn the folded edge to the inside.

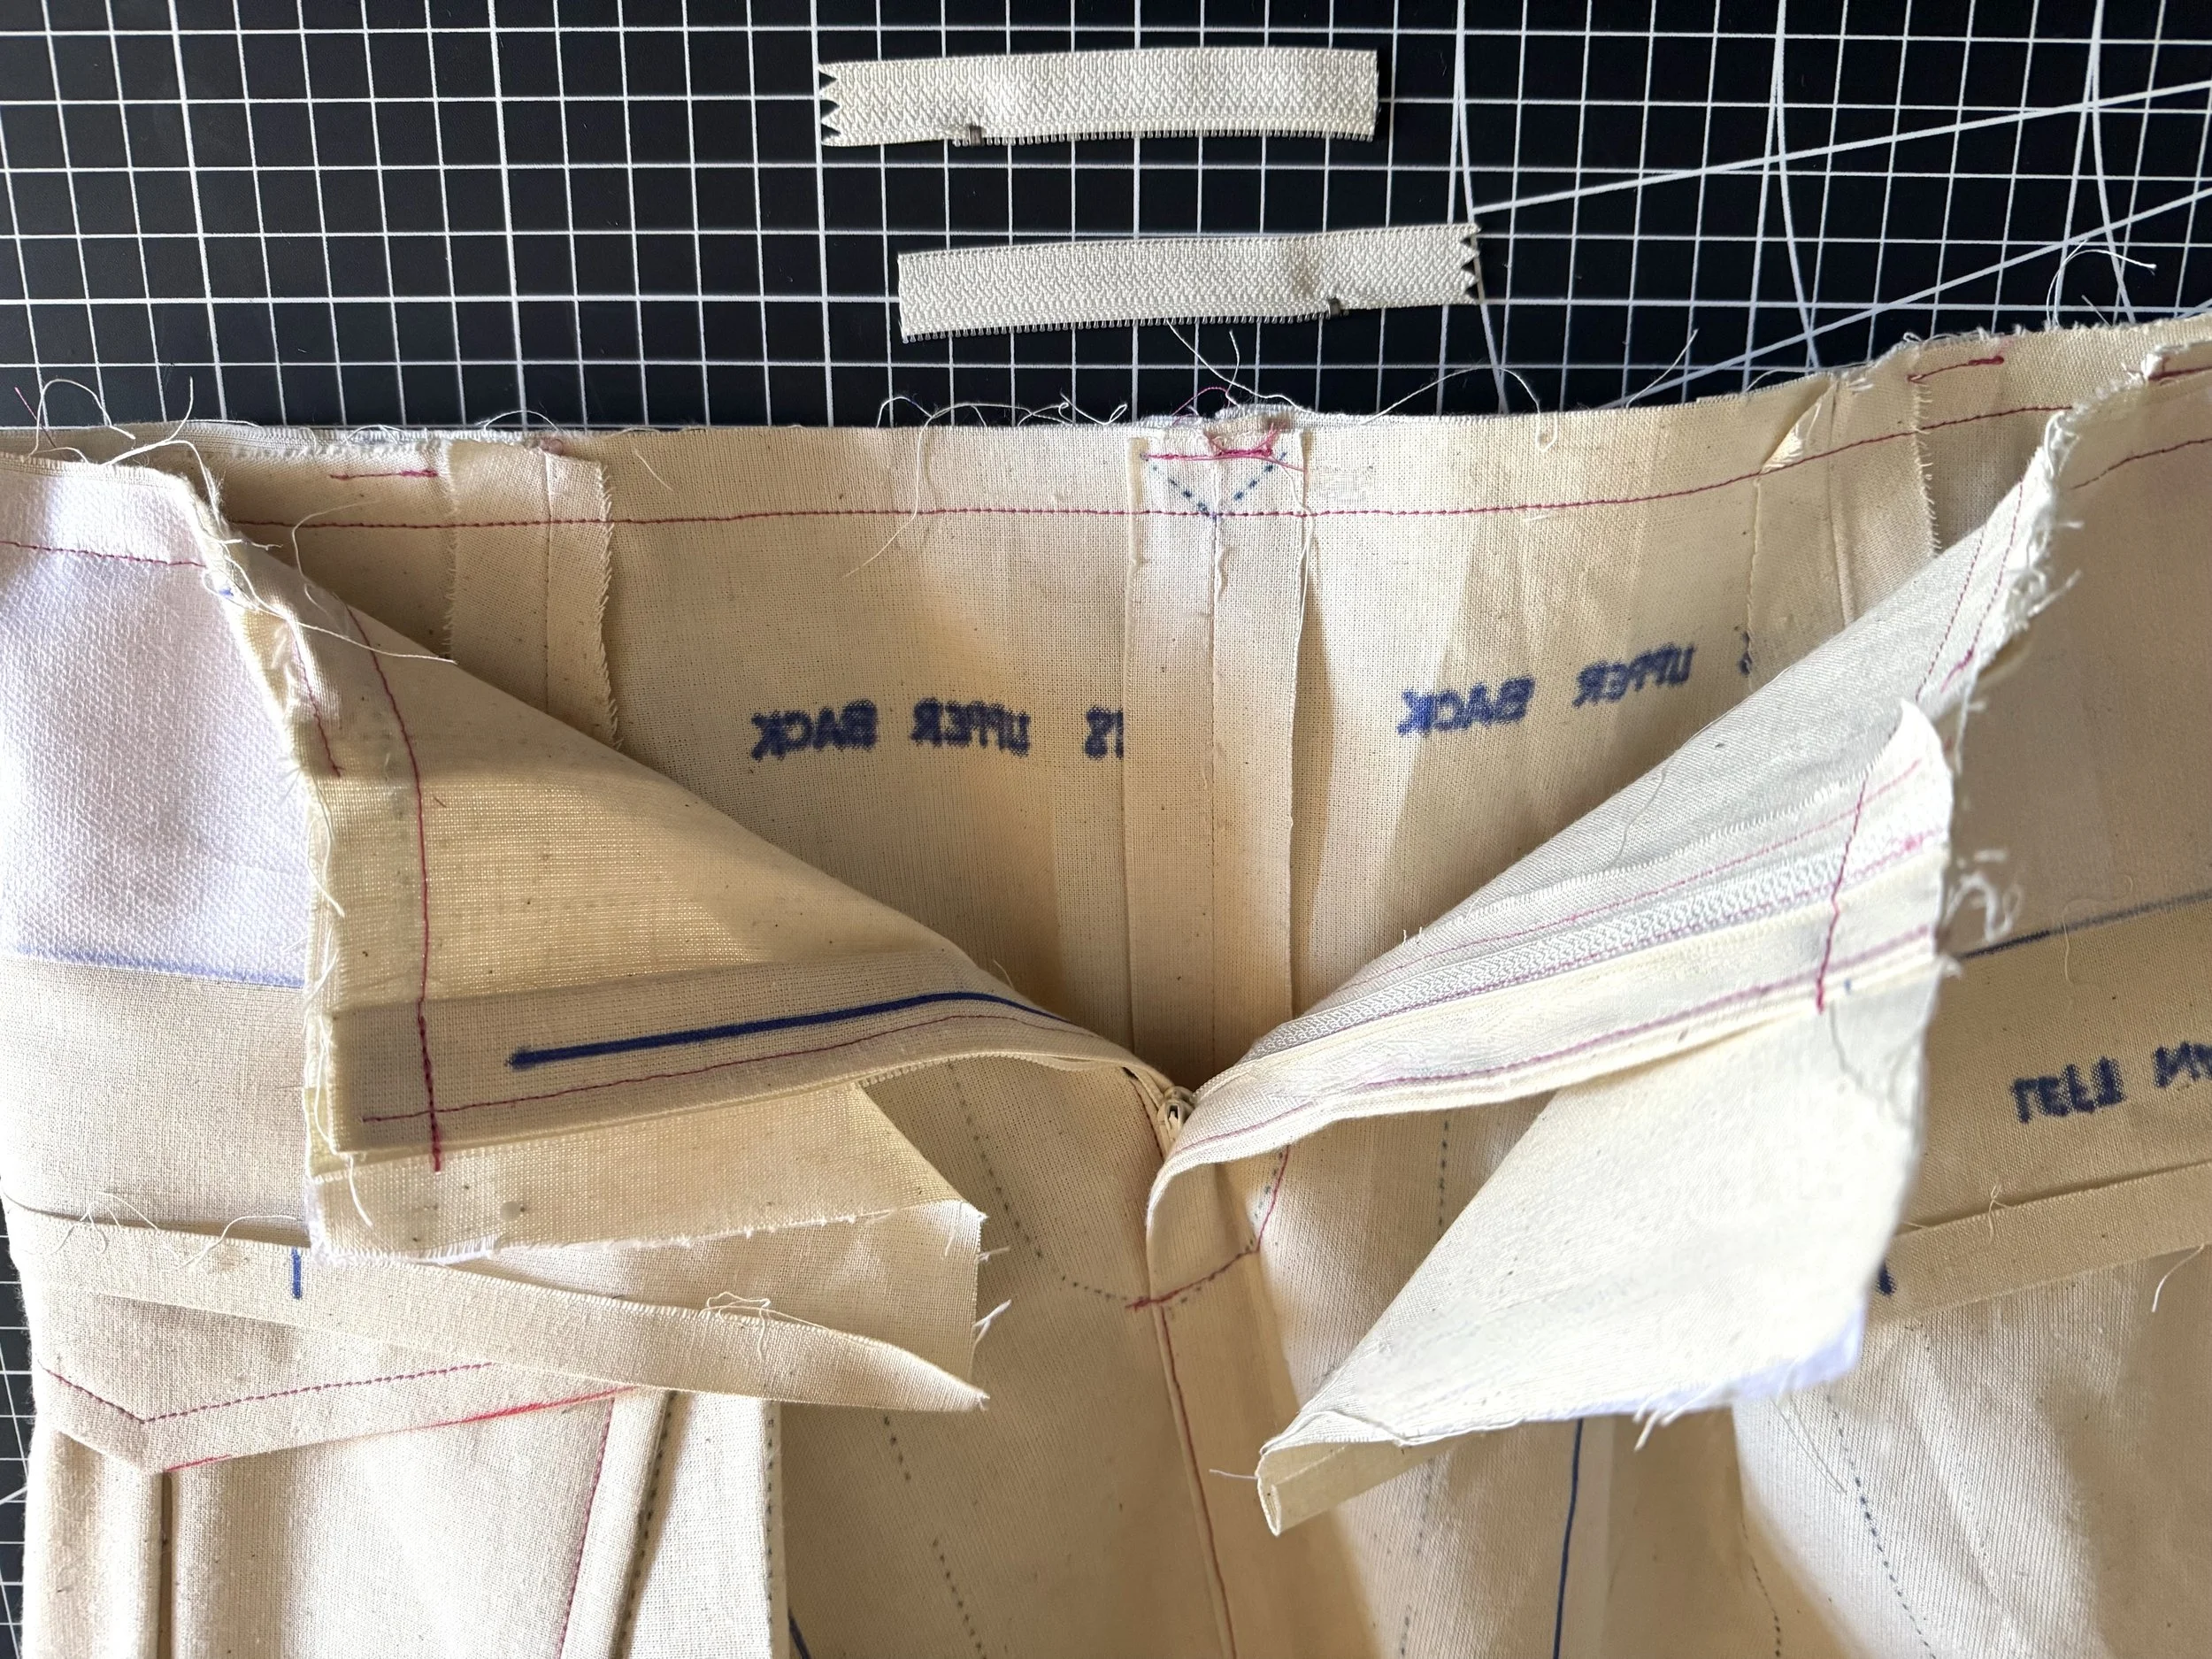
Fold the waistband over and into the inside of the skirt. (The grainline shown here in blue is not the center fold line.)
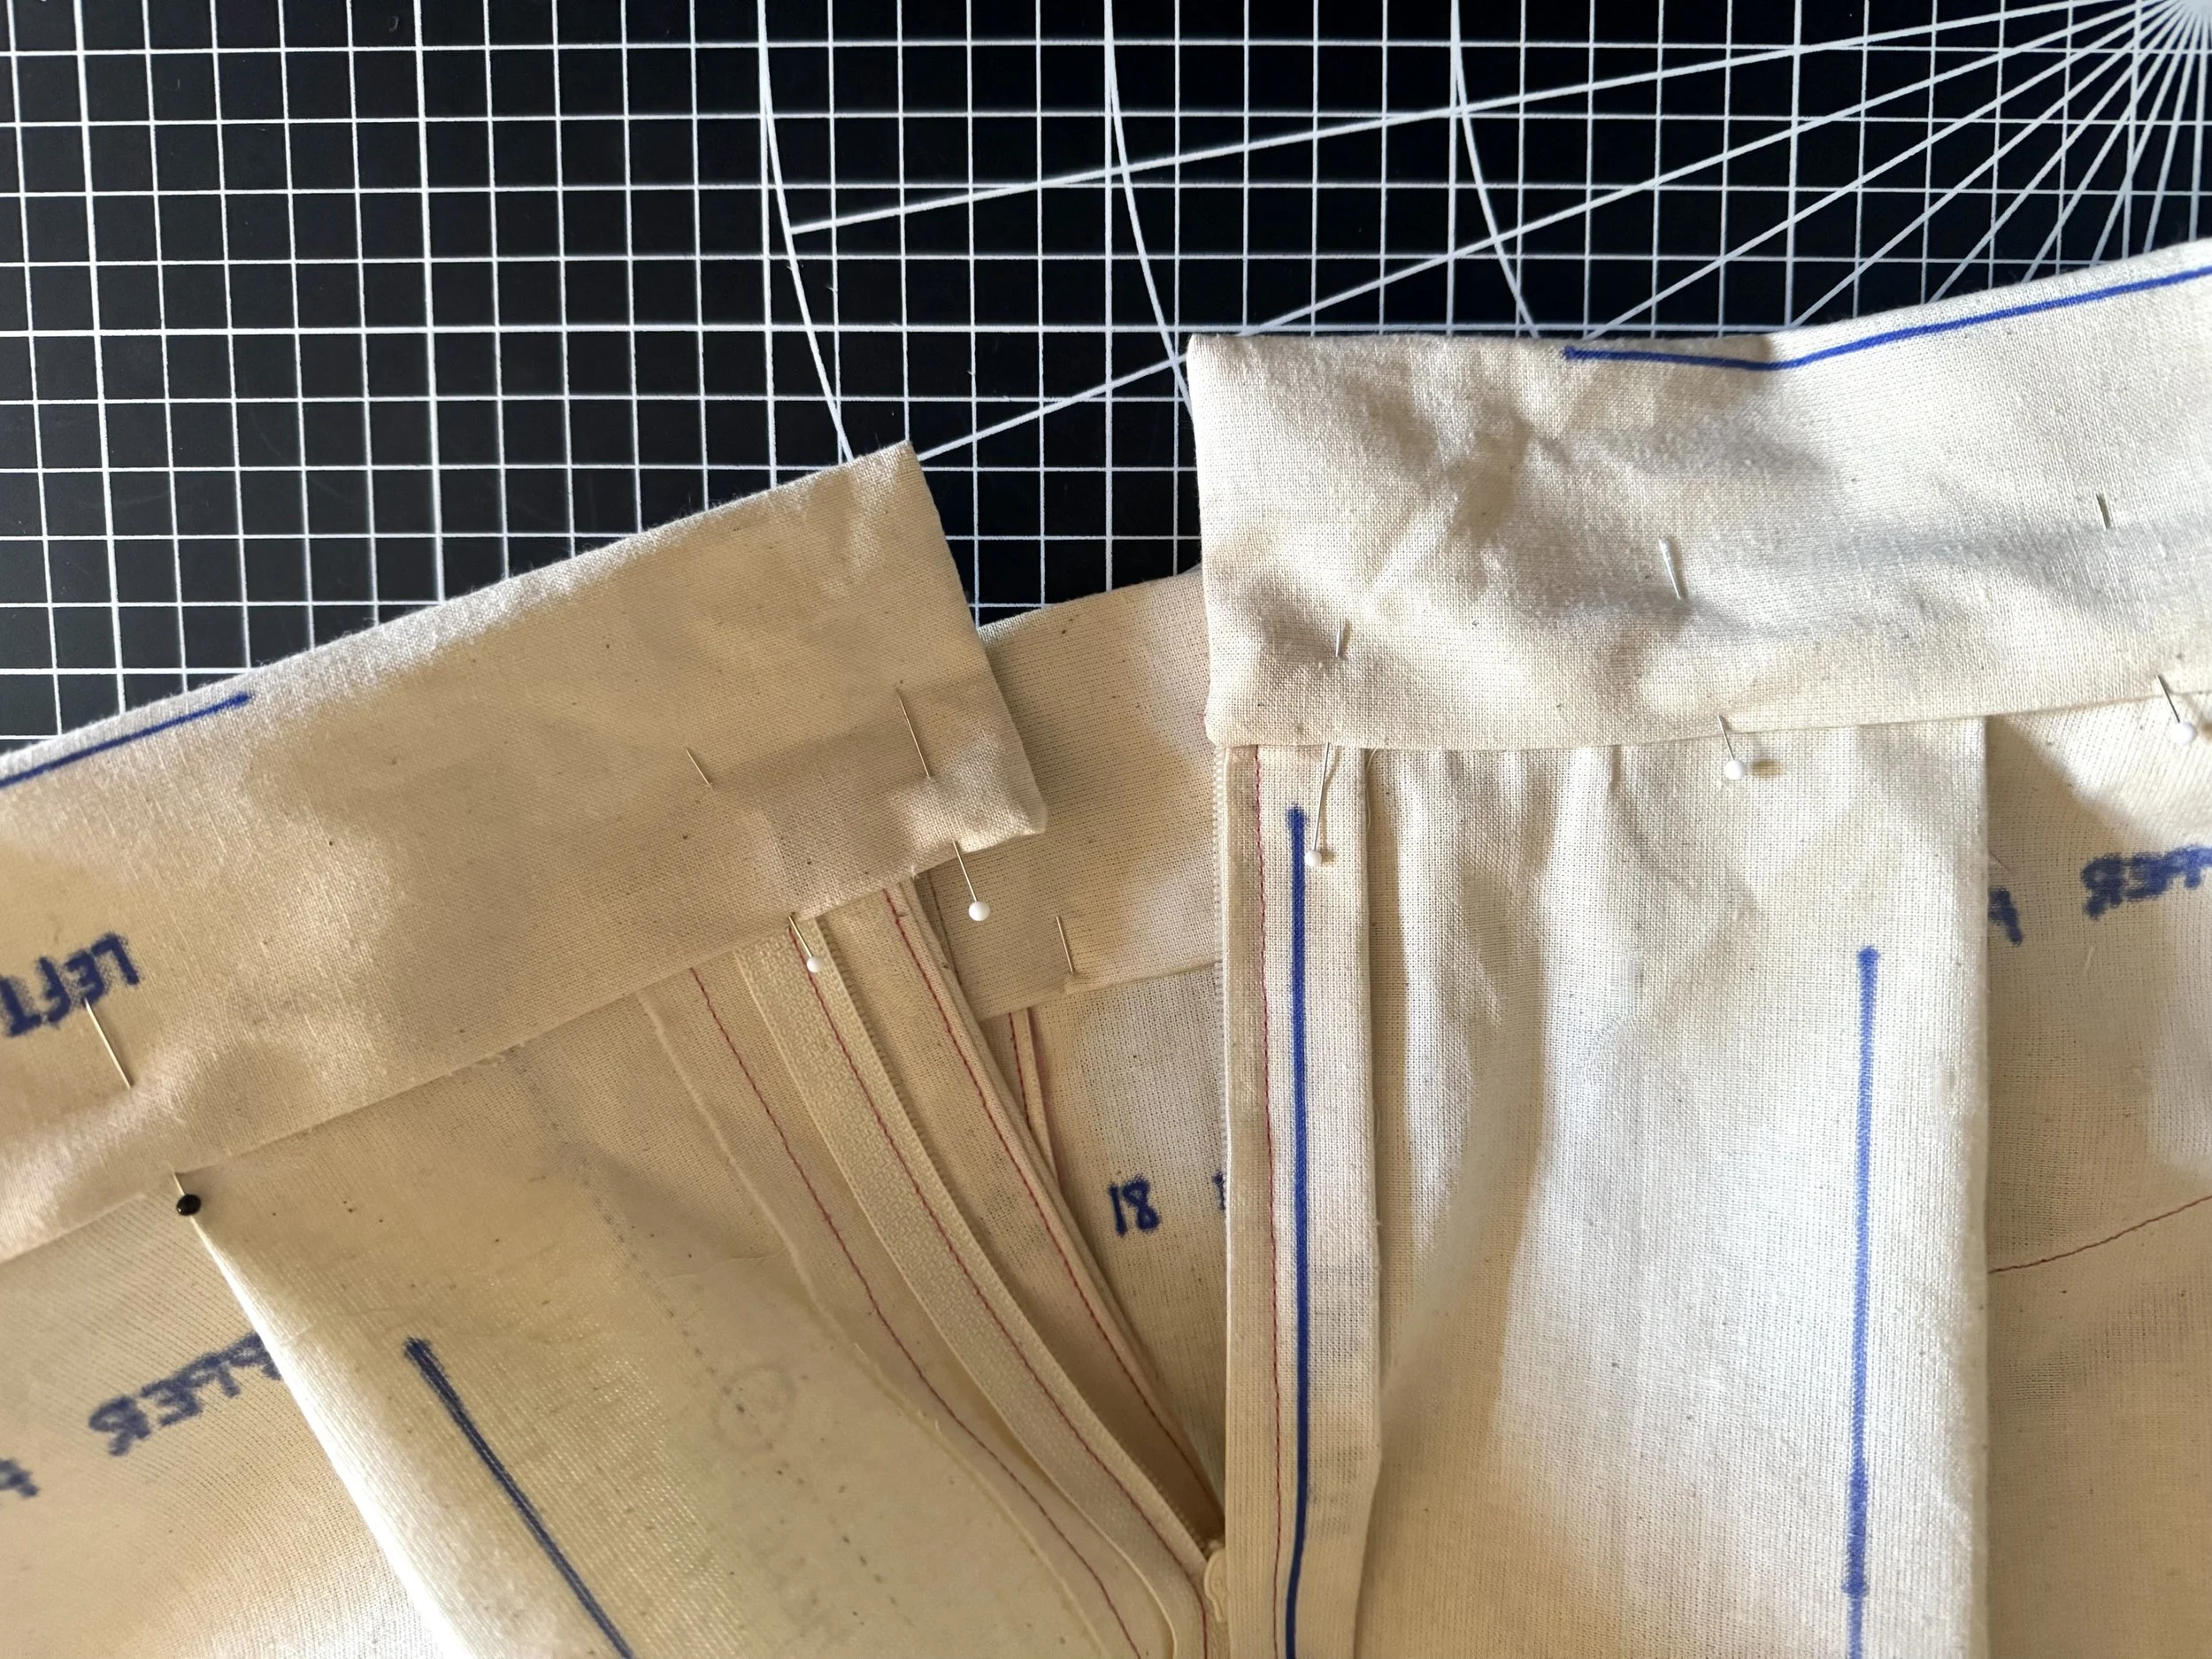
Pin well, checking that your pre-pressed seam overlaps the waistband seam on the outside. We need to catch this when we sew.
Pin, pin, pin!

Sew using a thread that matches your fabric, in the seam of your waist catching the seam allowance on the inside. Stitch in the ditch can be difficult, so a quick hand basting stitch can be helpful instead of pins to hold the inside in place.
The inside of the stitch in the ditch should close the seam.

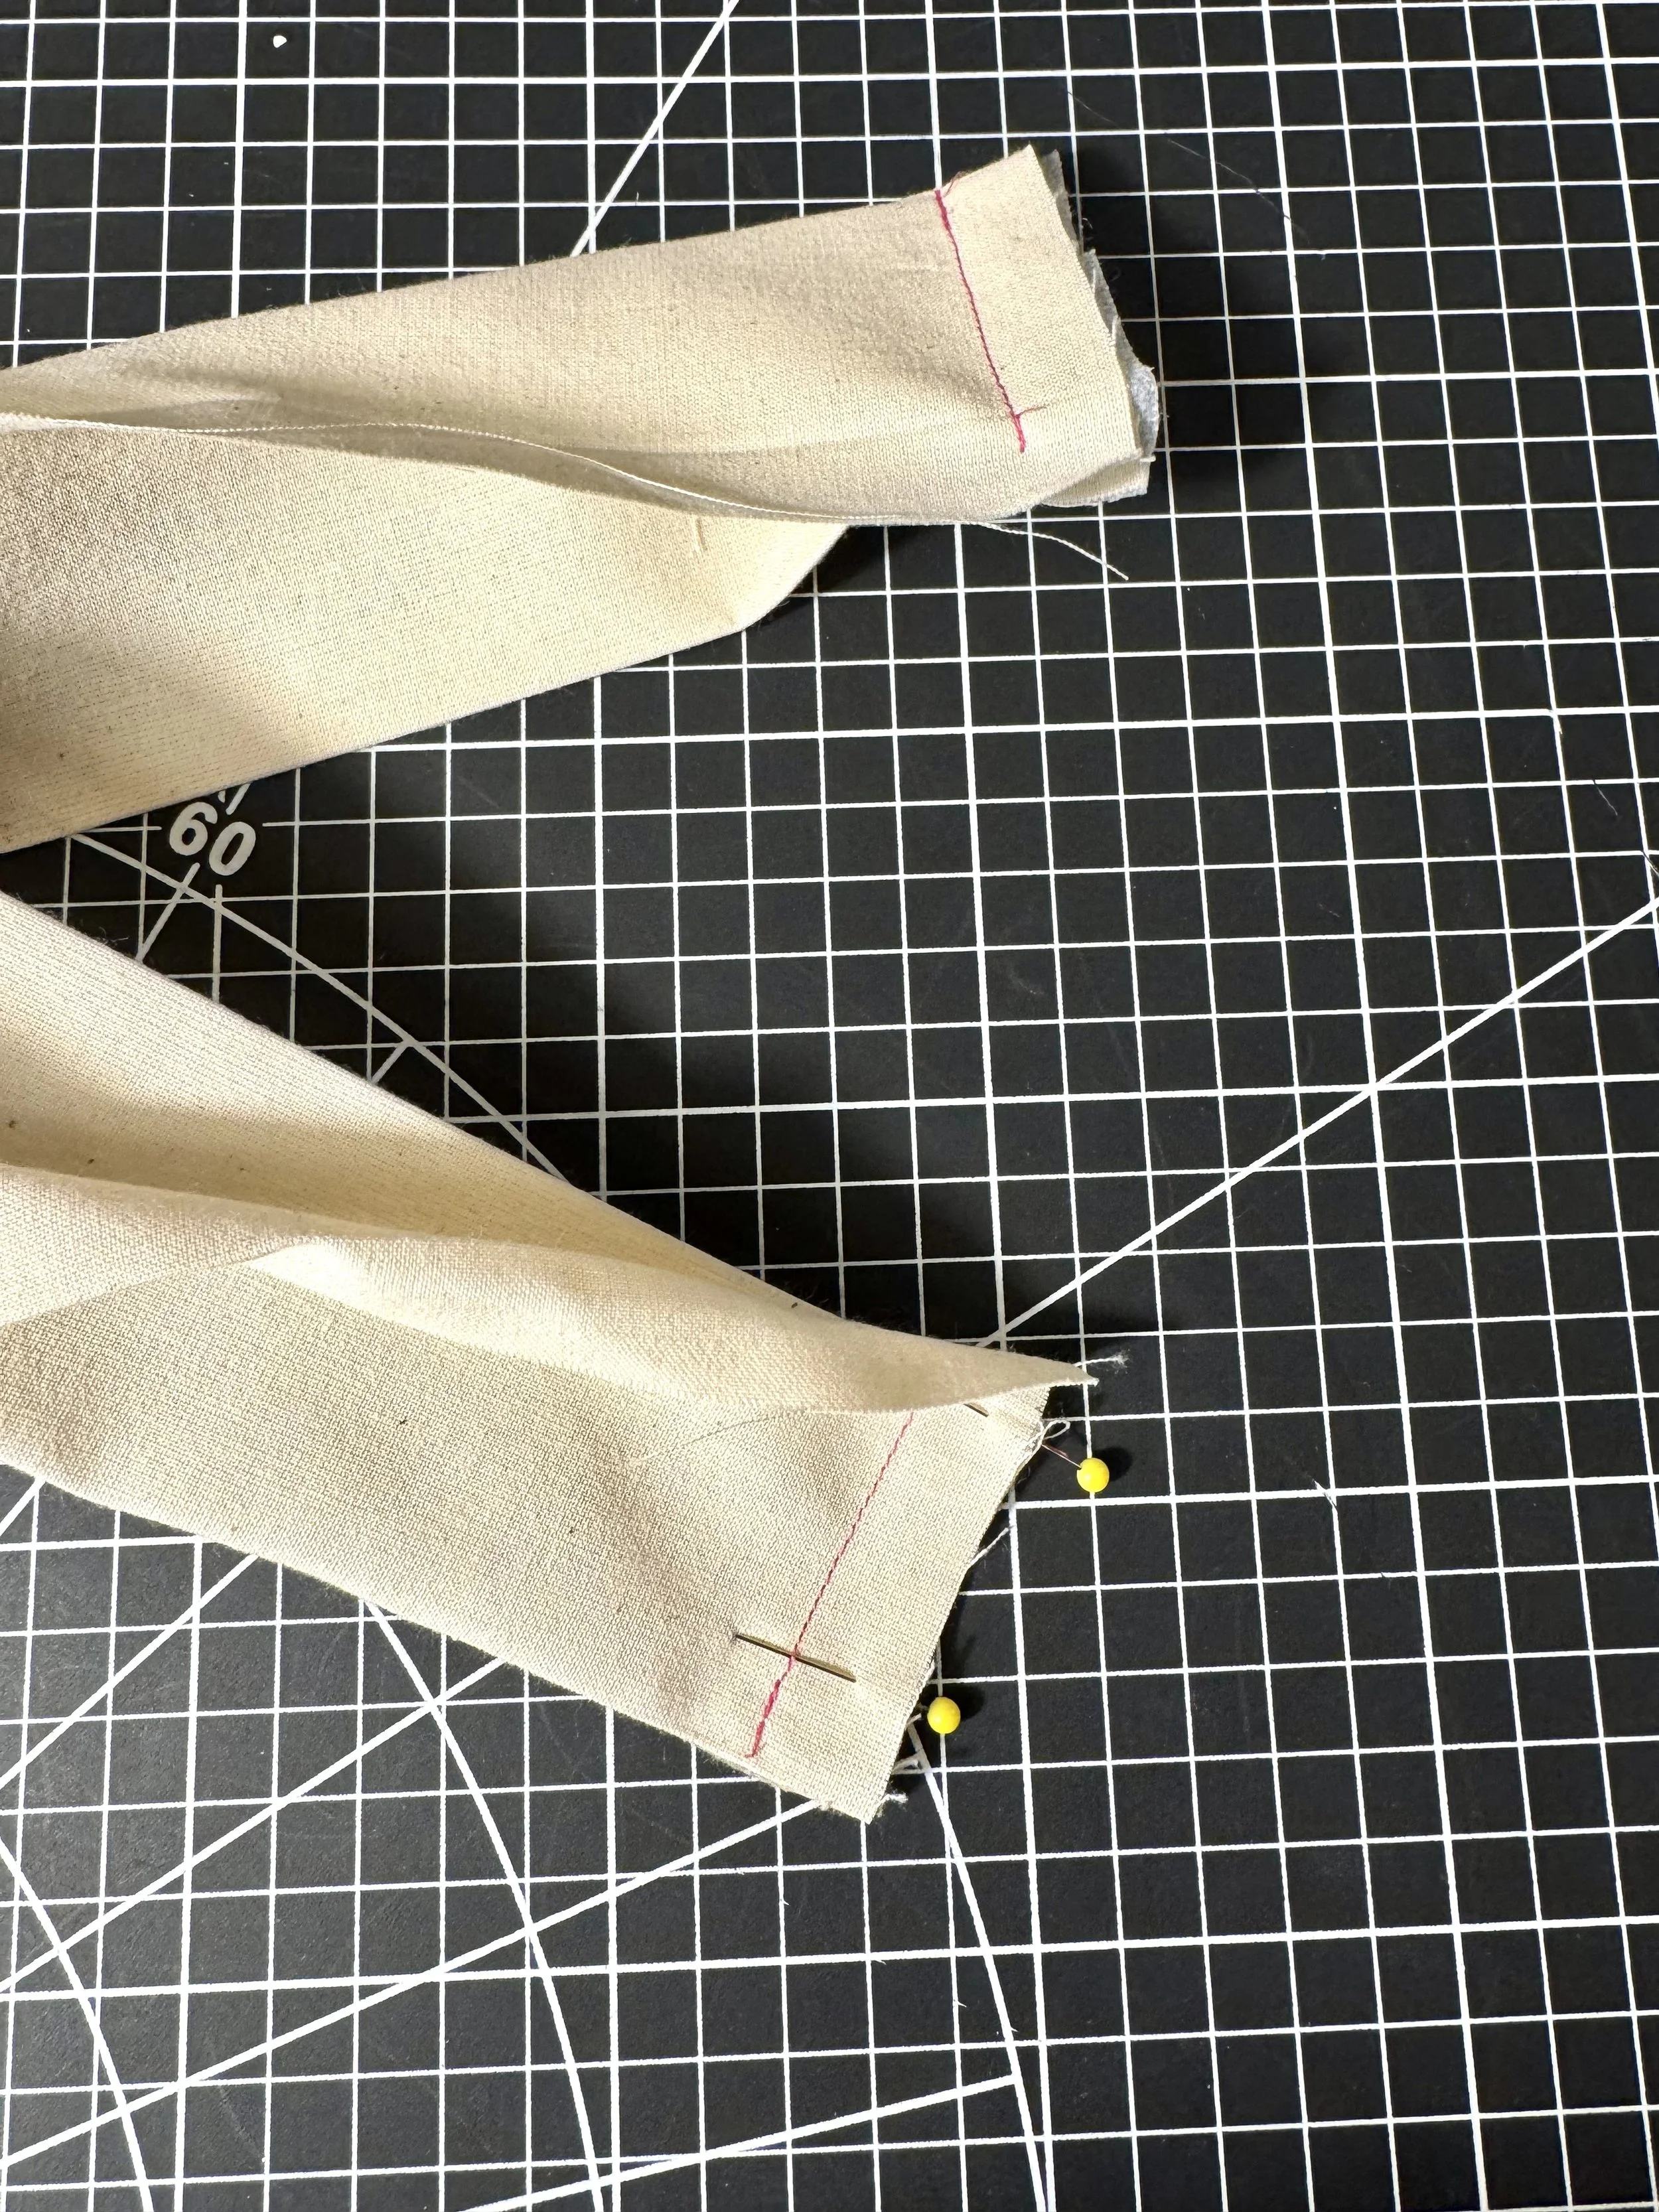
Place your belt tabs at the top of the waistband, and fold the seam in, pin. Trim, if necessary before sewing.
Sew at least twice on the upper tab to hold them securely in place.
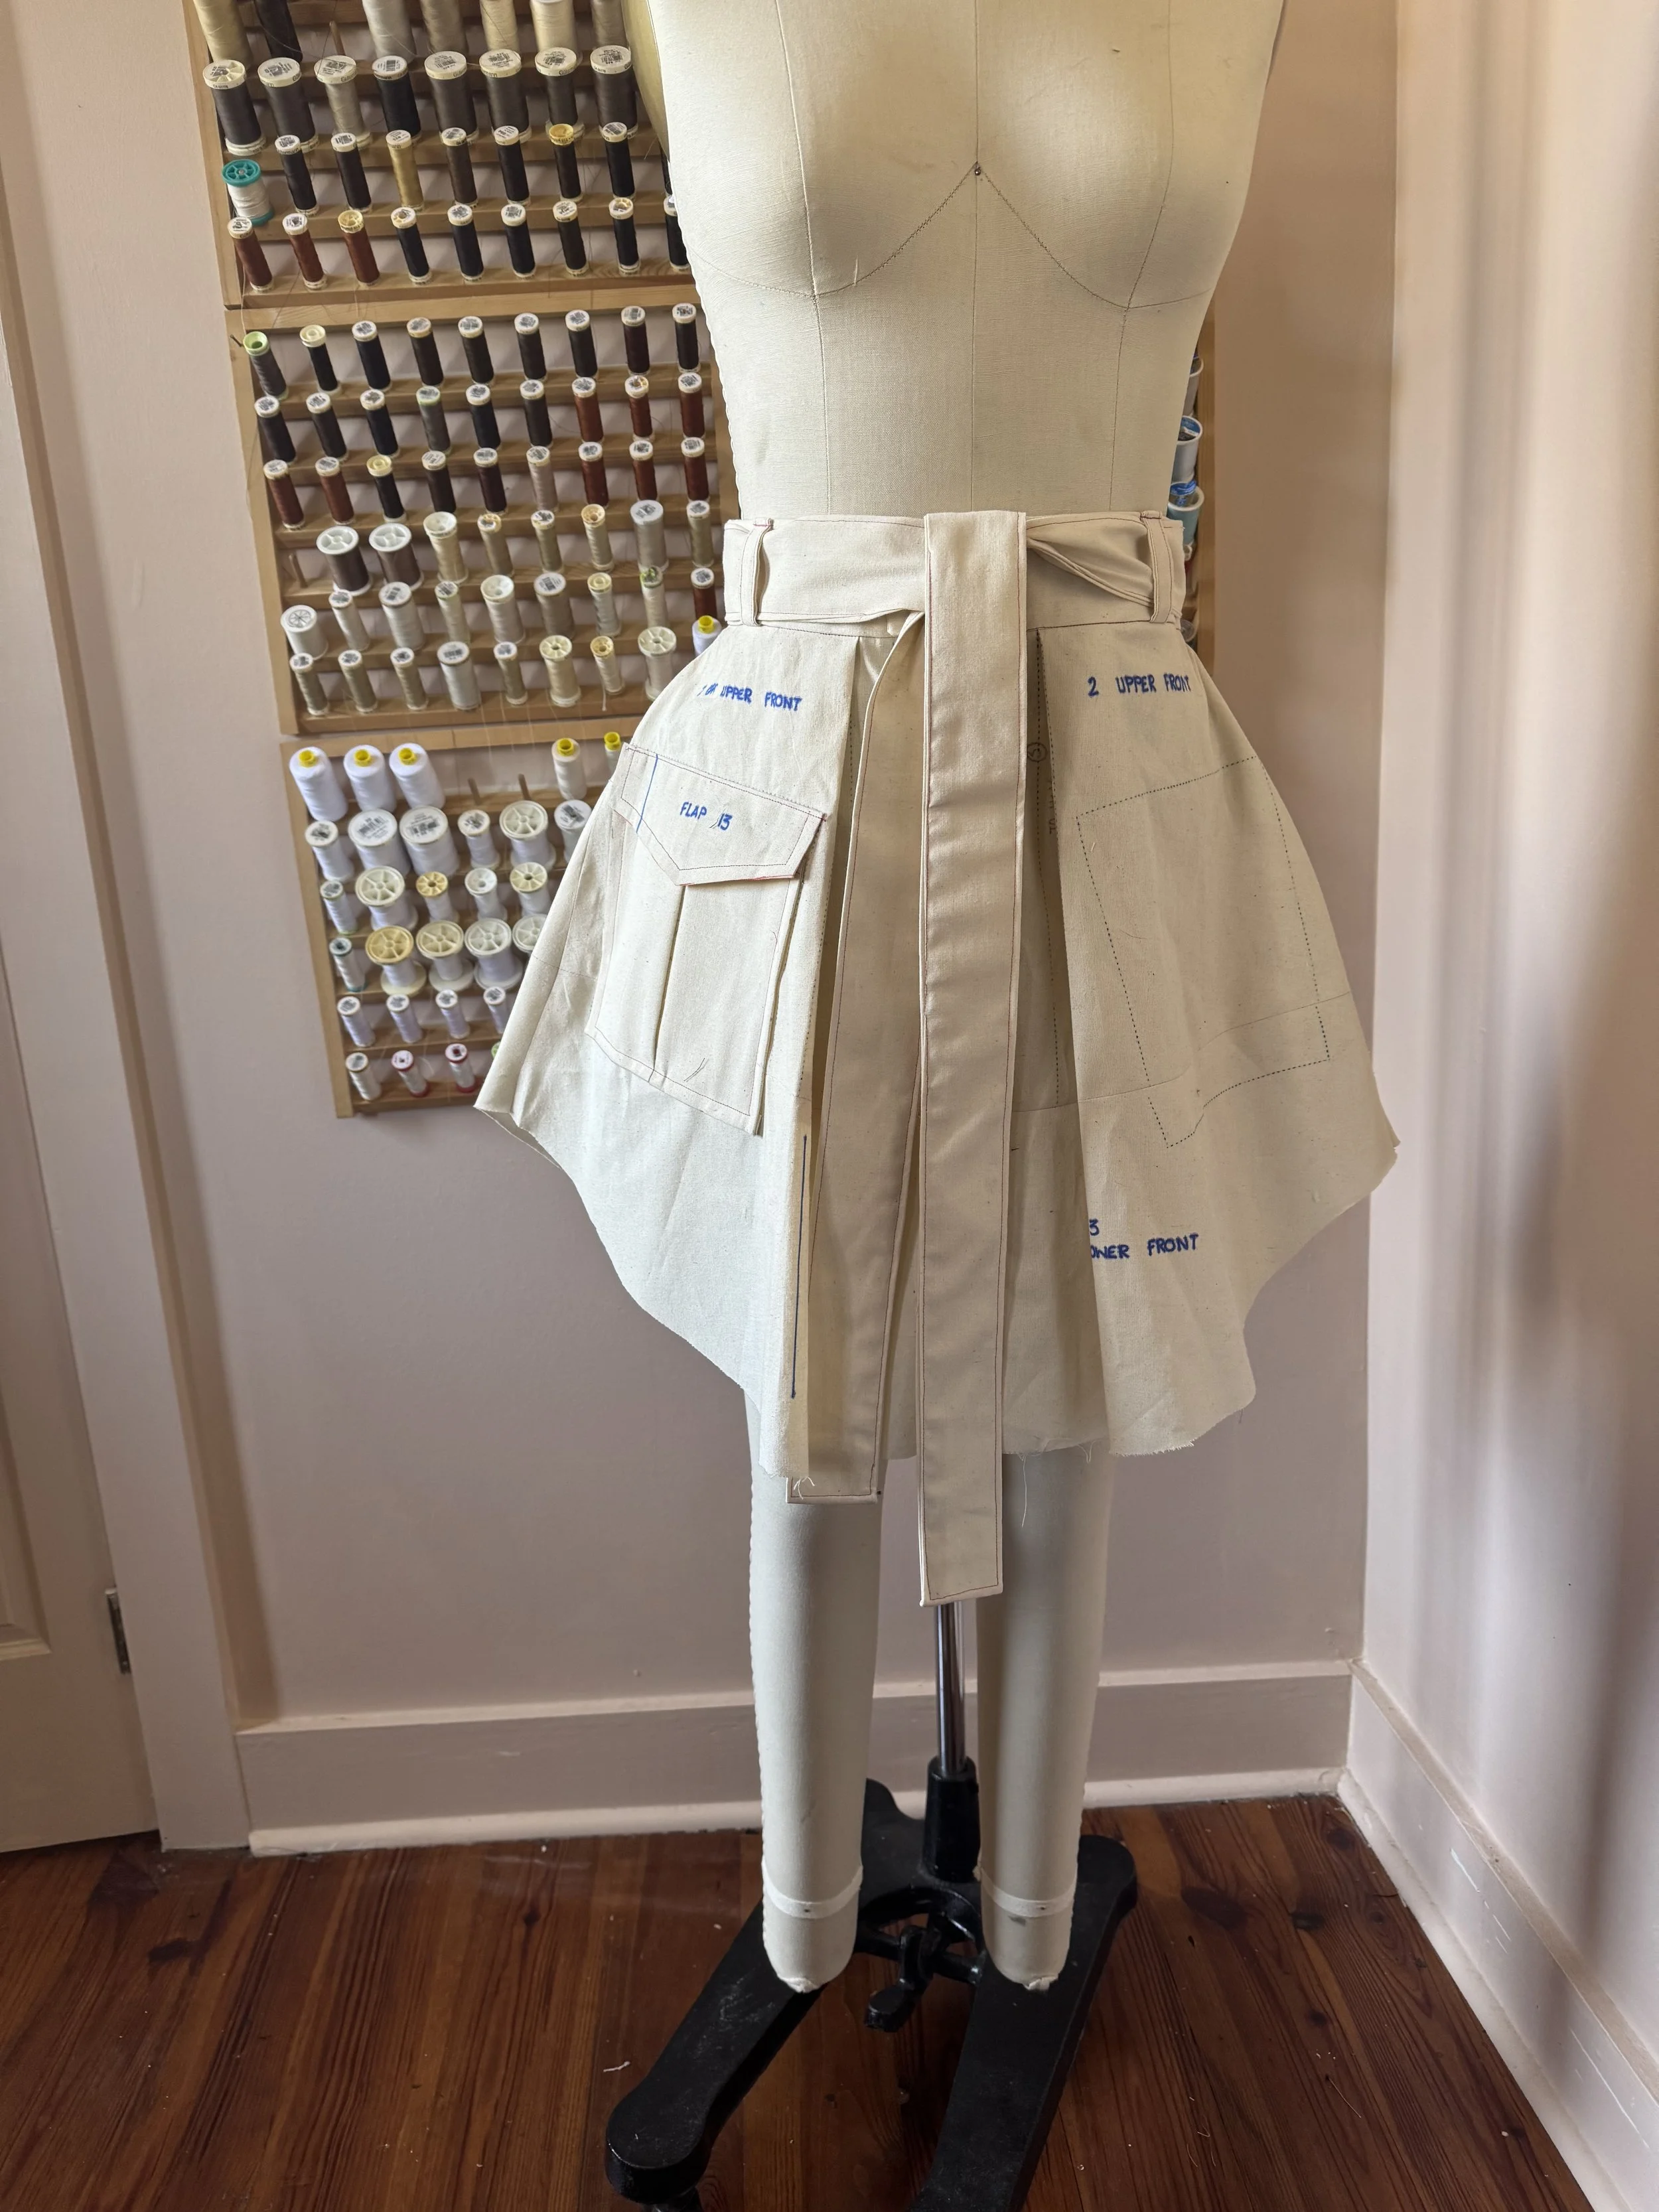
Belt tie: Piece 4
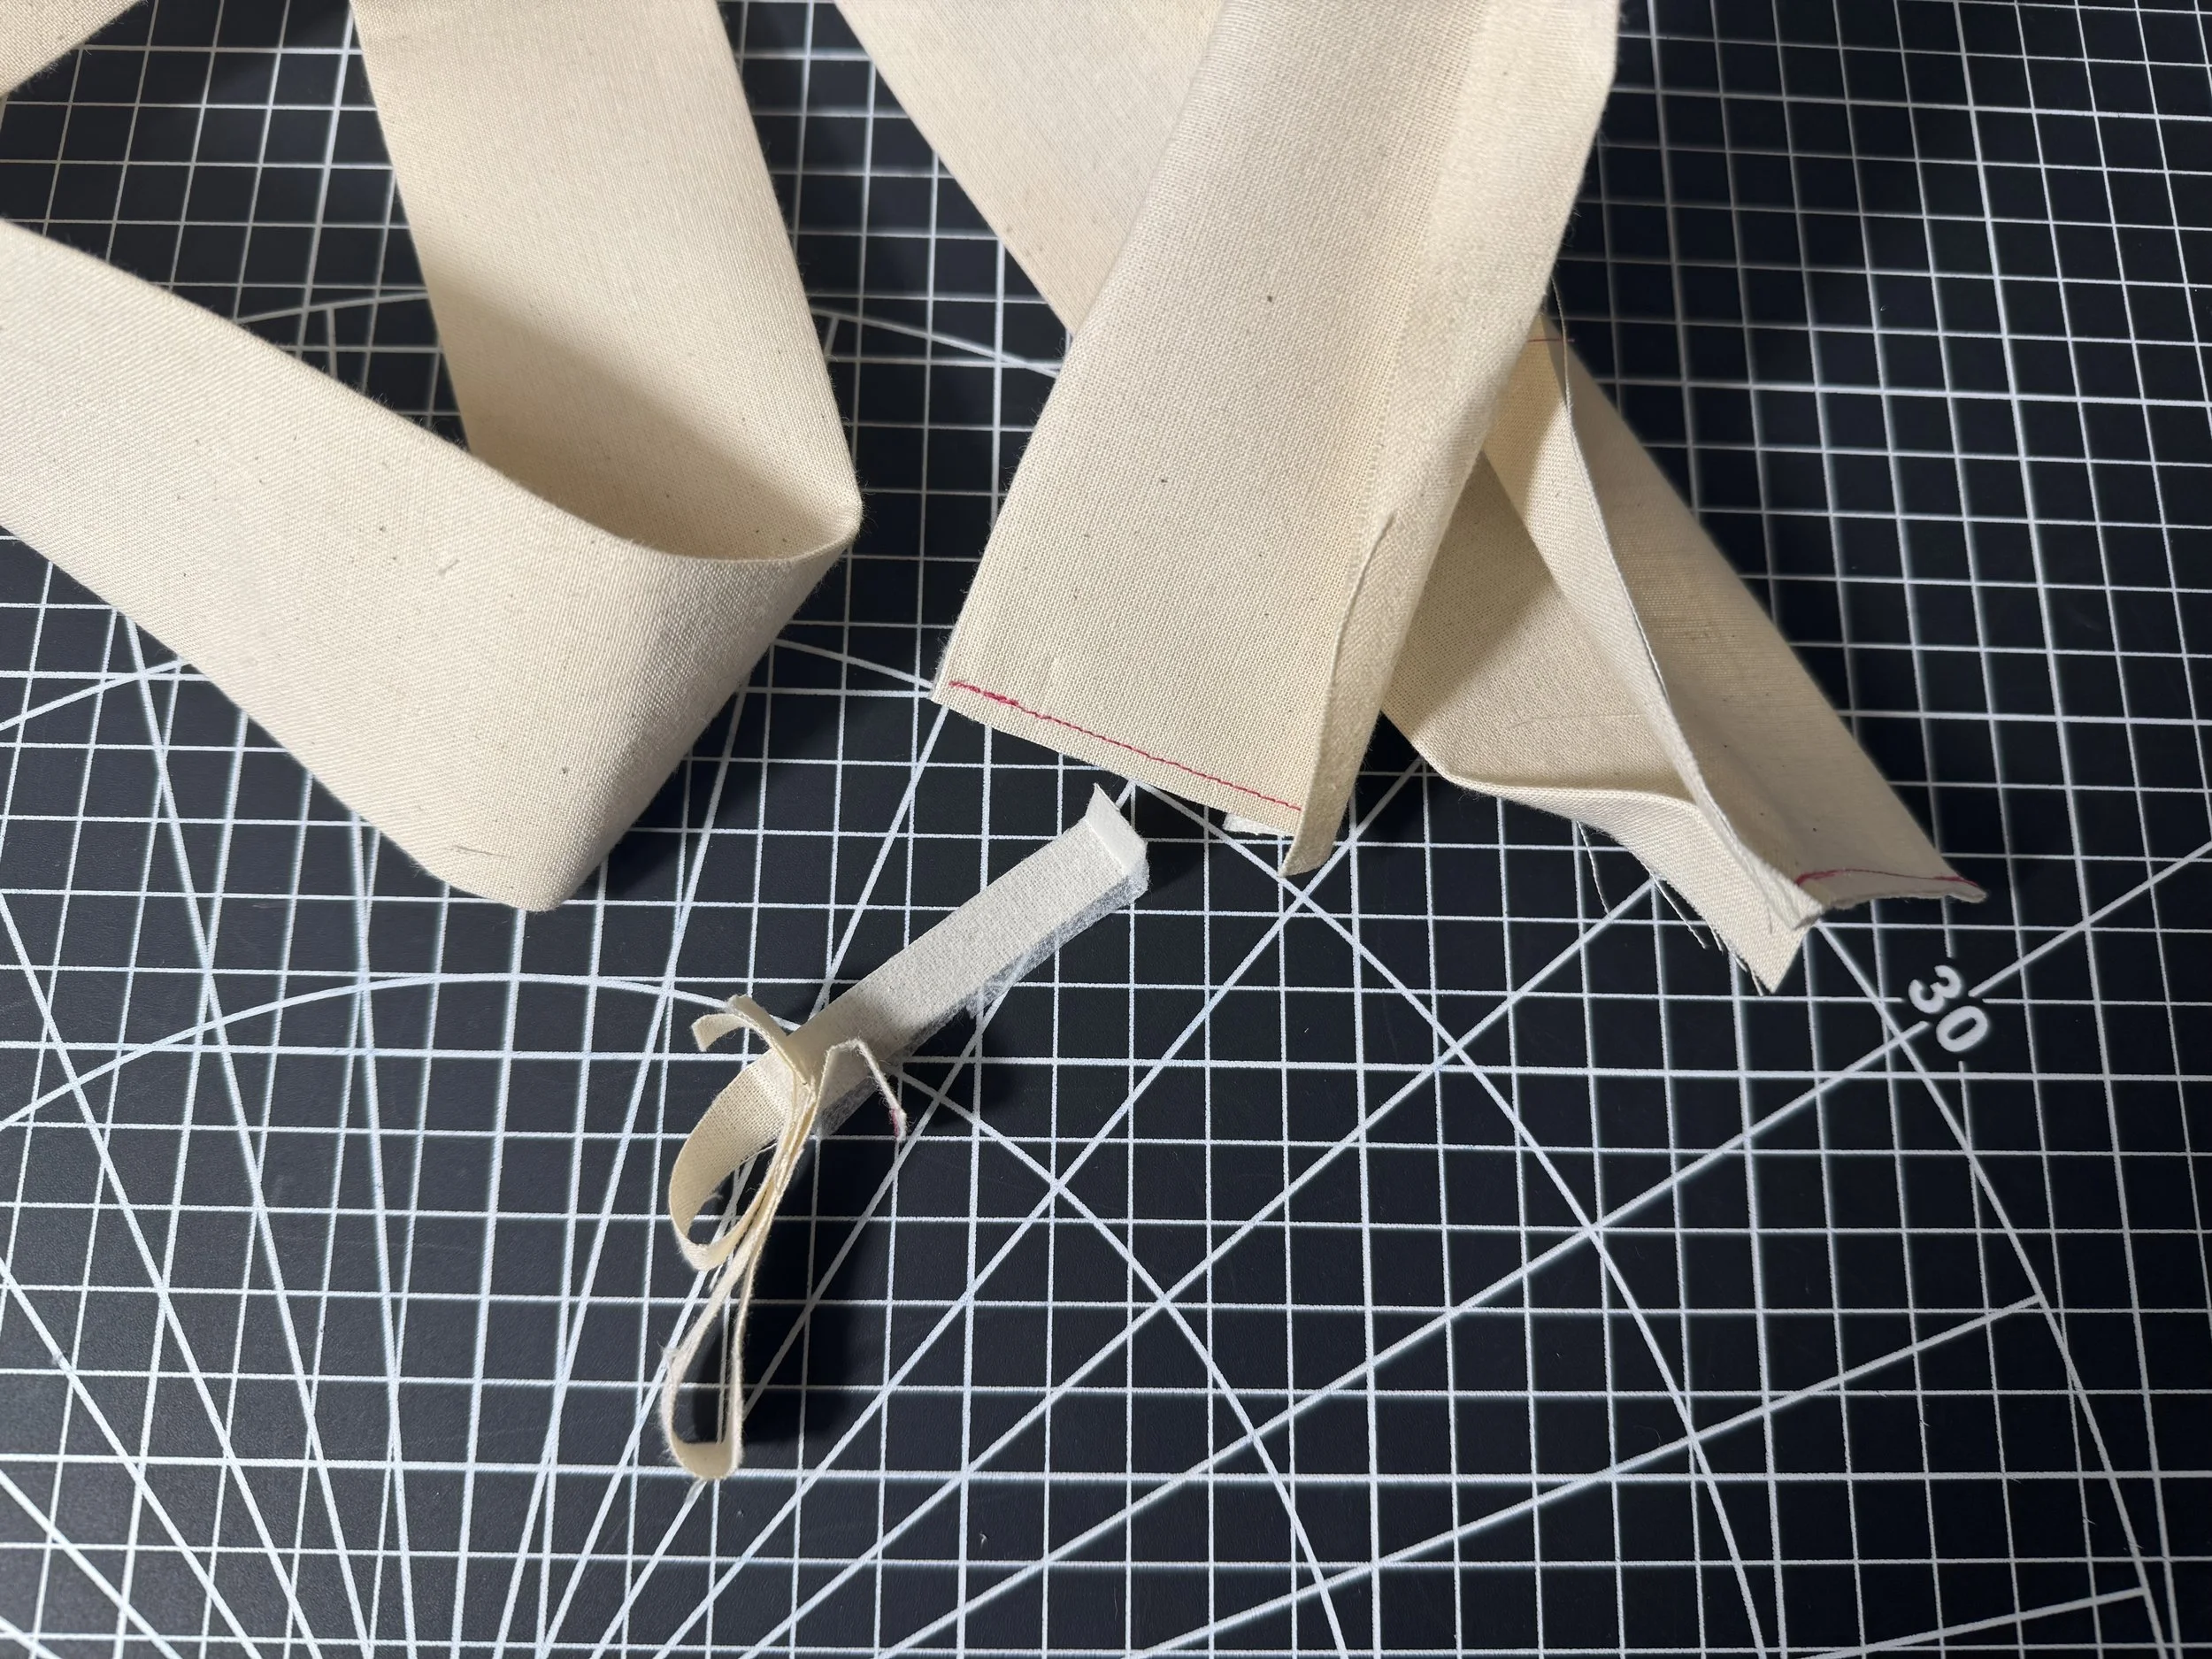
Fold your belt in half, turn and press your seam allowances in on both sides lengthways and finish the edges in the same way as the waistband - by turning your belt wrong side out, stitch your ends, and trim, before flipping it back to the right side.
Pin your belt closed, with the two seam allowances edges laying on each other and stitch closed.
Hem using a 1” seam allowance.
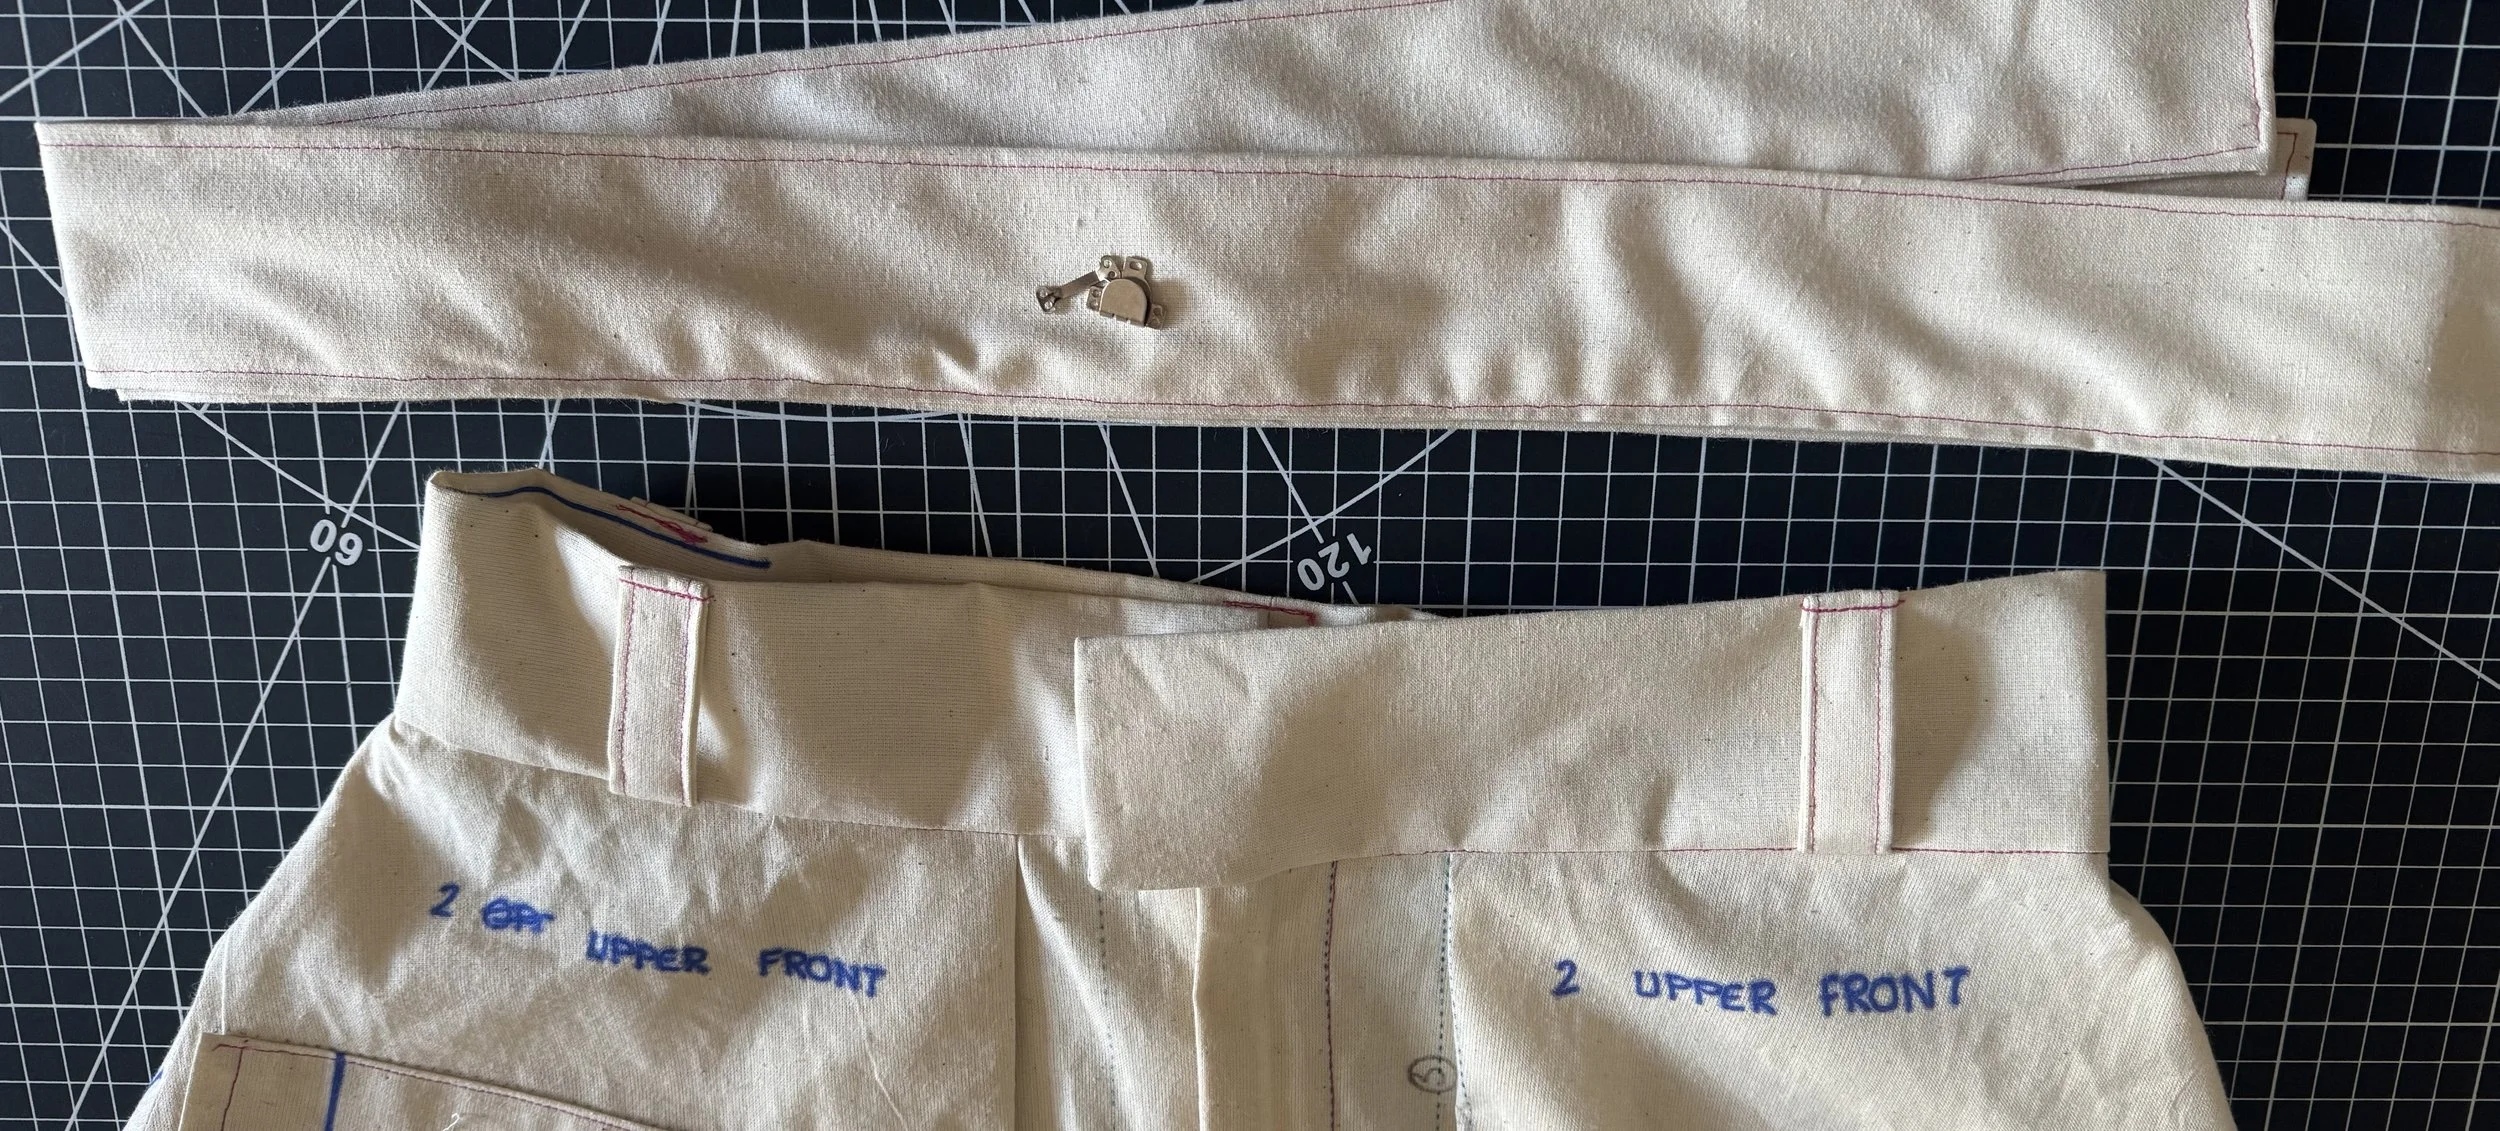
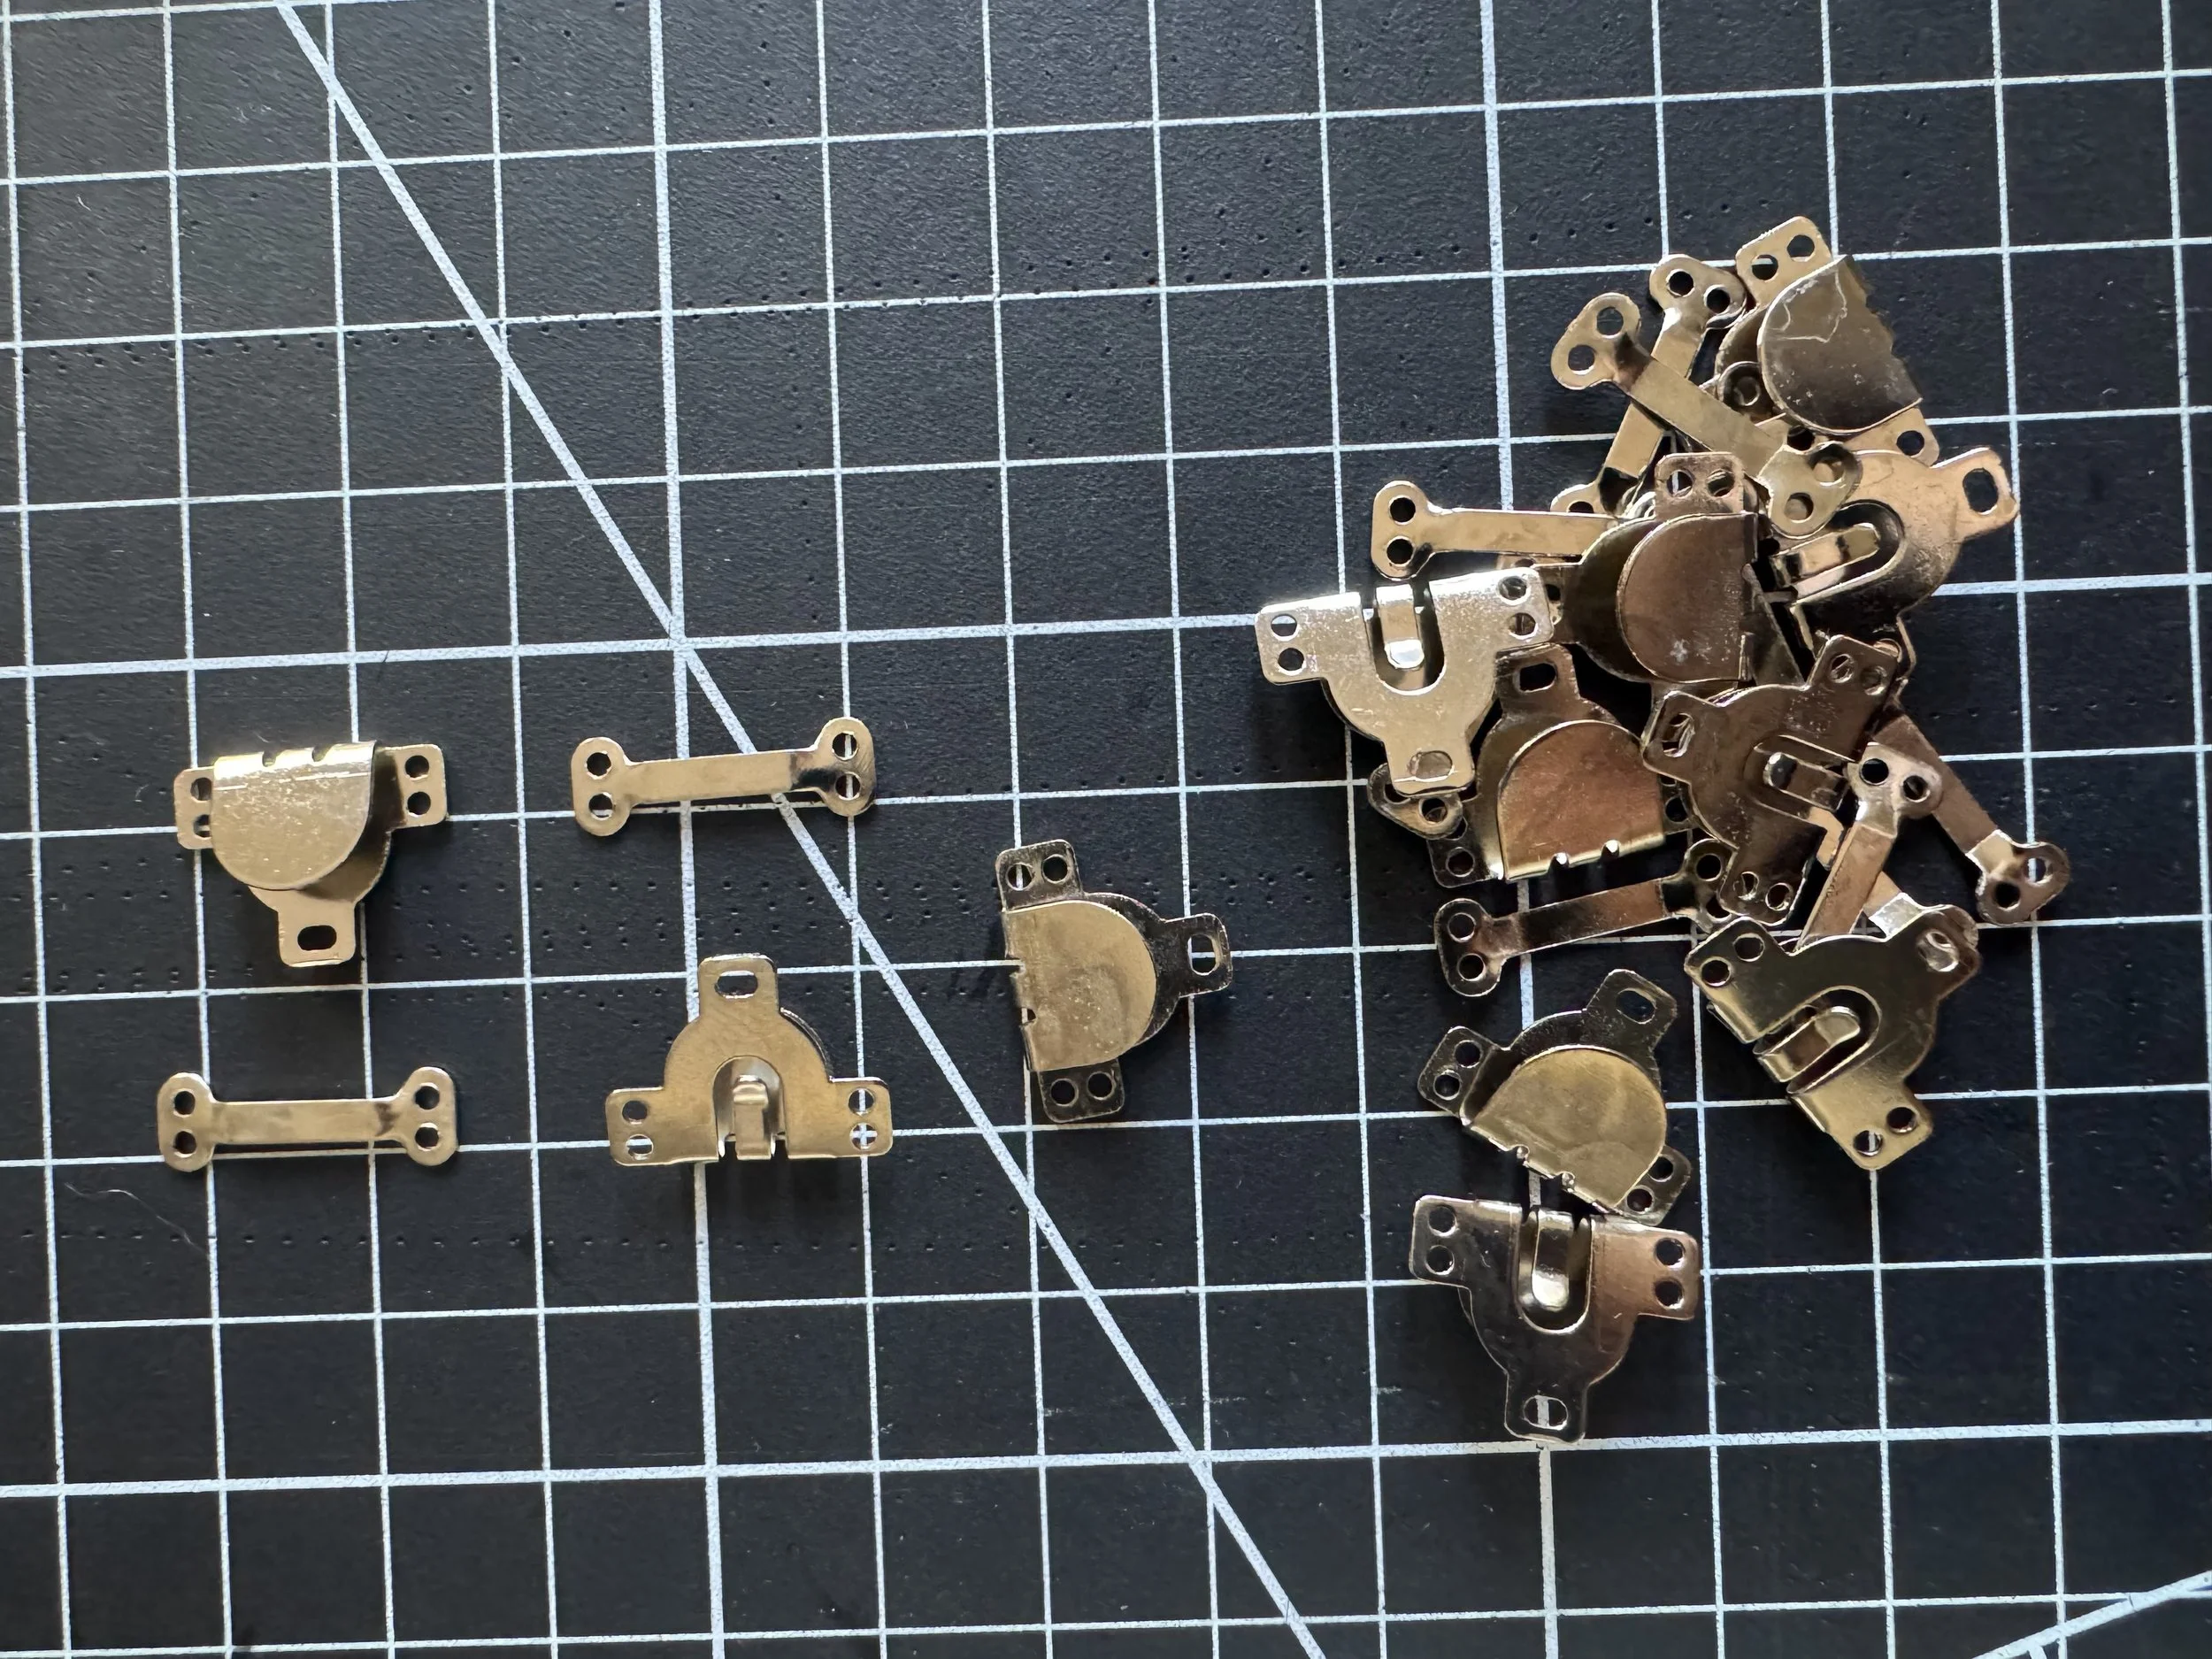
And finally, sew a trouser hook and eye to the inside of the waistband where the tab overlaps using a double thread and beeswax.
Congratulations, you’re done!