3 - The Dauphine Skirt - Construction / Front

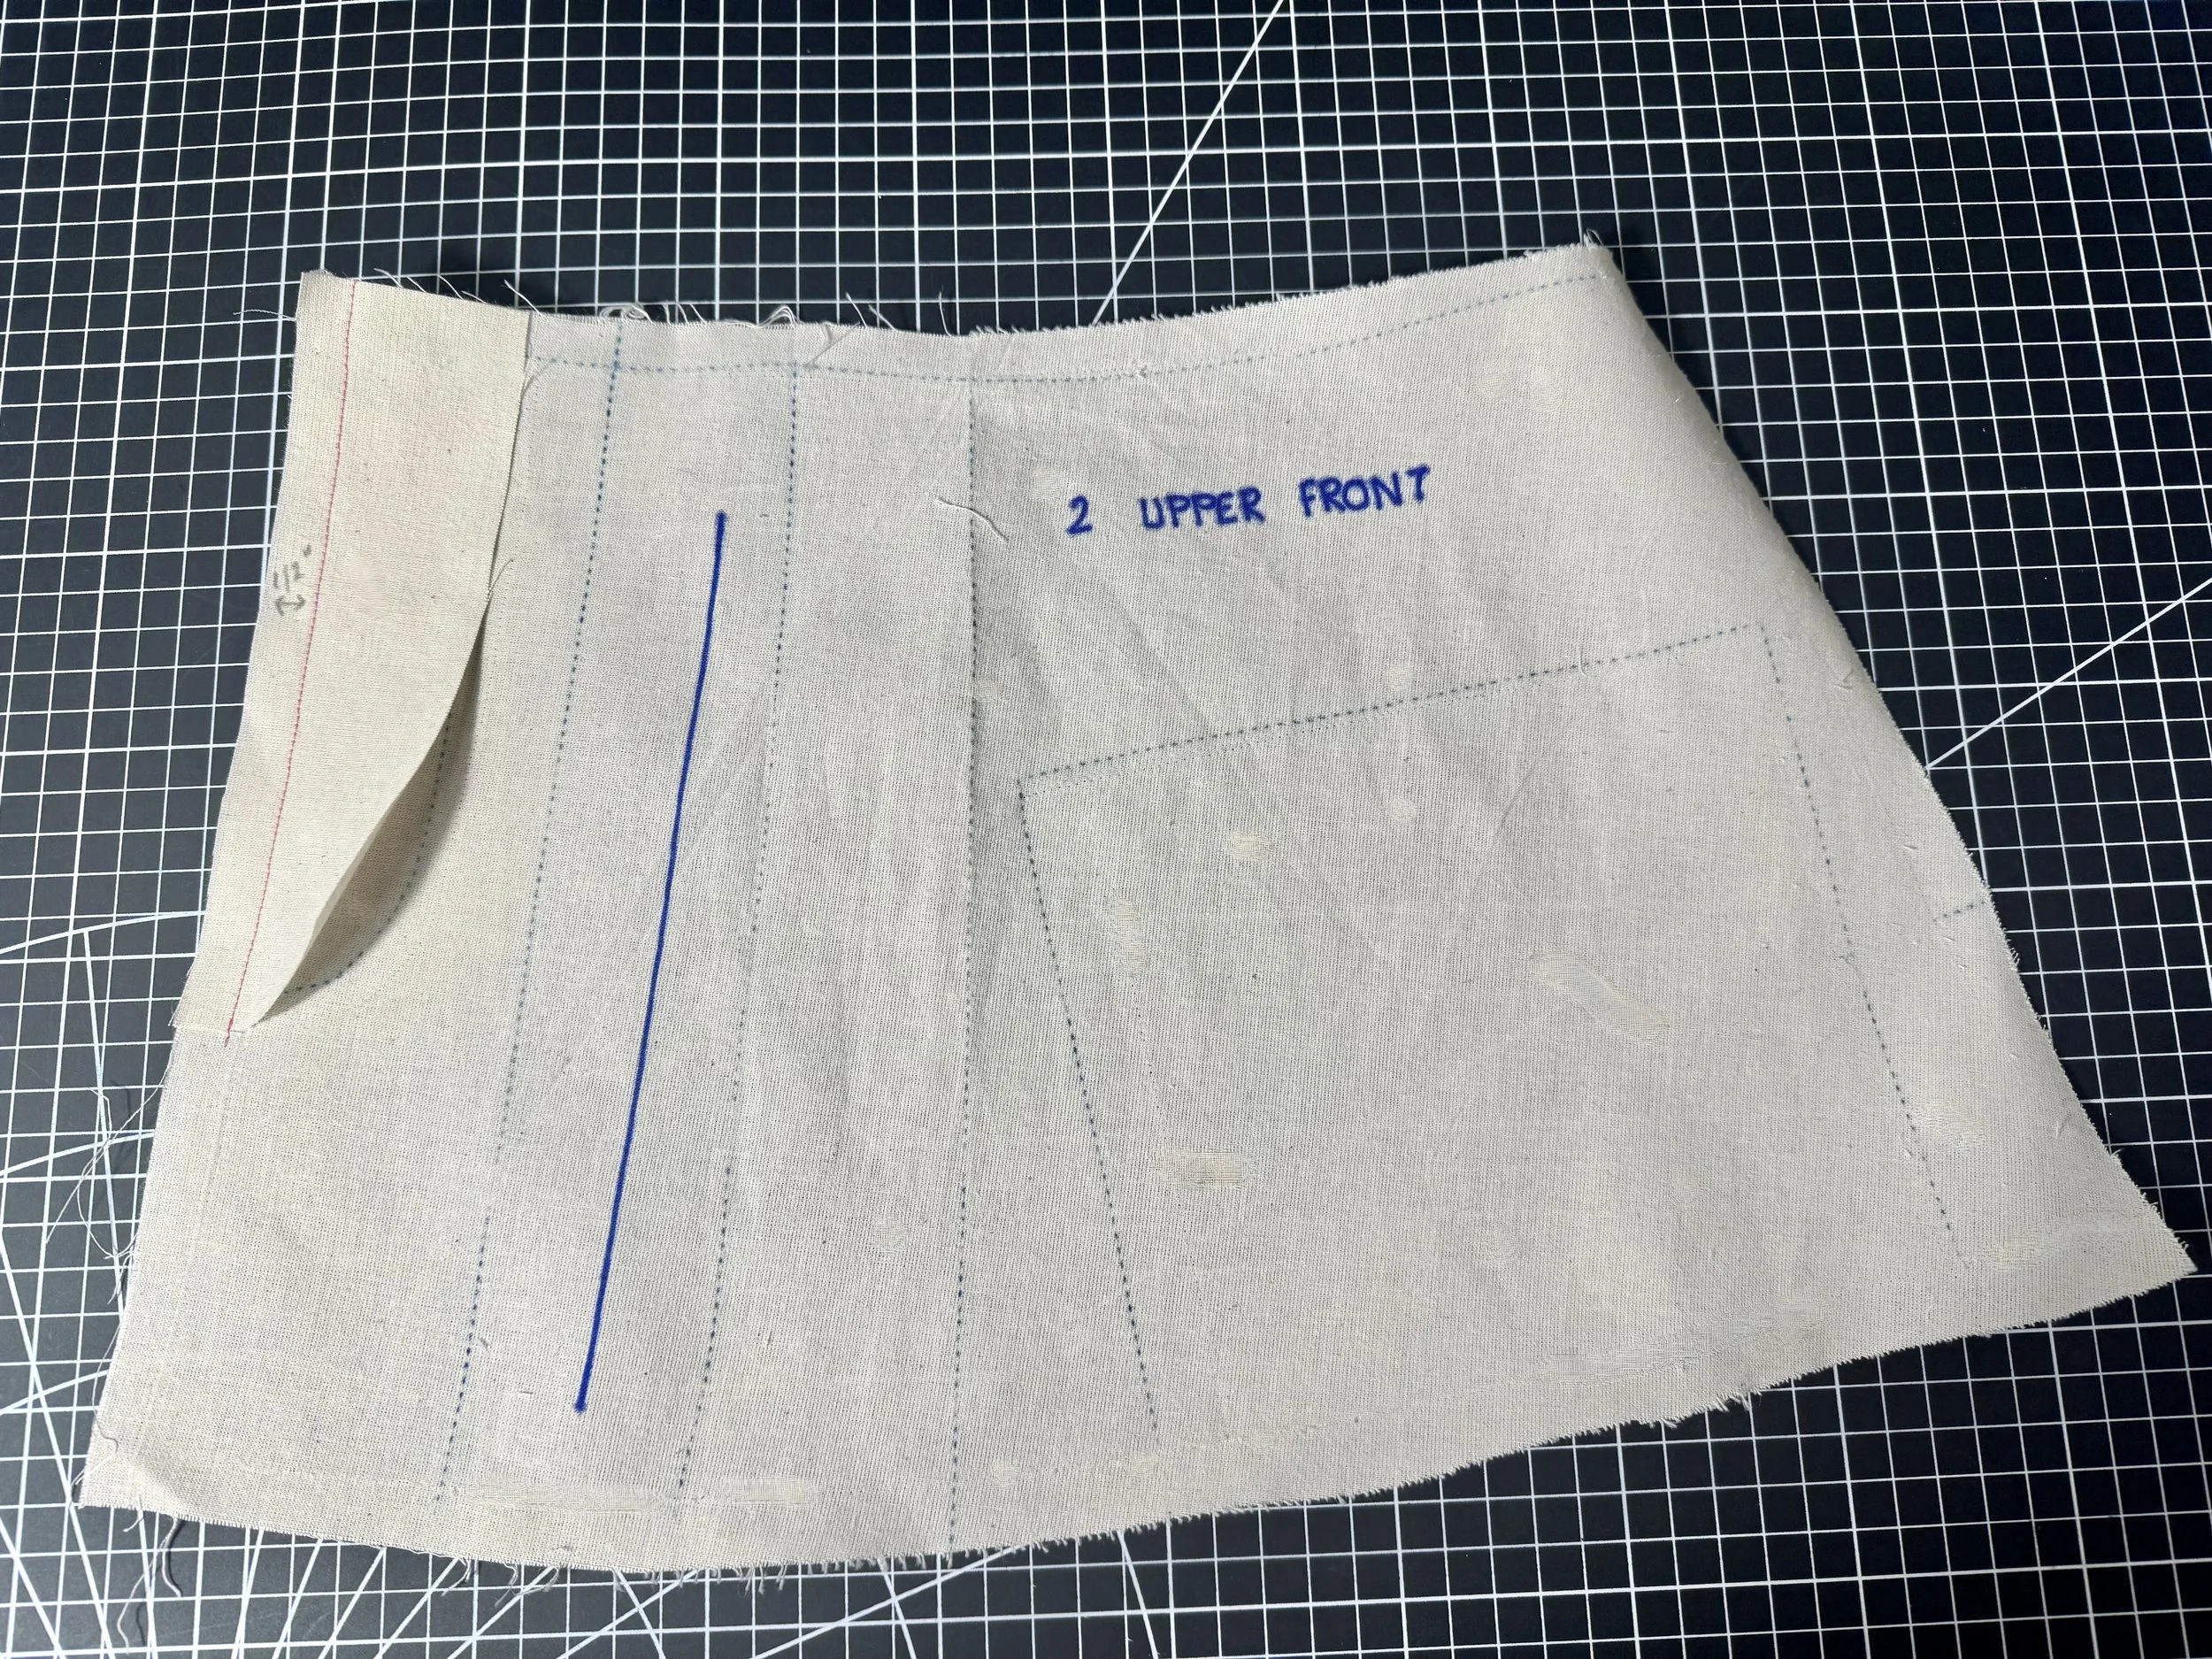
Join the fly to one side of the garment, sewers choice. I usually add mine to the left being English, but if you prefer the right, add it to that side!
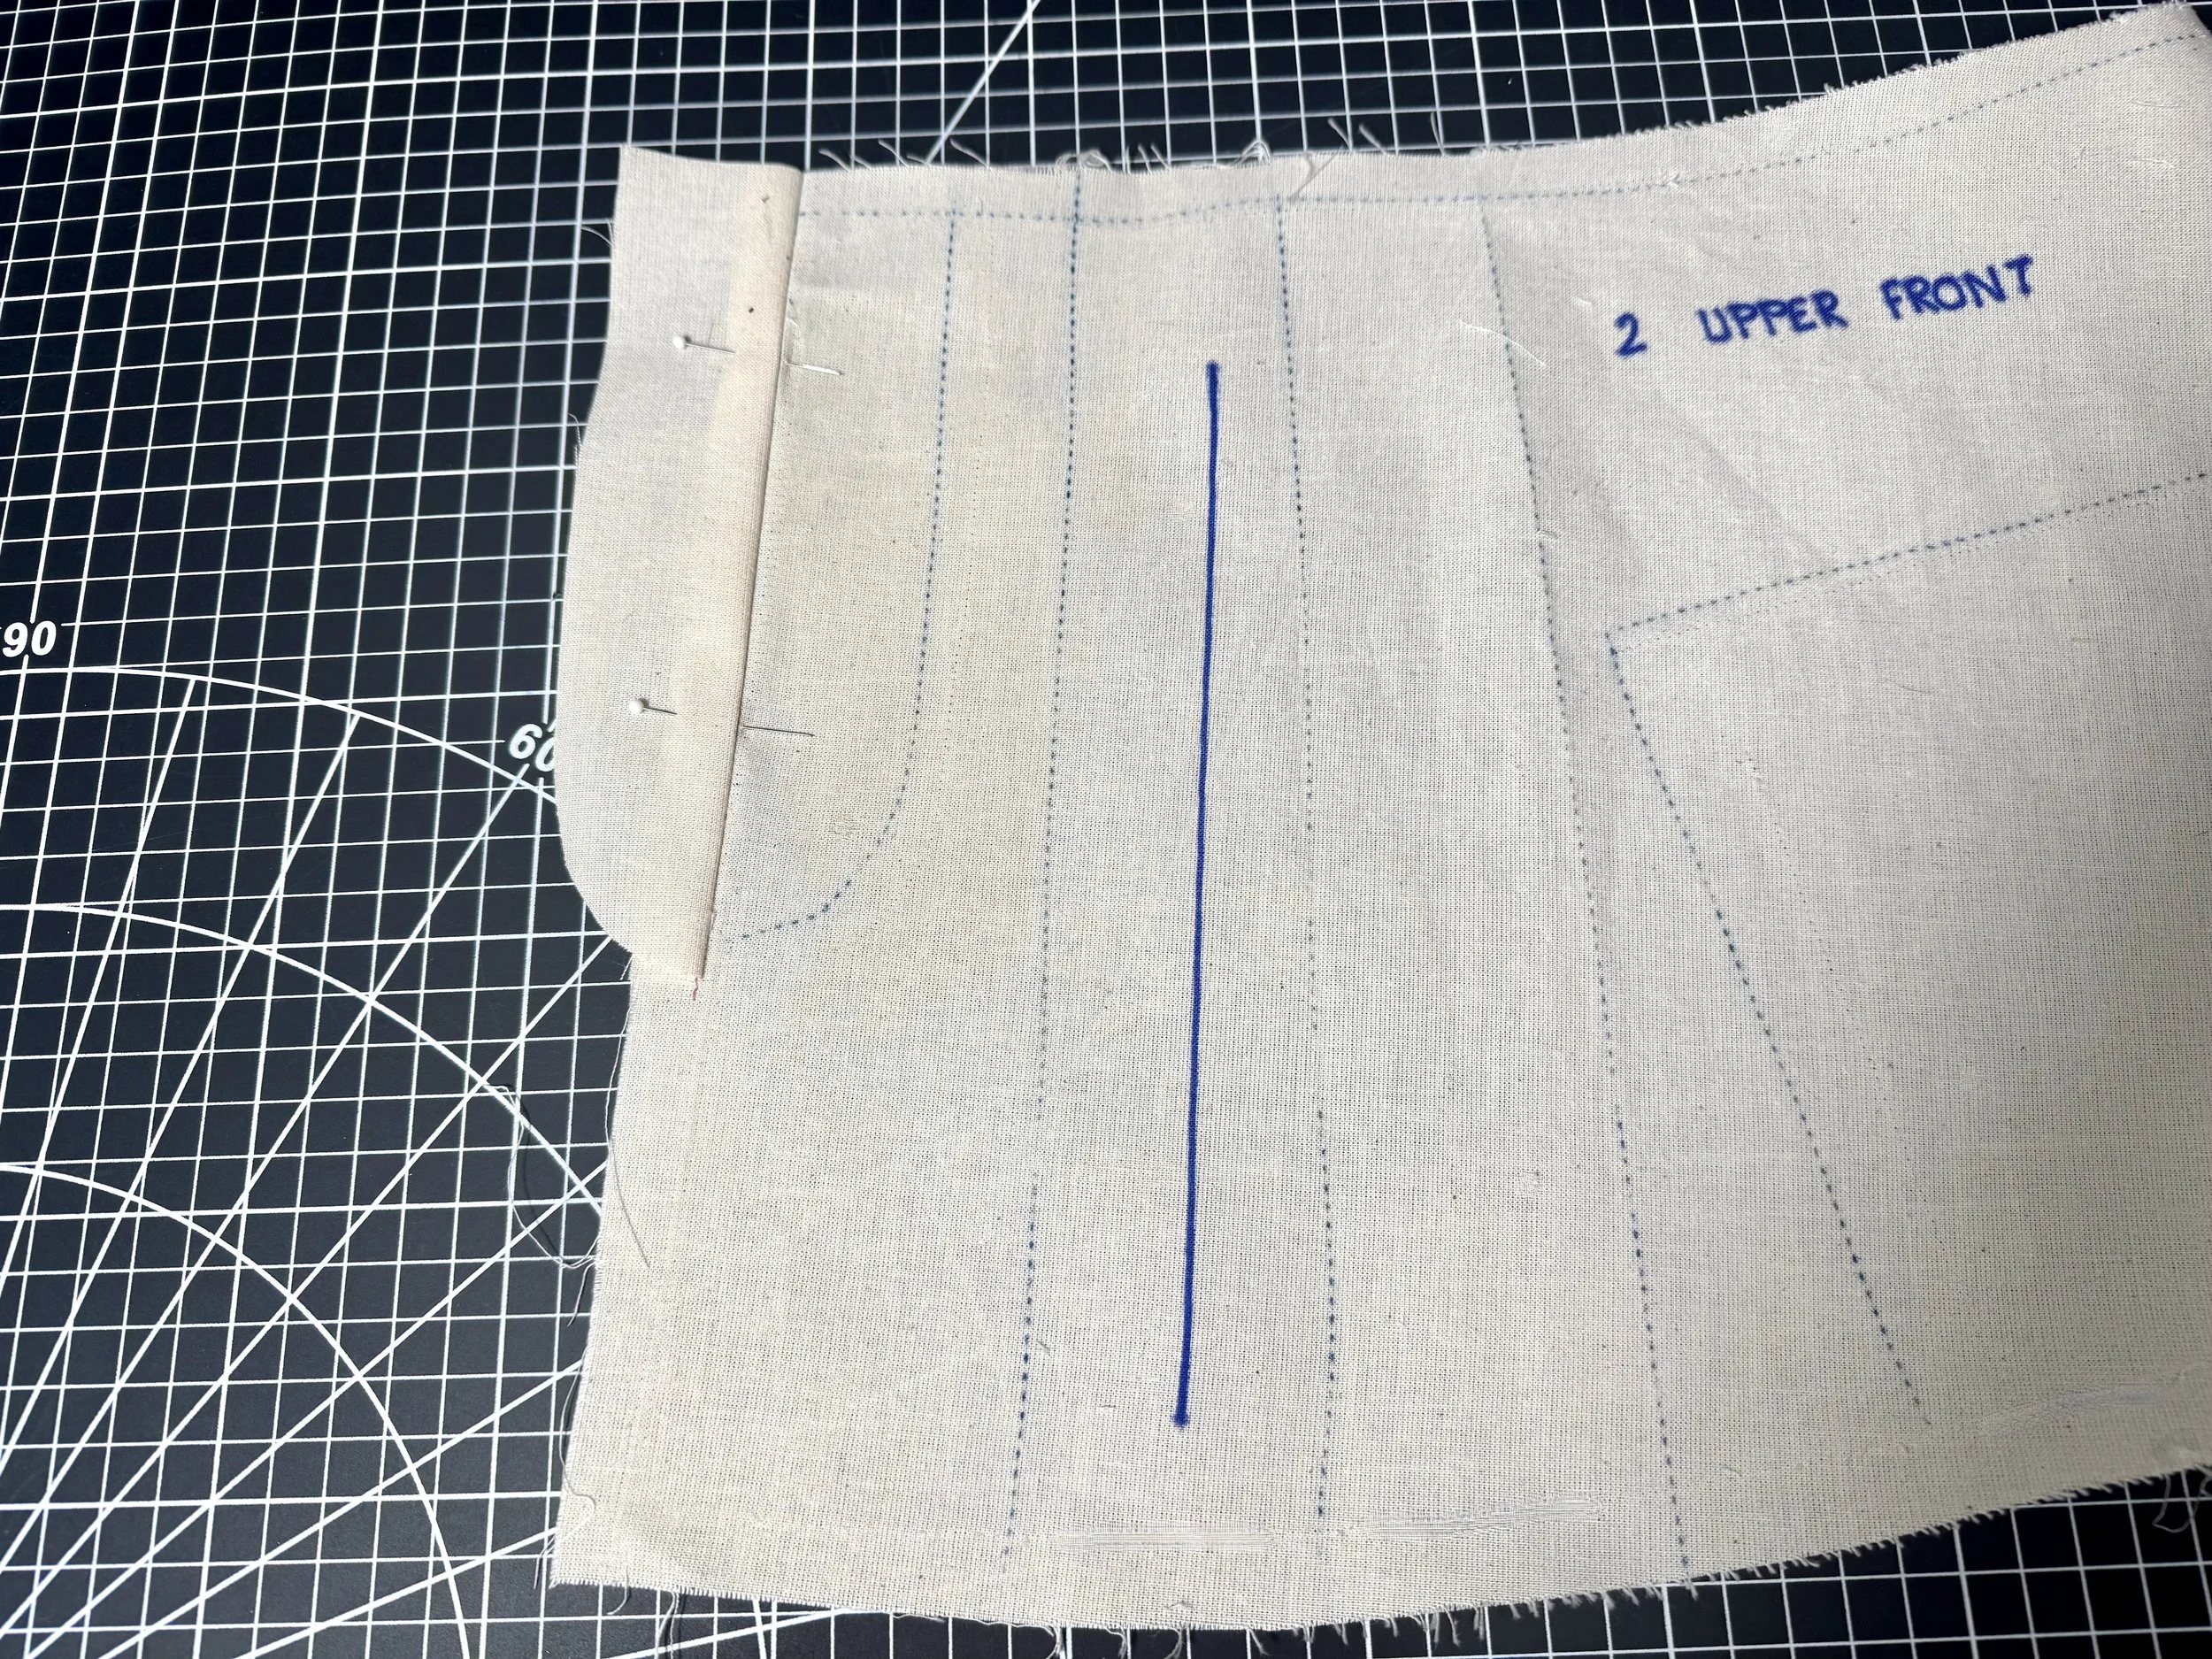
Lay the fly flat and sew a stitch line close to the edge of the garment. This will keep the fly open. If your fabric is bulky, trim slightly.
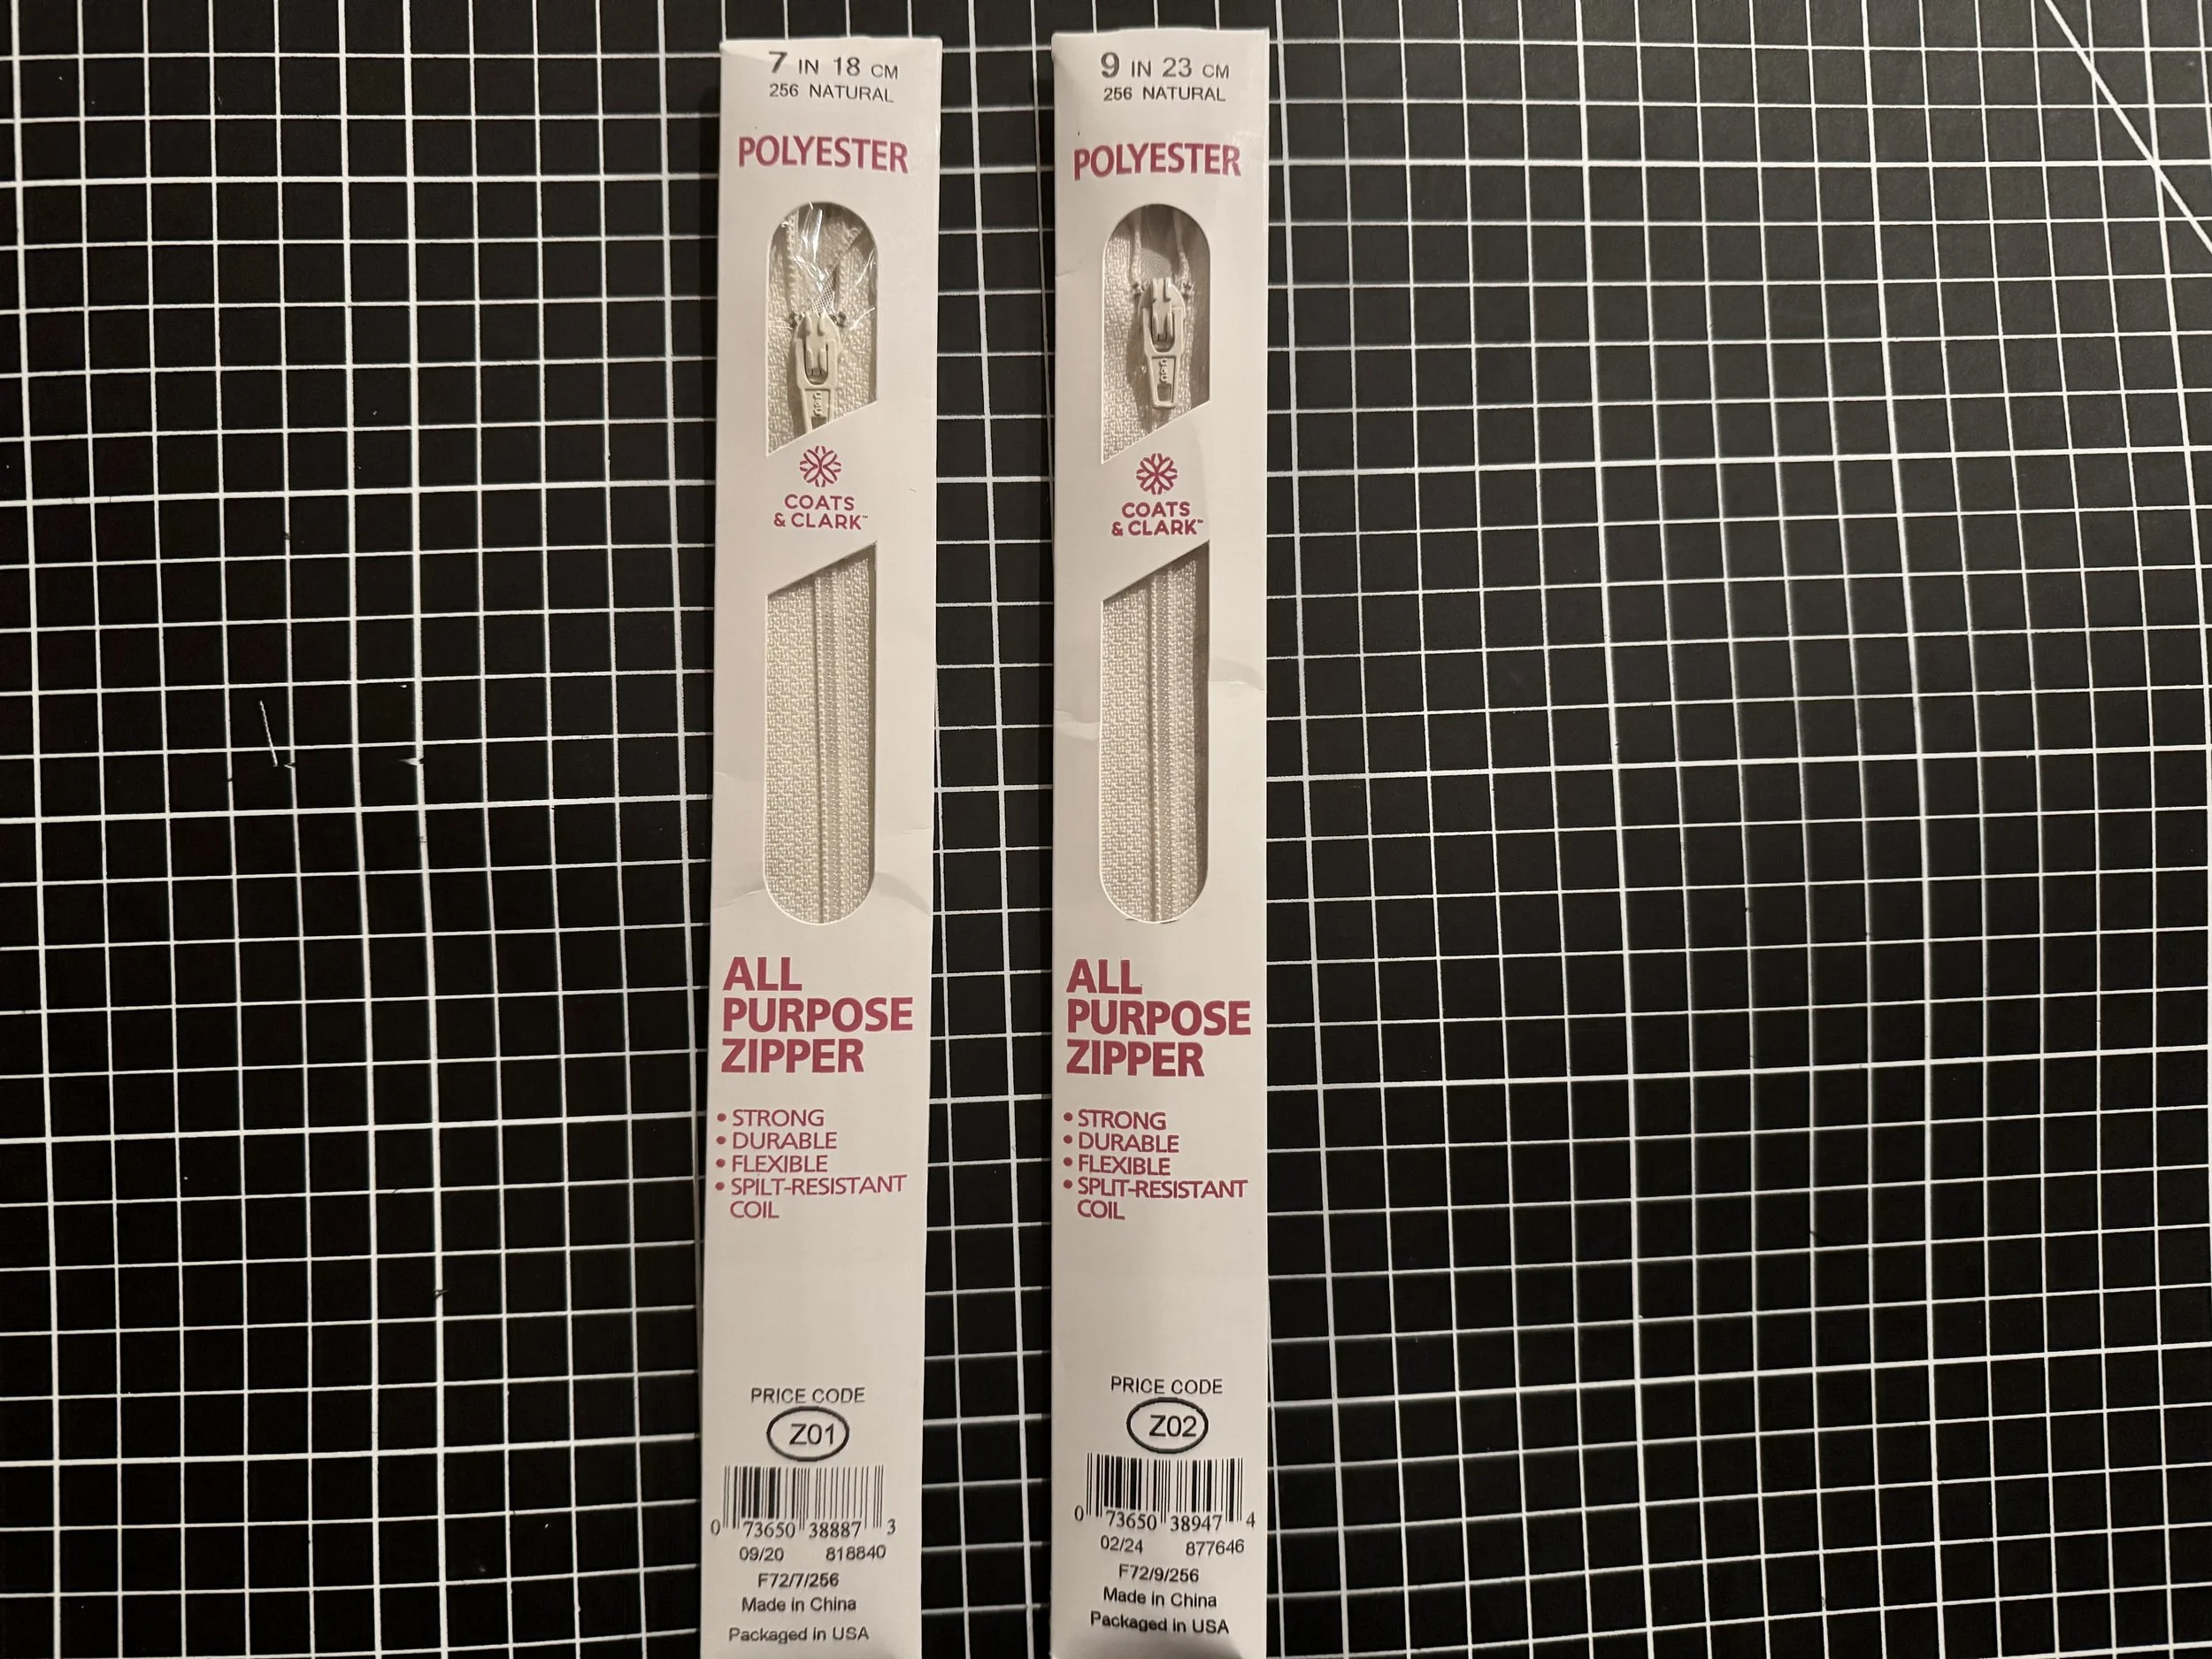
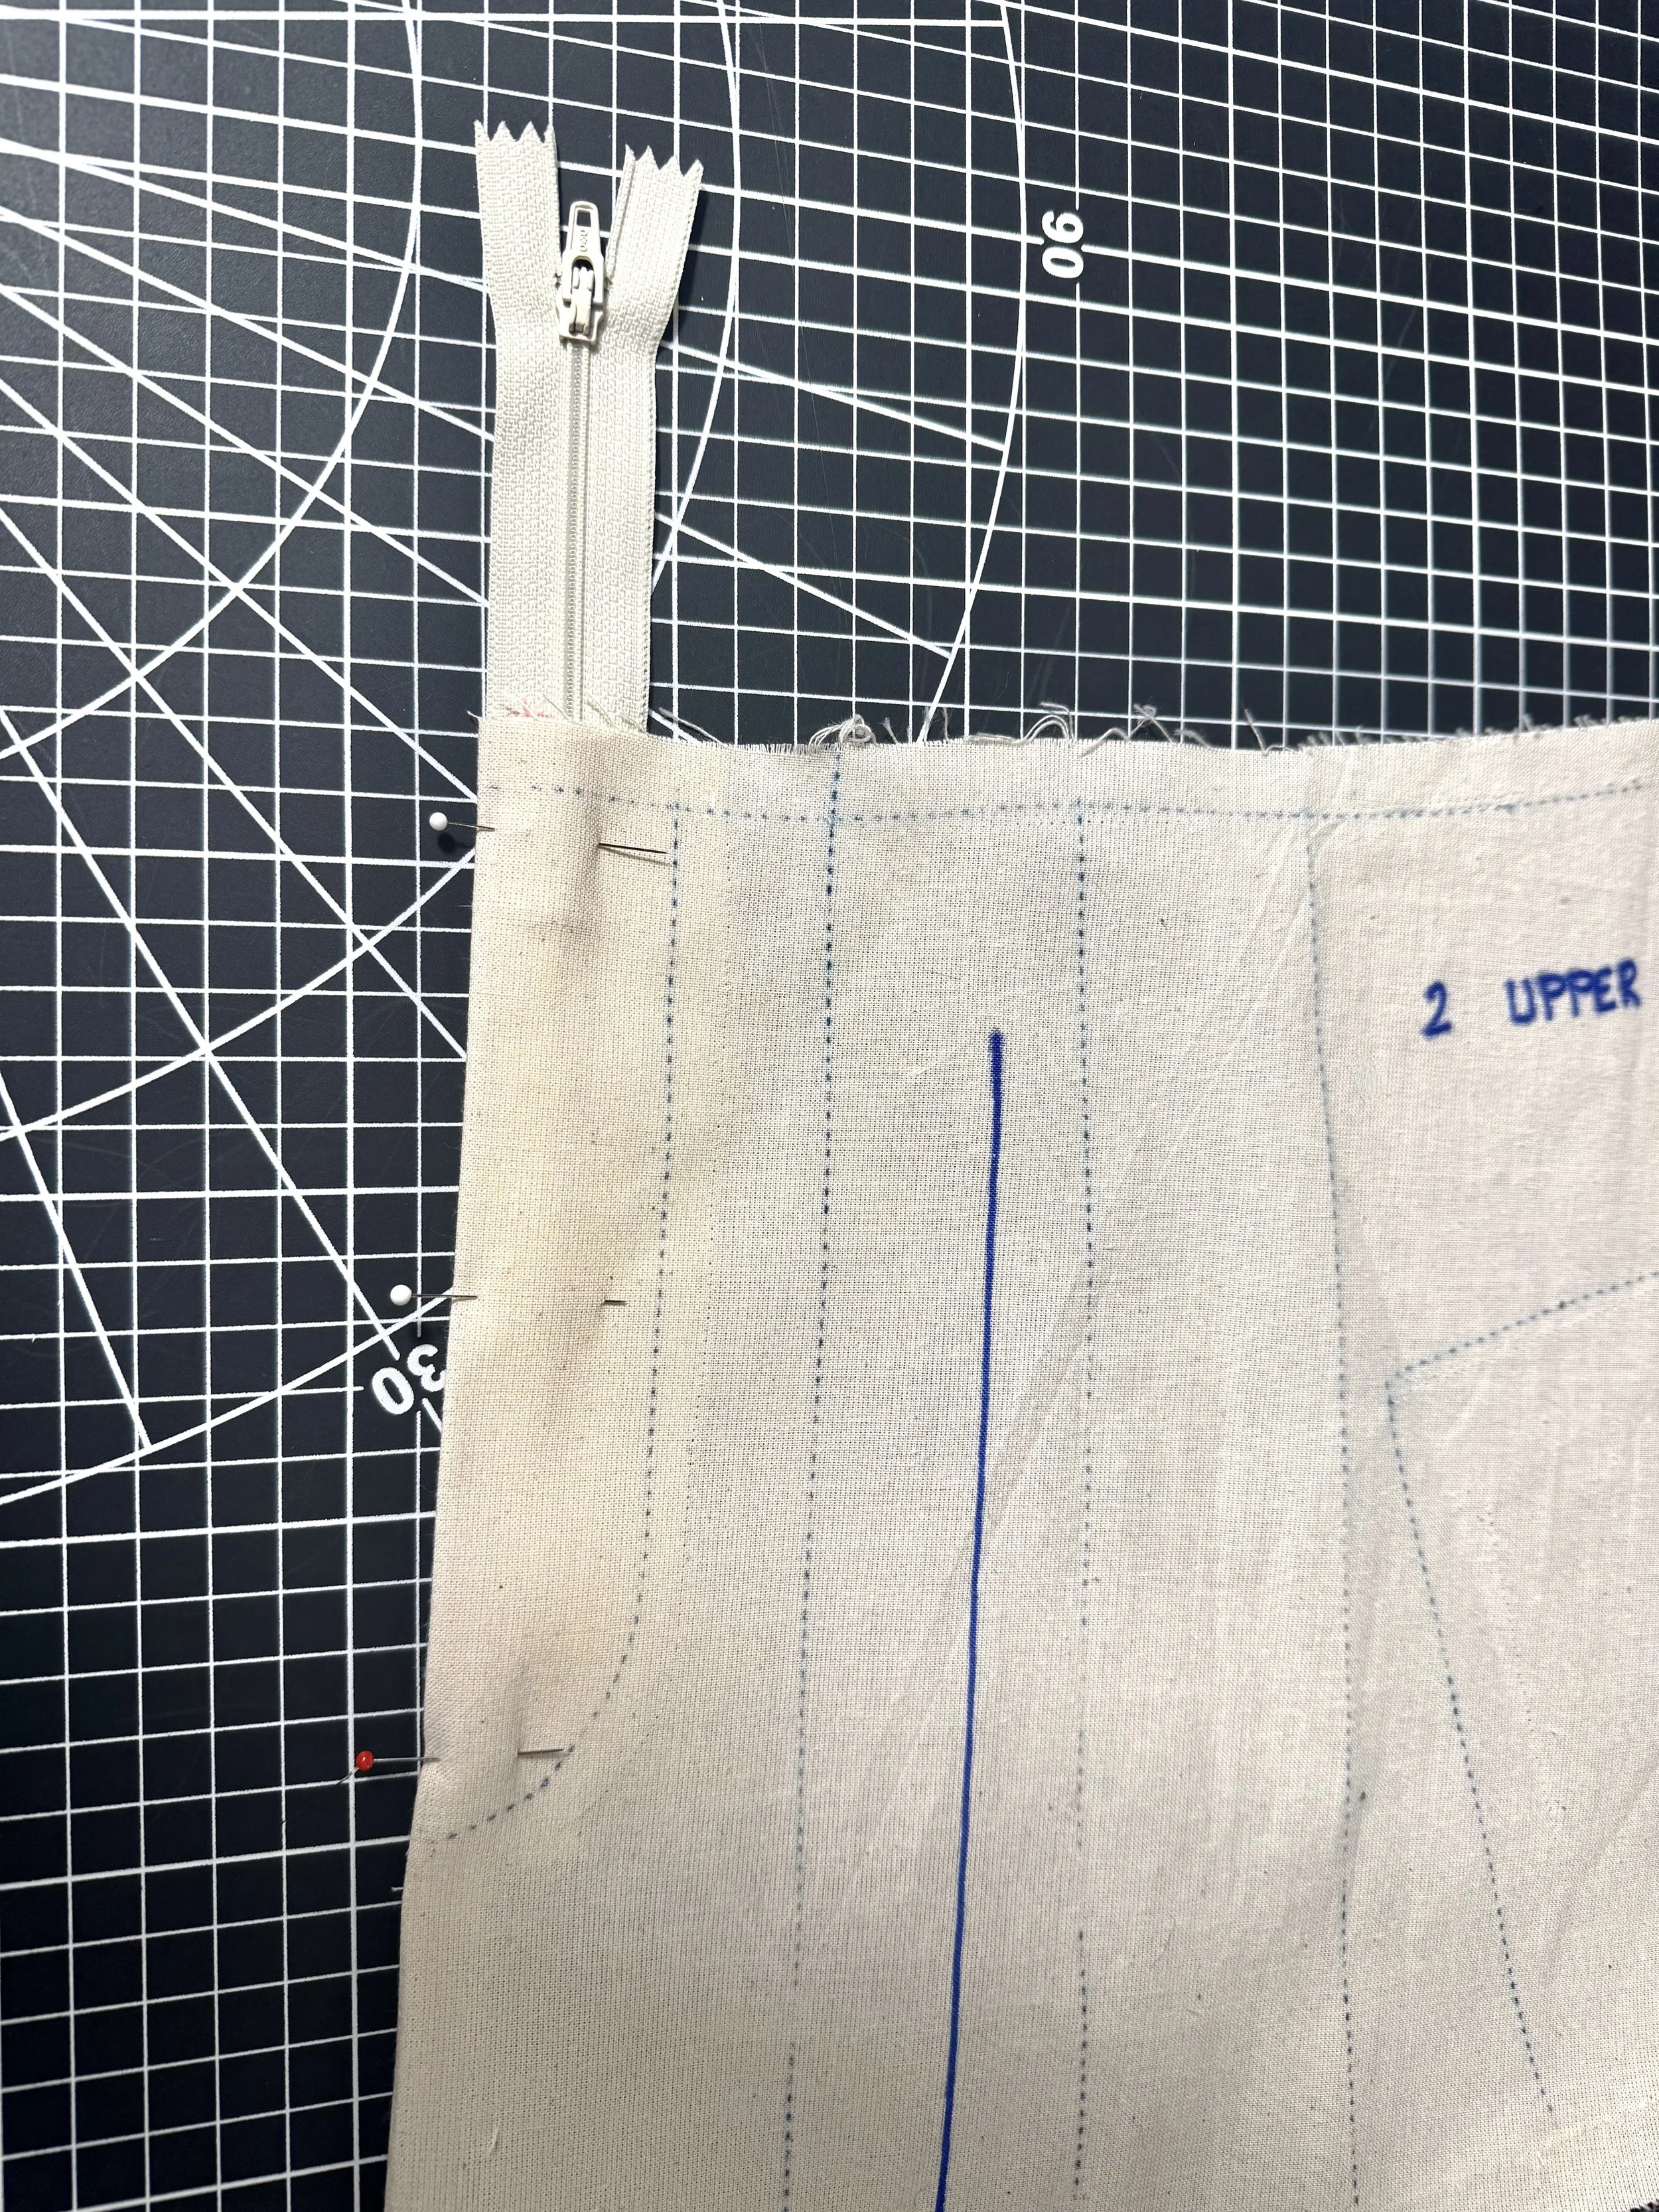
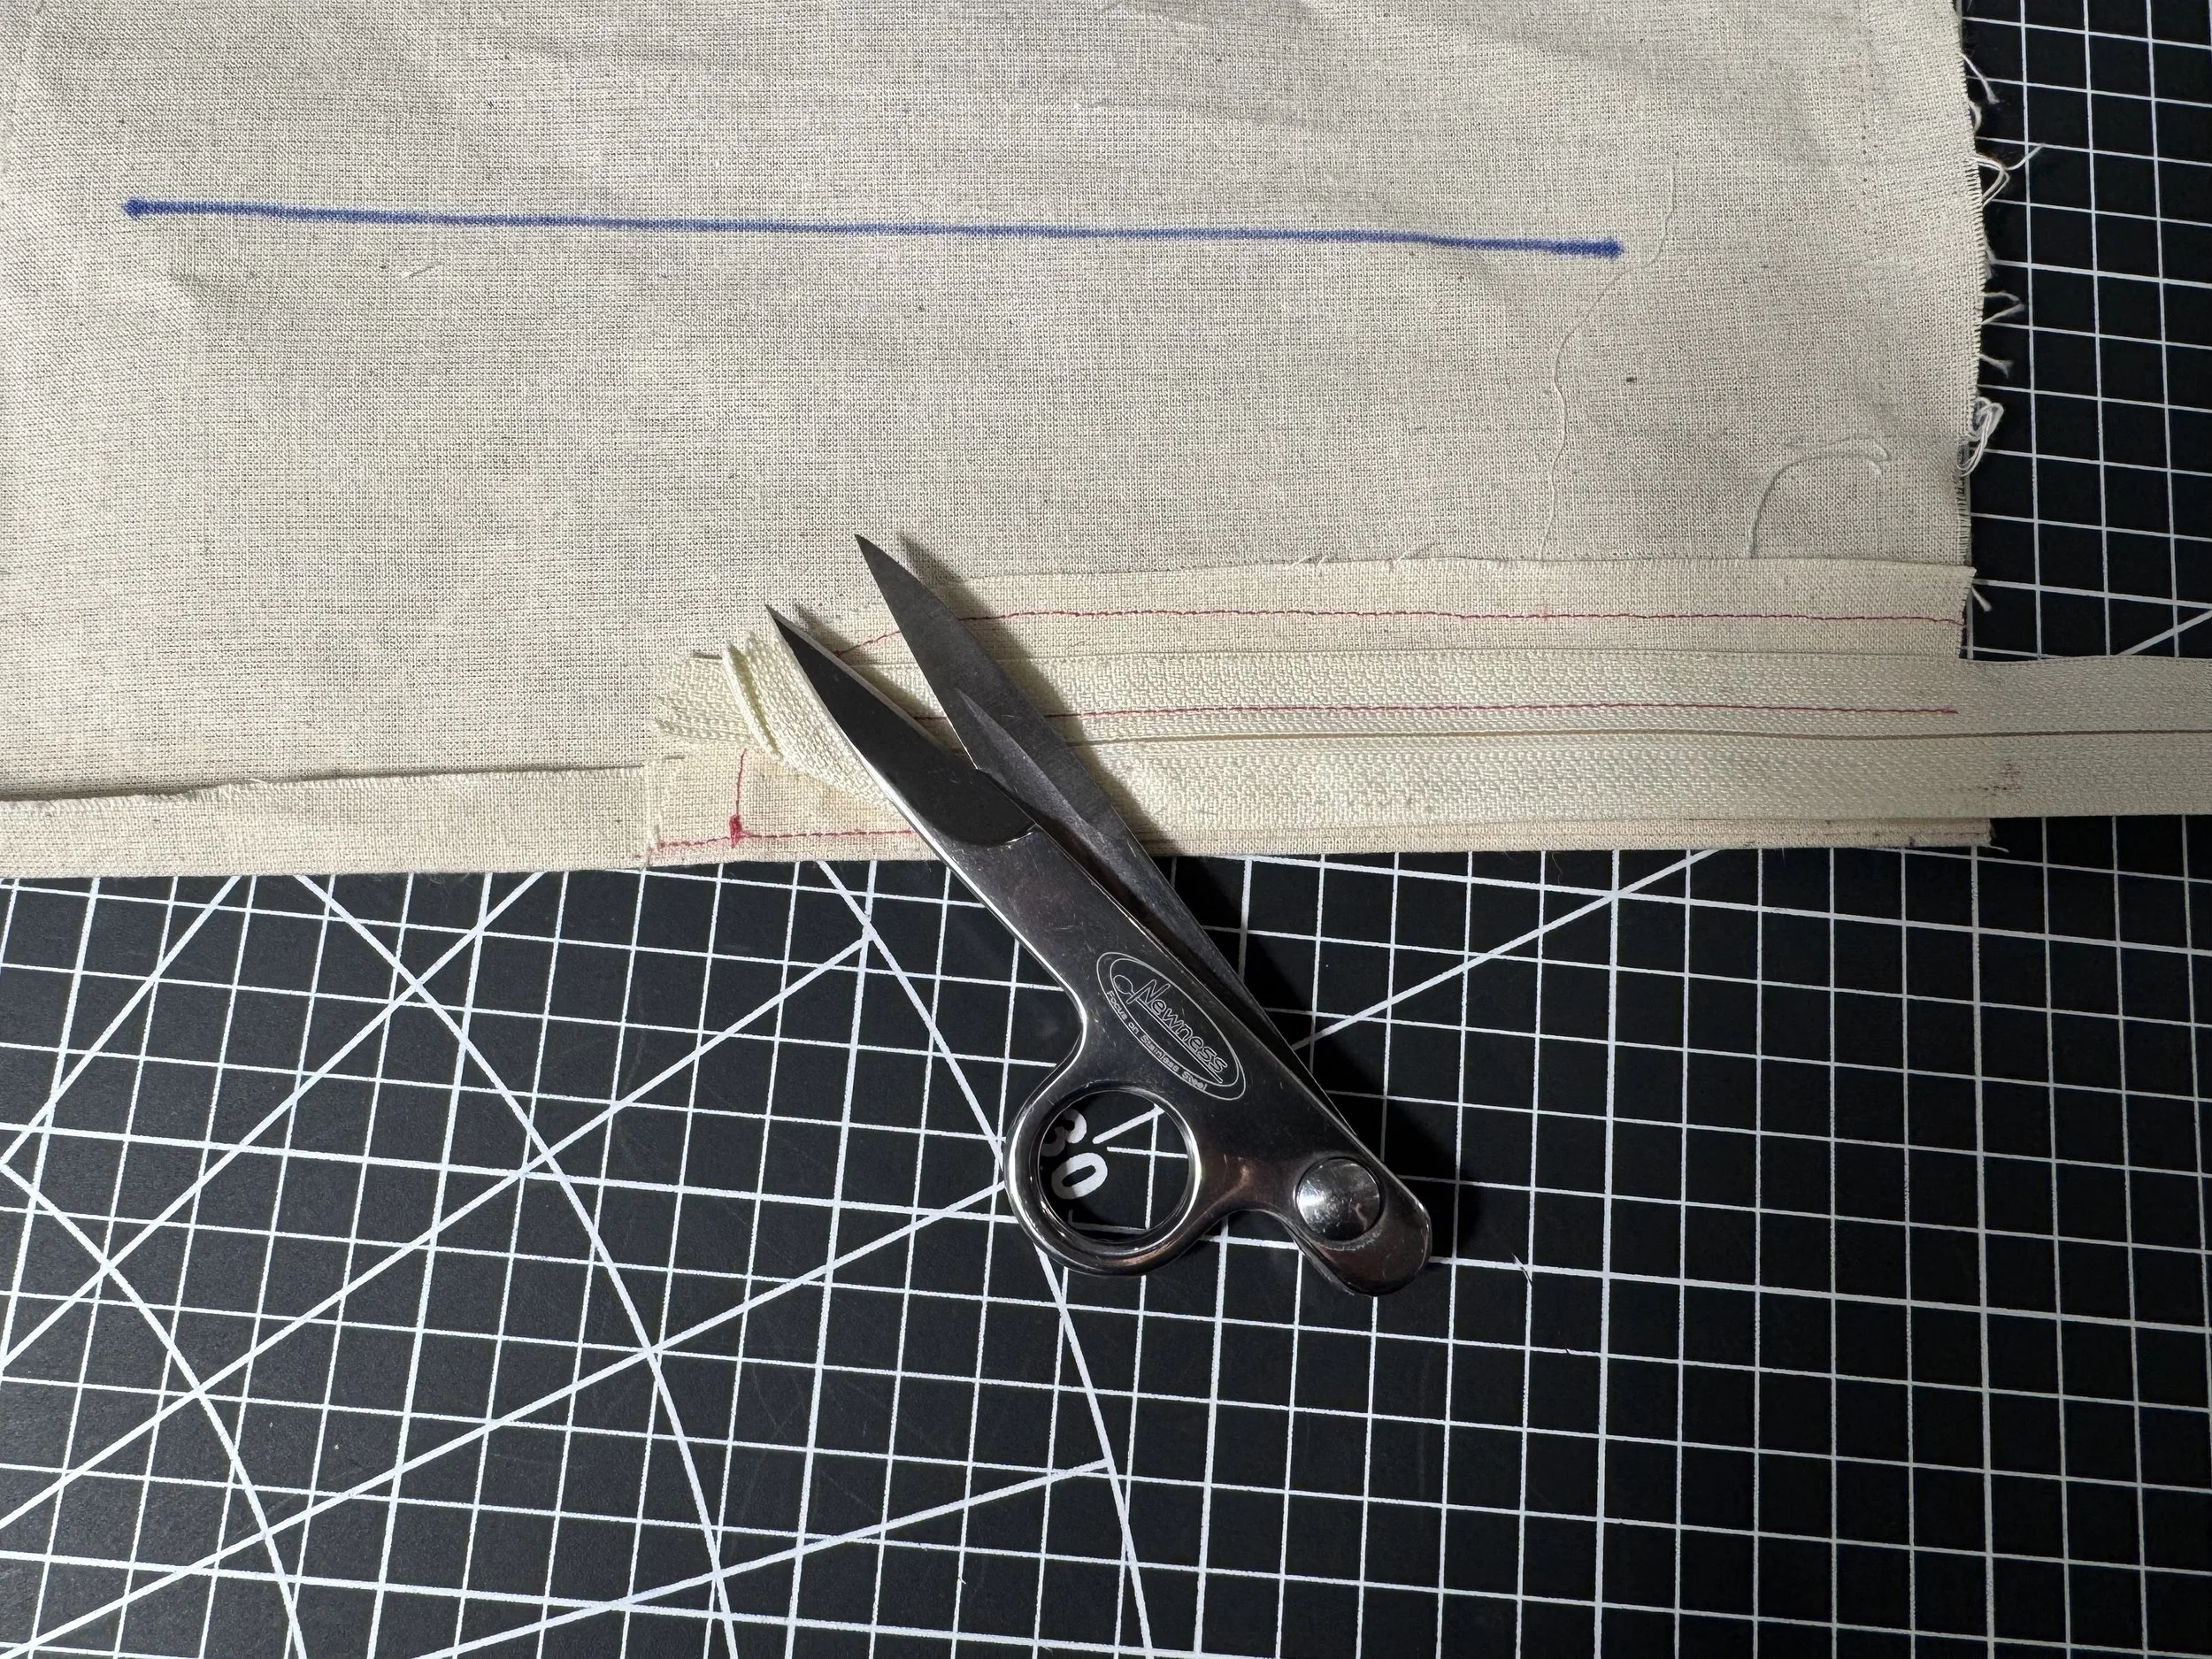
Use a 7” all purpose zipper. If you have a longer one, thats fine - we will trim and seal the edge when we add the waistband
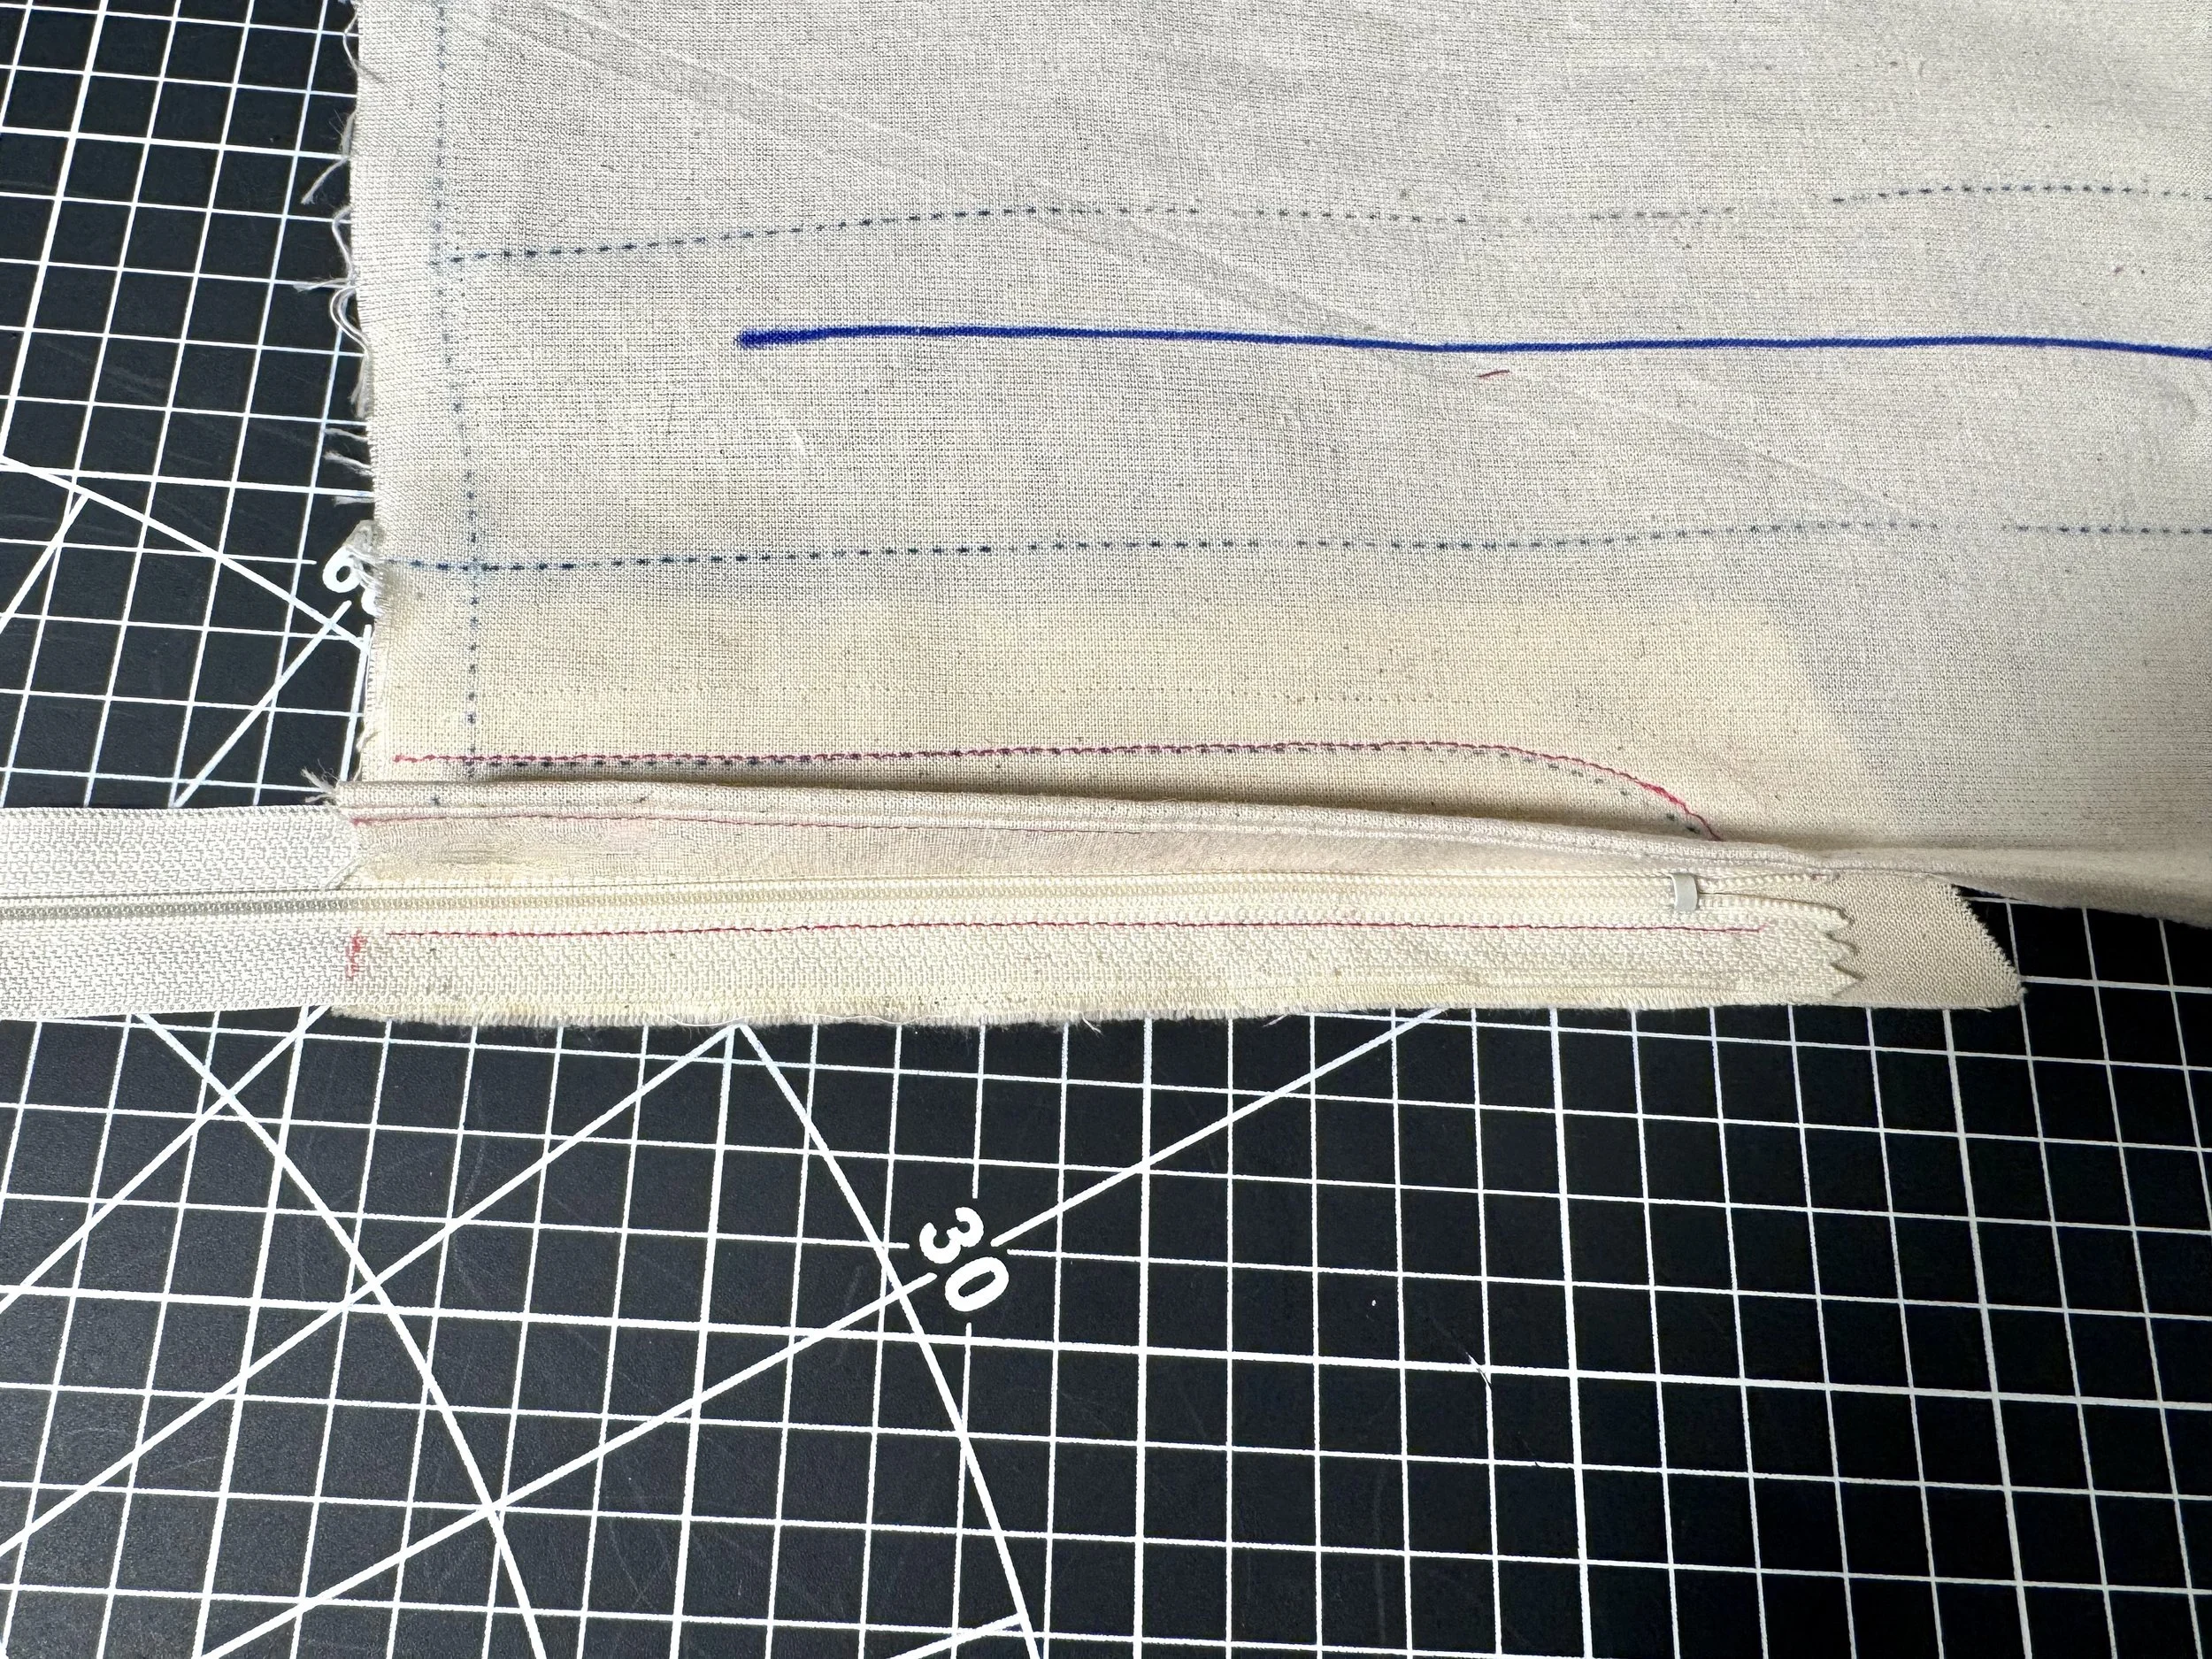
Pin the zipper to the fly. The end of your zipper should line up with the end of your fly, let the pull overhang at the top.
Sew along the edge of the teeth on the left, using a zipper foot.
Flip the zipper and fly to the inside and pin to hold.
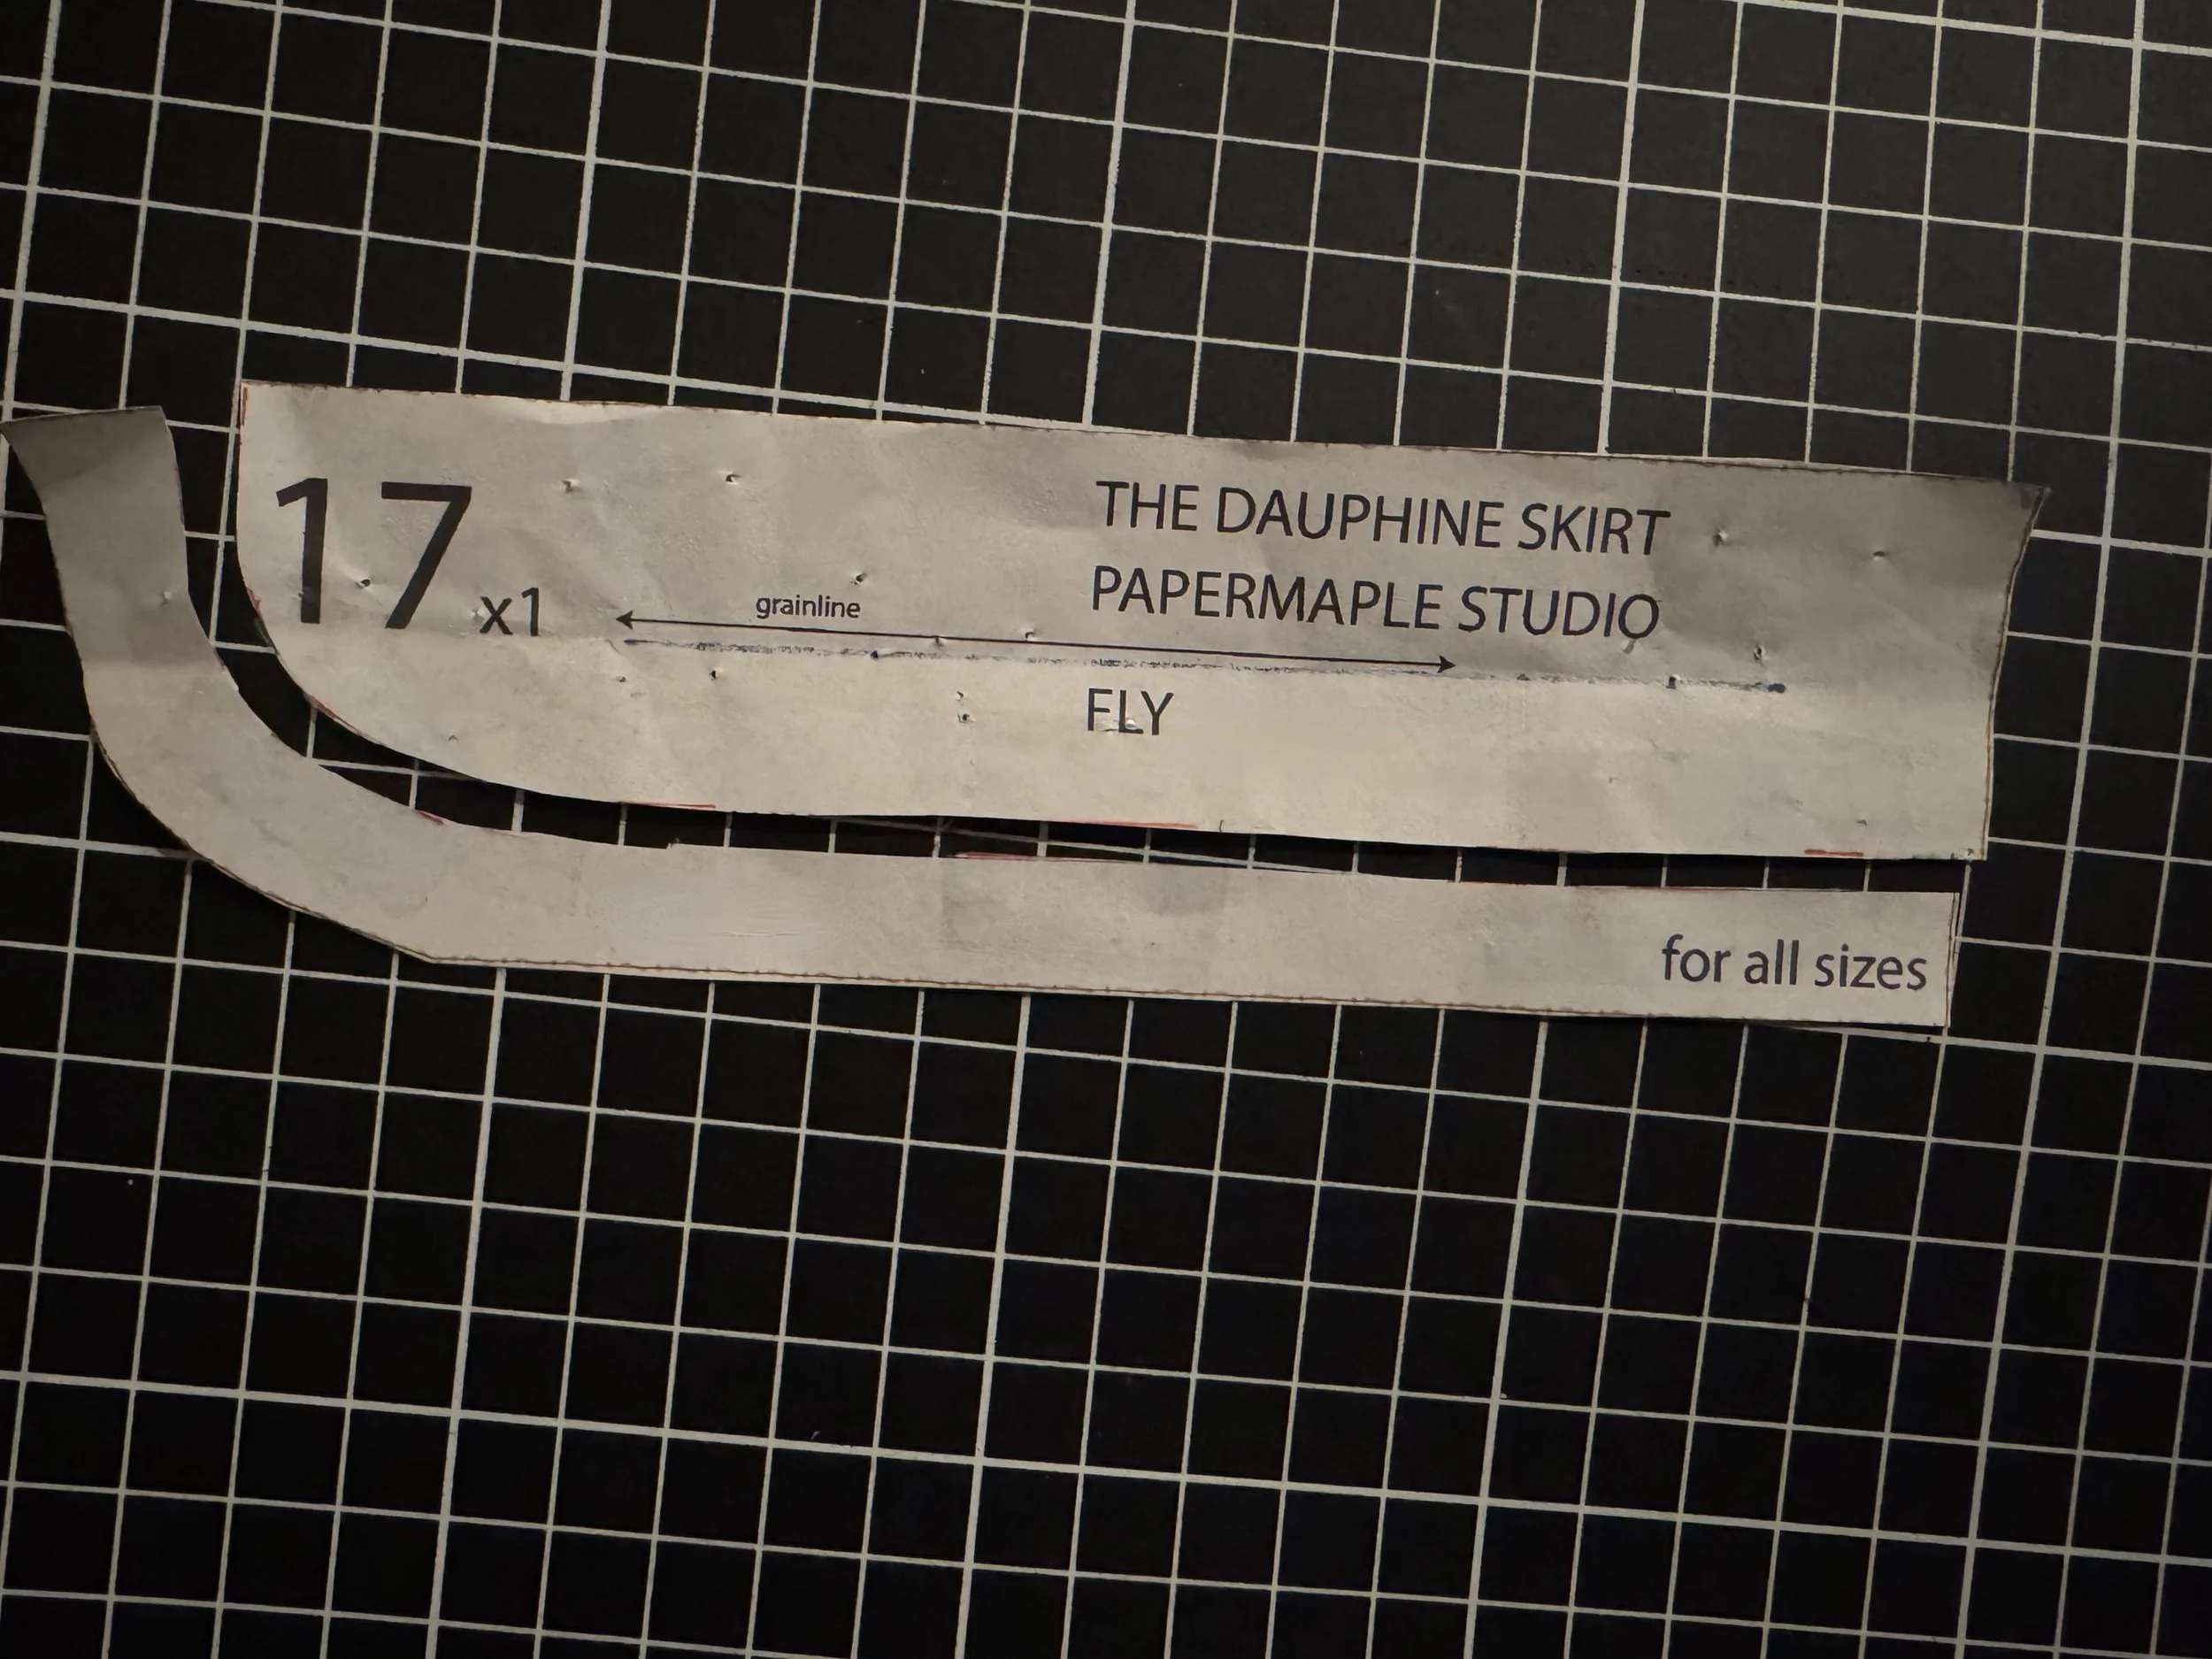
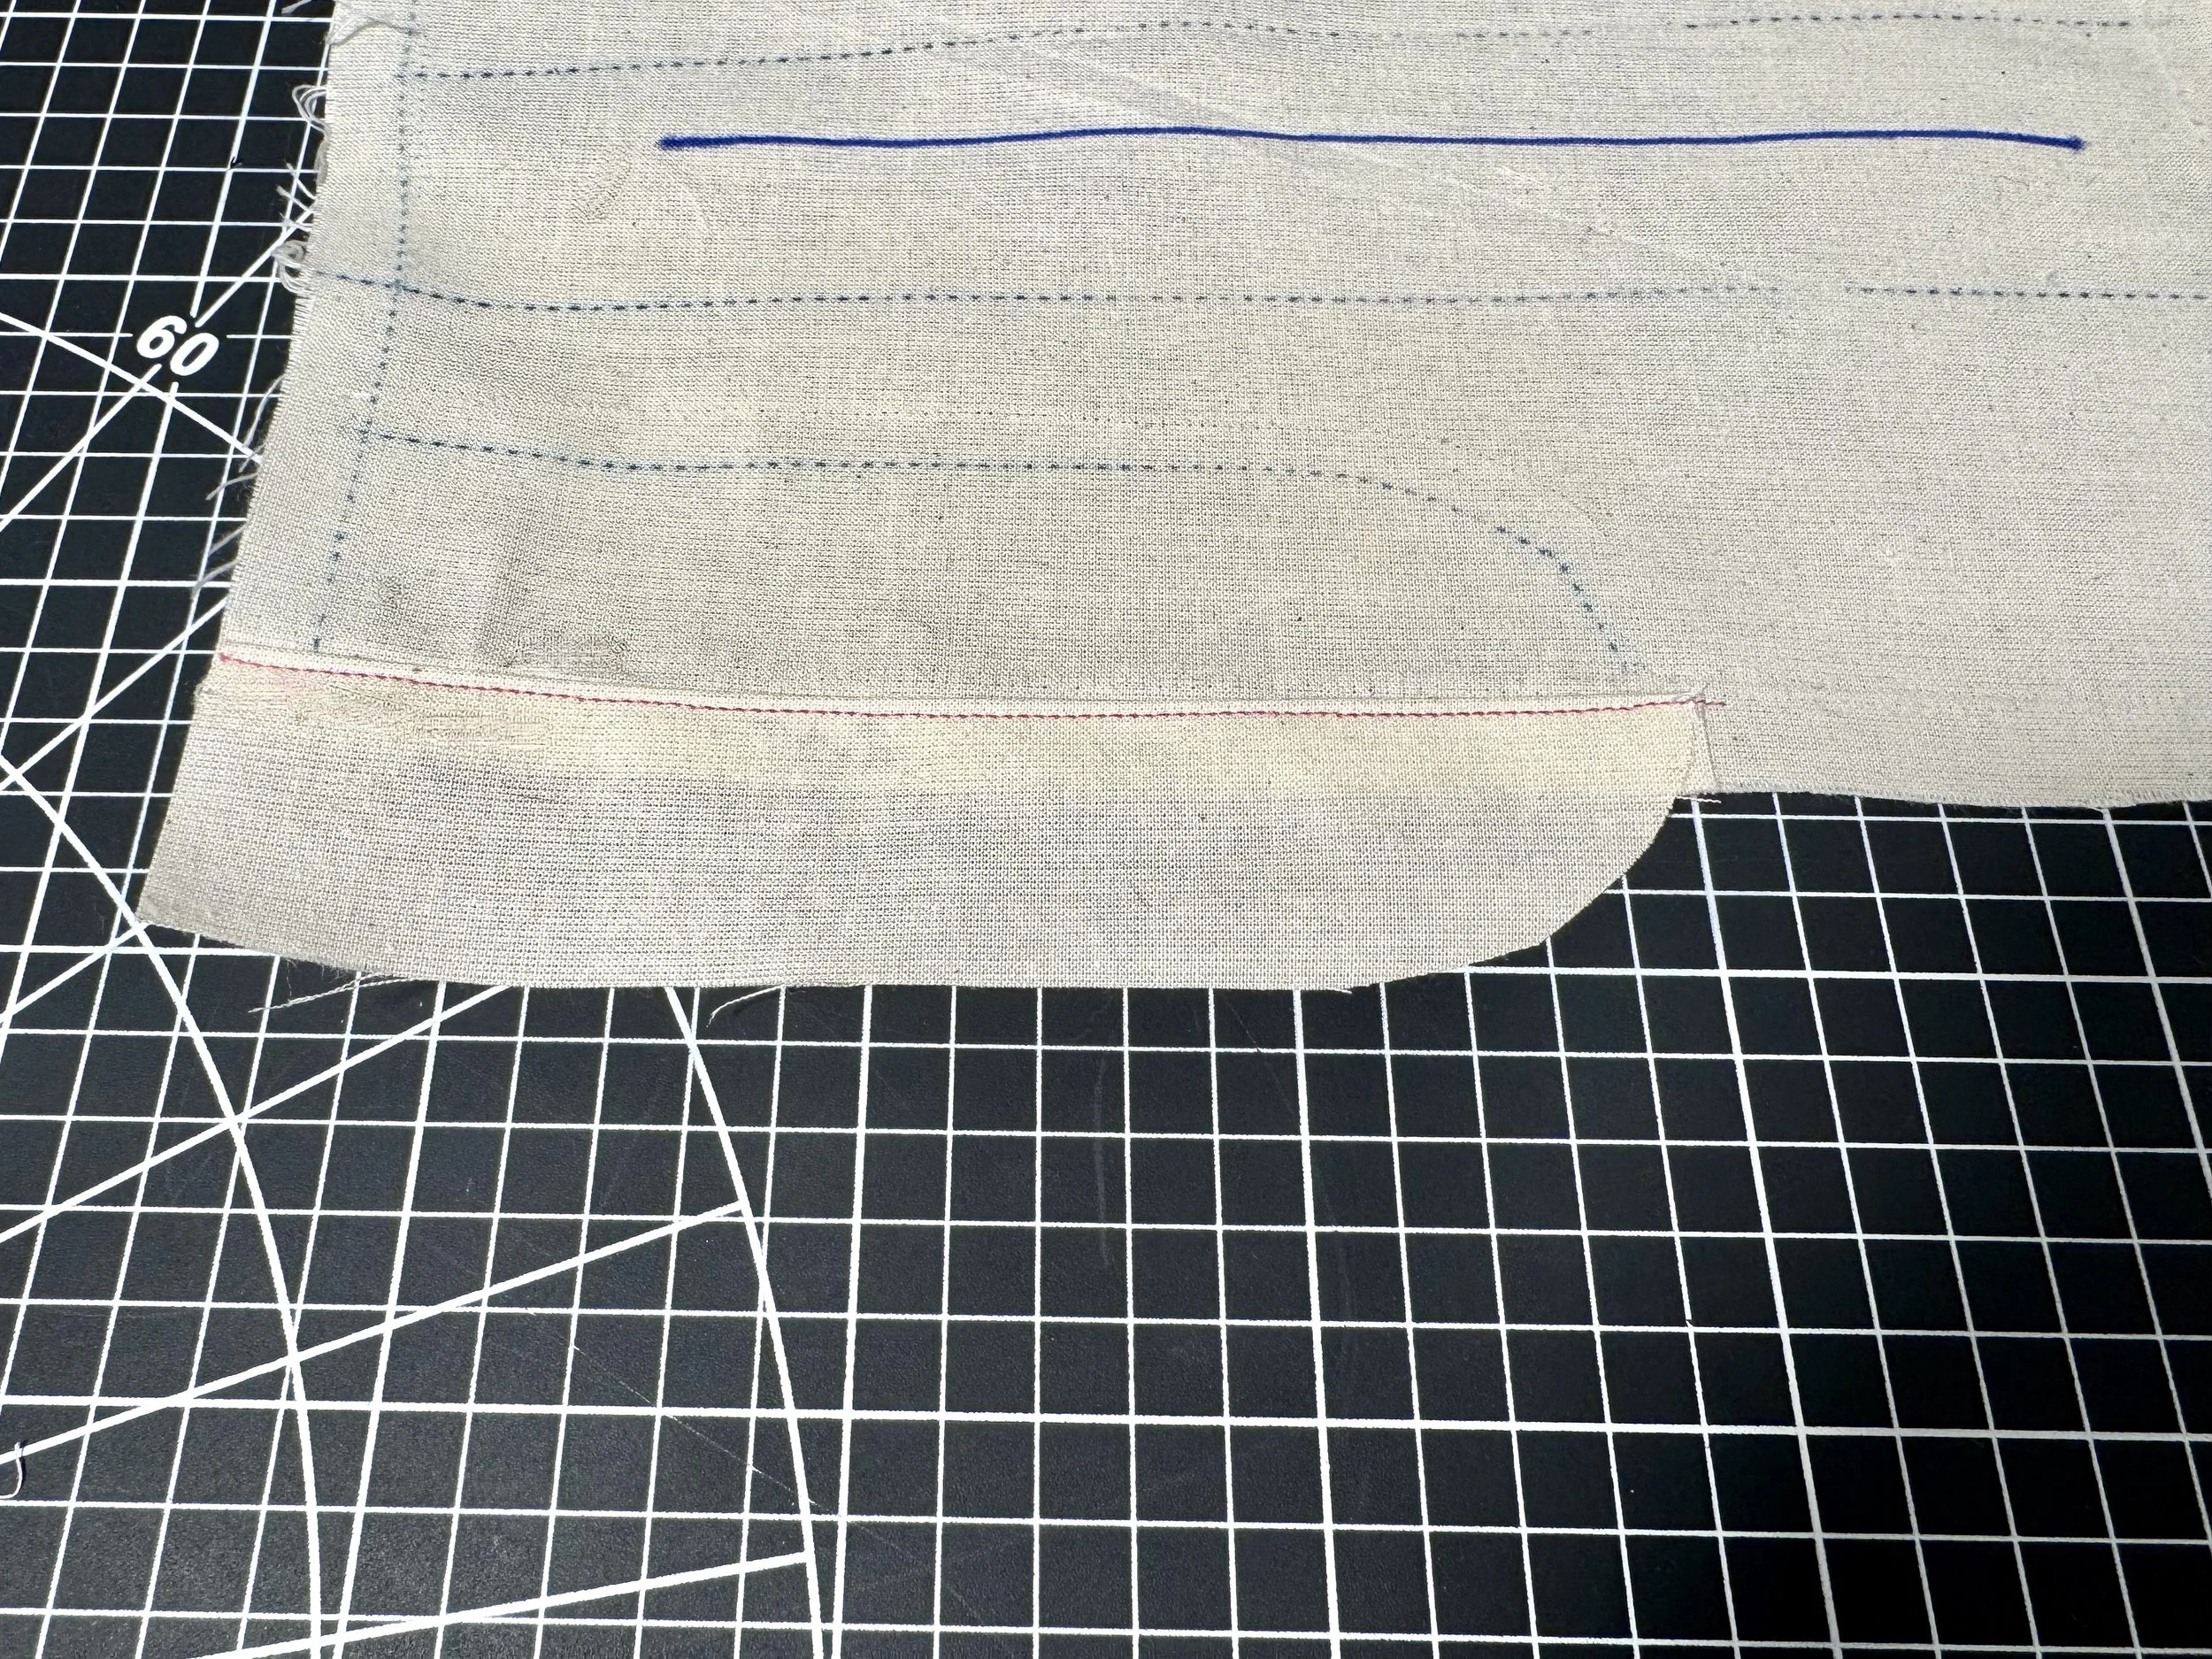
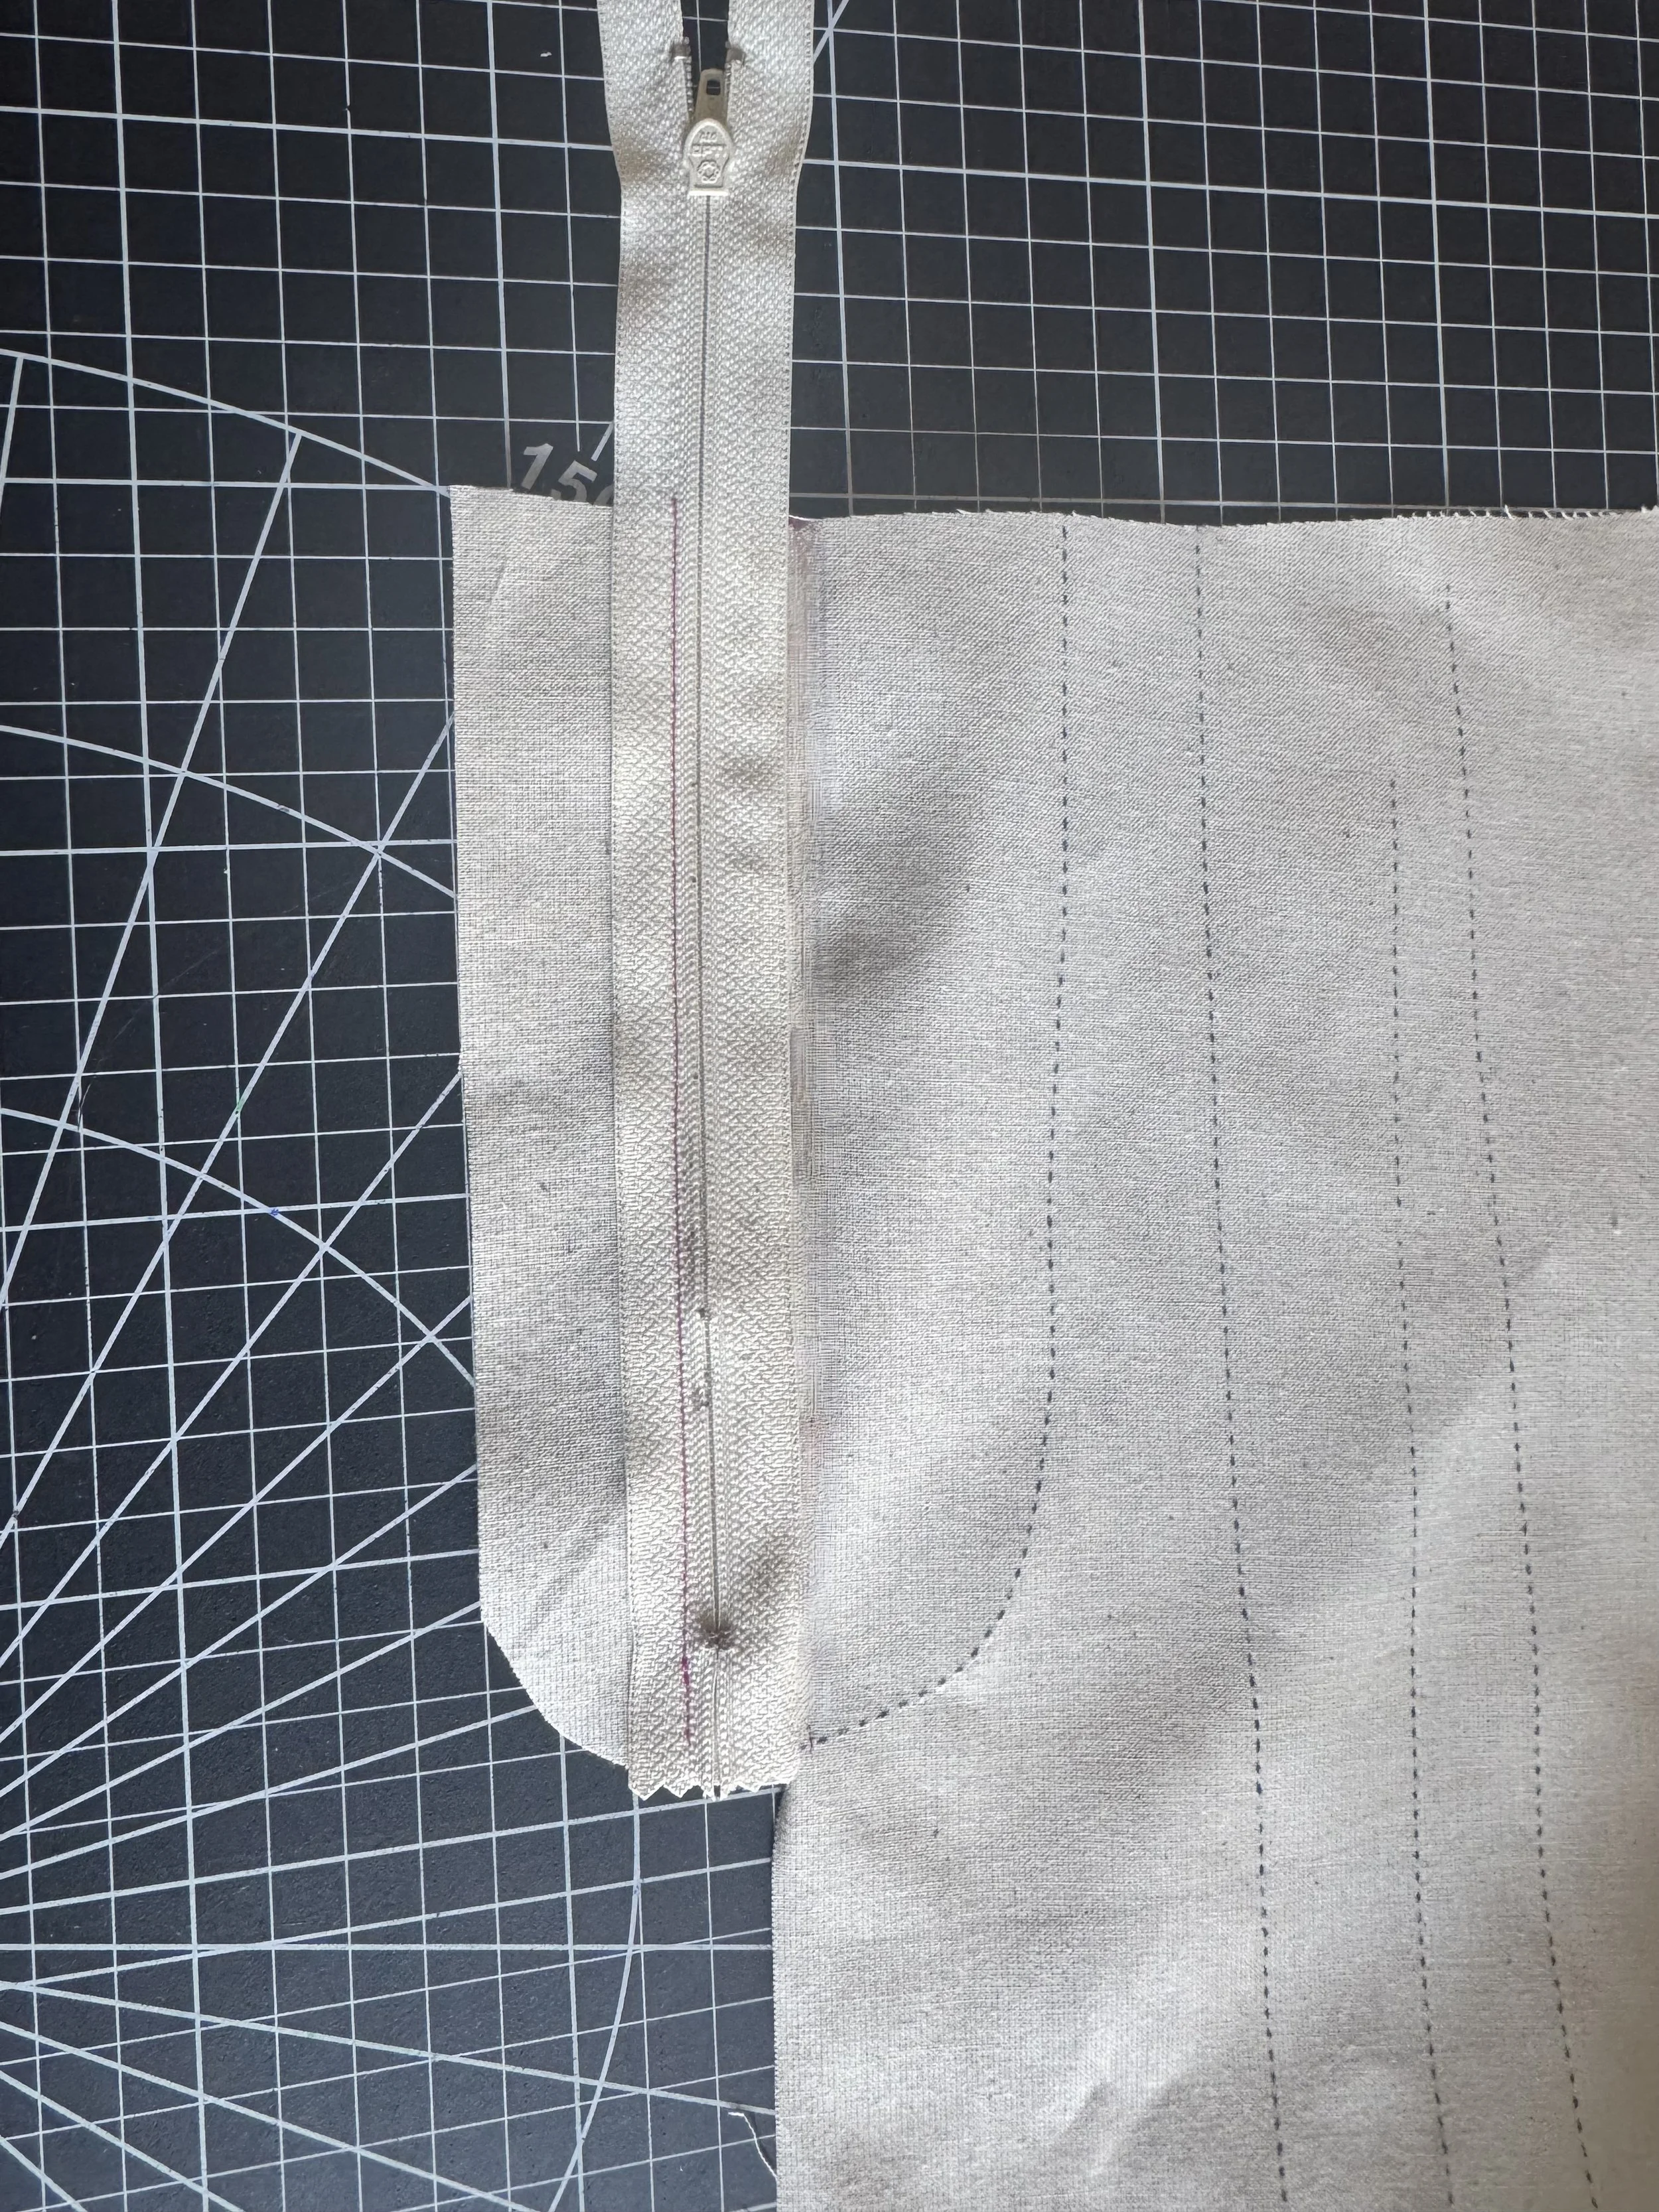
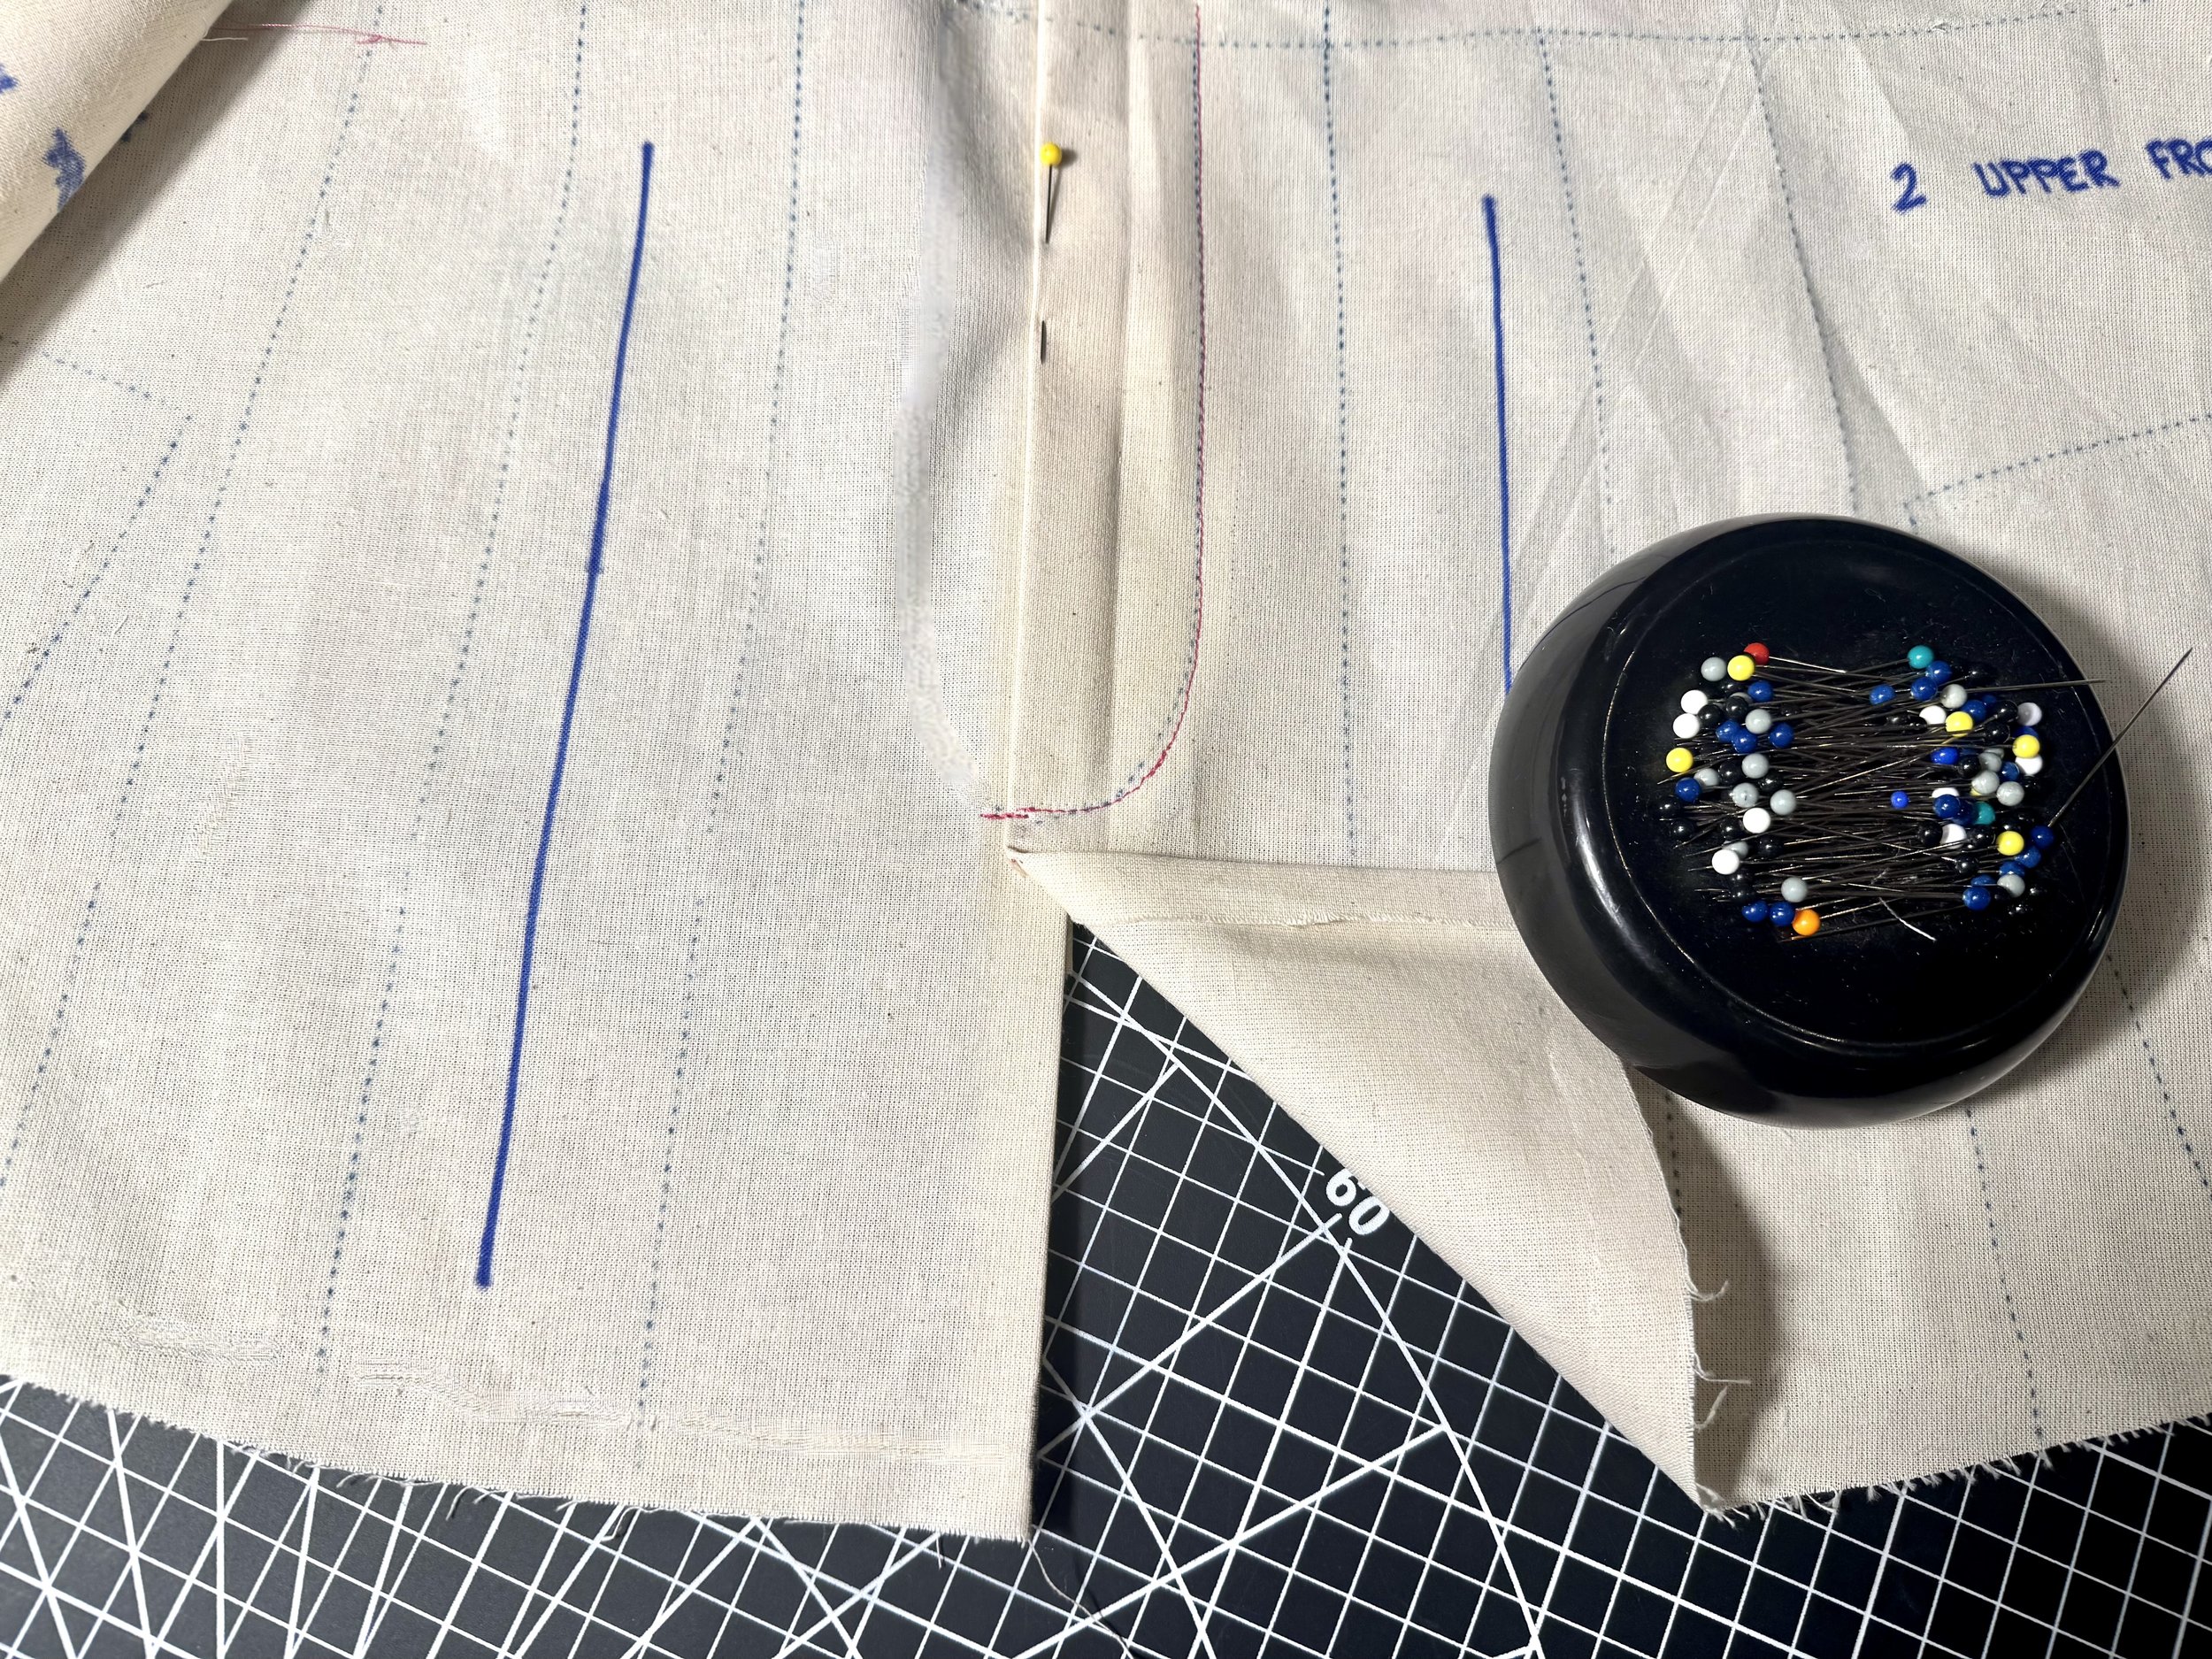
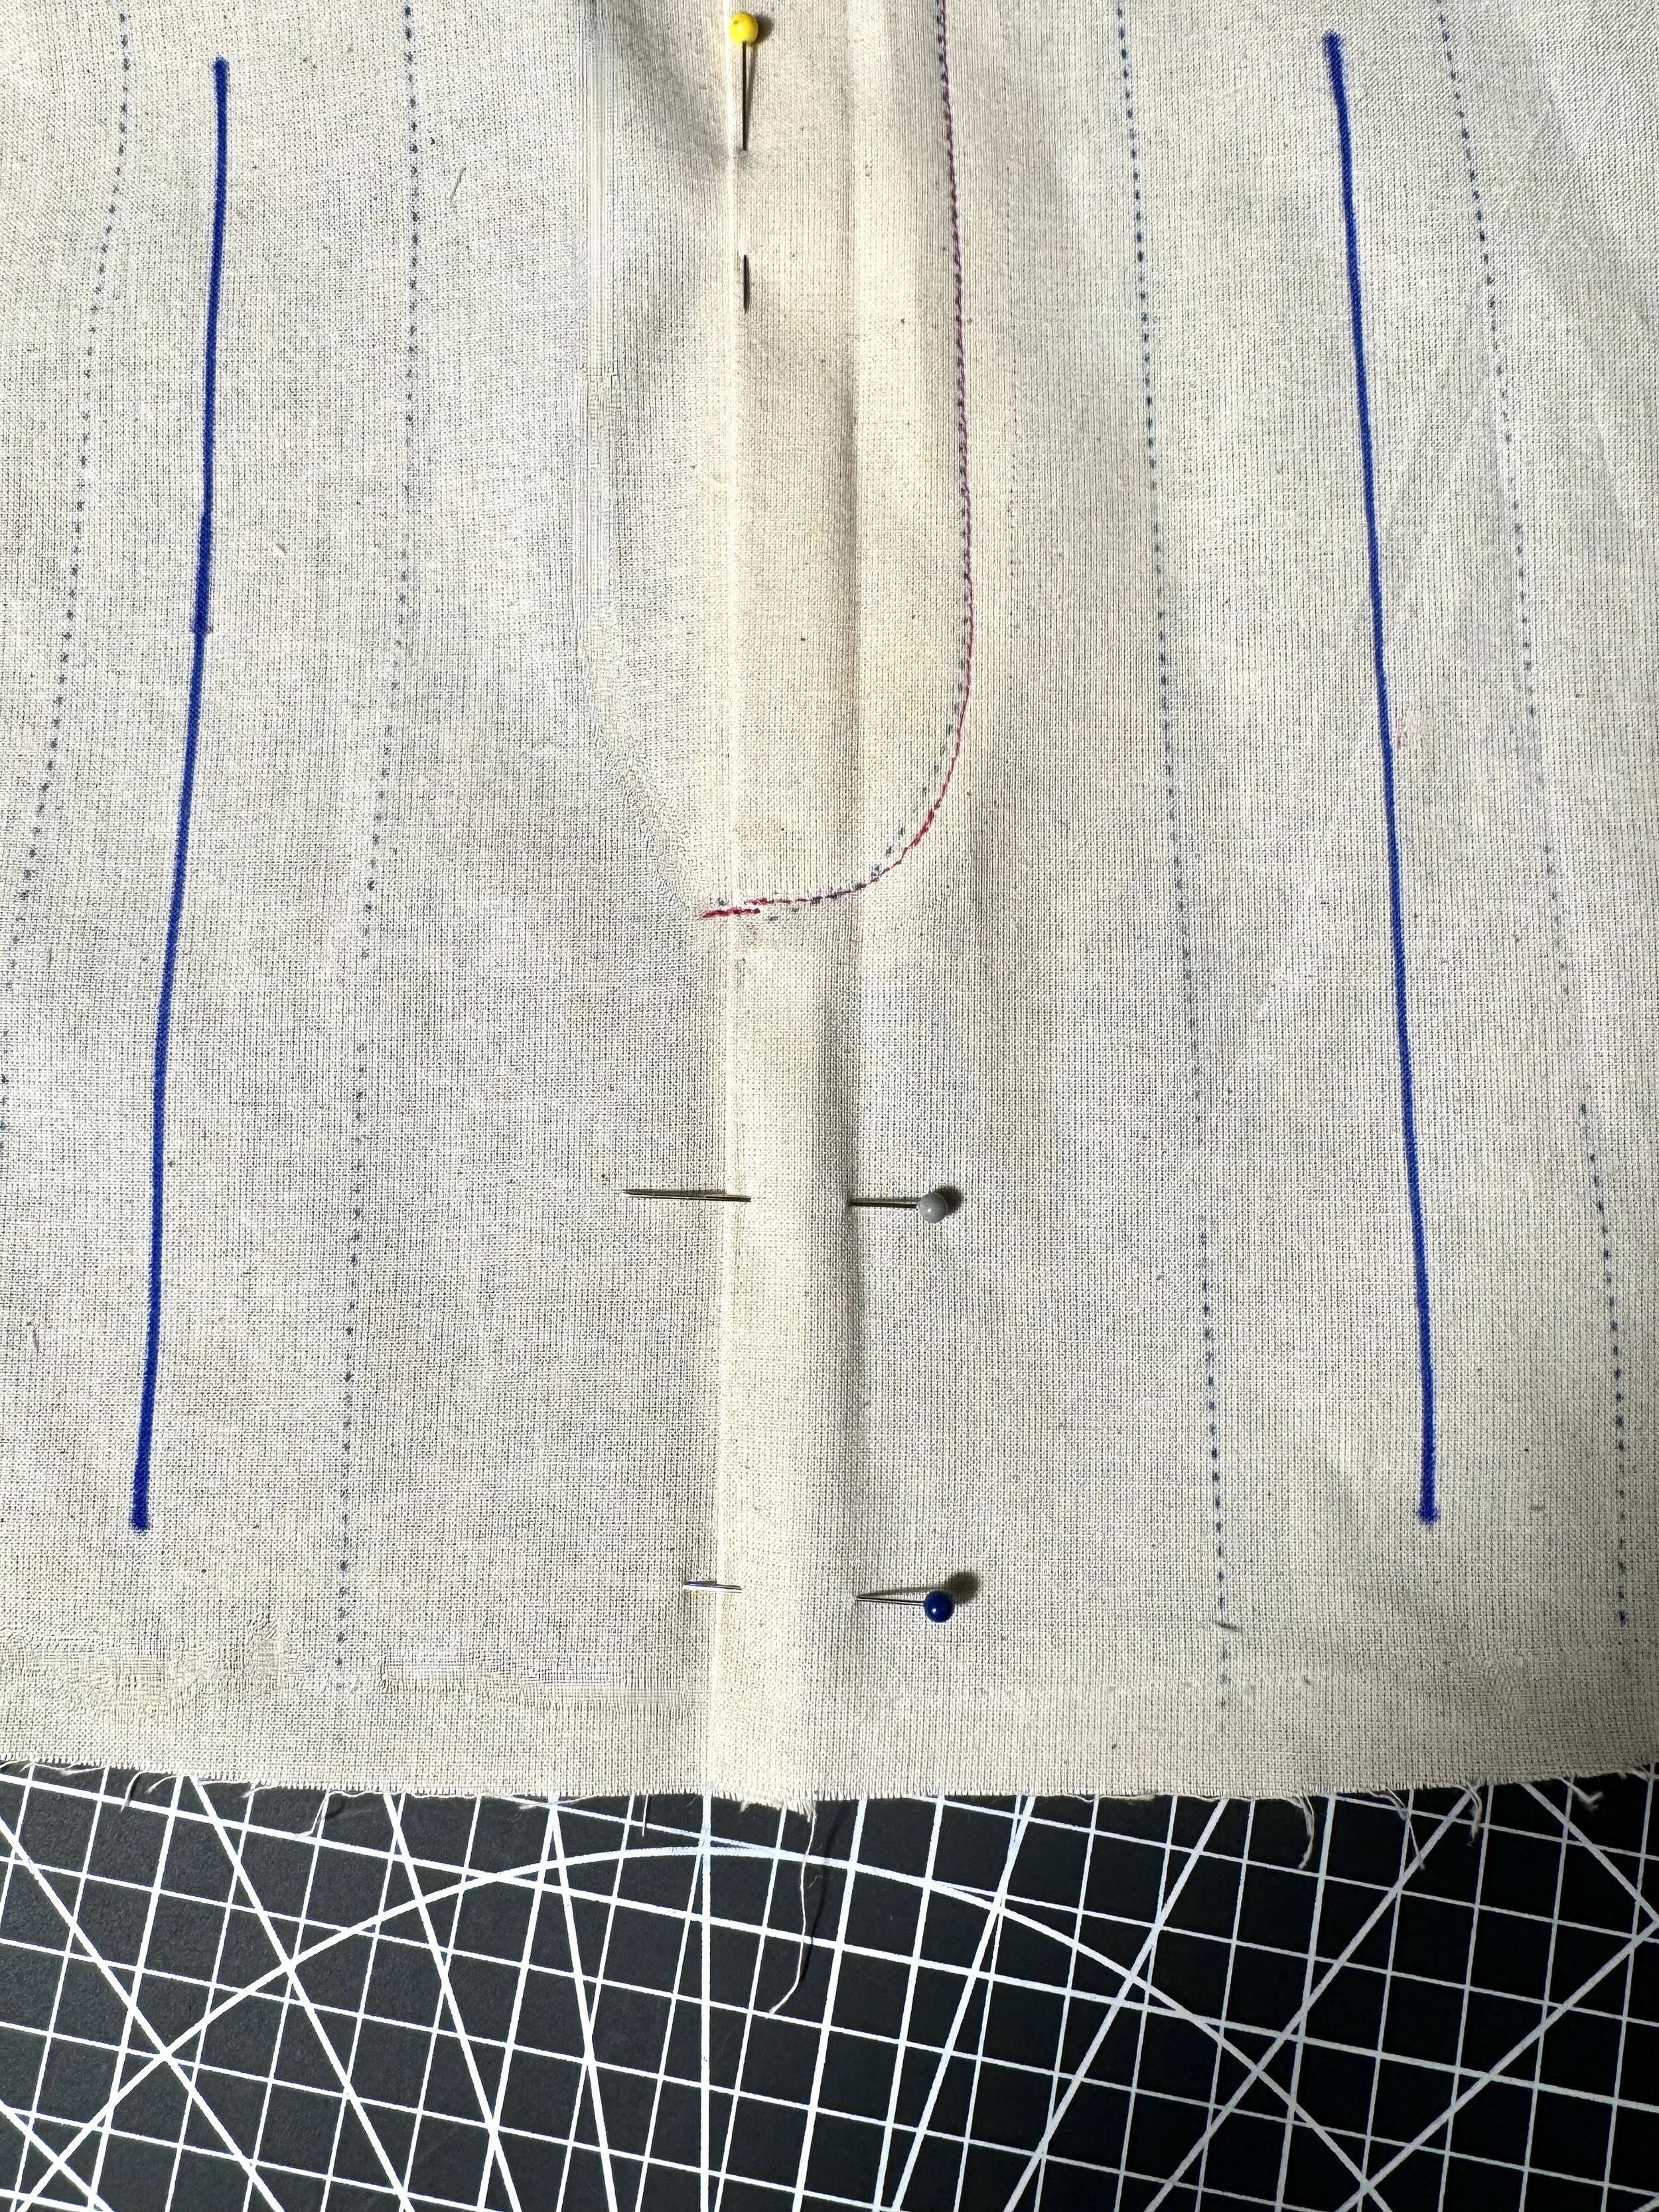
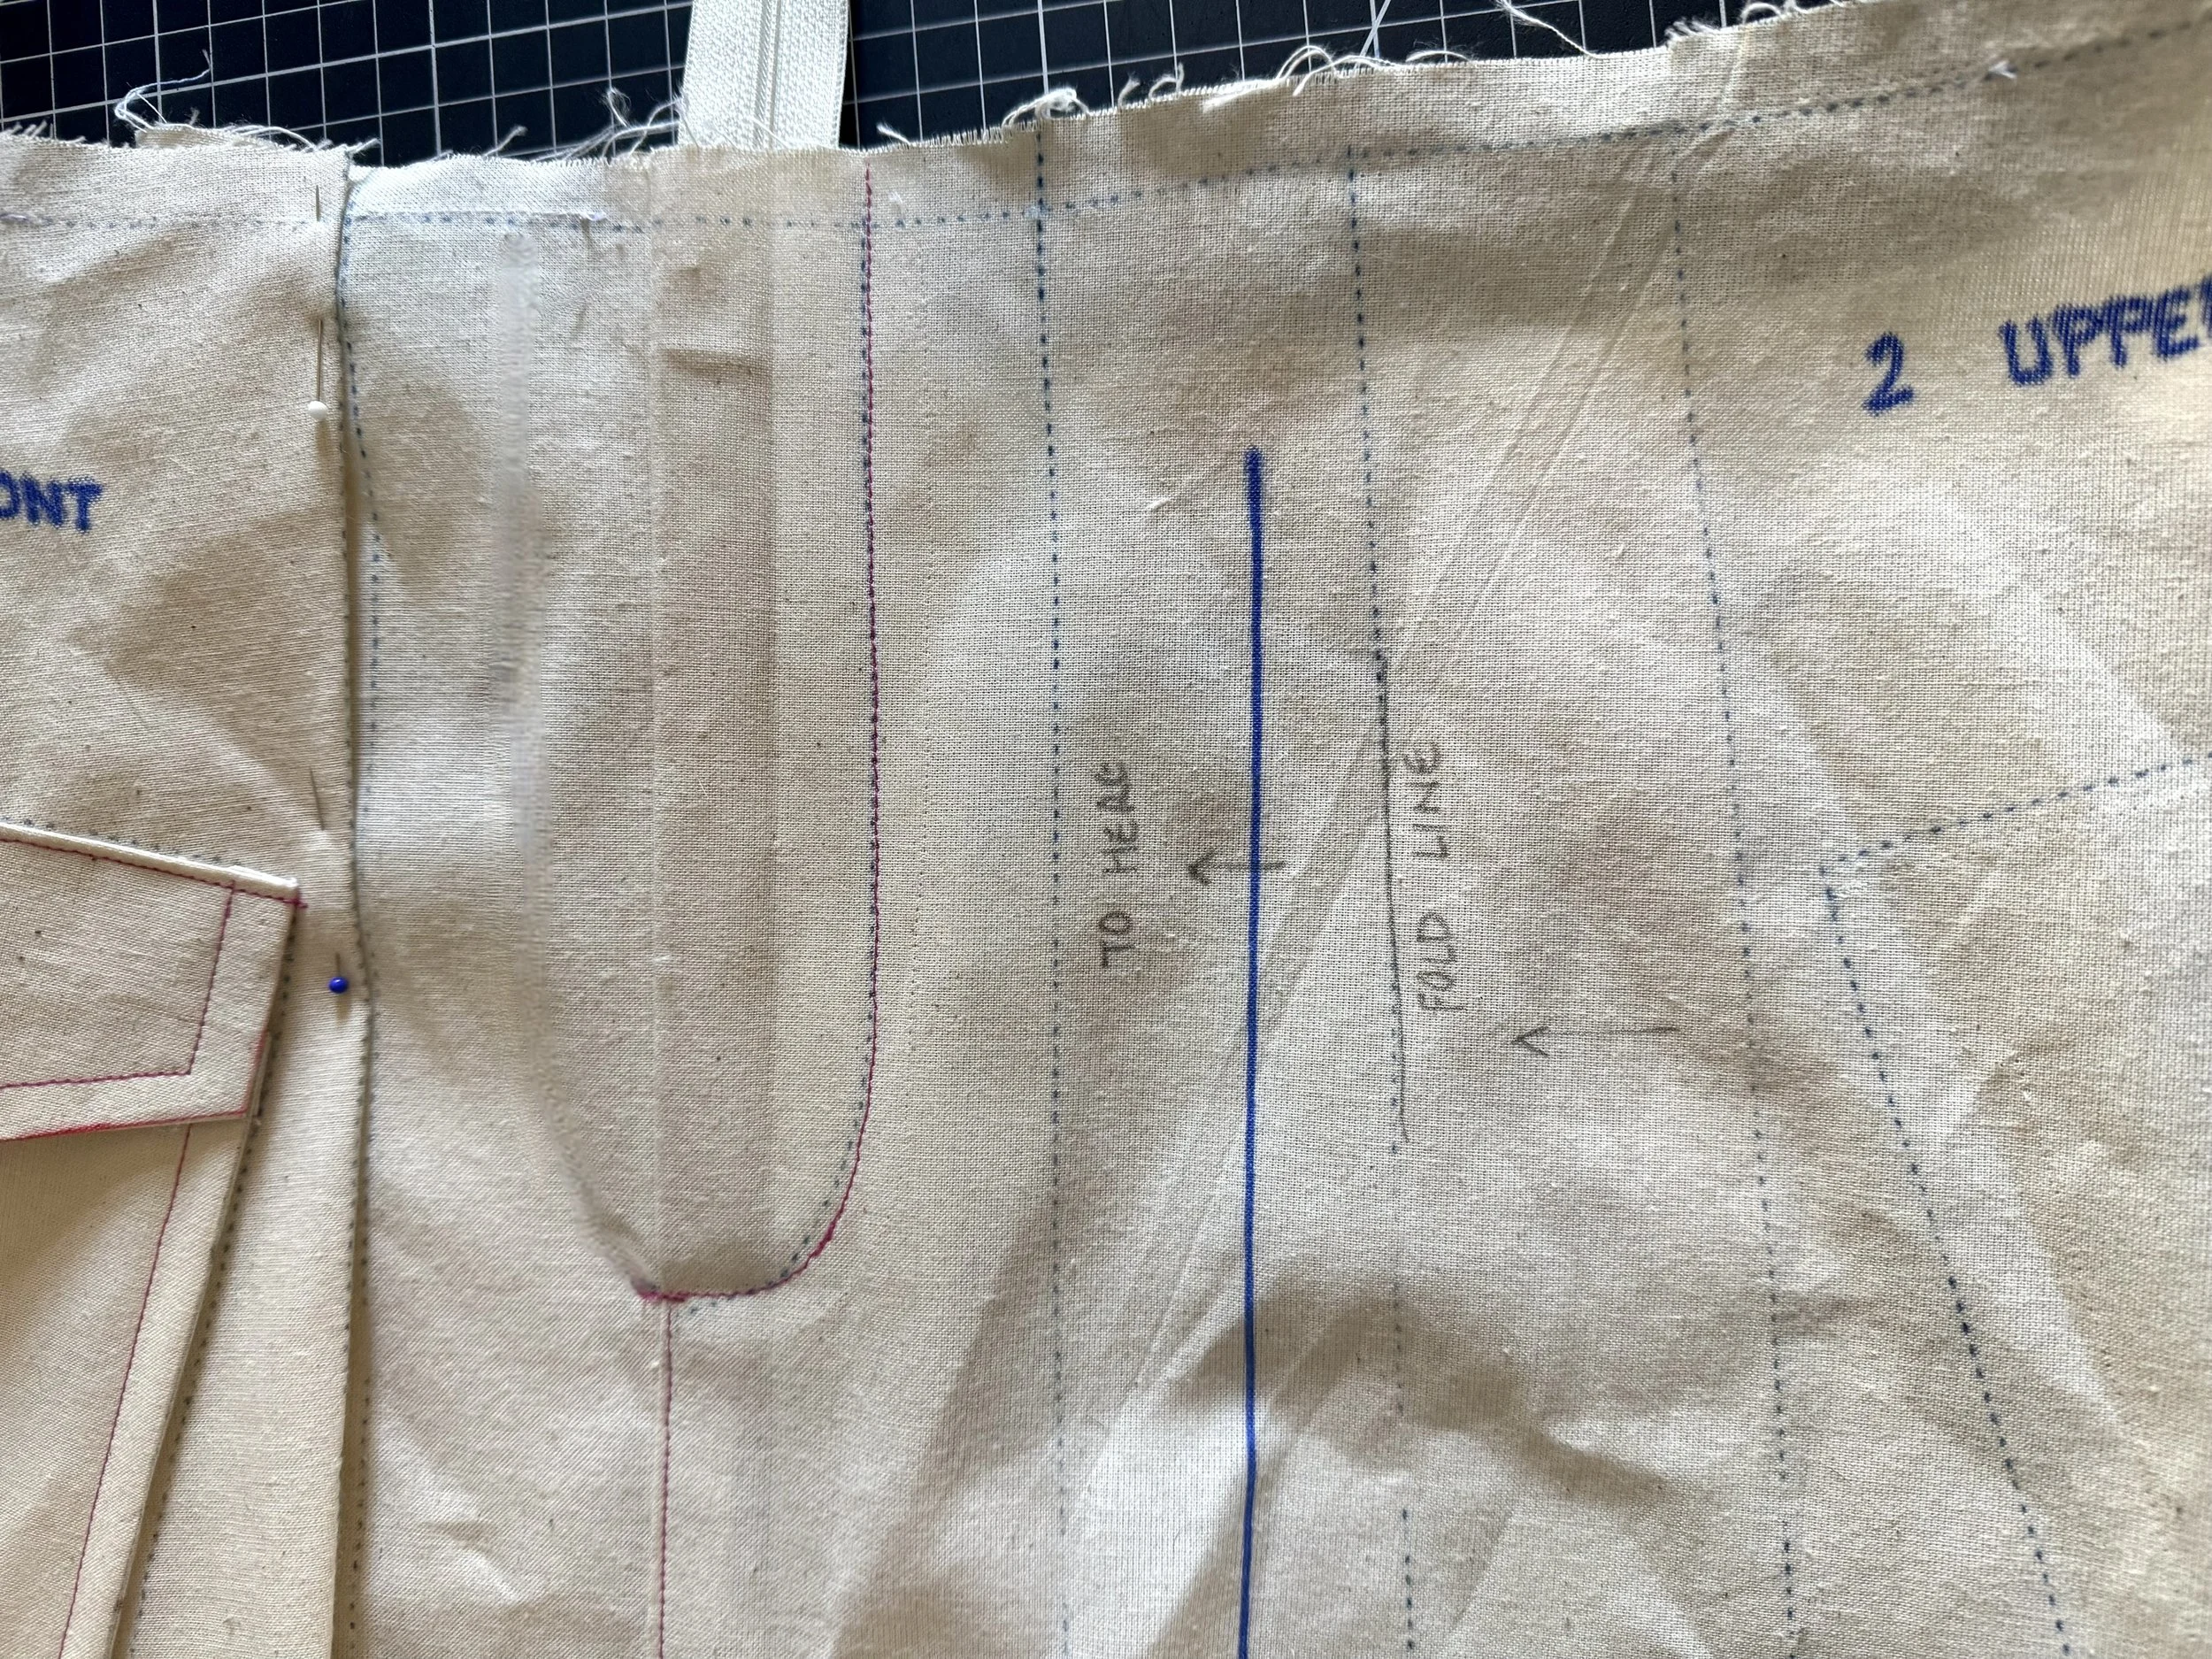
Next, we will sew our curved line from the outside, this holds the fly extension in place. I like to suggest using your pattern piece as a template. Its easy to follow and leaves a clean smooth line.
Remove your seam allowance from the piece - in this instance 5/8” total on the sides and curved edge only. Leave the top seam allowance in place.
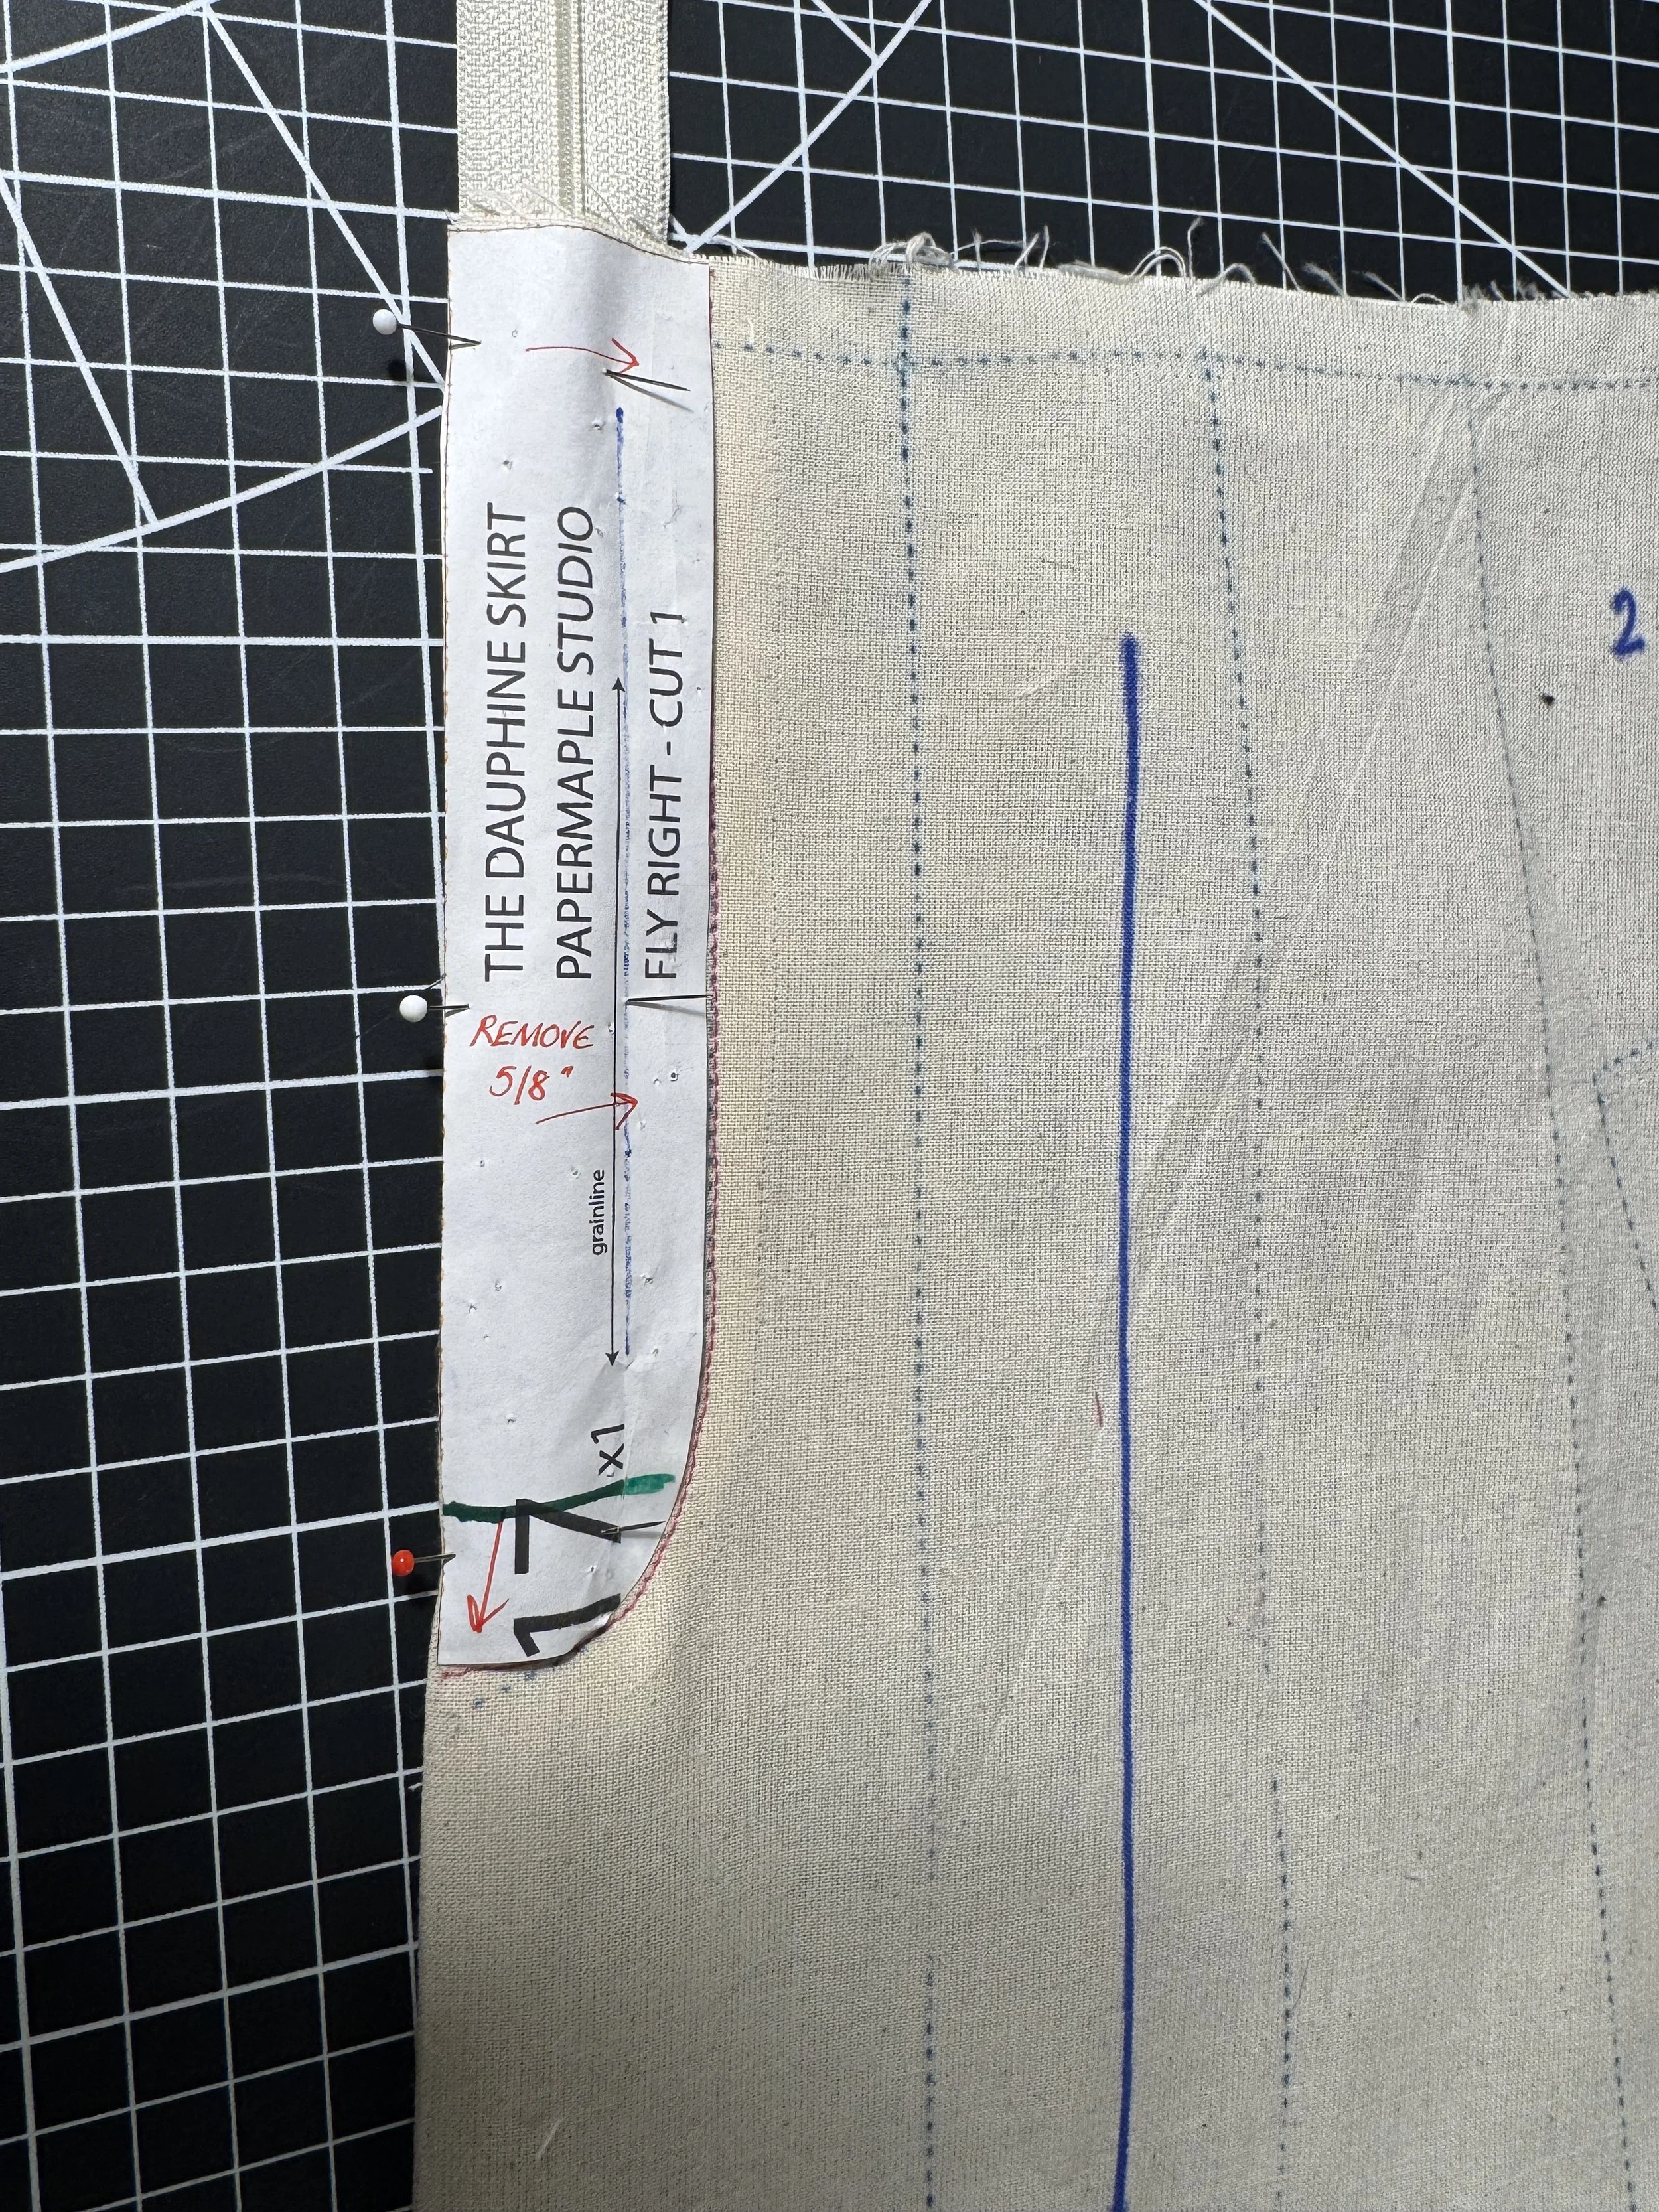
Pin your template to the outside of your garment
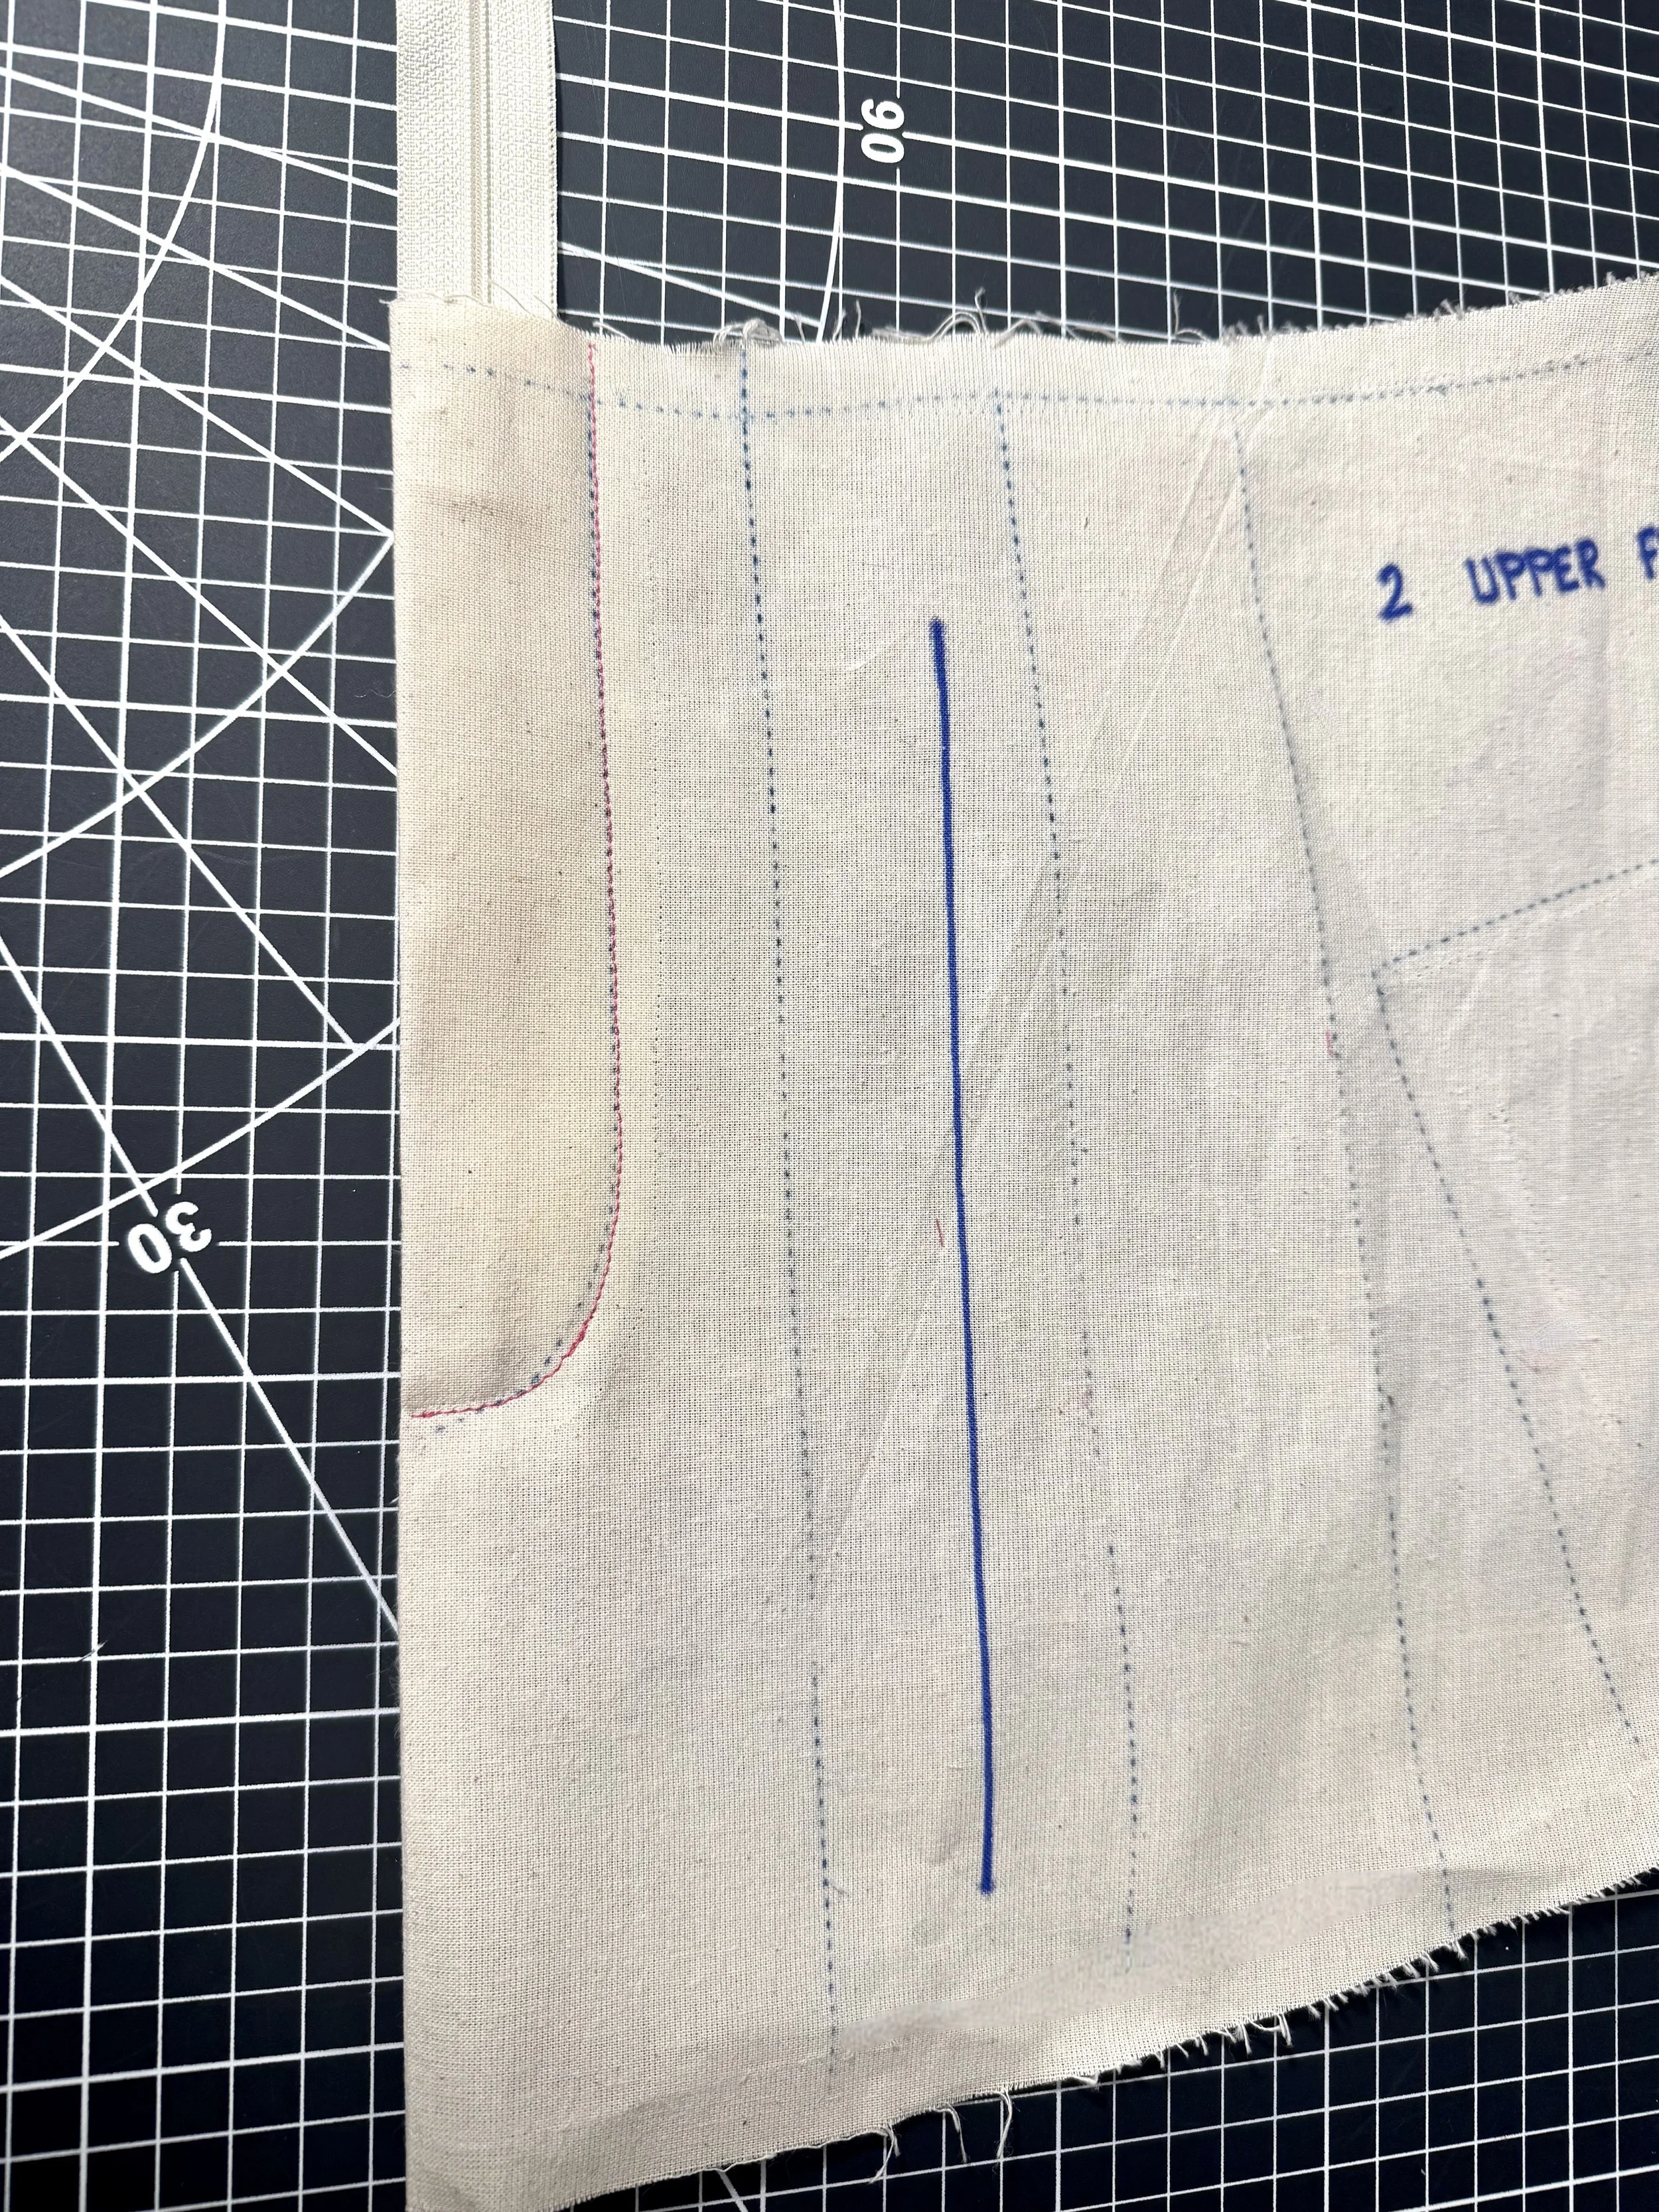
Use the guide to sew your curve, as you get to the rounded edge at the end, tuck your zipper tails under so they don’t get caught in the stitch line.
Open and fold your left zipper guard , so you can clearly access the right side of the zipper, and place your folded fly piece underneath. You can just see the angled edge at the end of the zipper. Sew close to the teeth.
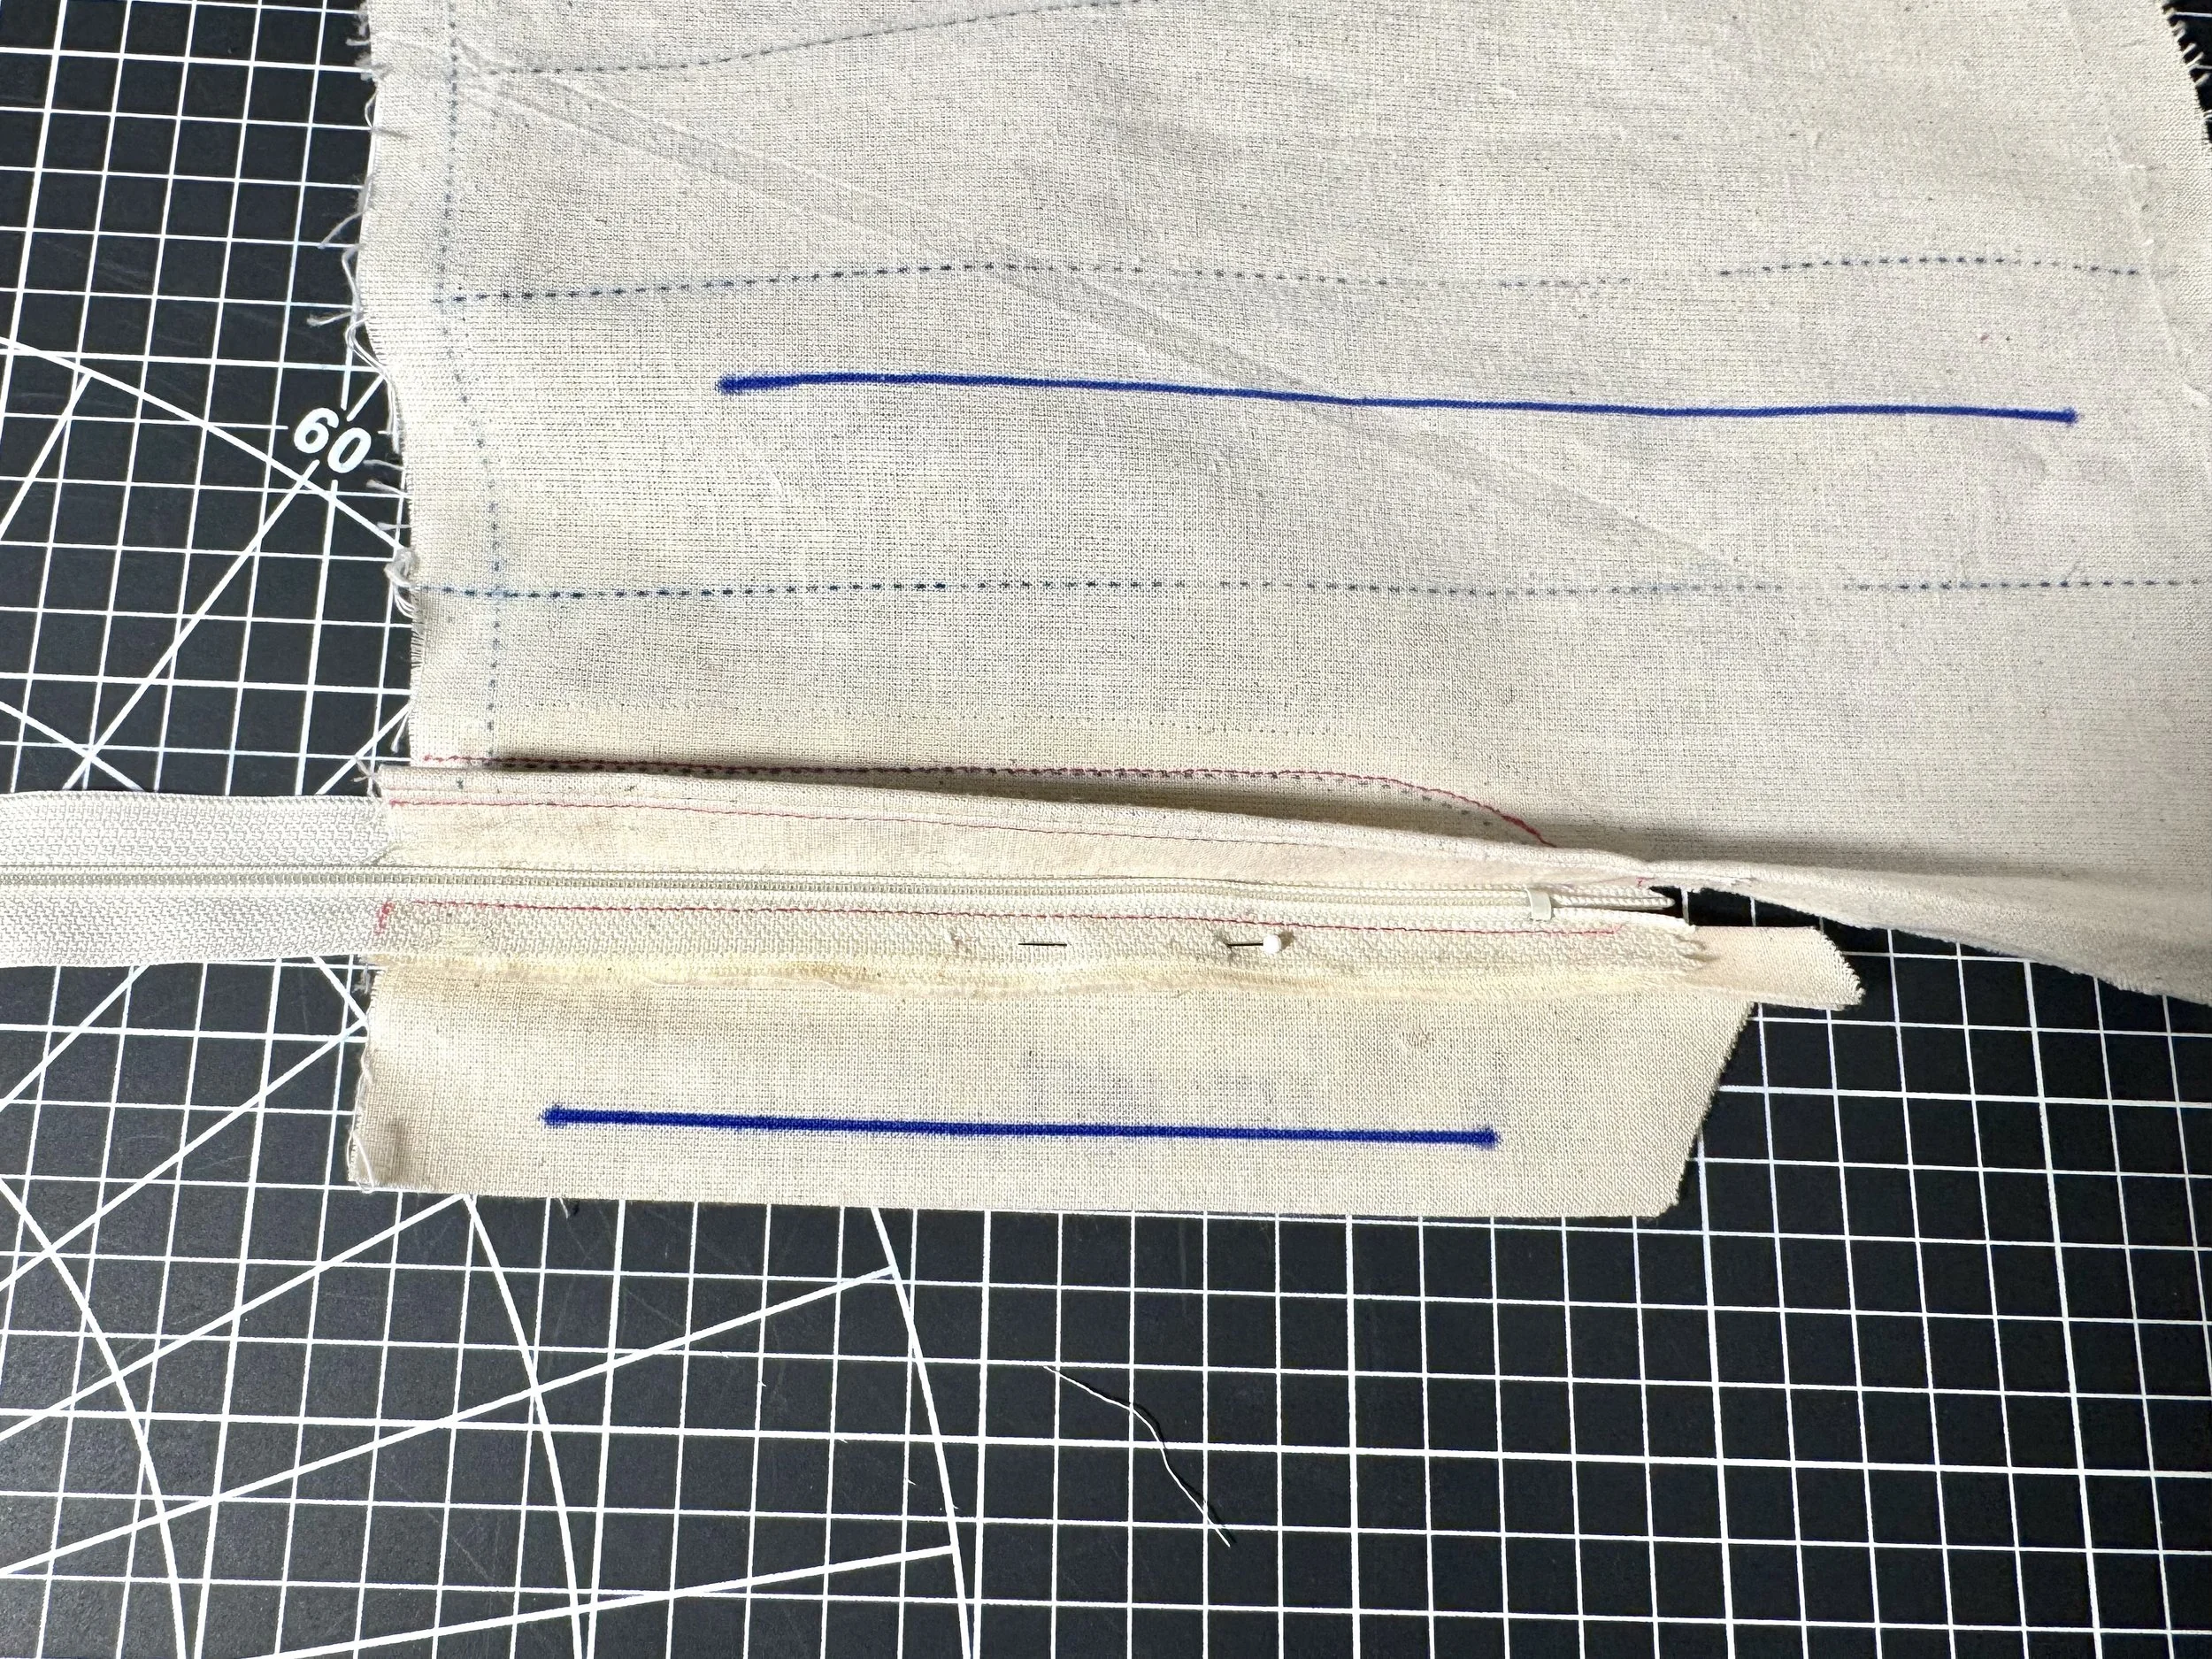
Open this piece up, and press flat.
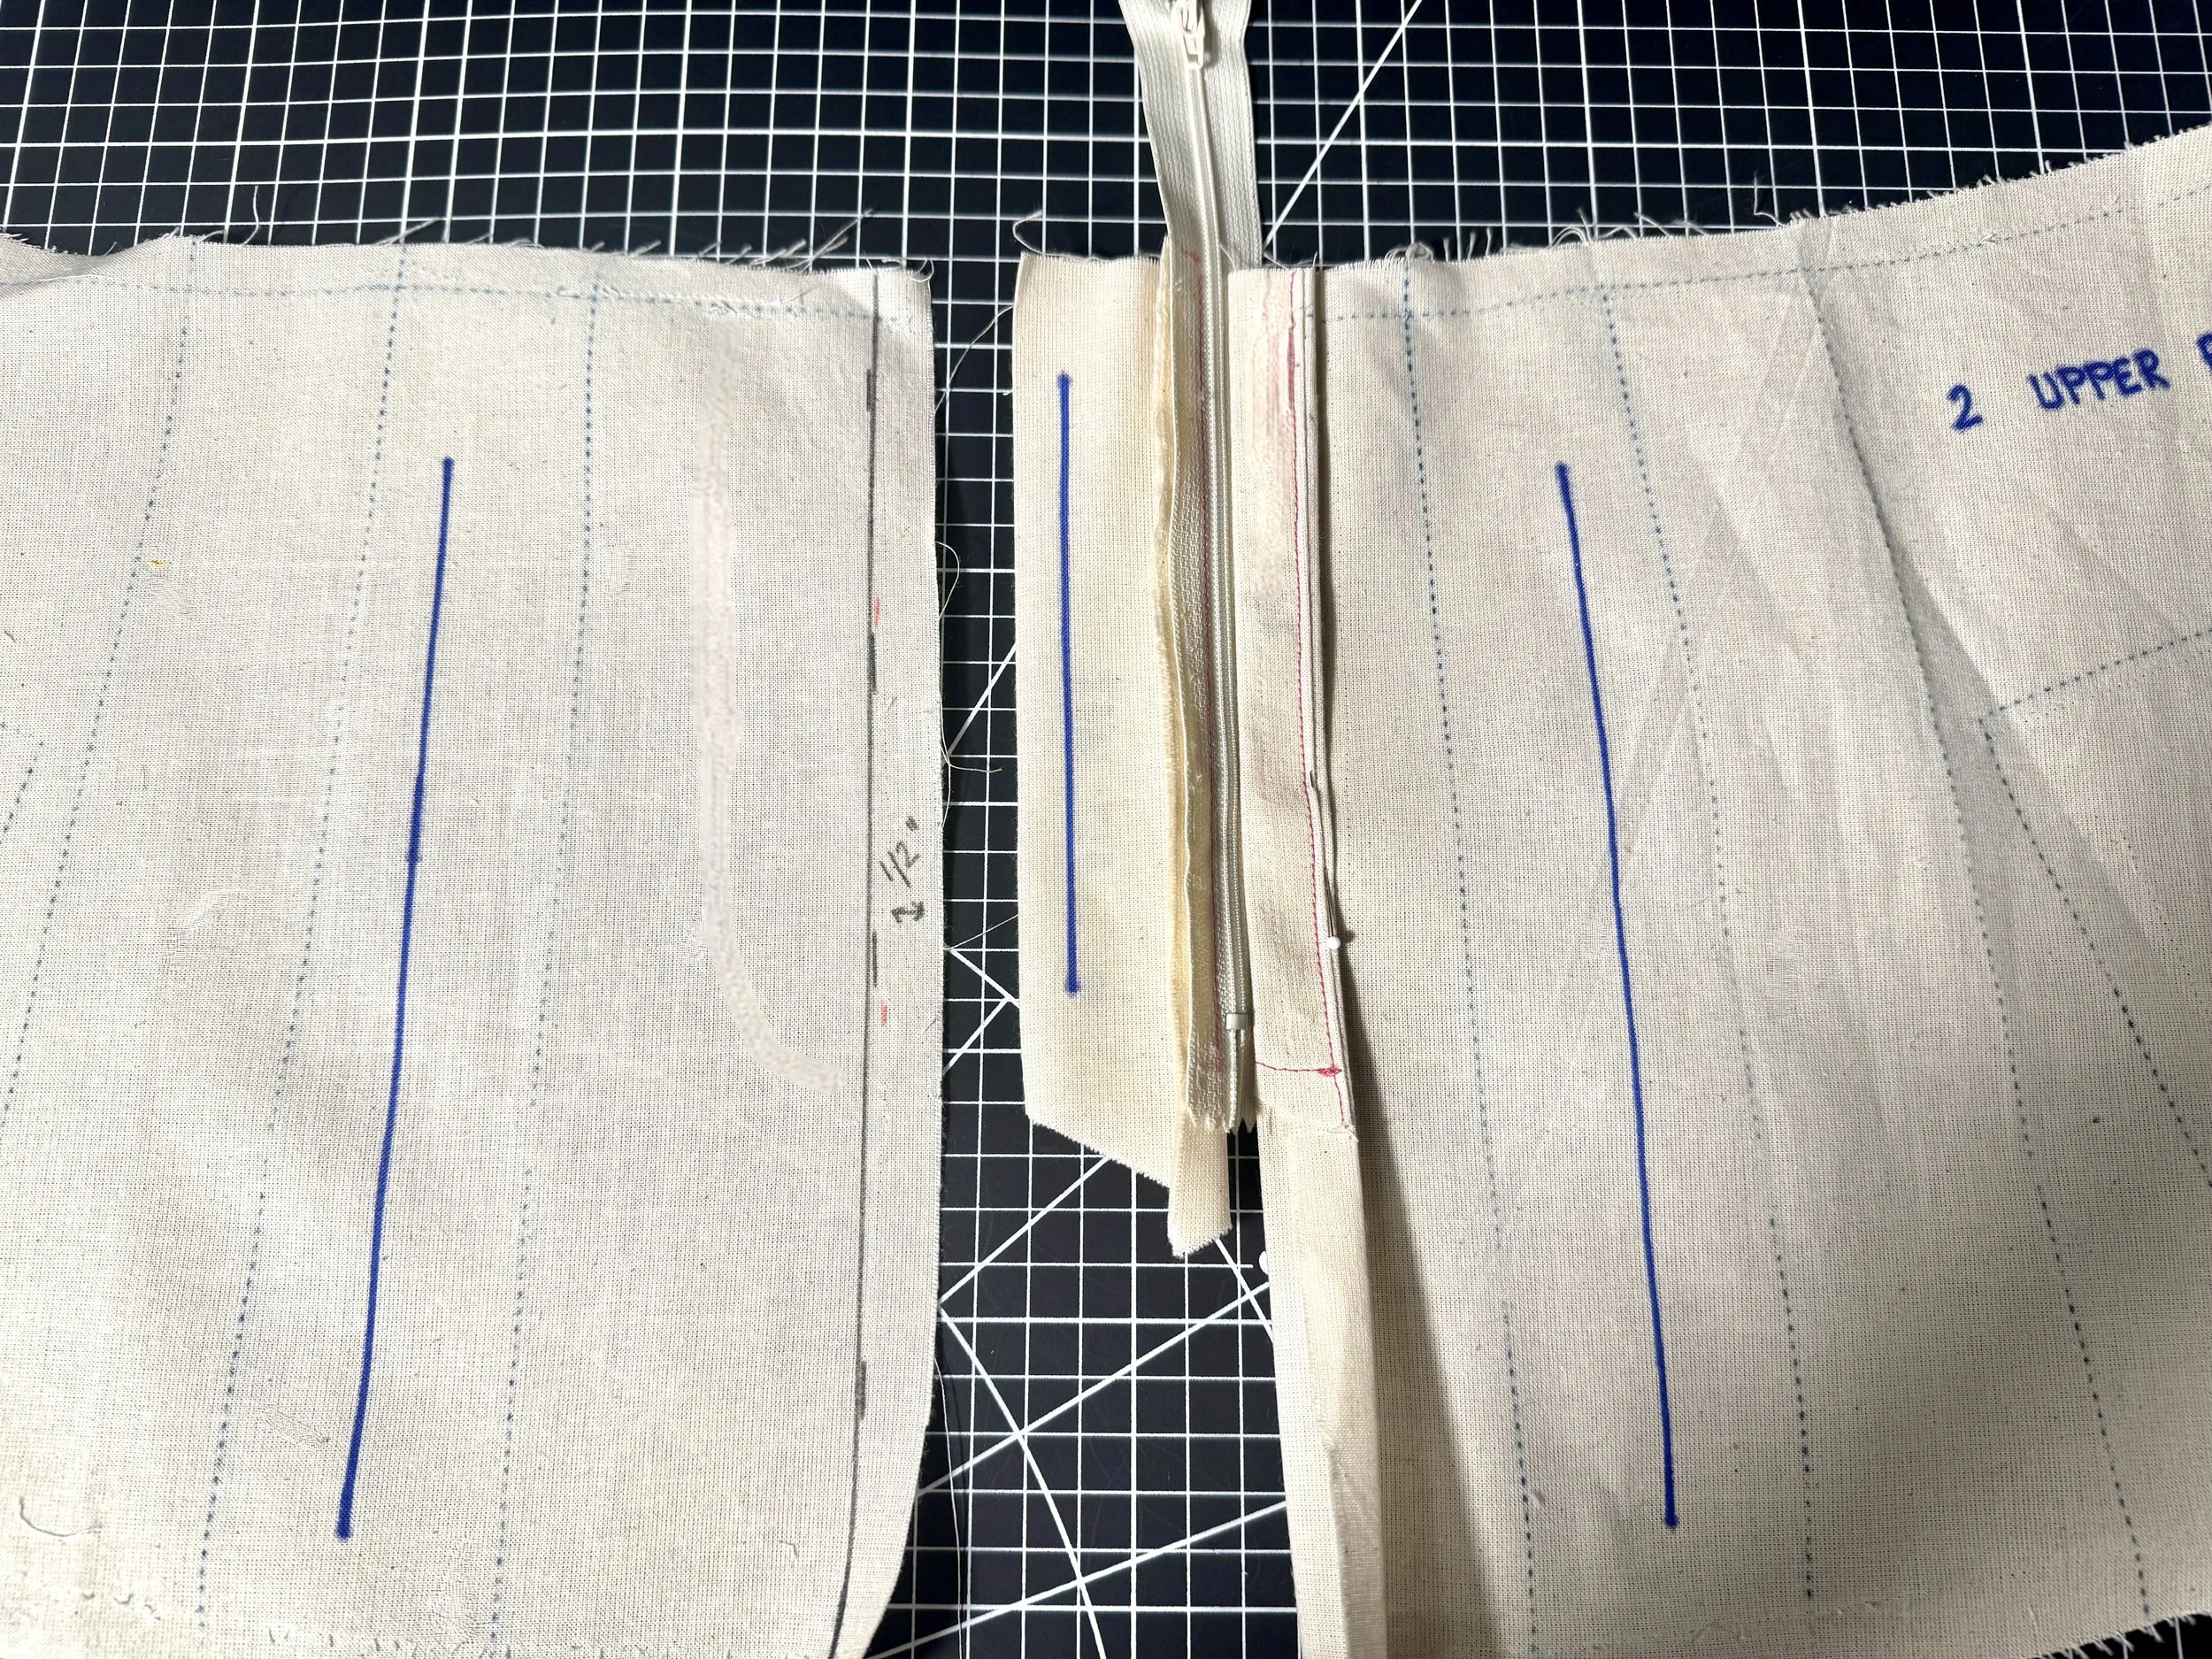
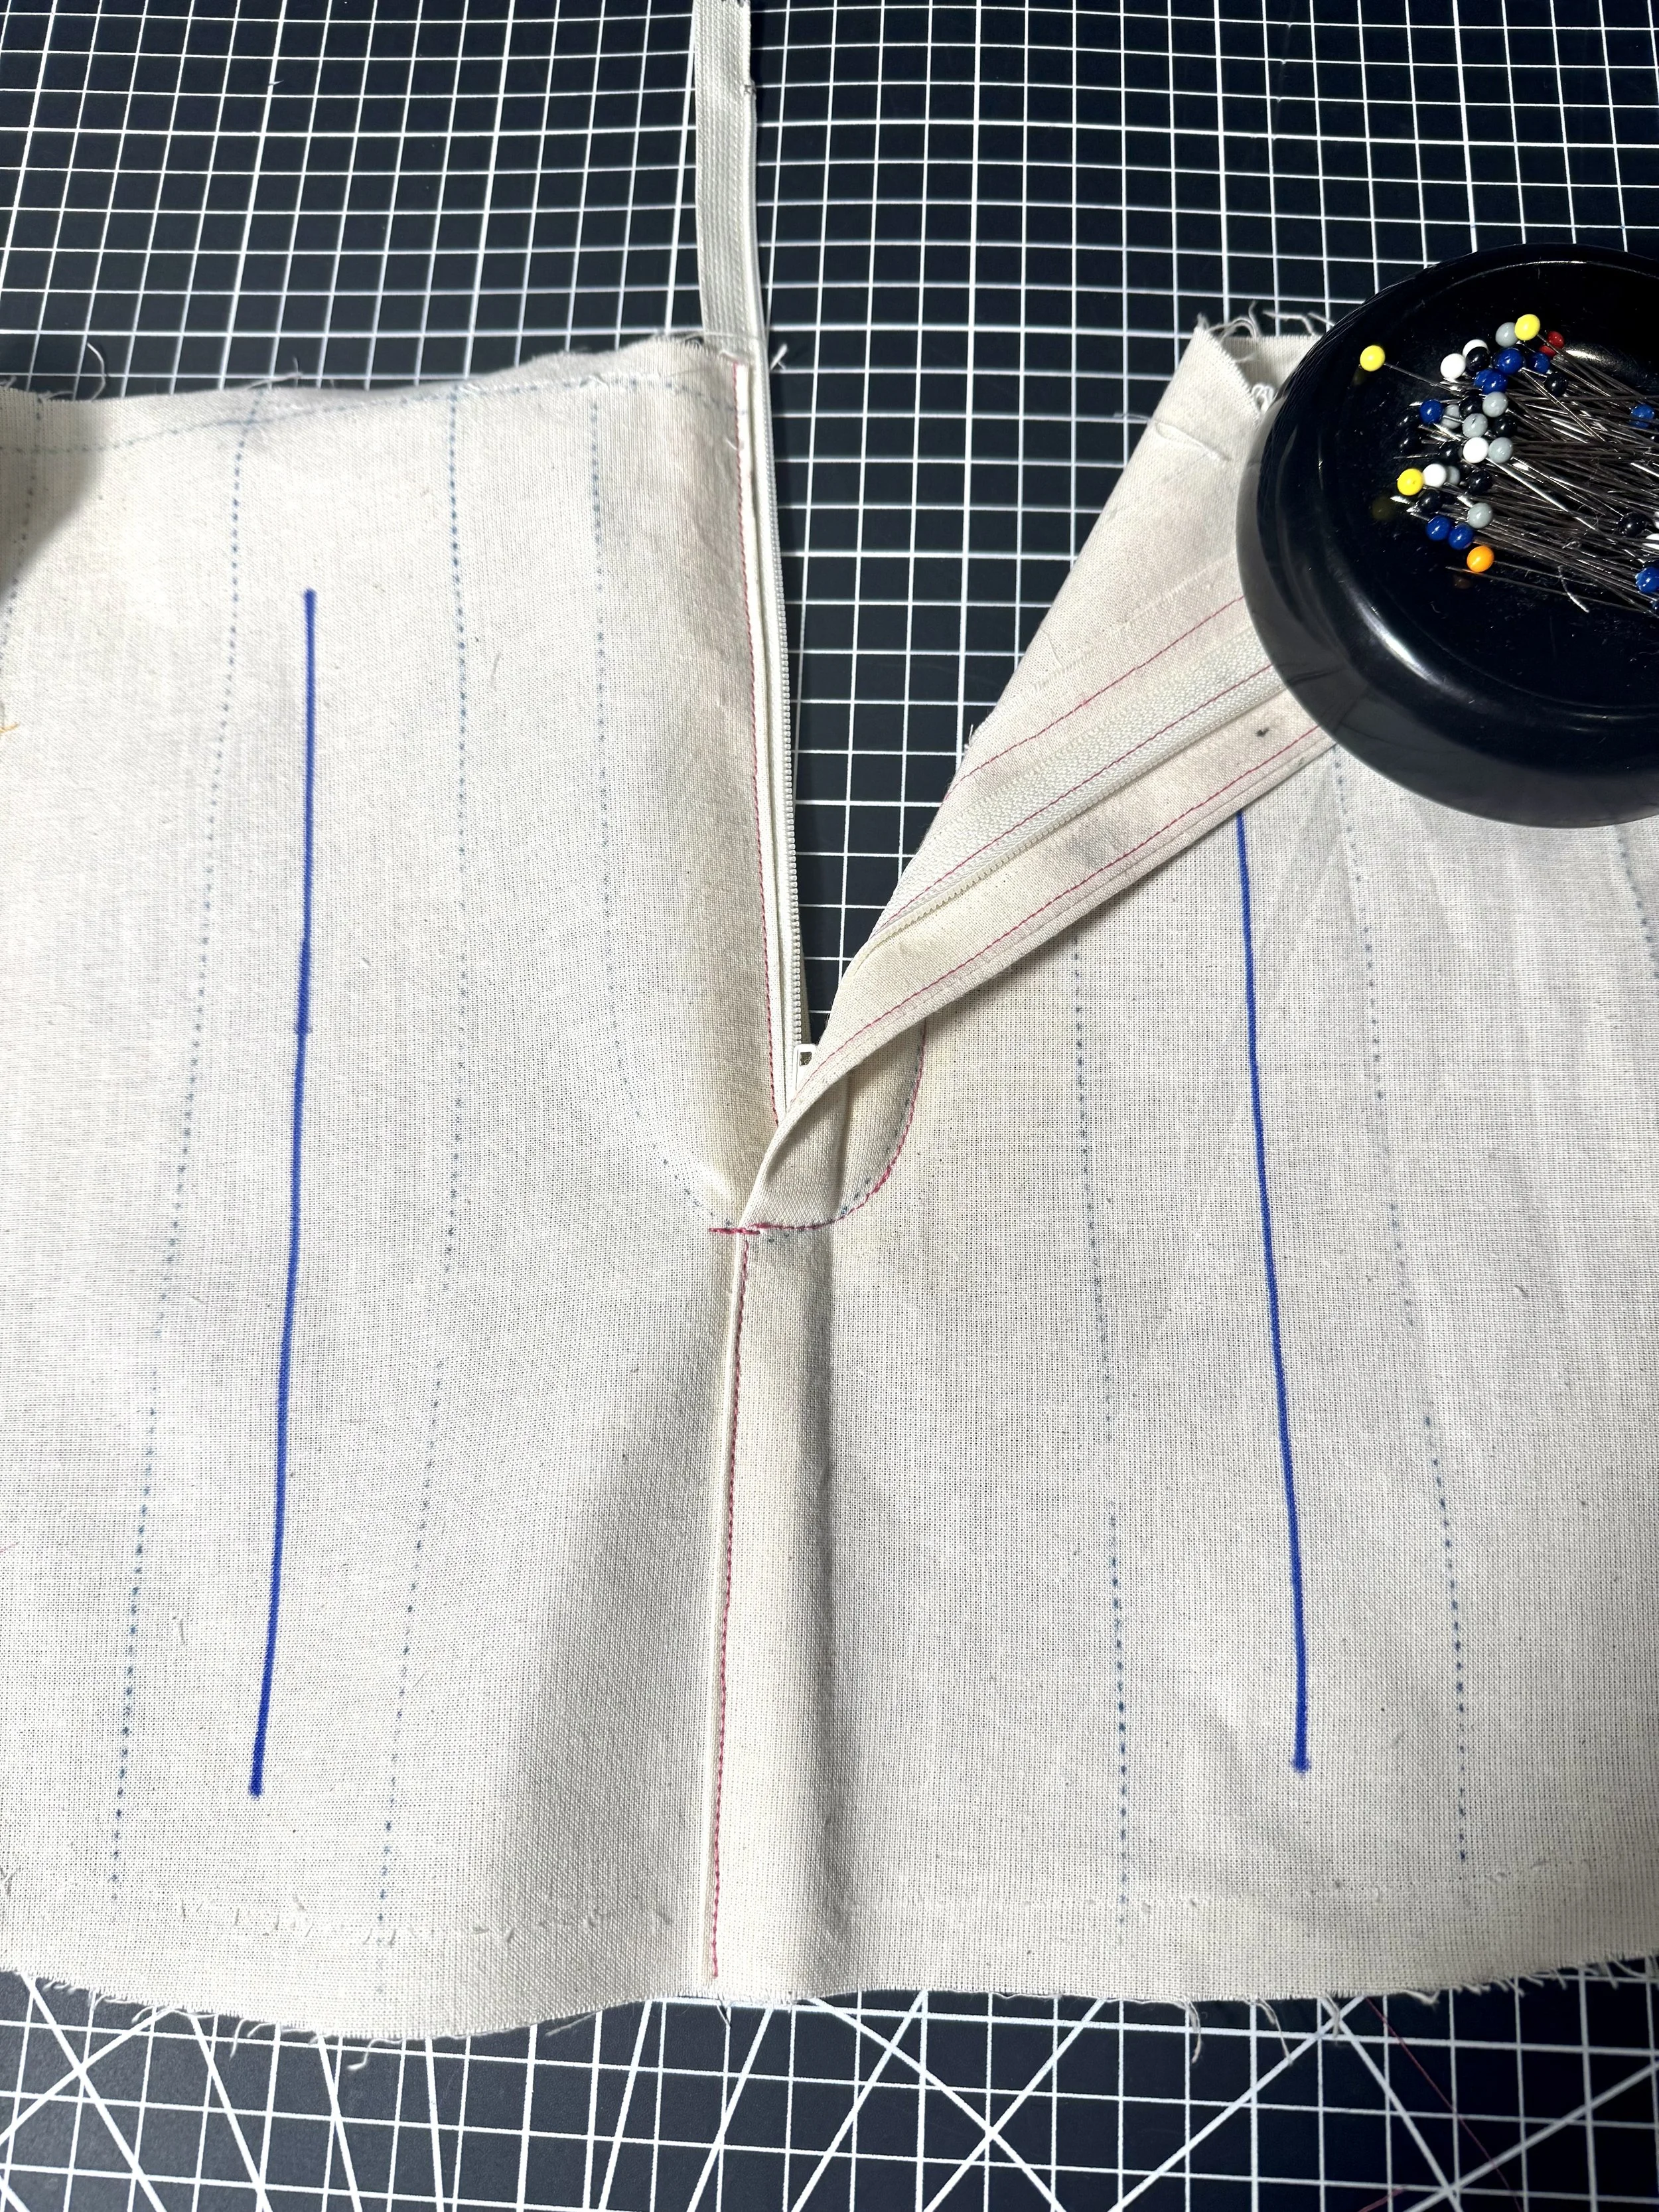
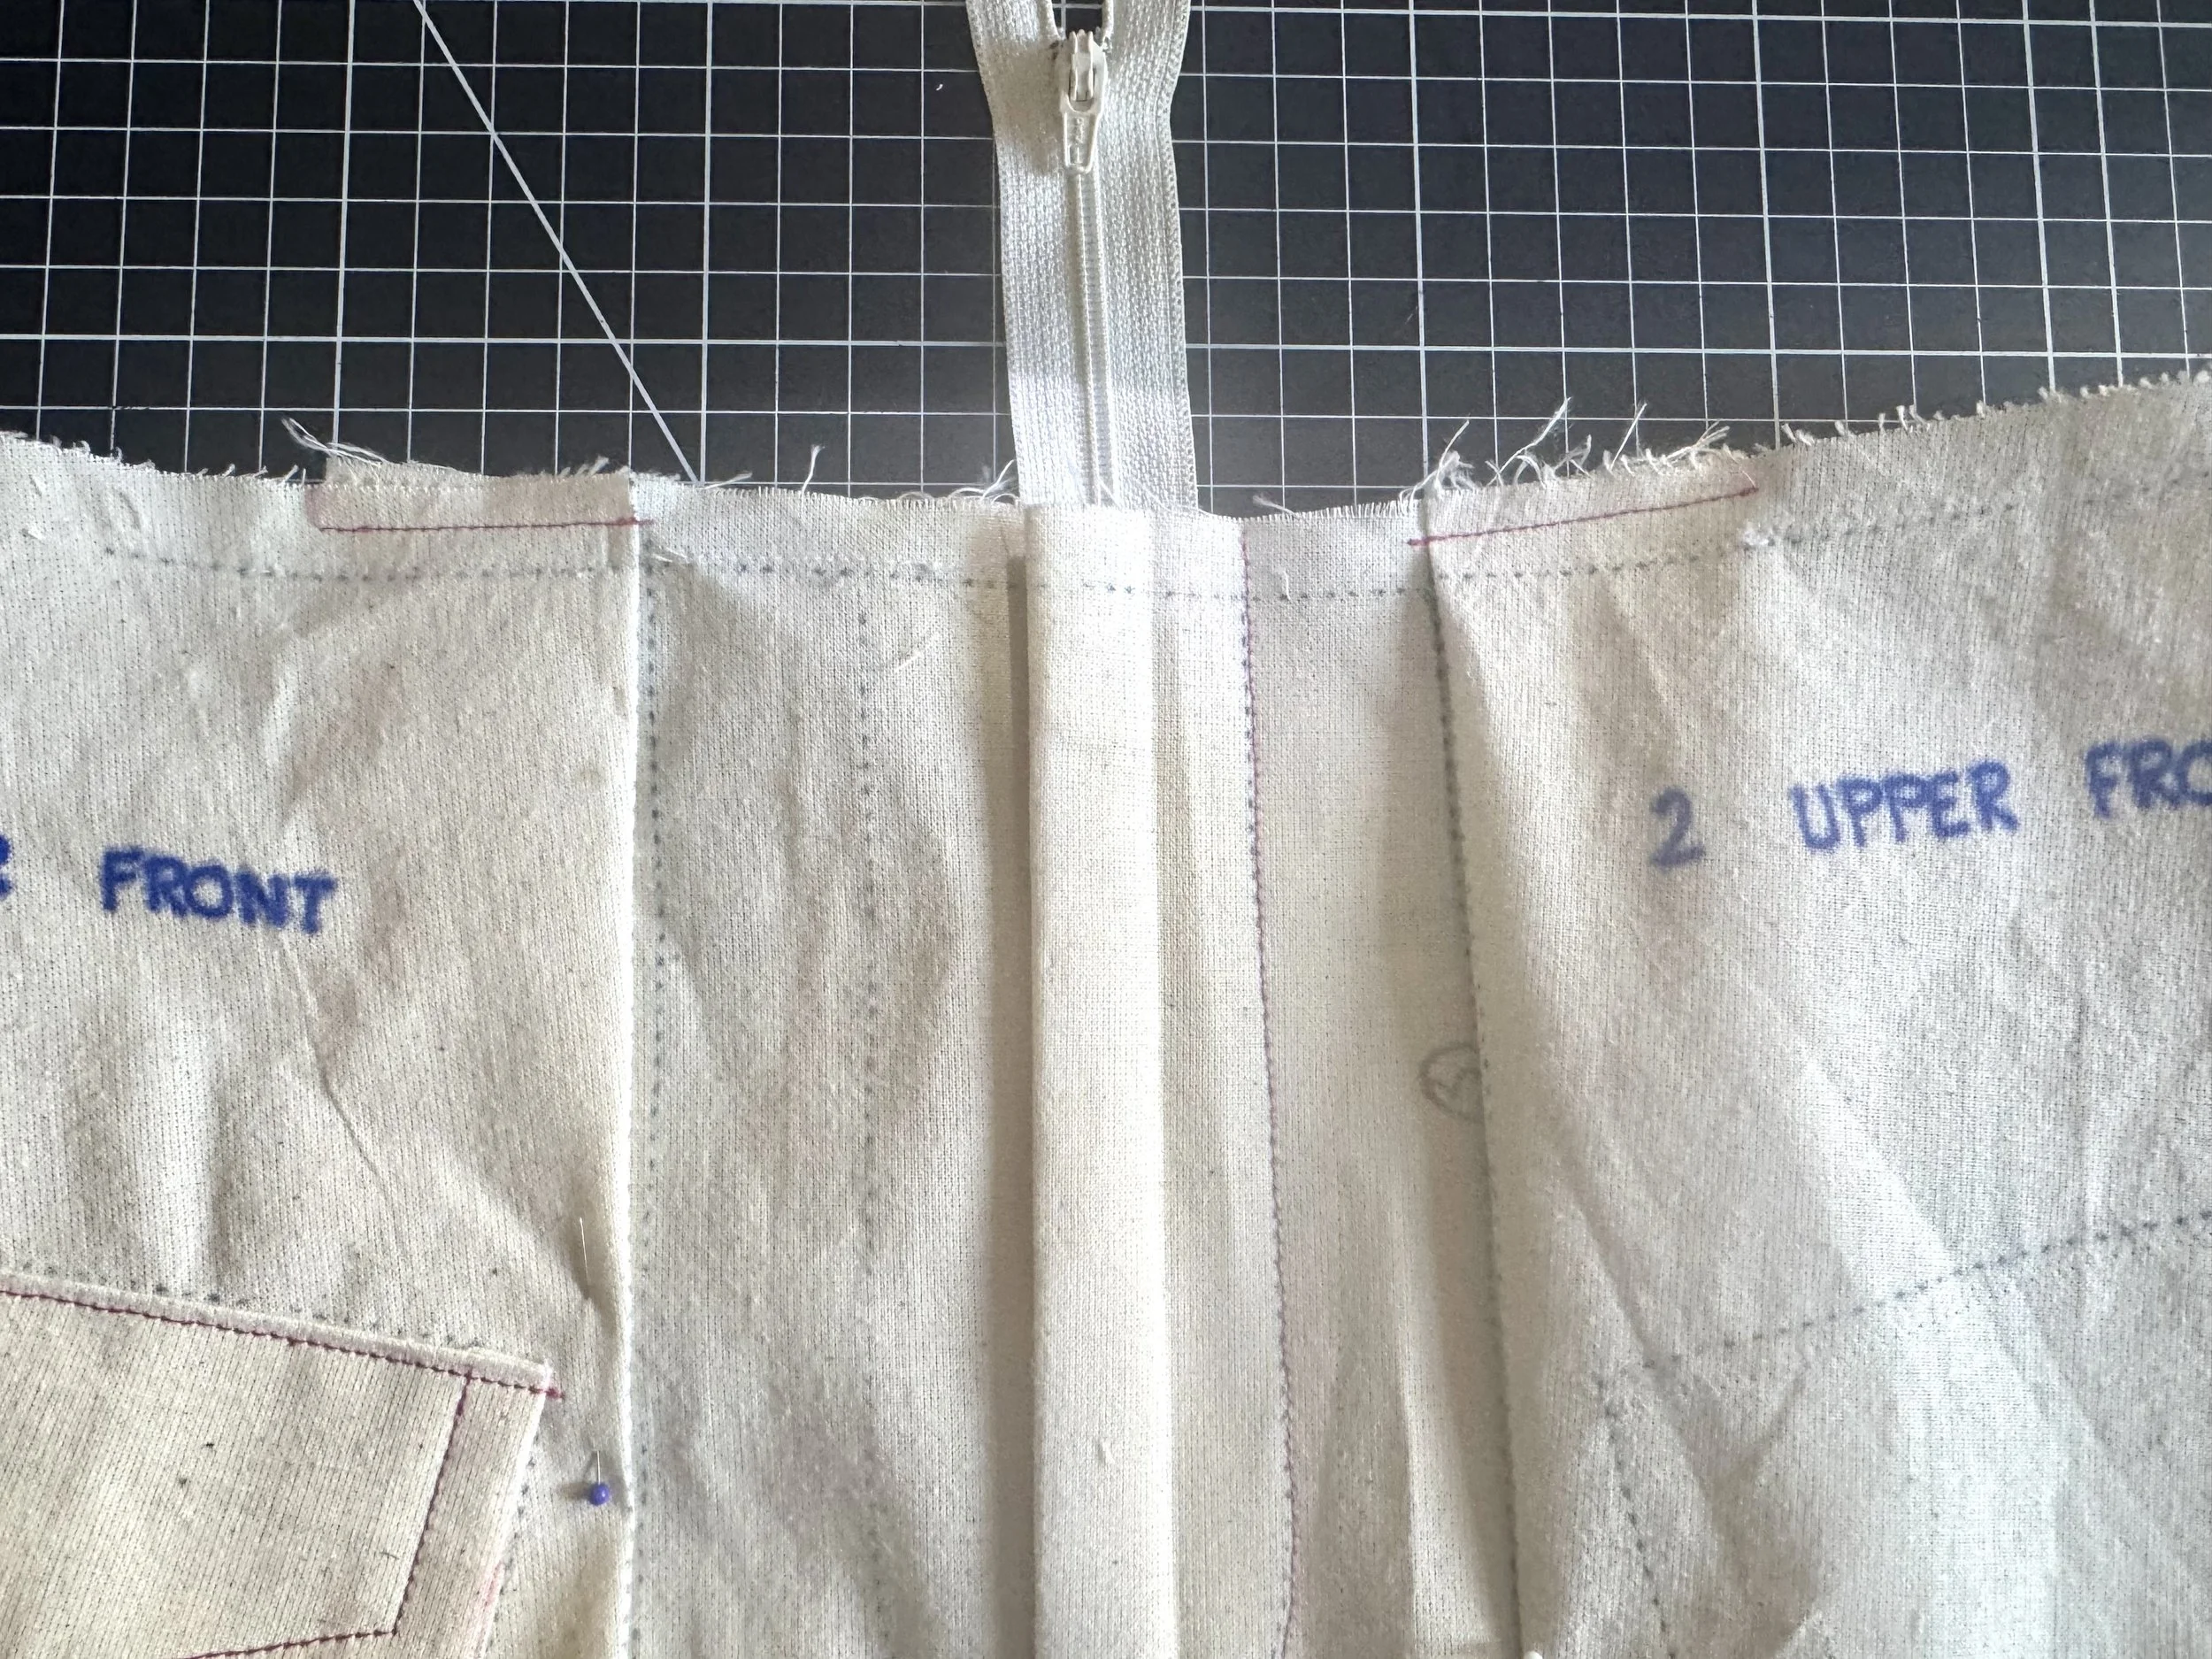
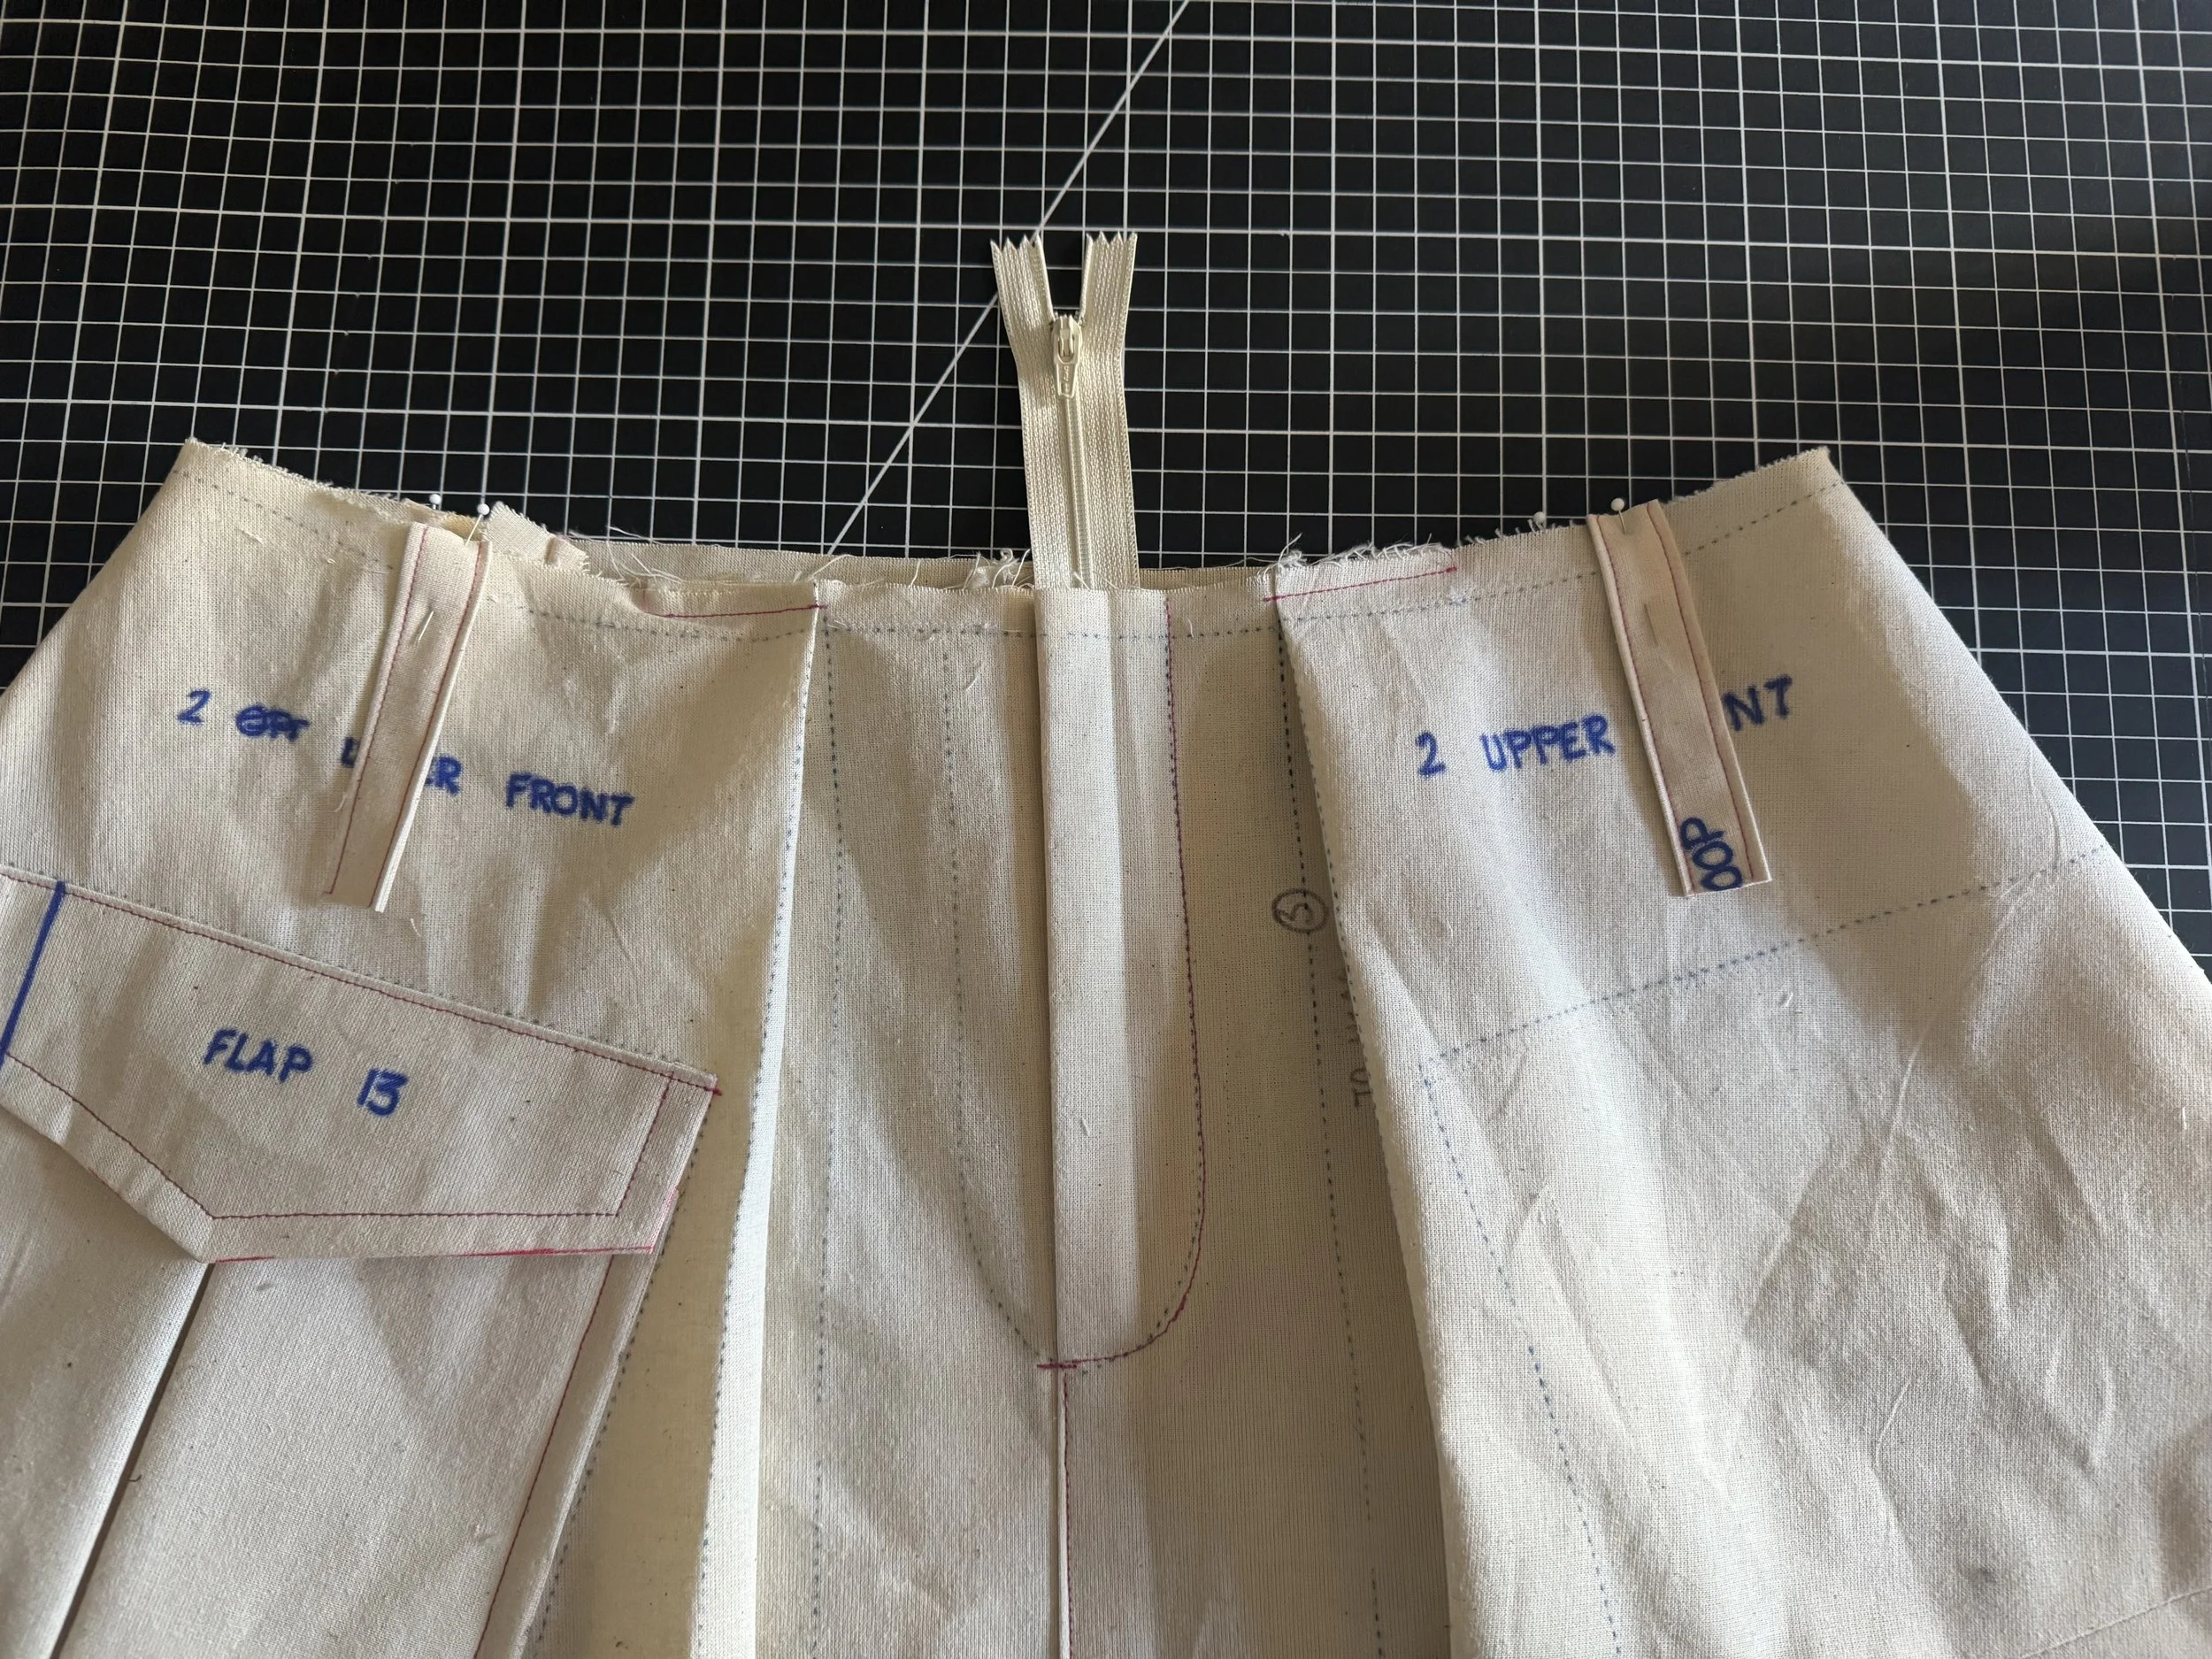
Next we attach the right front side to the left. There is a half inch seam allowance.
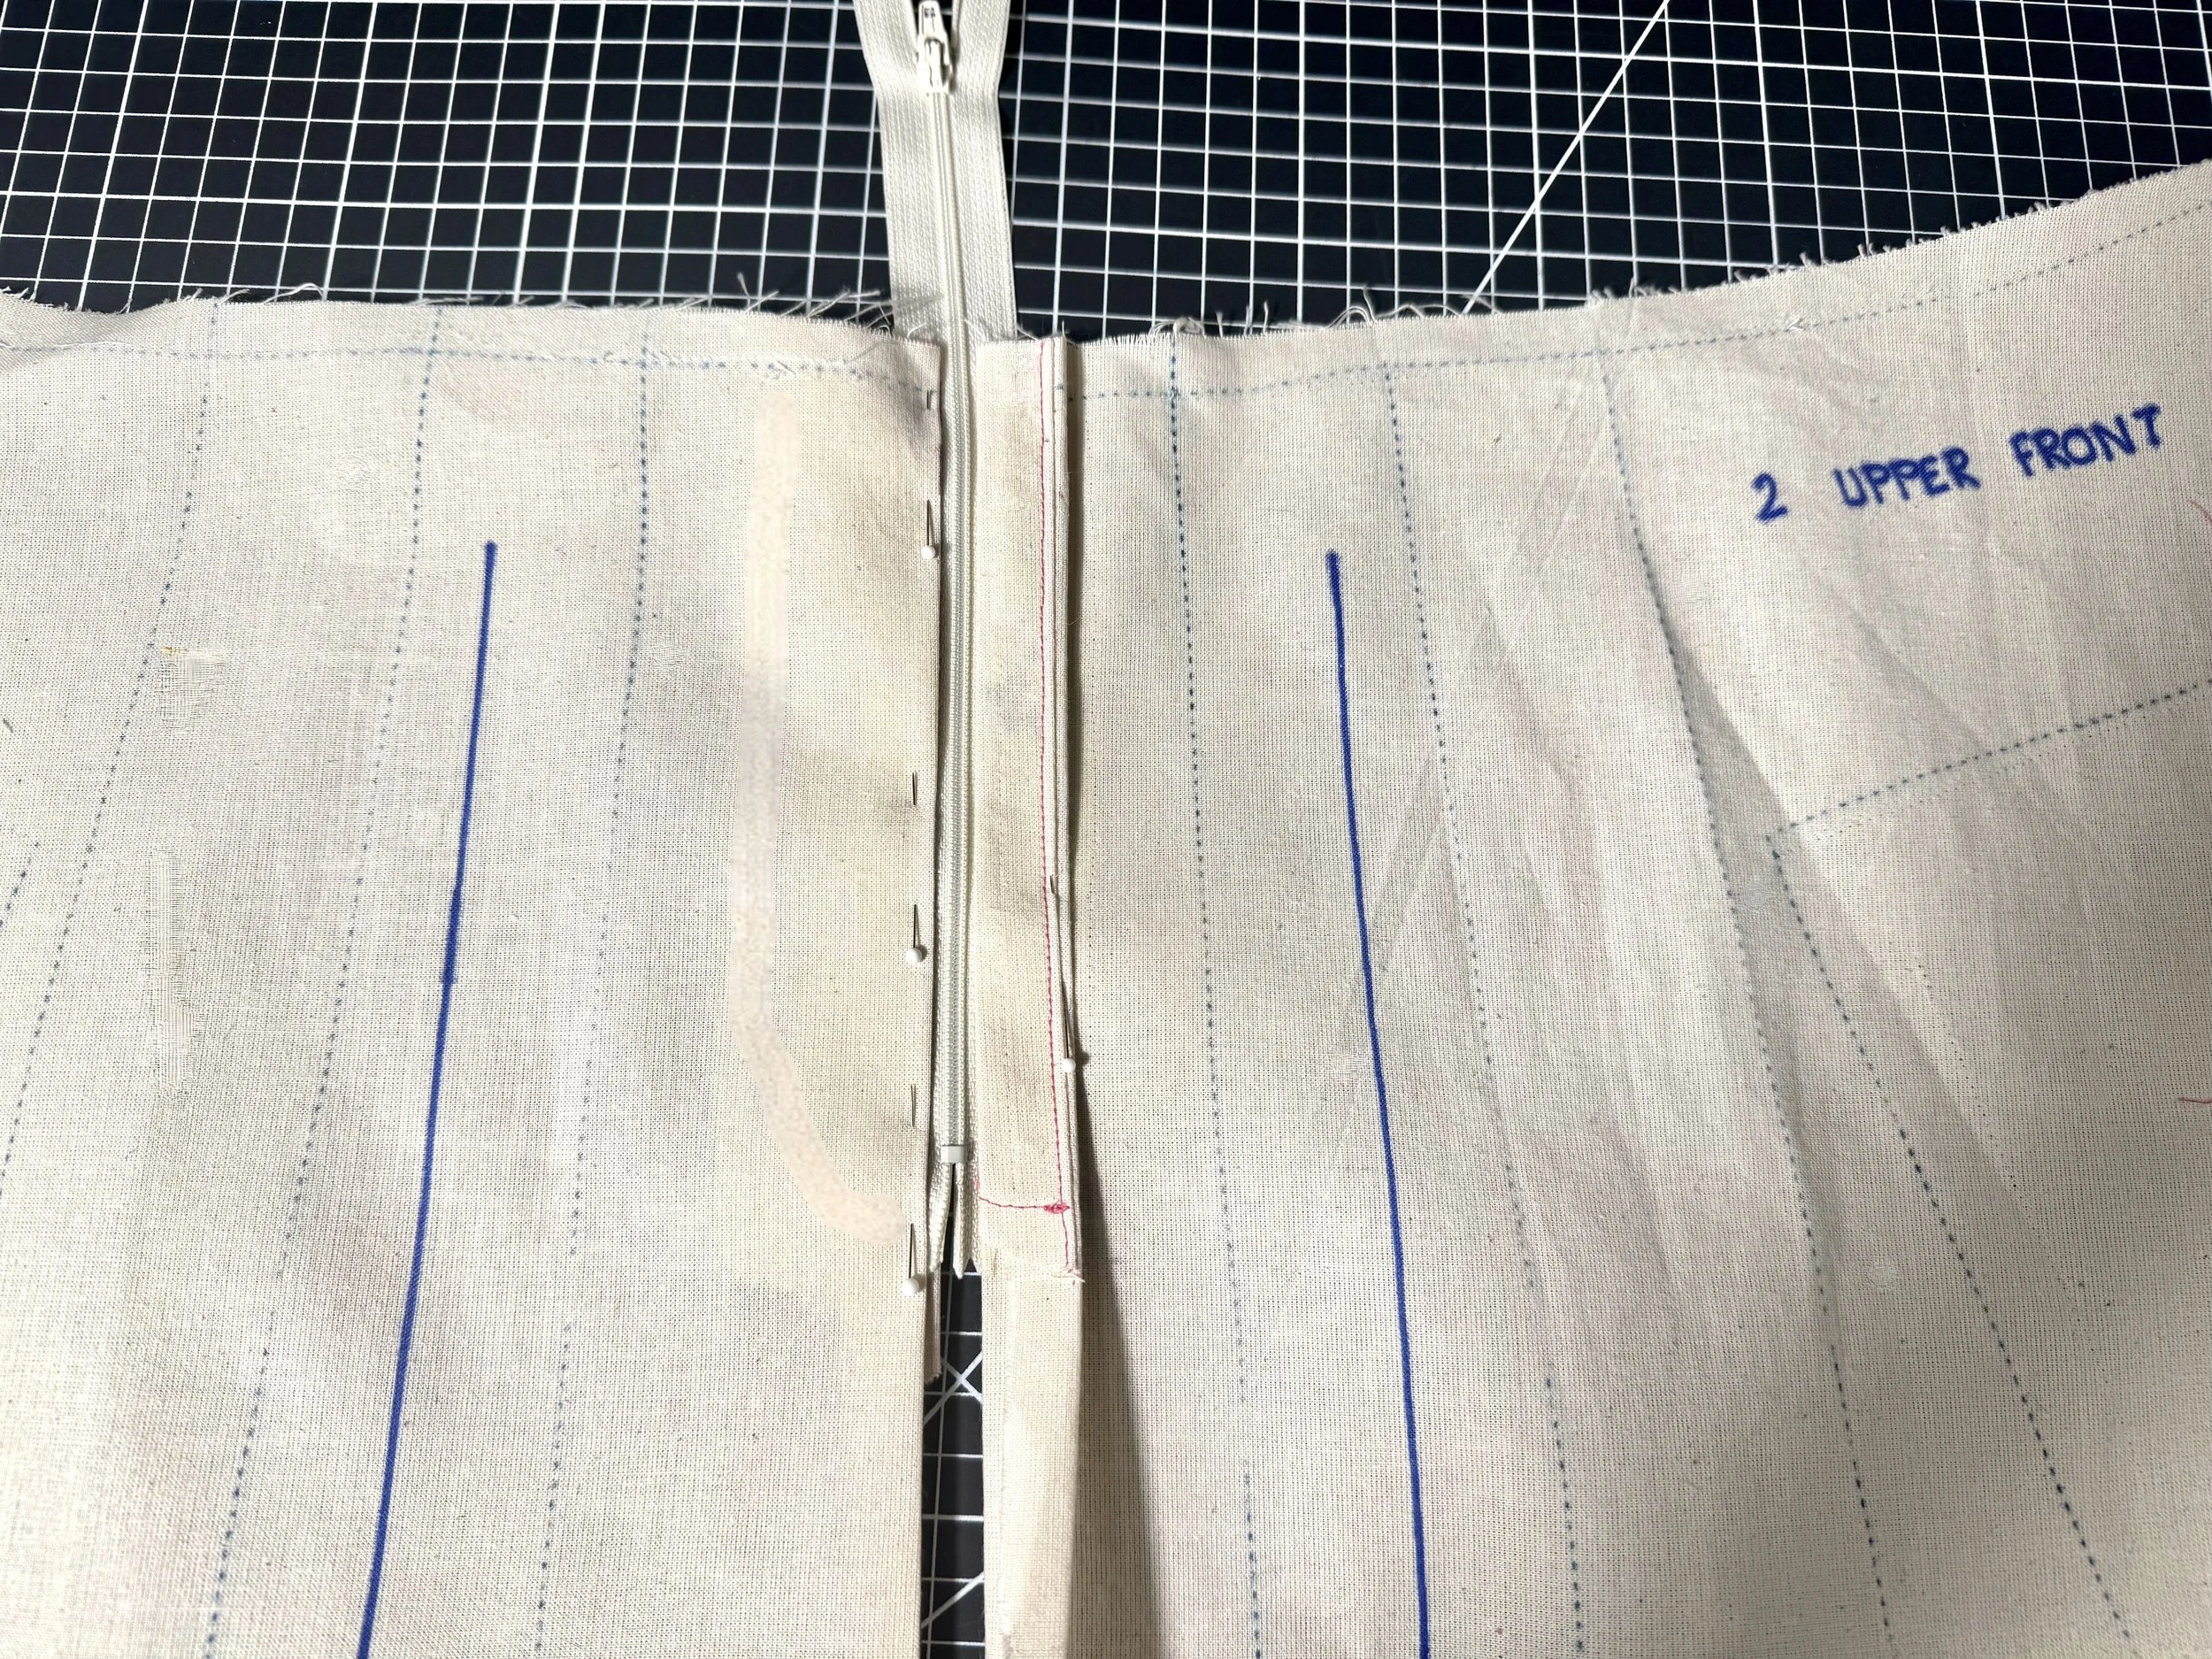
Fold your seam allowance under, and pin to your zipper. Your folded fly will lie directly under the upper right front. Run a stitch close to the edge joining the two upper fronts together, to complete your zipper construction.

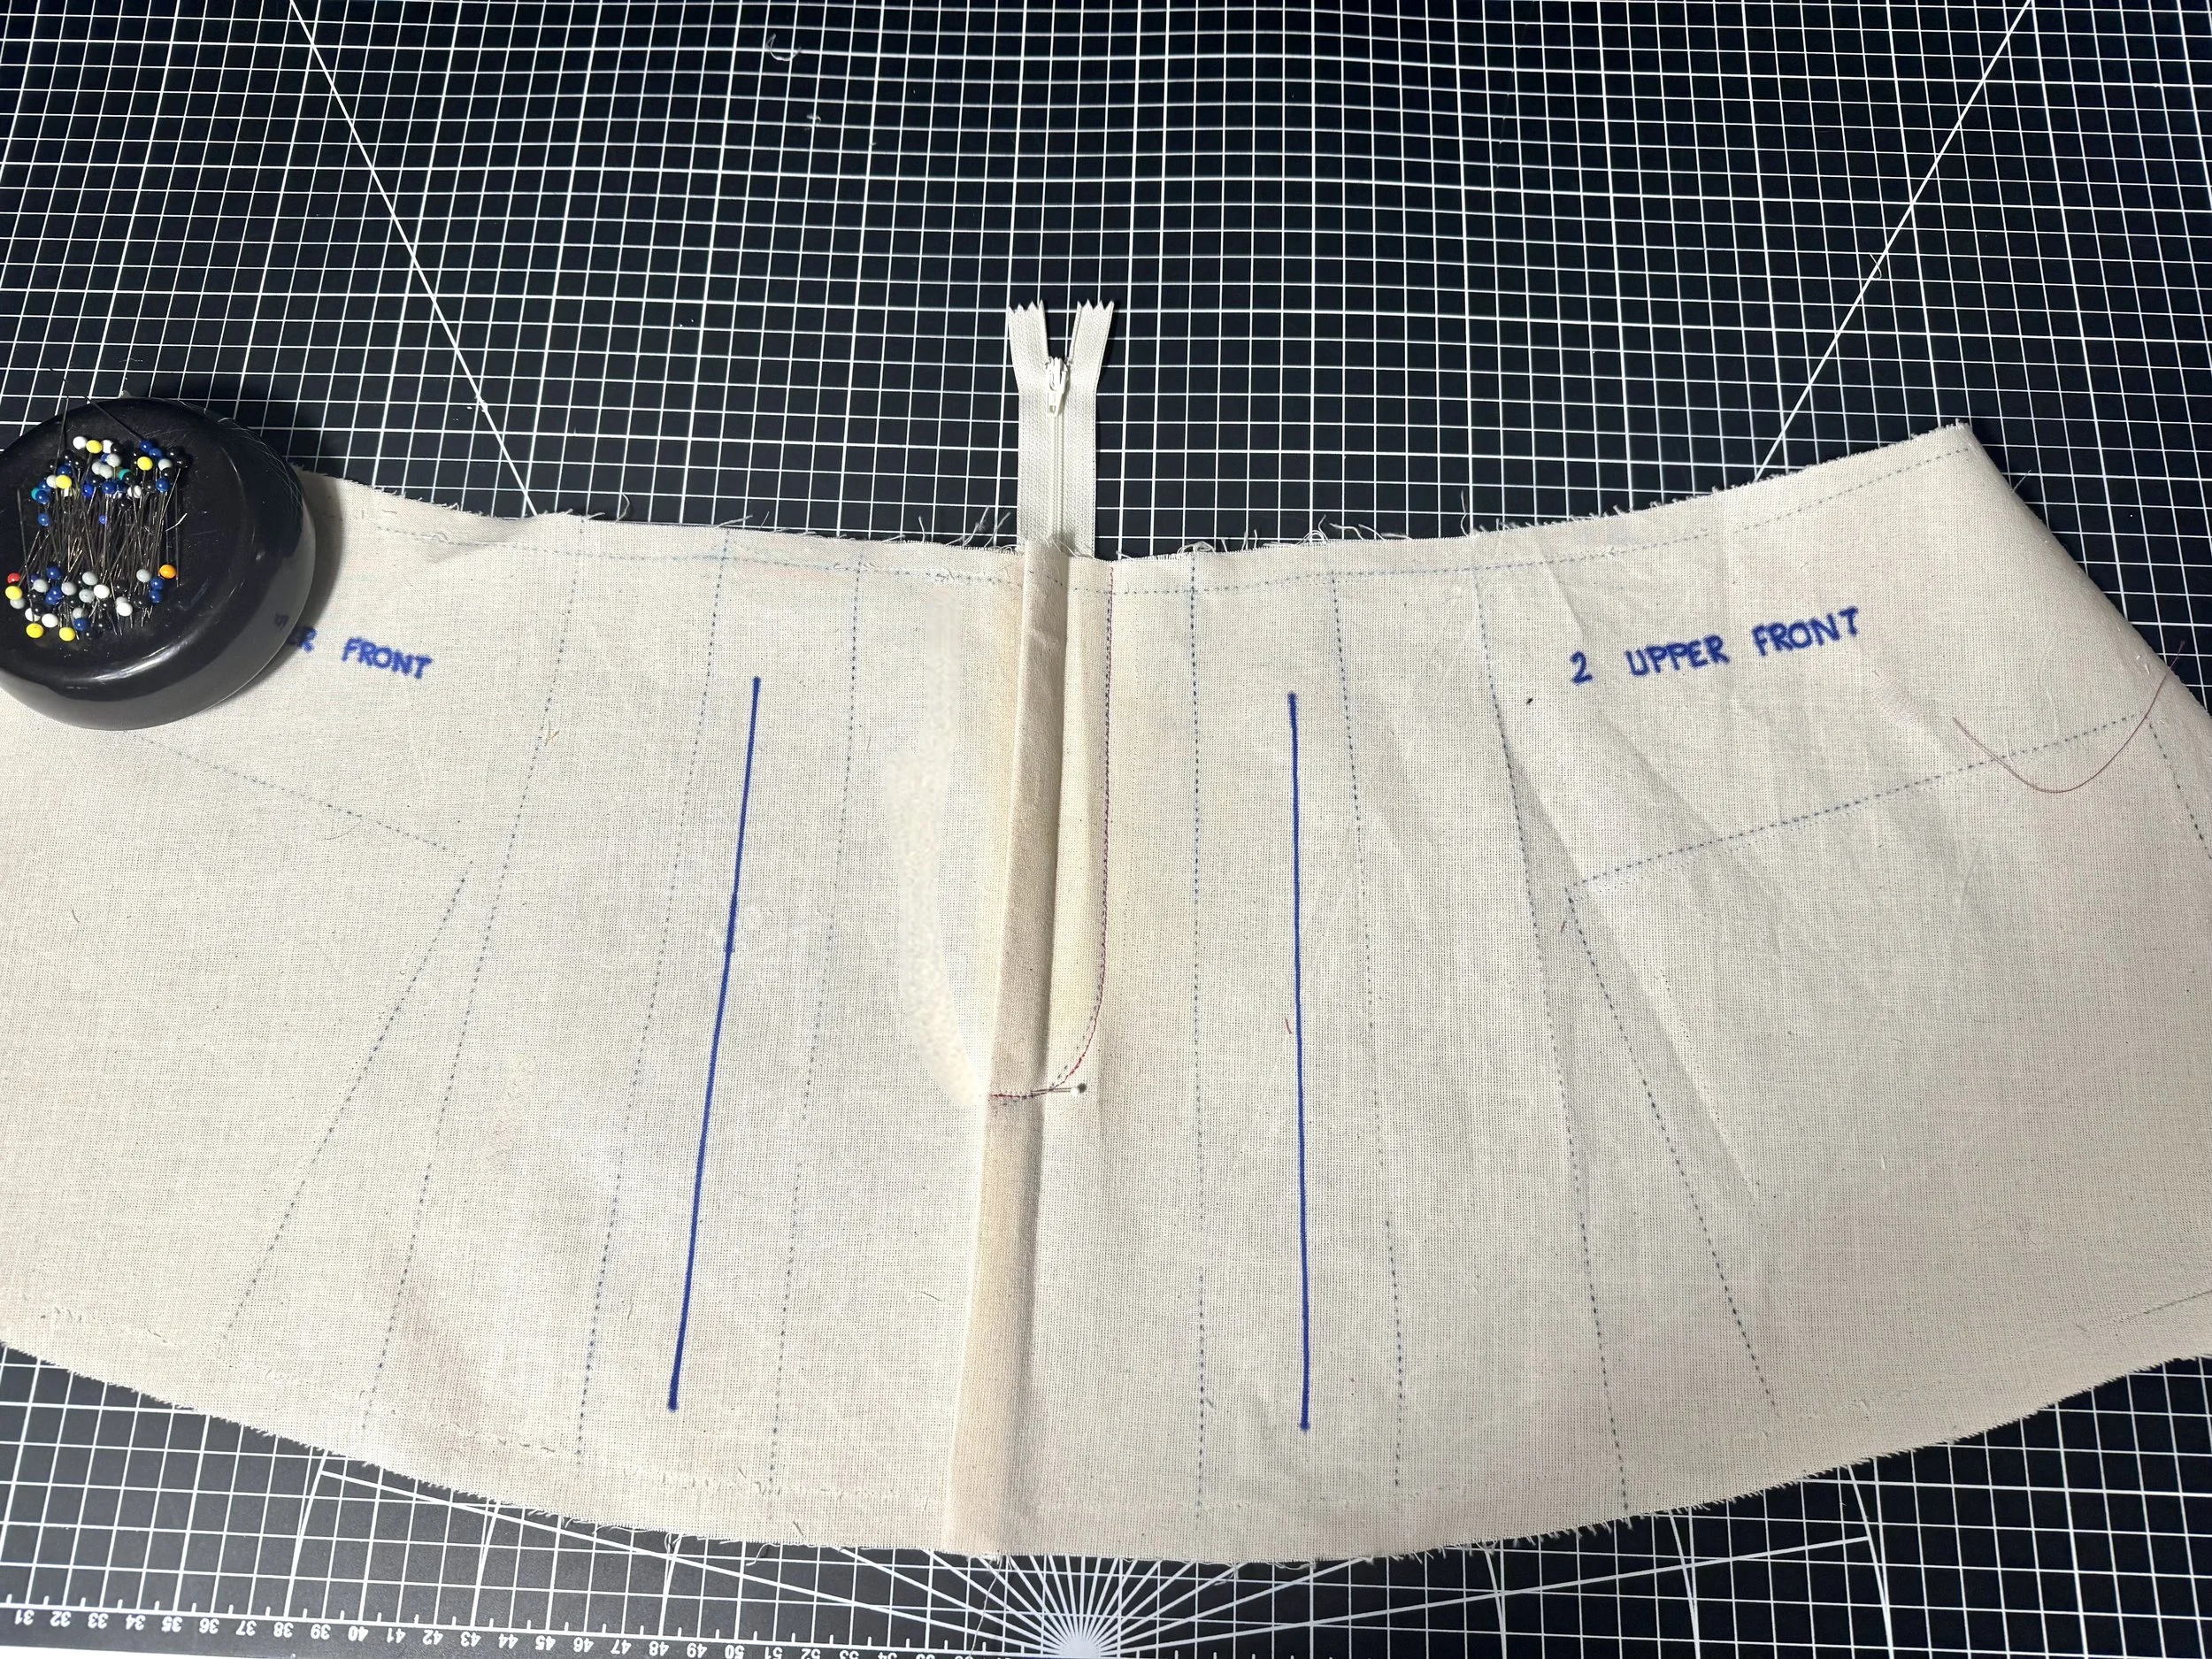
Run a small bar tack where the pin is placed, to hold the two fly pieces together.
To join the lower half of the panel, fold the seam allowance of the left side over onto the right side and stitch.
Congratulations, the hardest part is done!
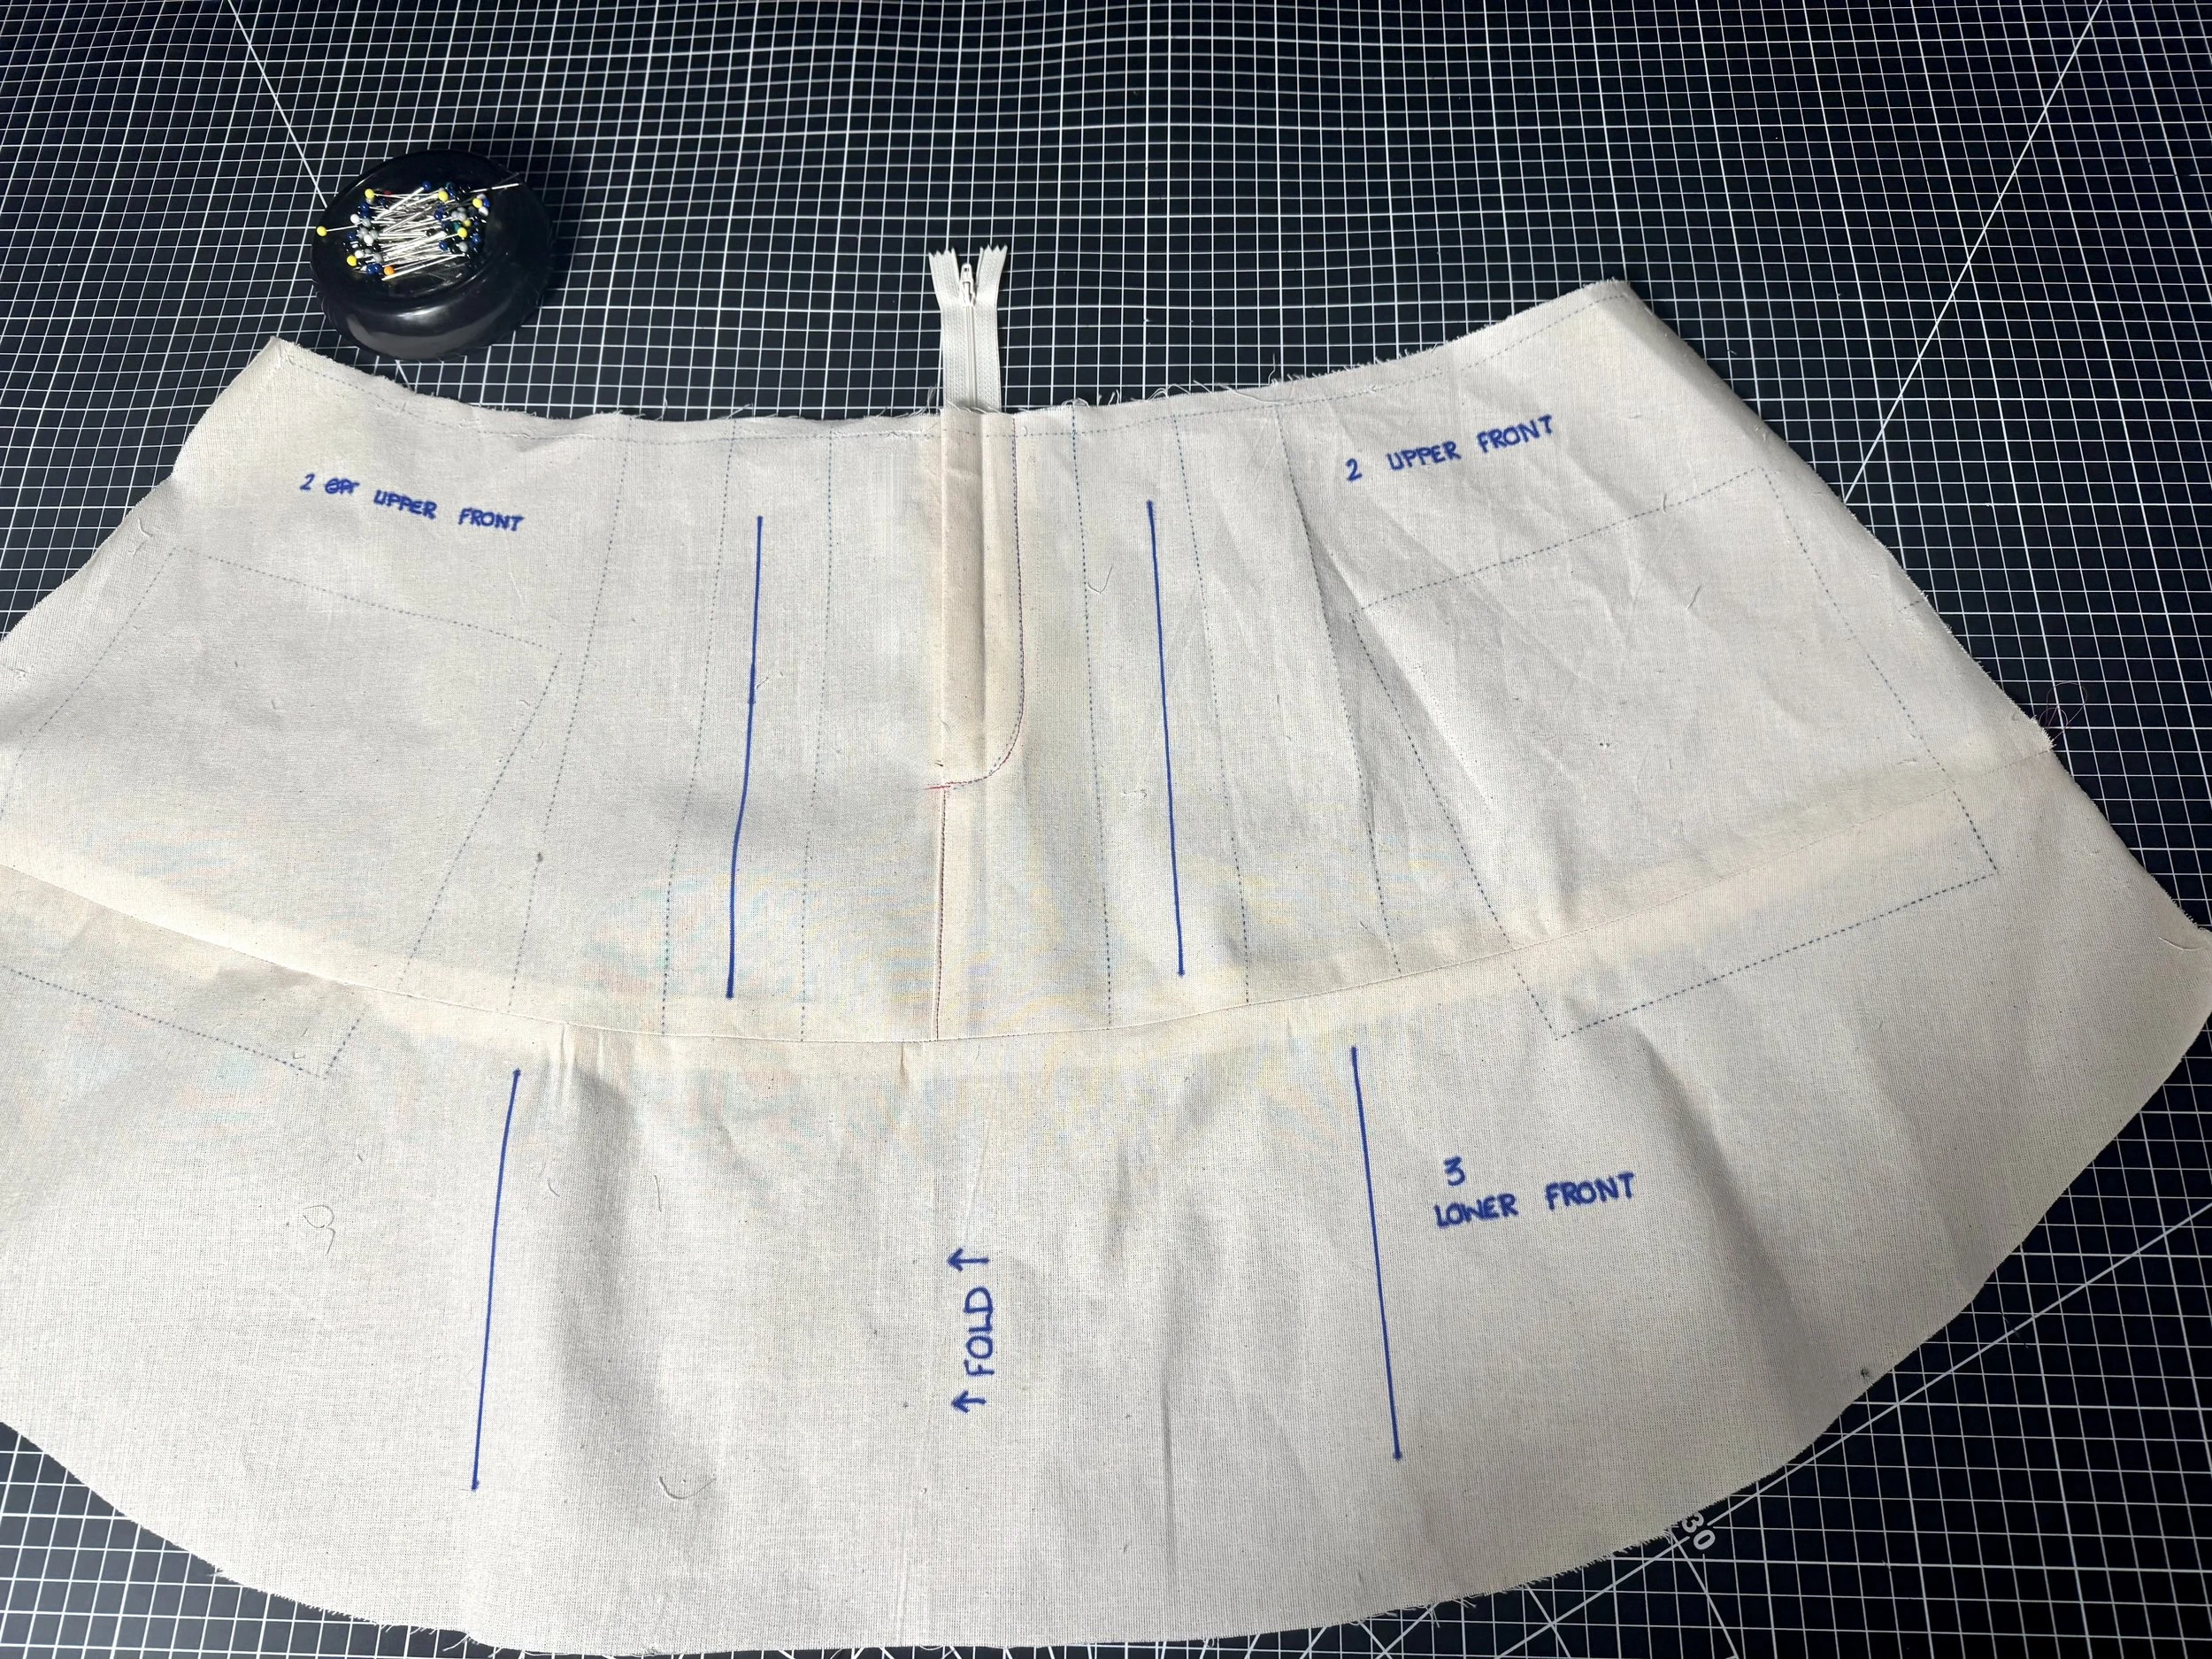
Sew piece 3 - Lower front to the upper front piece.
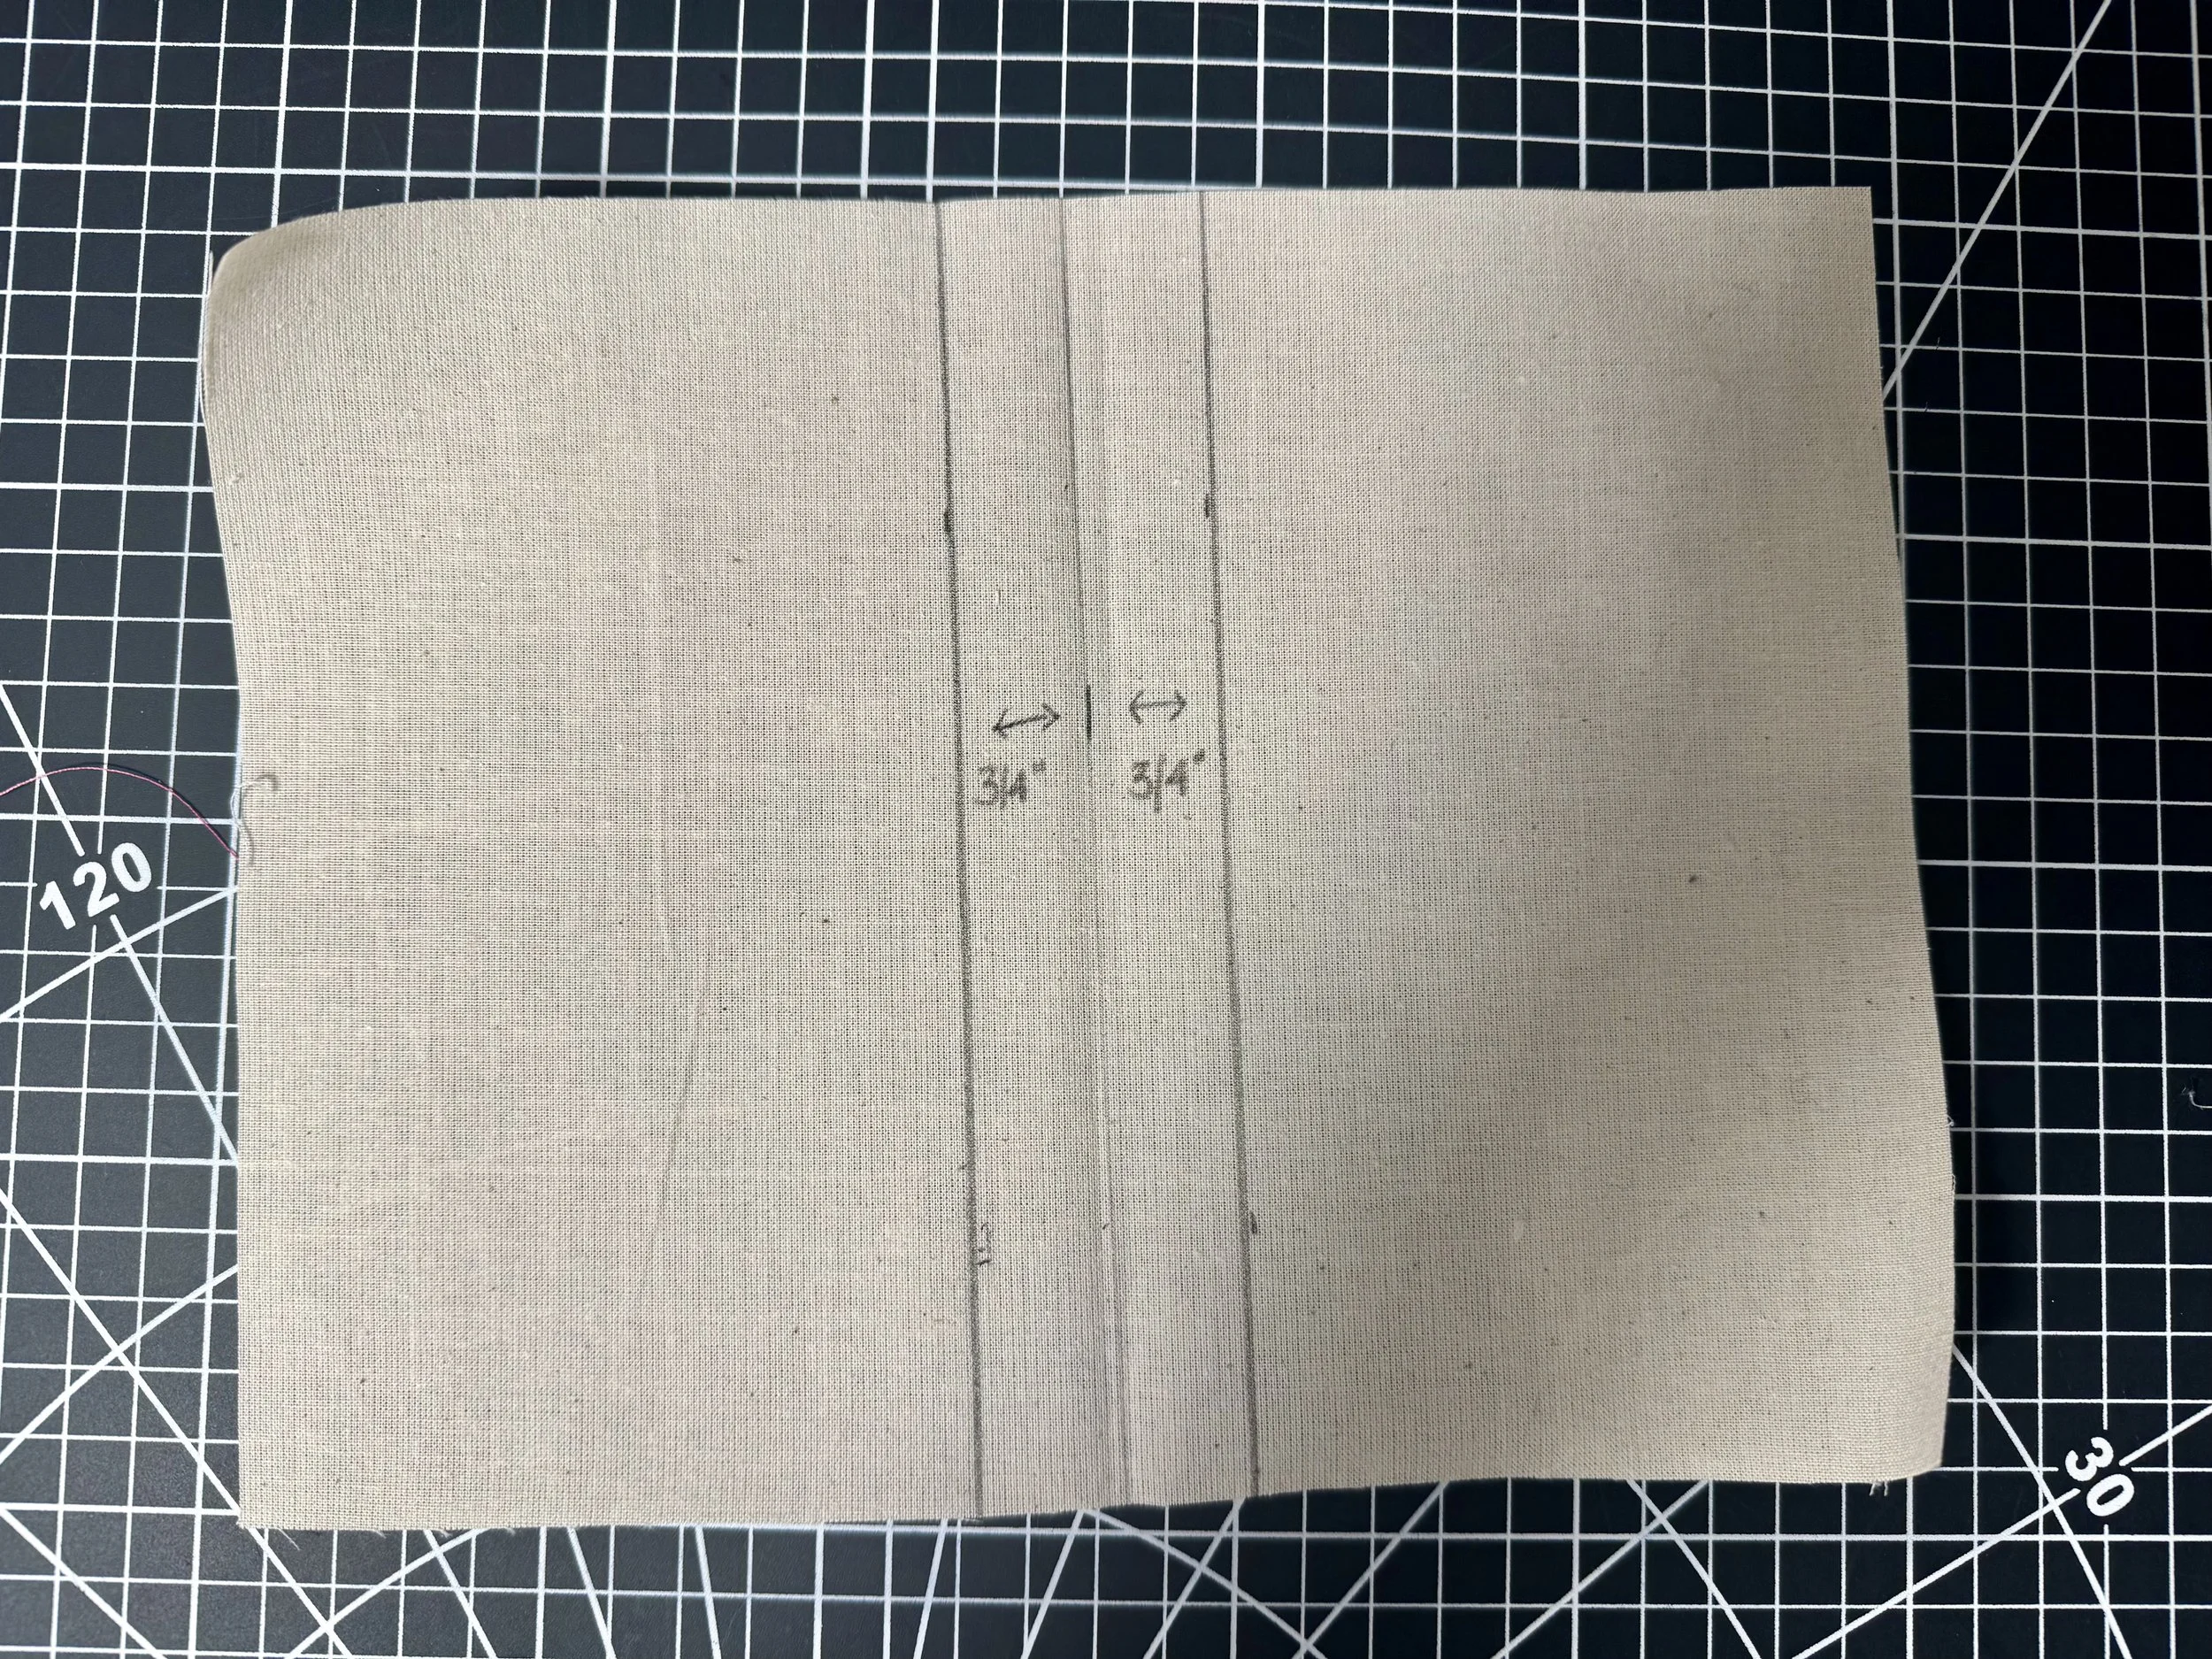
Pockets next! Find your center, and create a fold of 3/4” from each side to create your pleat.
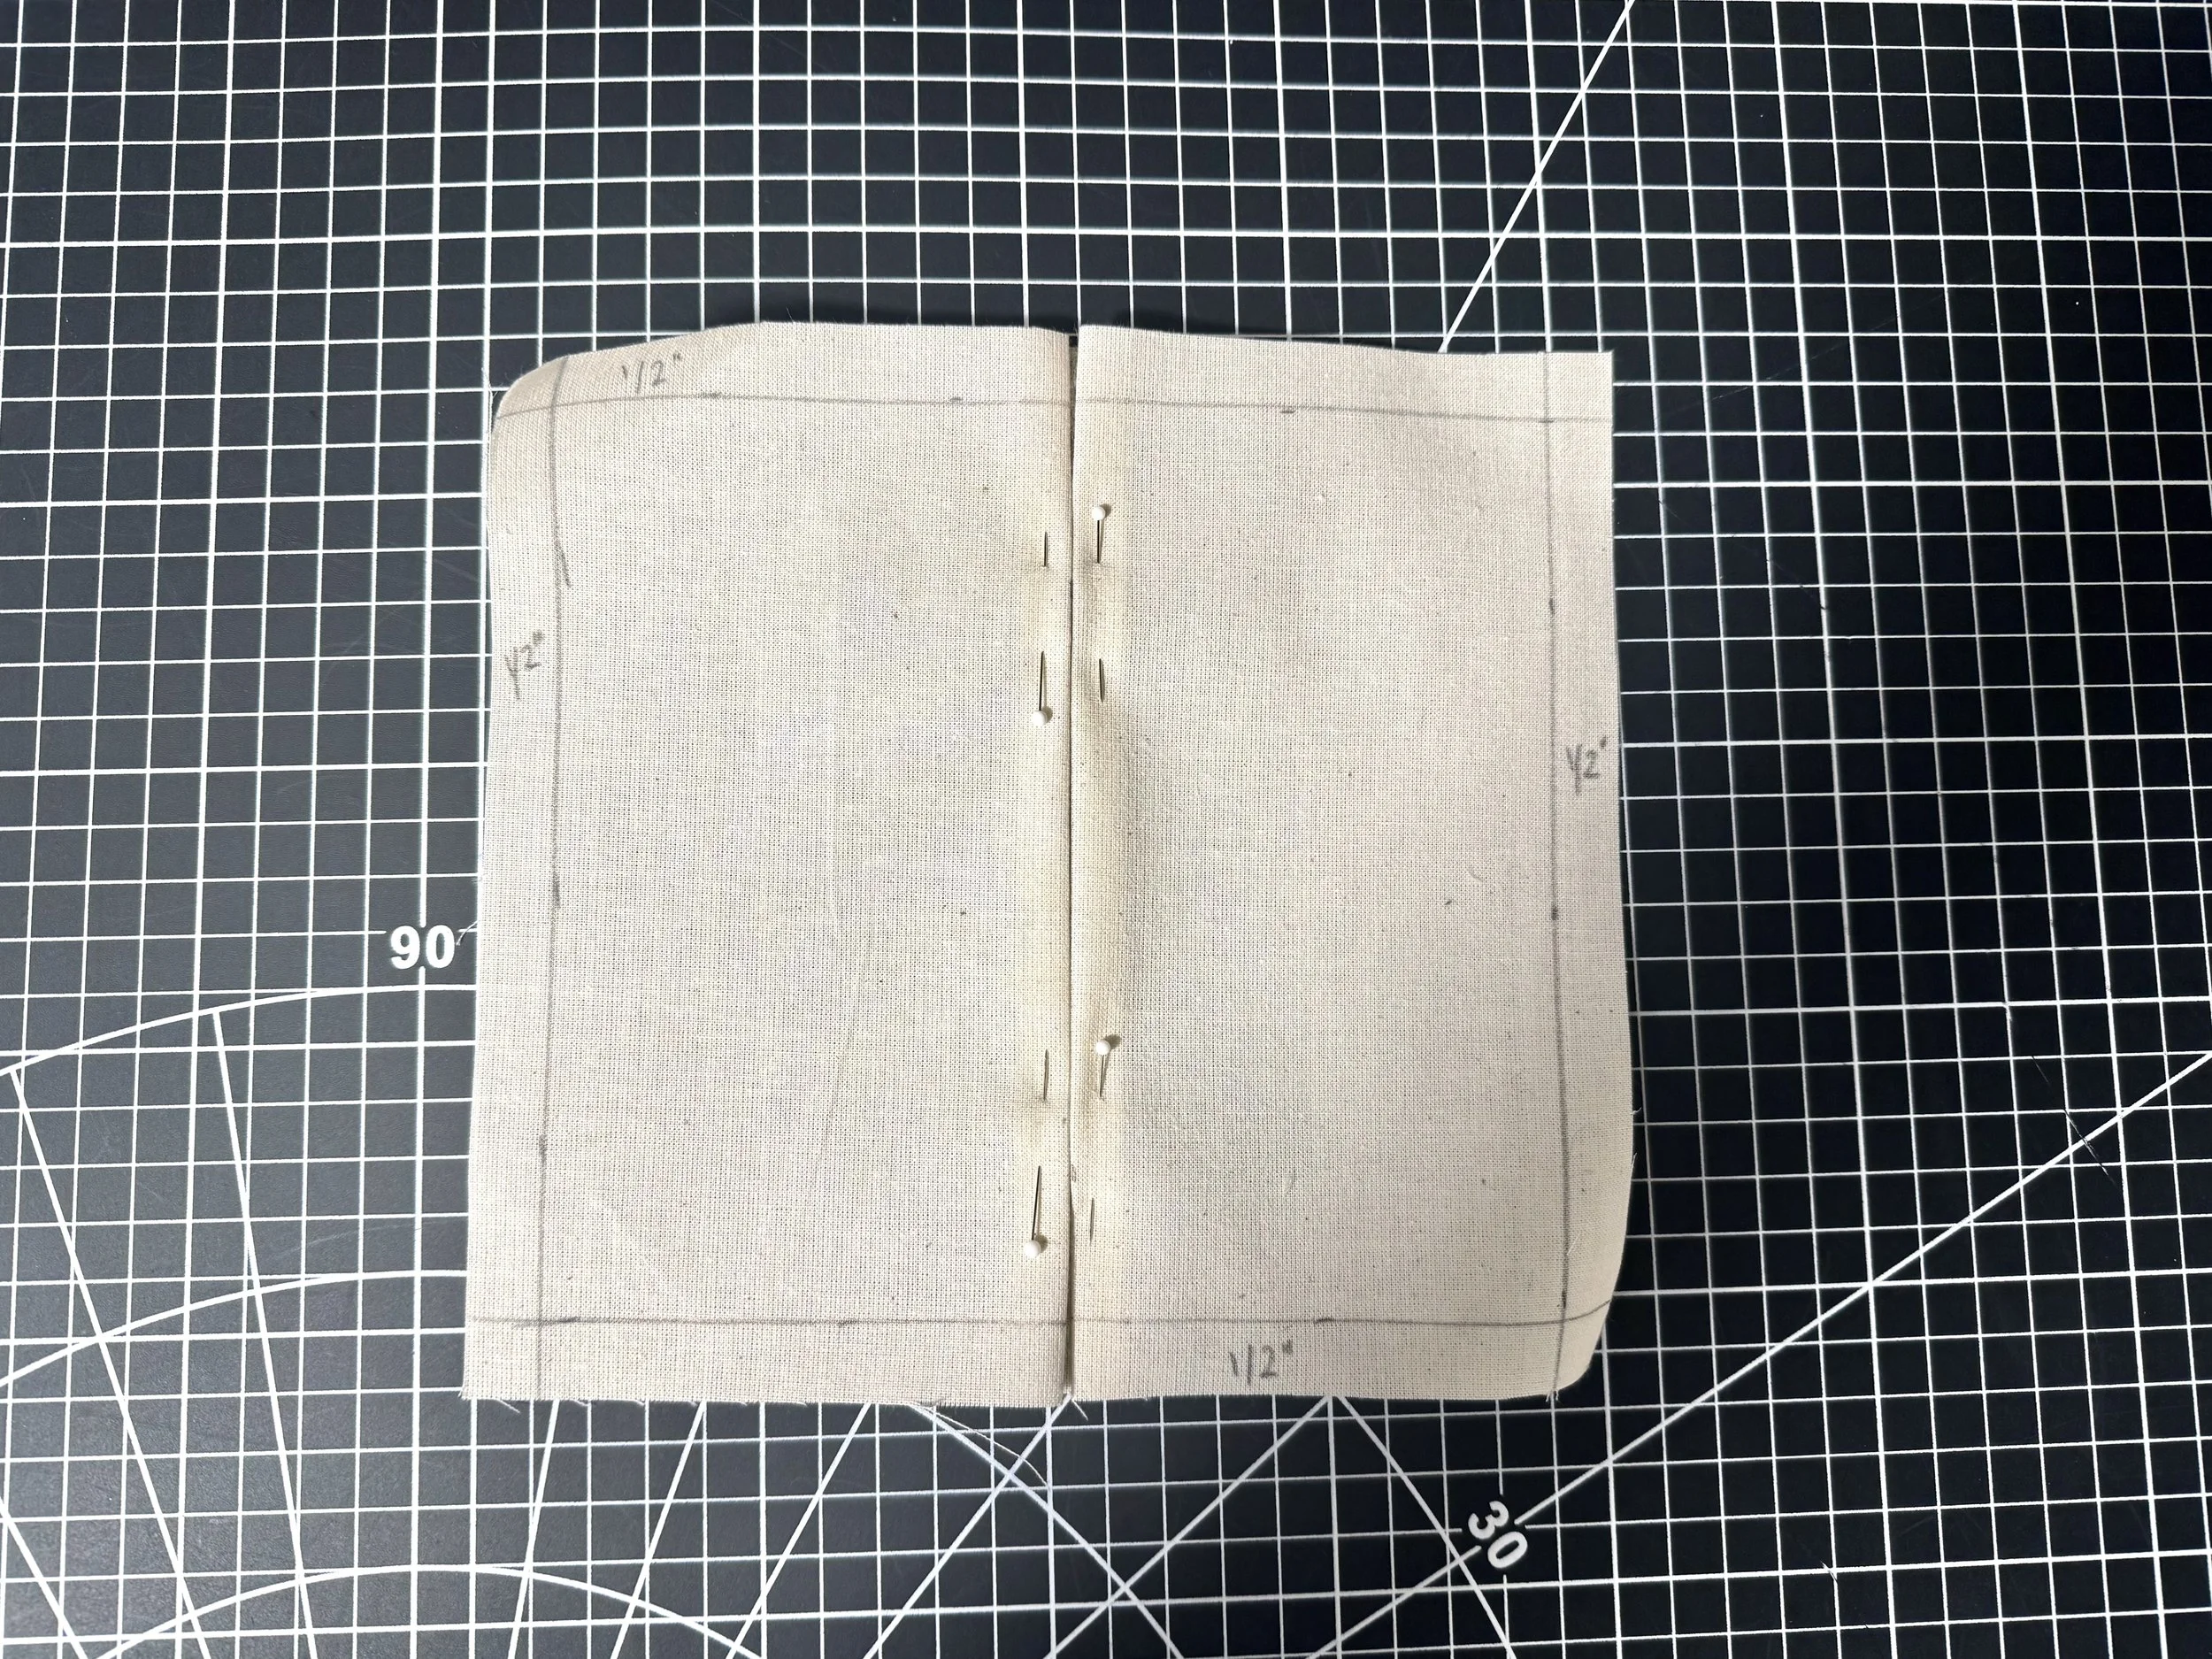
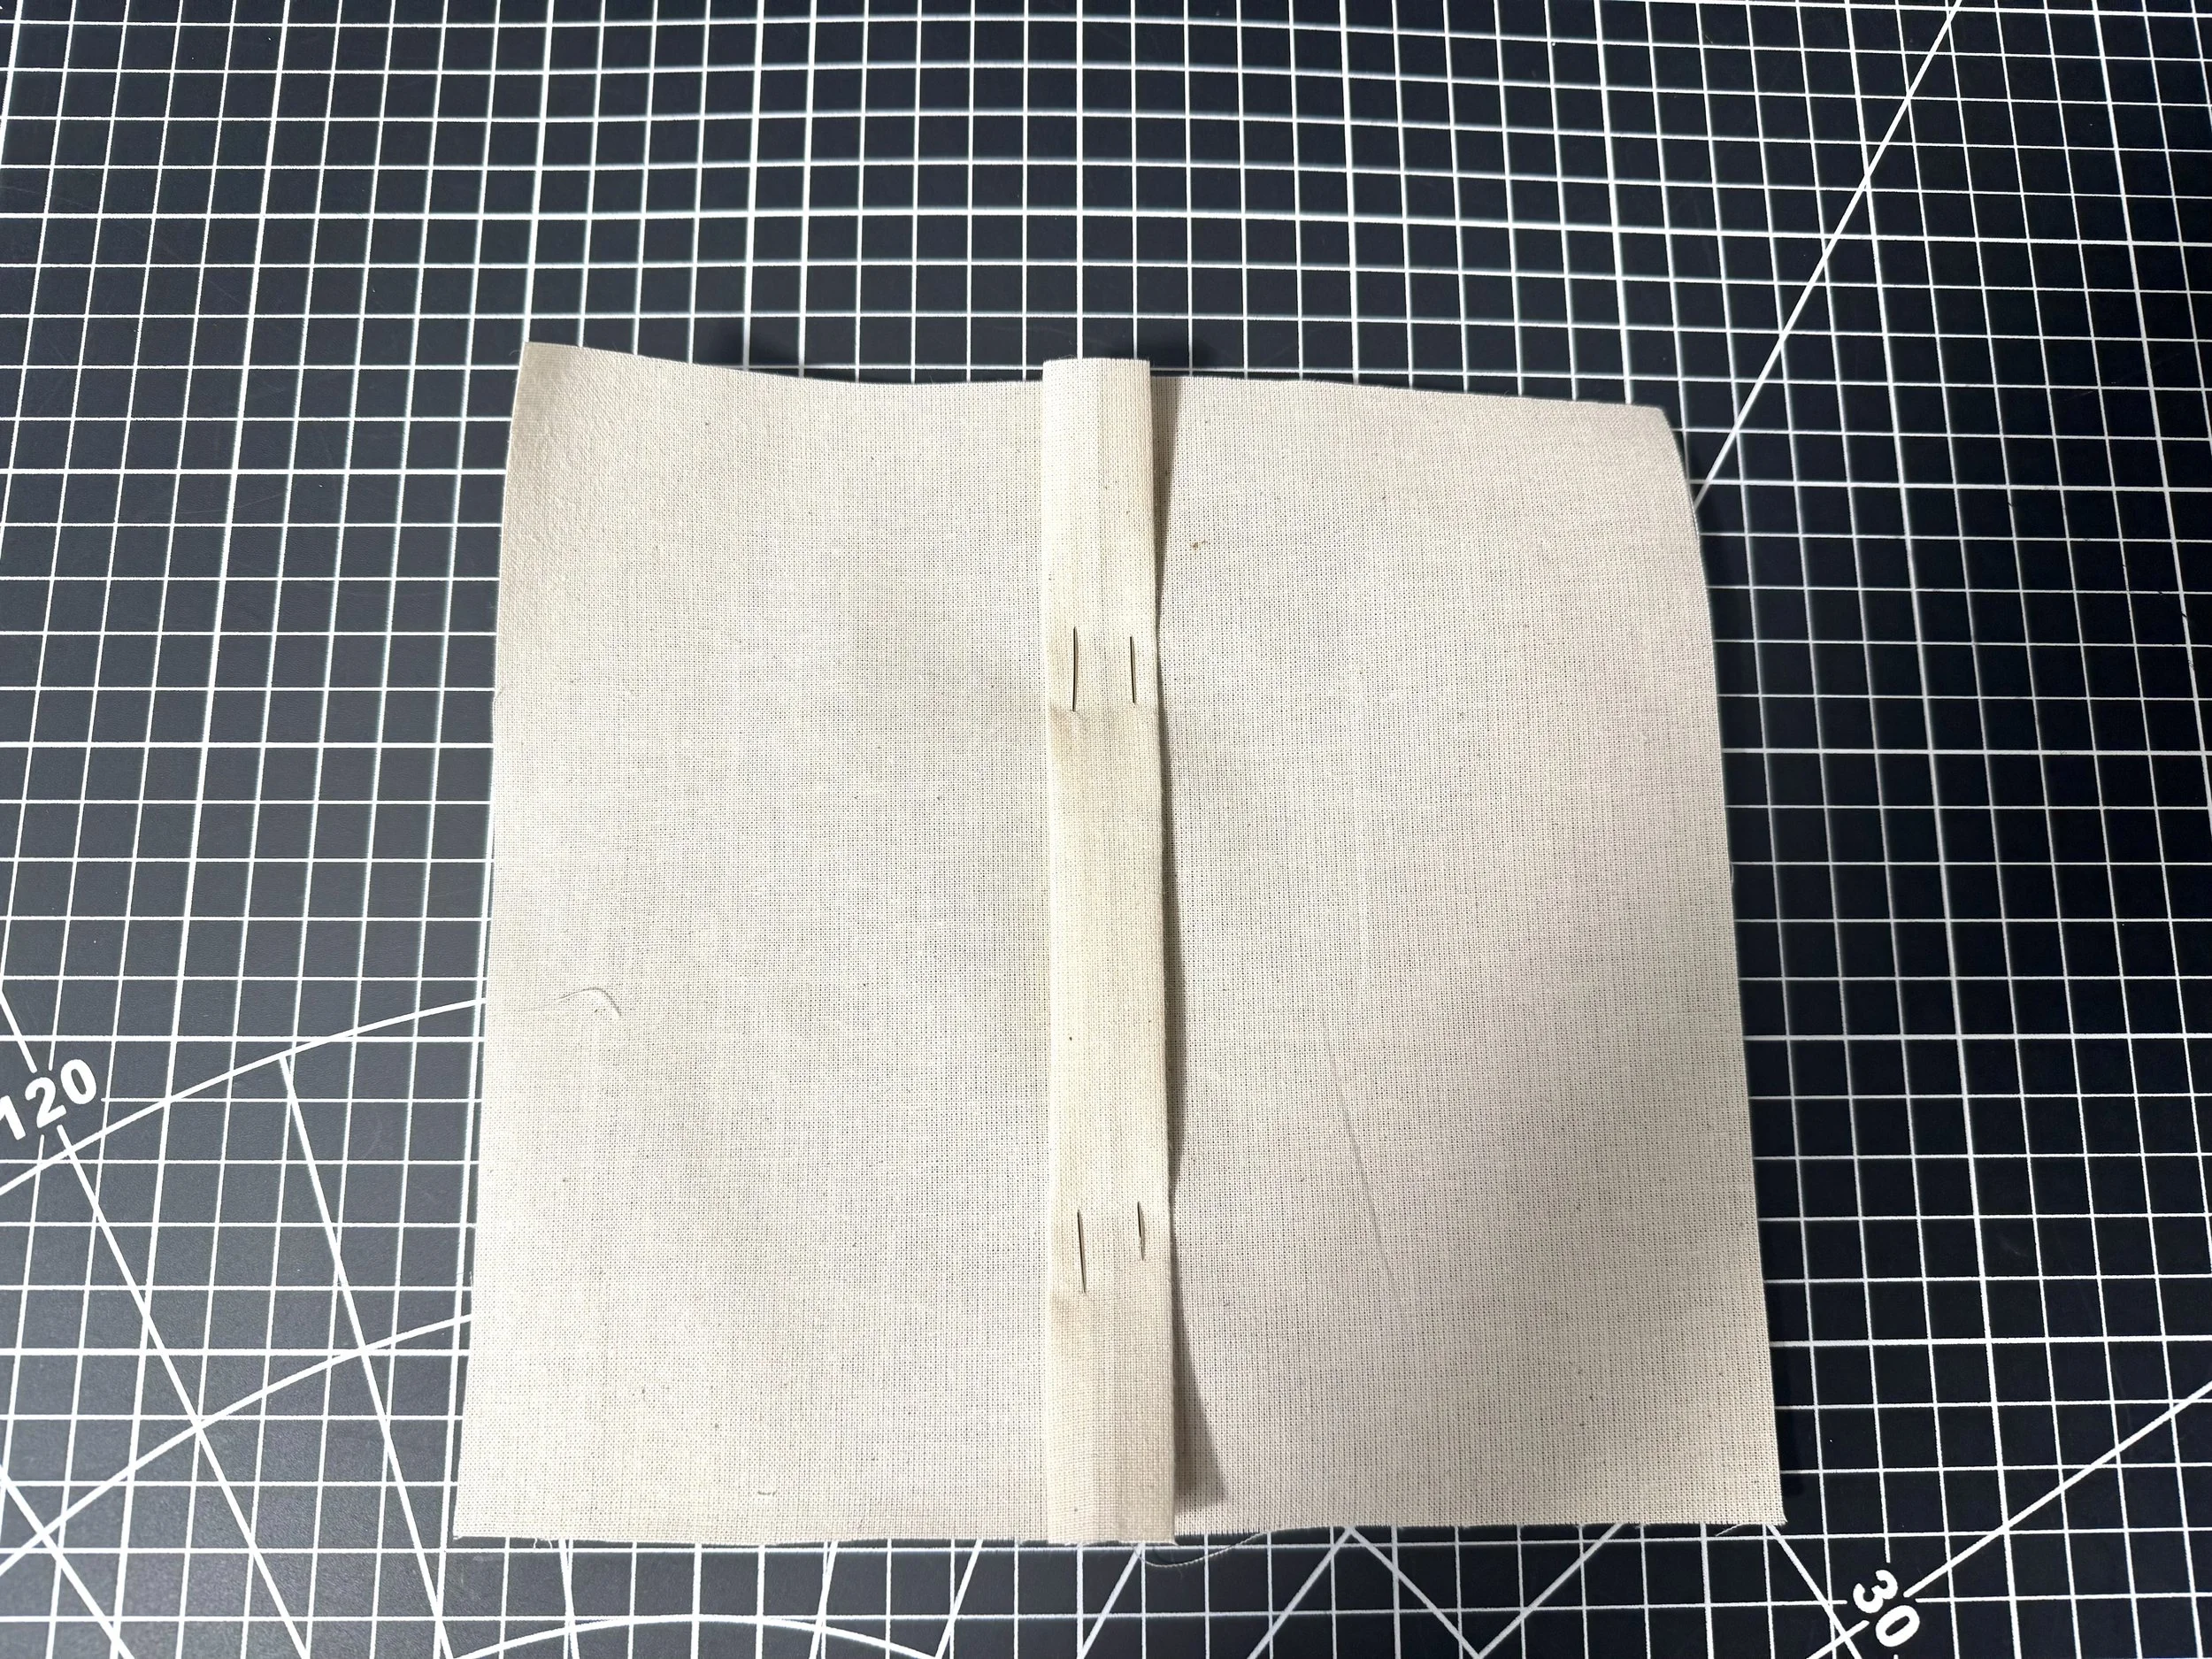
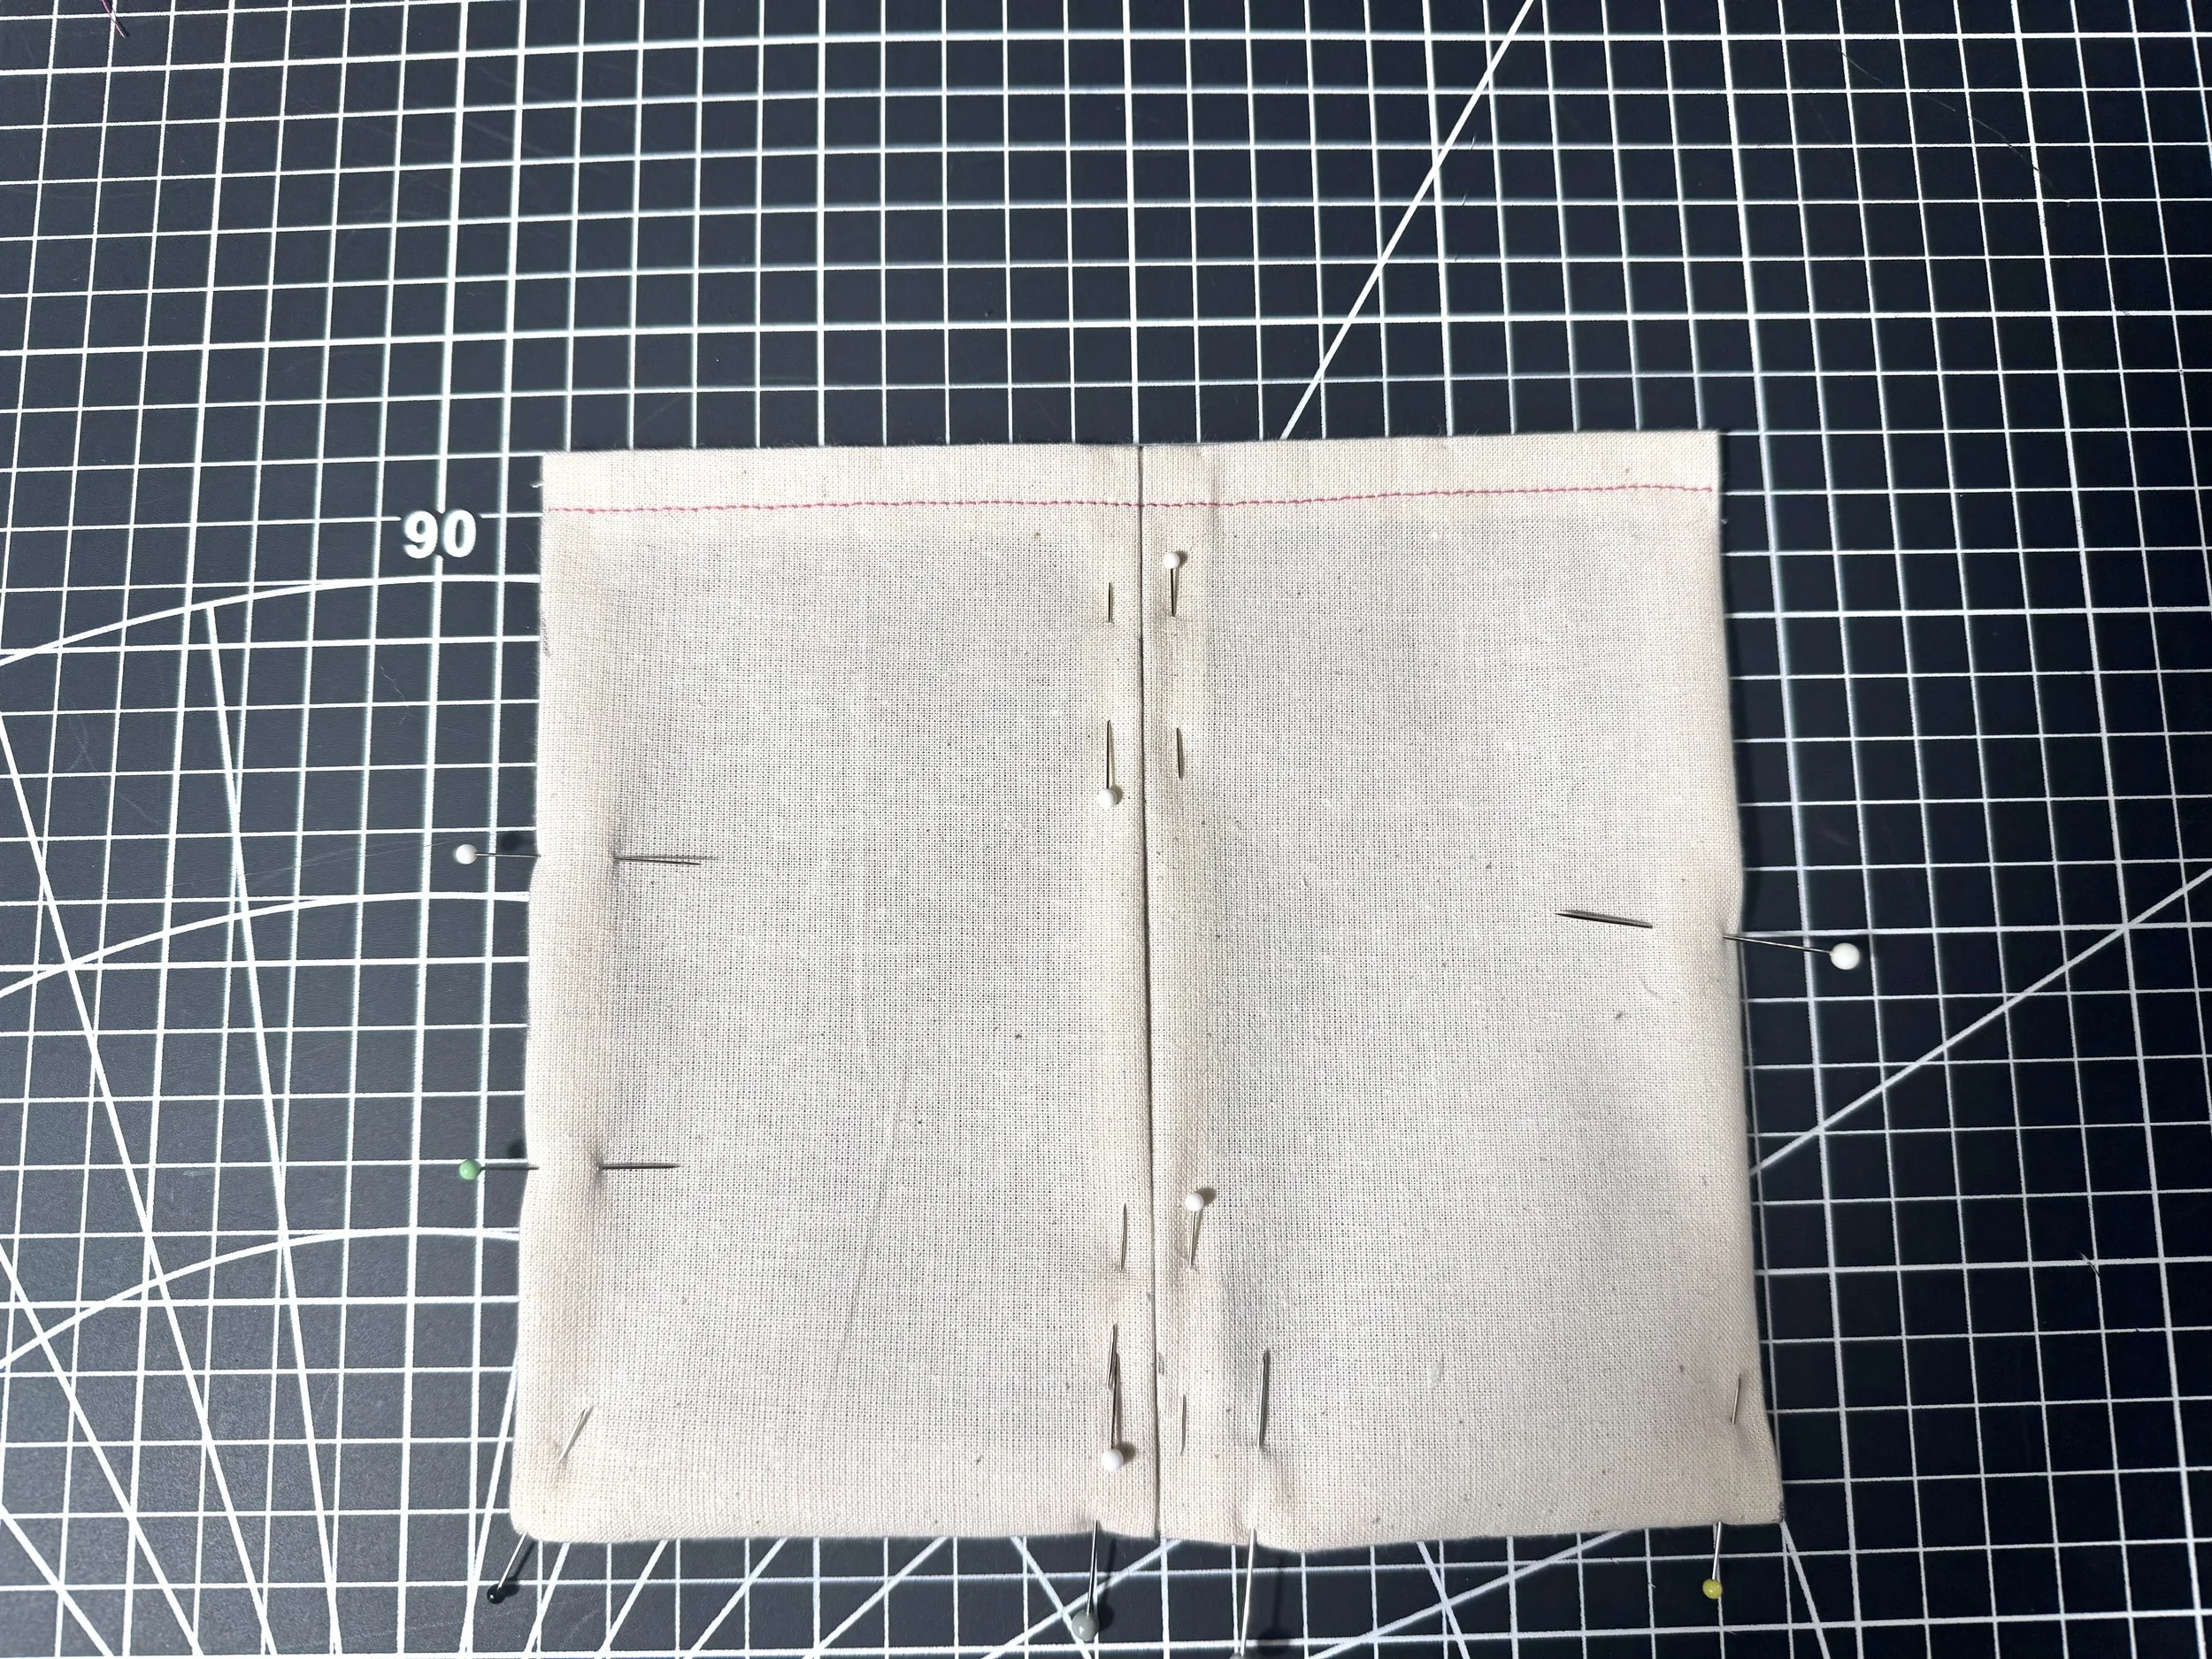
Fold your seam allowance under on all four edges, press lightly before stitching a permanent topstitch along the top edge.
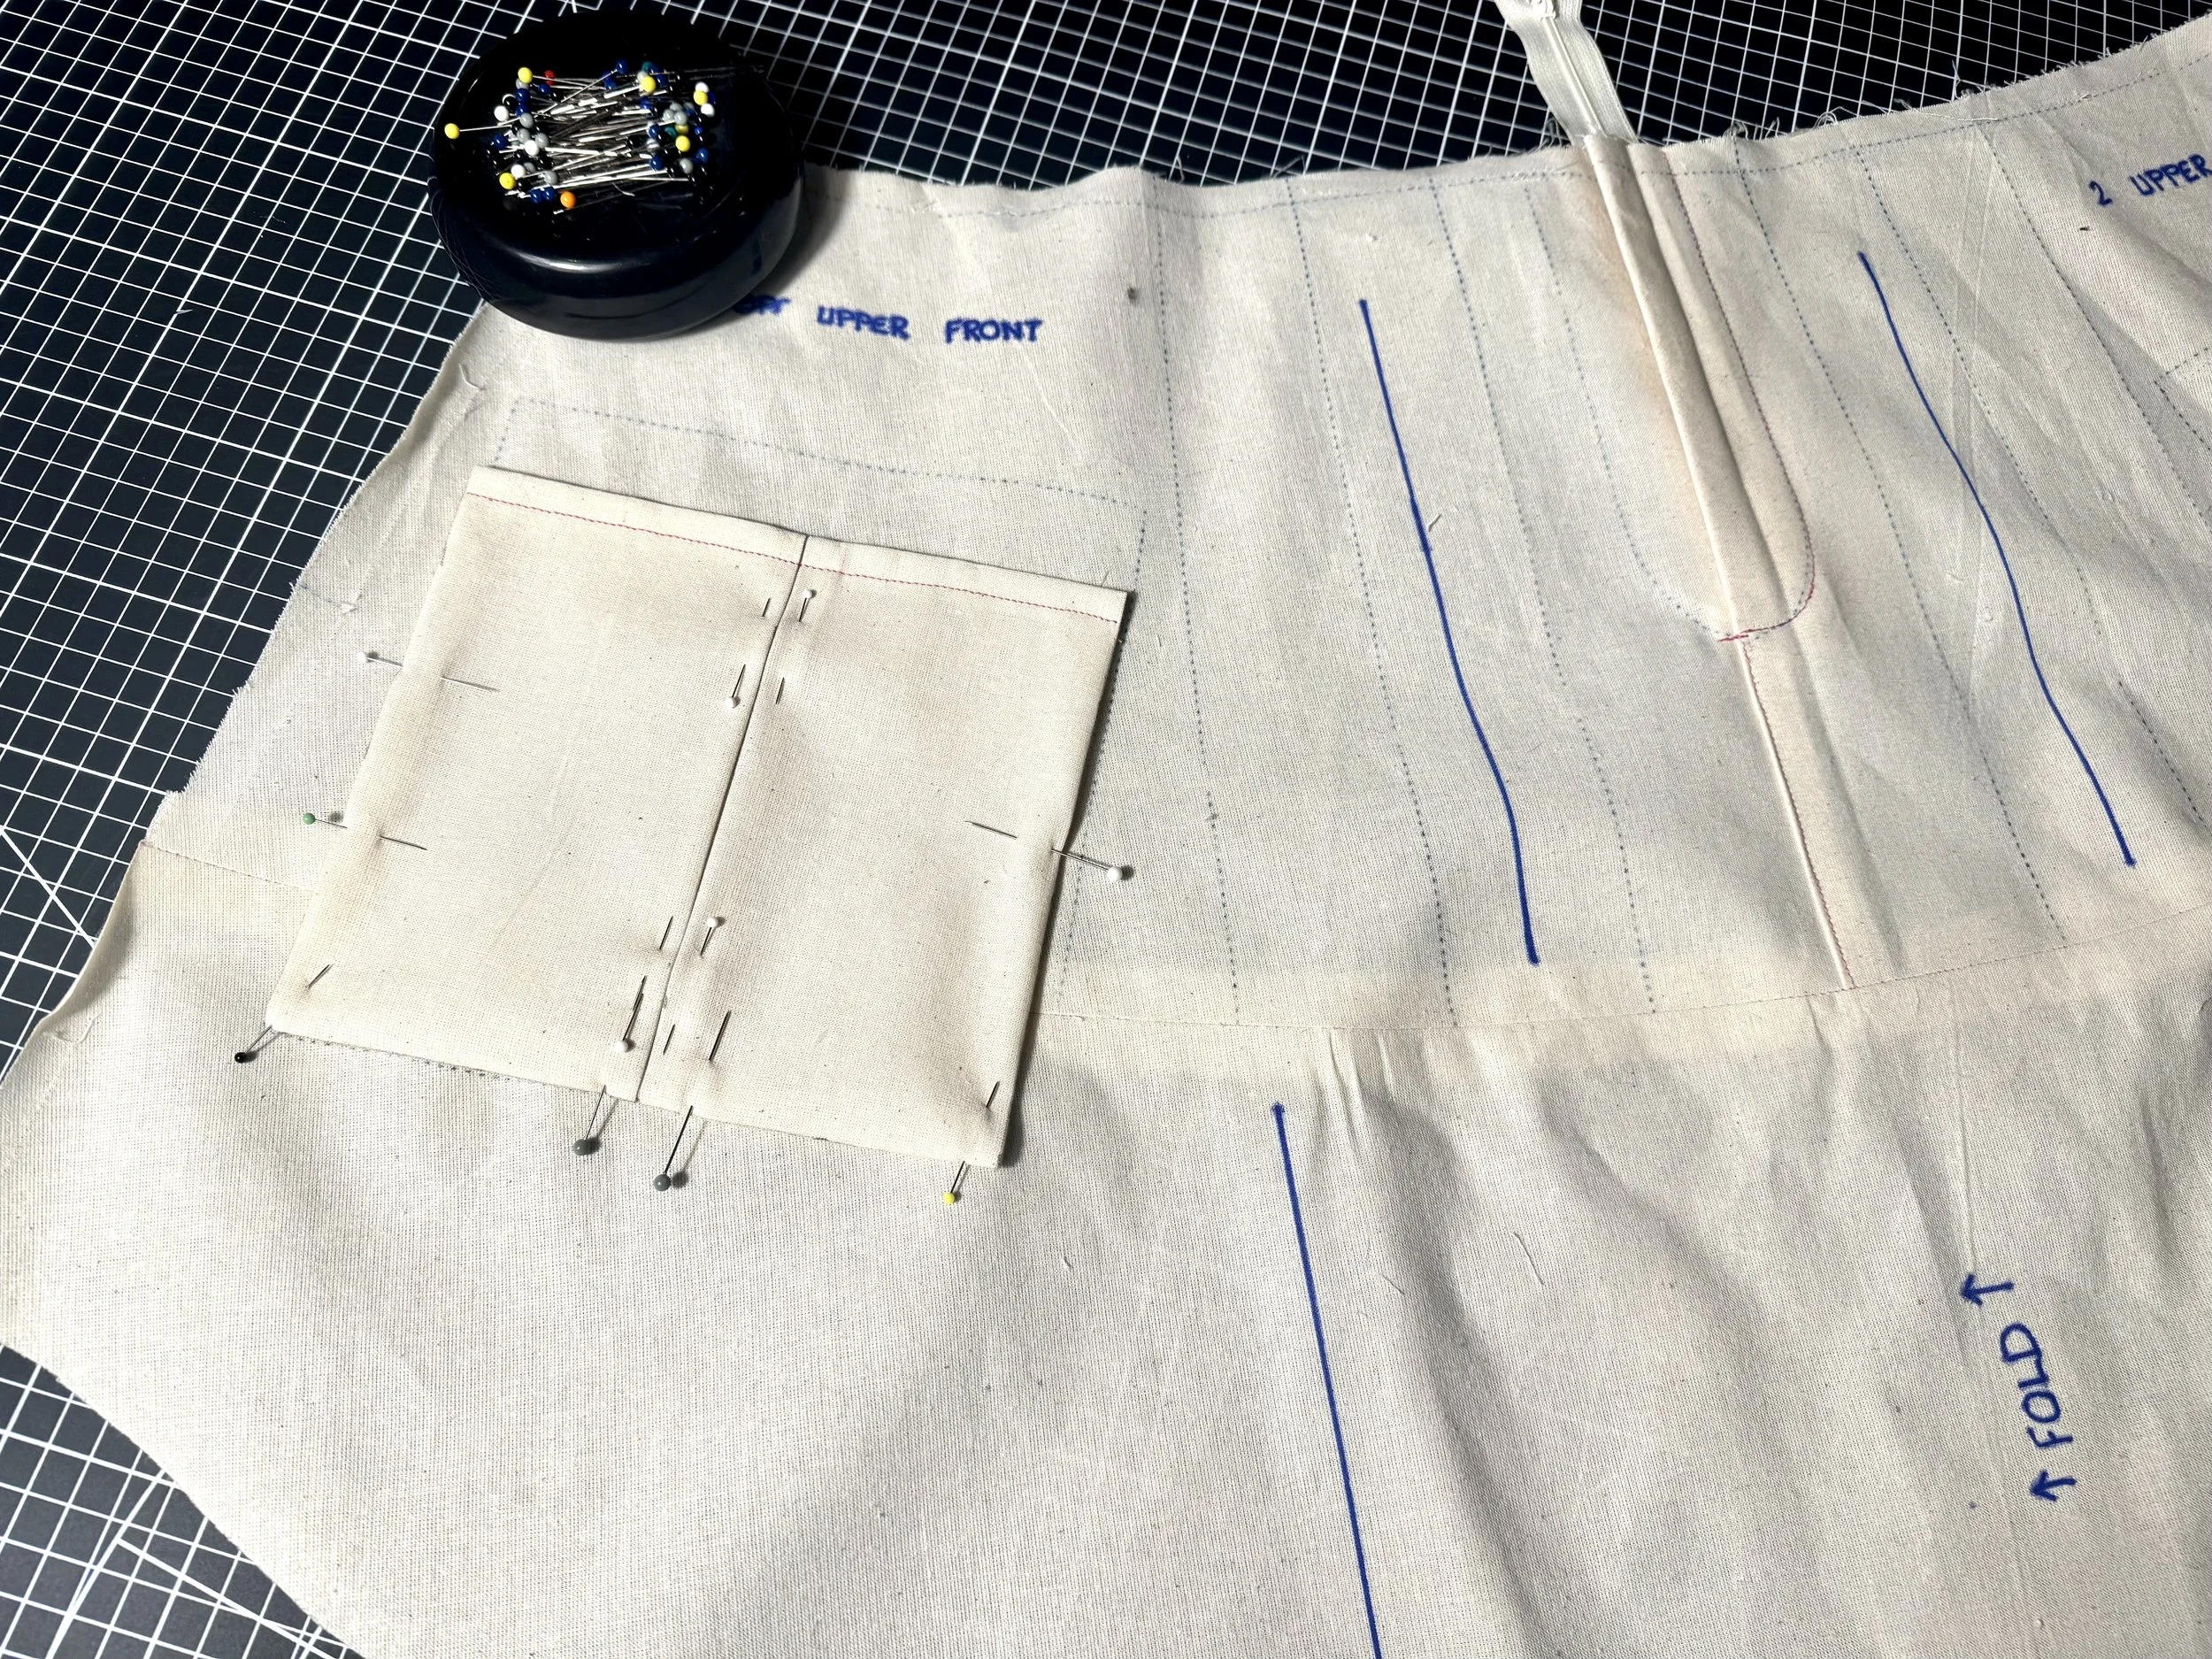
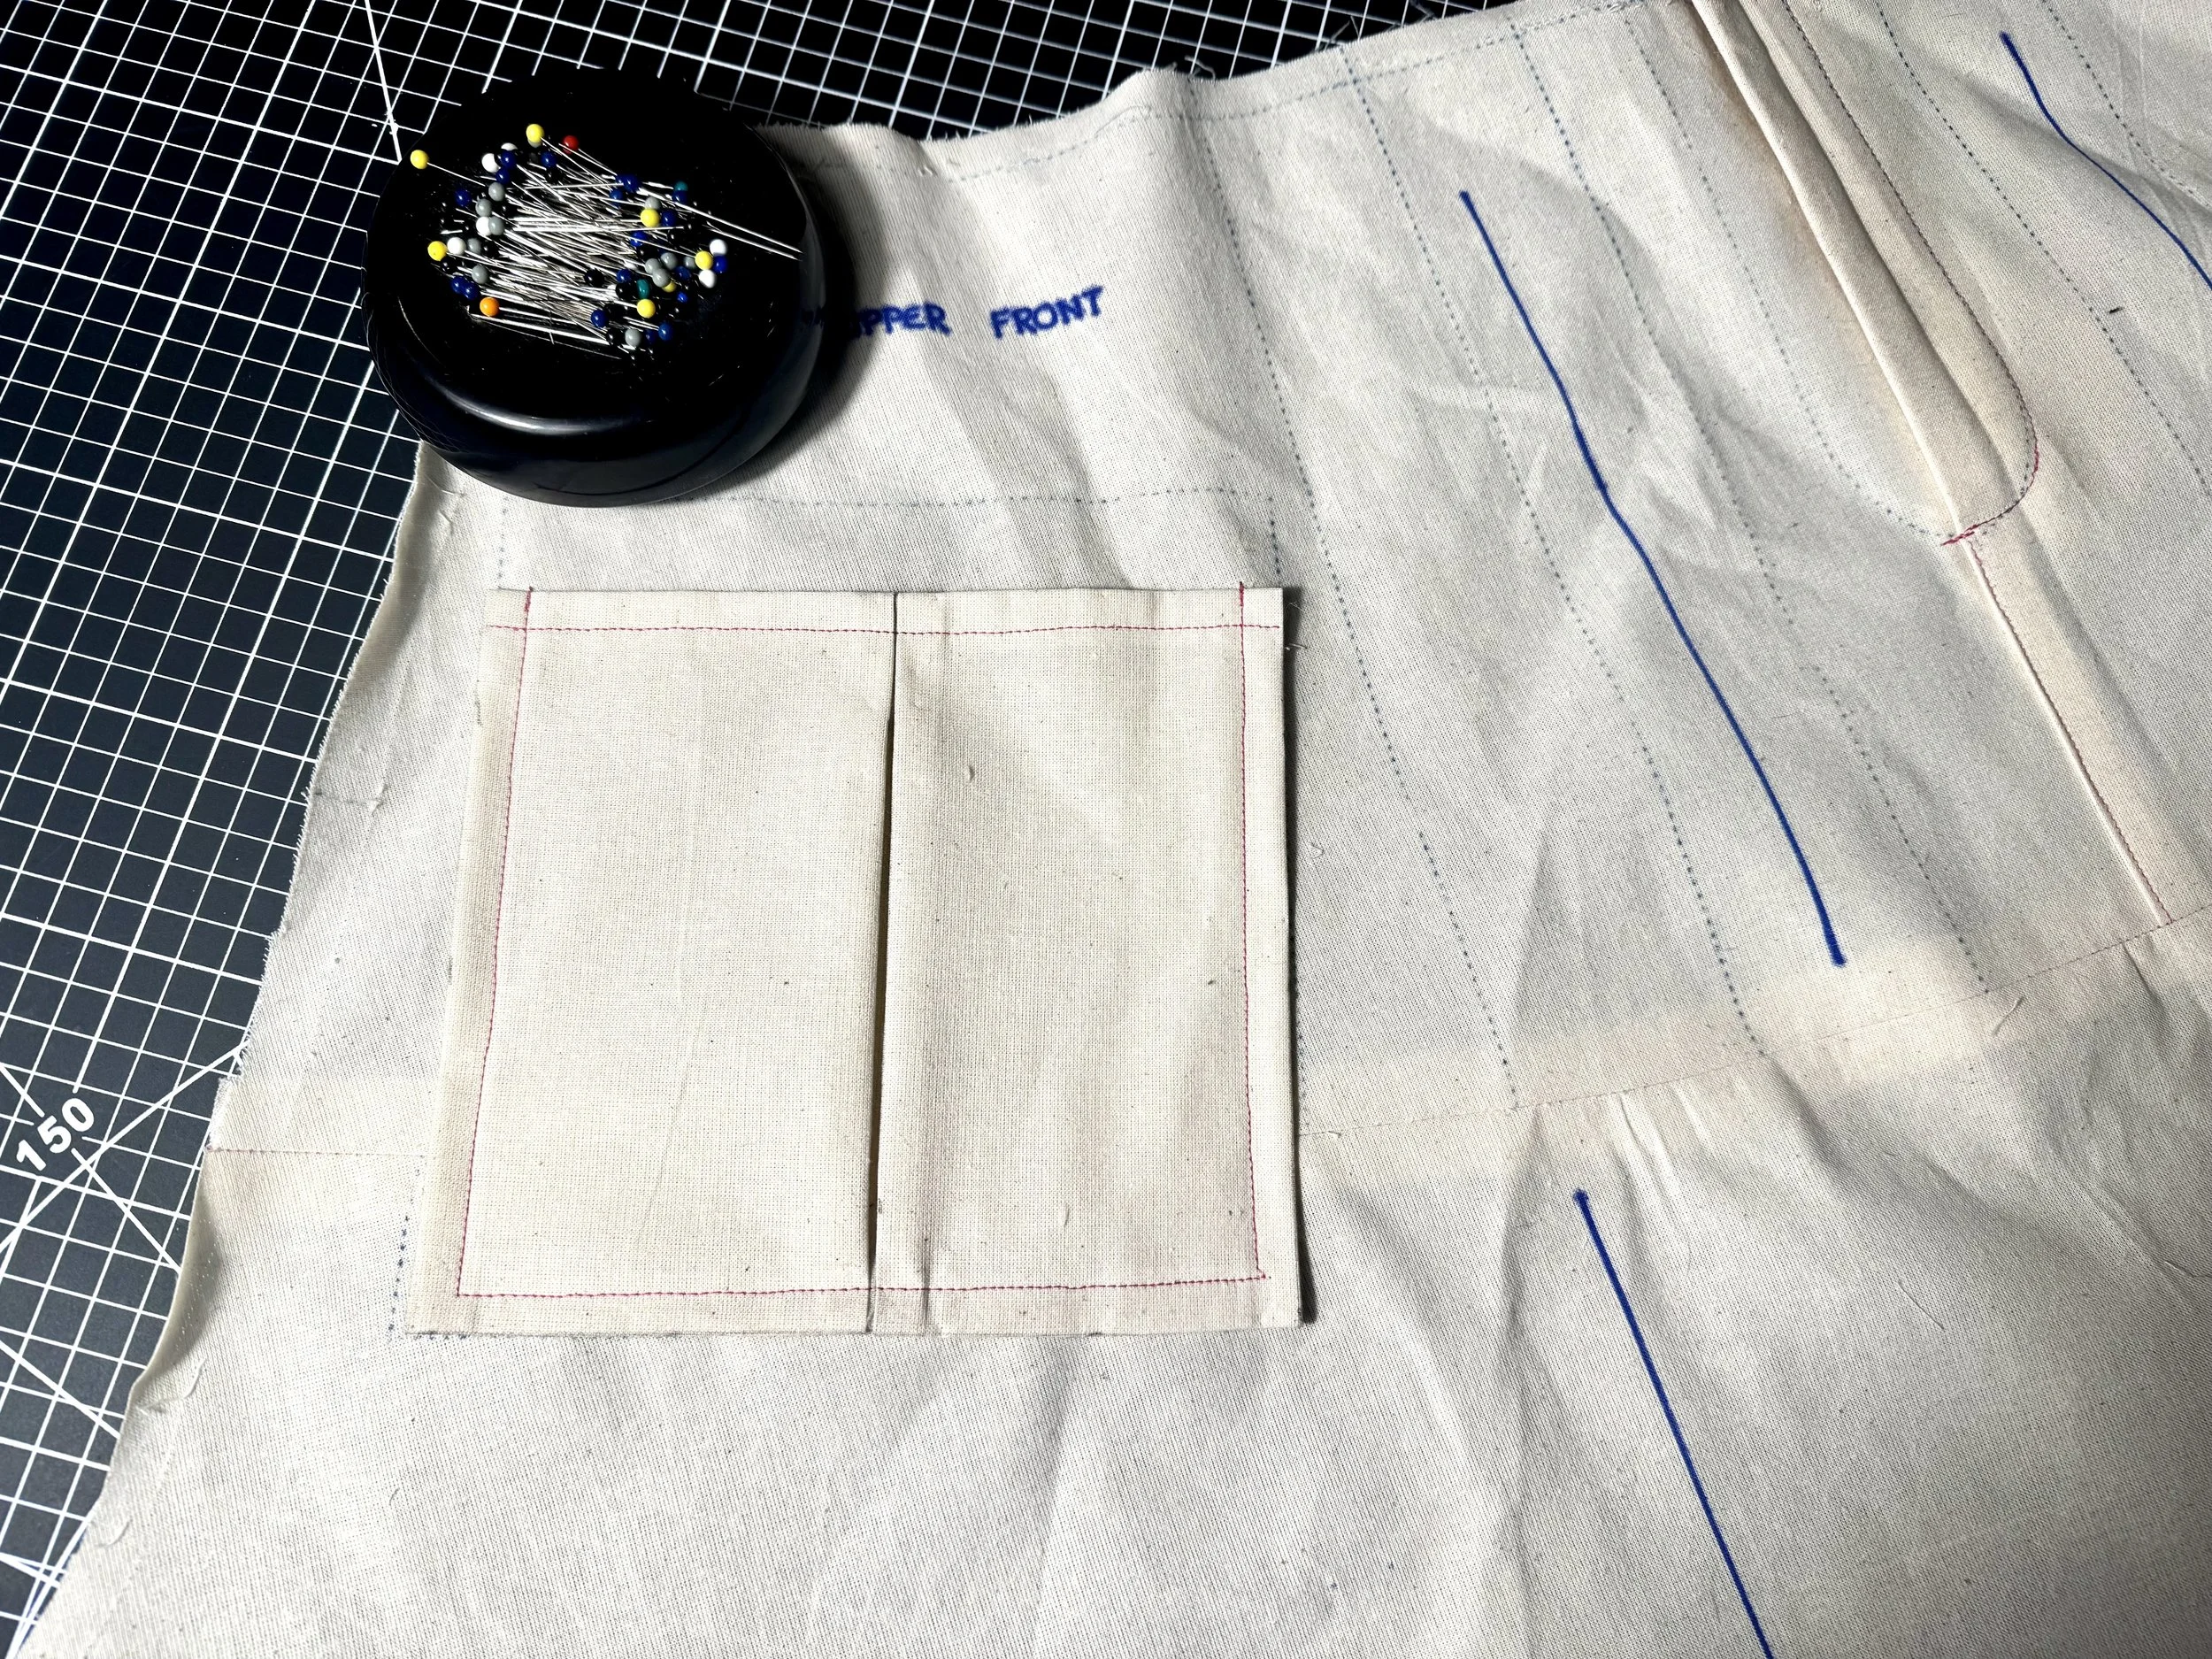
Sew the three edges to the front of the skirt, and repeat on the other side of the skirt.

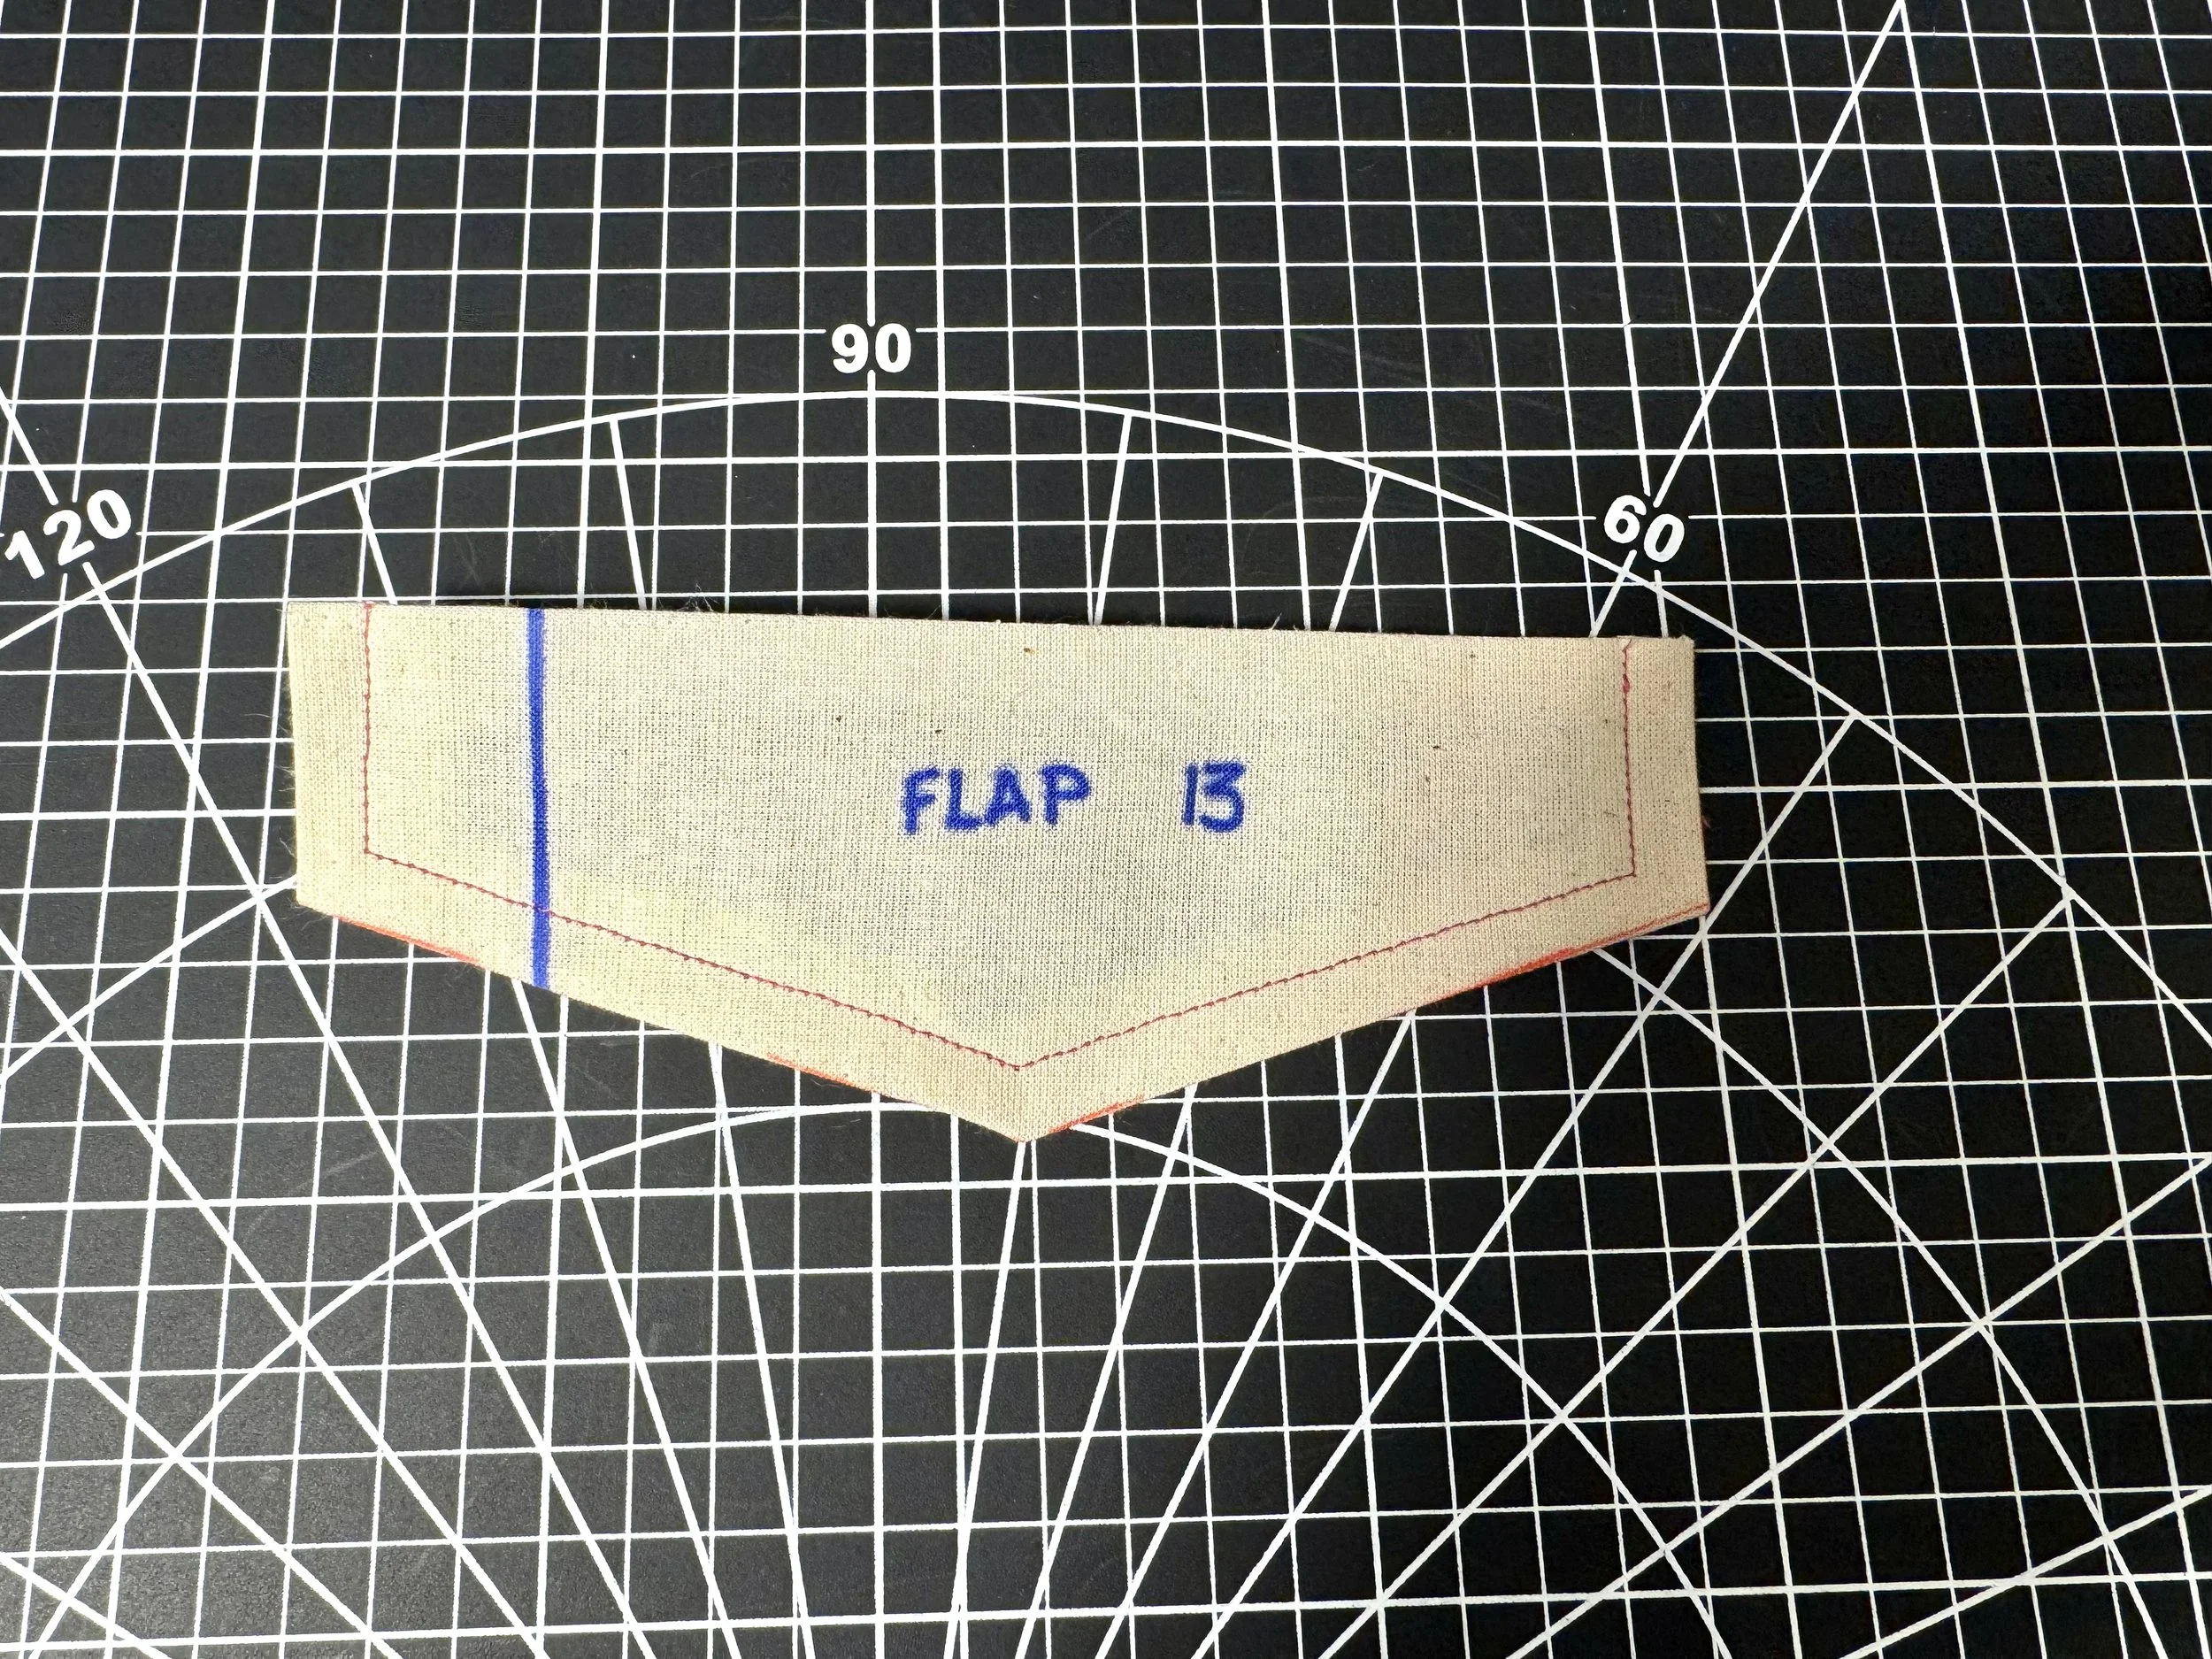
Fold the seam allowances under and topstitch the two sides and the bottom edge
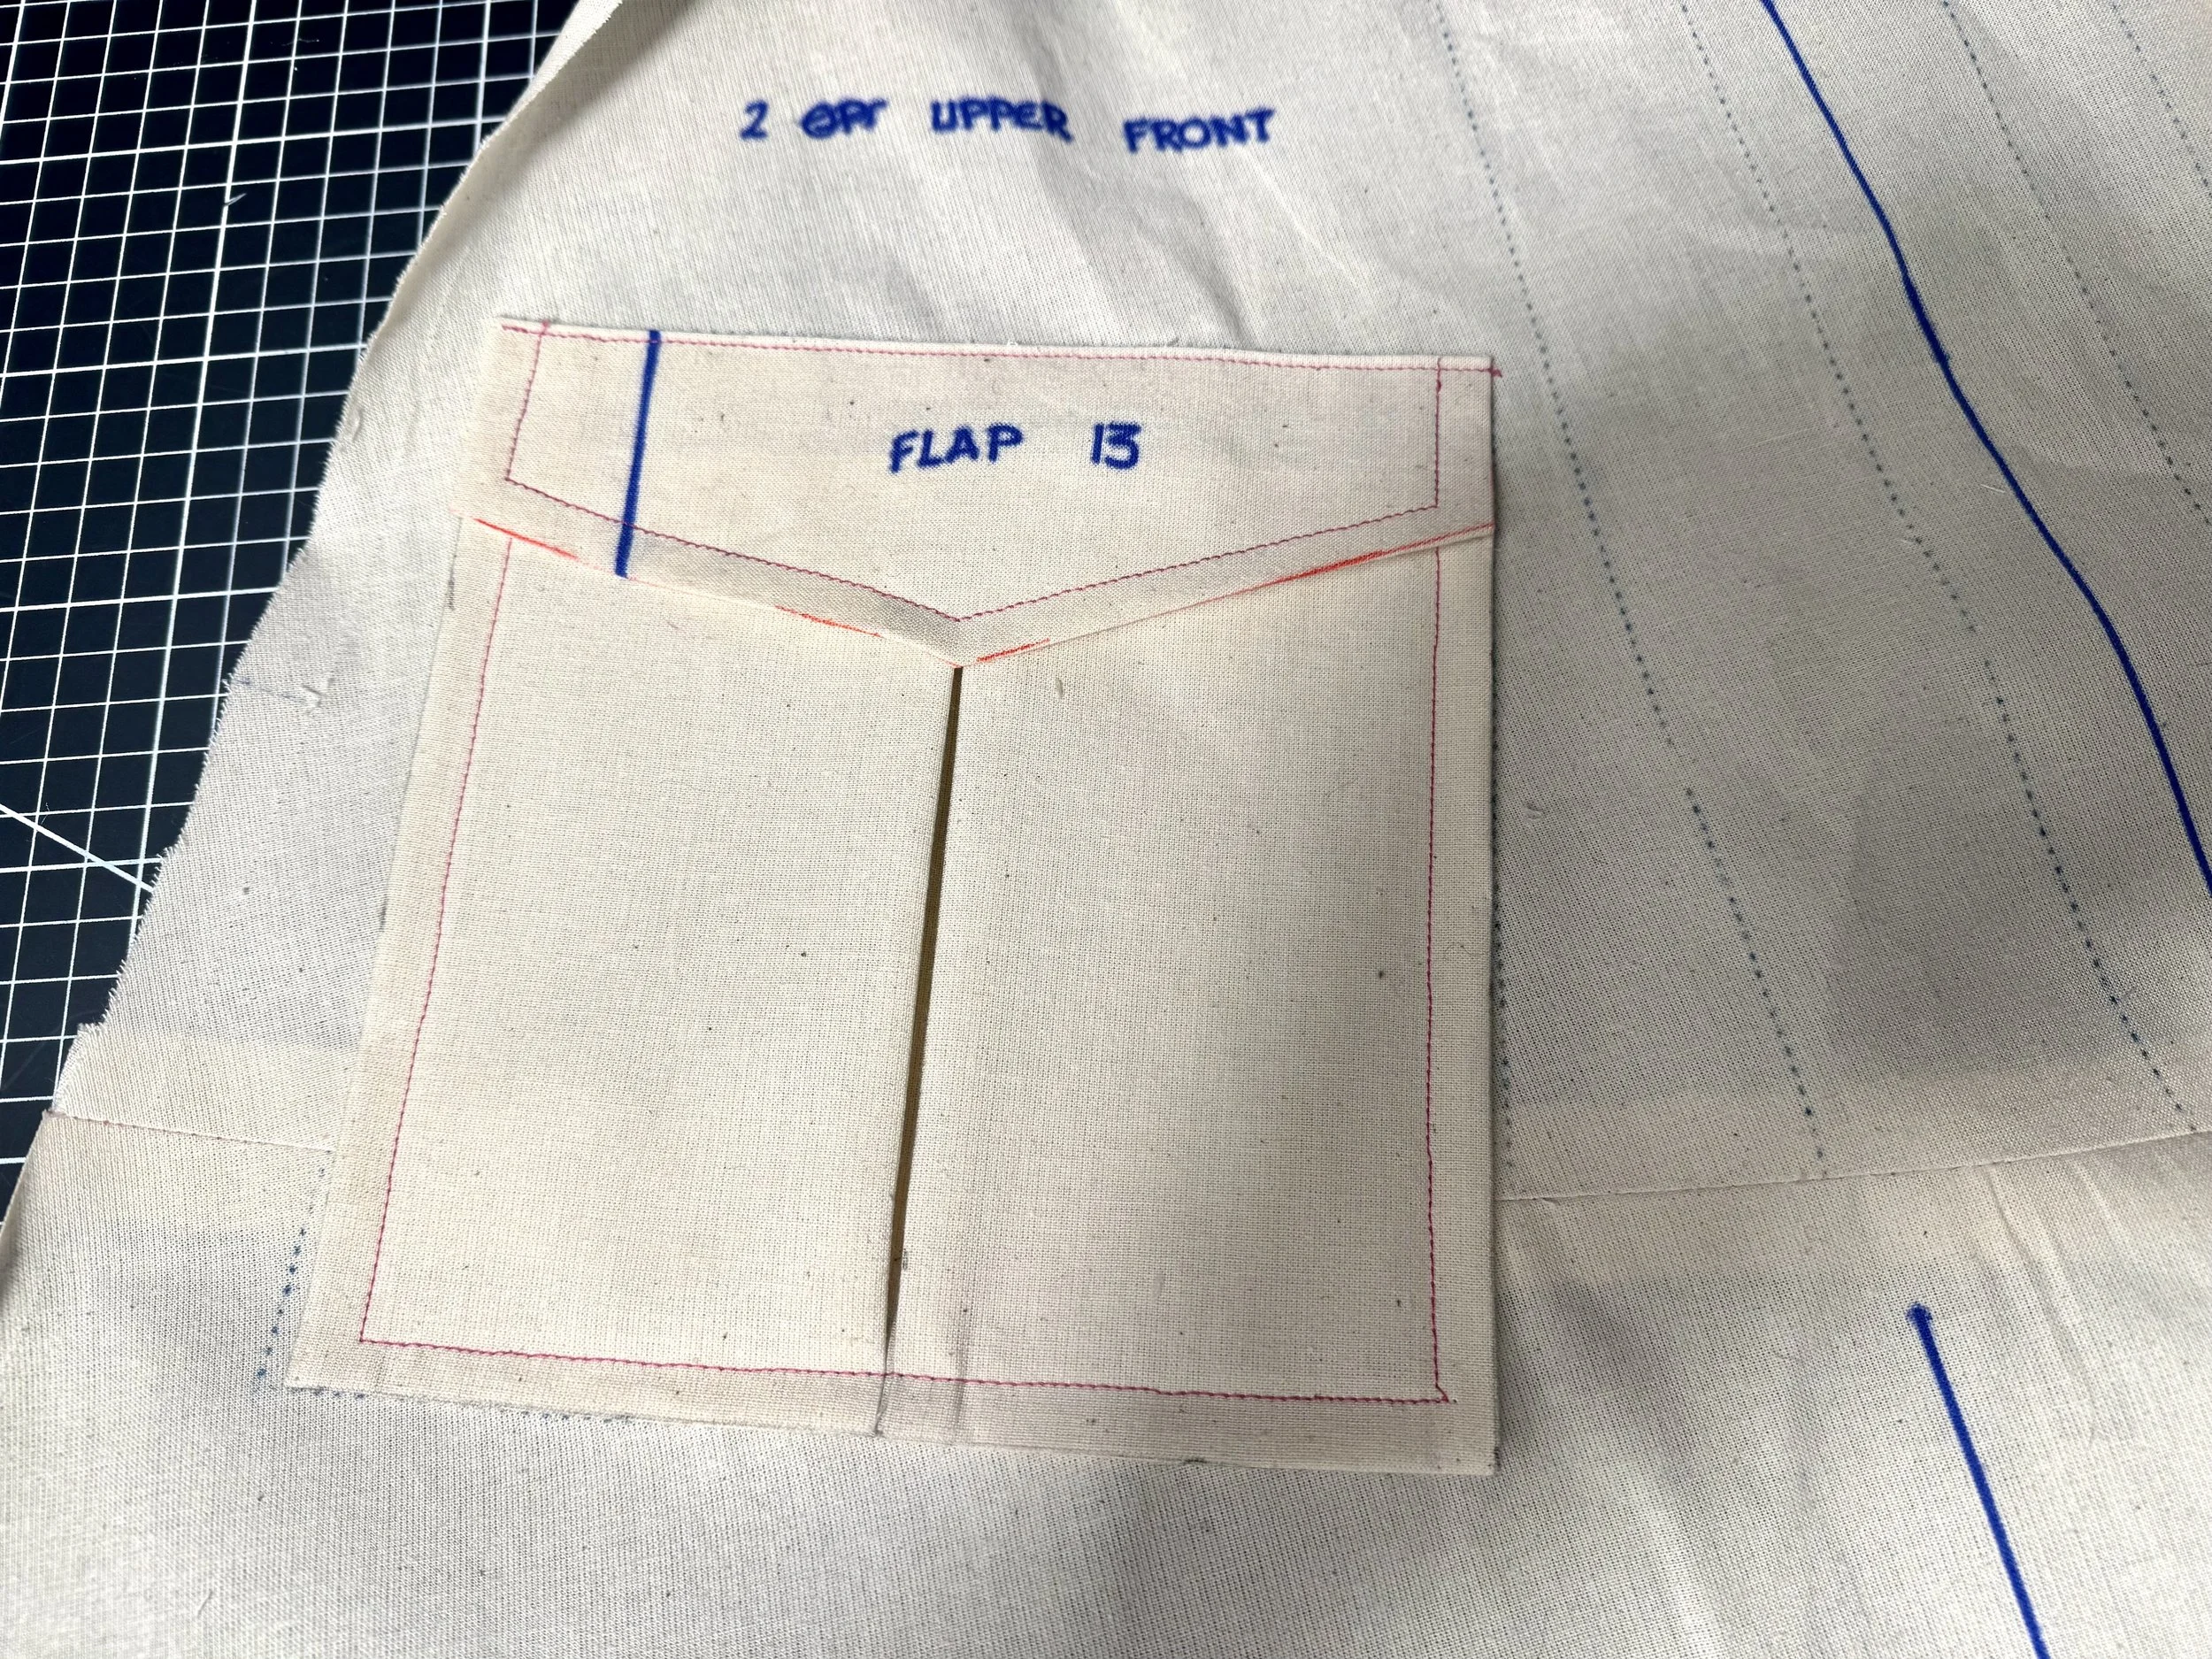
Line the point of the pocket flap to the pleat on the pocket and stitch along the upper seam to the skirt. Repeat for the left side. A nice option is to top stitch the pocket flap sides to match the pocket if using a contrasting thread.
When the pockets are attached, fold your two upper pleats in towards the center. Stitch close to the edge to hold.
And that’s the front done, on to the back…..