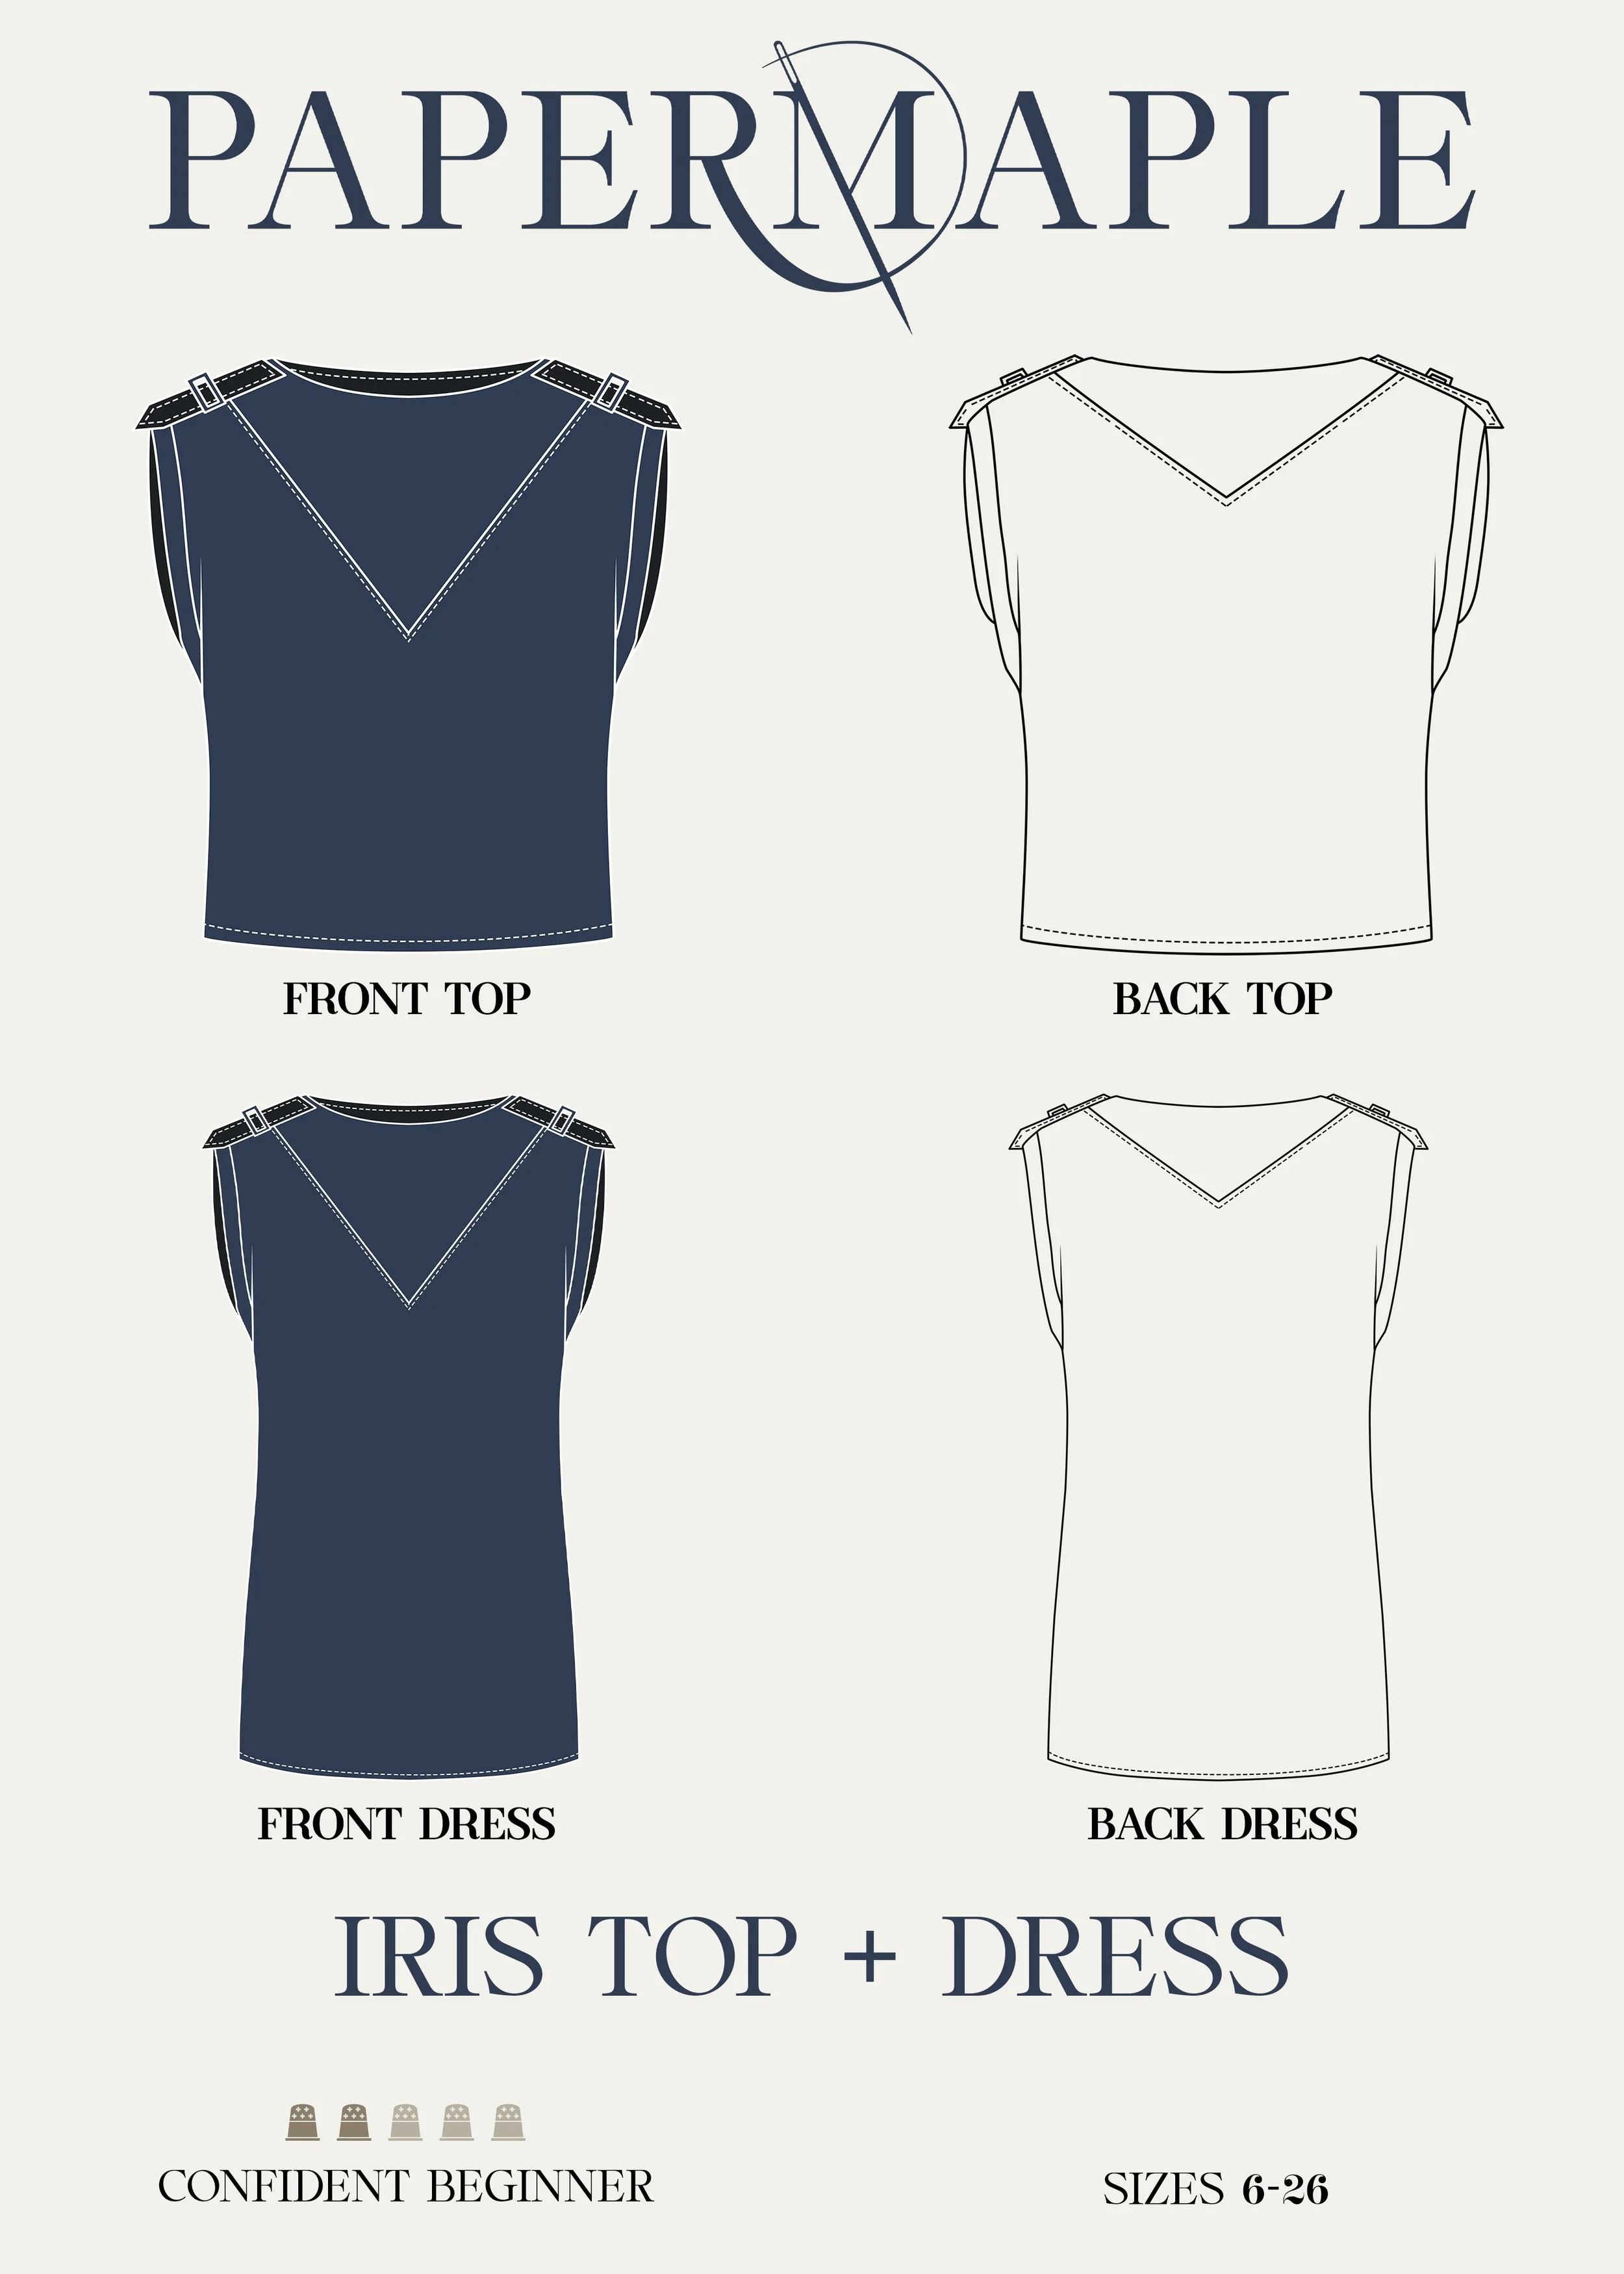
The Iris T-Shirt and Dress with Pockets / A - The Free Pattern - Construction
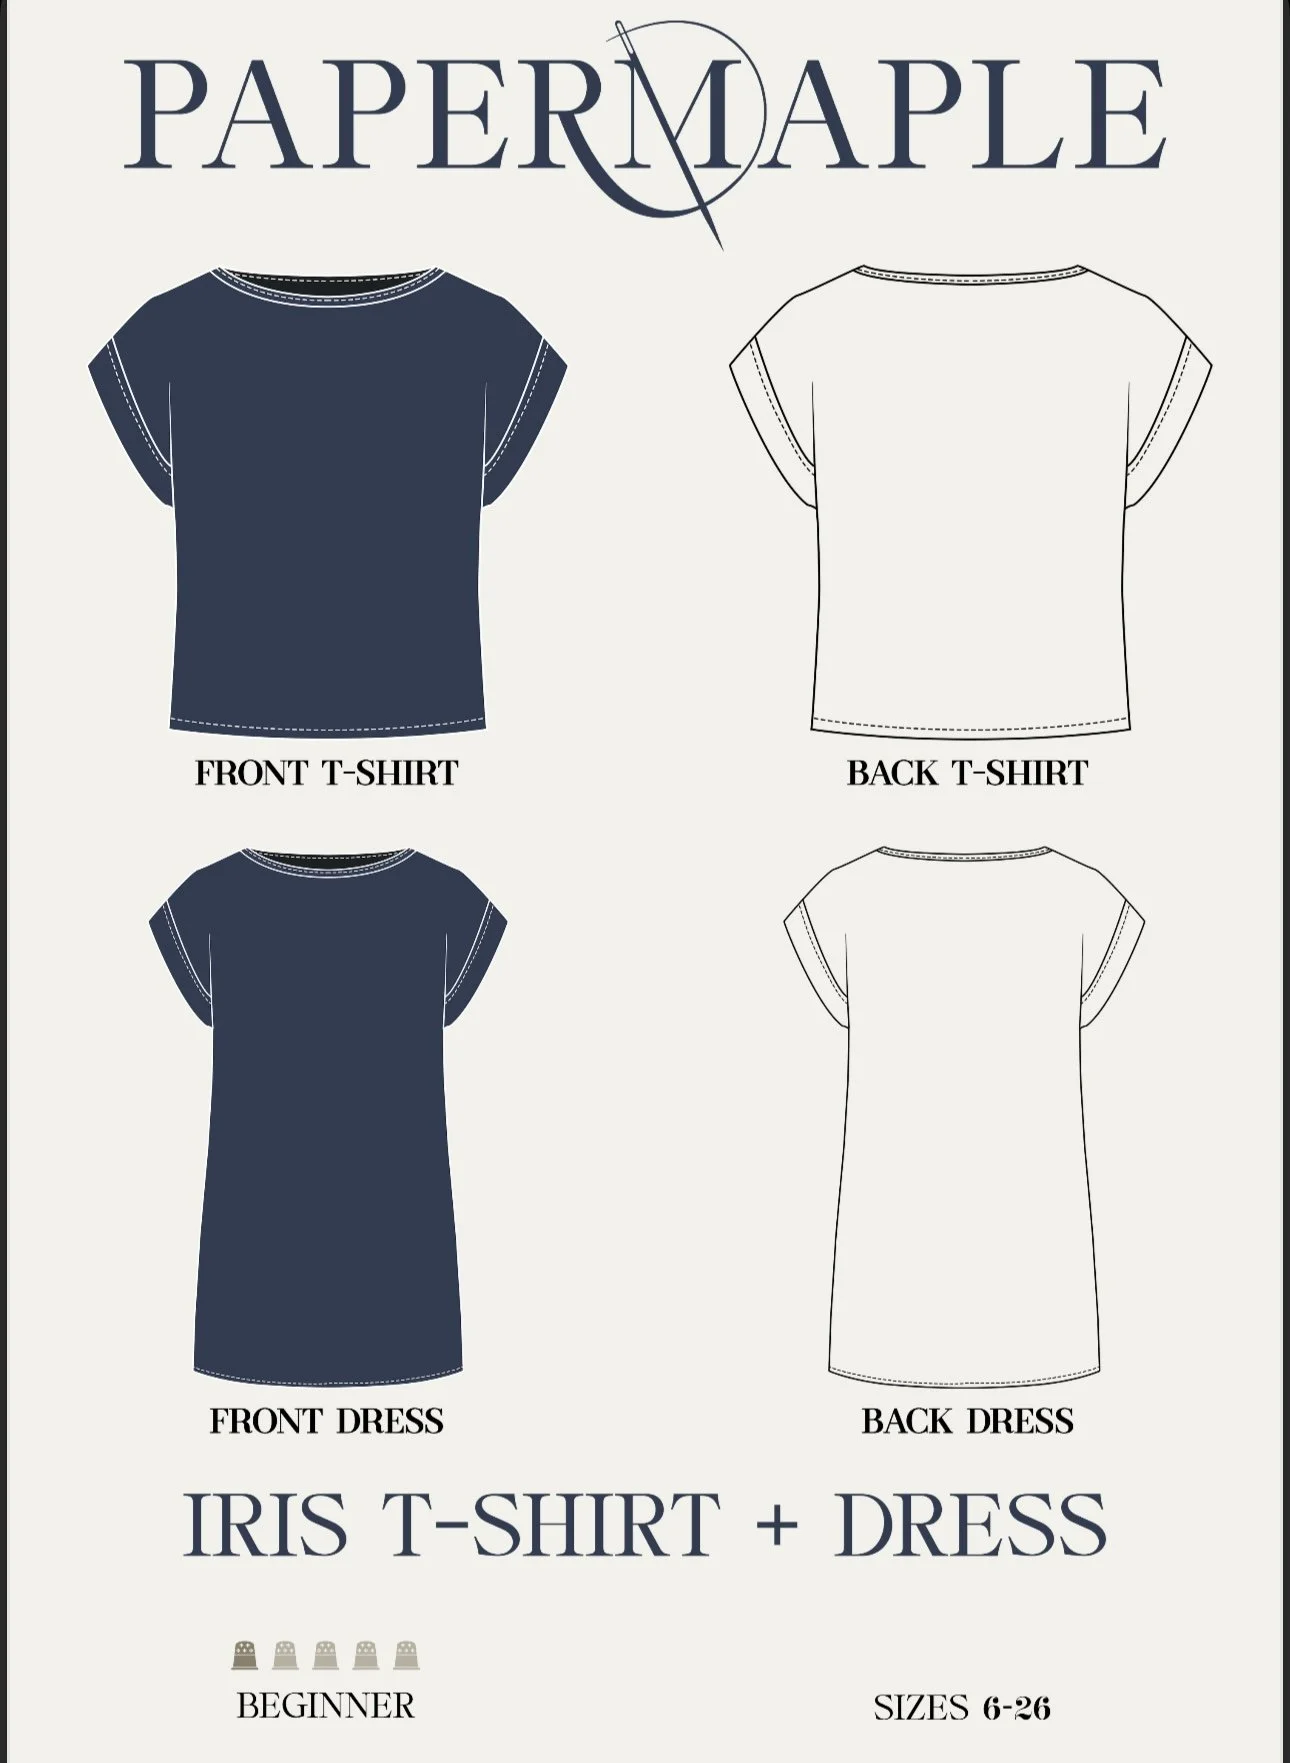
This is the perfect little summer dress and top.
Easy and quick to sew, with some fun techniques.
I’m demonstrating on a starched medium weight muslin. I would suggest a light to medium weight fabric if you are a beginner, as the area where the sleeves intercept with the side seams can be thick and become a little more difficult to sew.
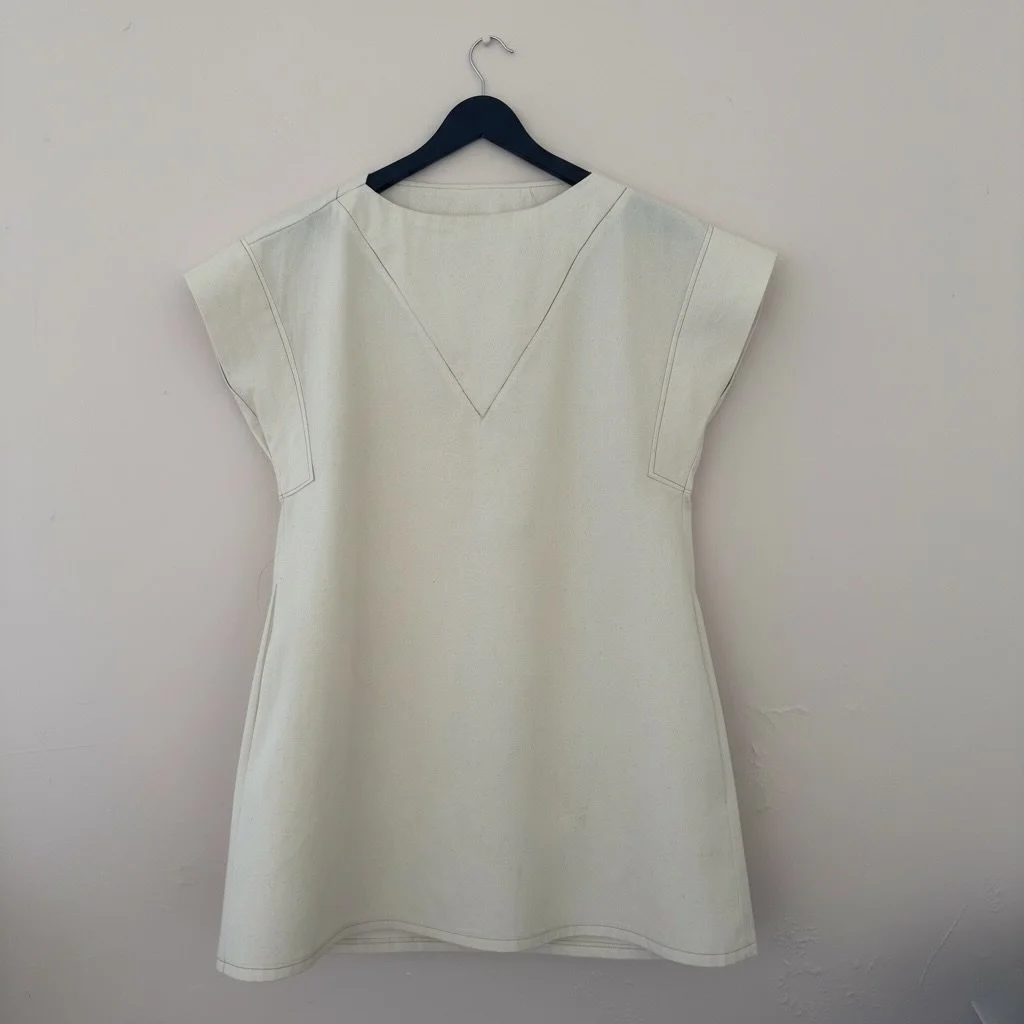
Shown above: On the left - The T-Shirt and on the right - The Dress.
The Iris A t-shirt and dress:
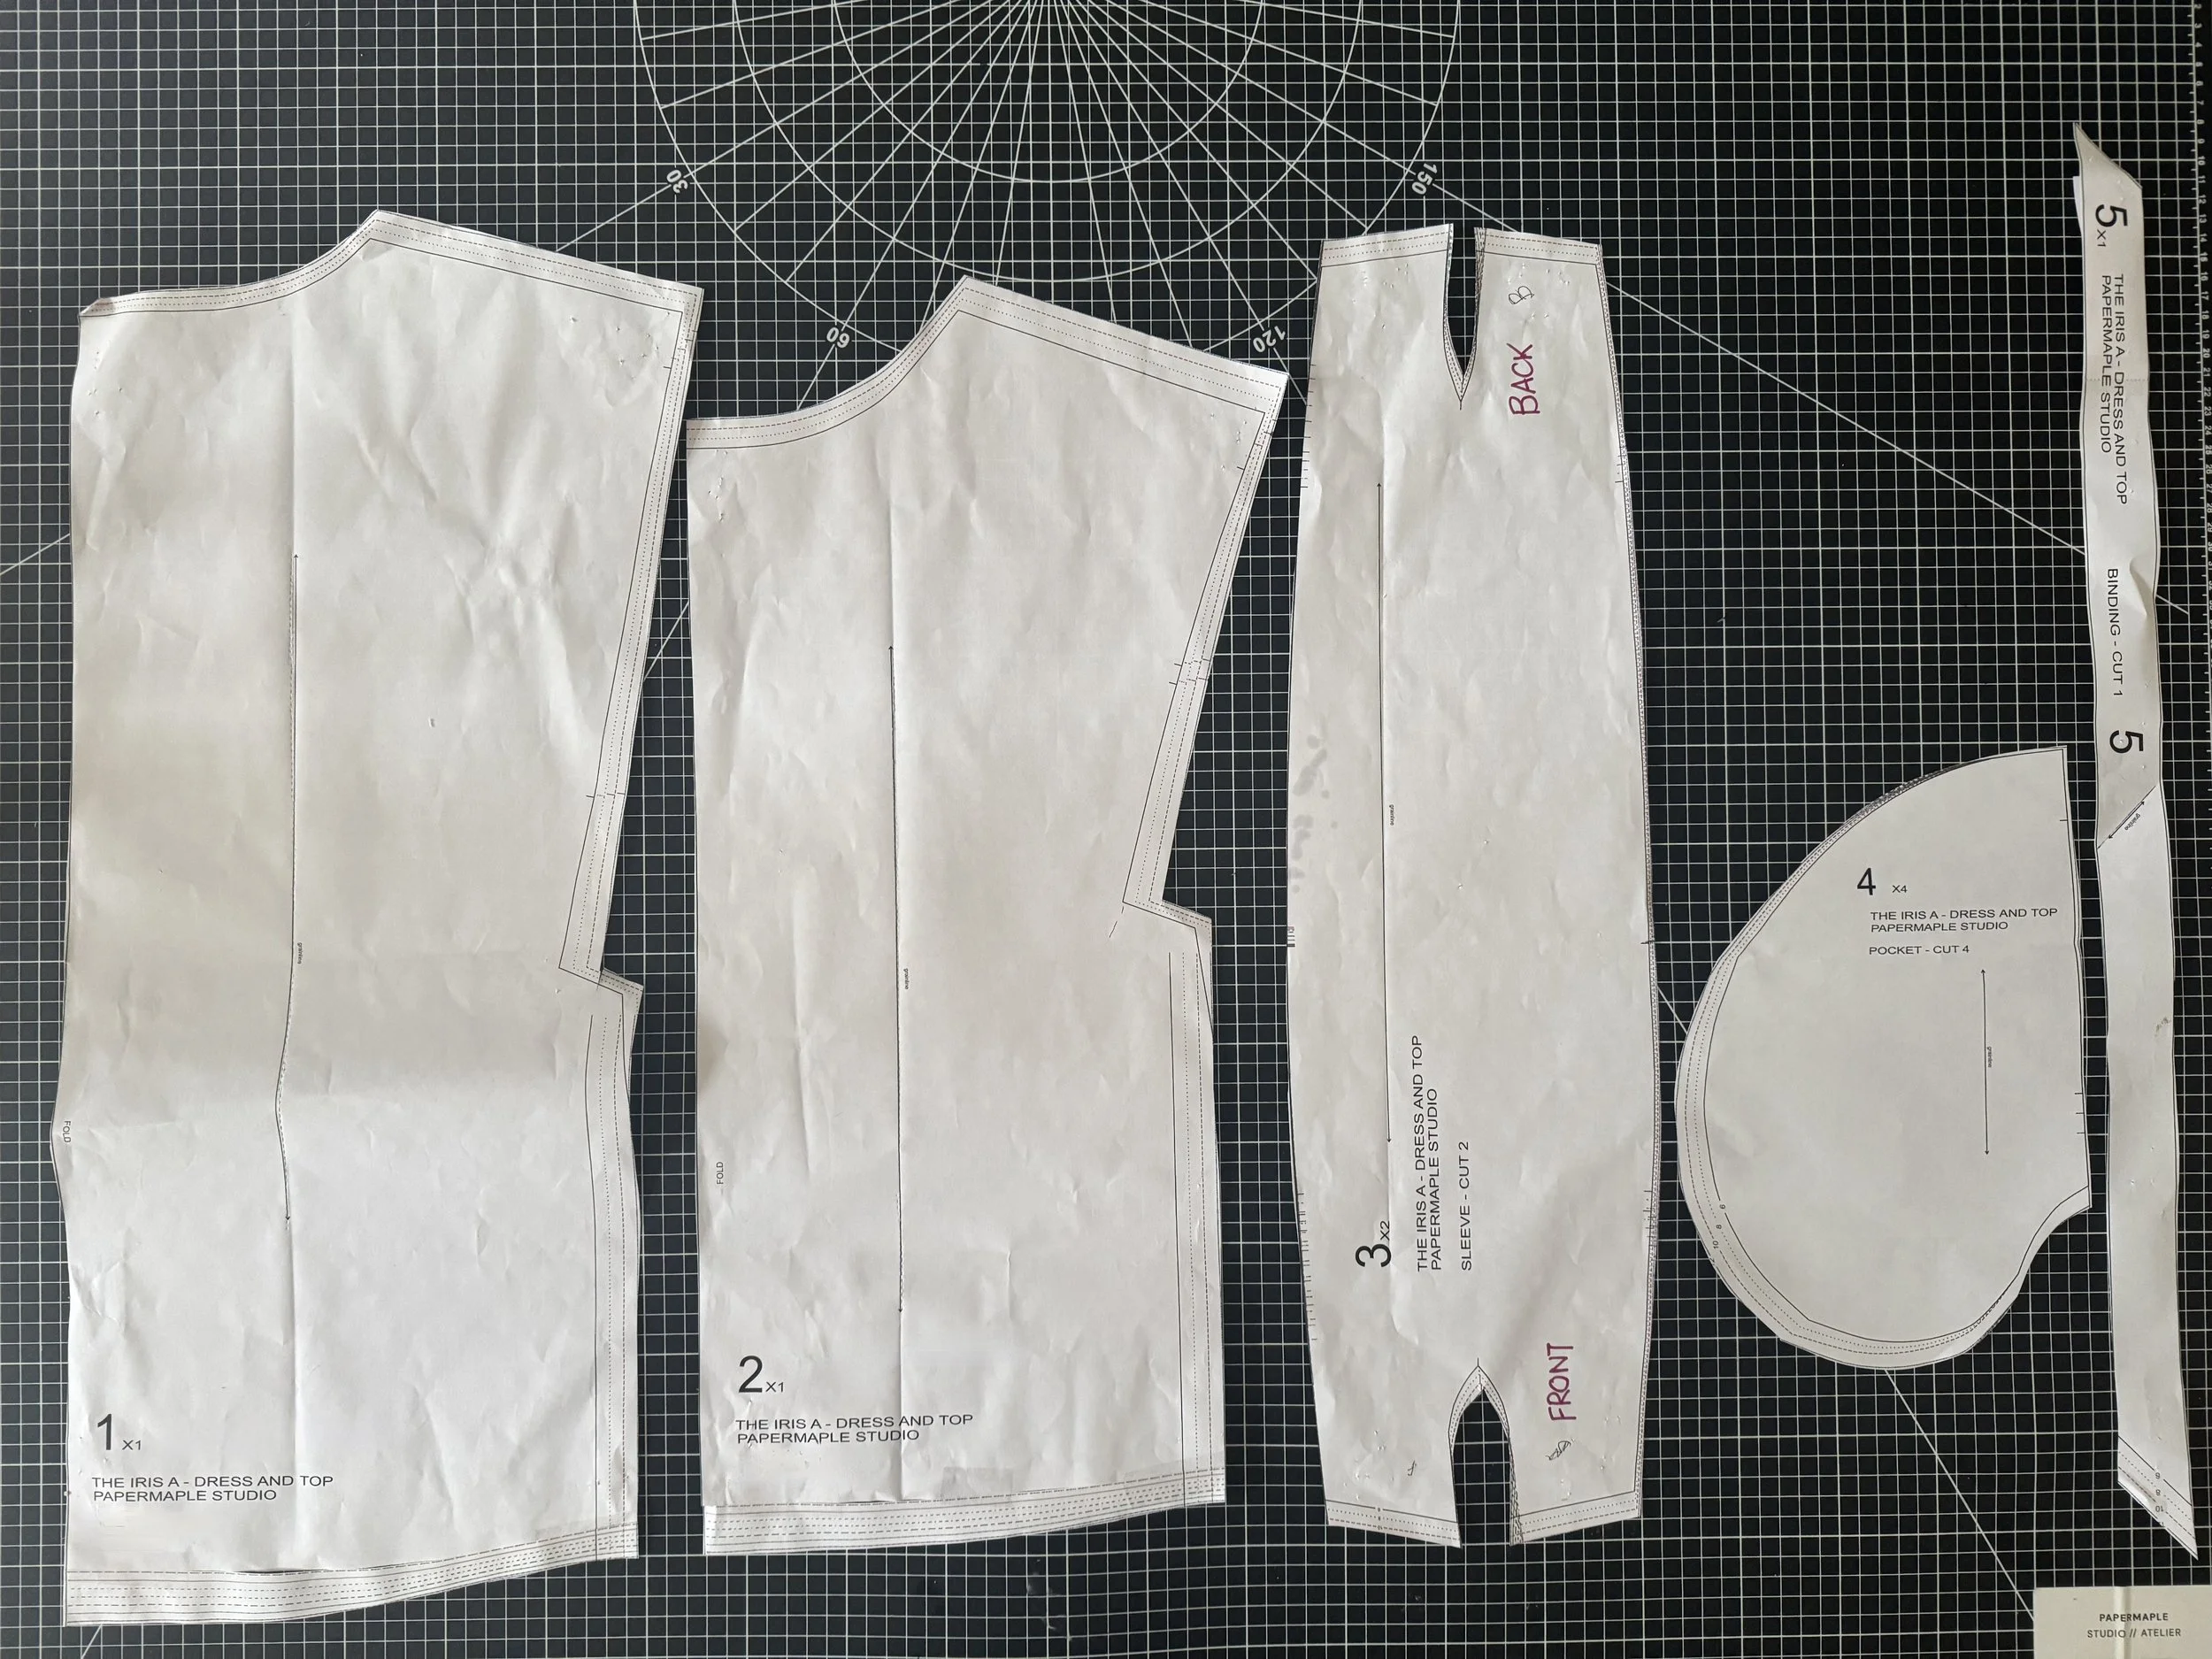
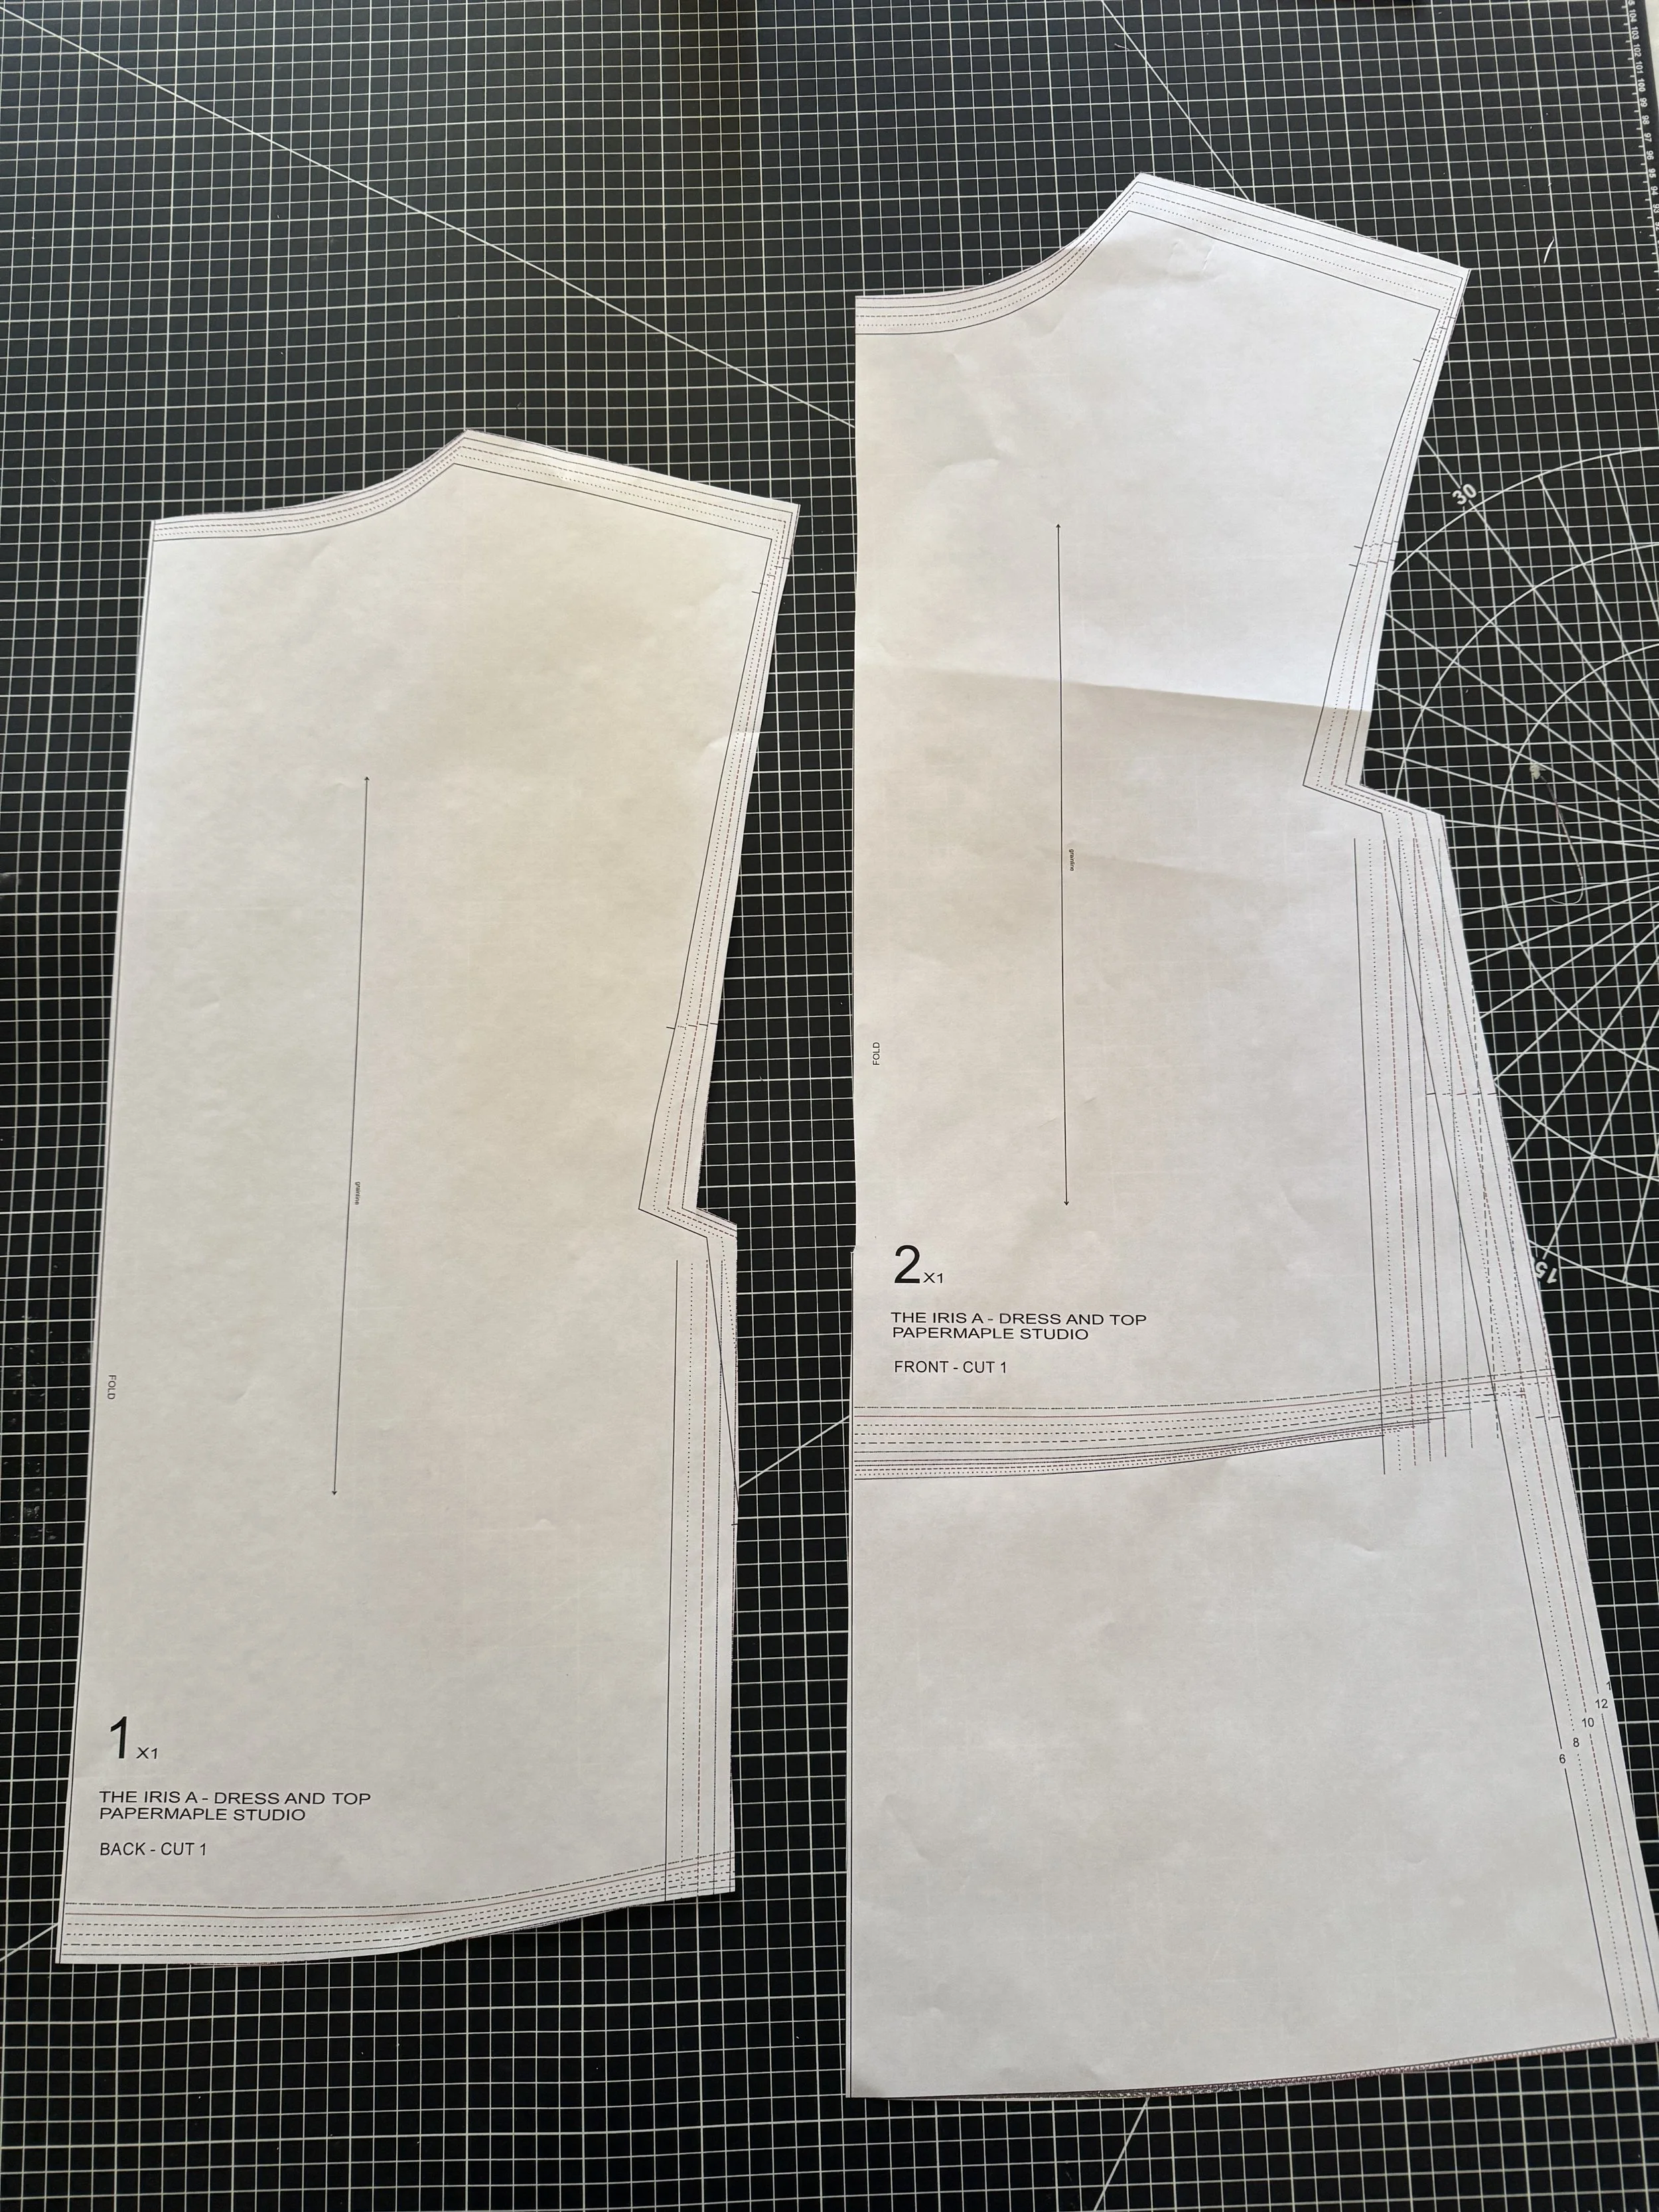
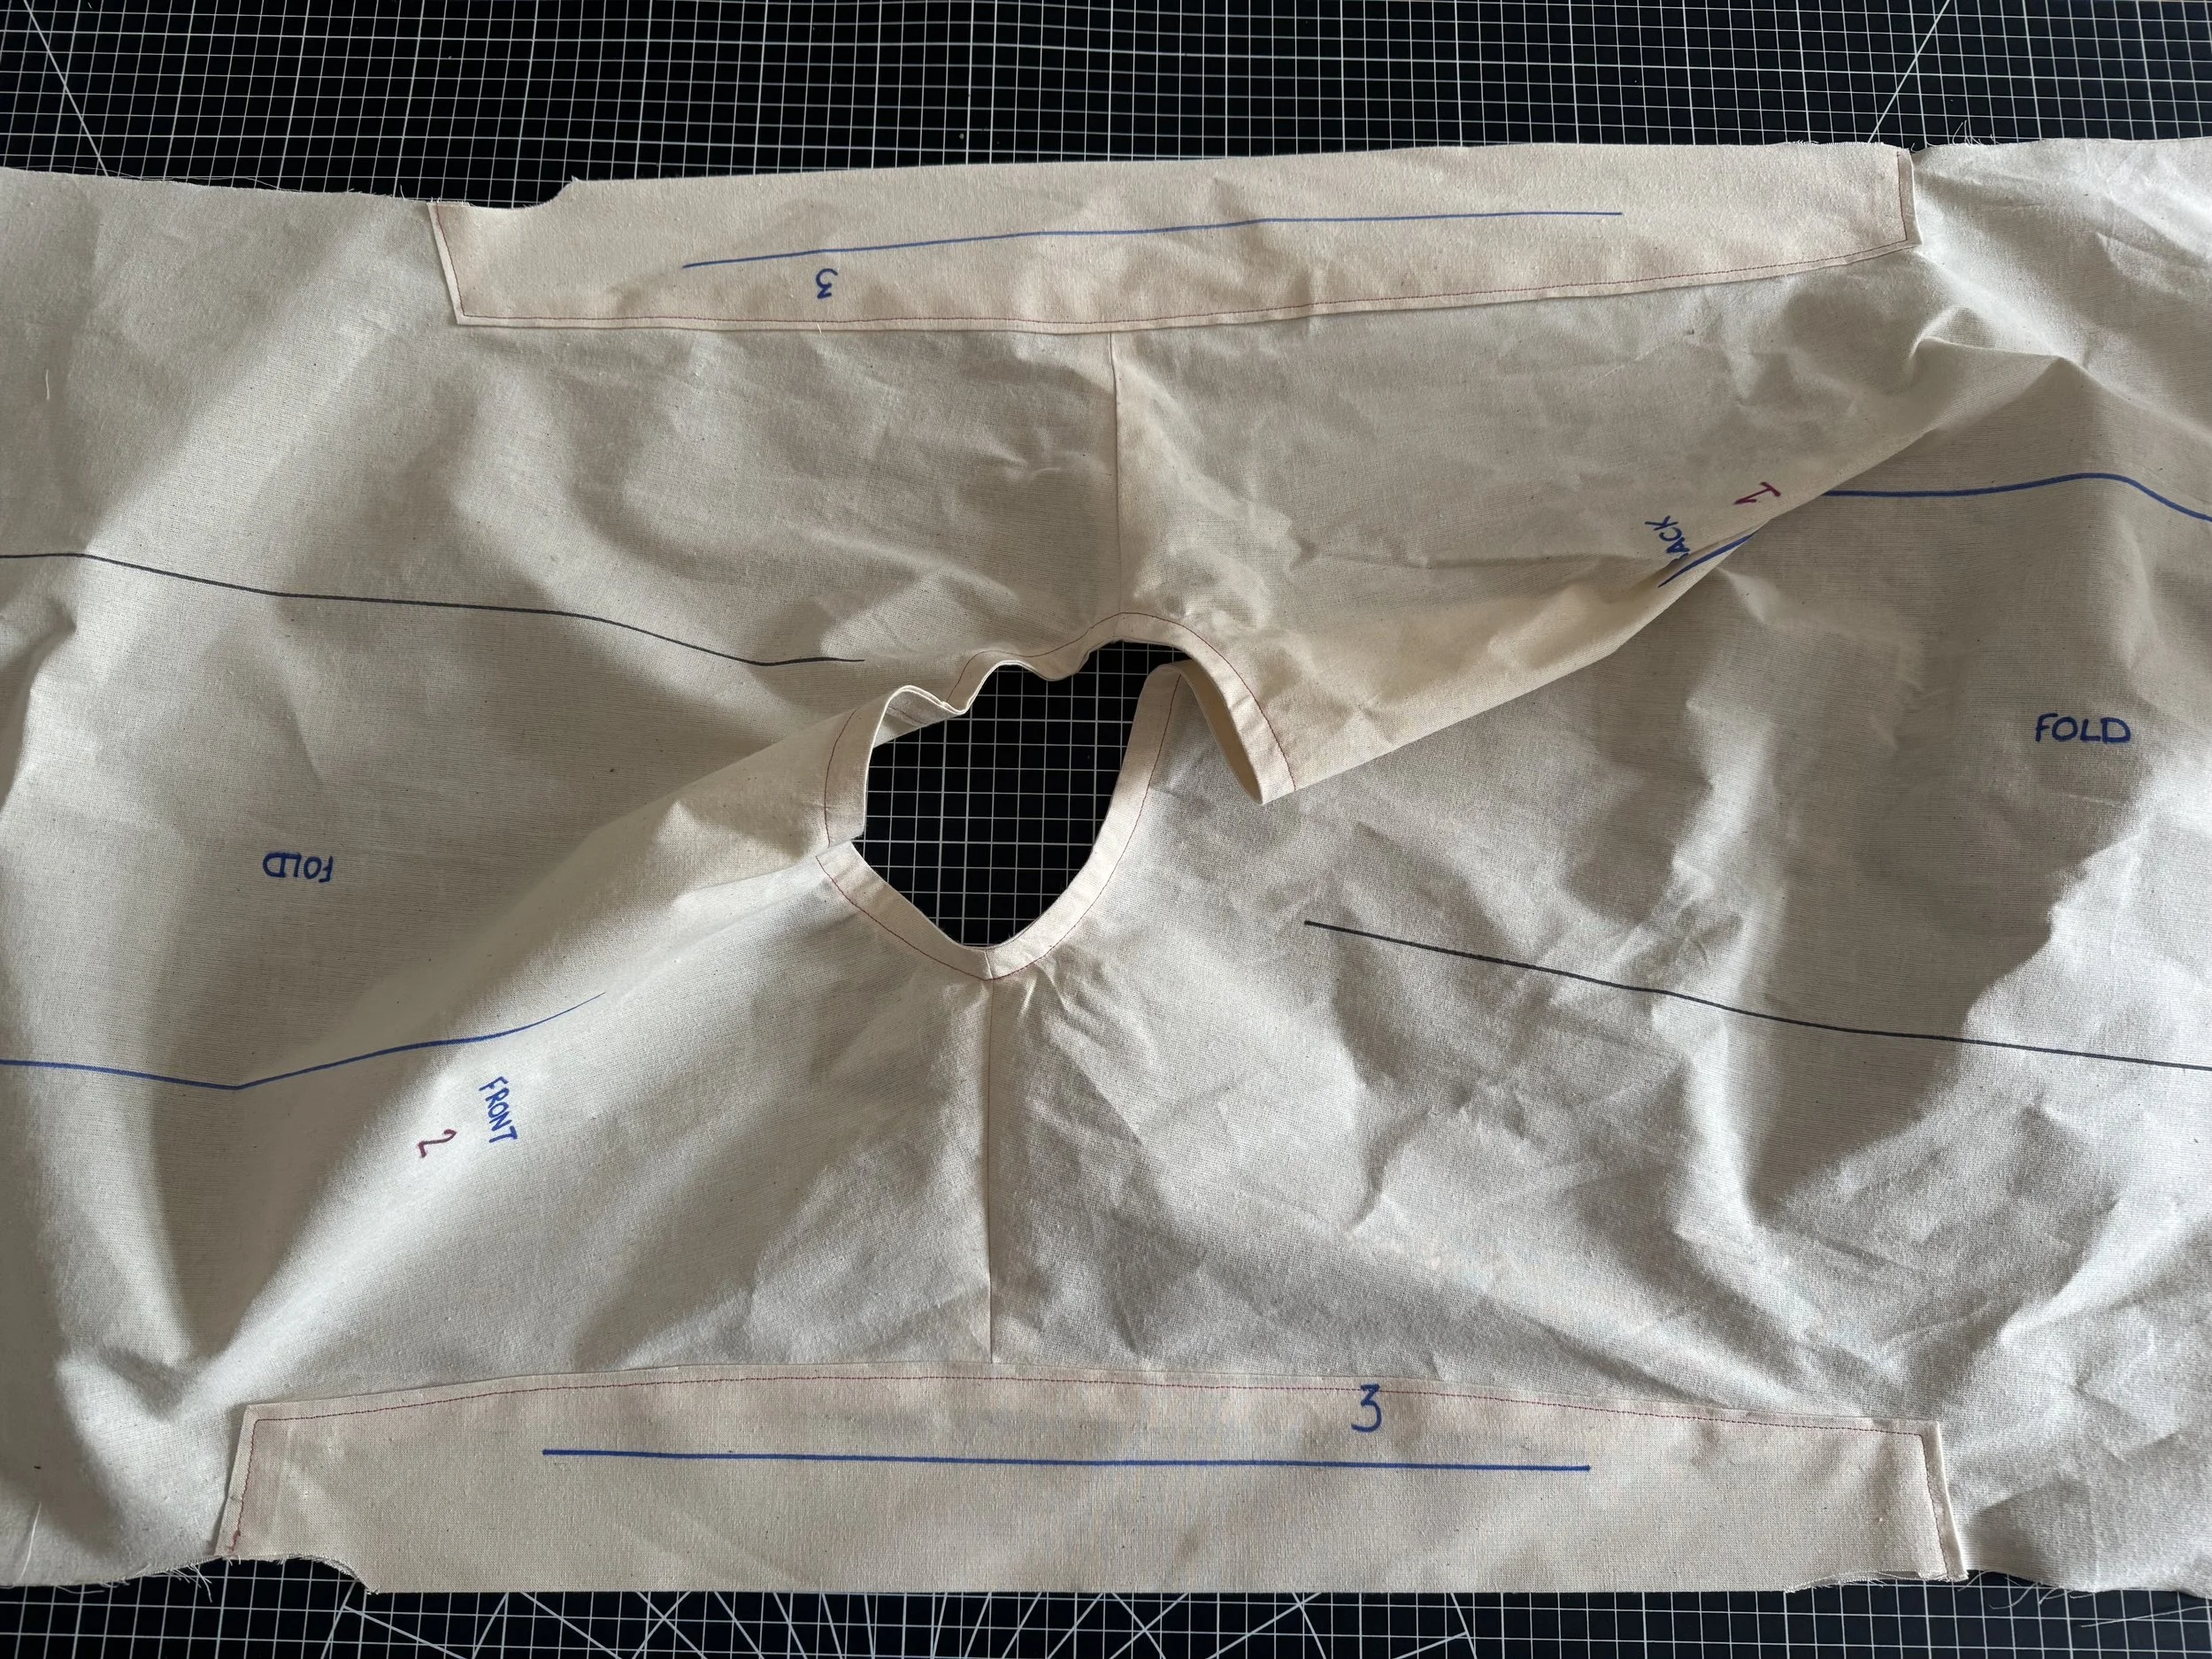
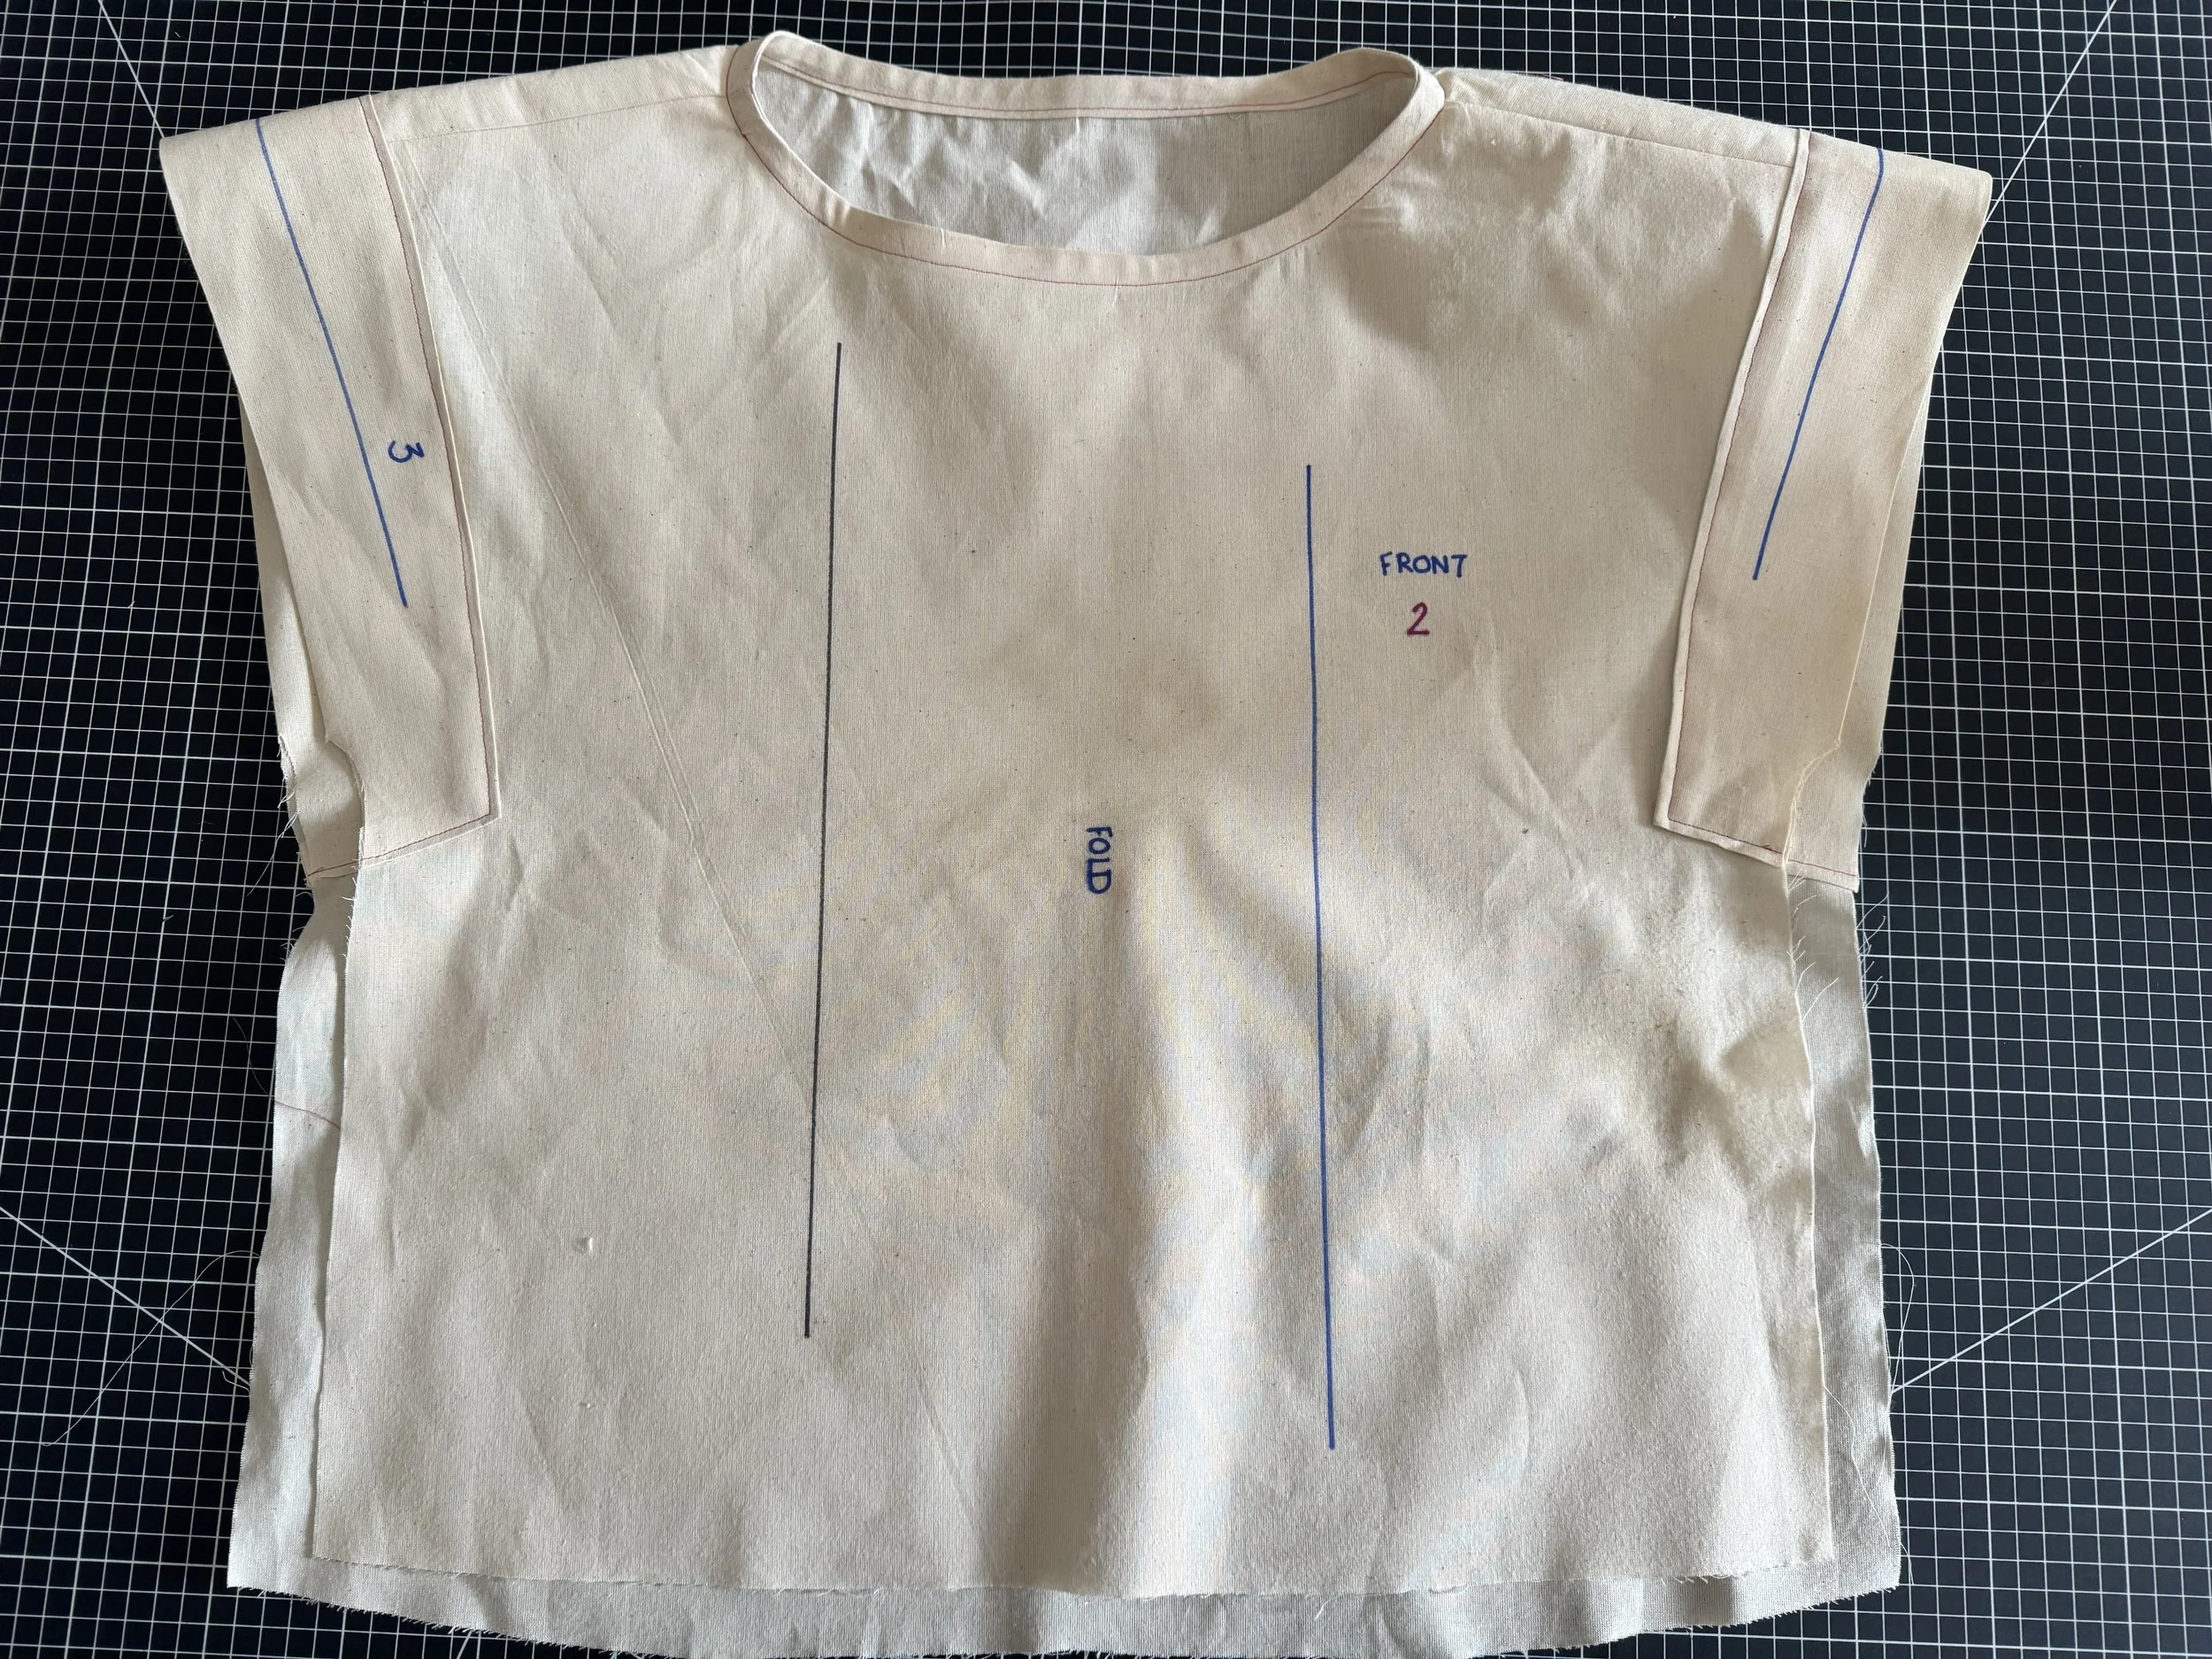
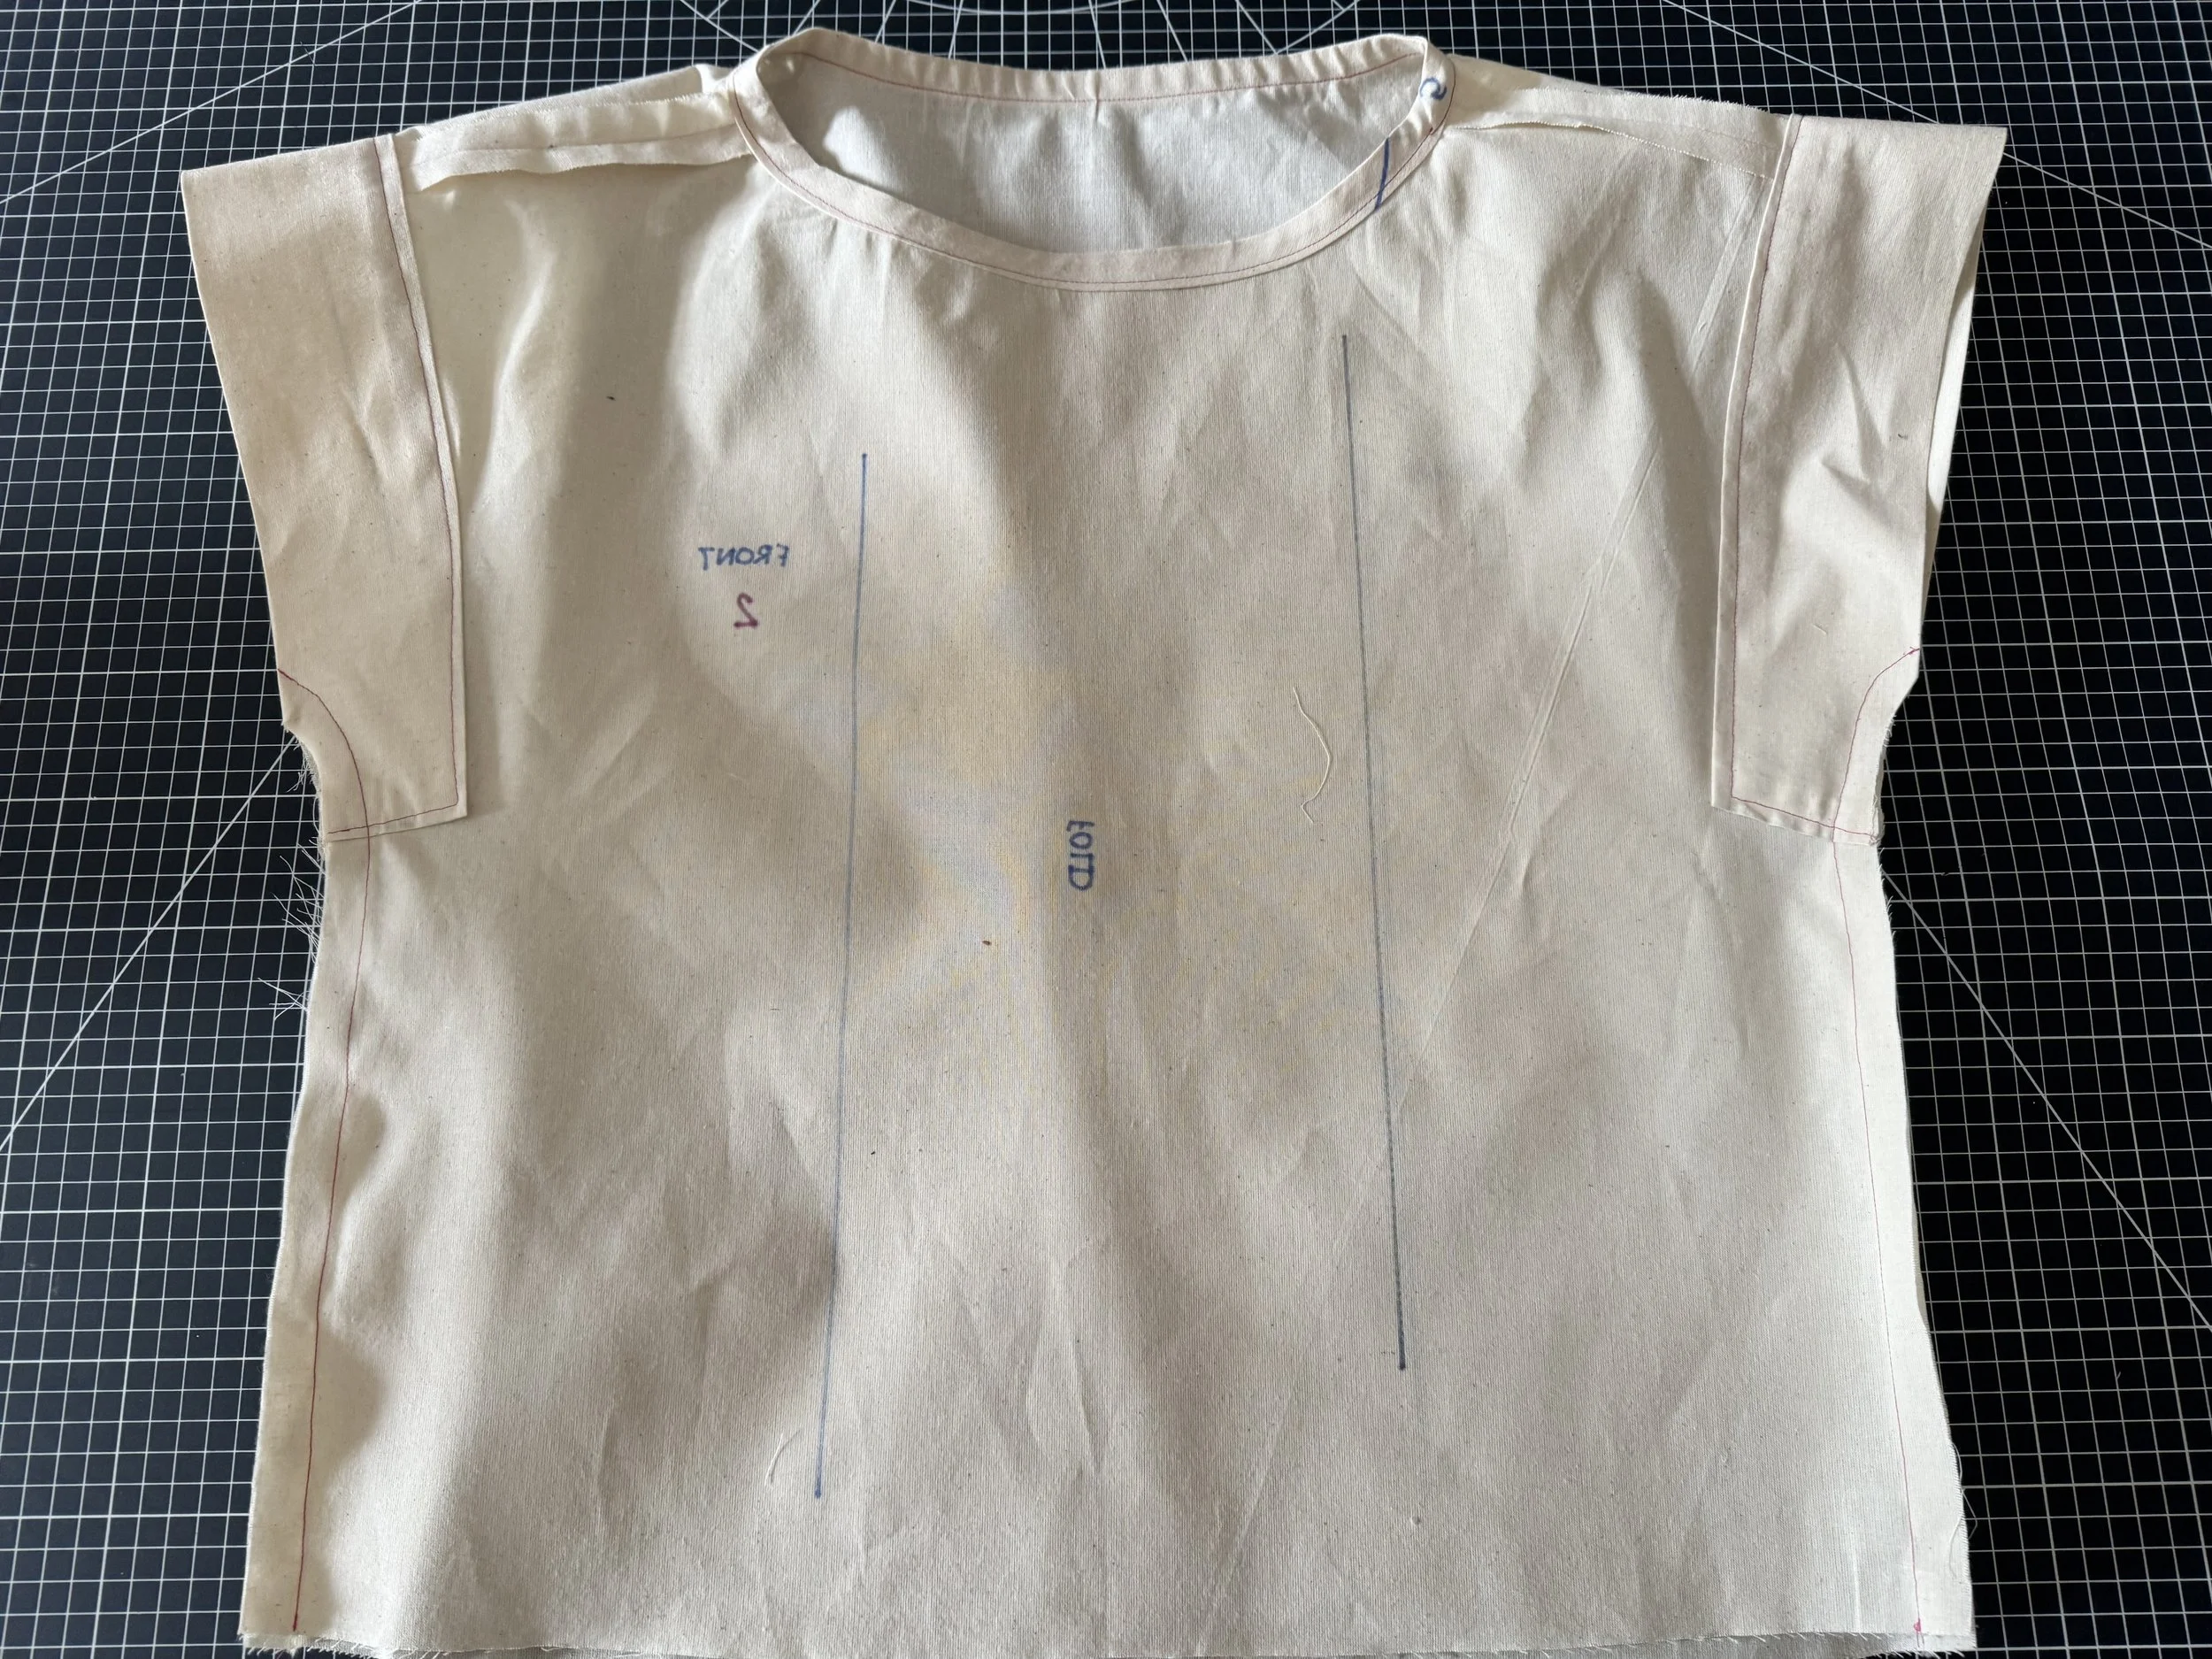
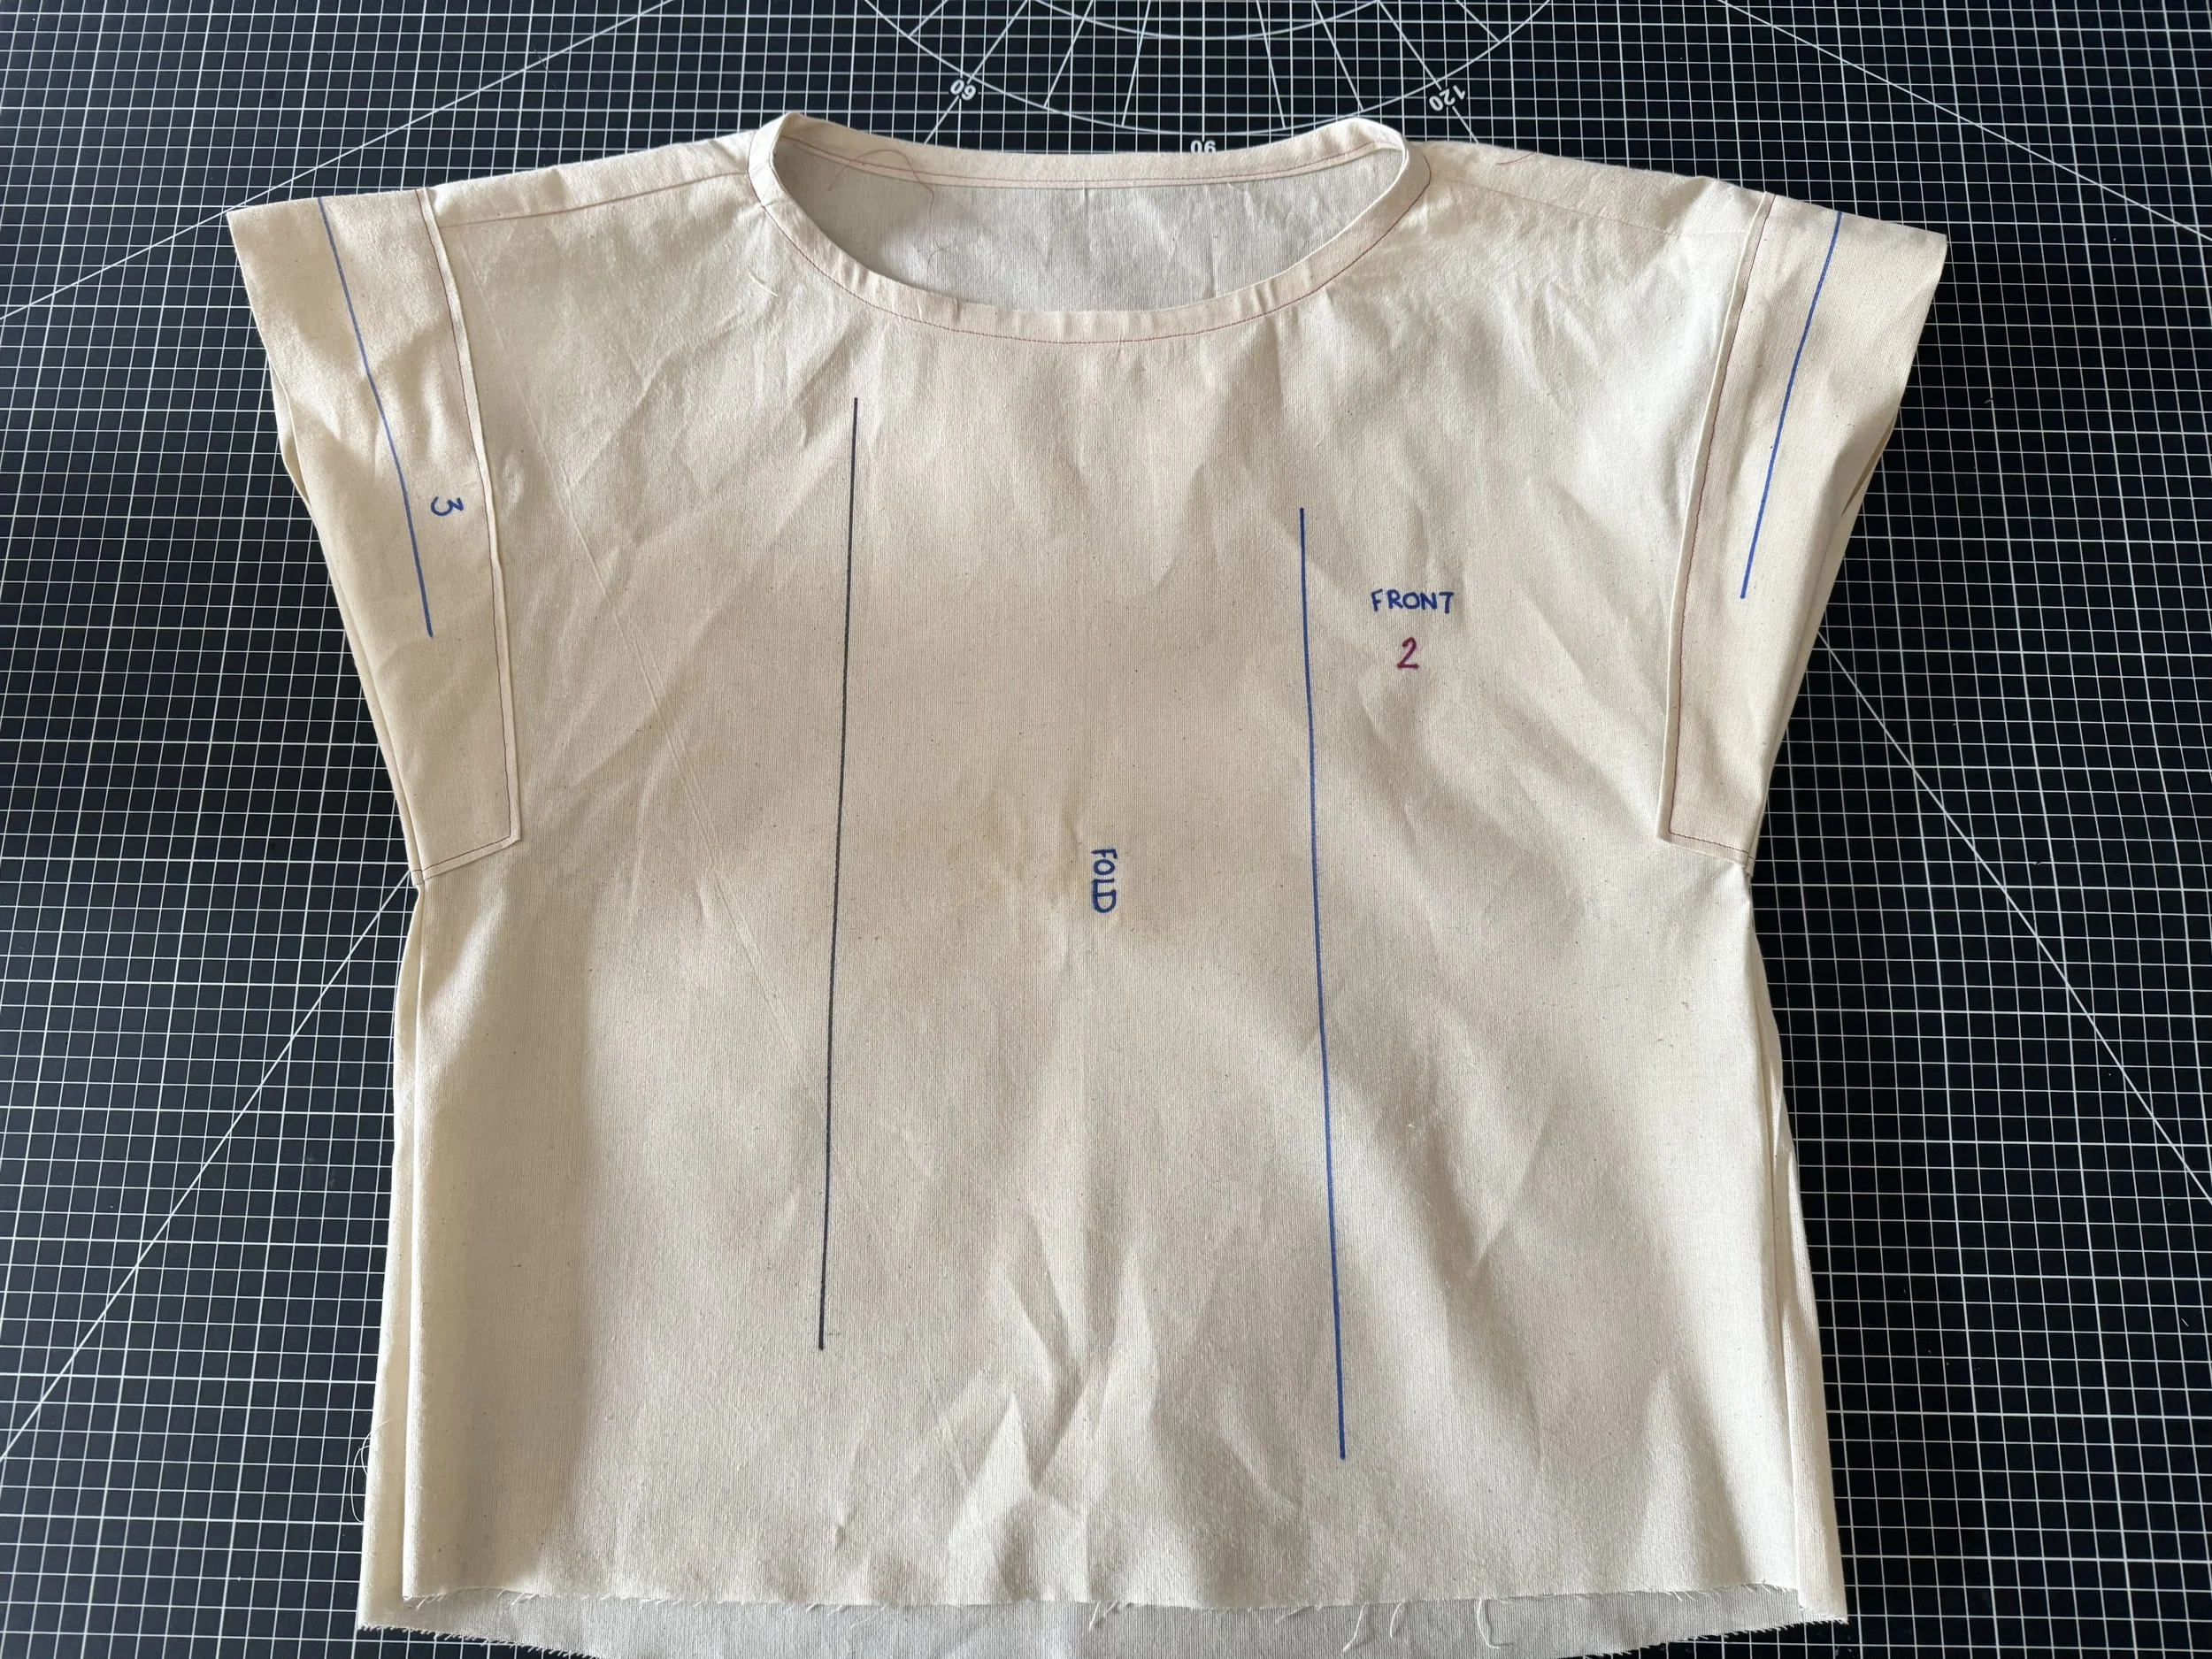
Piece 1 - Back / Cut on FOLD
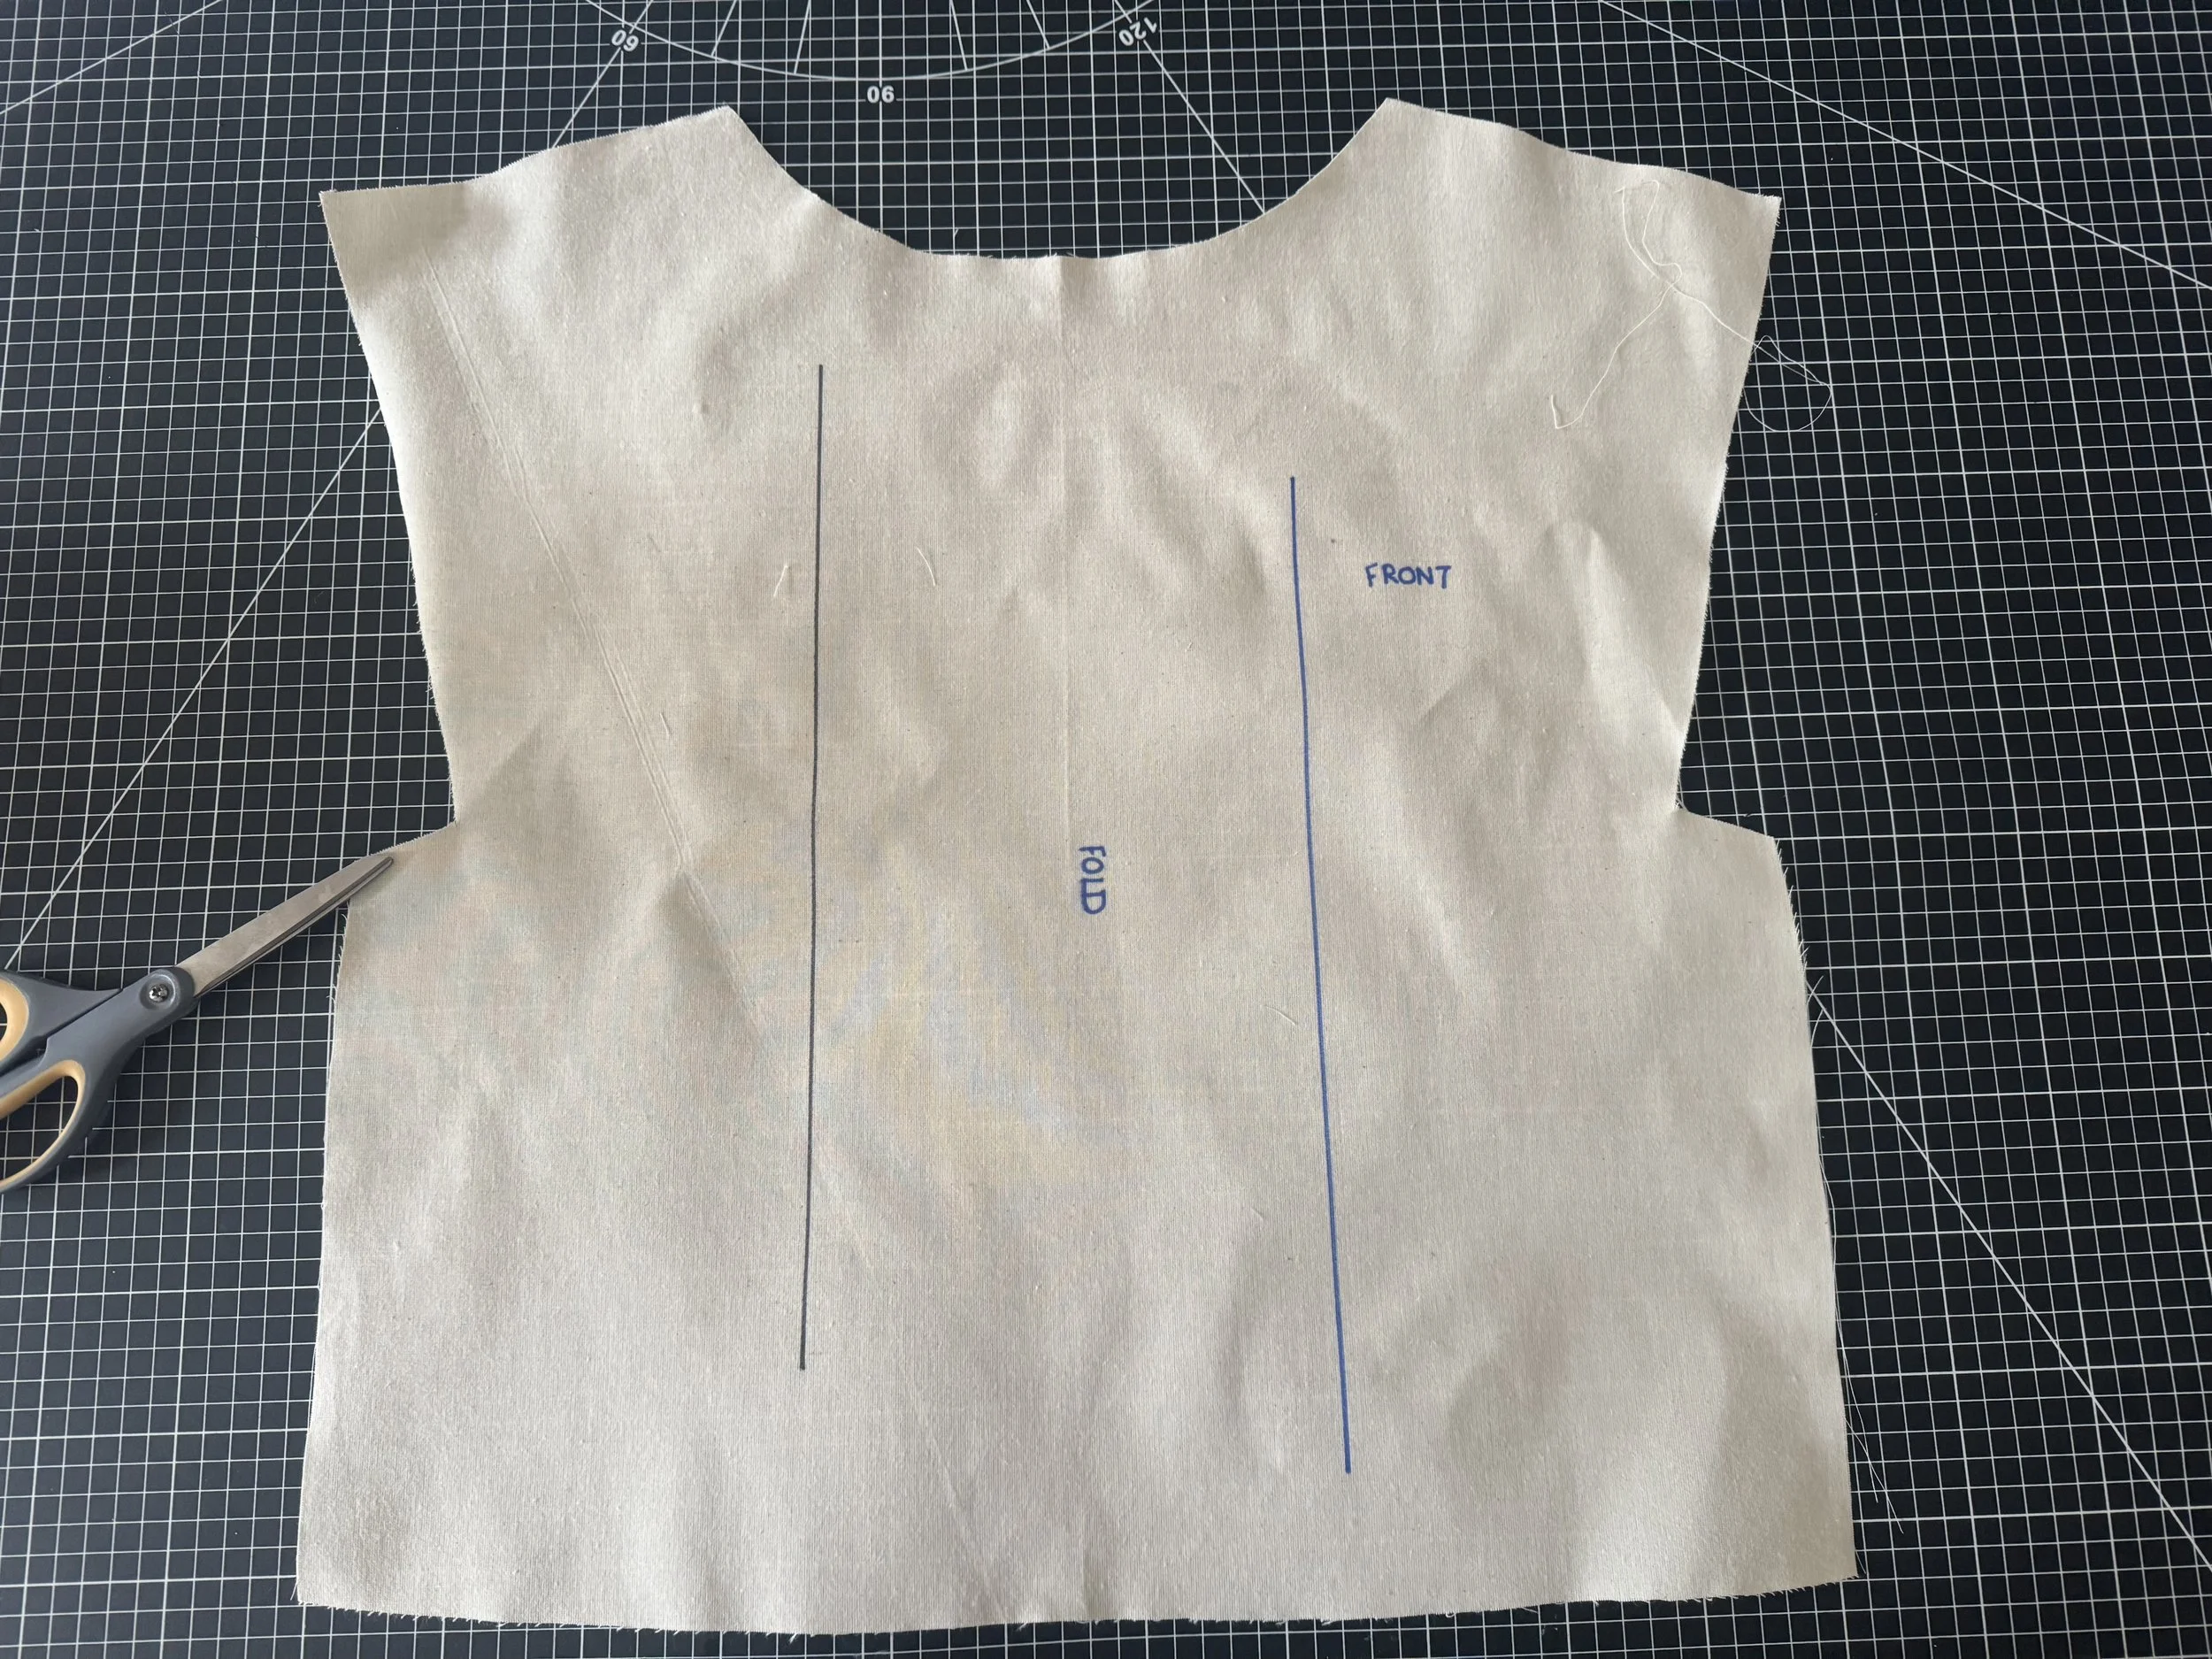
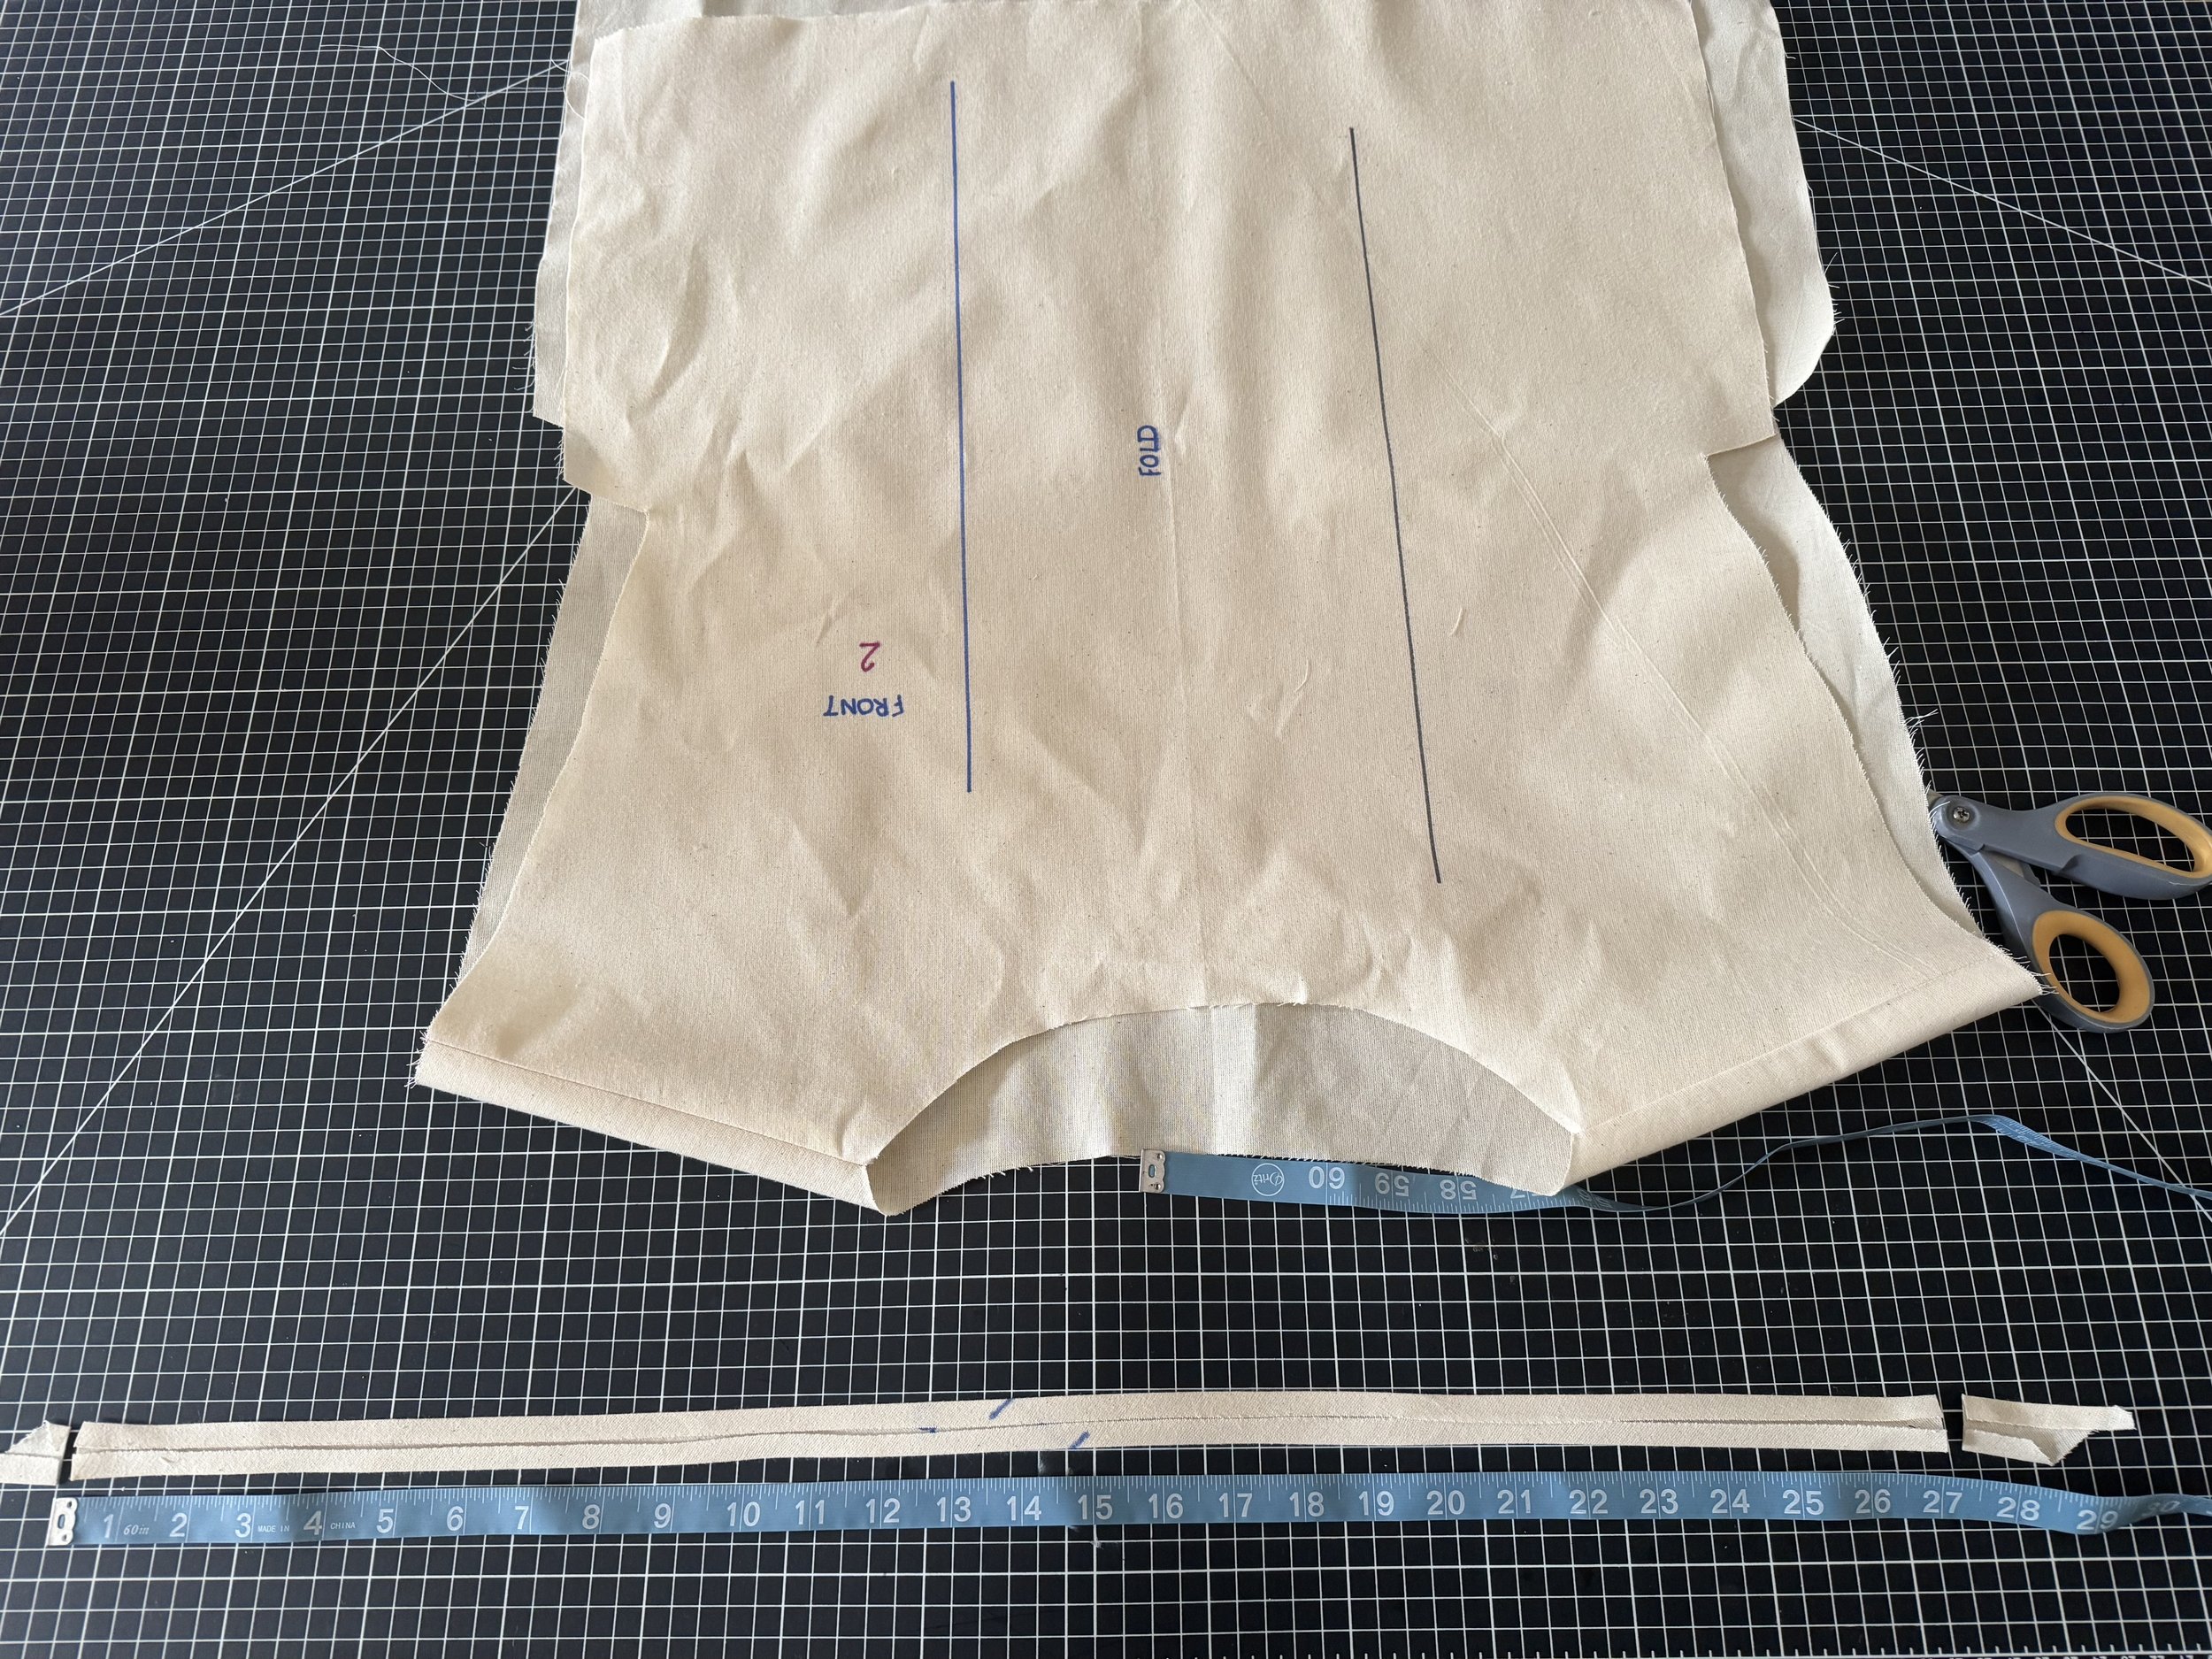
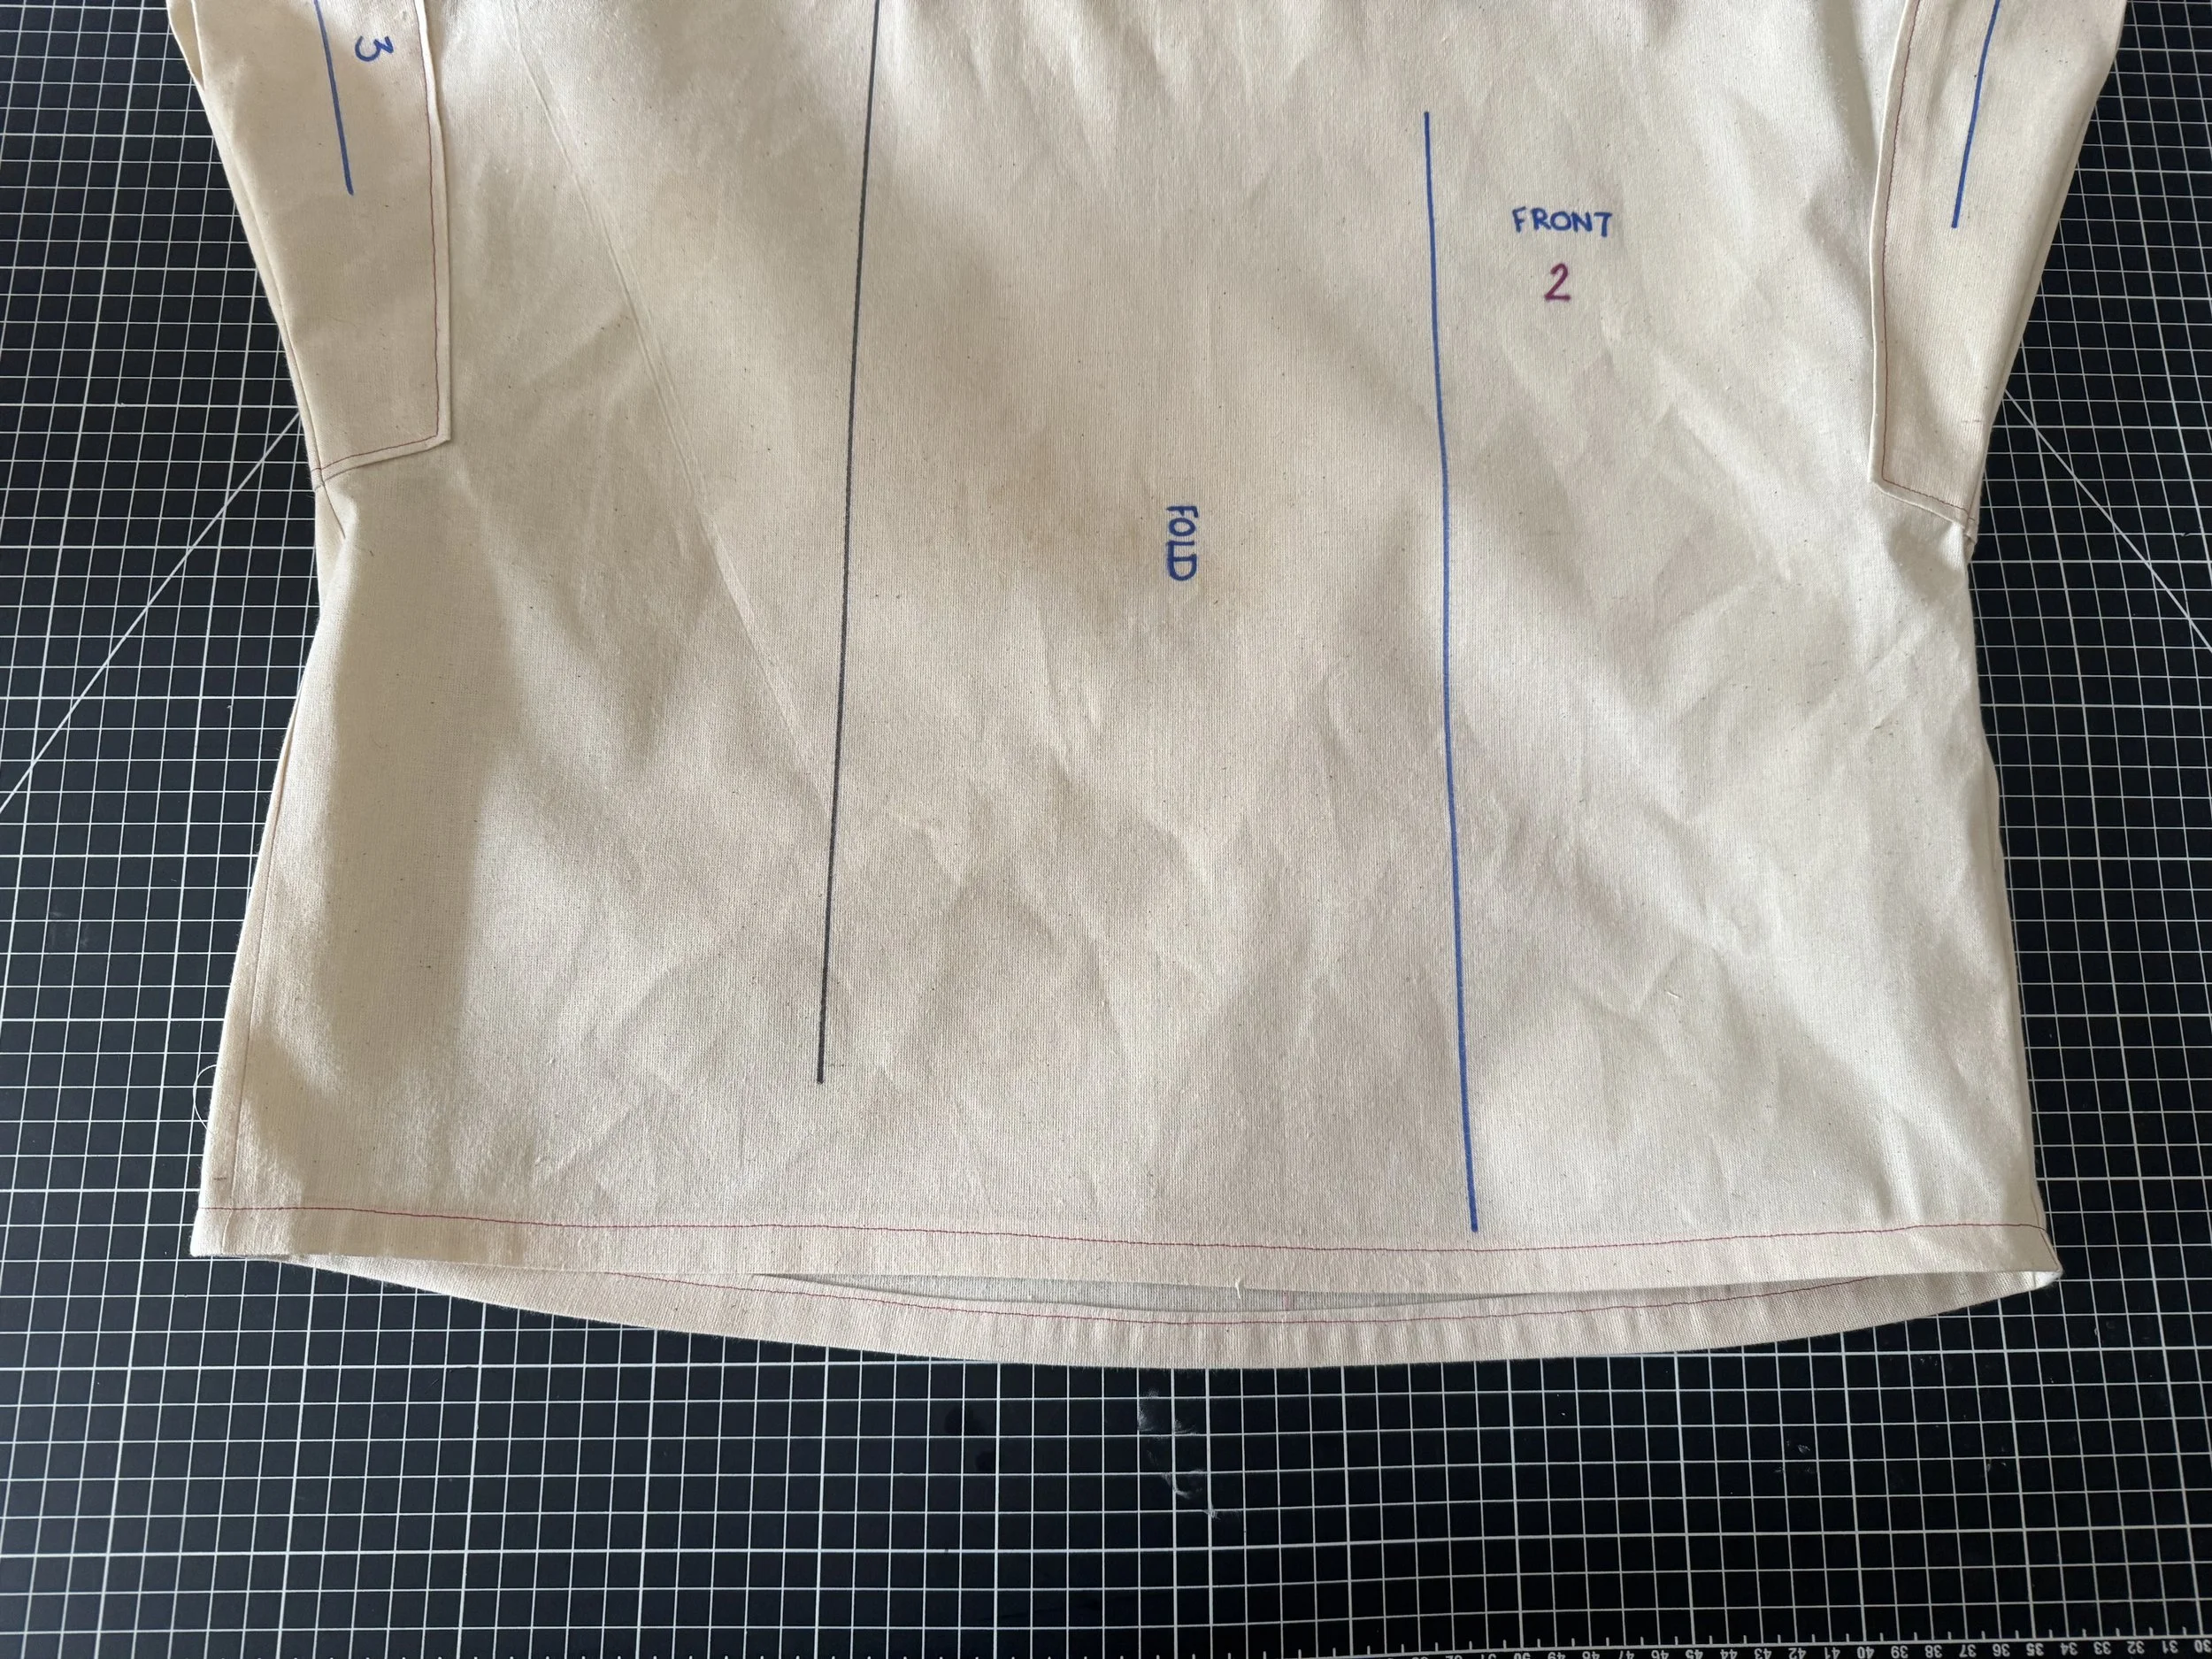
Piece 2 - Front / Cut on FOLD
Piece 3 - Sleeves / Cut 2
Piece 4 - Pocket / Cut 4
Piece 5 - Bias Neckline Trim / Cut one on Bias
ORDER OF CONSTRUCTION:
Shoulders
Bias Neckline
Sleeves
Side Seams
Hem
To begin:
Cut one front piece on FOLD
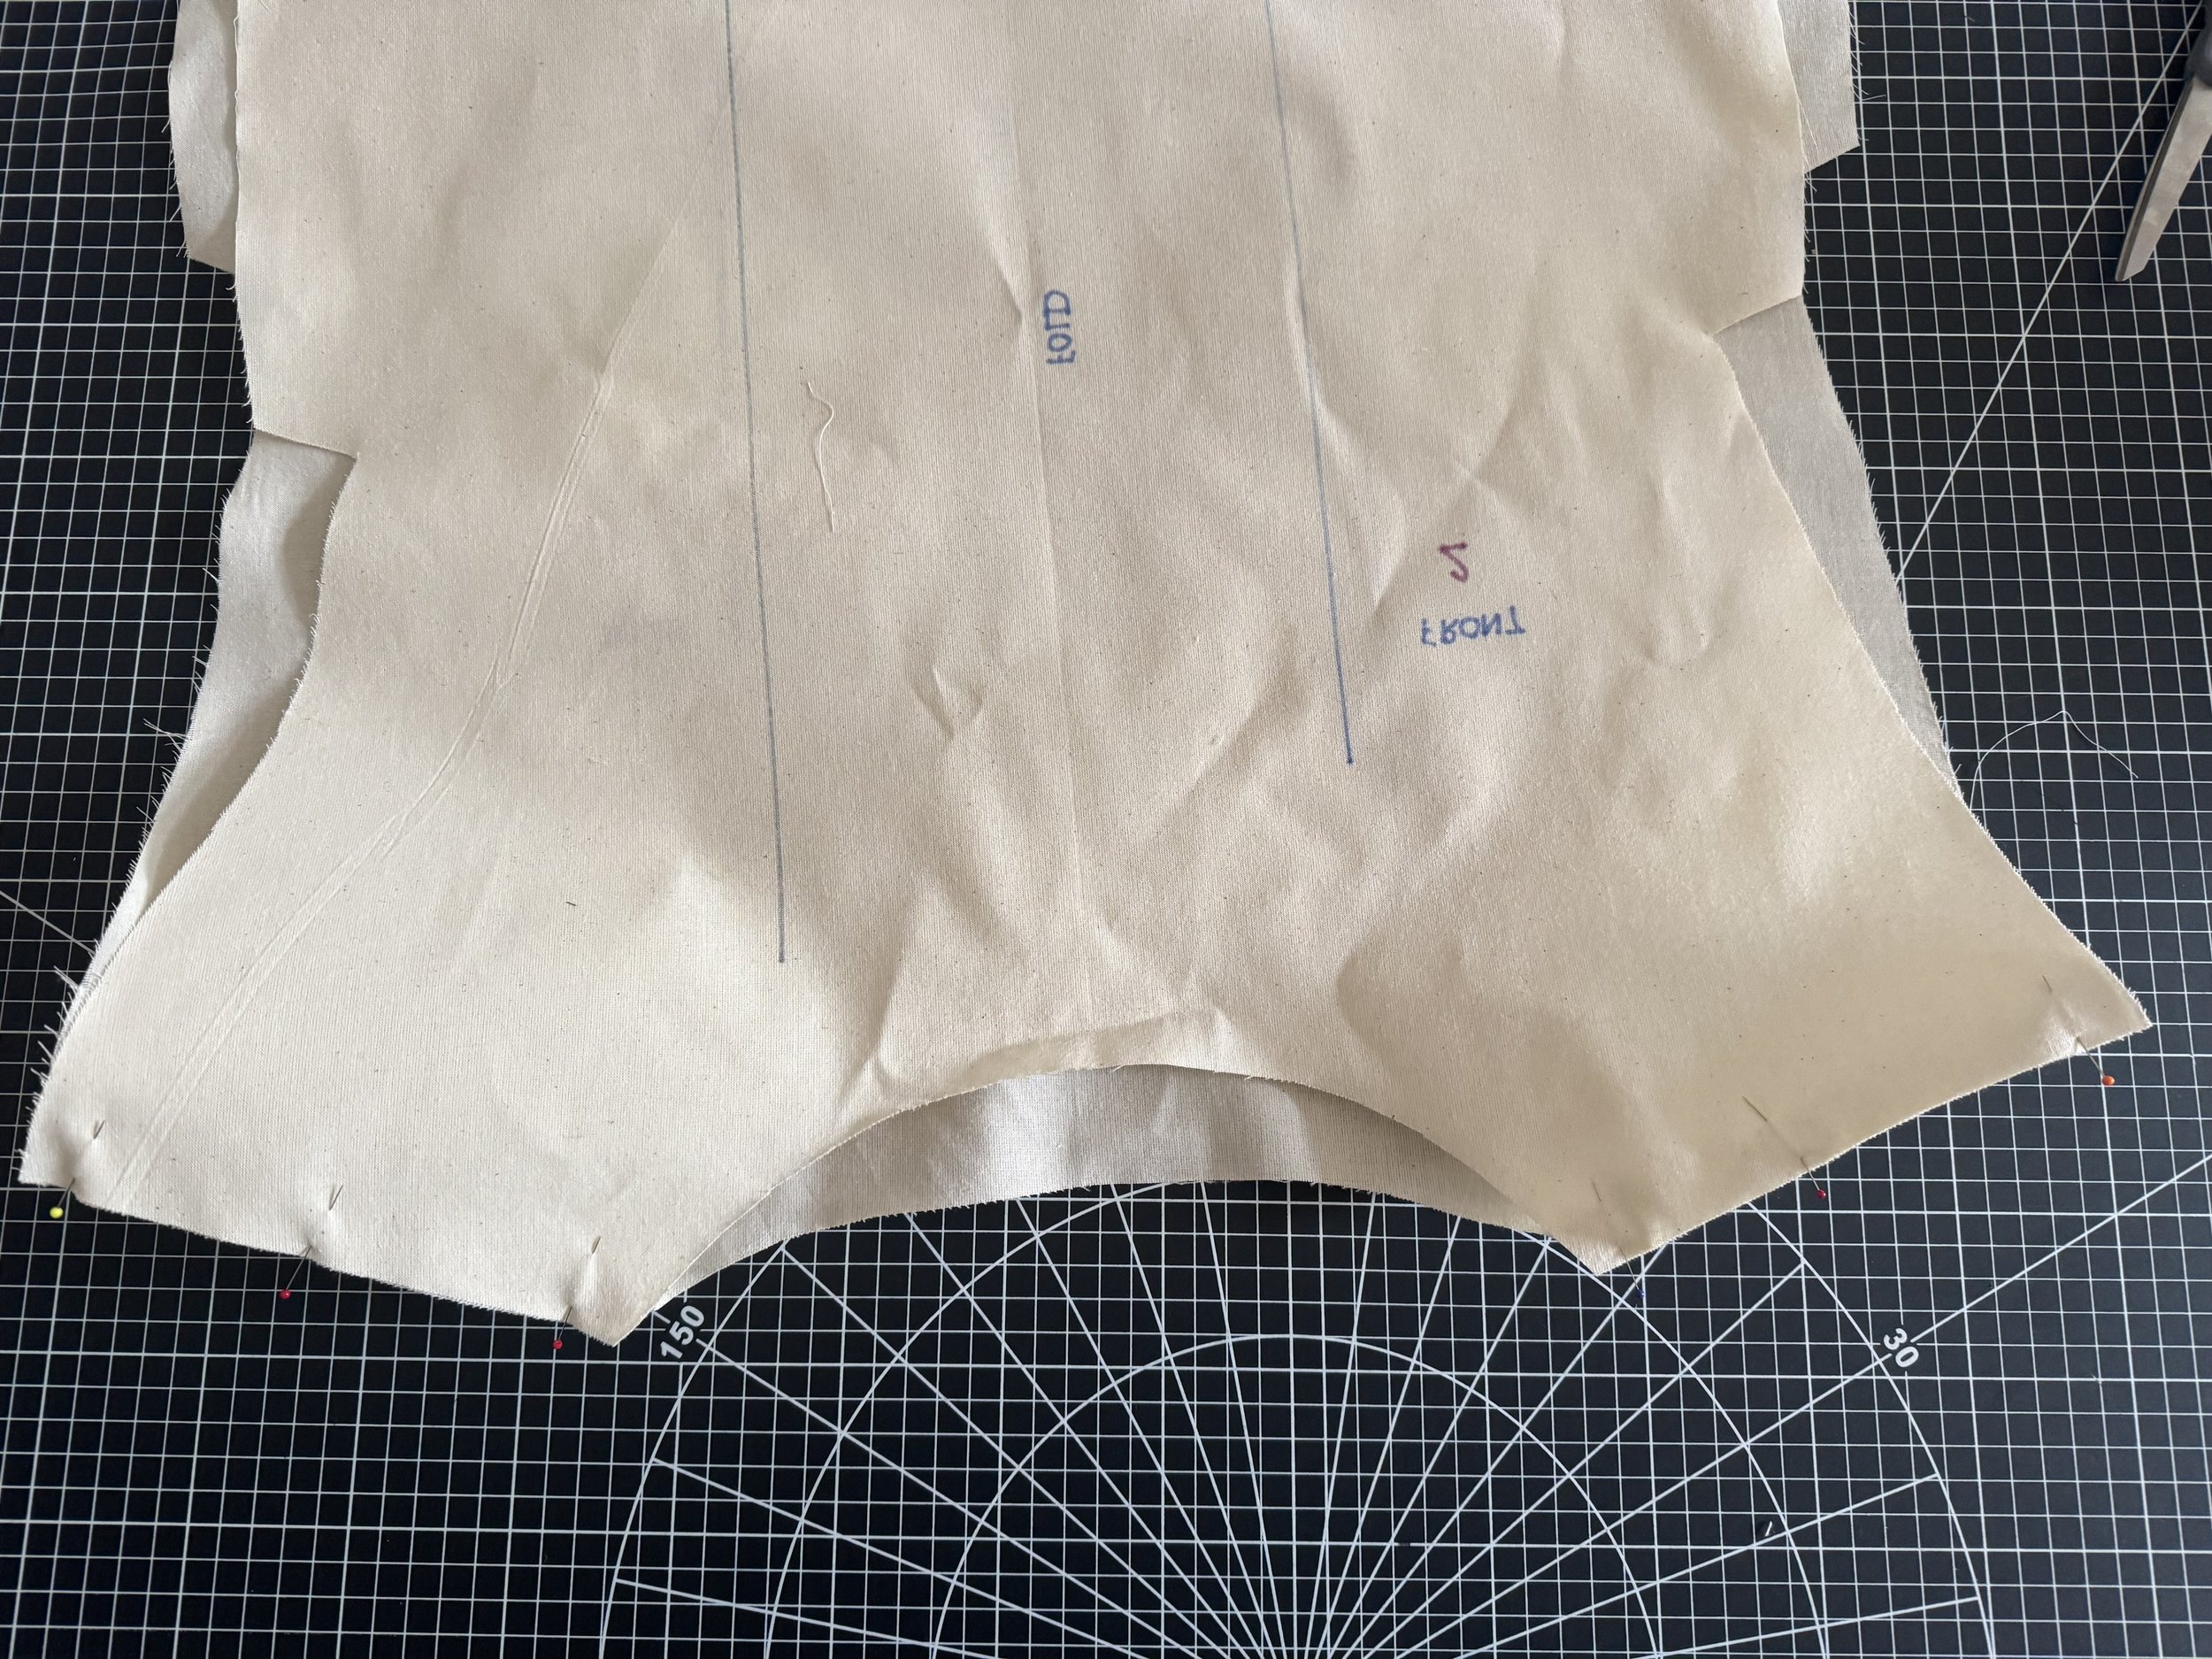
Serge the edges of the side seams and shoulder seams.
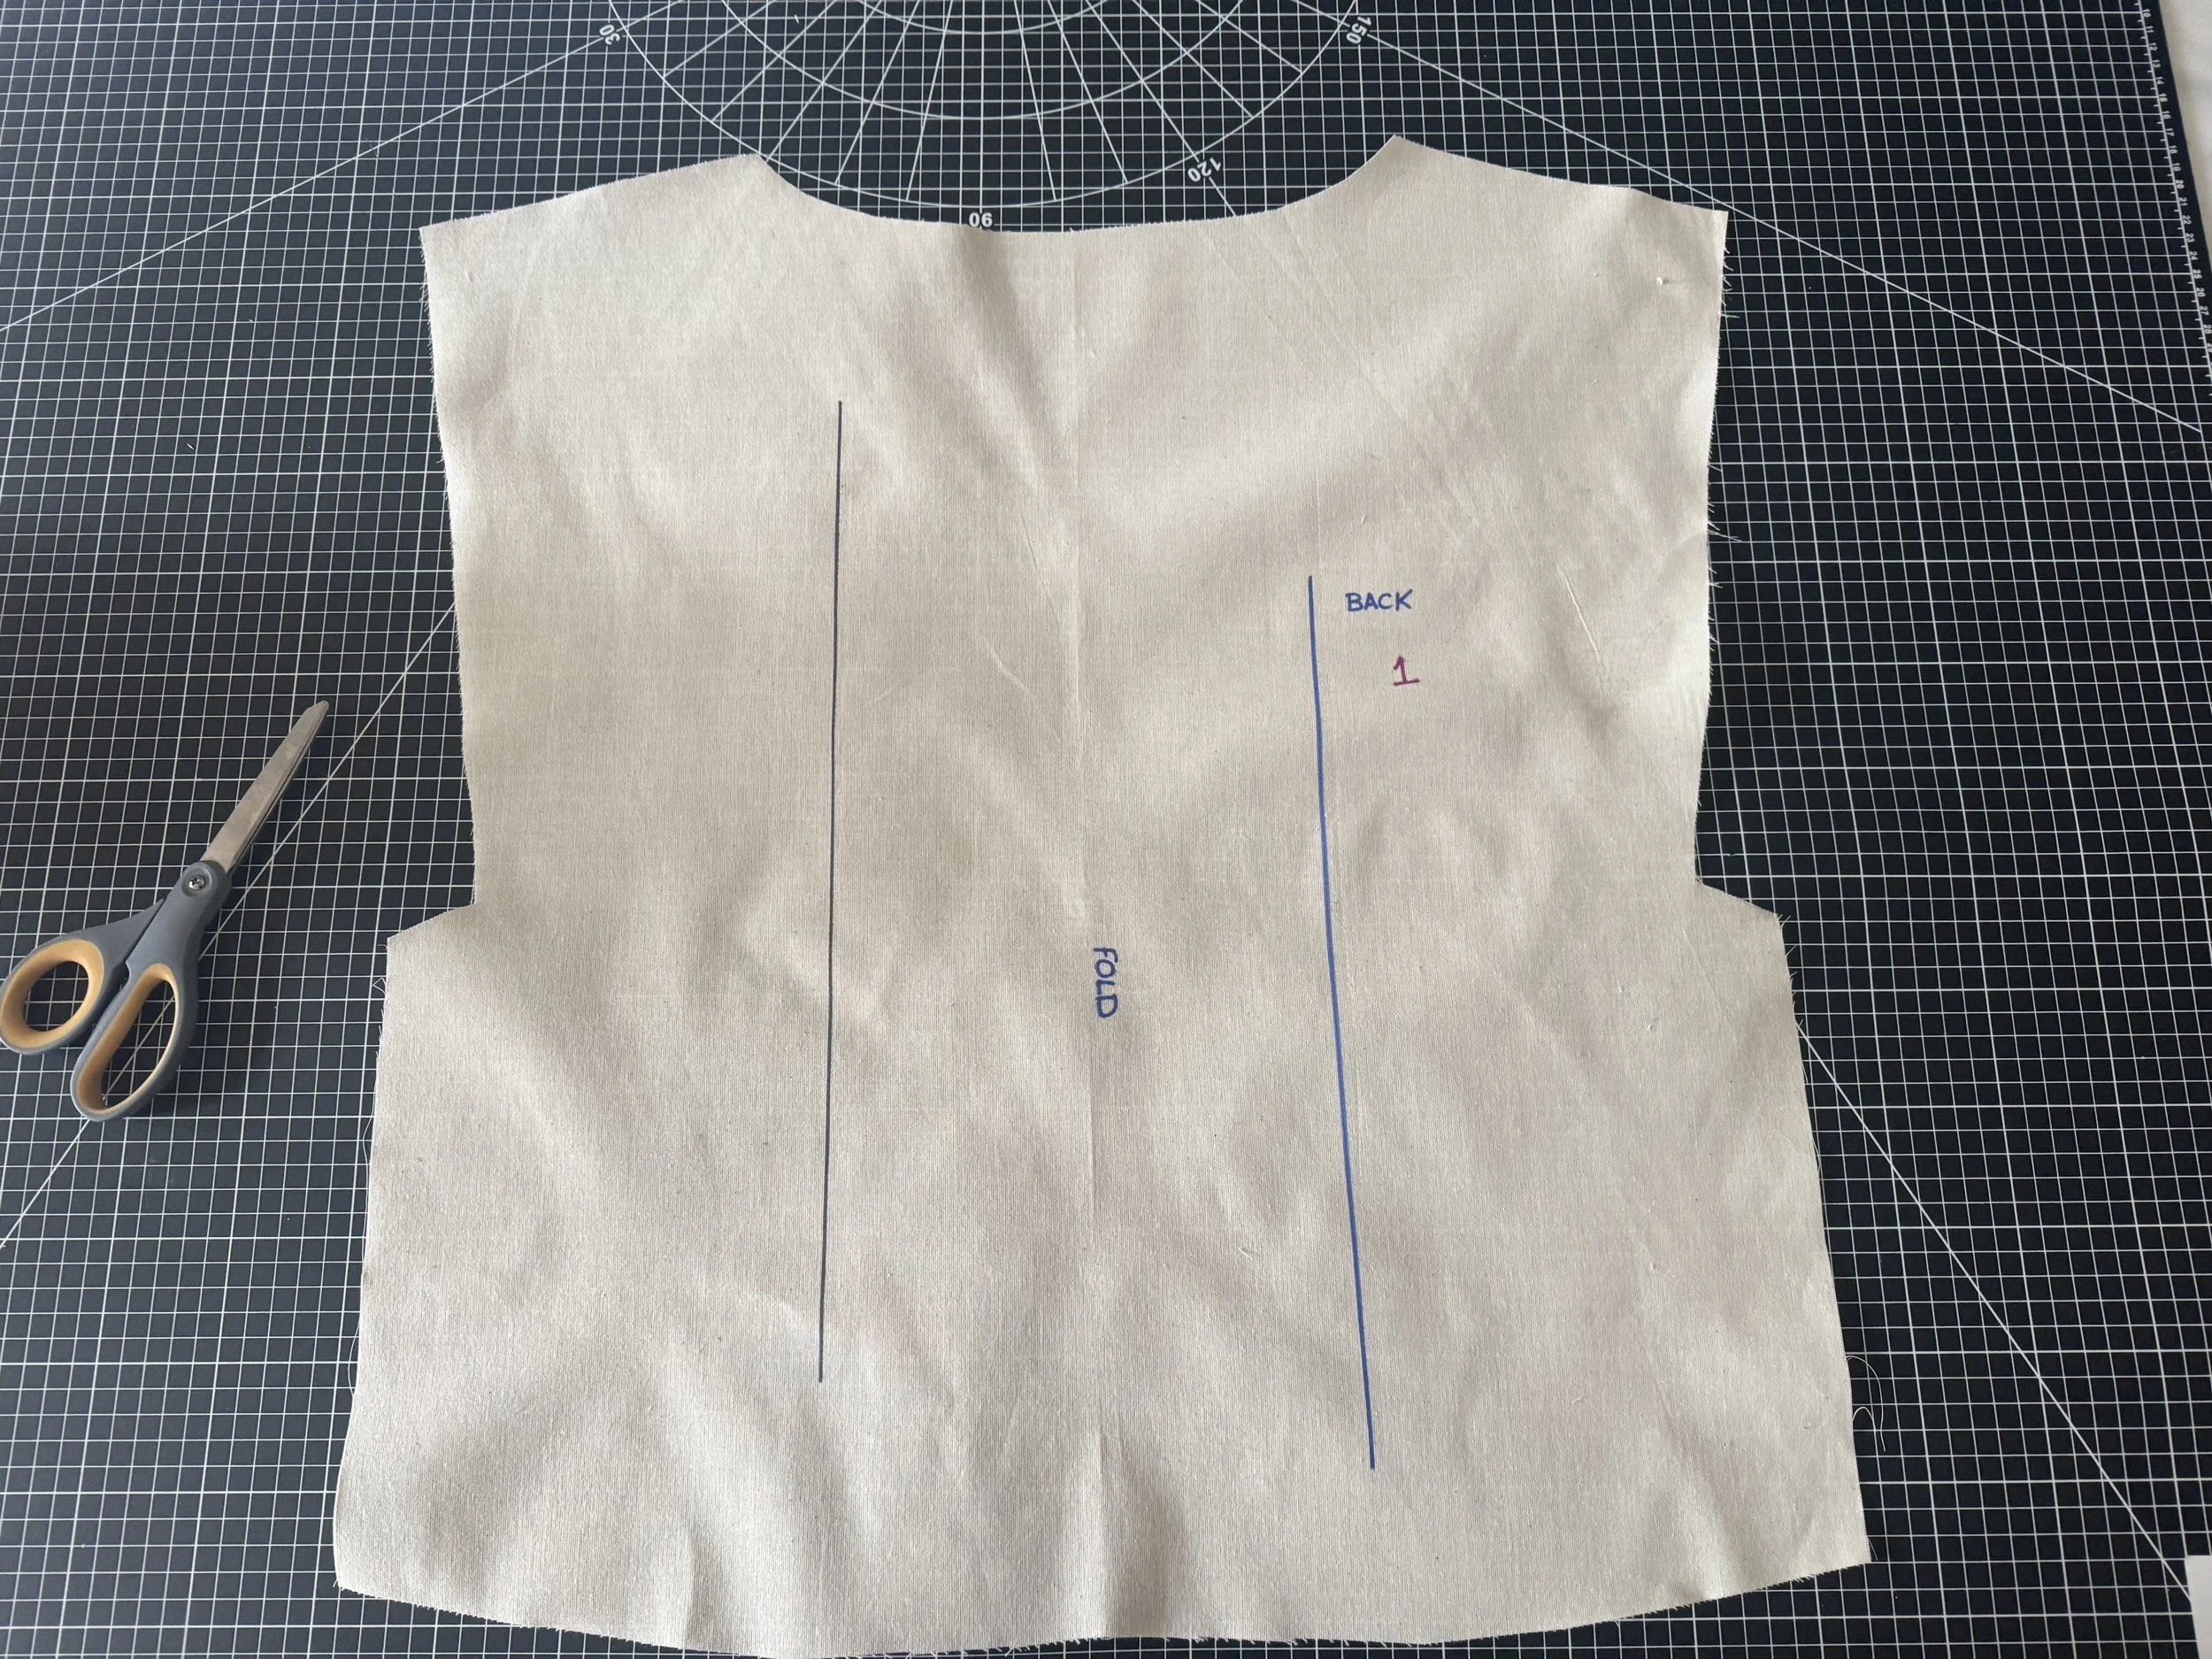
Cut one back piece on FOLD.
Serge the edges of the side seams and shoulder seams.
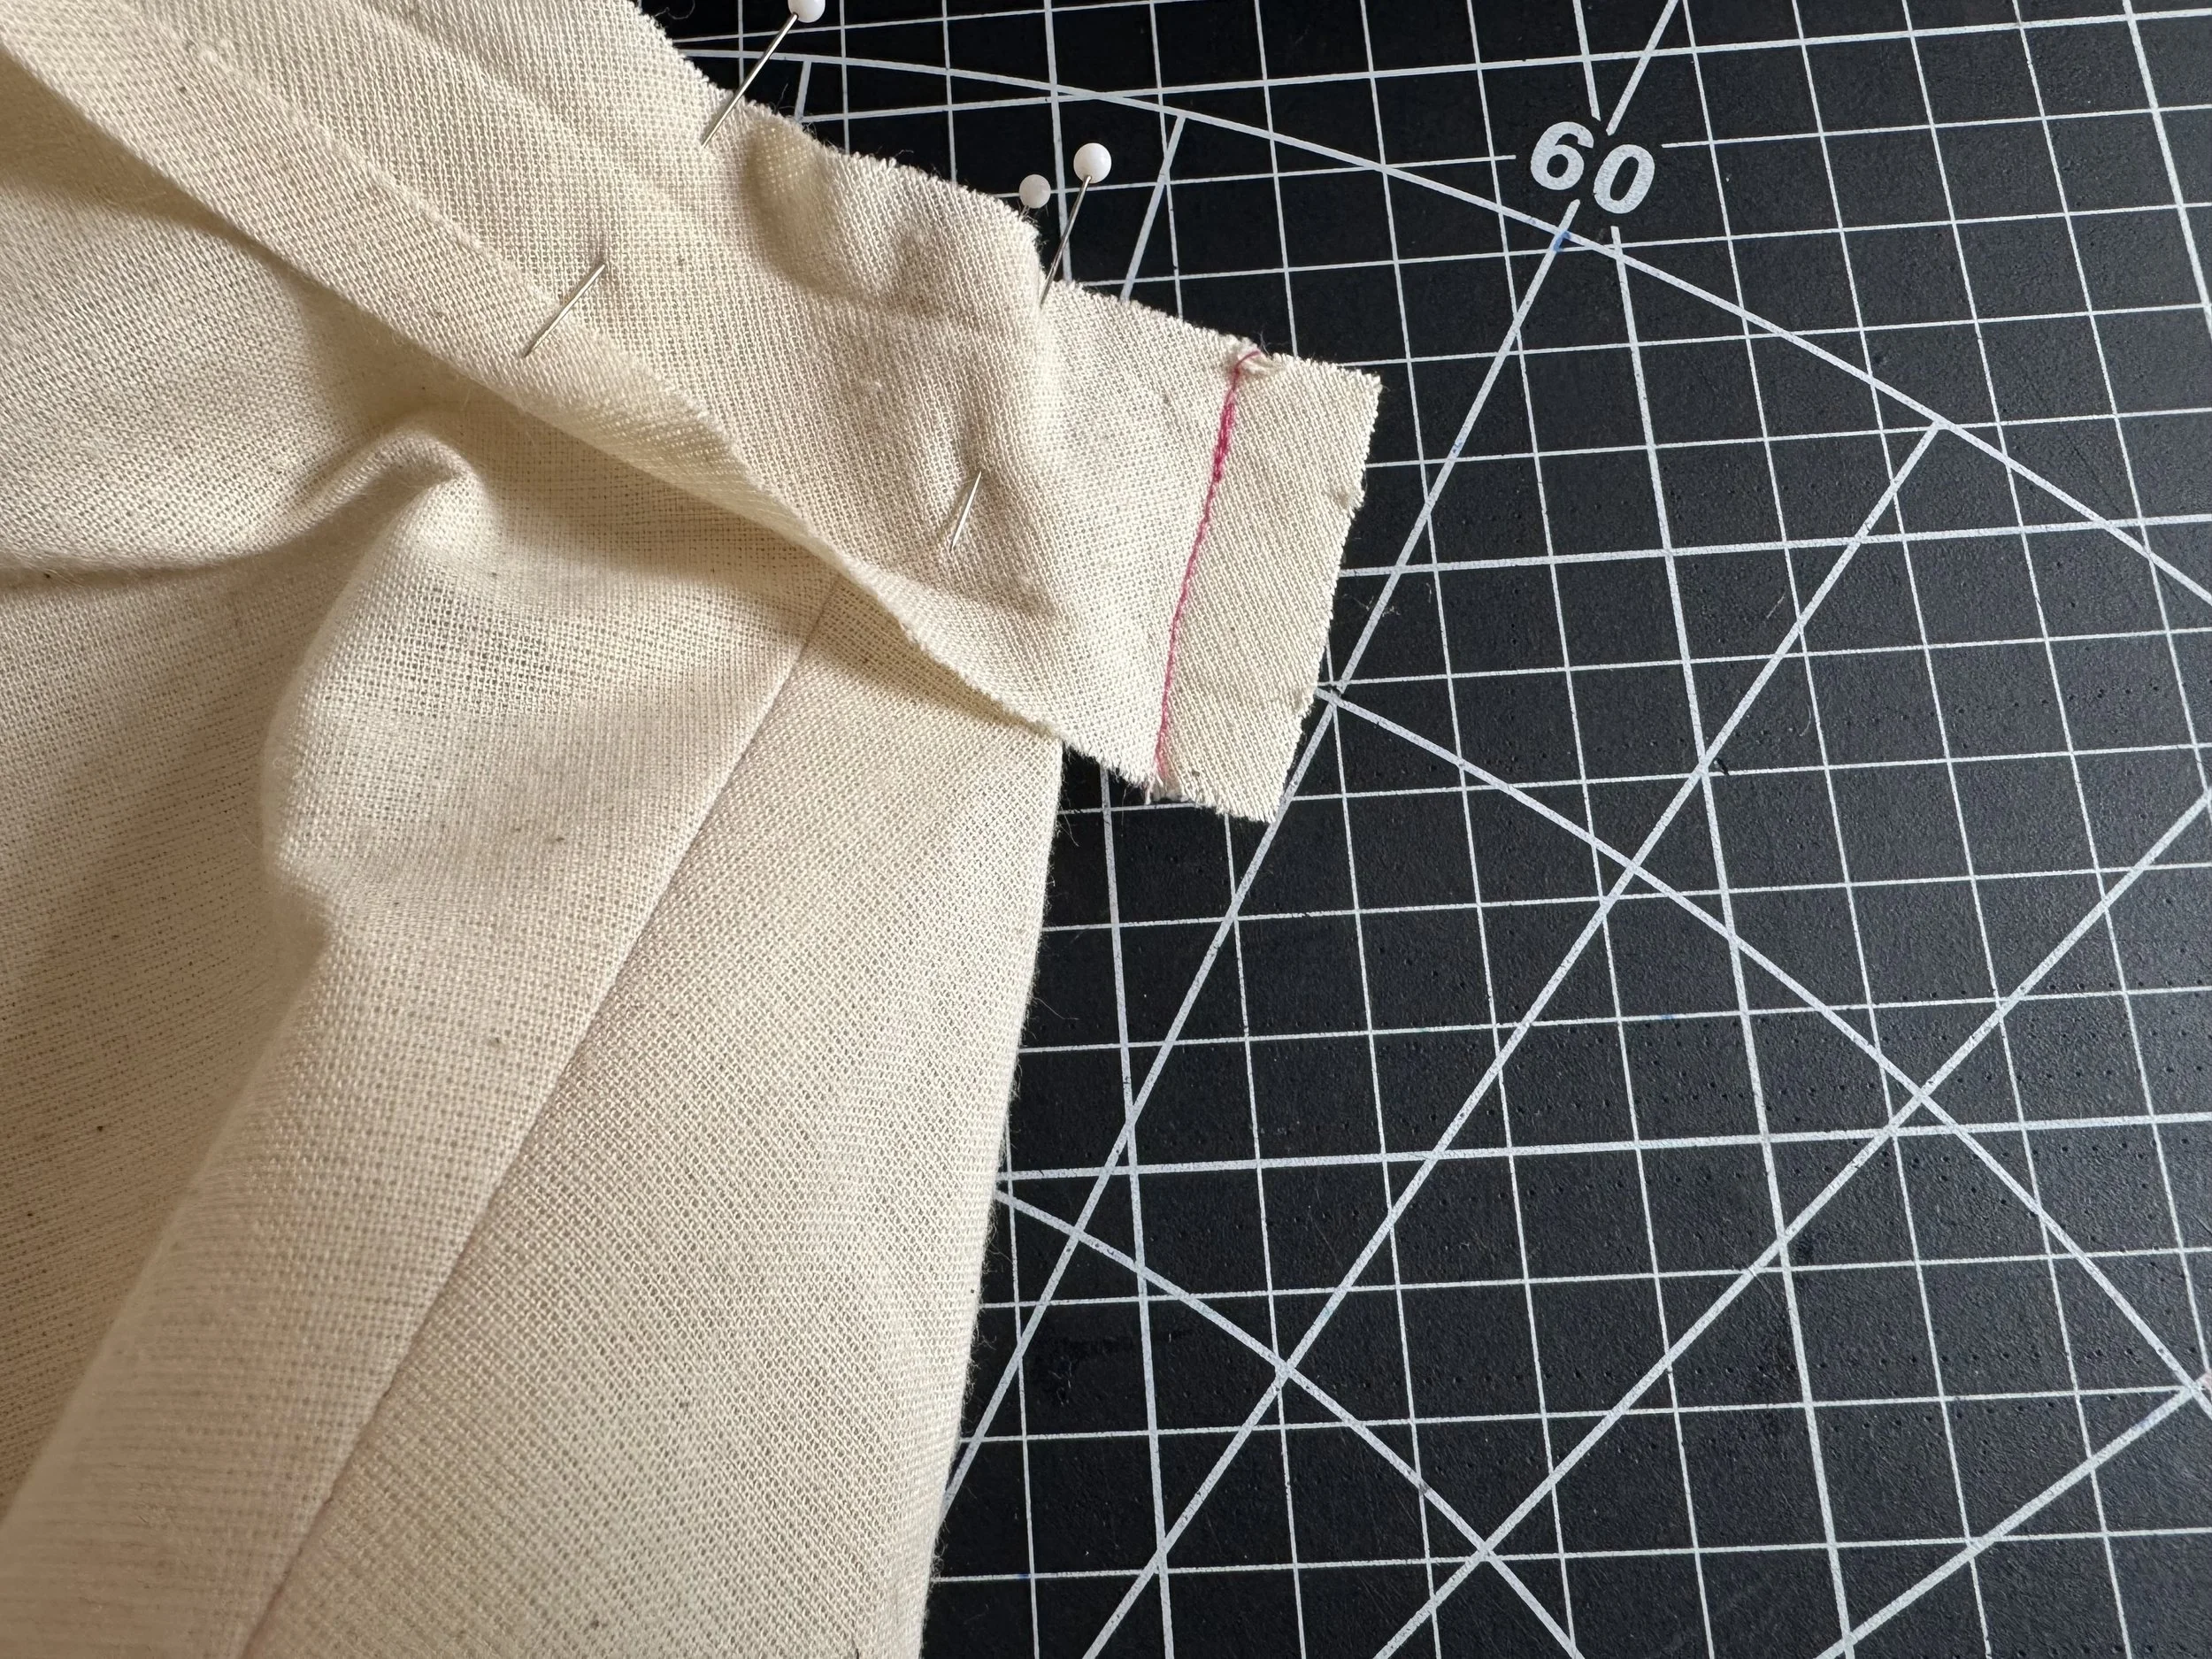
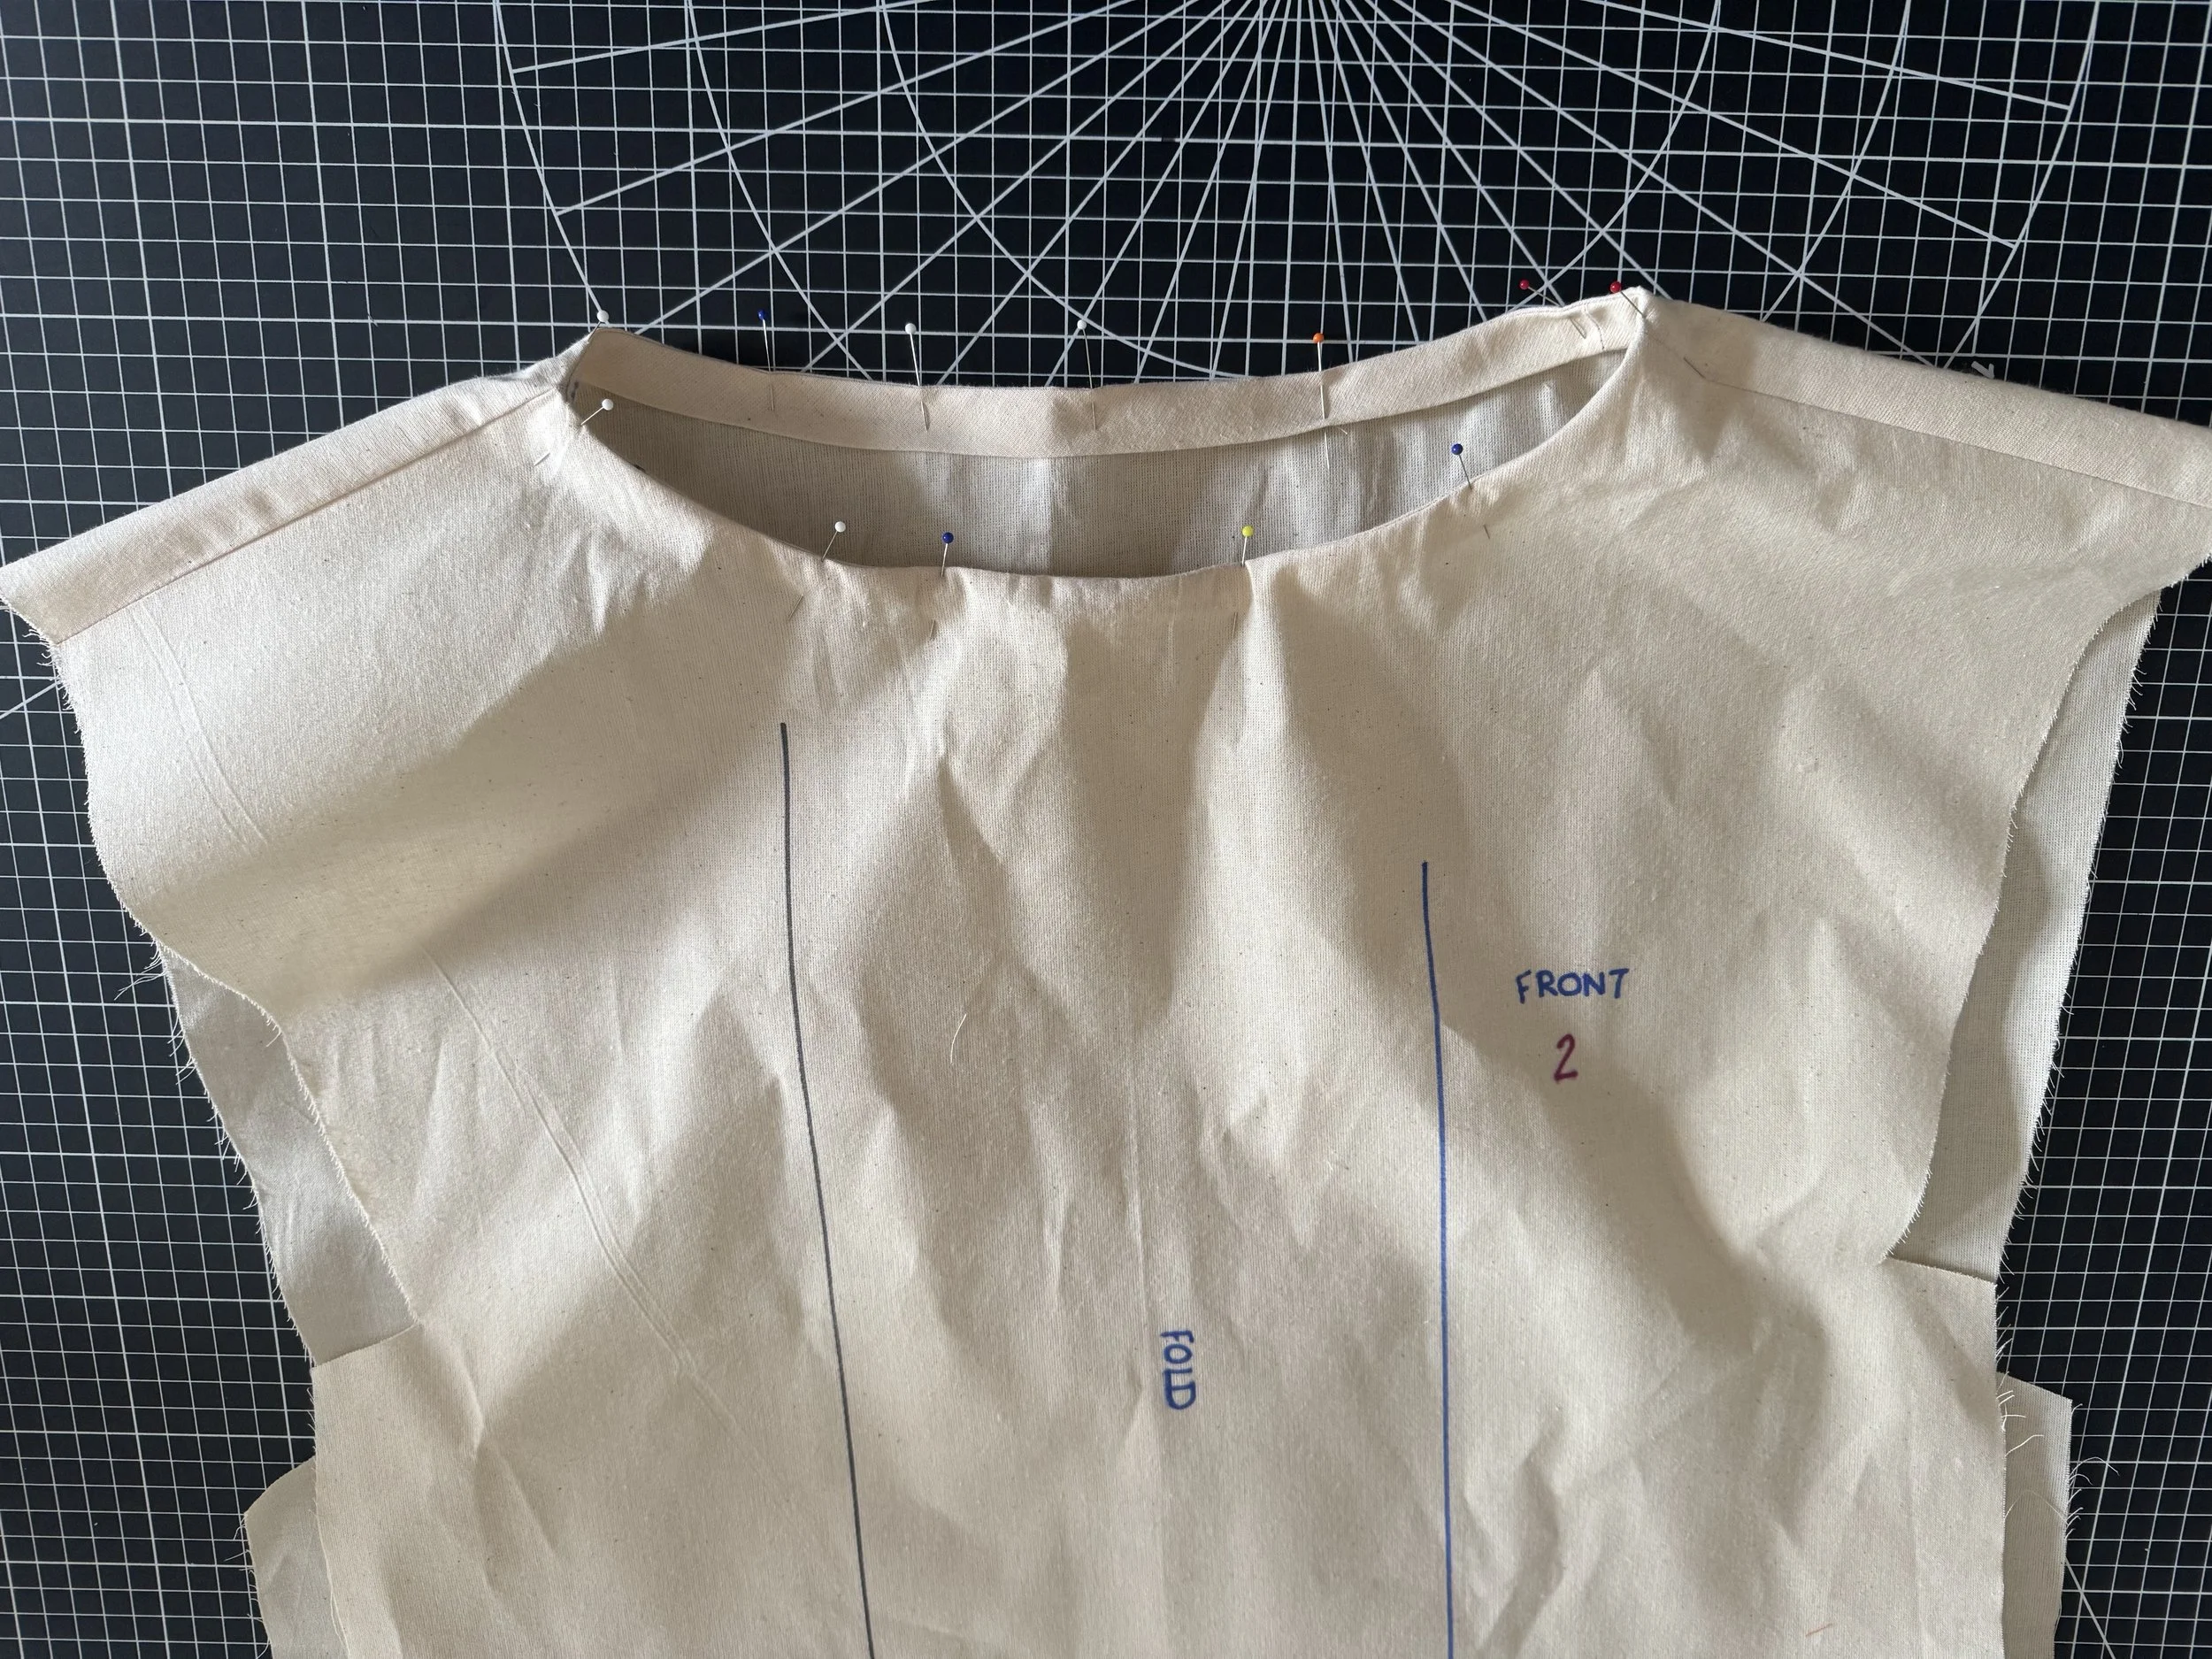
Pin the front and back shoulders together - right side to right side.
Sew using a 5/8” seam allowance.
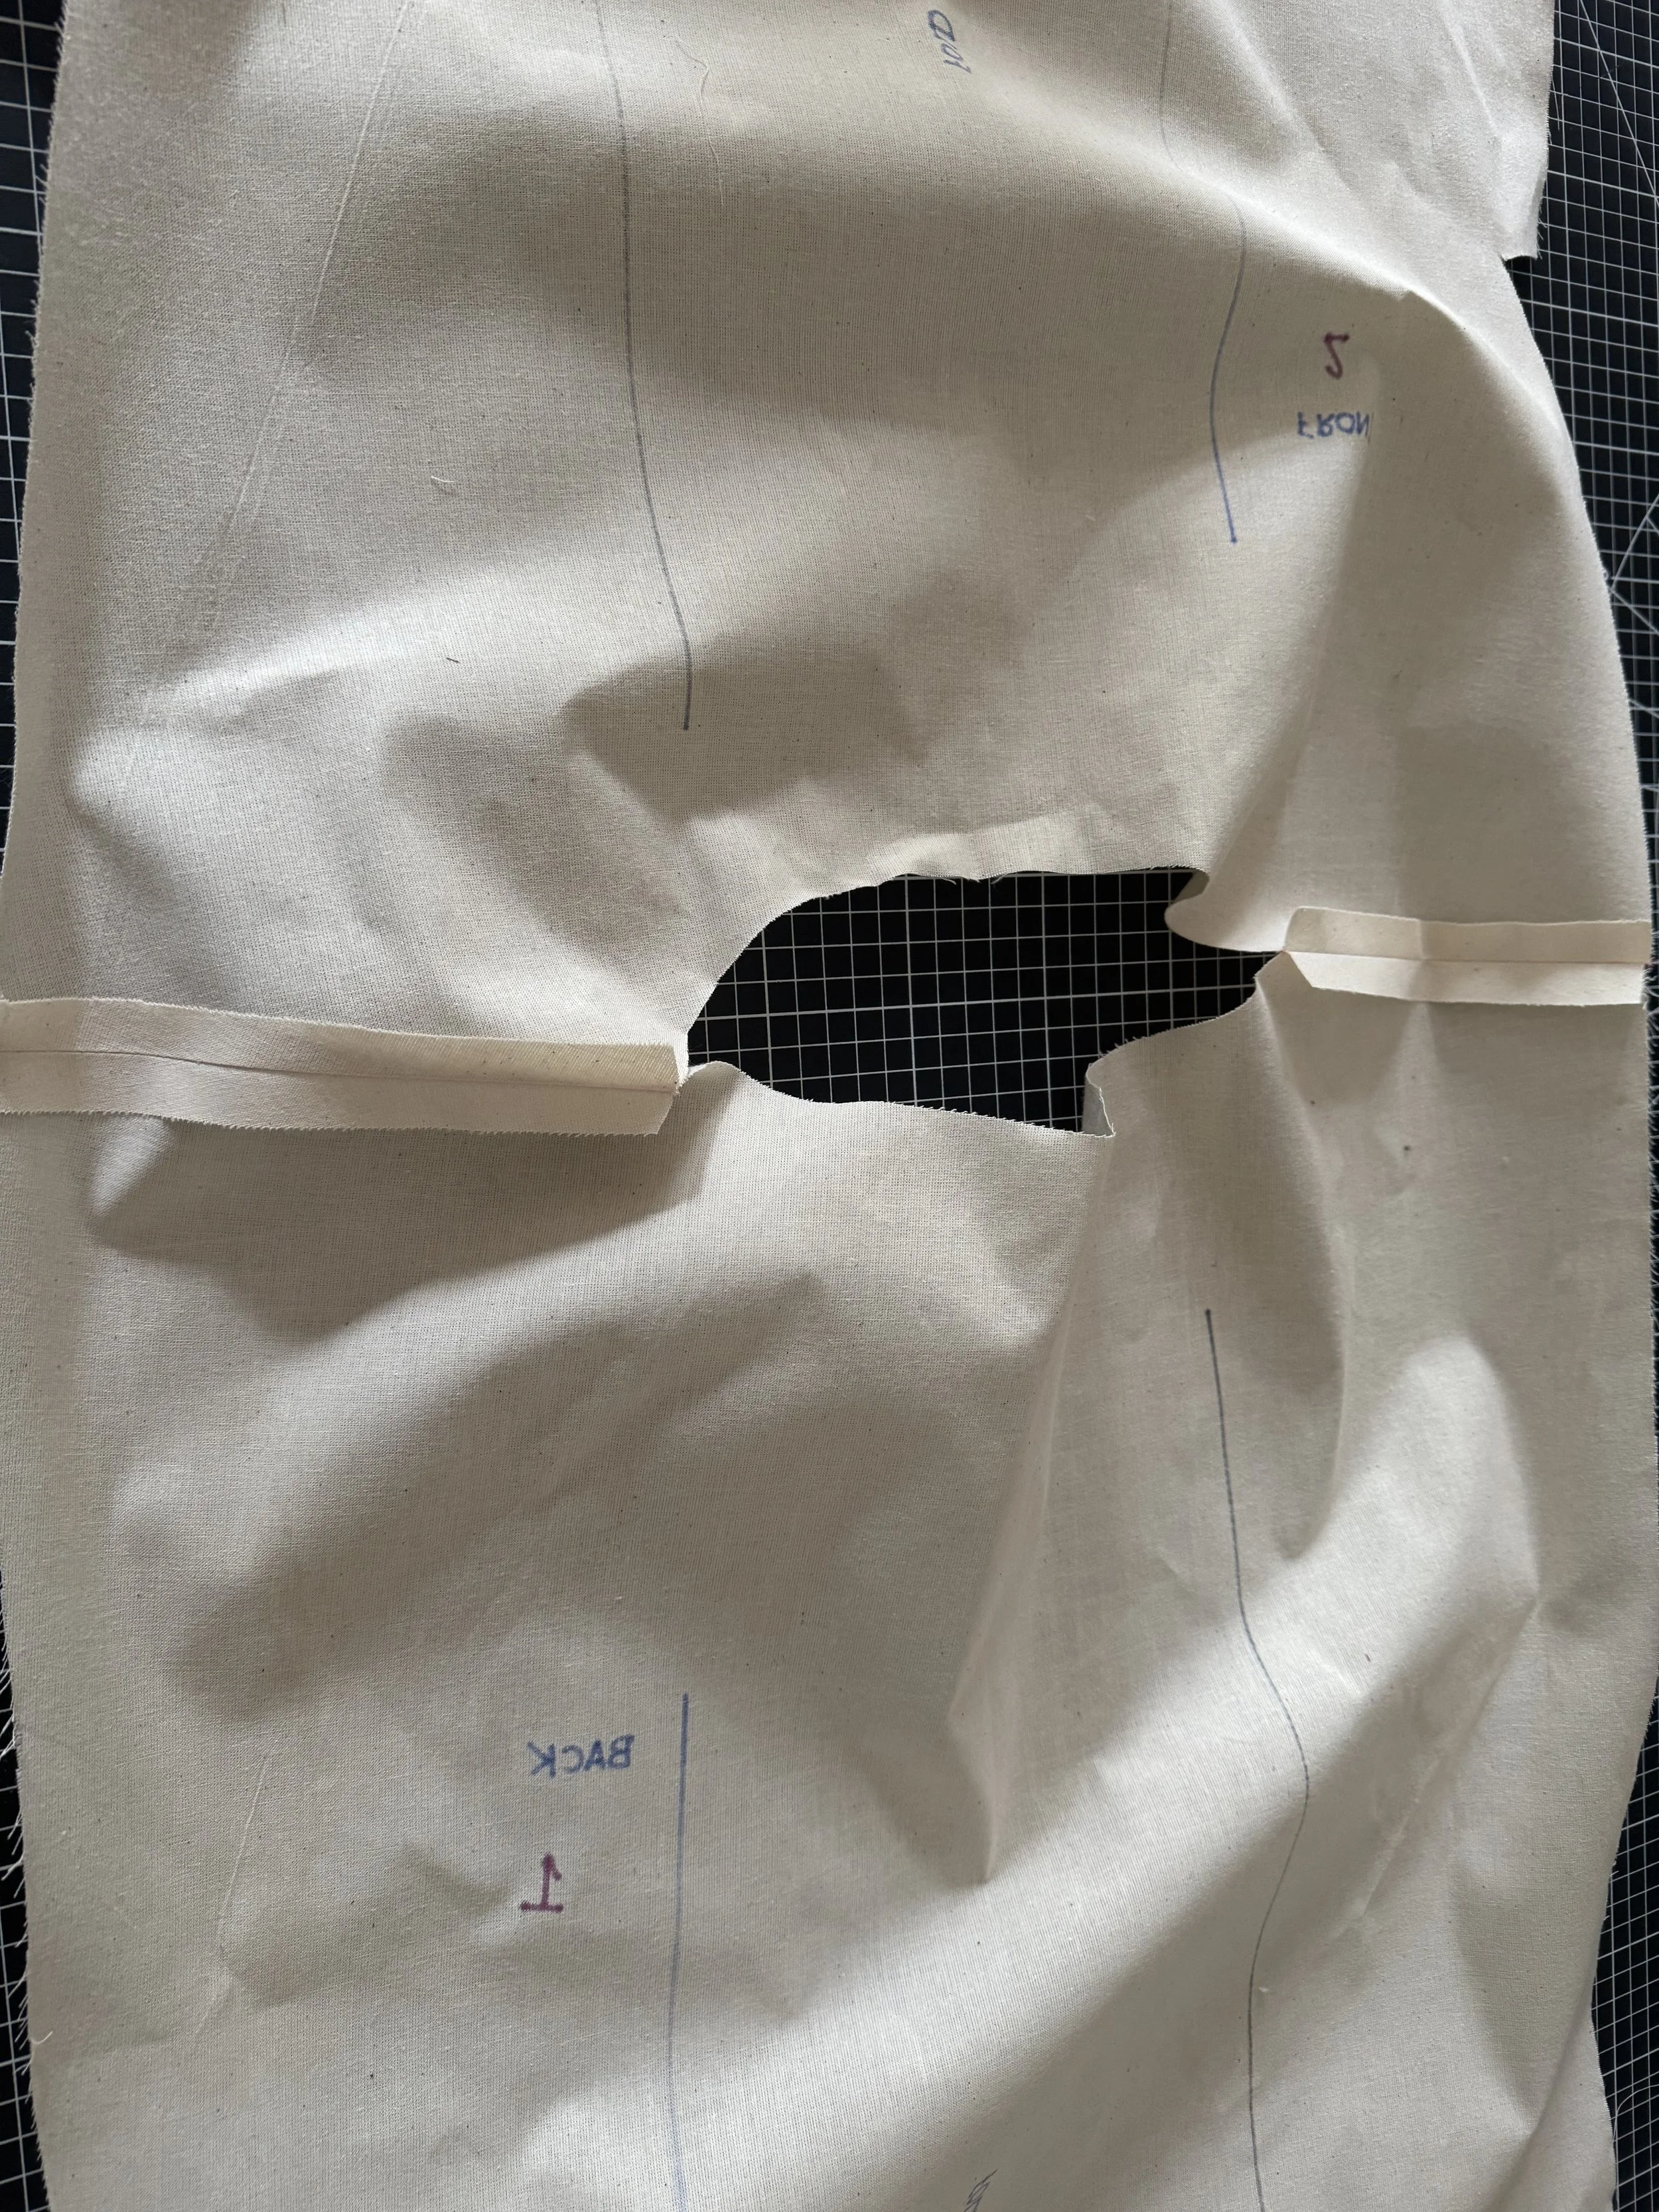
Press your seams open.
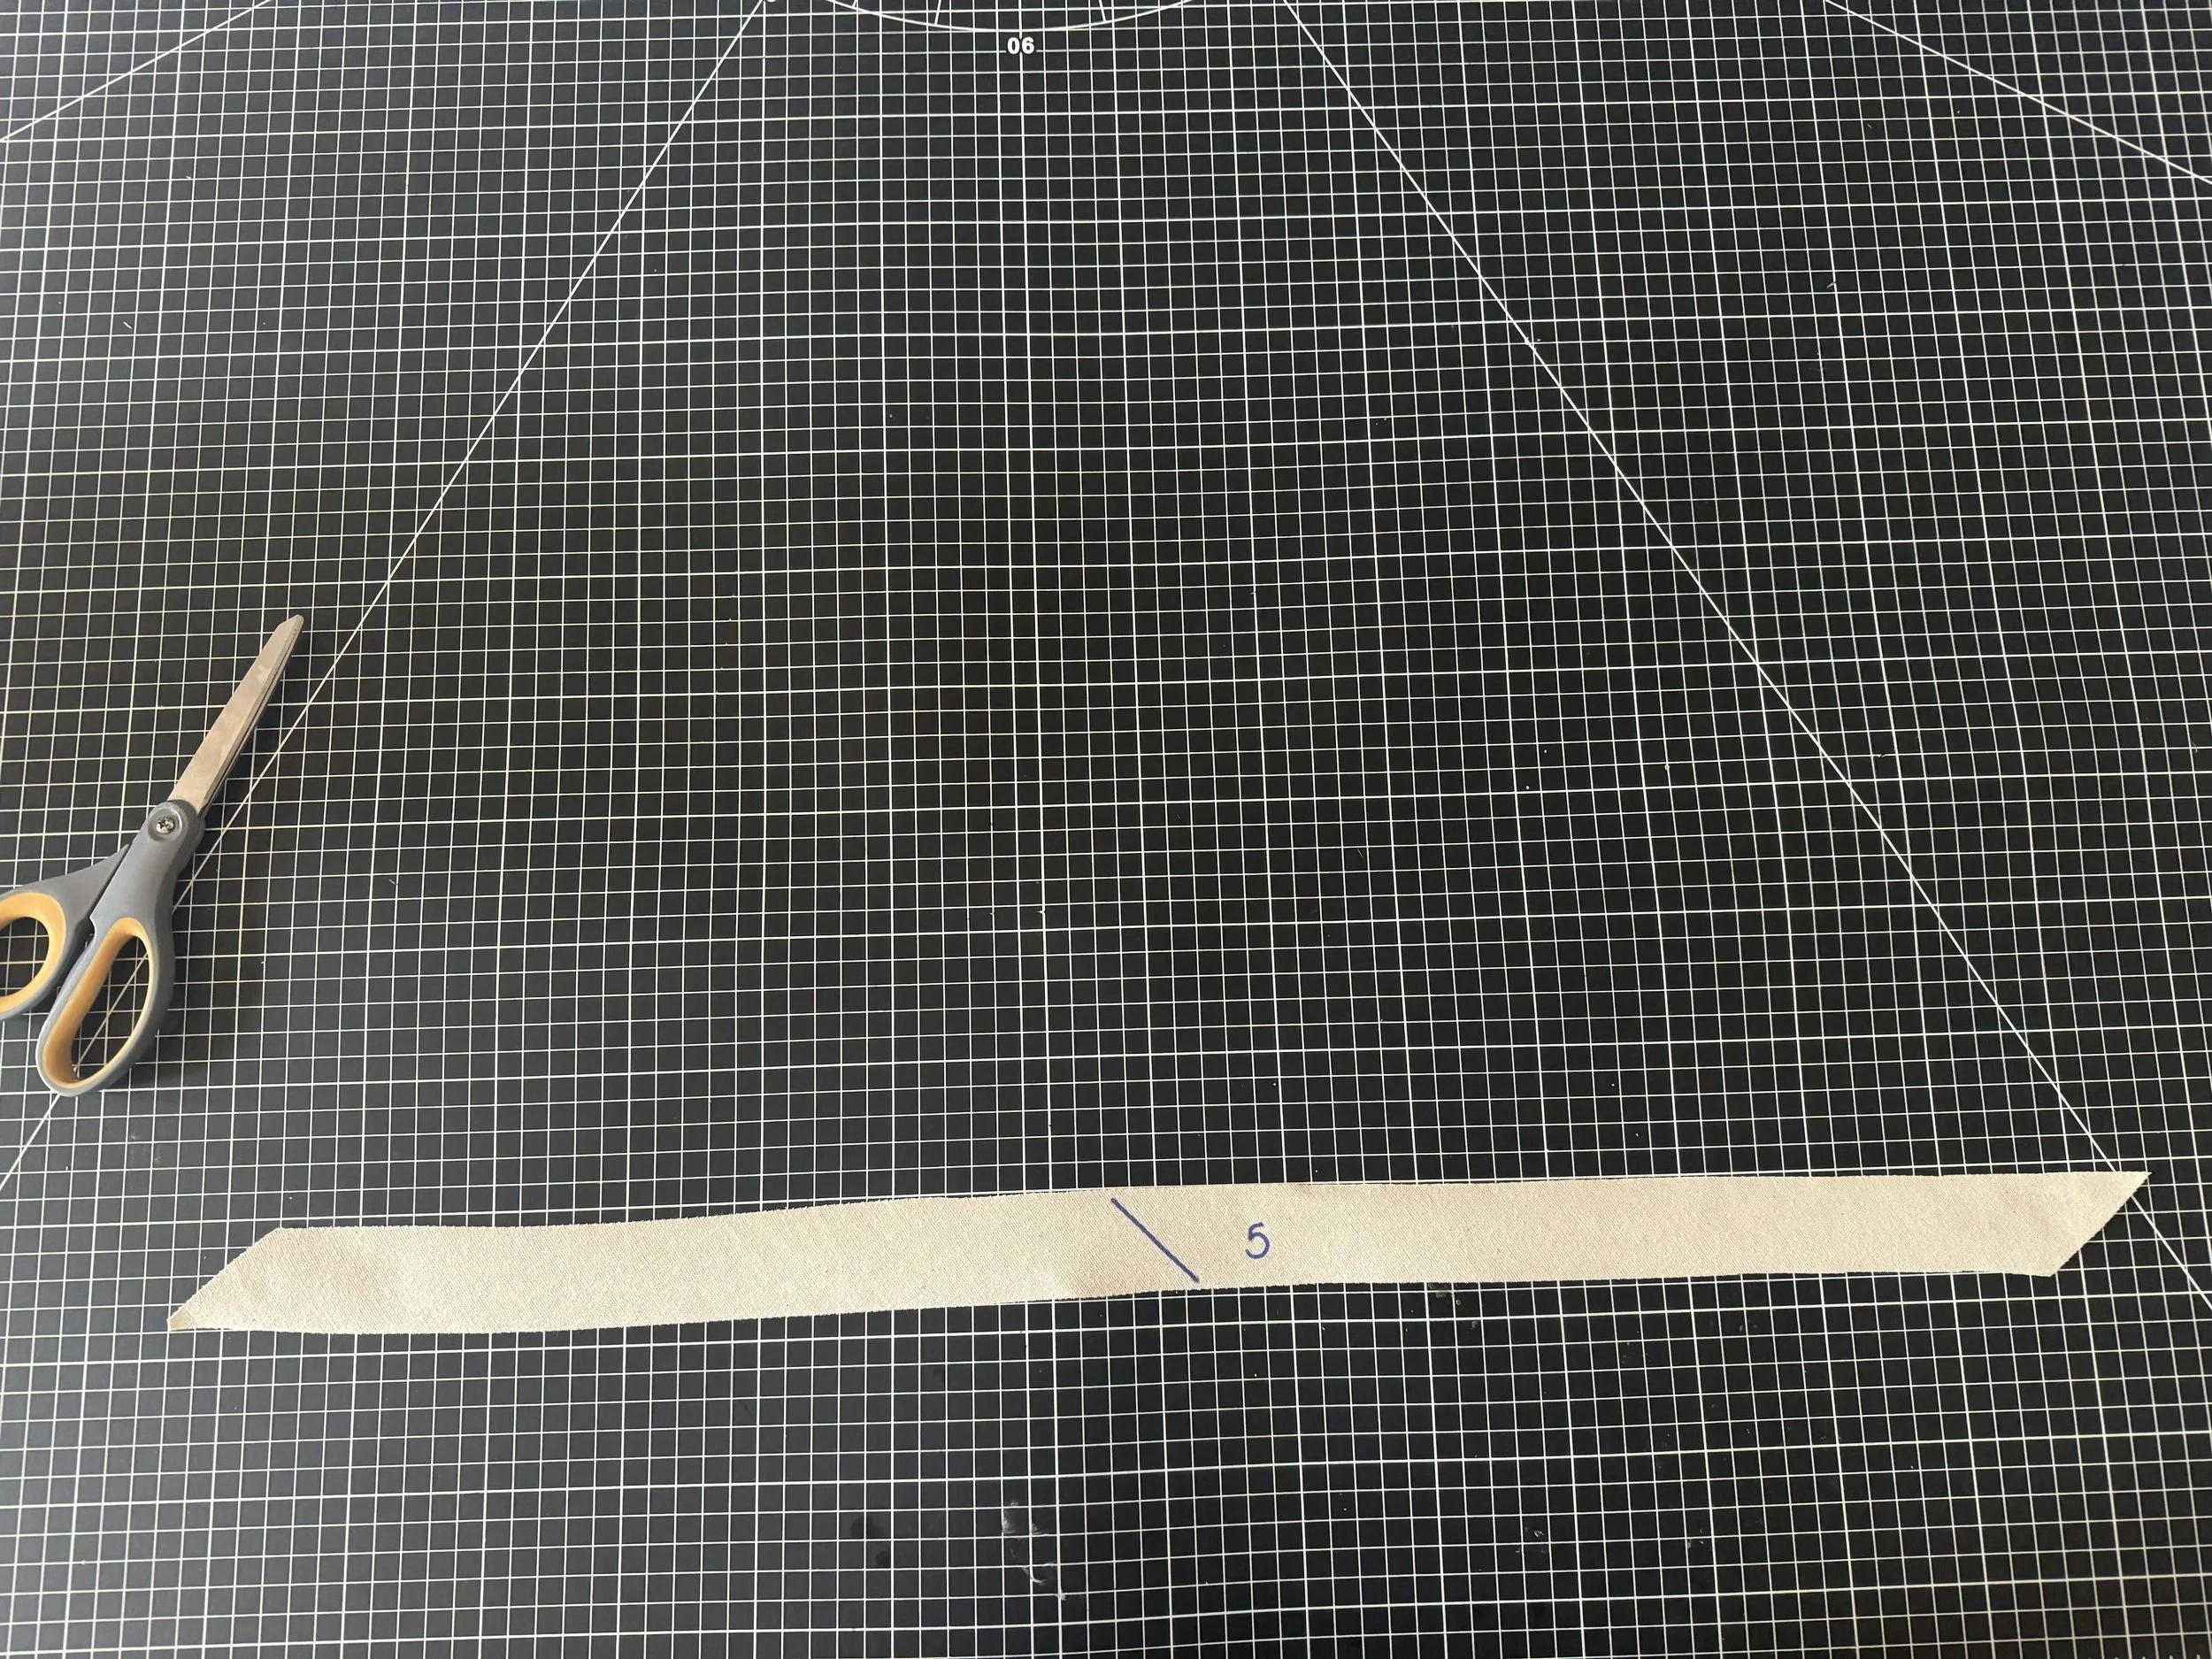
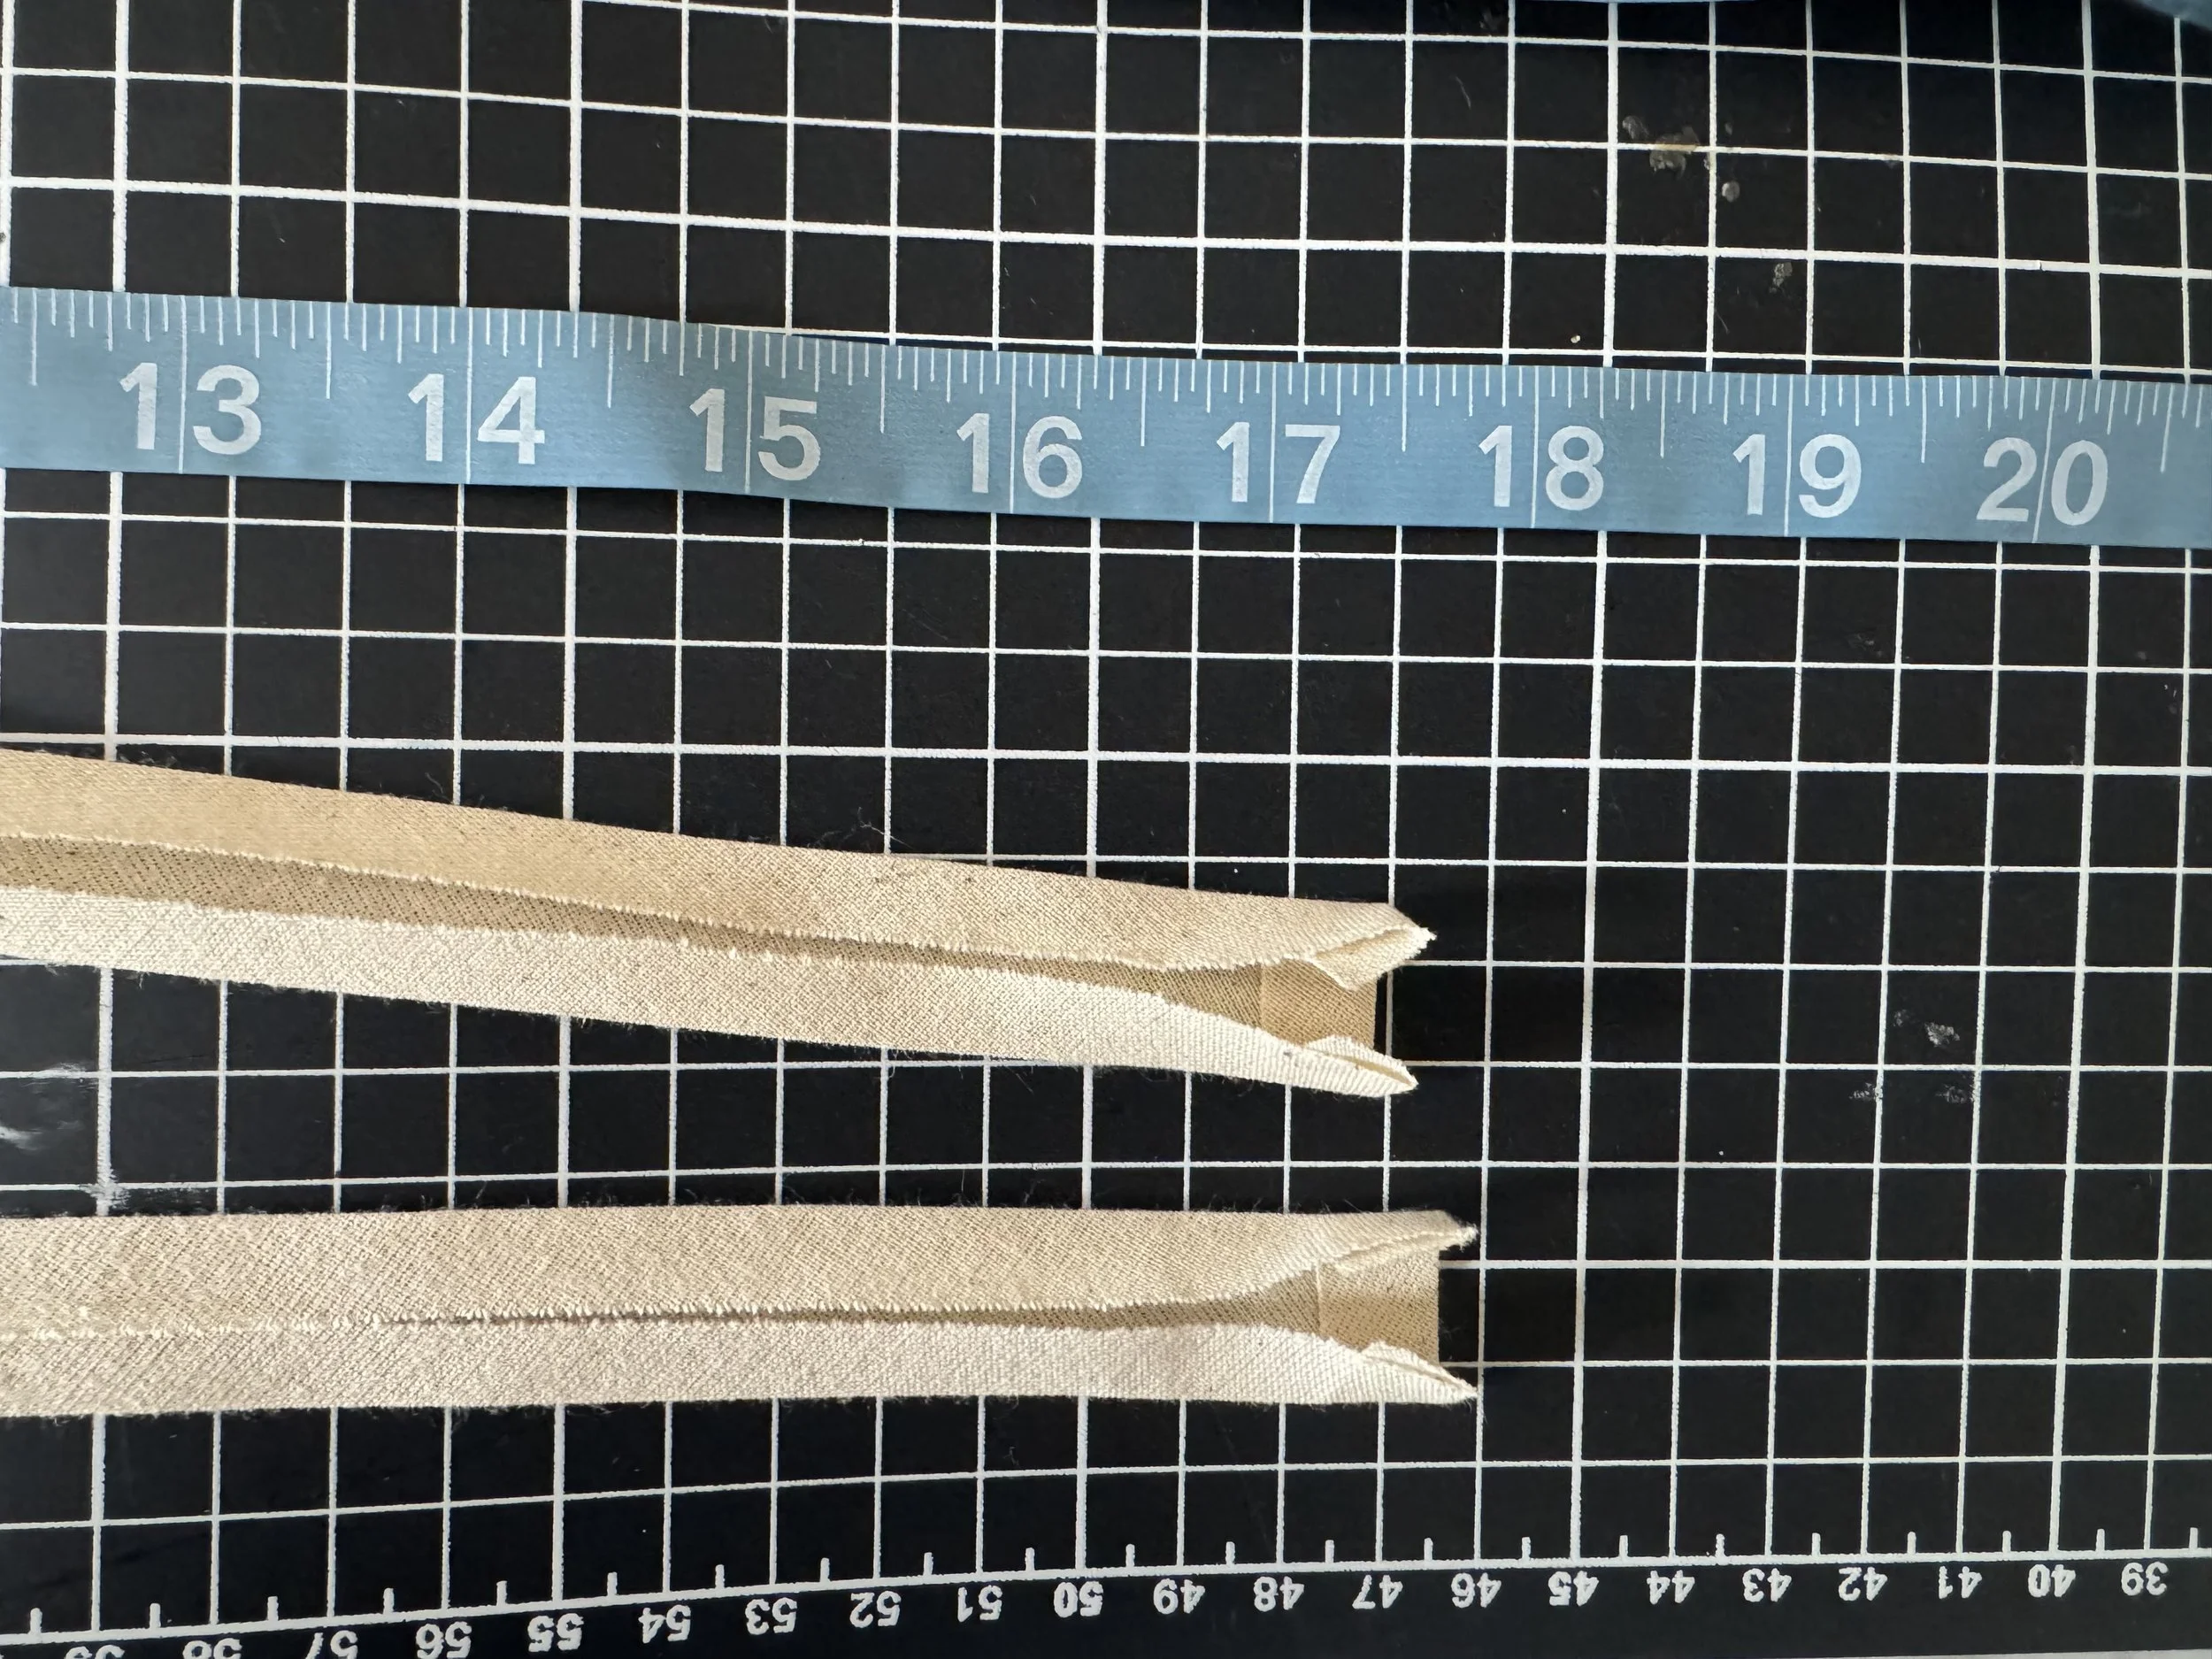
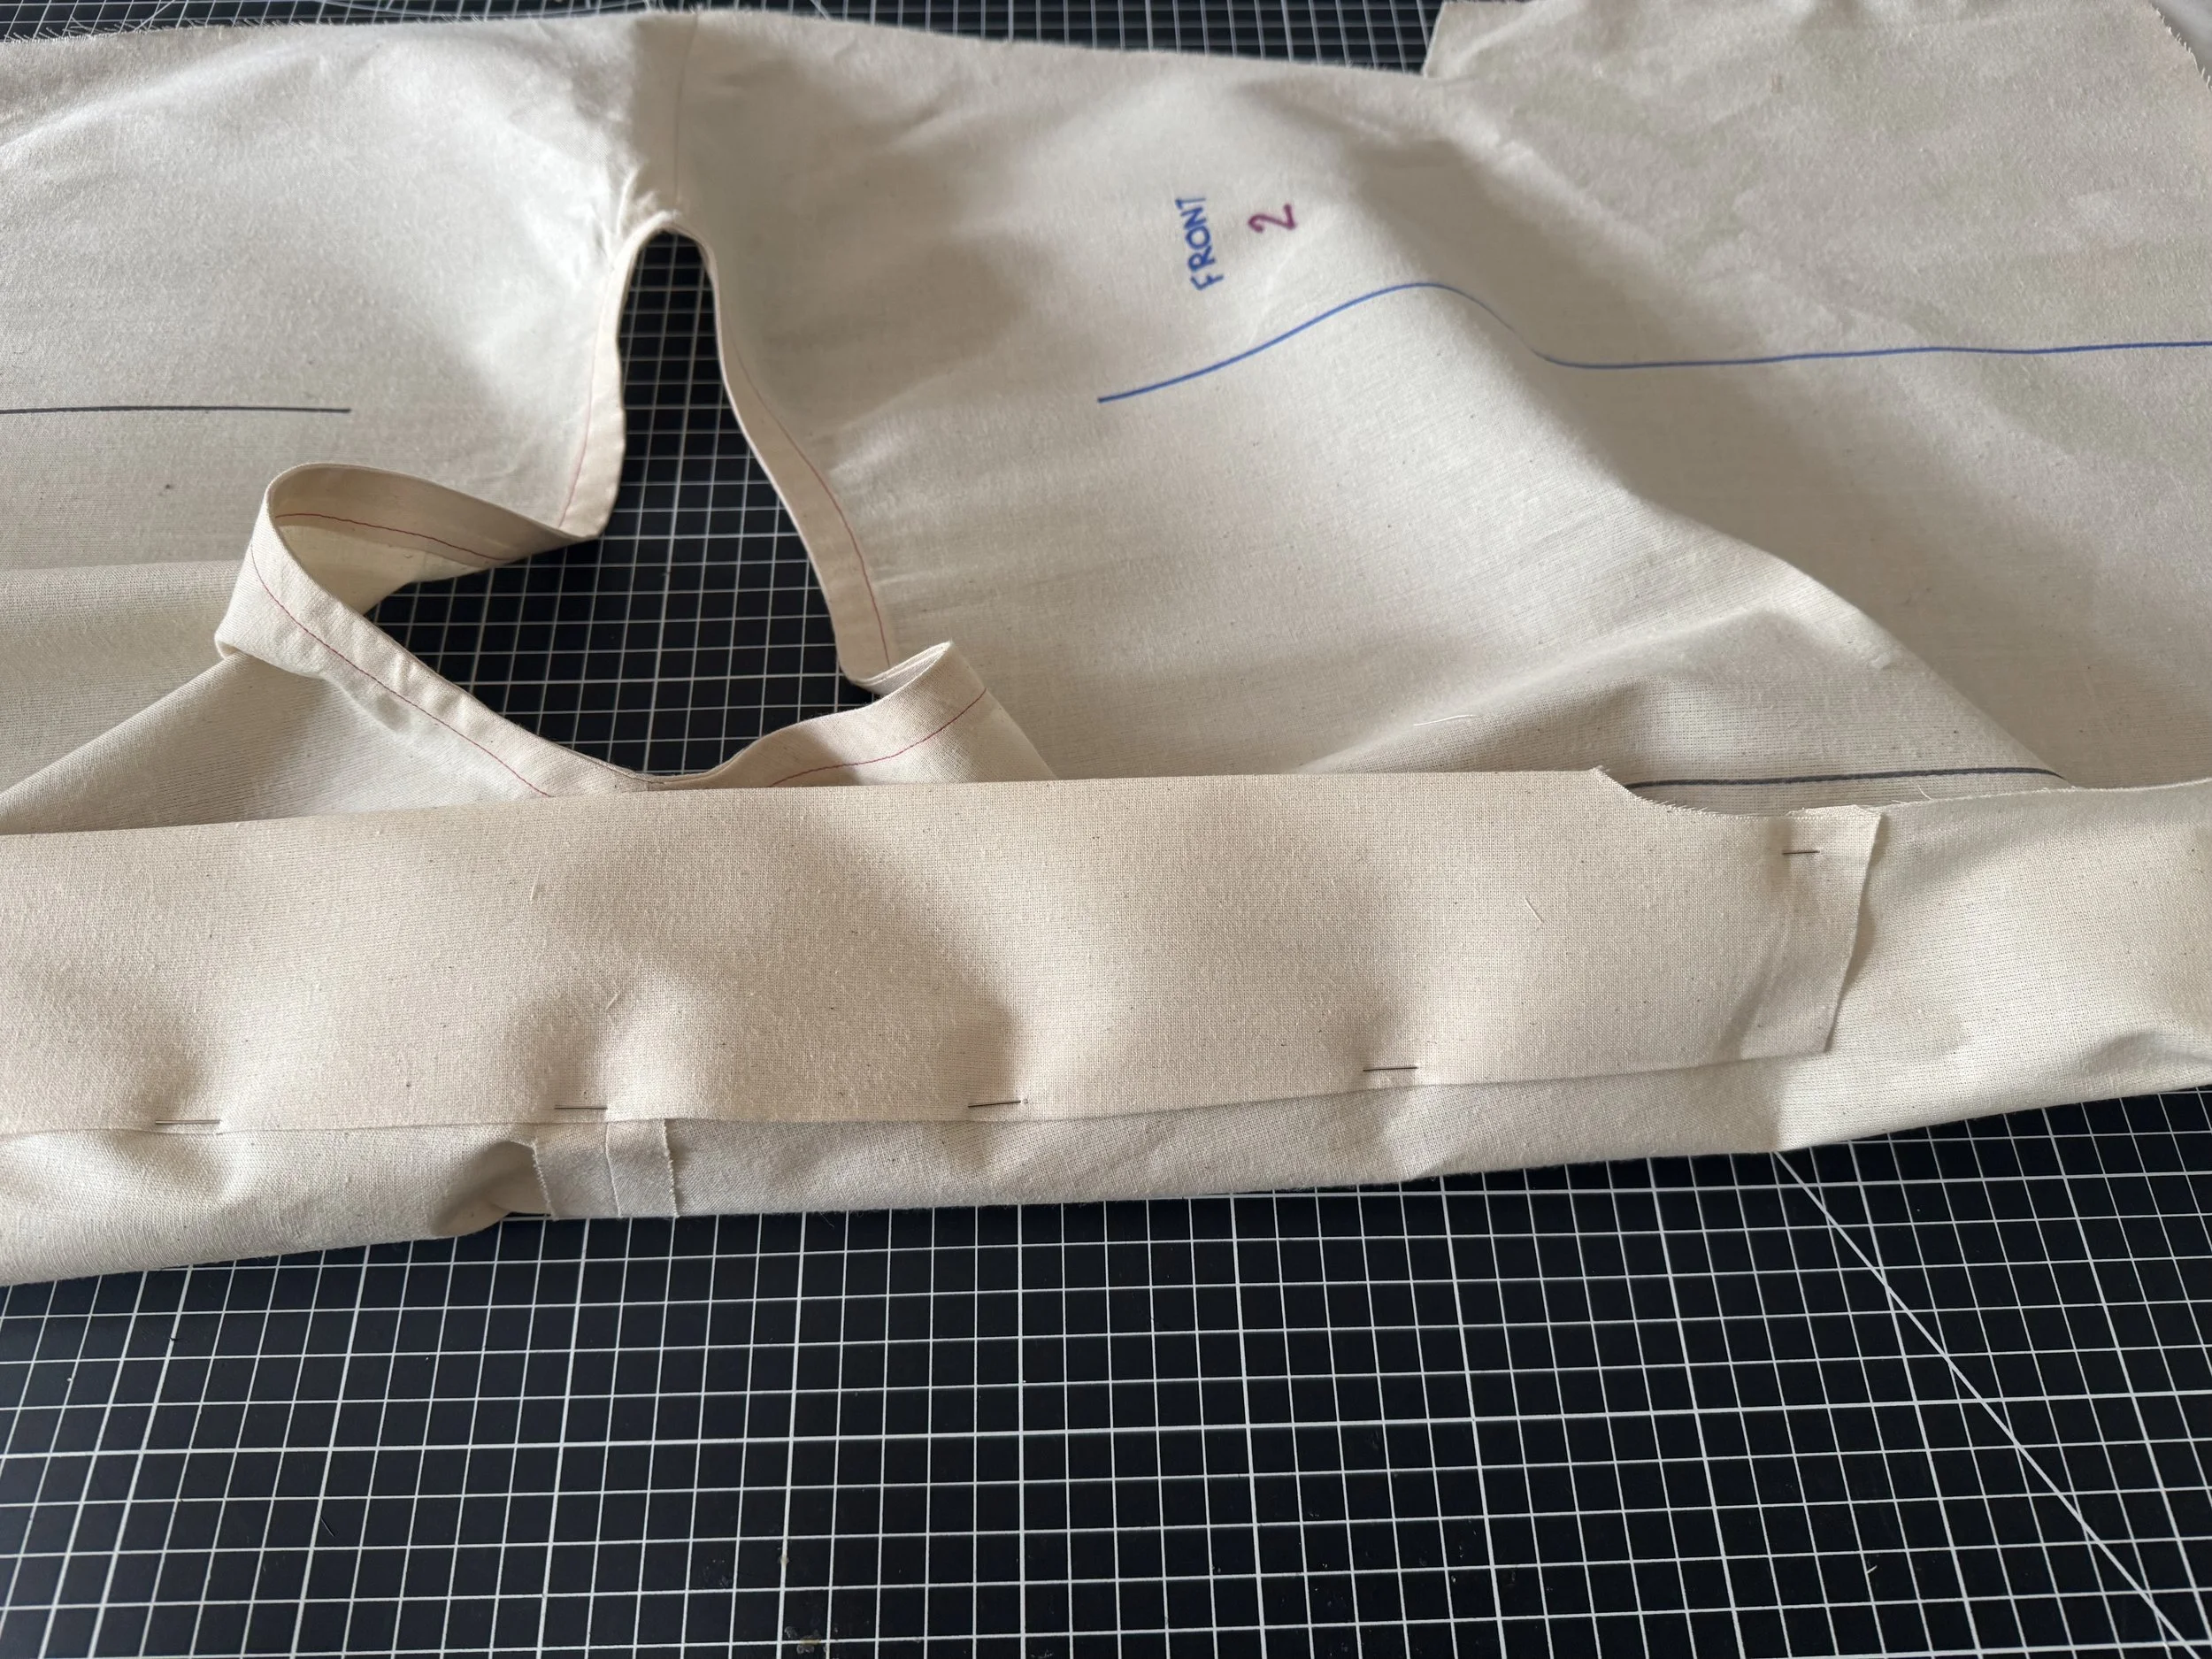
Cut your bias strip for the neckline.
TUTORIAL HERE
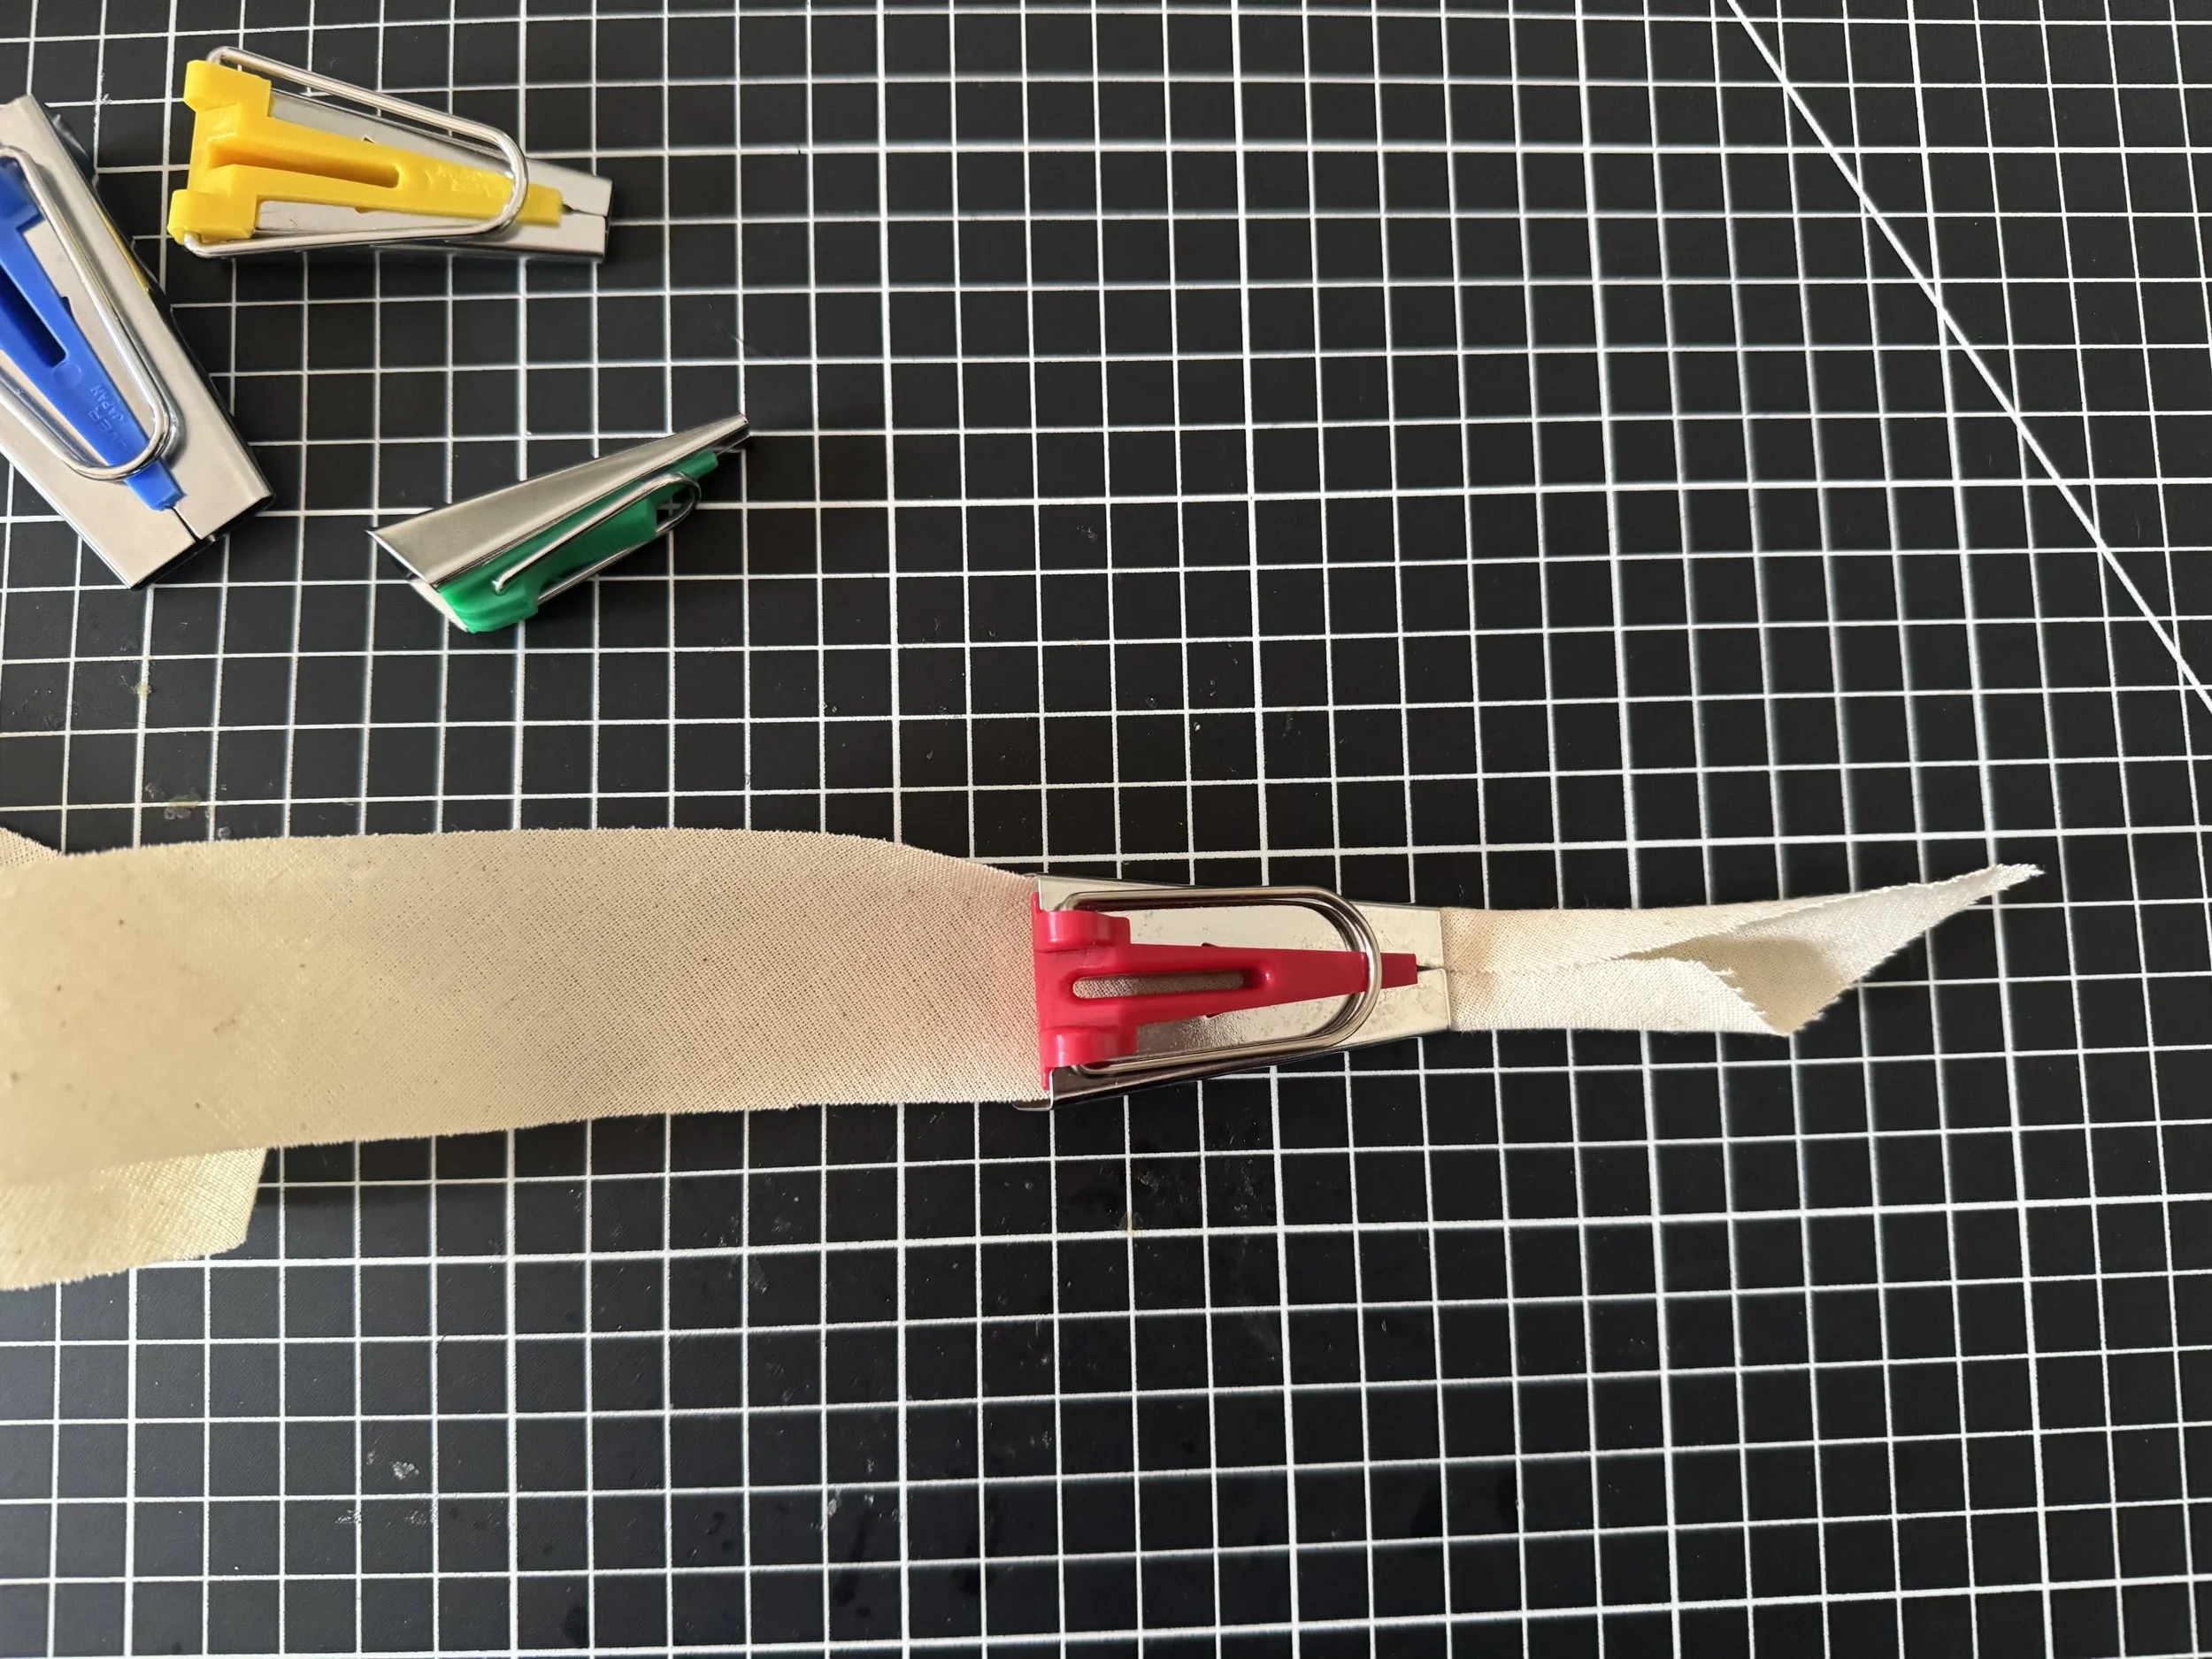
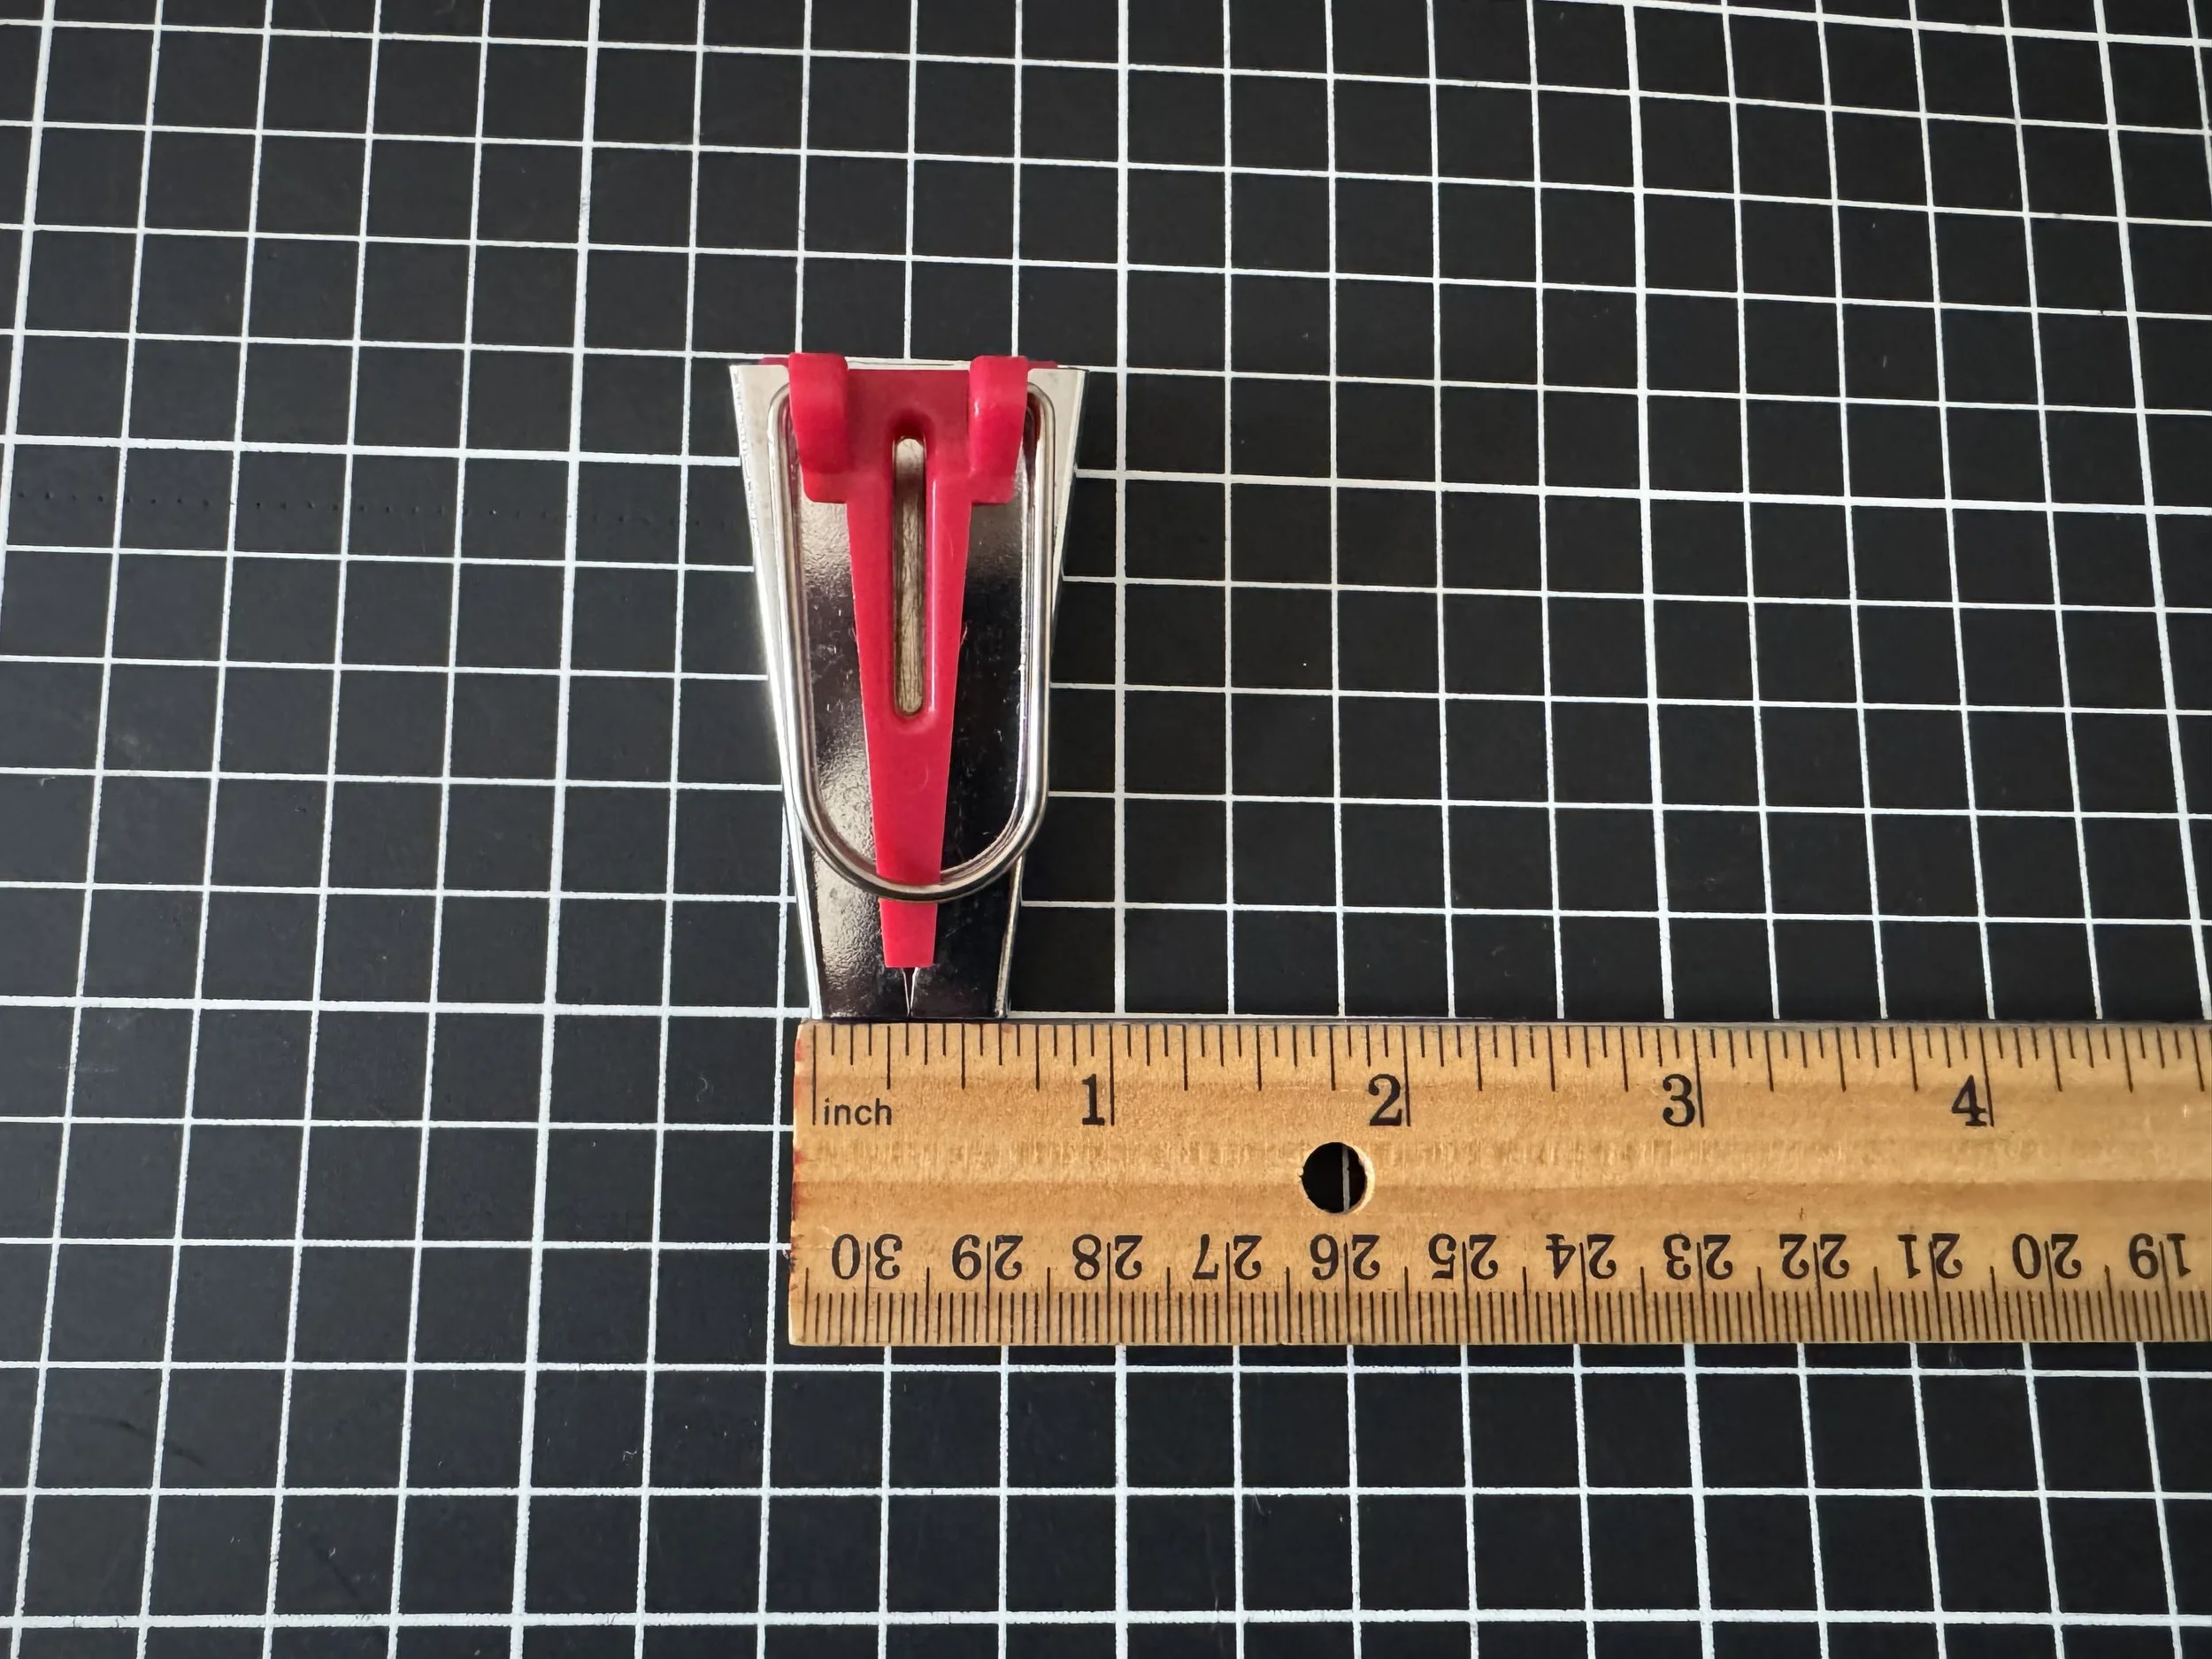
Using a bias tape maker, pull your strip through working slowly.
(I would highly recommend buying a bias tape set if you don’t own some. It makes a very frustrating process quick and easy)
The red one I am using has a one inch opening and creates 5/8” bias tape.
Press as you pull every six inches or so using steam and a hot iron.

Measure your neckline - mine is 26”.
Add one inch to your bias tape -27” total and cut. Straighten the edges.
Press the ends of both sides in half an inch. 0.5”
This will be your sewing line.
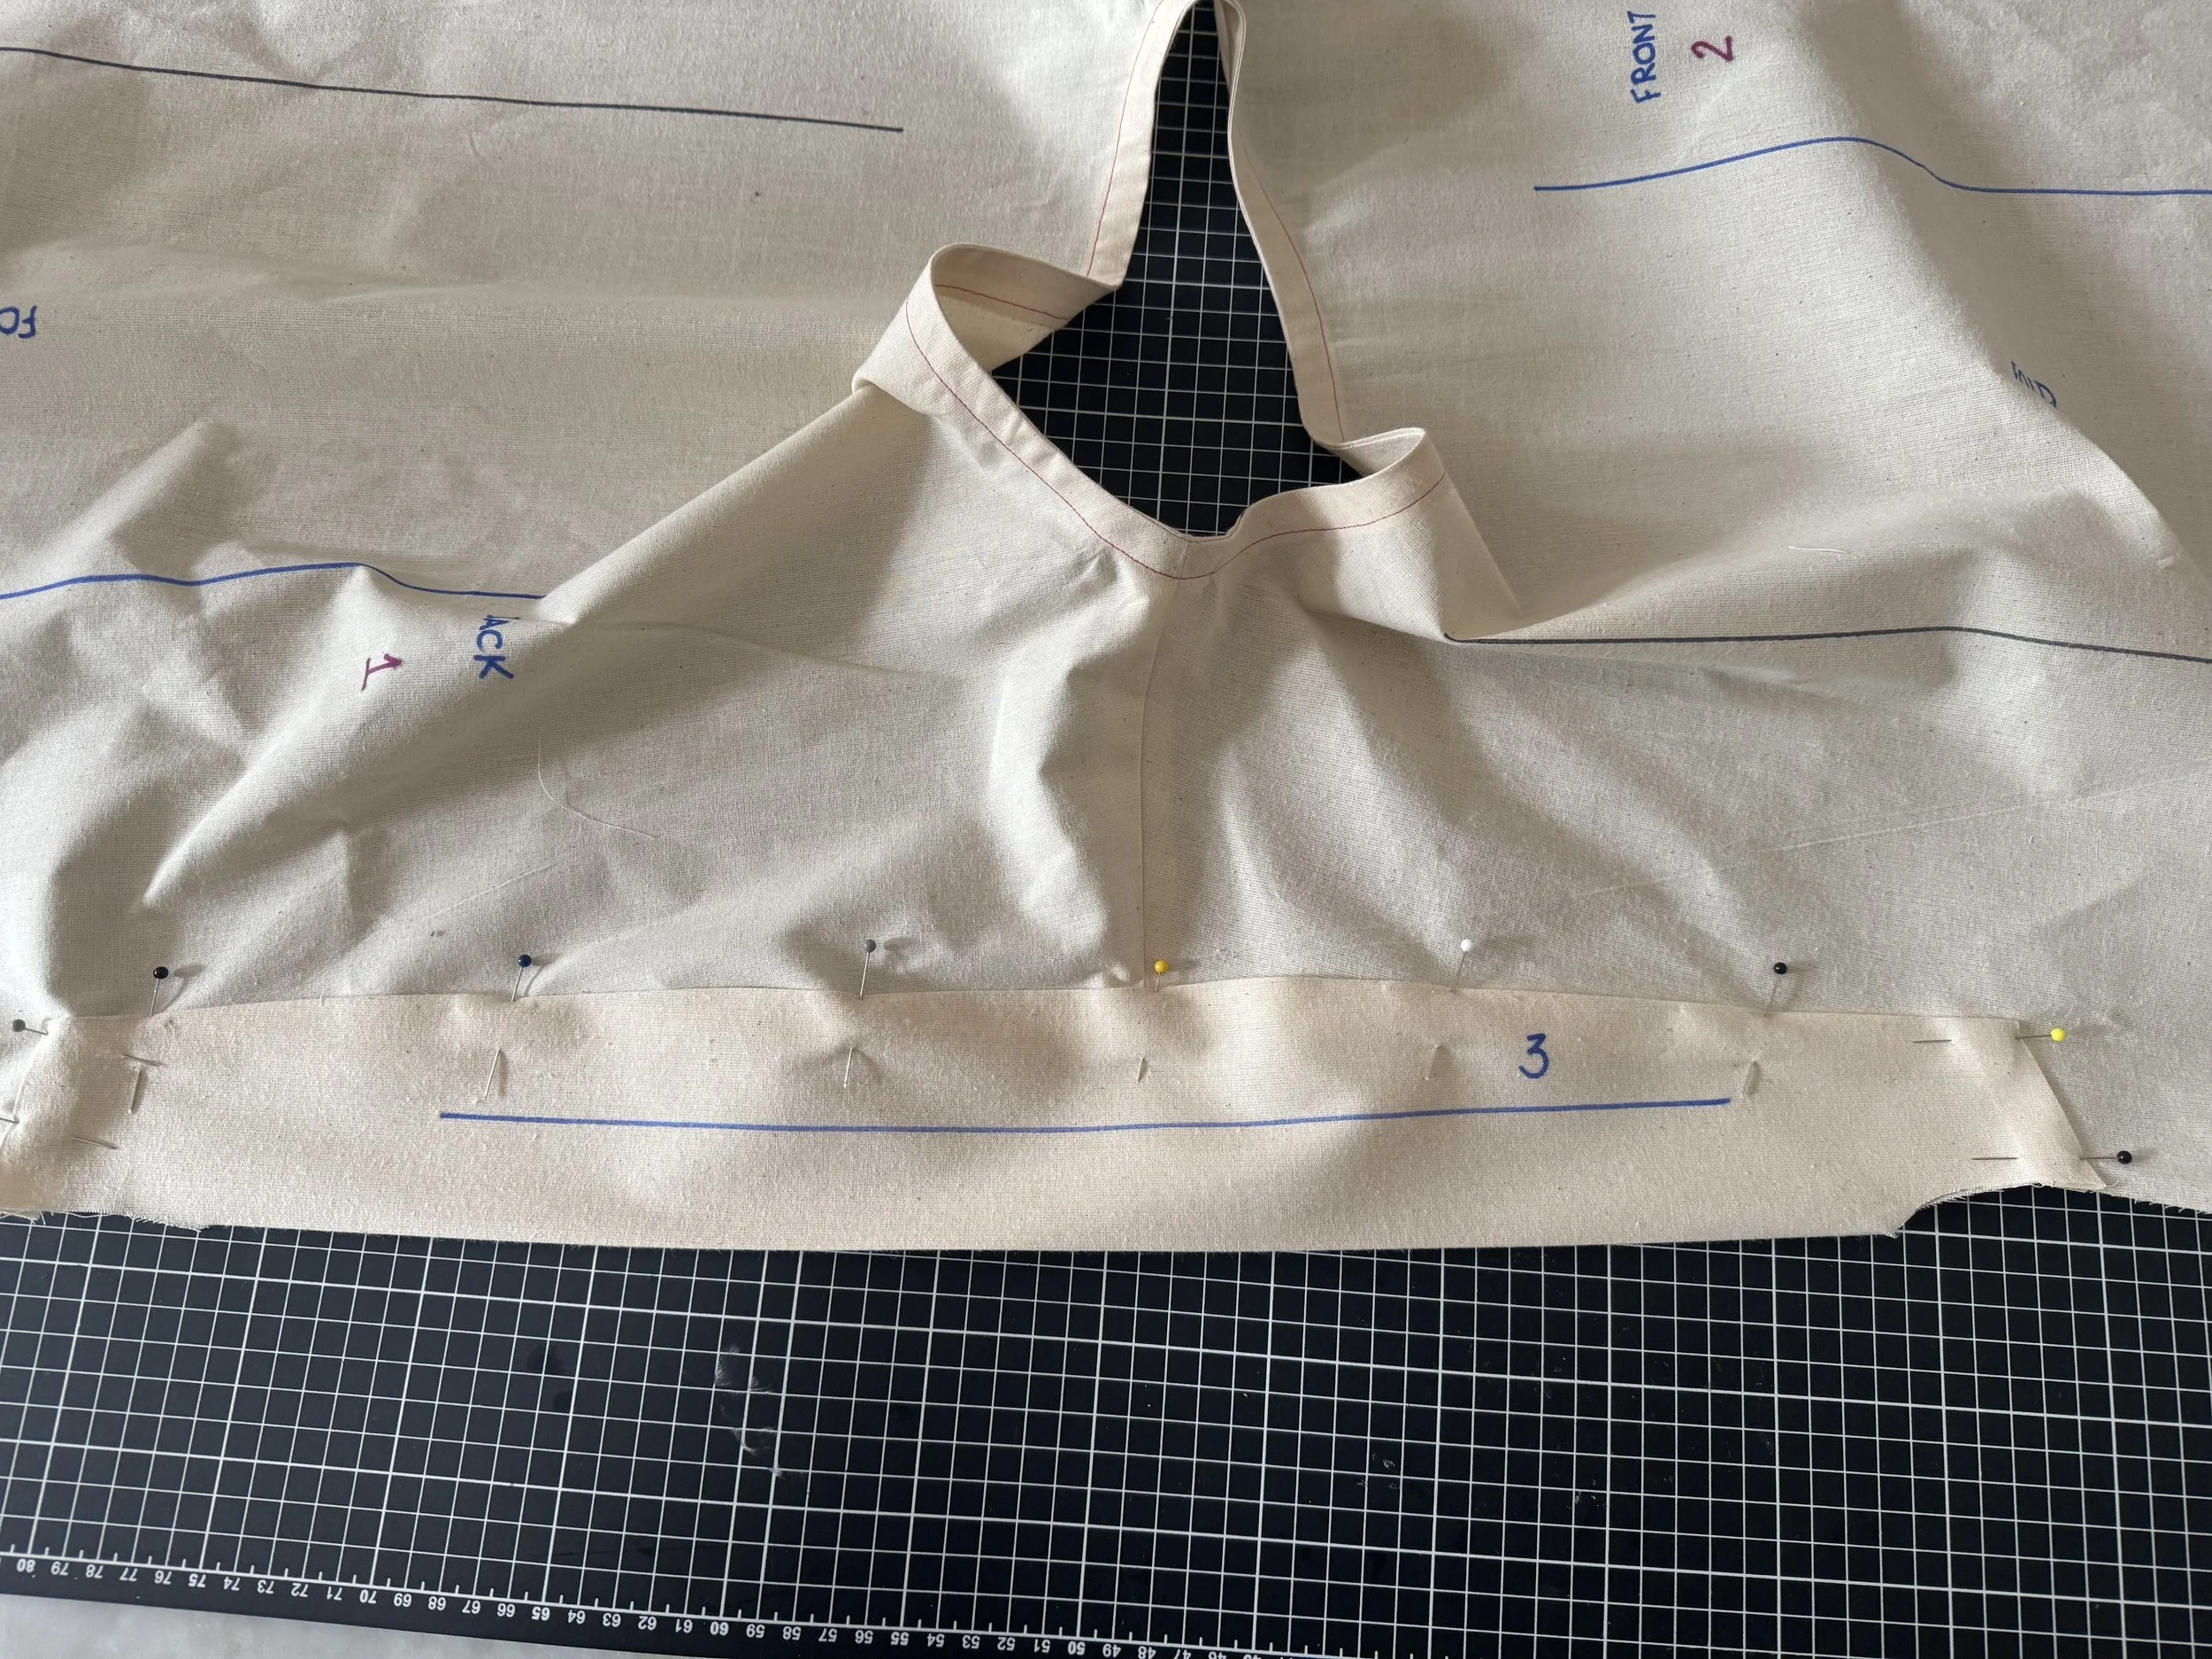
Start pinning your bias tape on the neckline, right side to right side, begin behind the shoulder seam towards the back, where it will be less obvious.
Join the two edges together when they meet, opening up the folded seams. This pressed line is your sewing line.
Sew the two ends together at 0.5”.

Press the seams open and pin this area to the neckline edge.
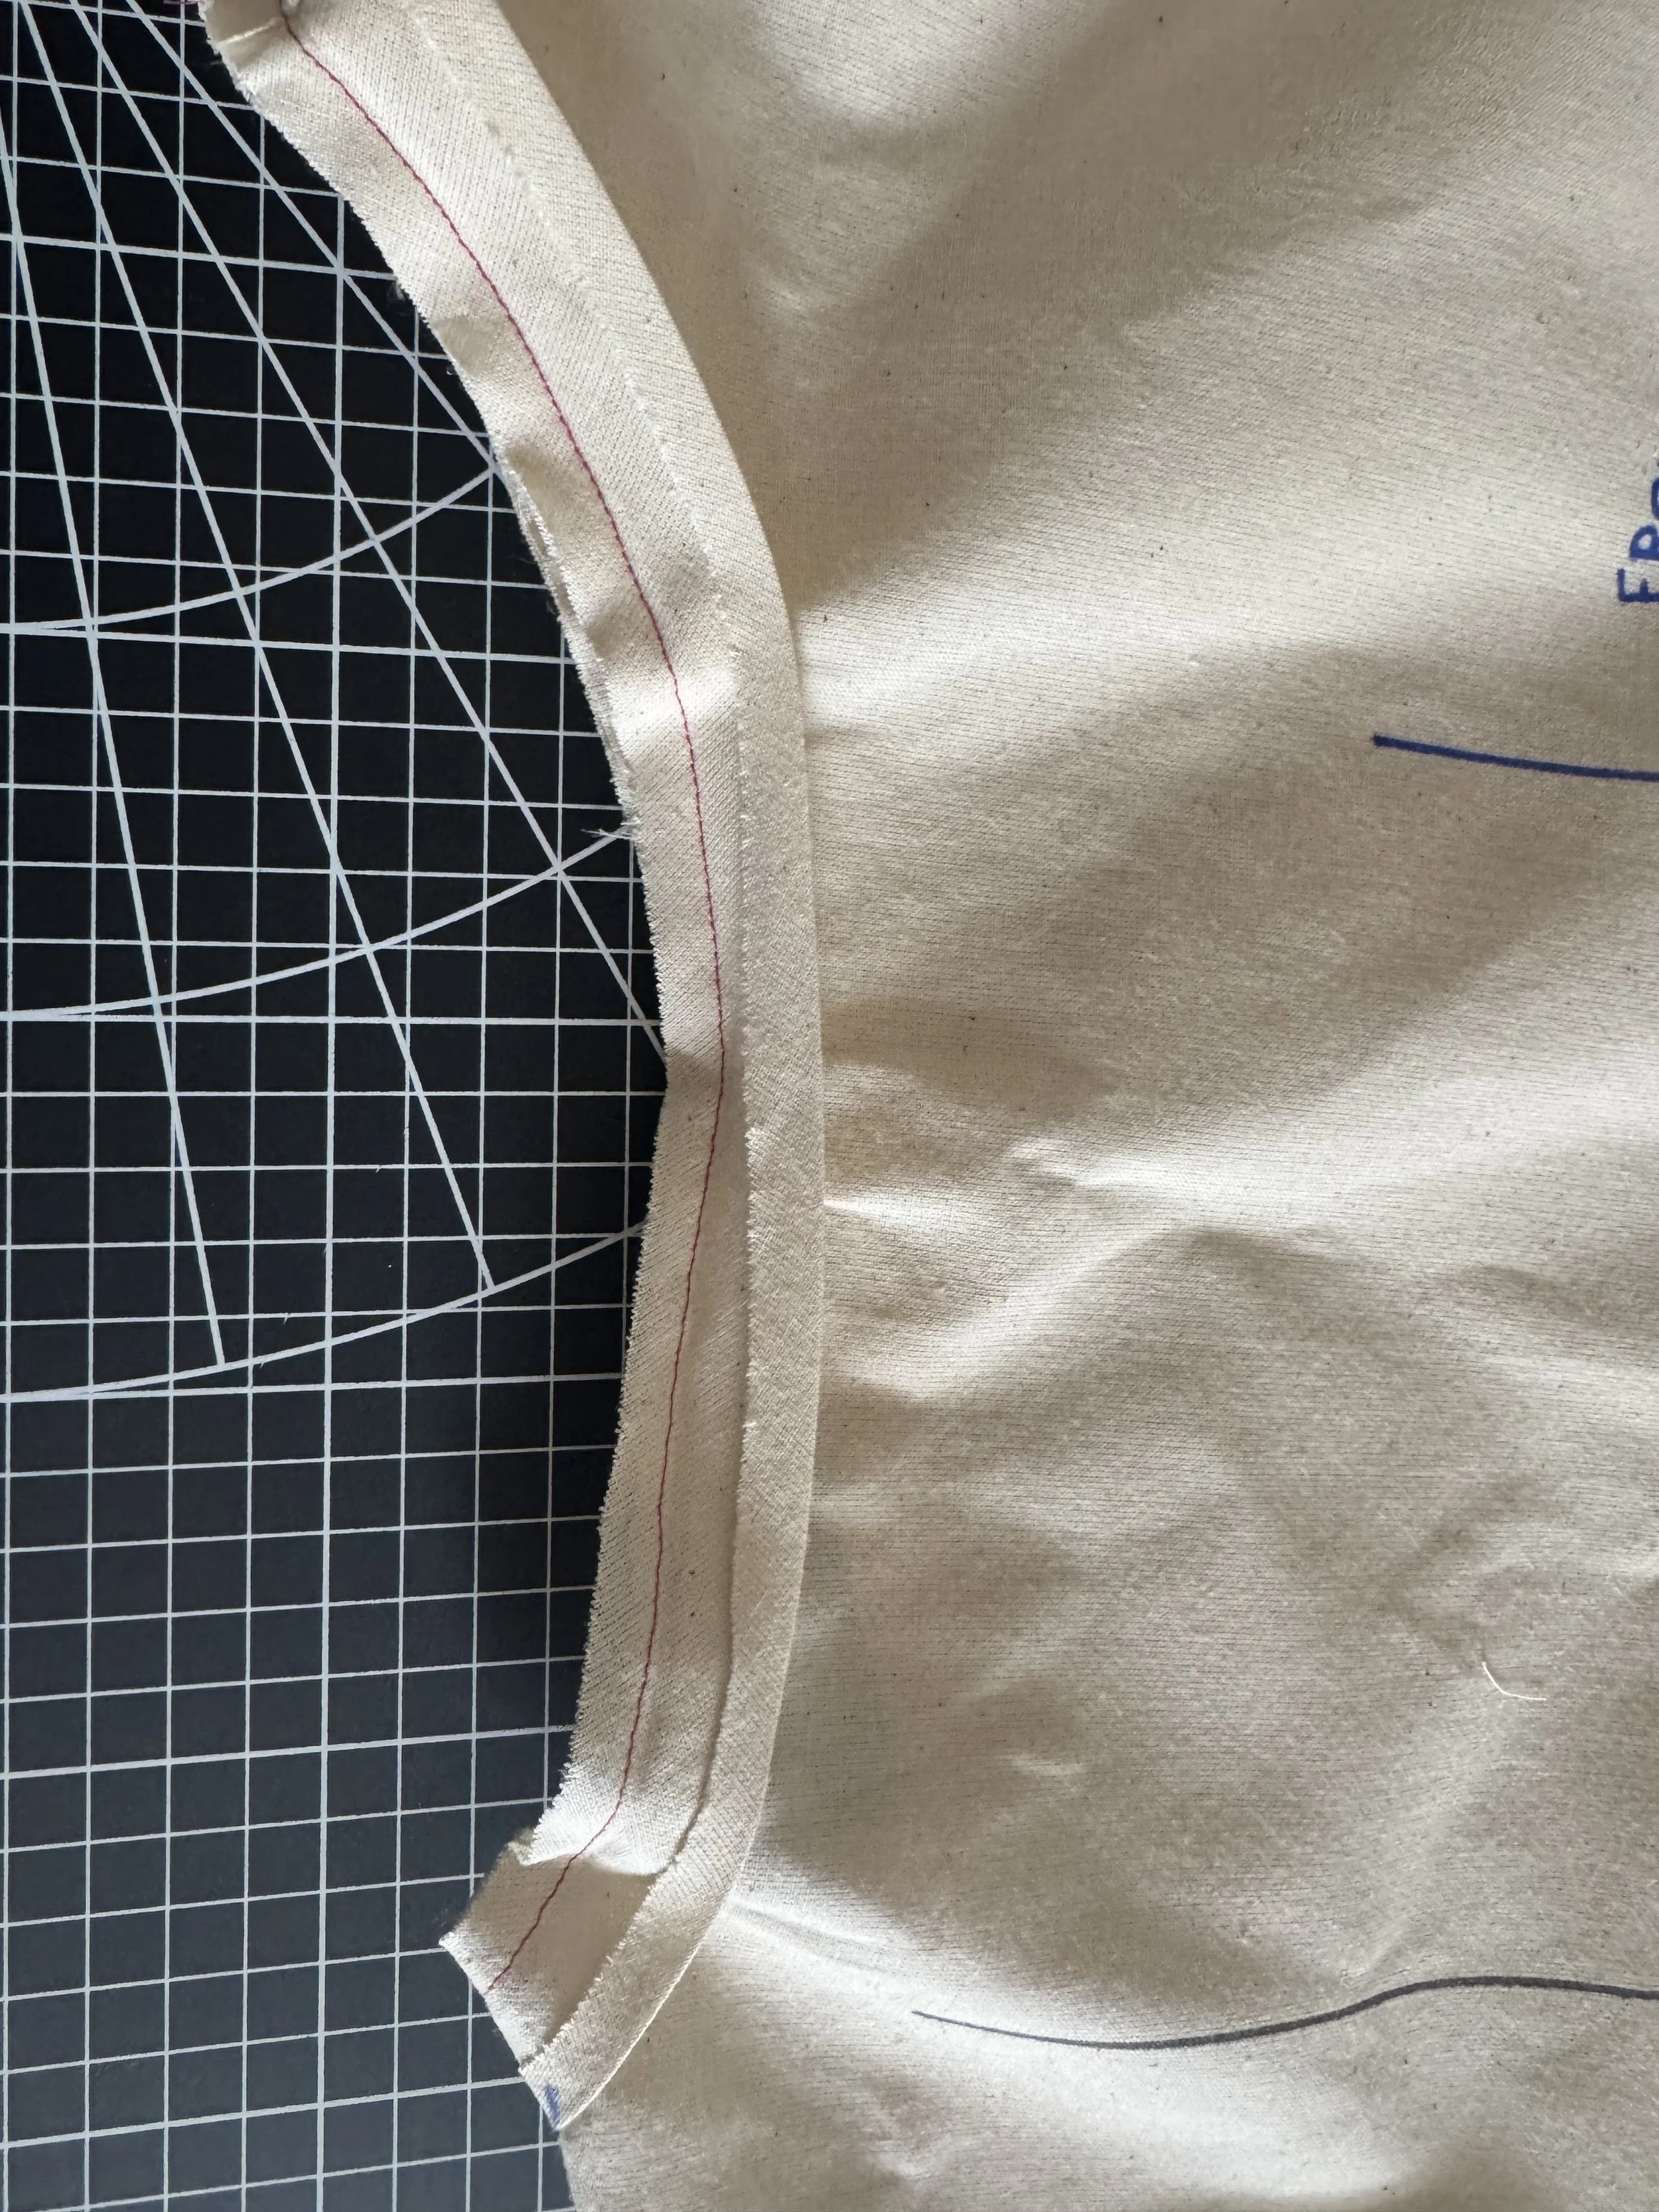
Sew along the pressed line along the entire bias tape area.
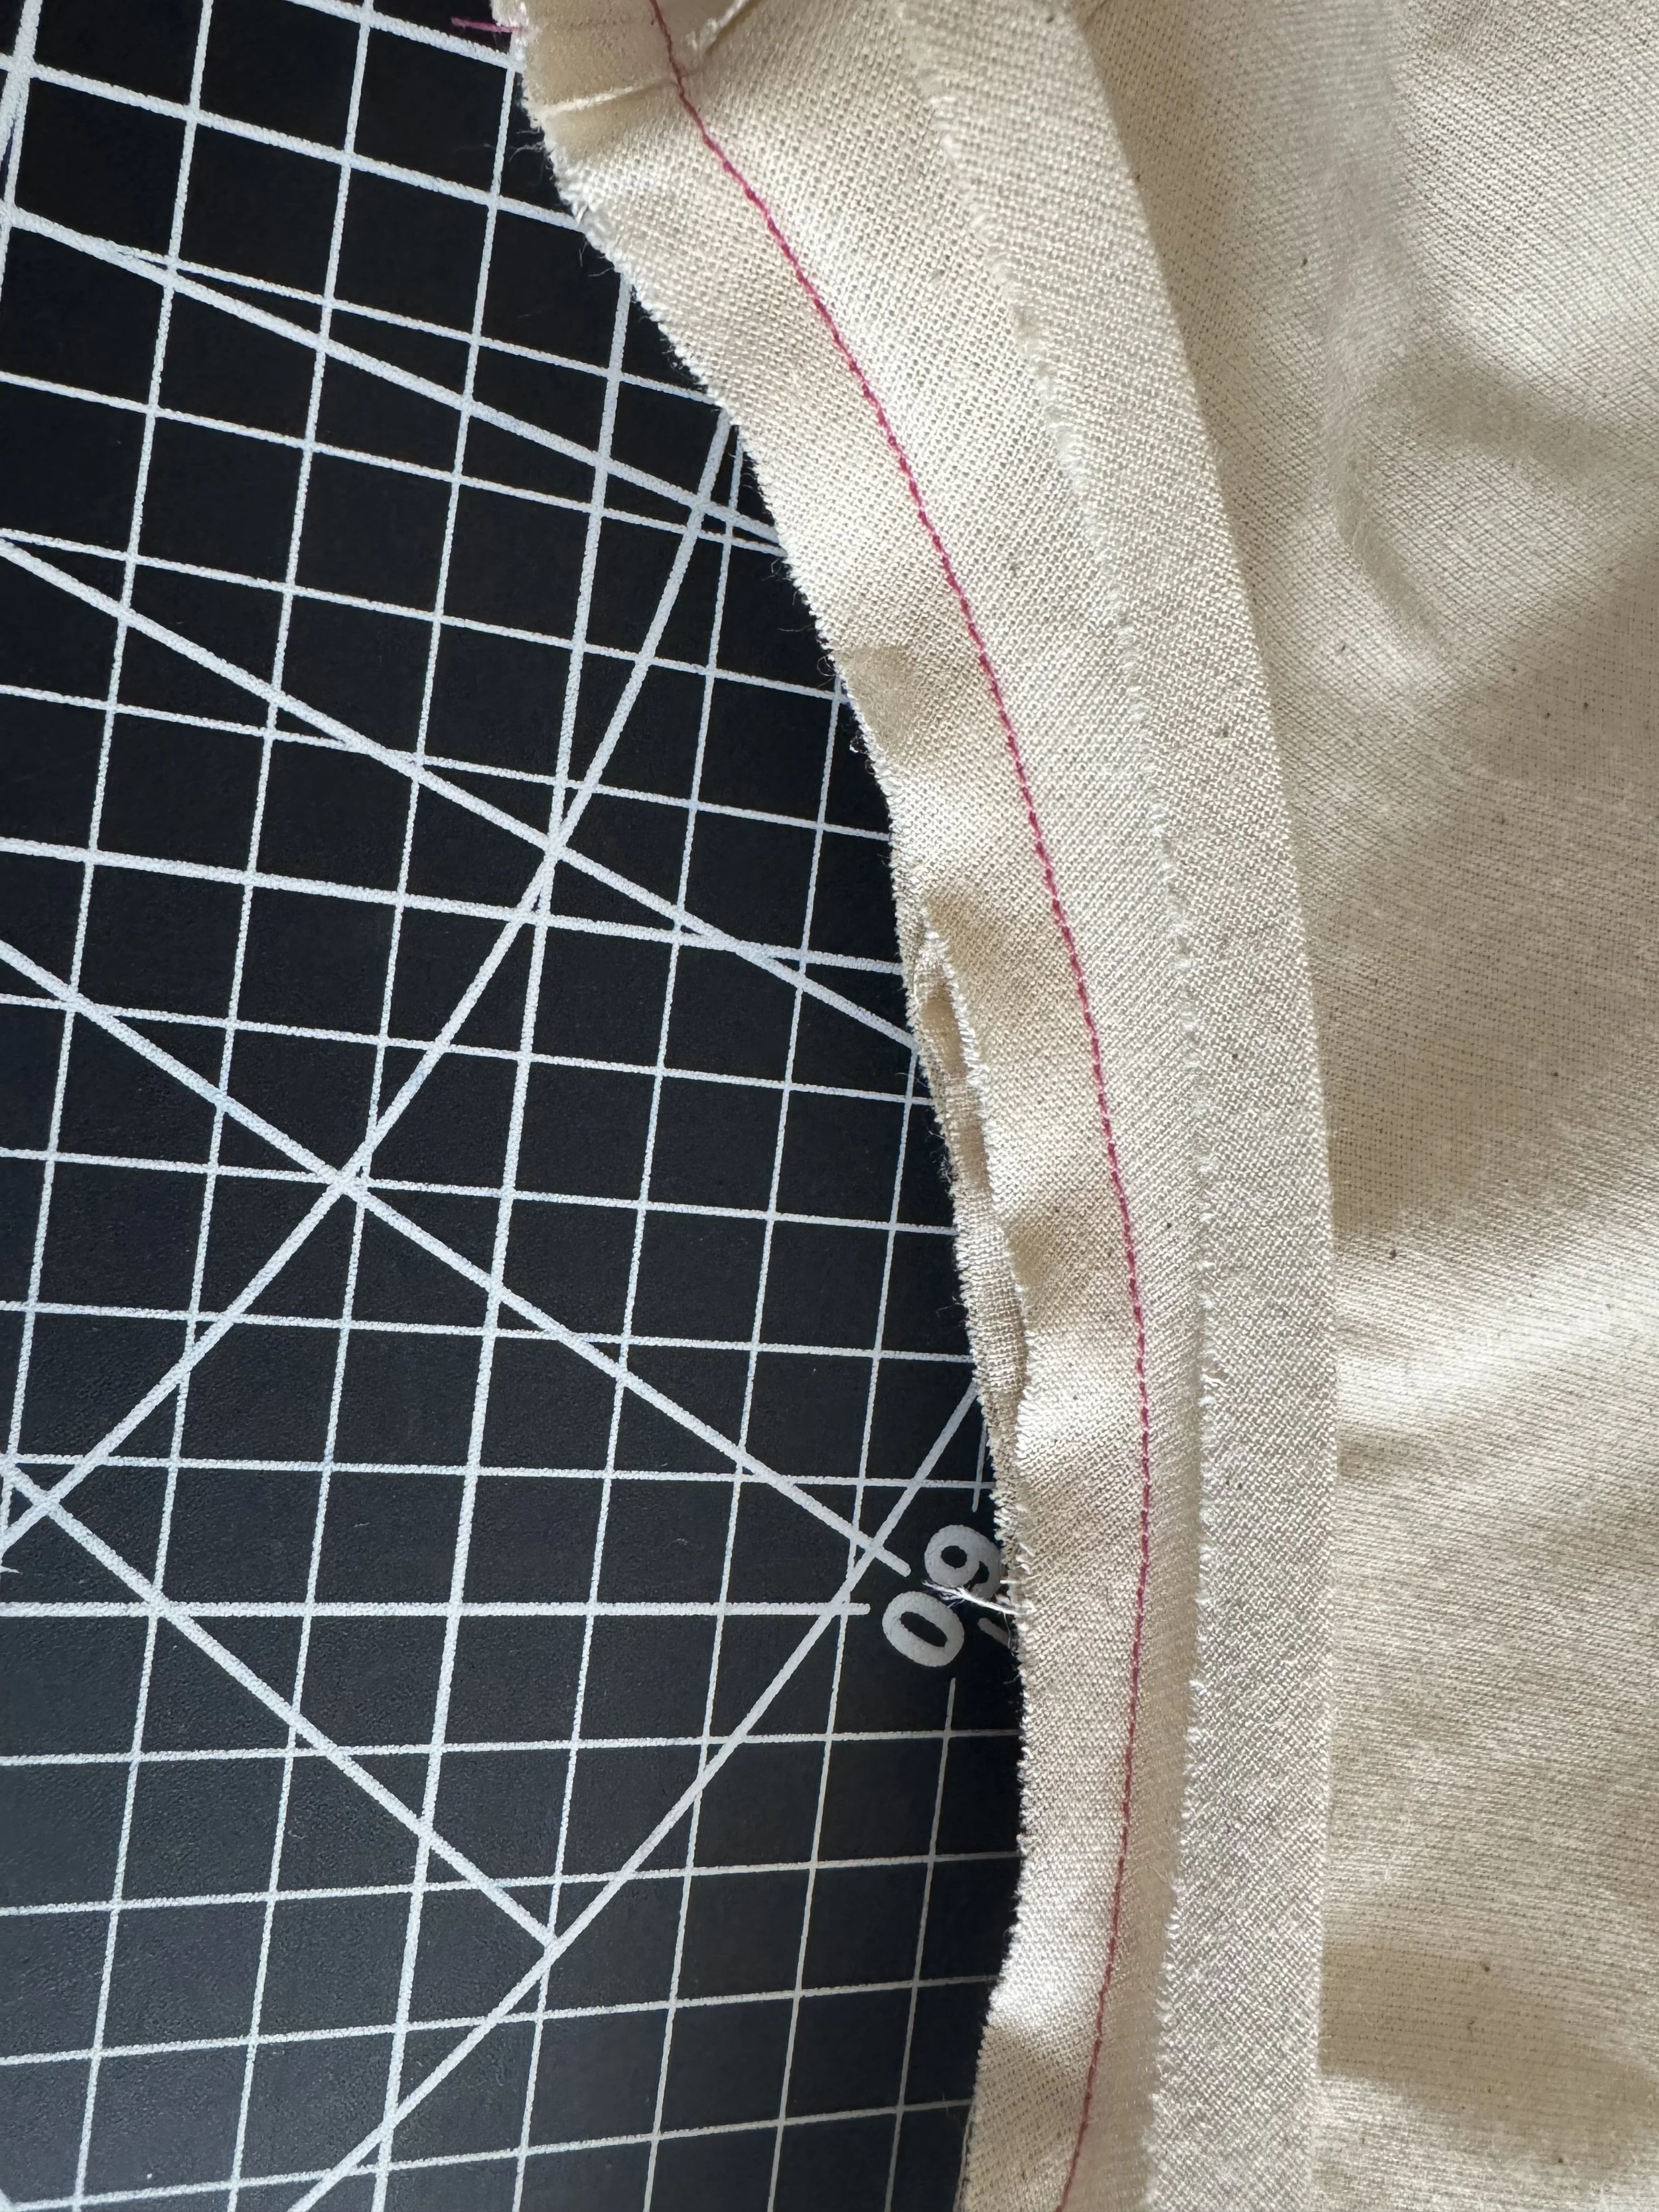
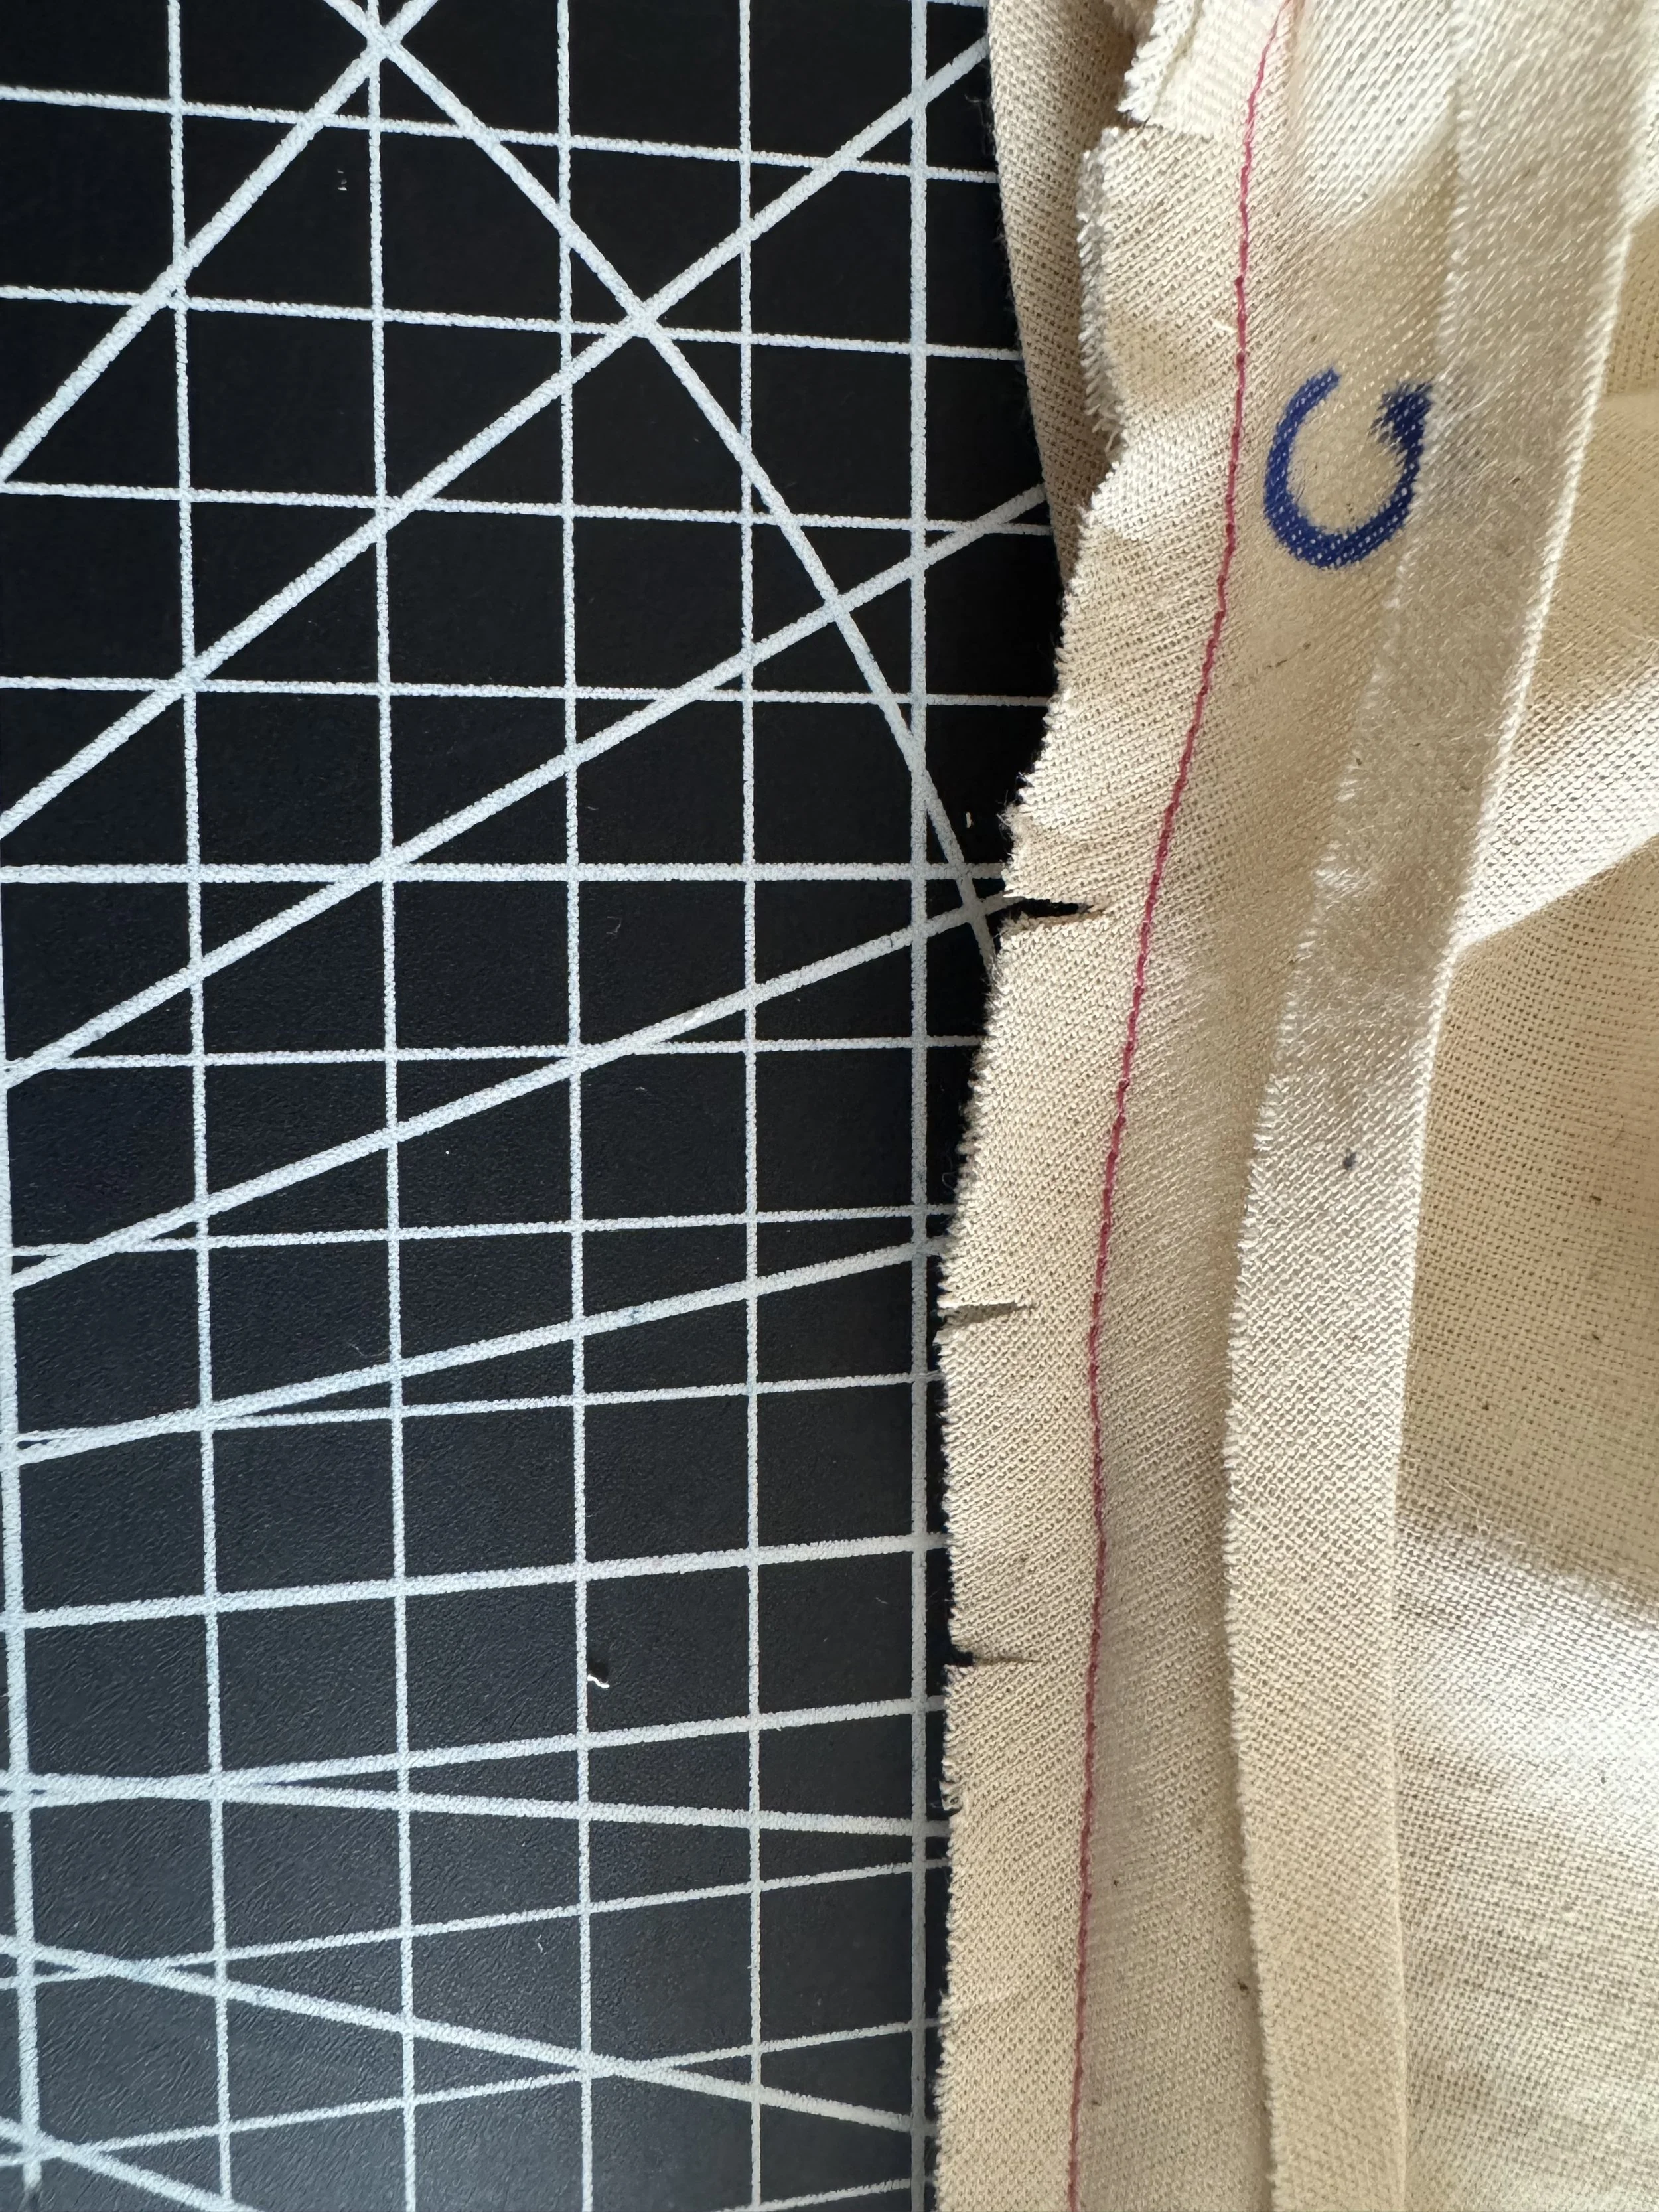
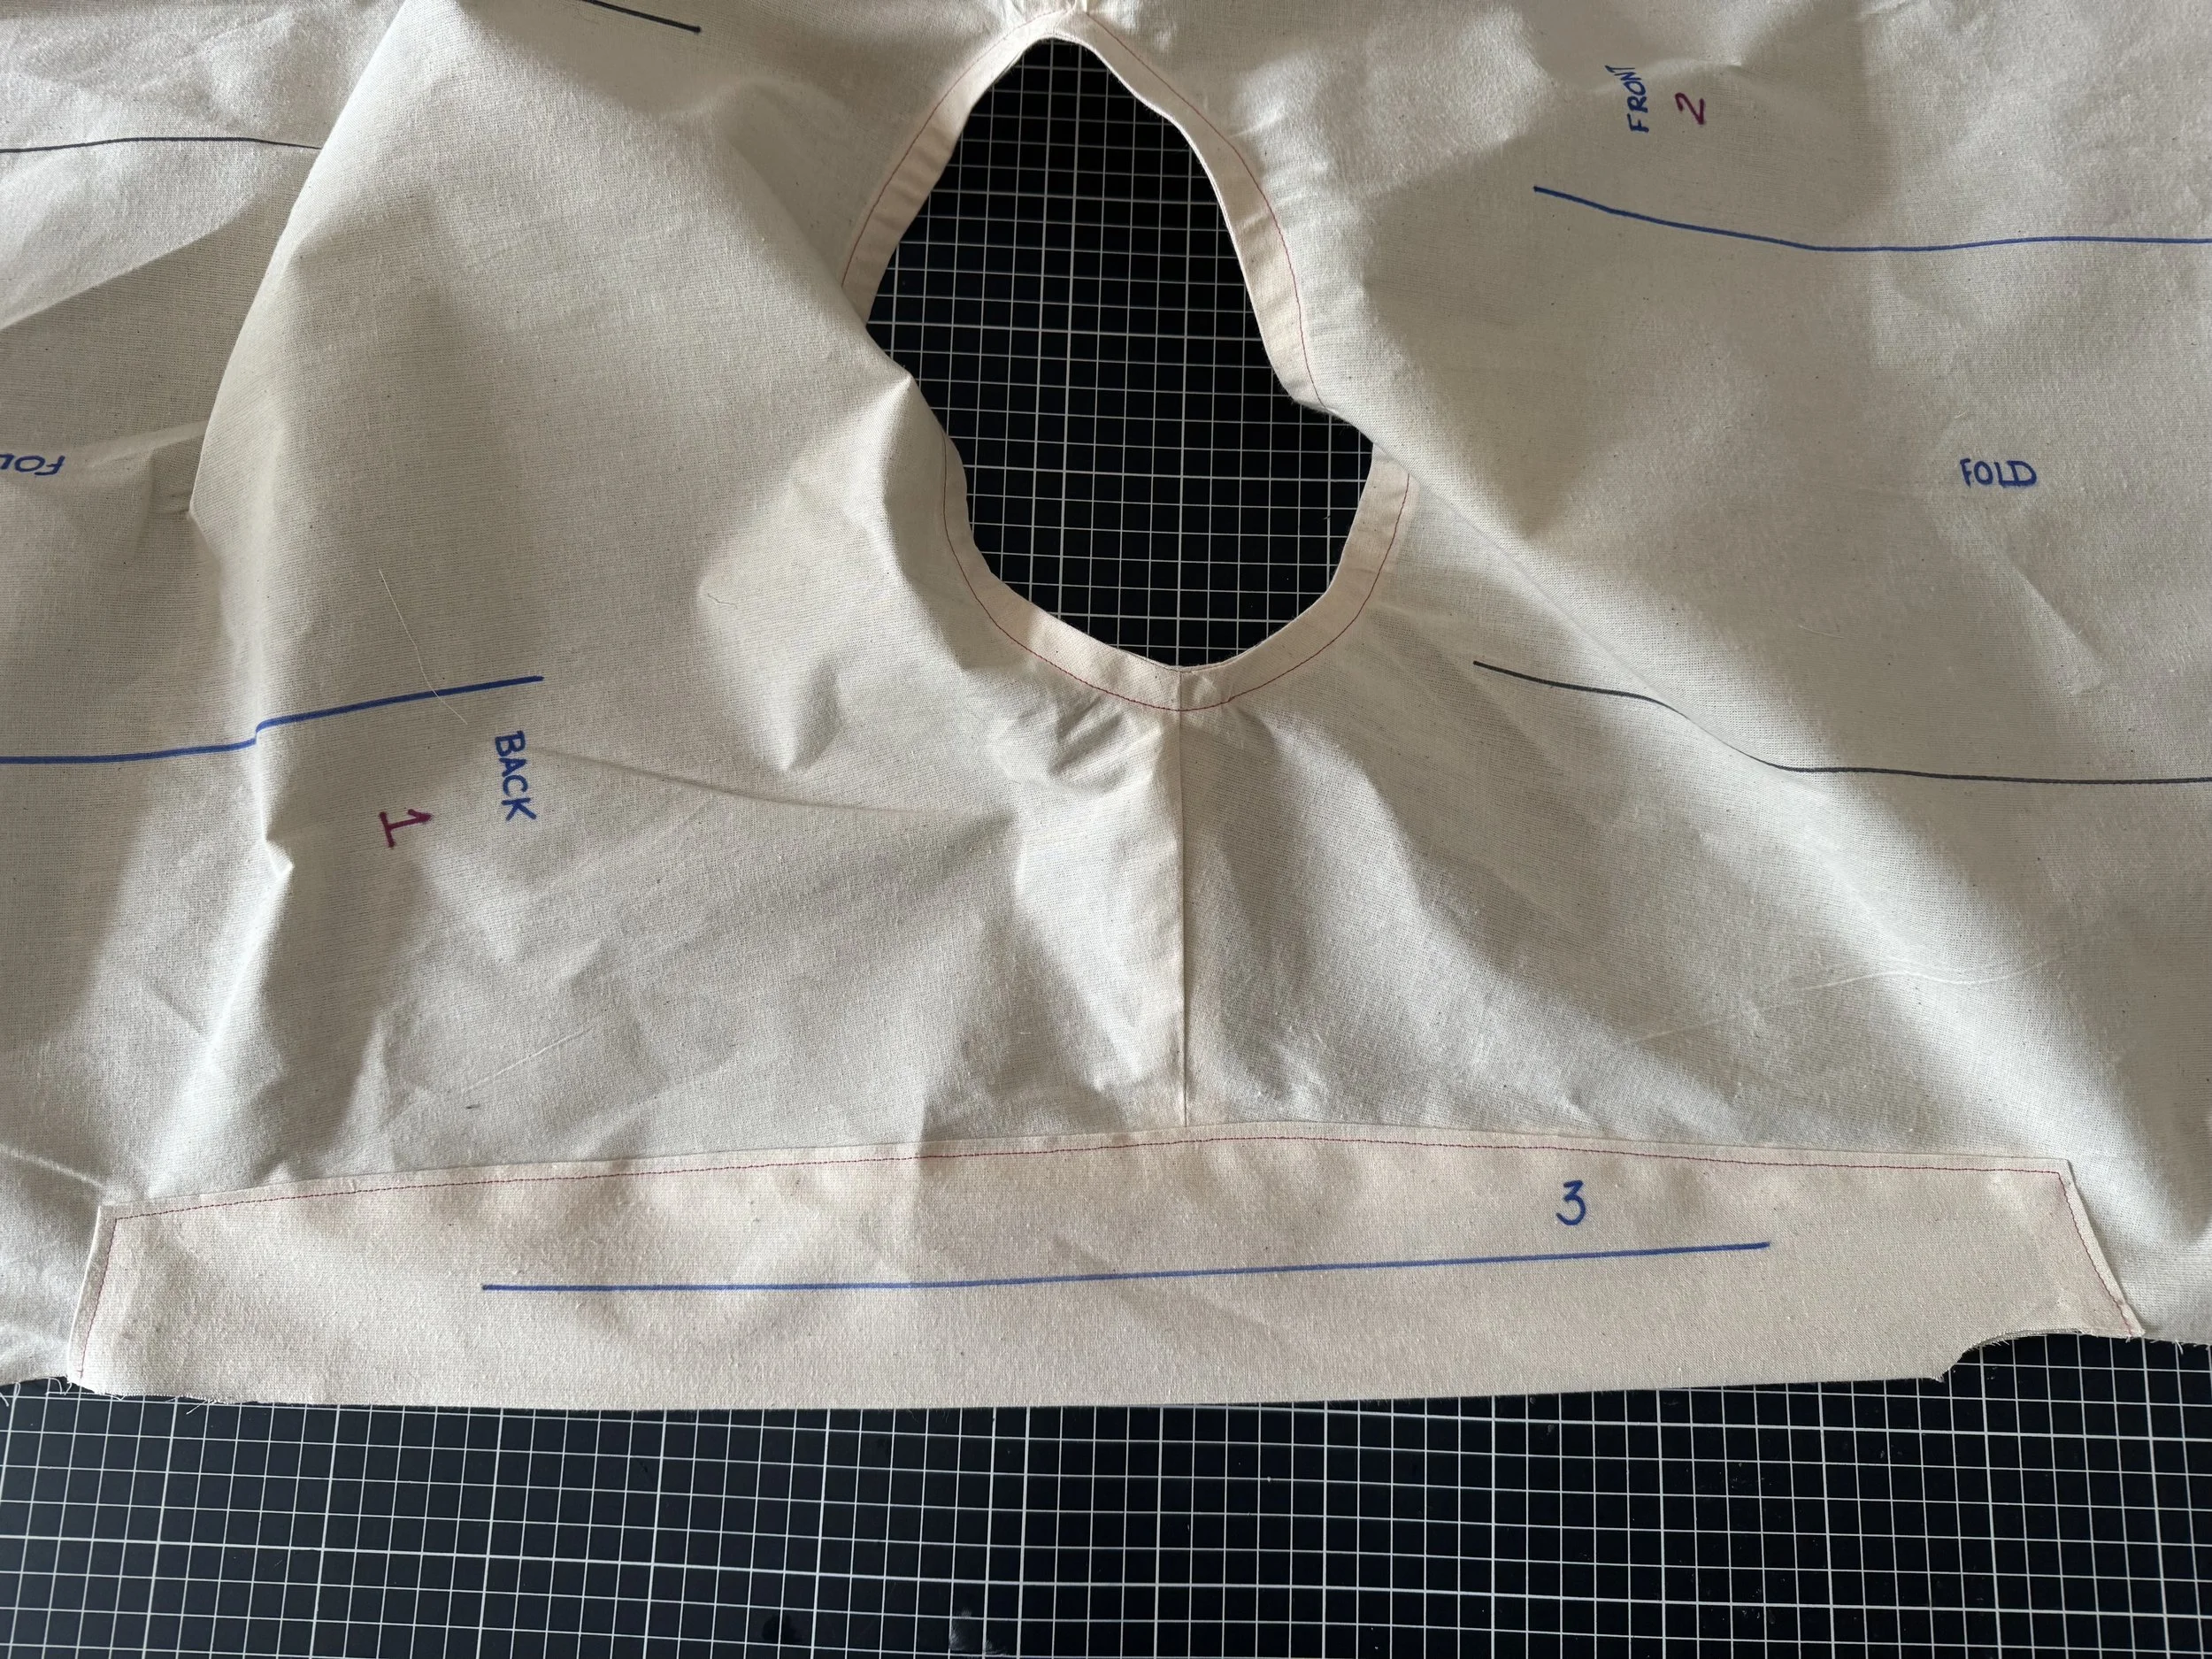
Snip into the seam to allow the tape to curve around the neckline.
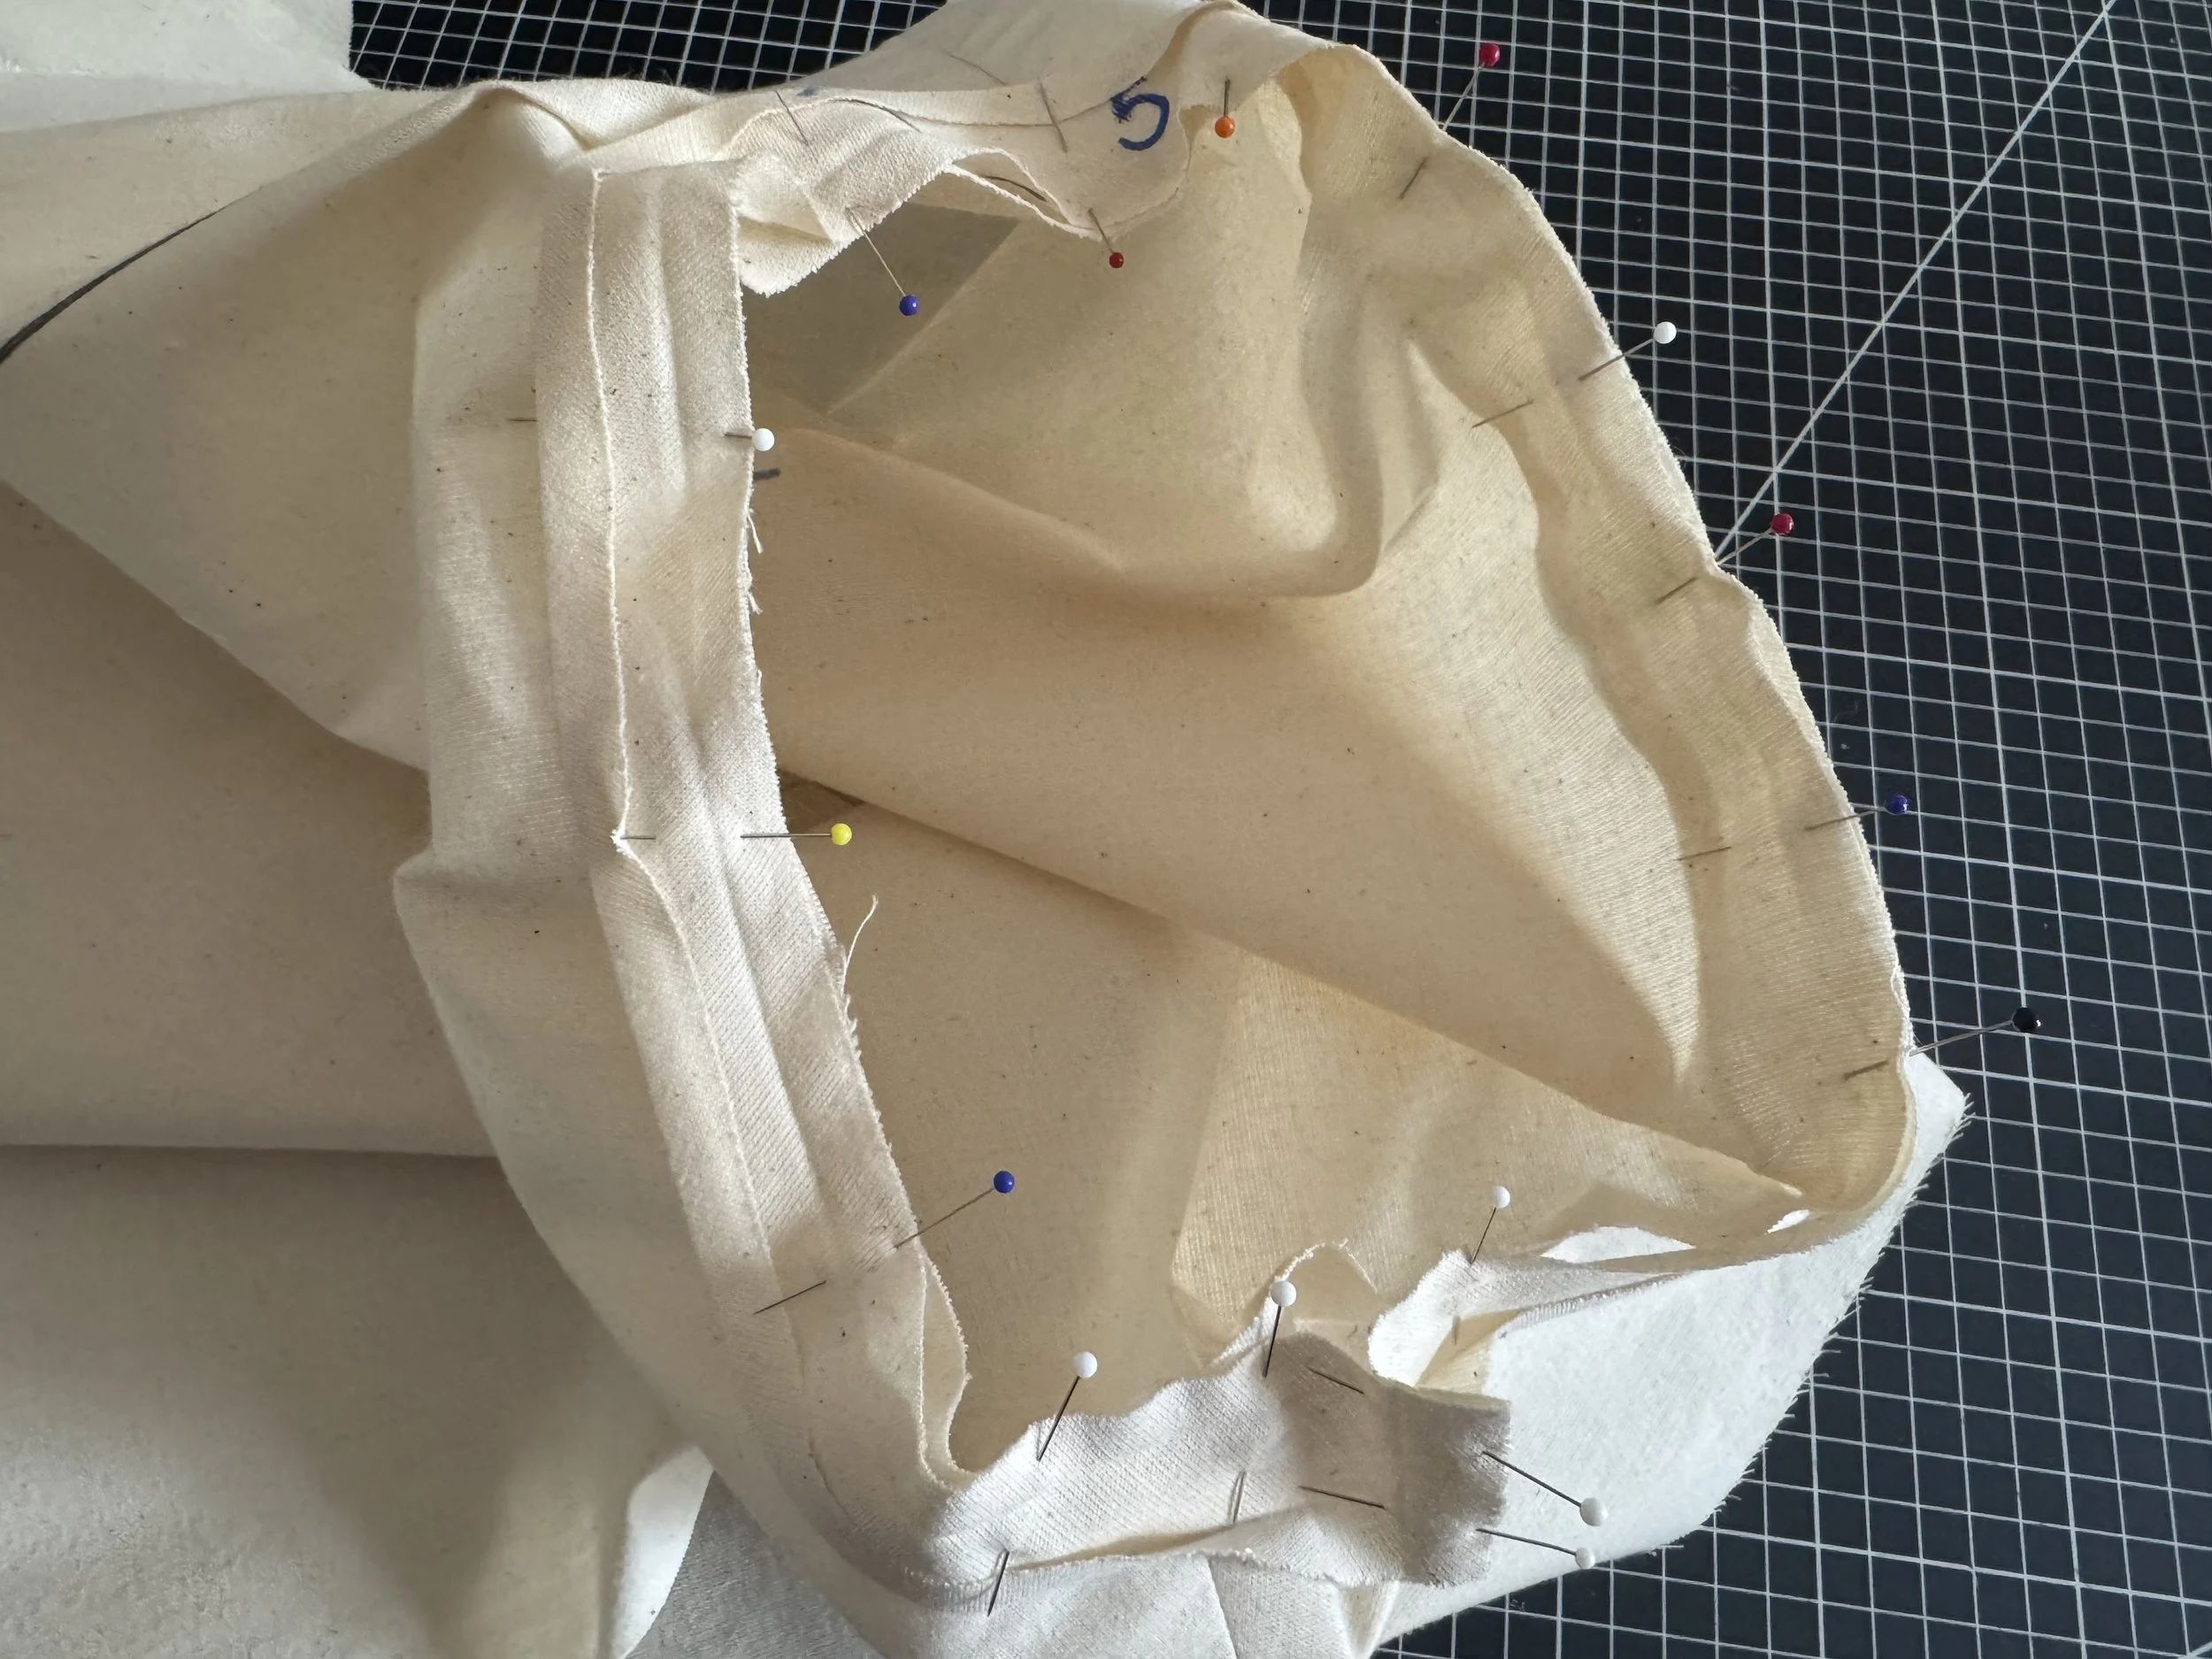
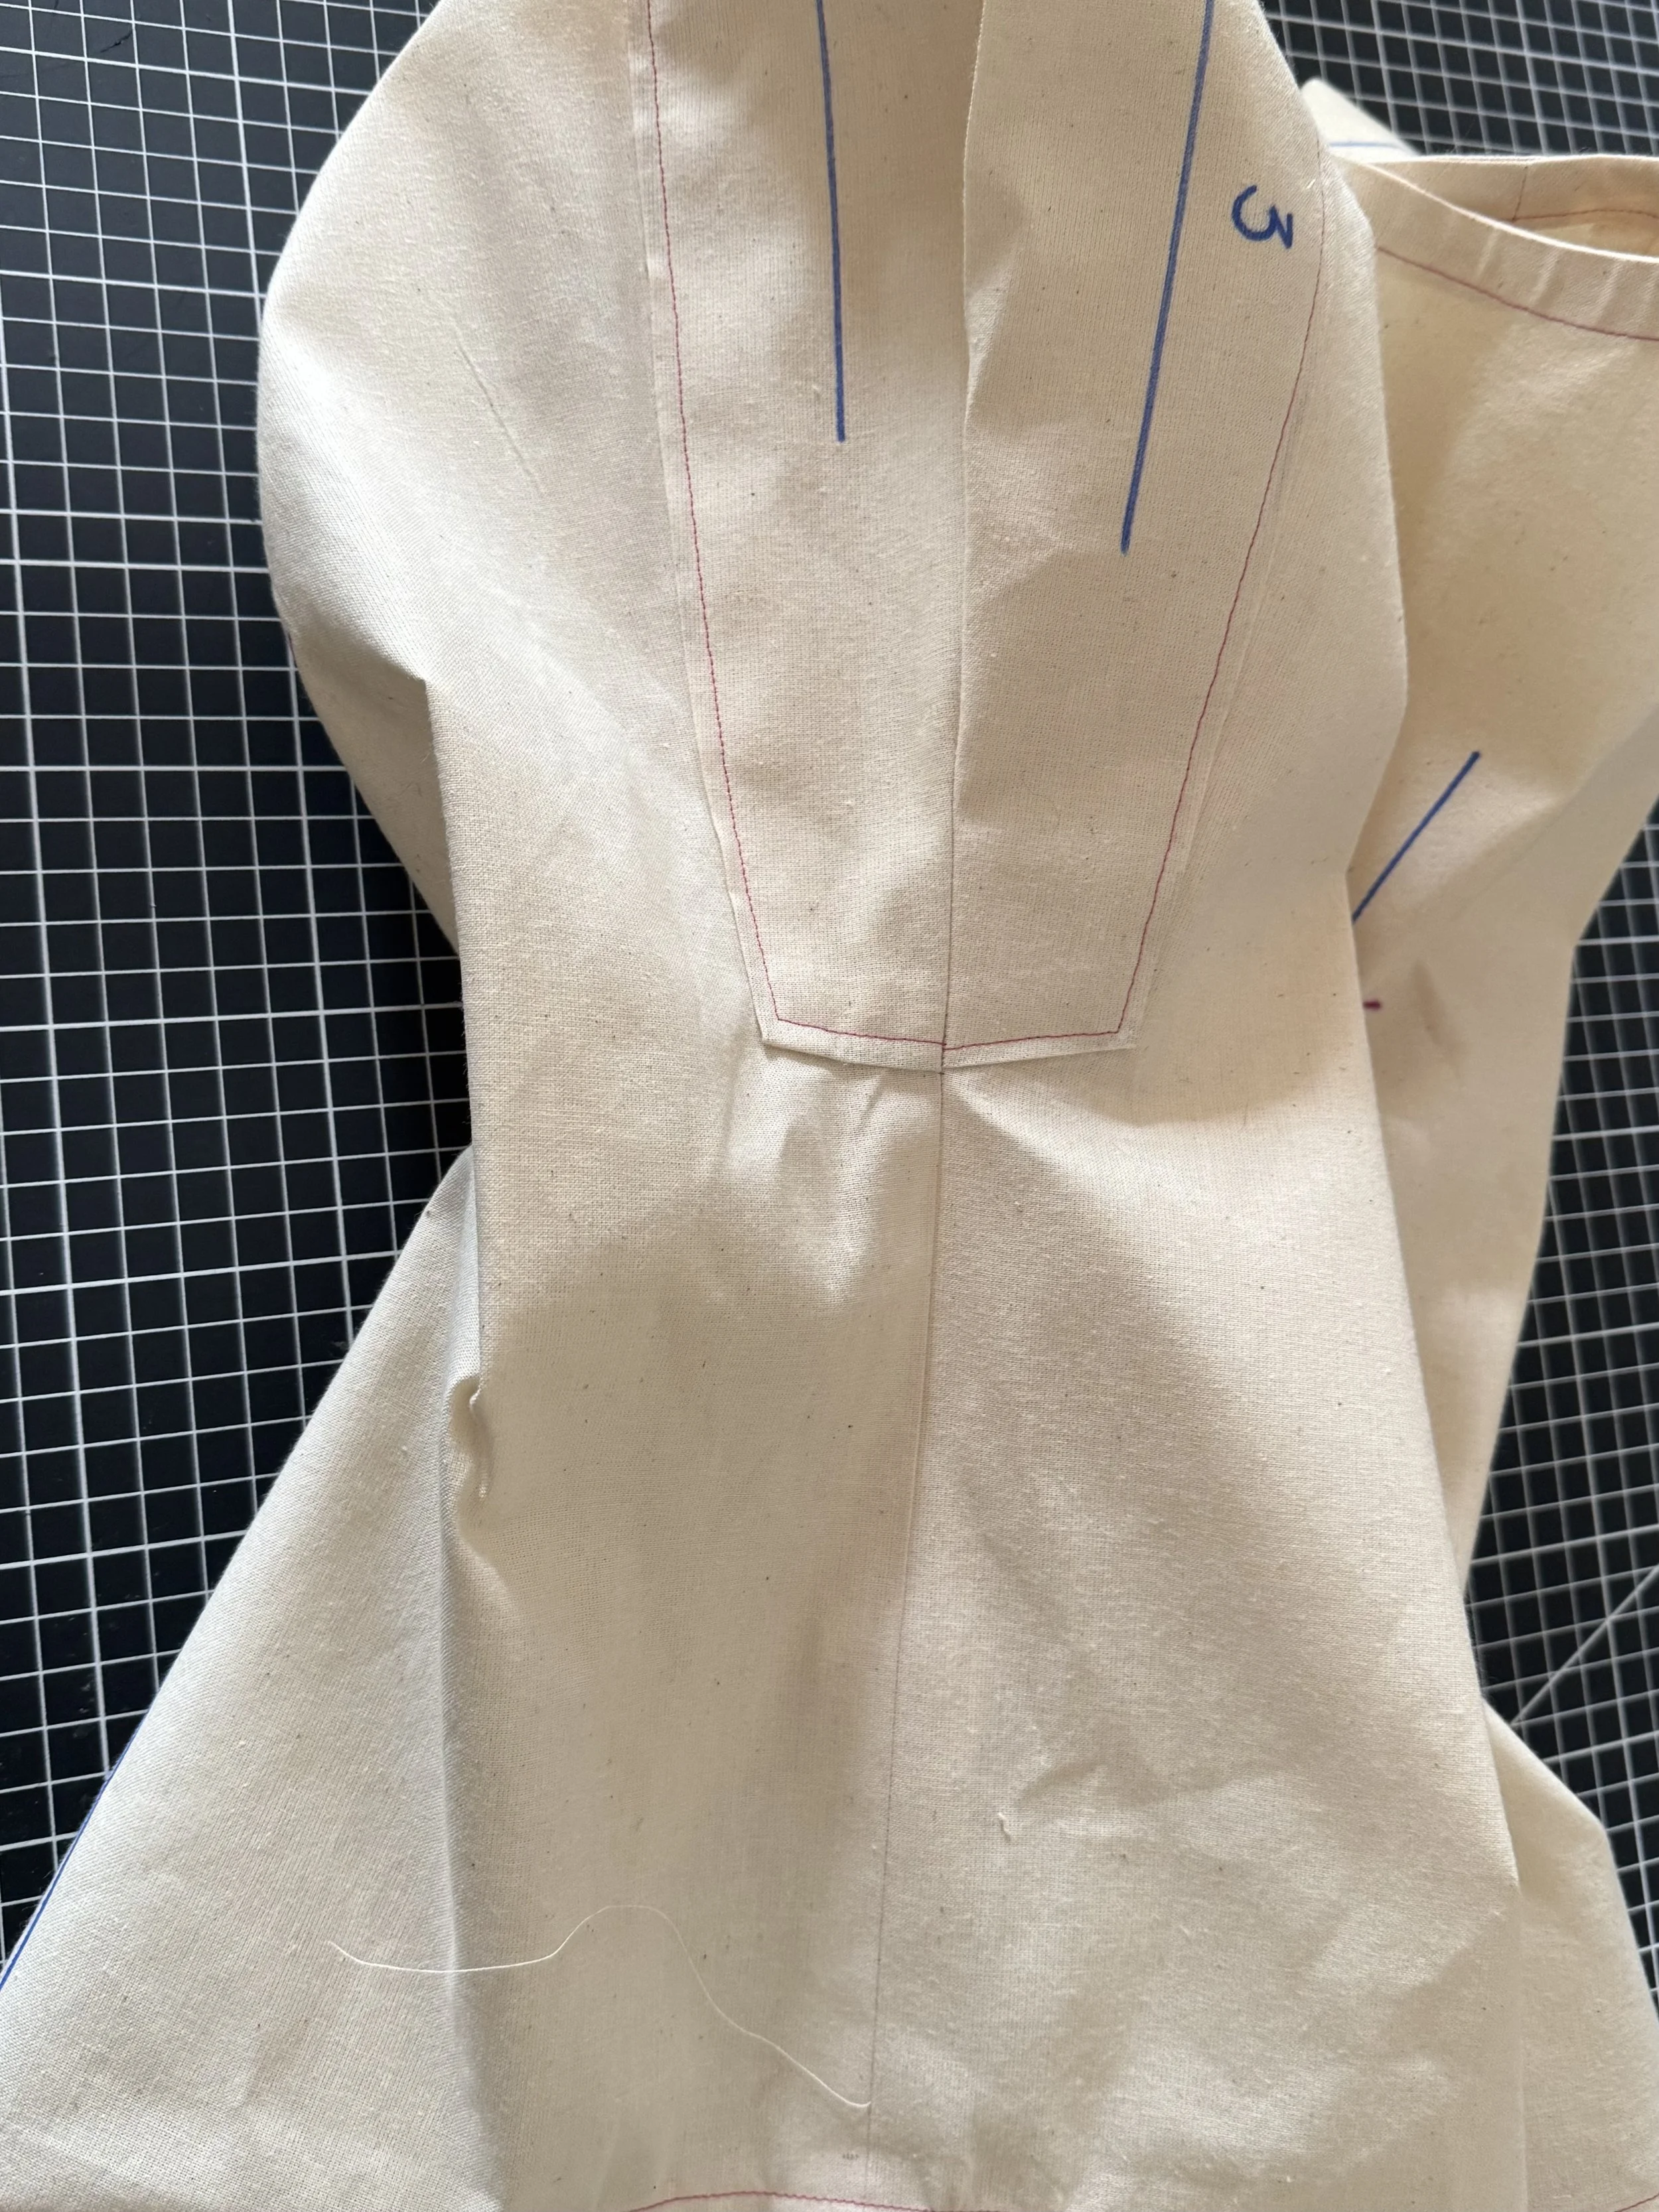
Fold the bias tape into the inside of the neckline as shown, and pin.
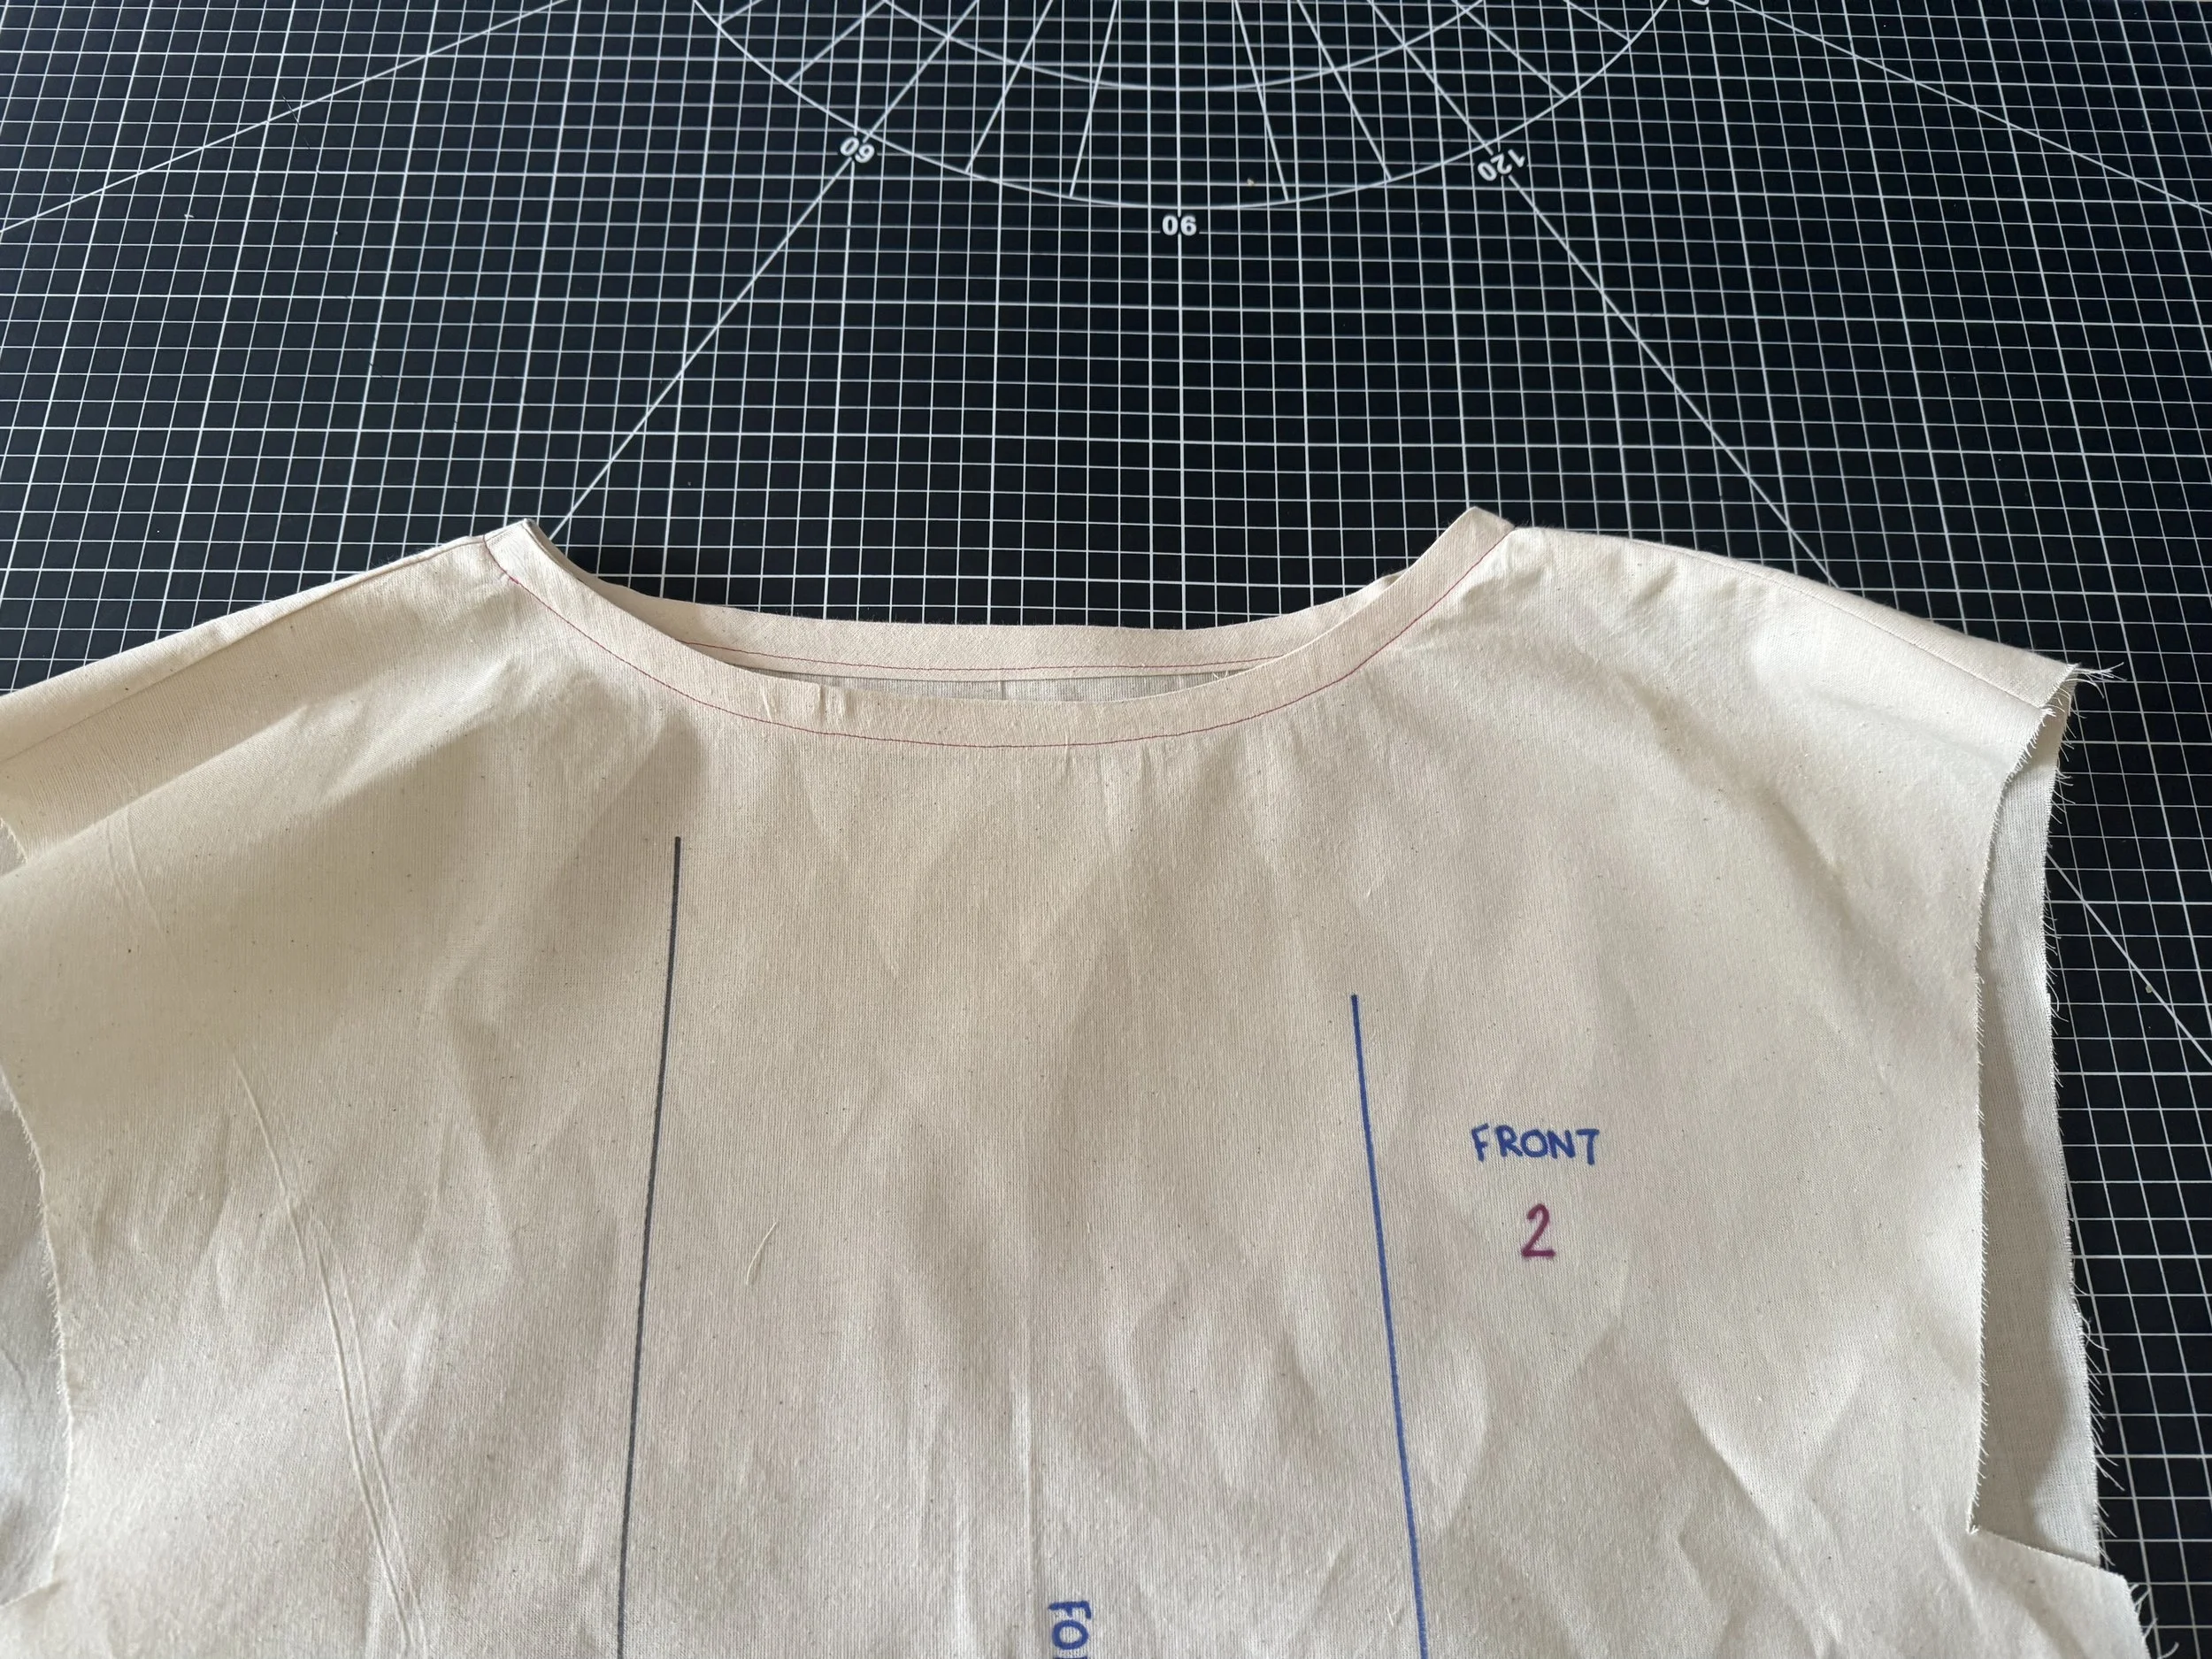
Sew on the right side, starting behind the back shoulder seam and press well.
Next up: Sleeves.
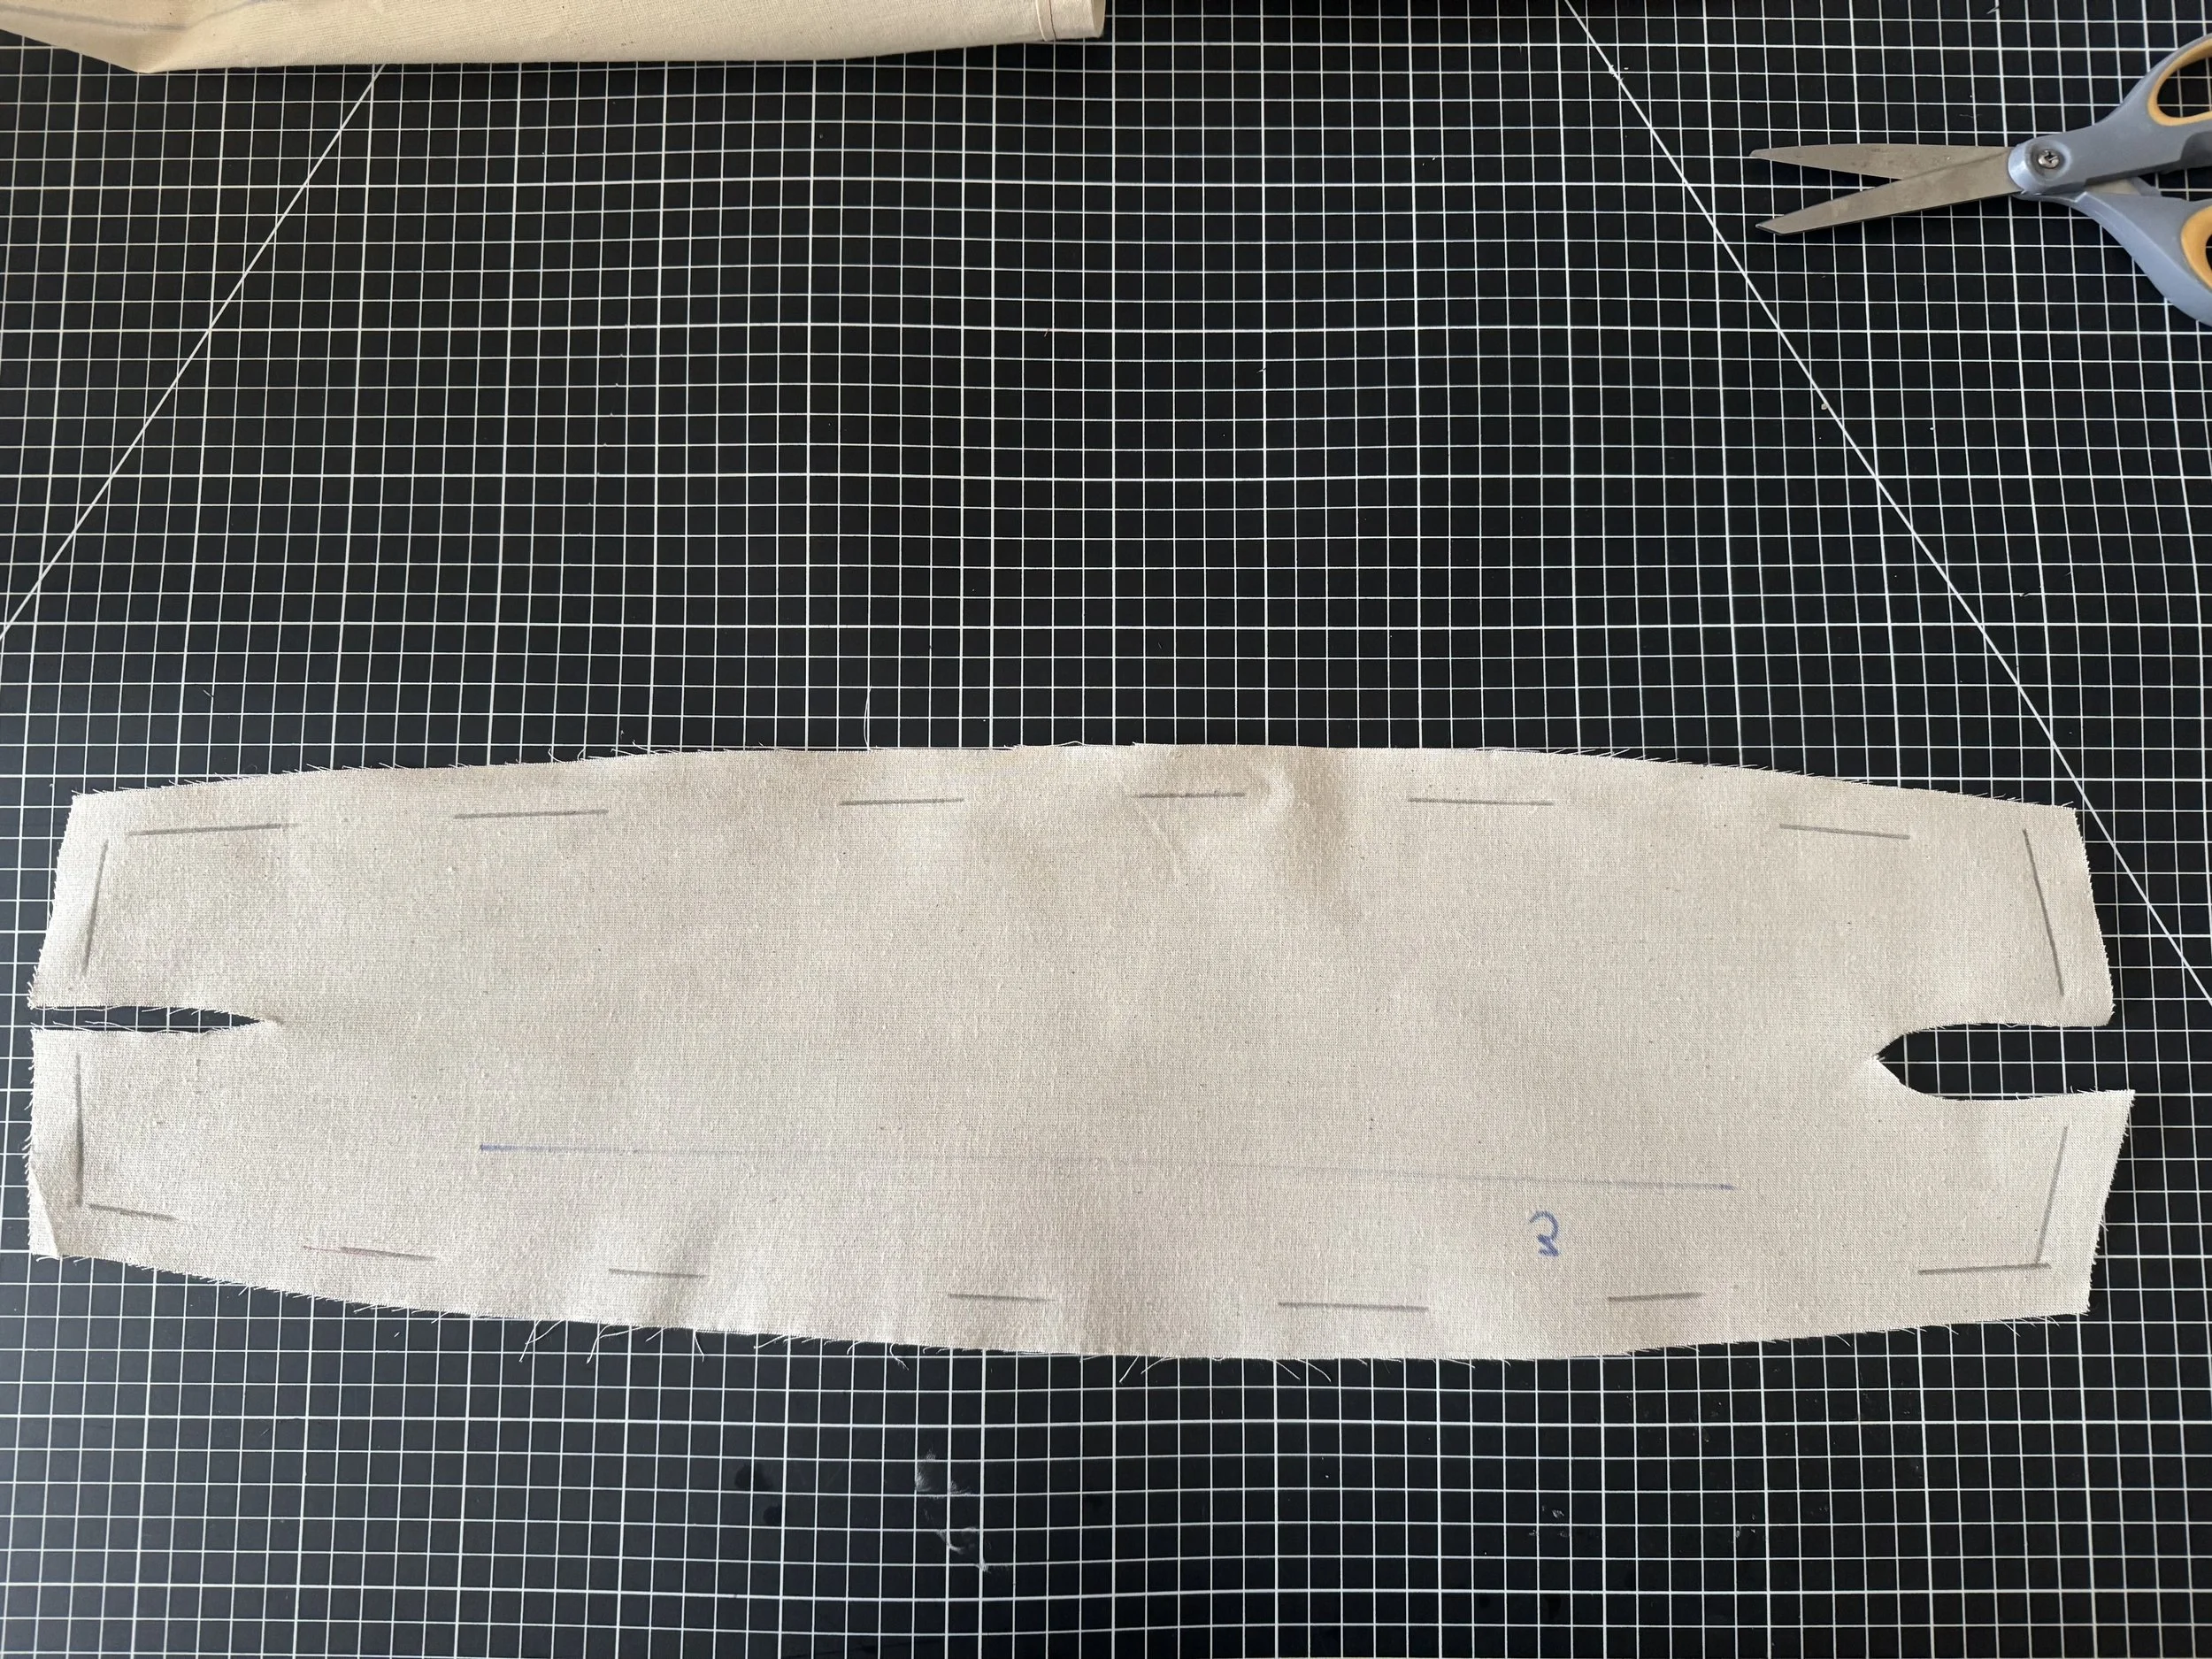
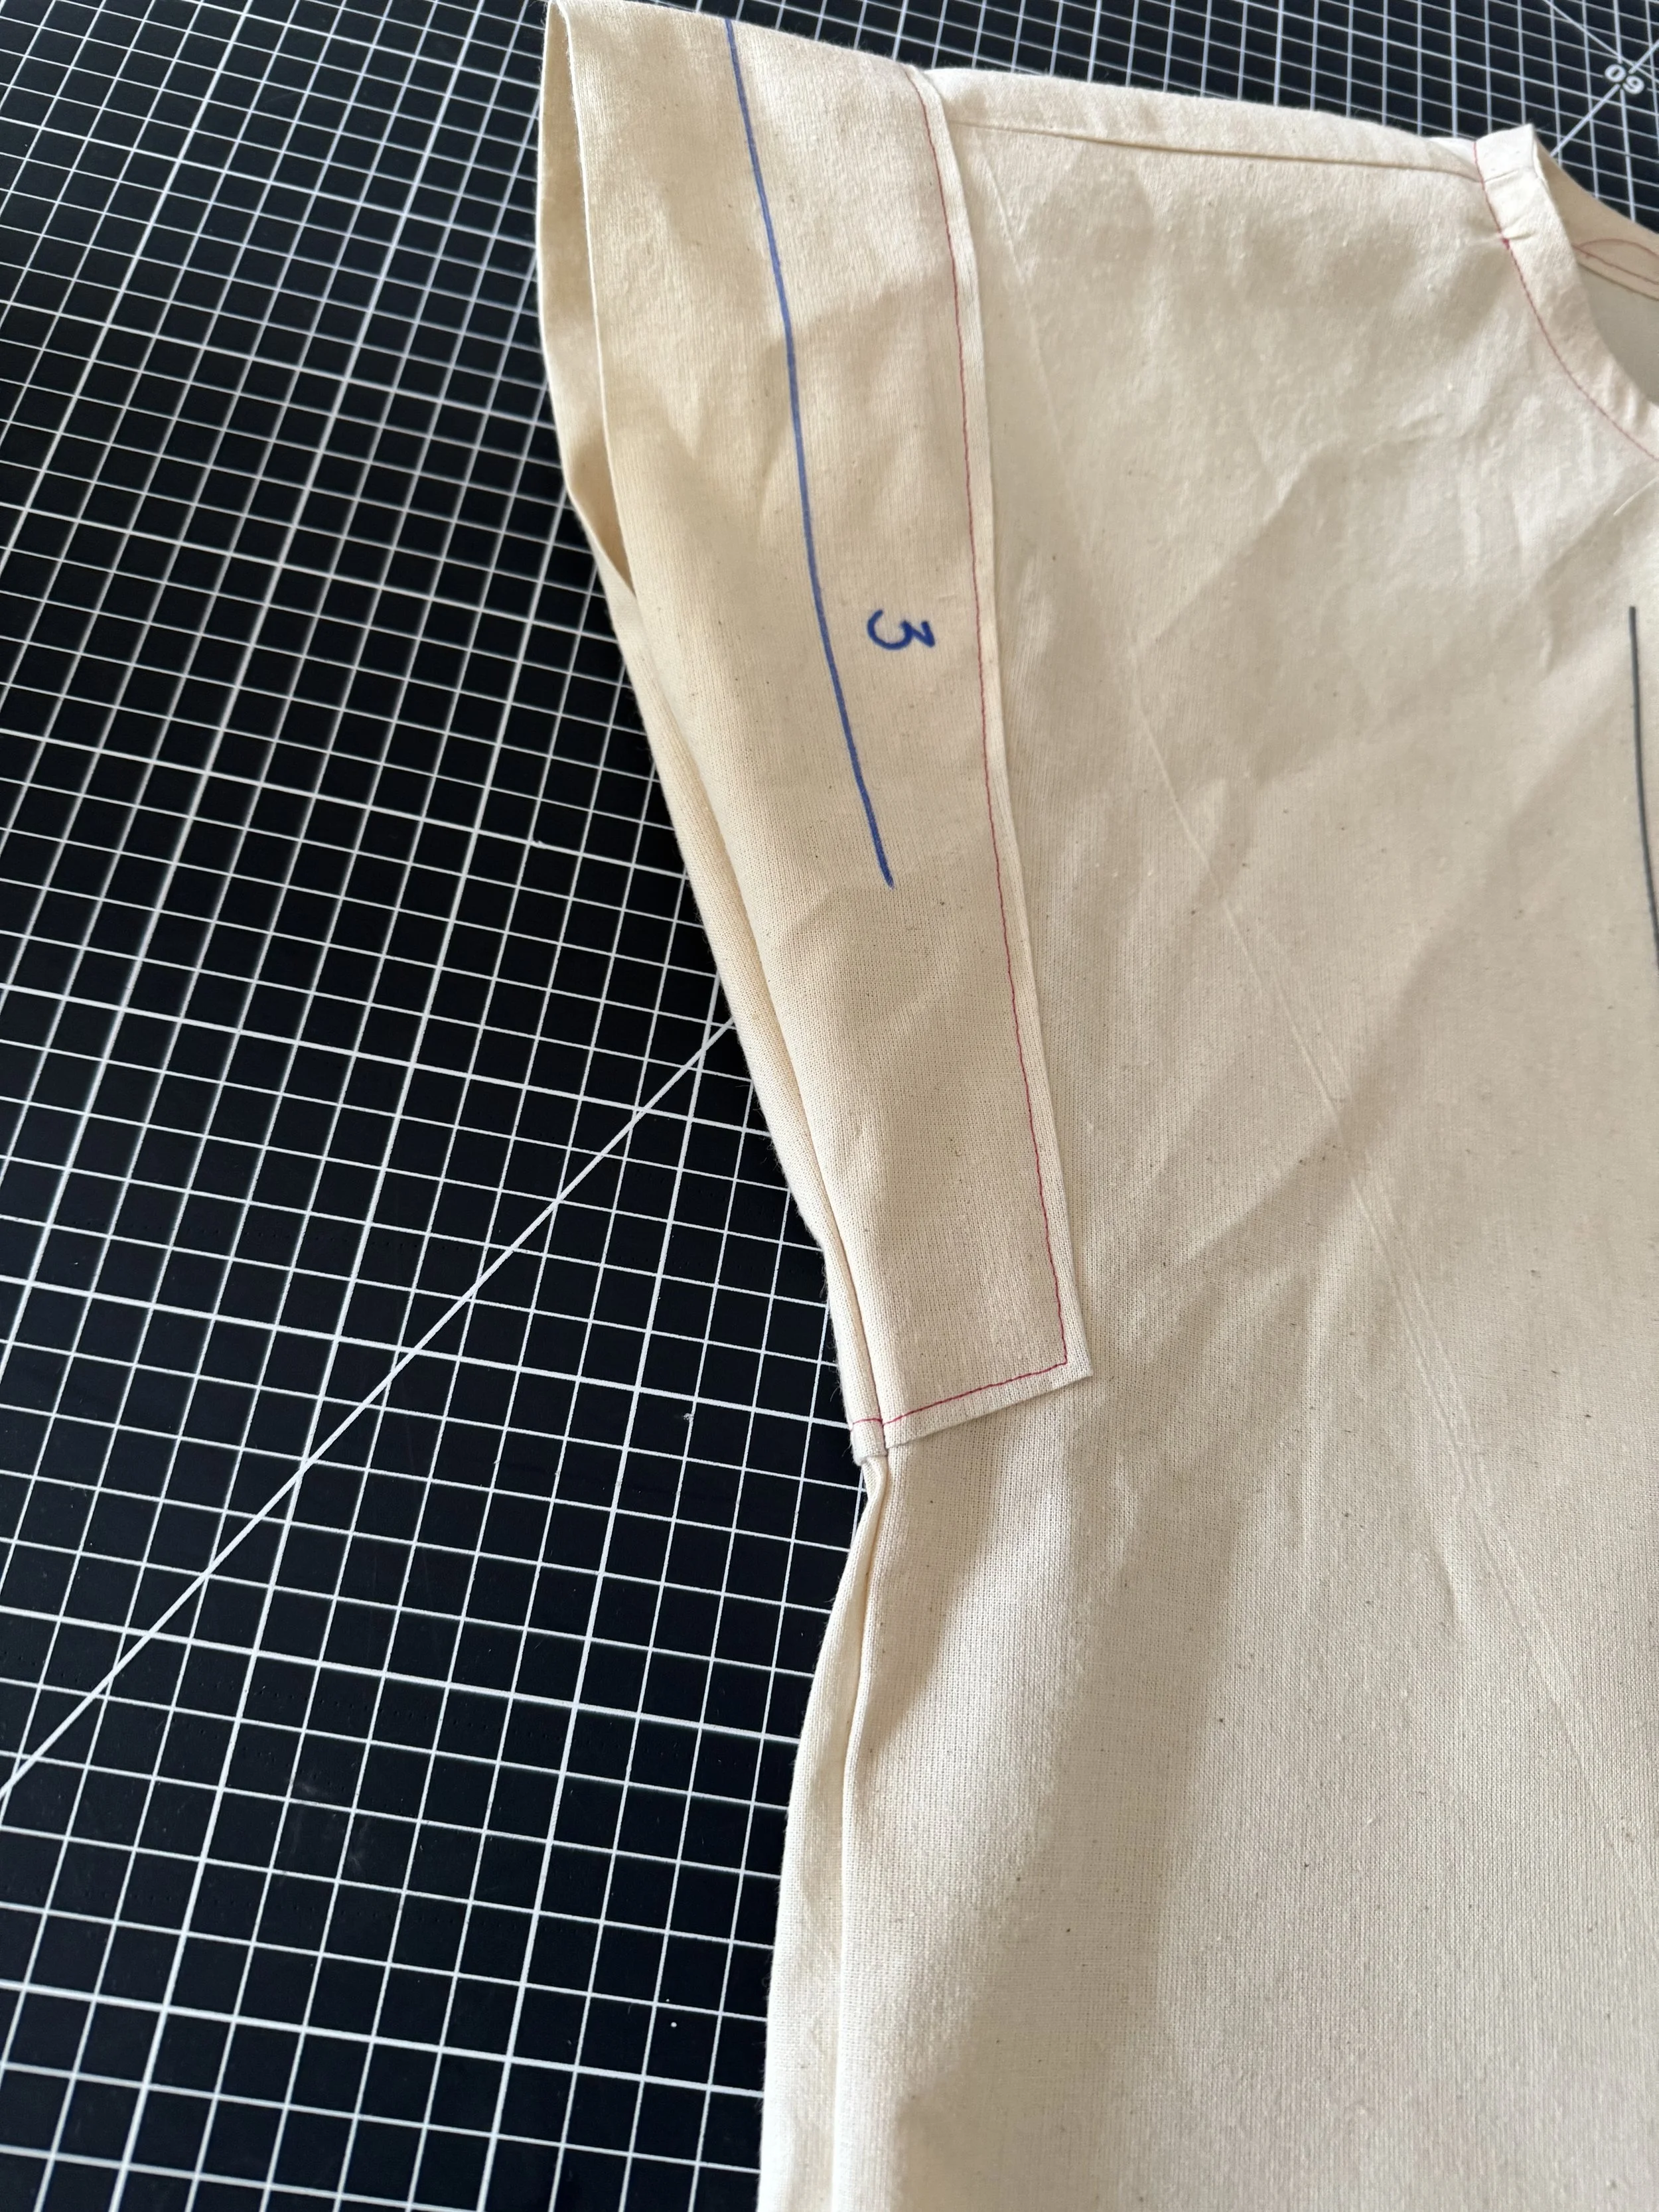
These are sewn differently than a standard sleeve.
I have had students who avoid sewing sleeved garments at home and with that in mind, we designed something a little more unique, and far easier to sew.
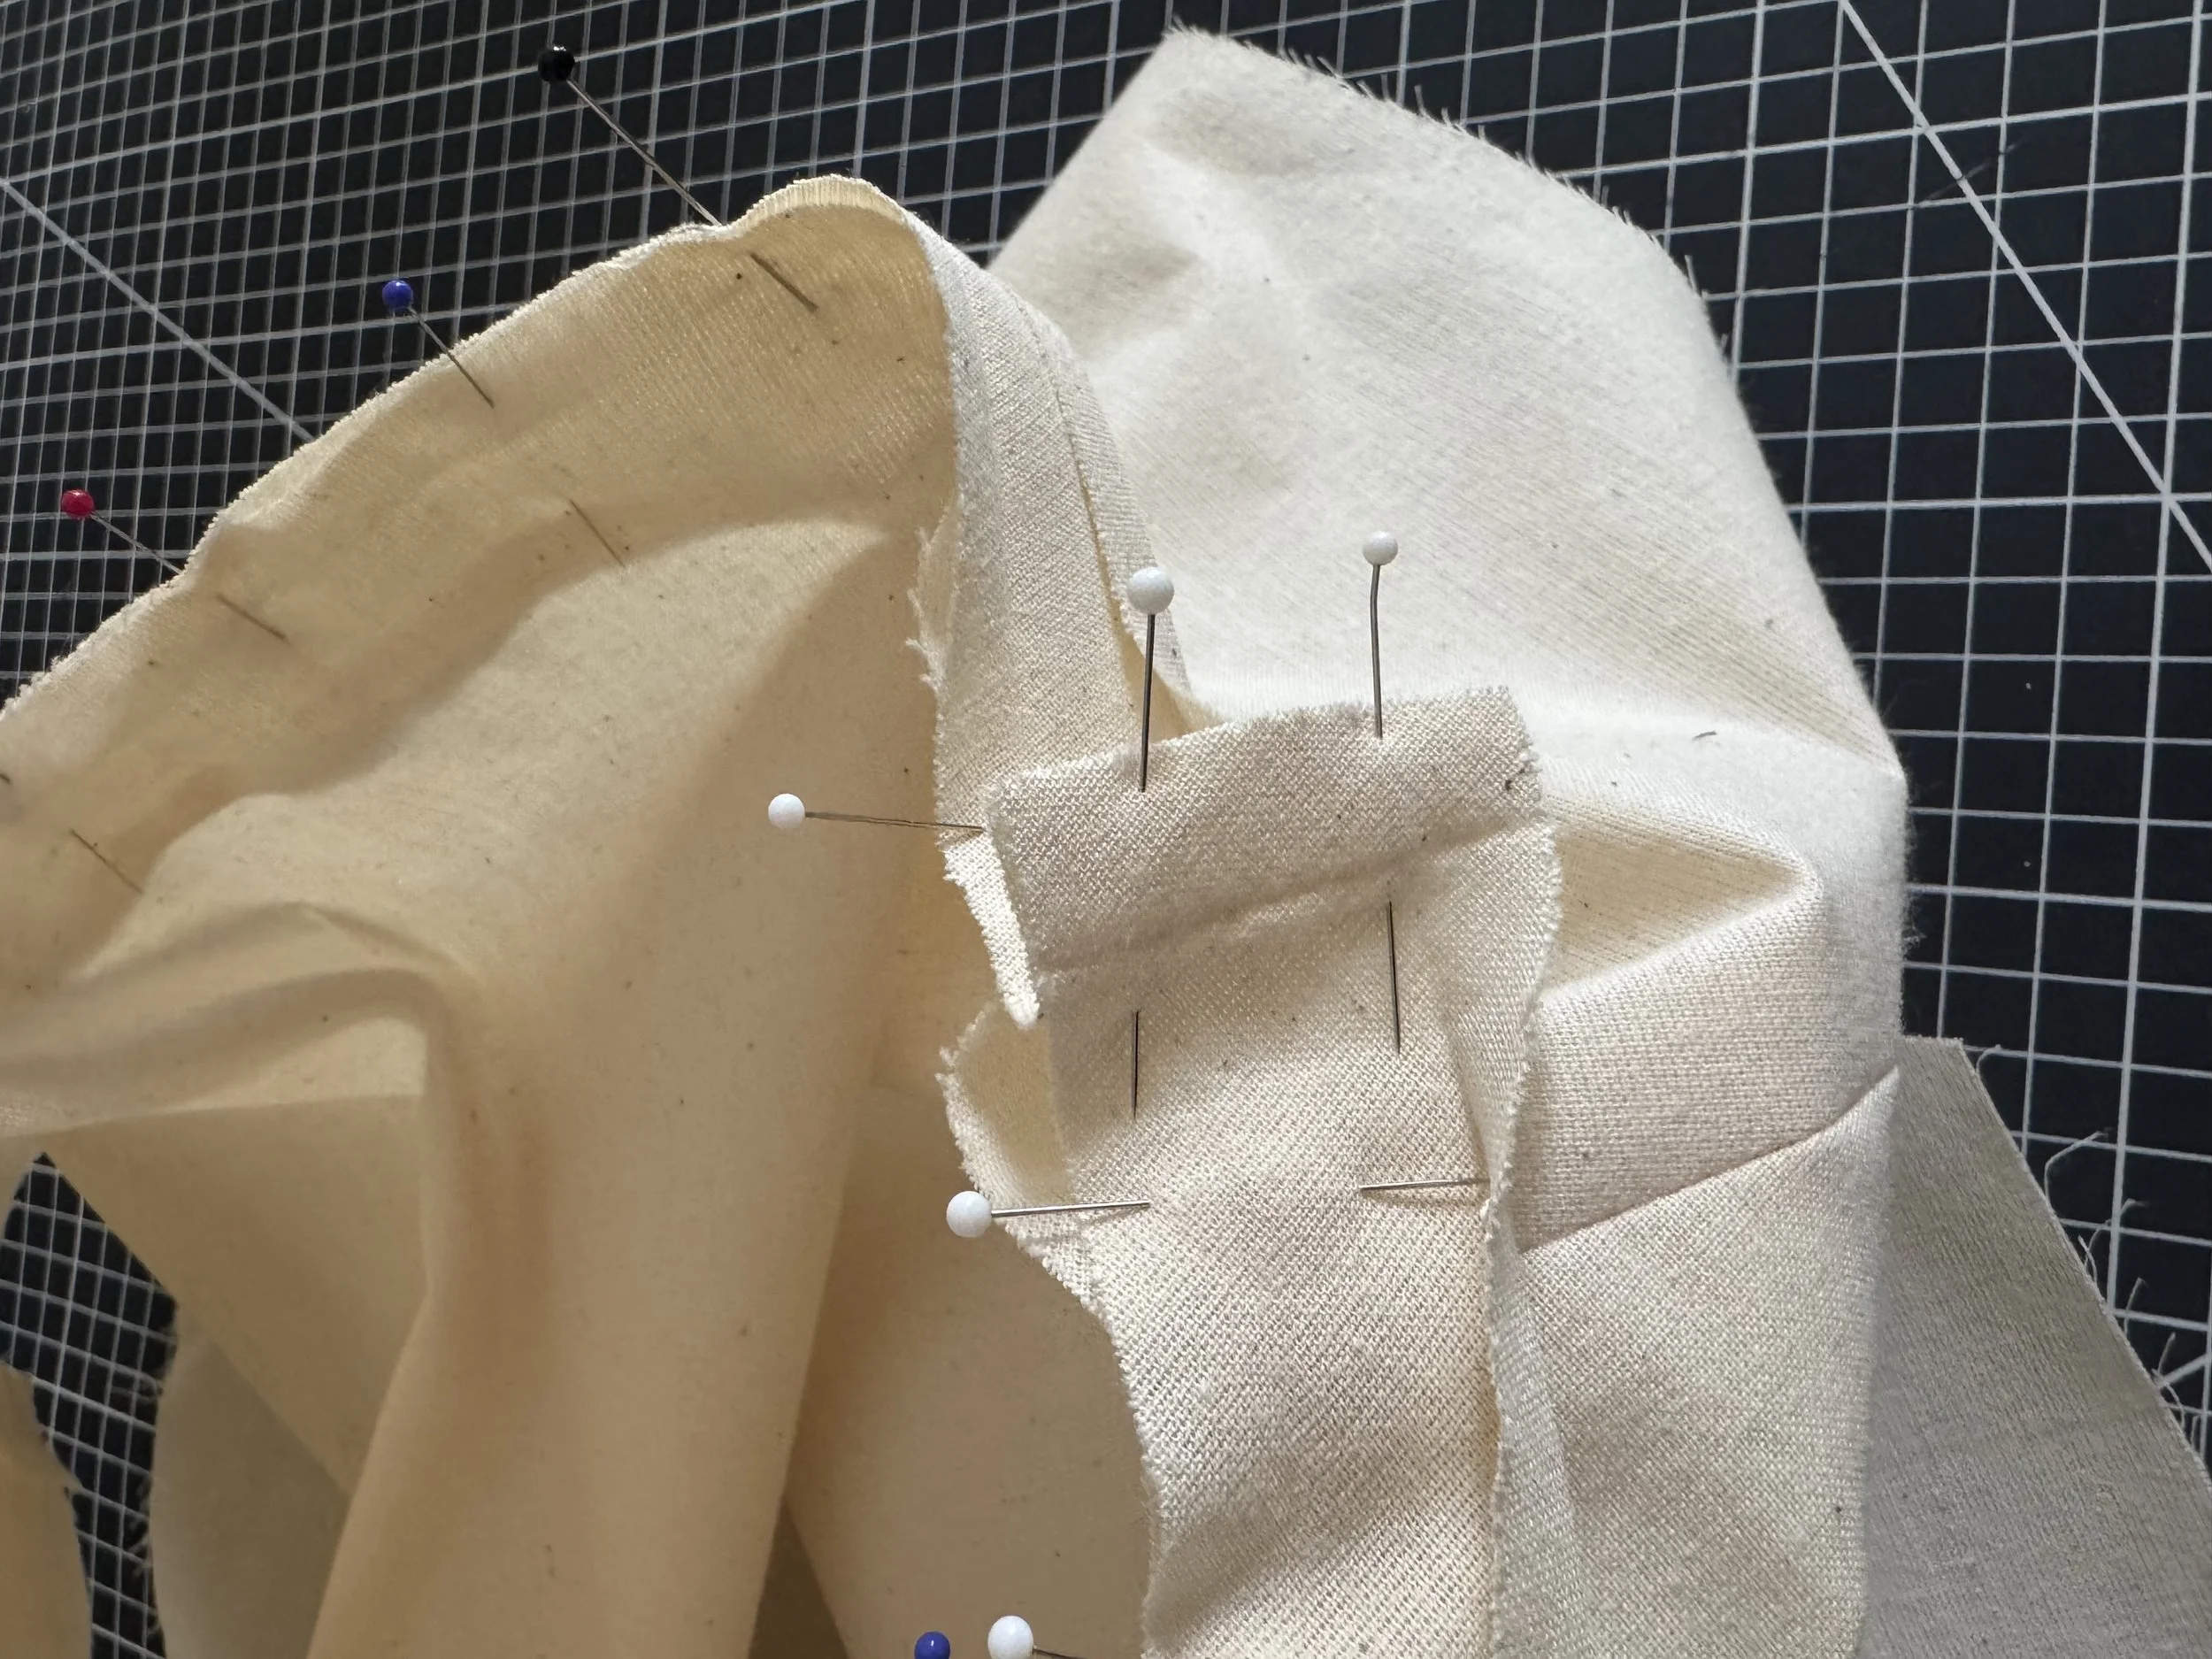
There are two identical sleeves, the wider curved opening on the right is the front and the smaller the back.
Fold the sleeve in half, and gently press a line into the center.
Turn a 0.5” - half an inch seam allowance in on all sides as shown.
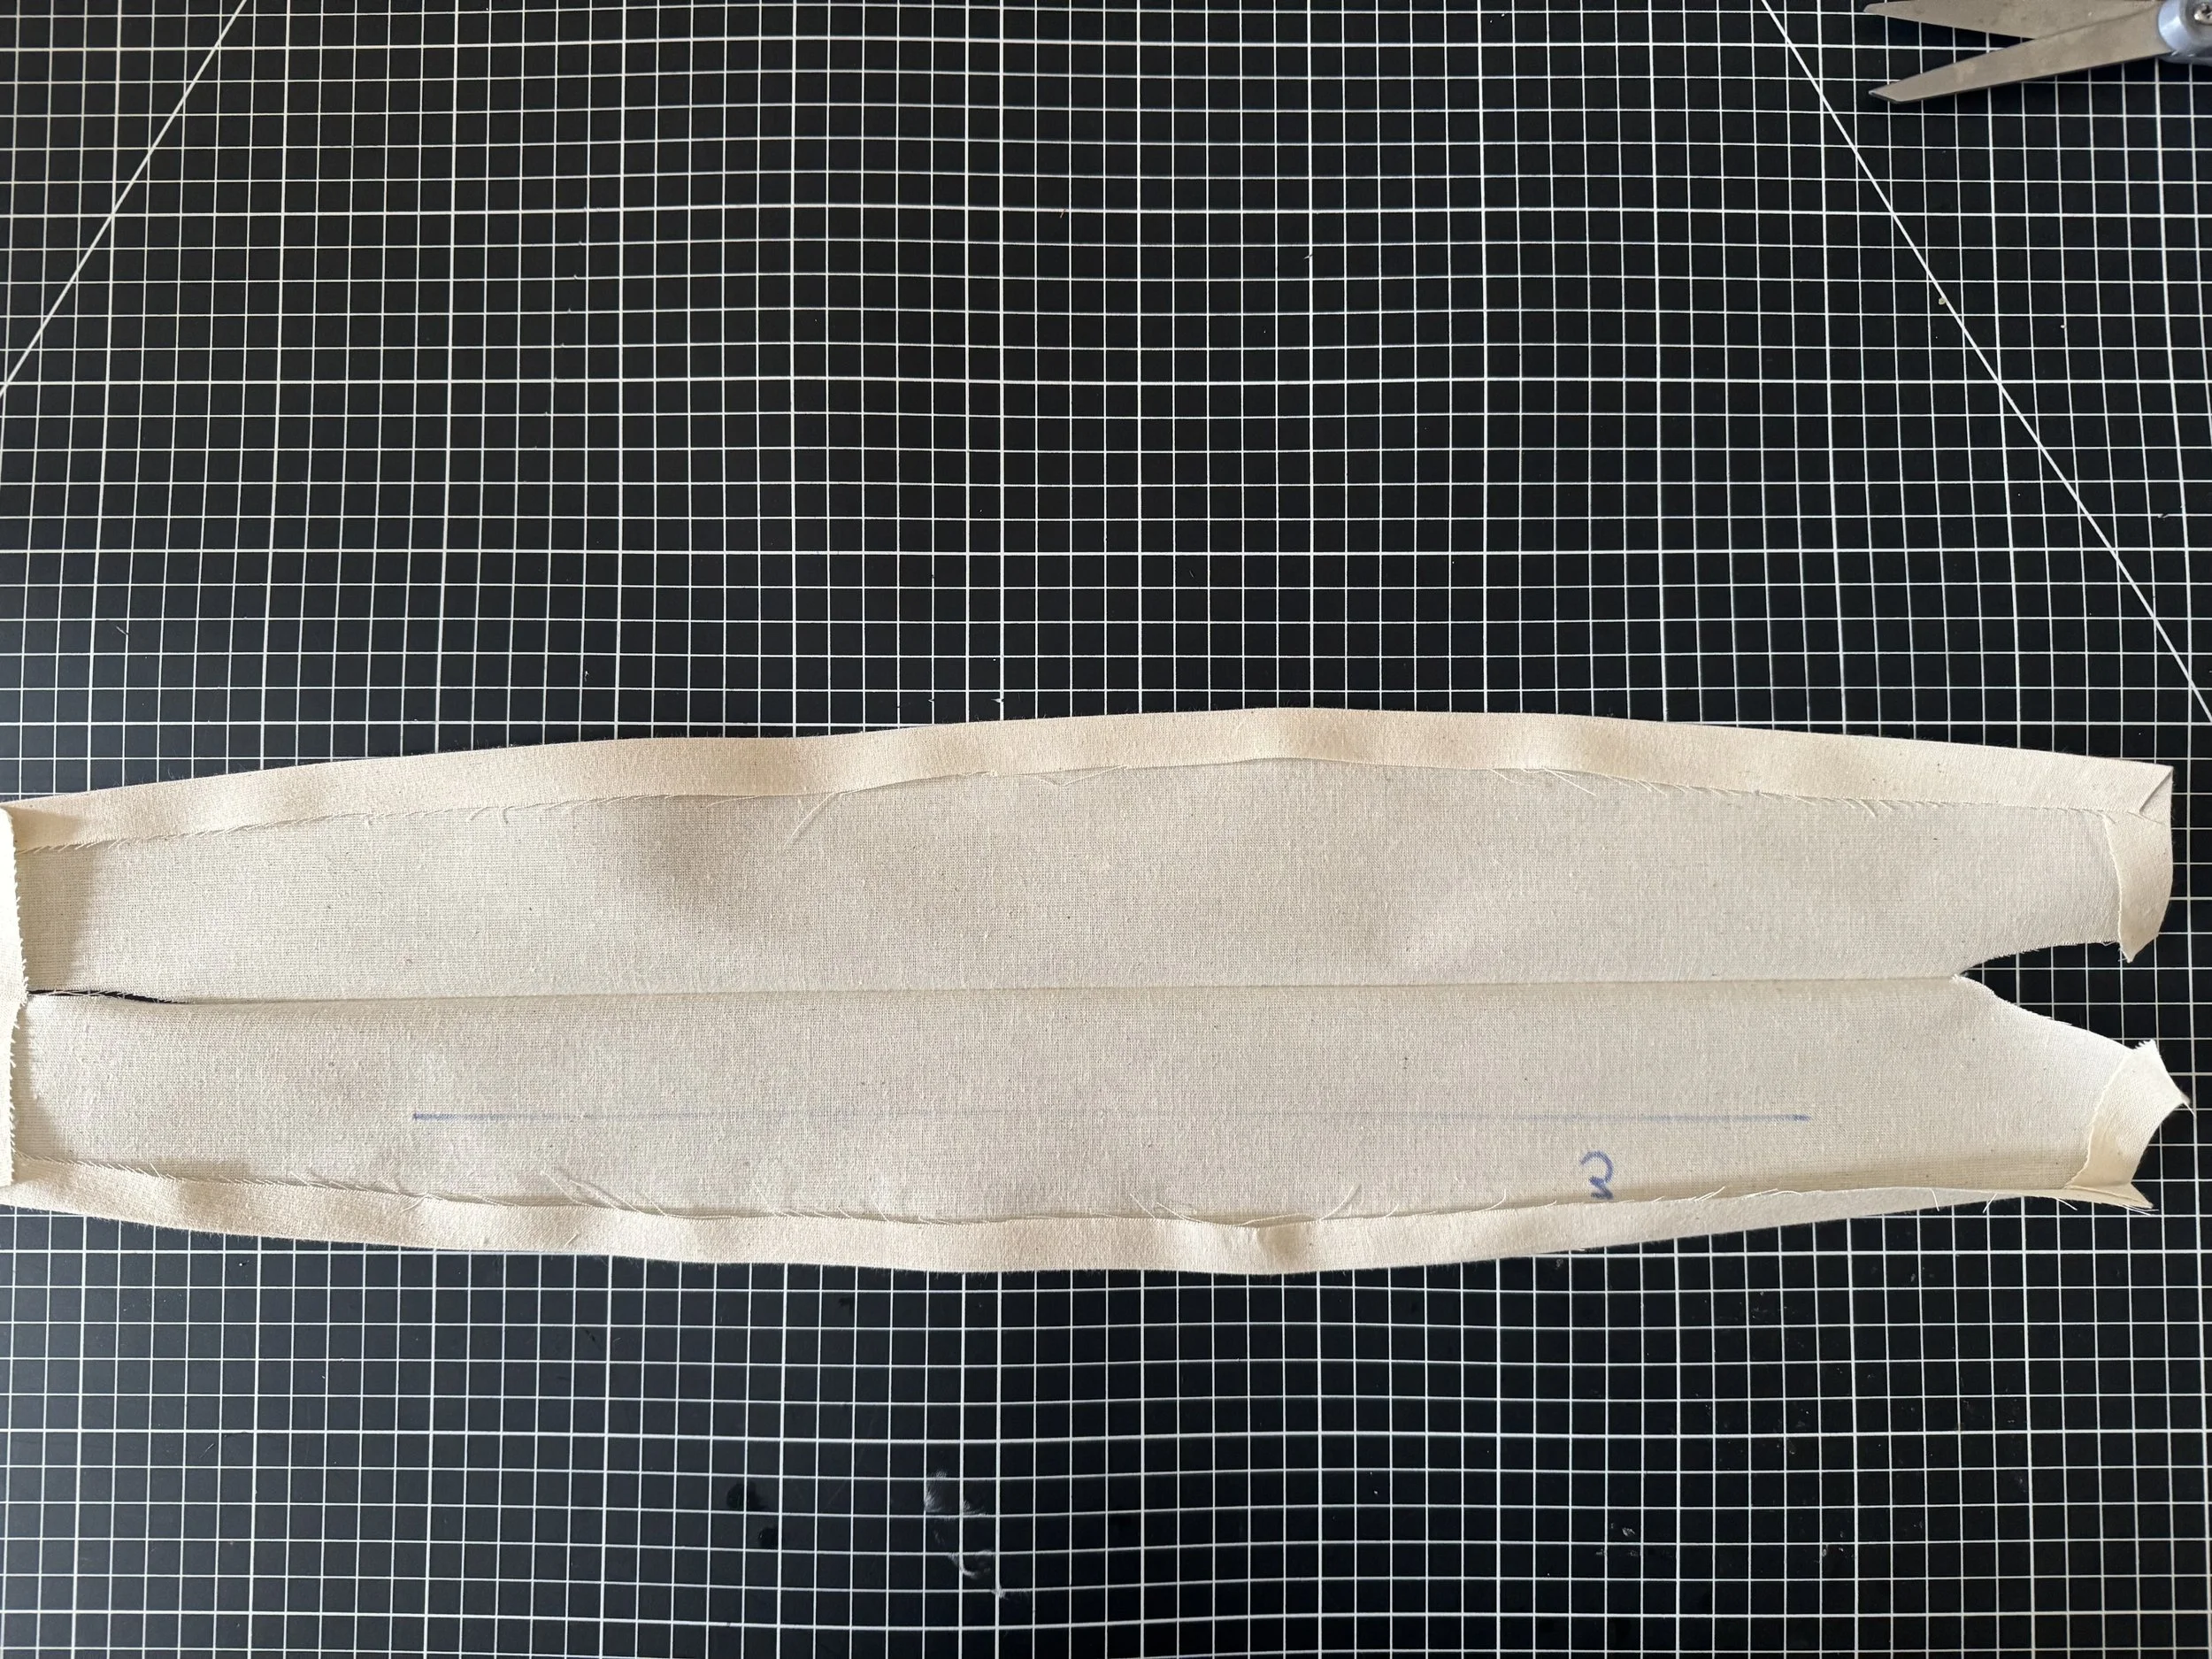
If your fabric is light or drapey, a lightweight fusible interfacing could be added here - I would suggest fusing half the sleeve lengthways before sewing.

Press your sleeve in half with the seam allowances folded in.
Lay your bodice out, with the right side facing up and match the correct sleeve. The wider curve is the front.
The folded edge will be the edge of your finished sleeve.
Slide your sleeve onto the bodice, matching your pressed seam allowance to the edge of your garment.
Pin well.
Ease the sleeve from front to back, pinning and matching as you work.
Check that your pins have caught both the front and back of the sleeve and the bodice.
Before sewing, I like to rotate my sewing pins, as they are easier to remove as I stitch.
Sew close to the seam edges to encase all the raw edges. Thats it, sleeves done!
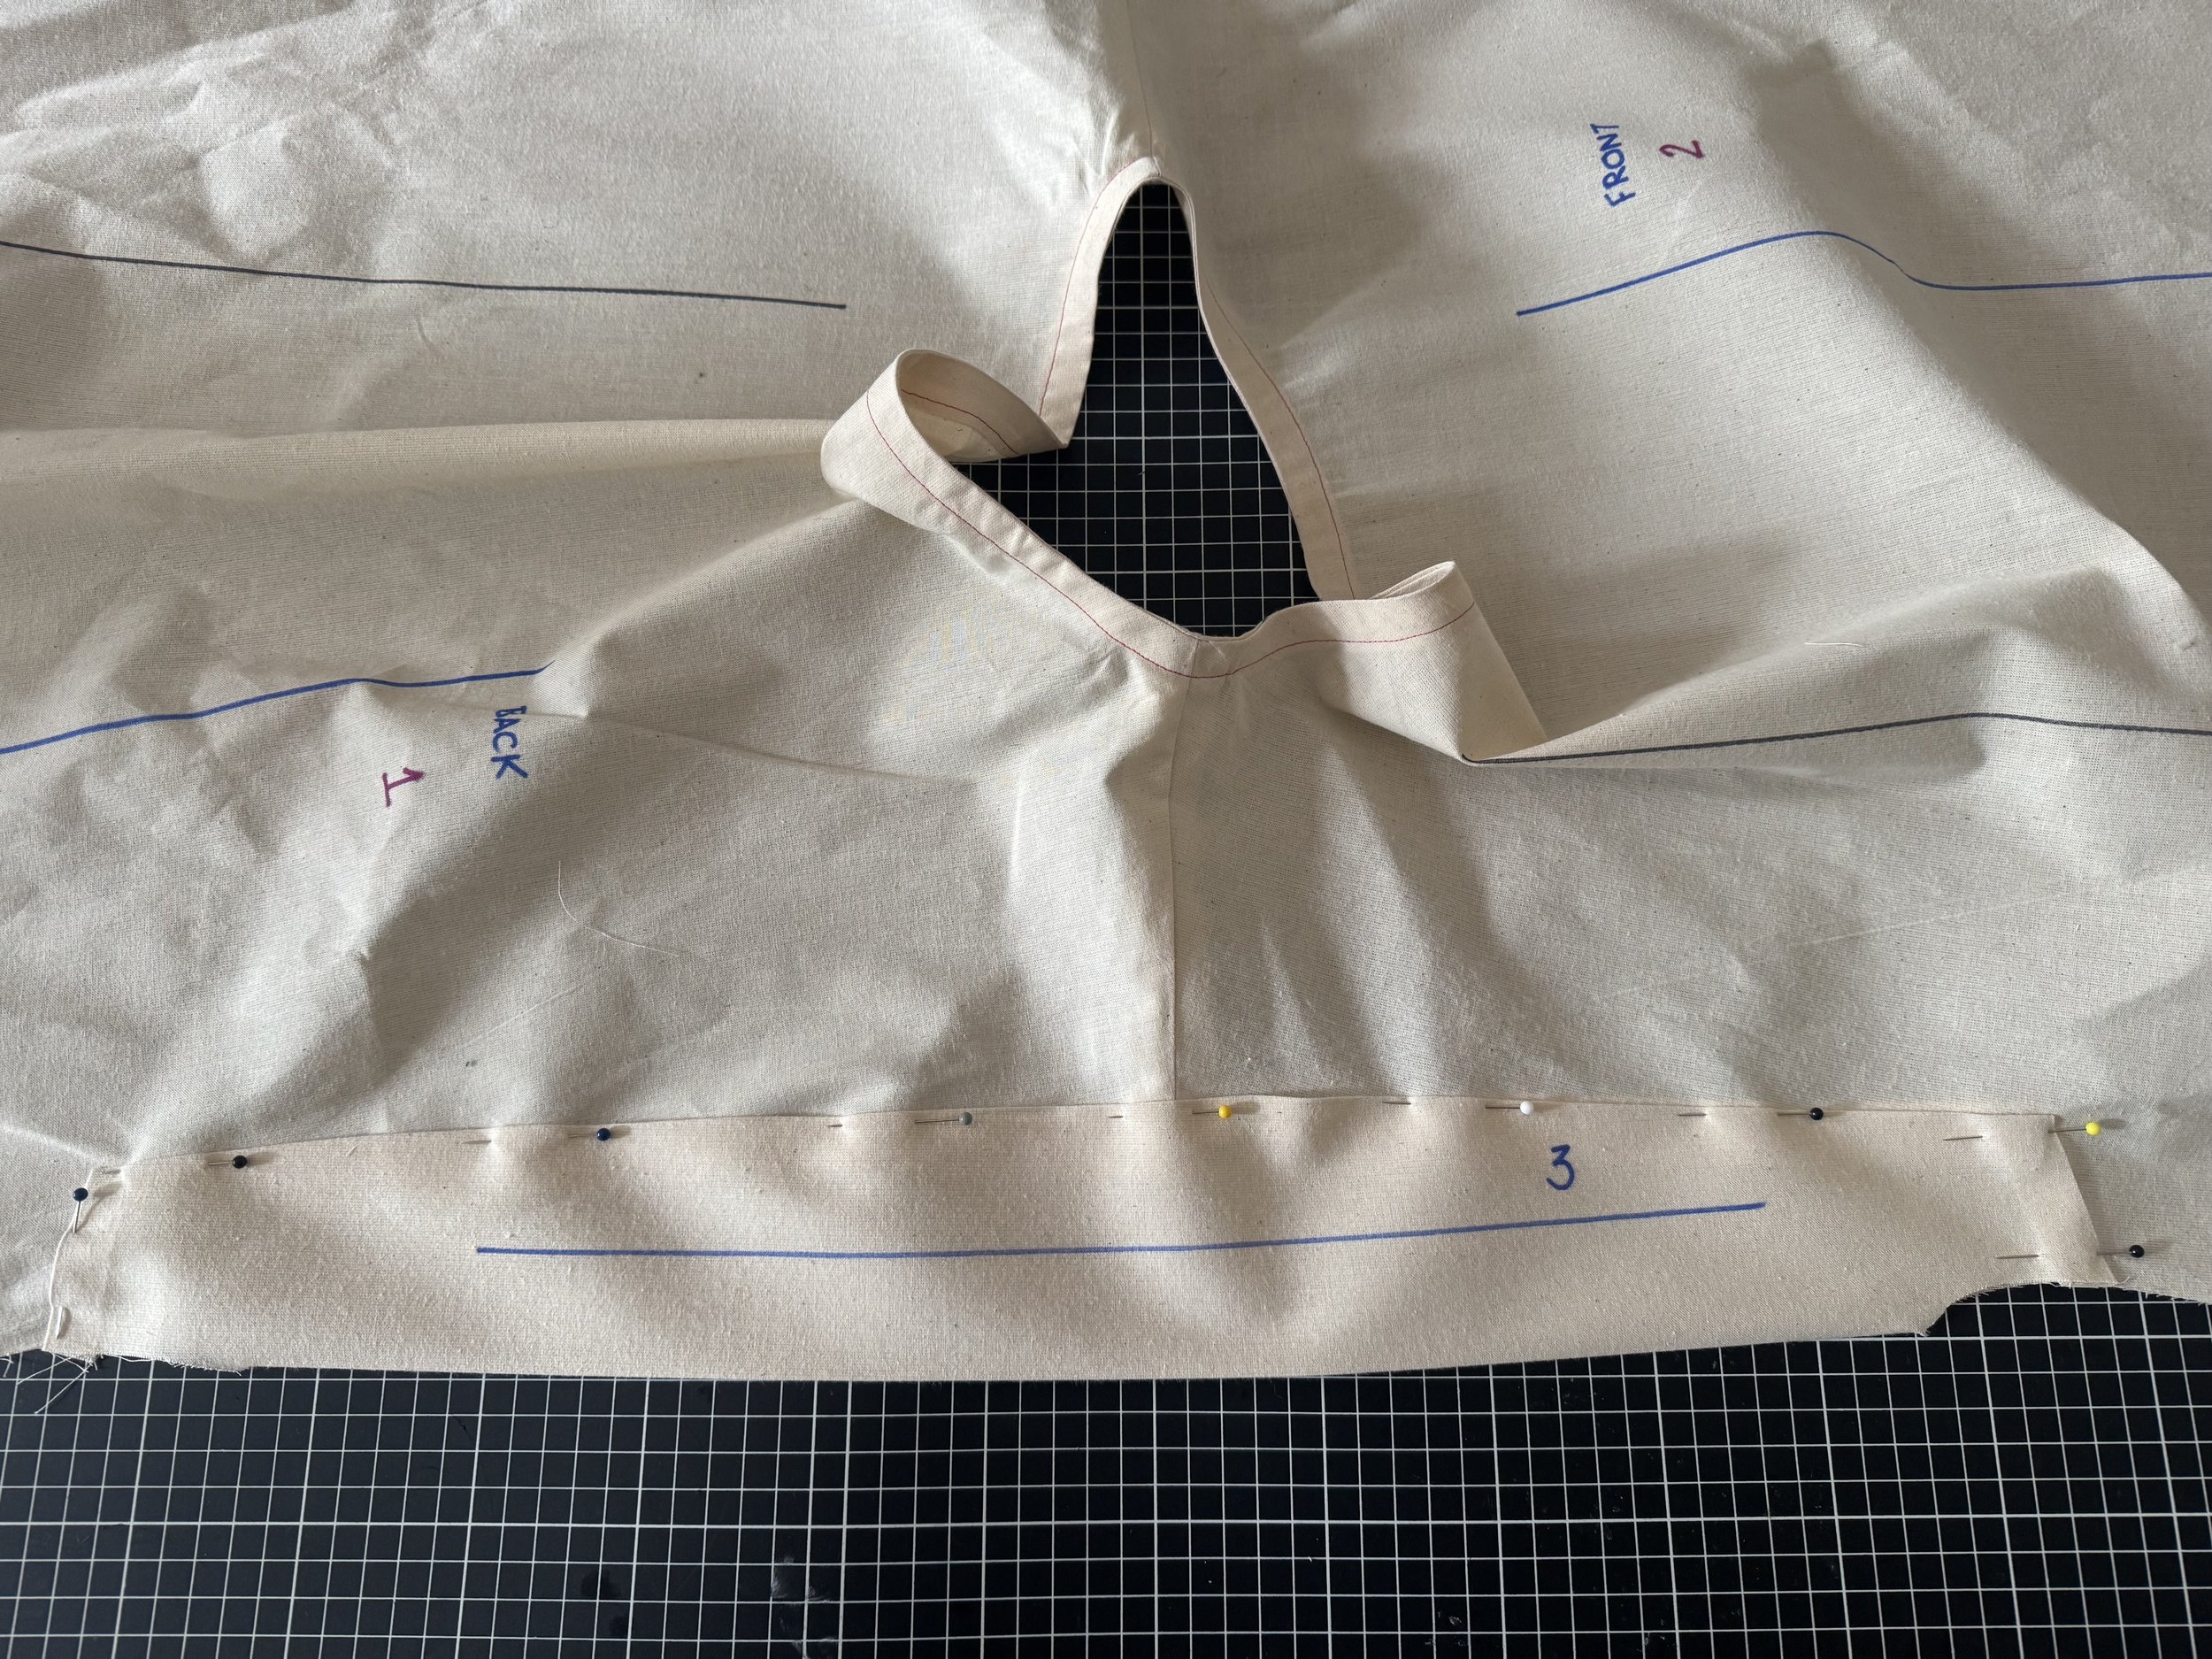
Flip your bodice, face up as shown.
Start to match the two sleeve seam lines.
The front shoulder seams fall towards the front.
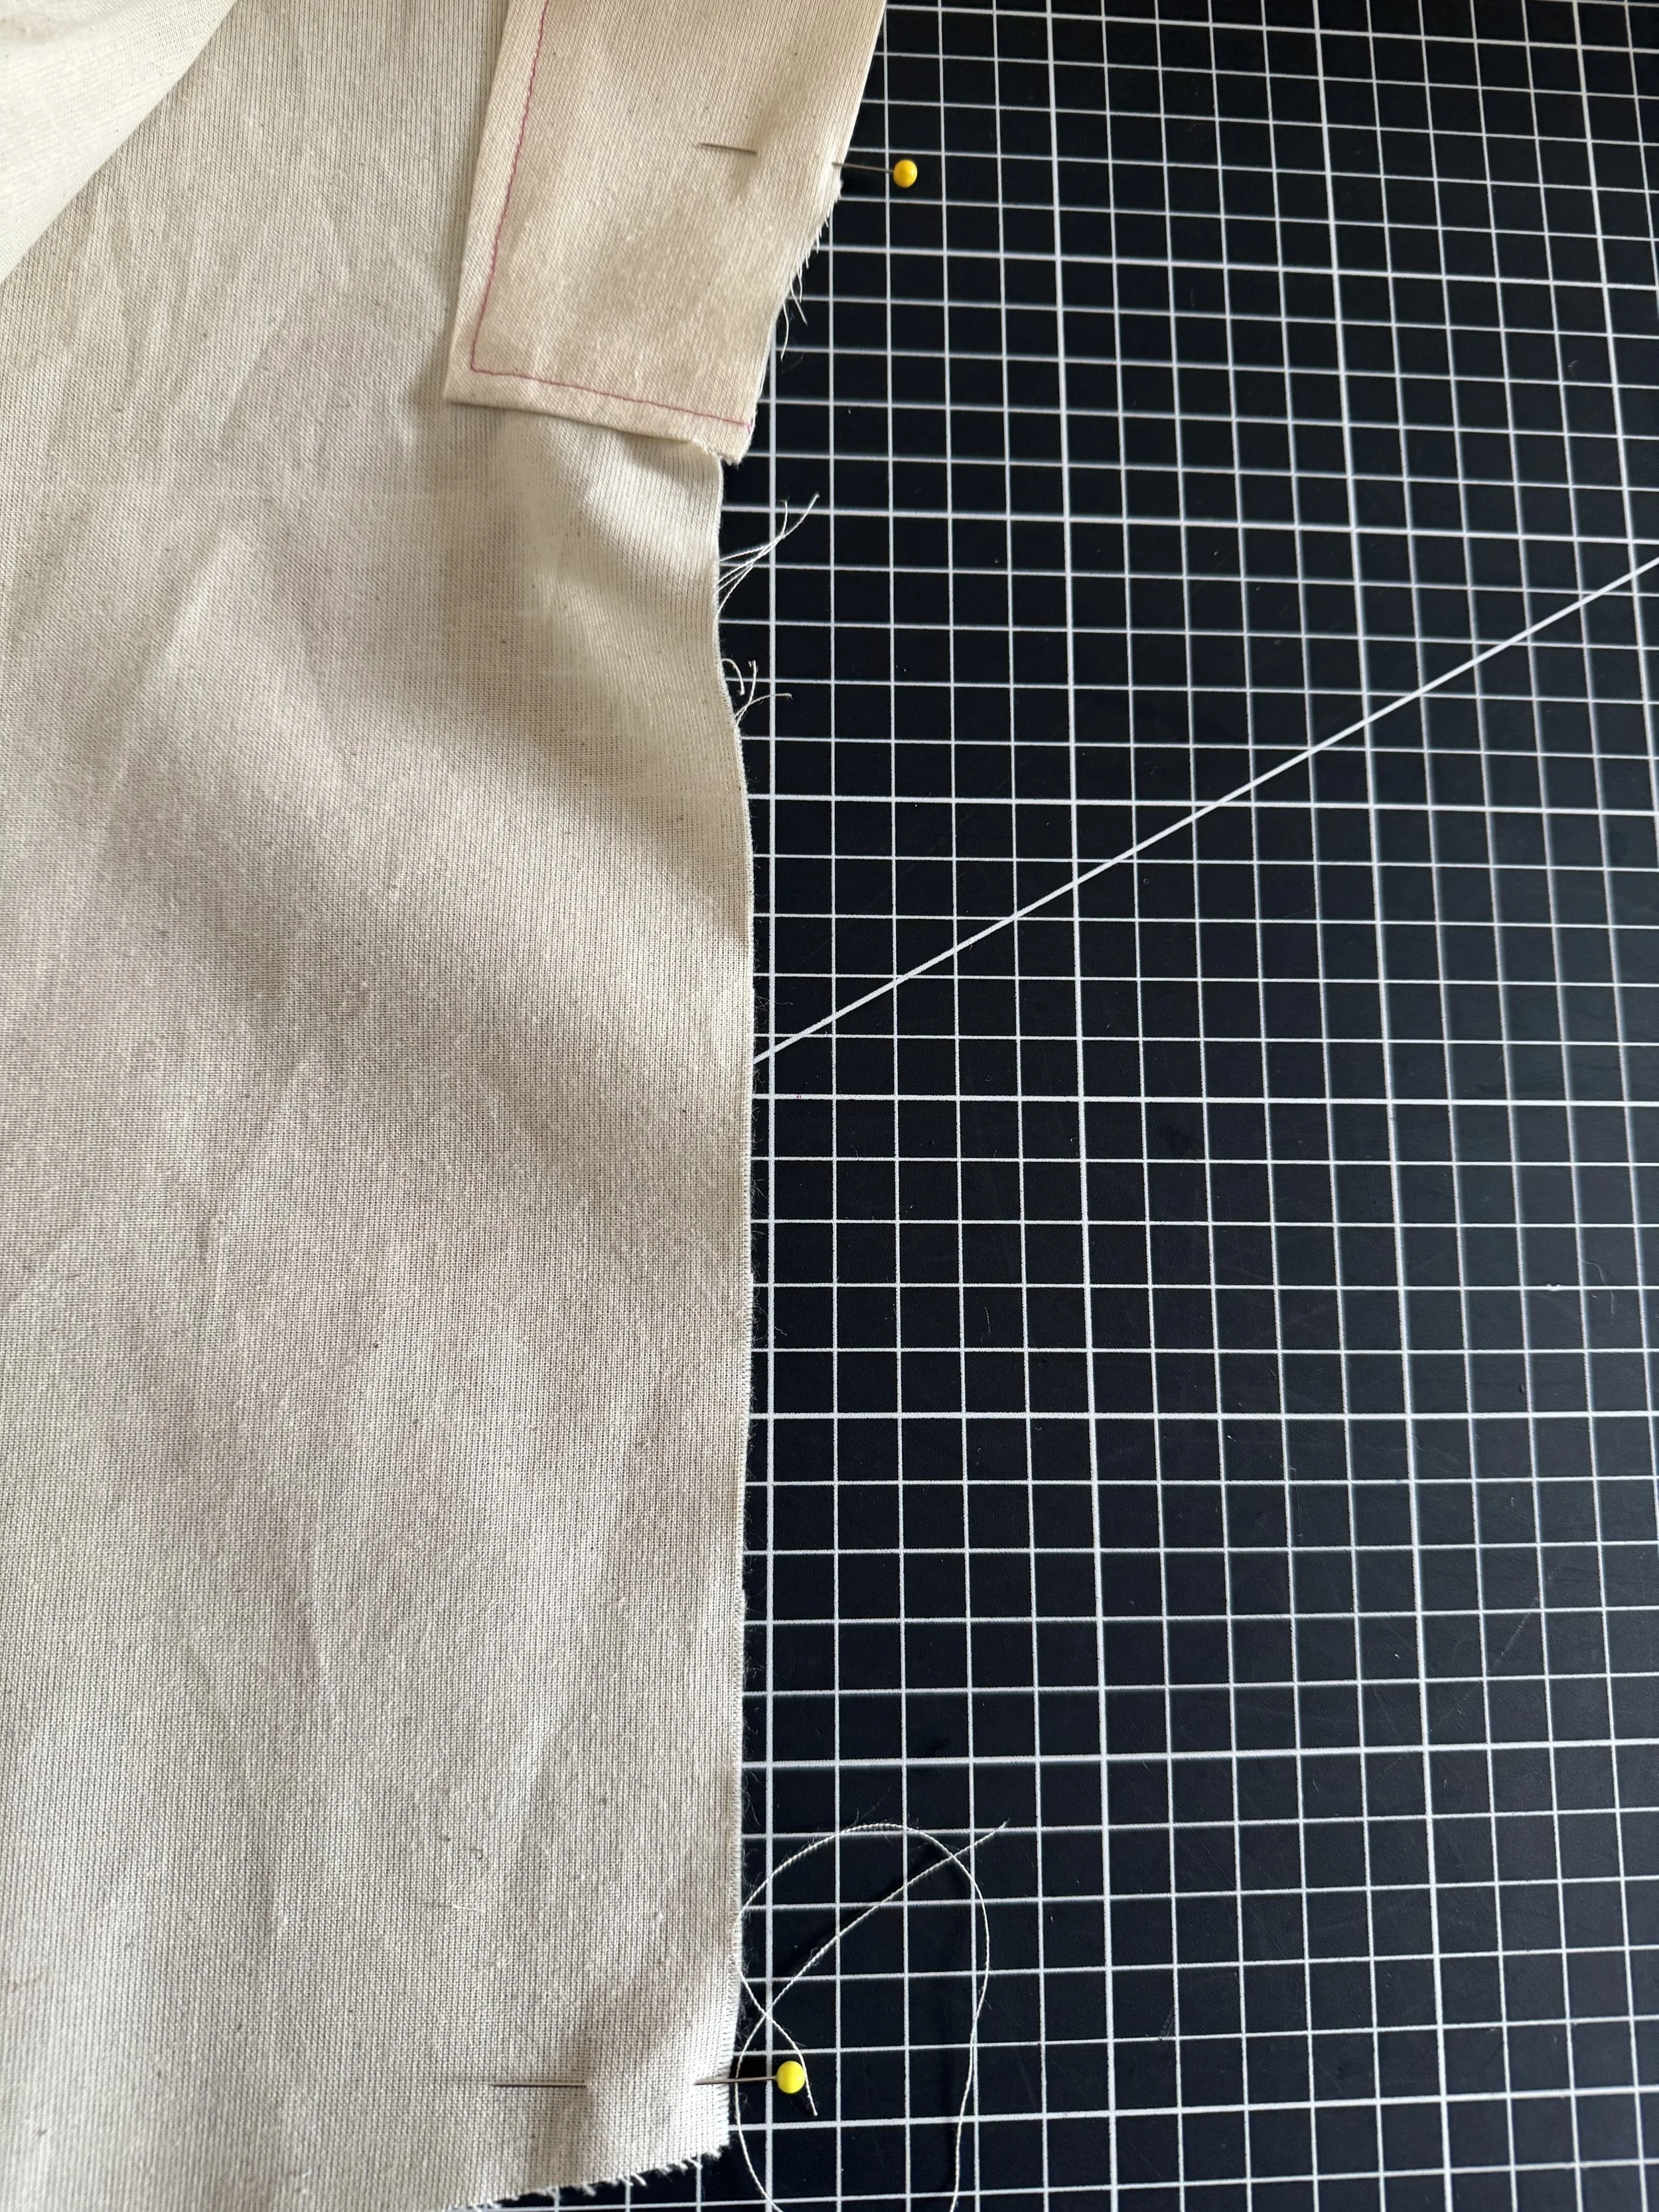
Place a pin where the curves end, and close to the edge of the hem. These are your first match points.
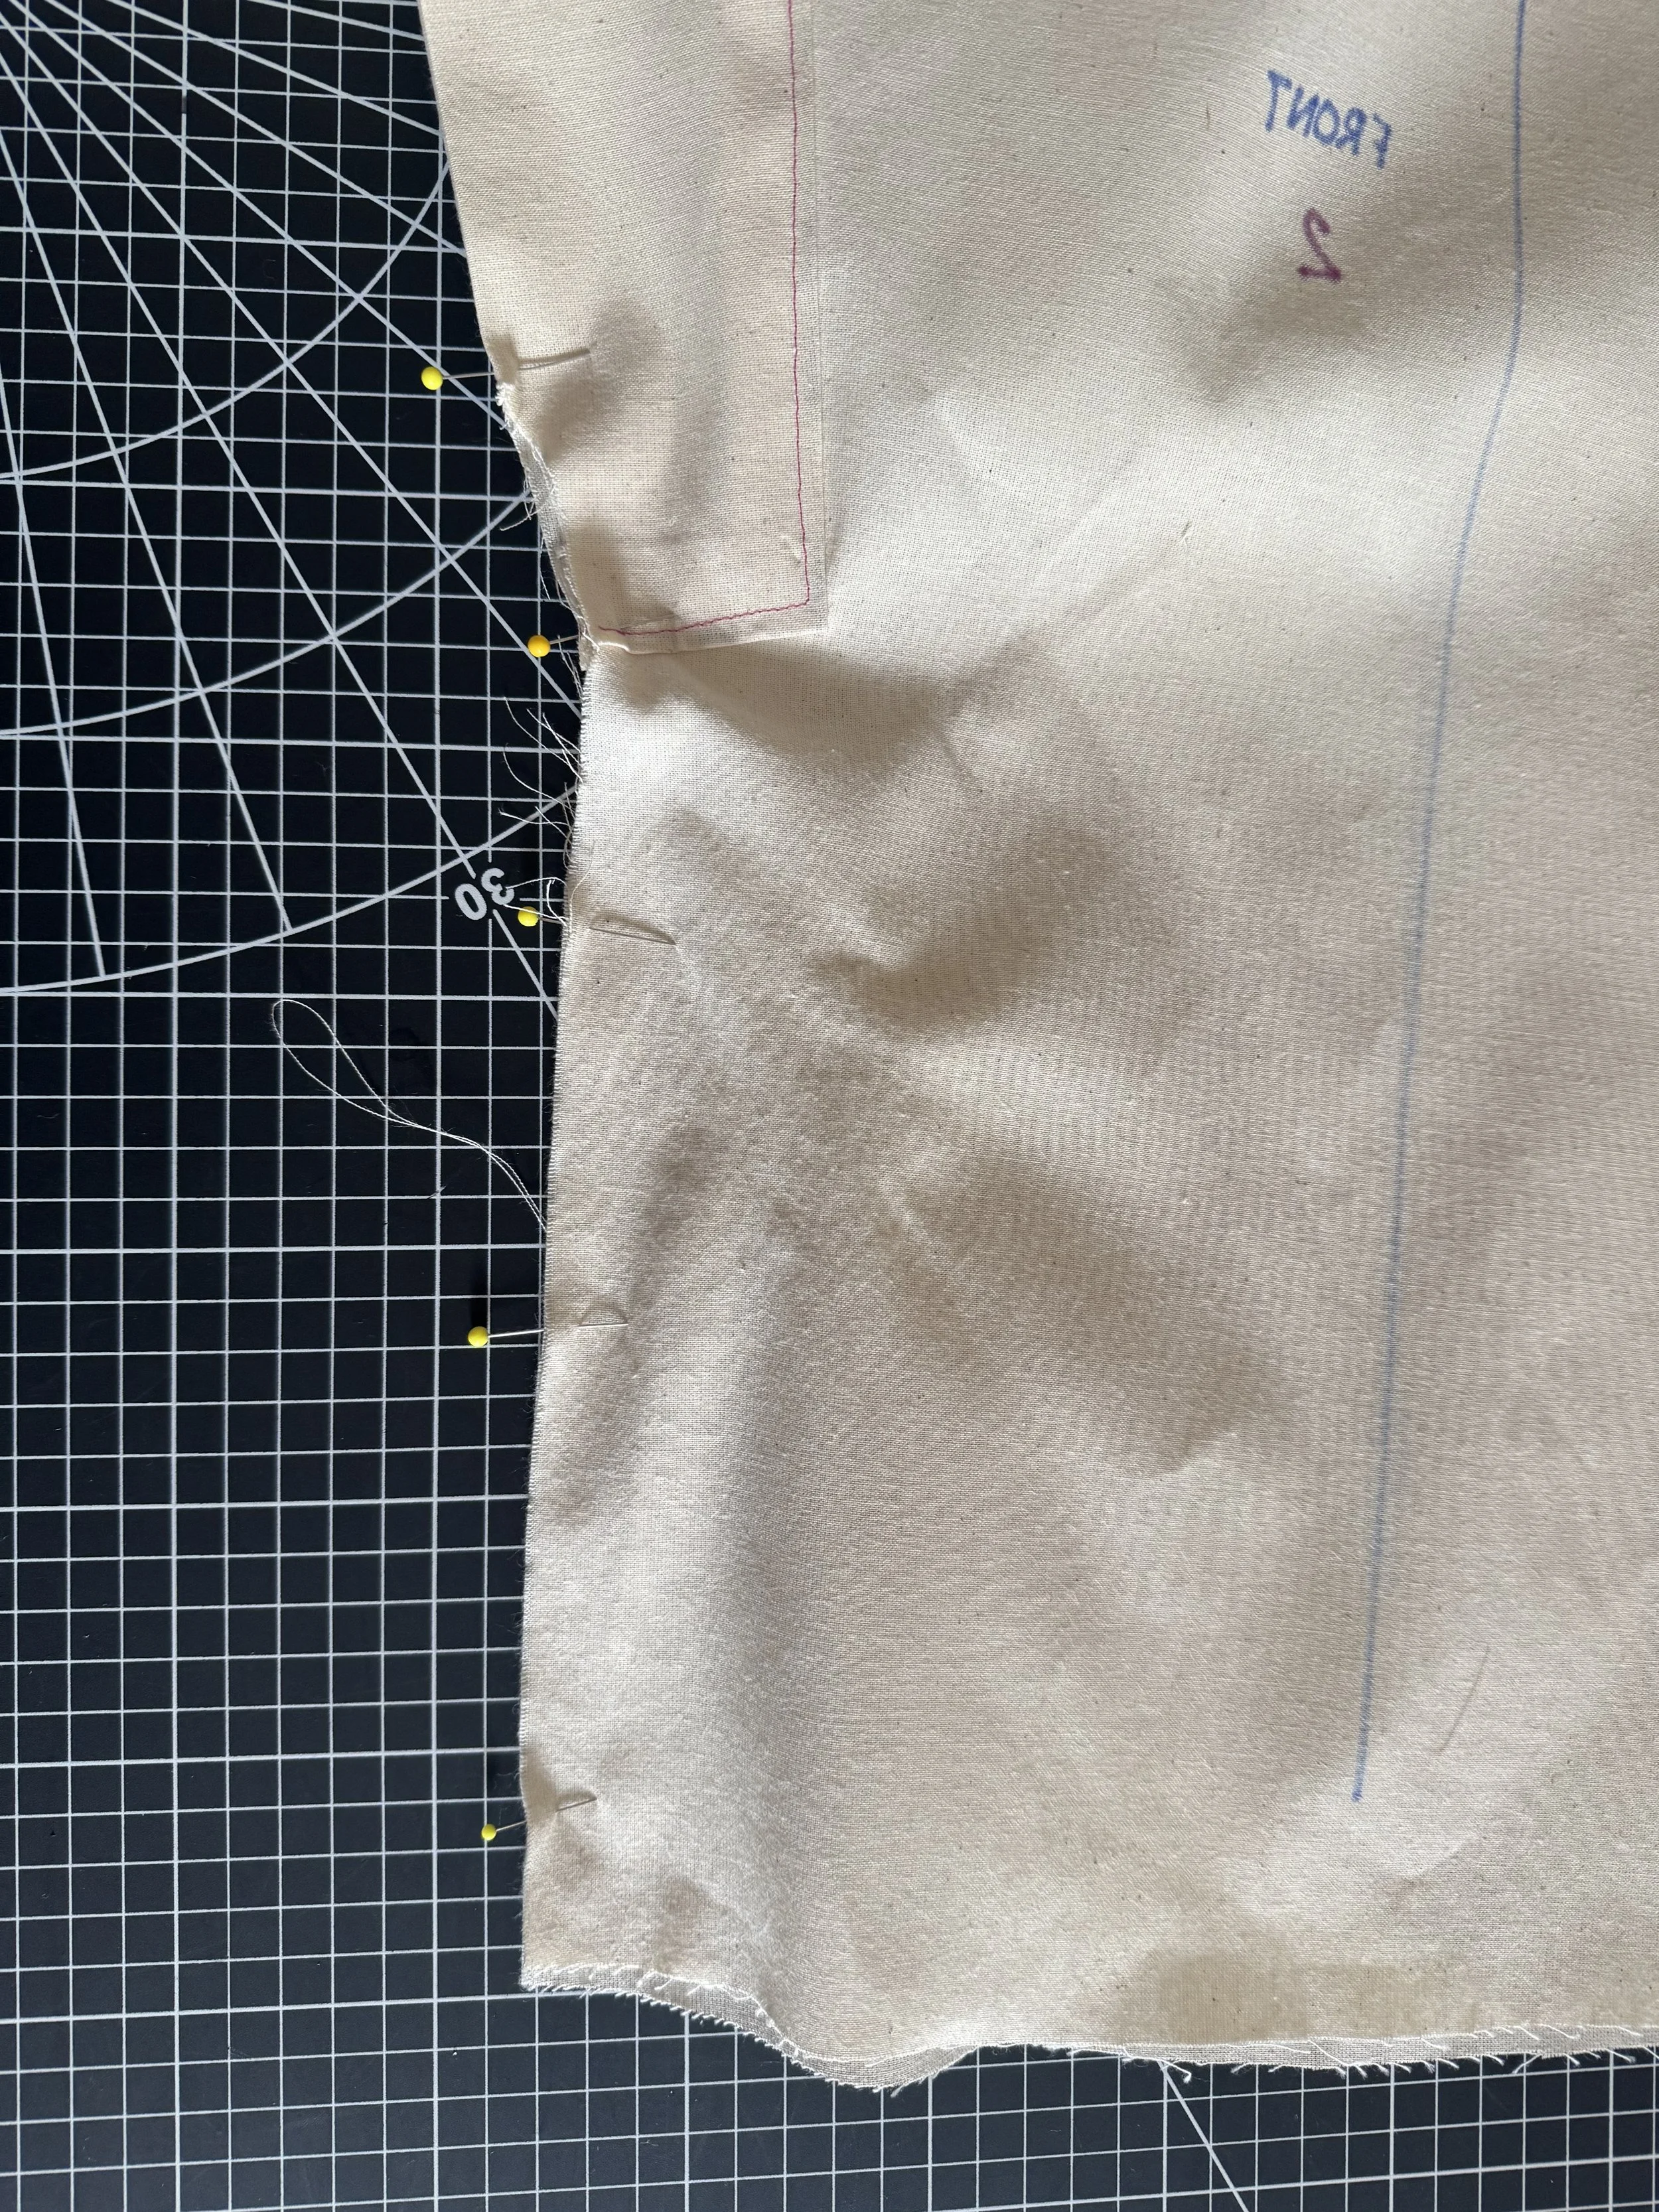
Then ease the remainder in place, pinning well.
Check before sewing that your stitch lines on the sleeves match up.
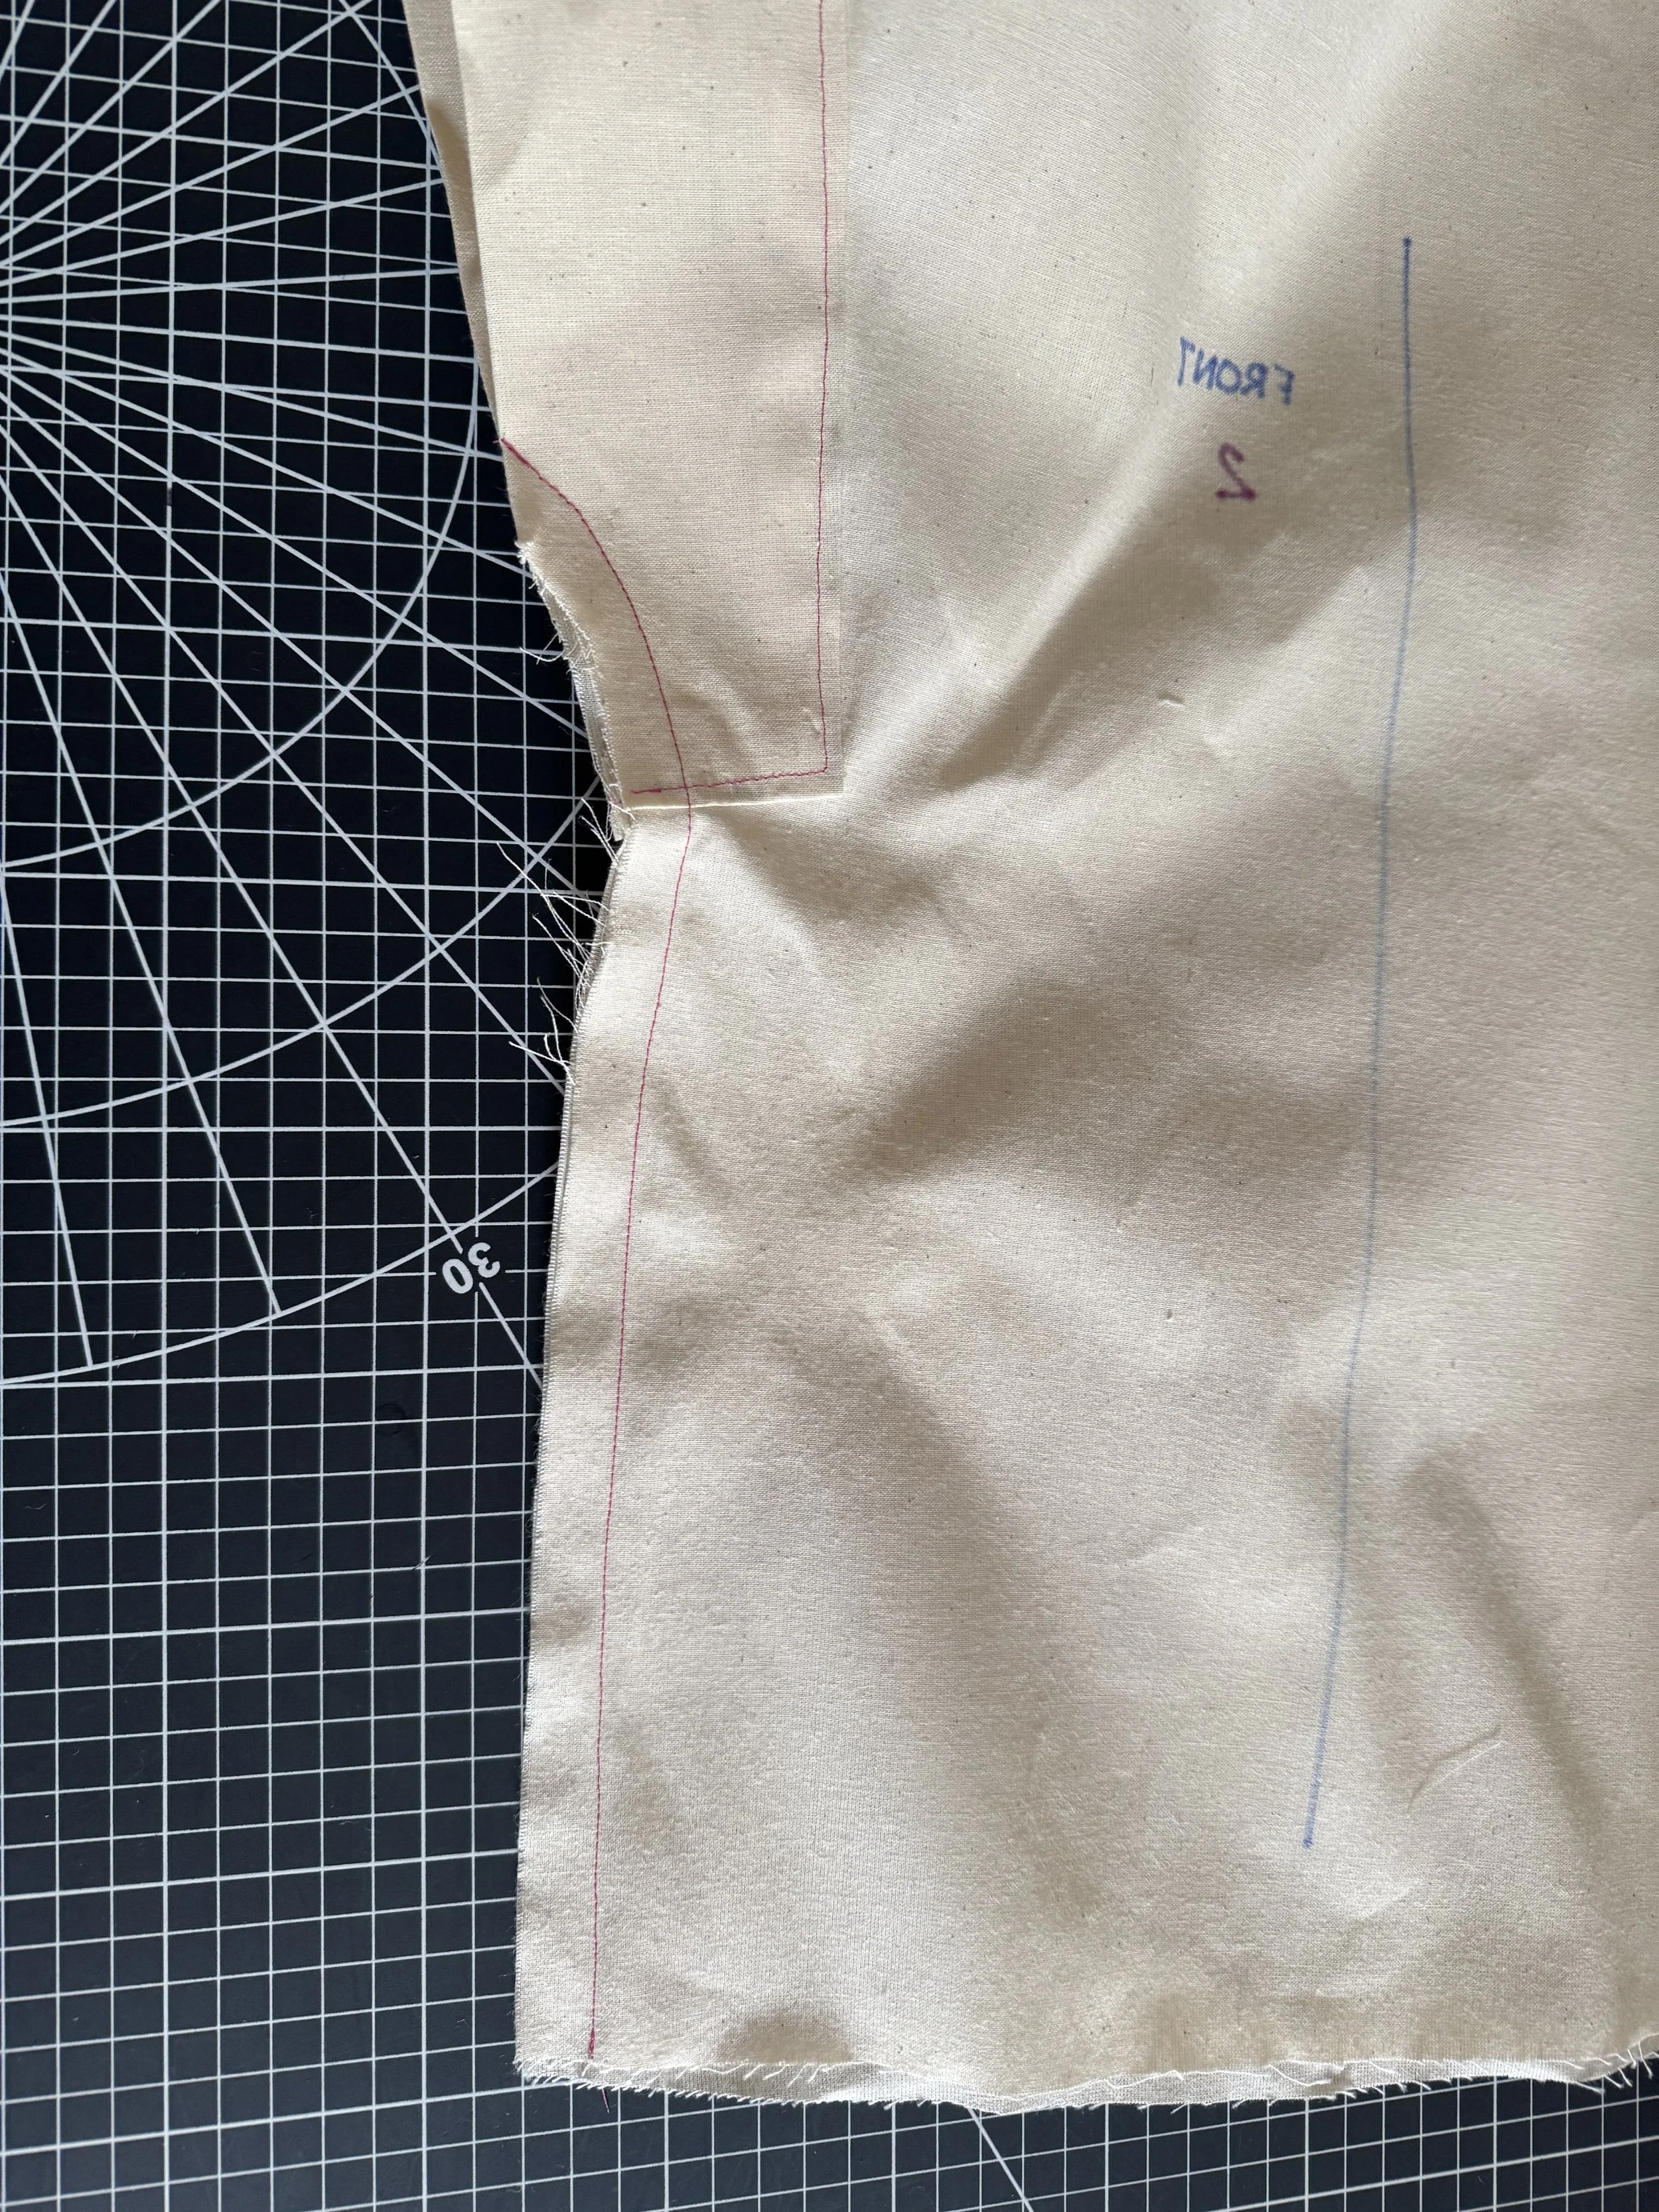
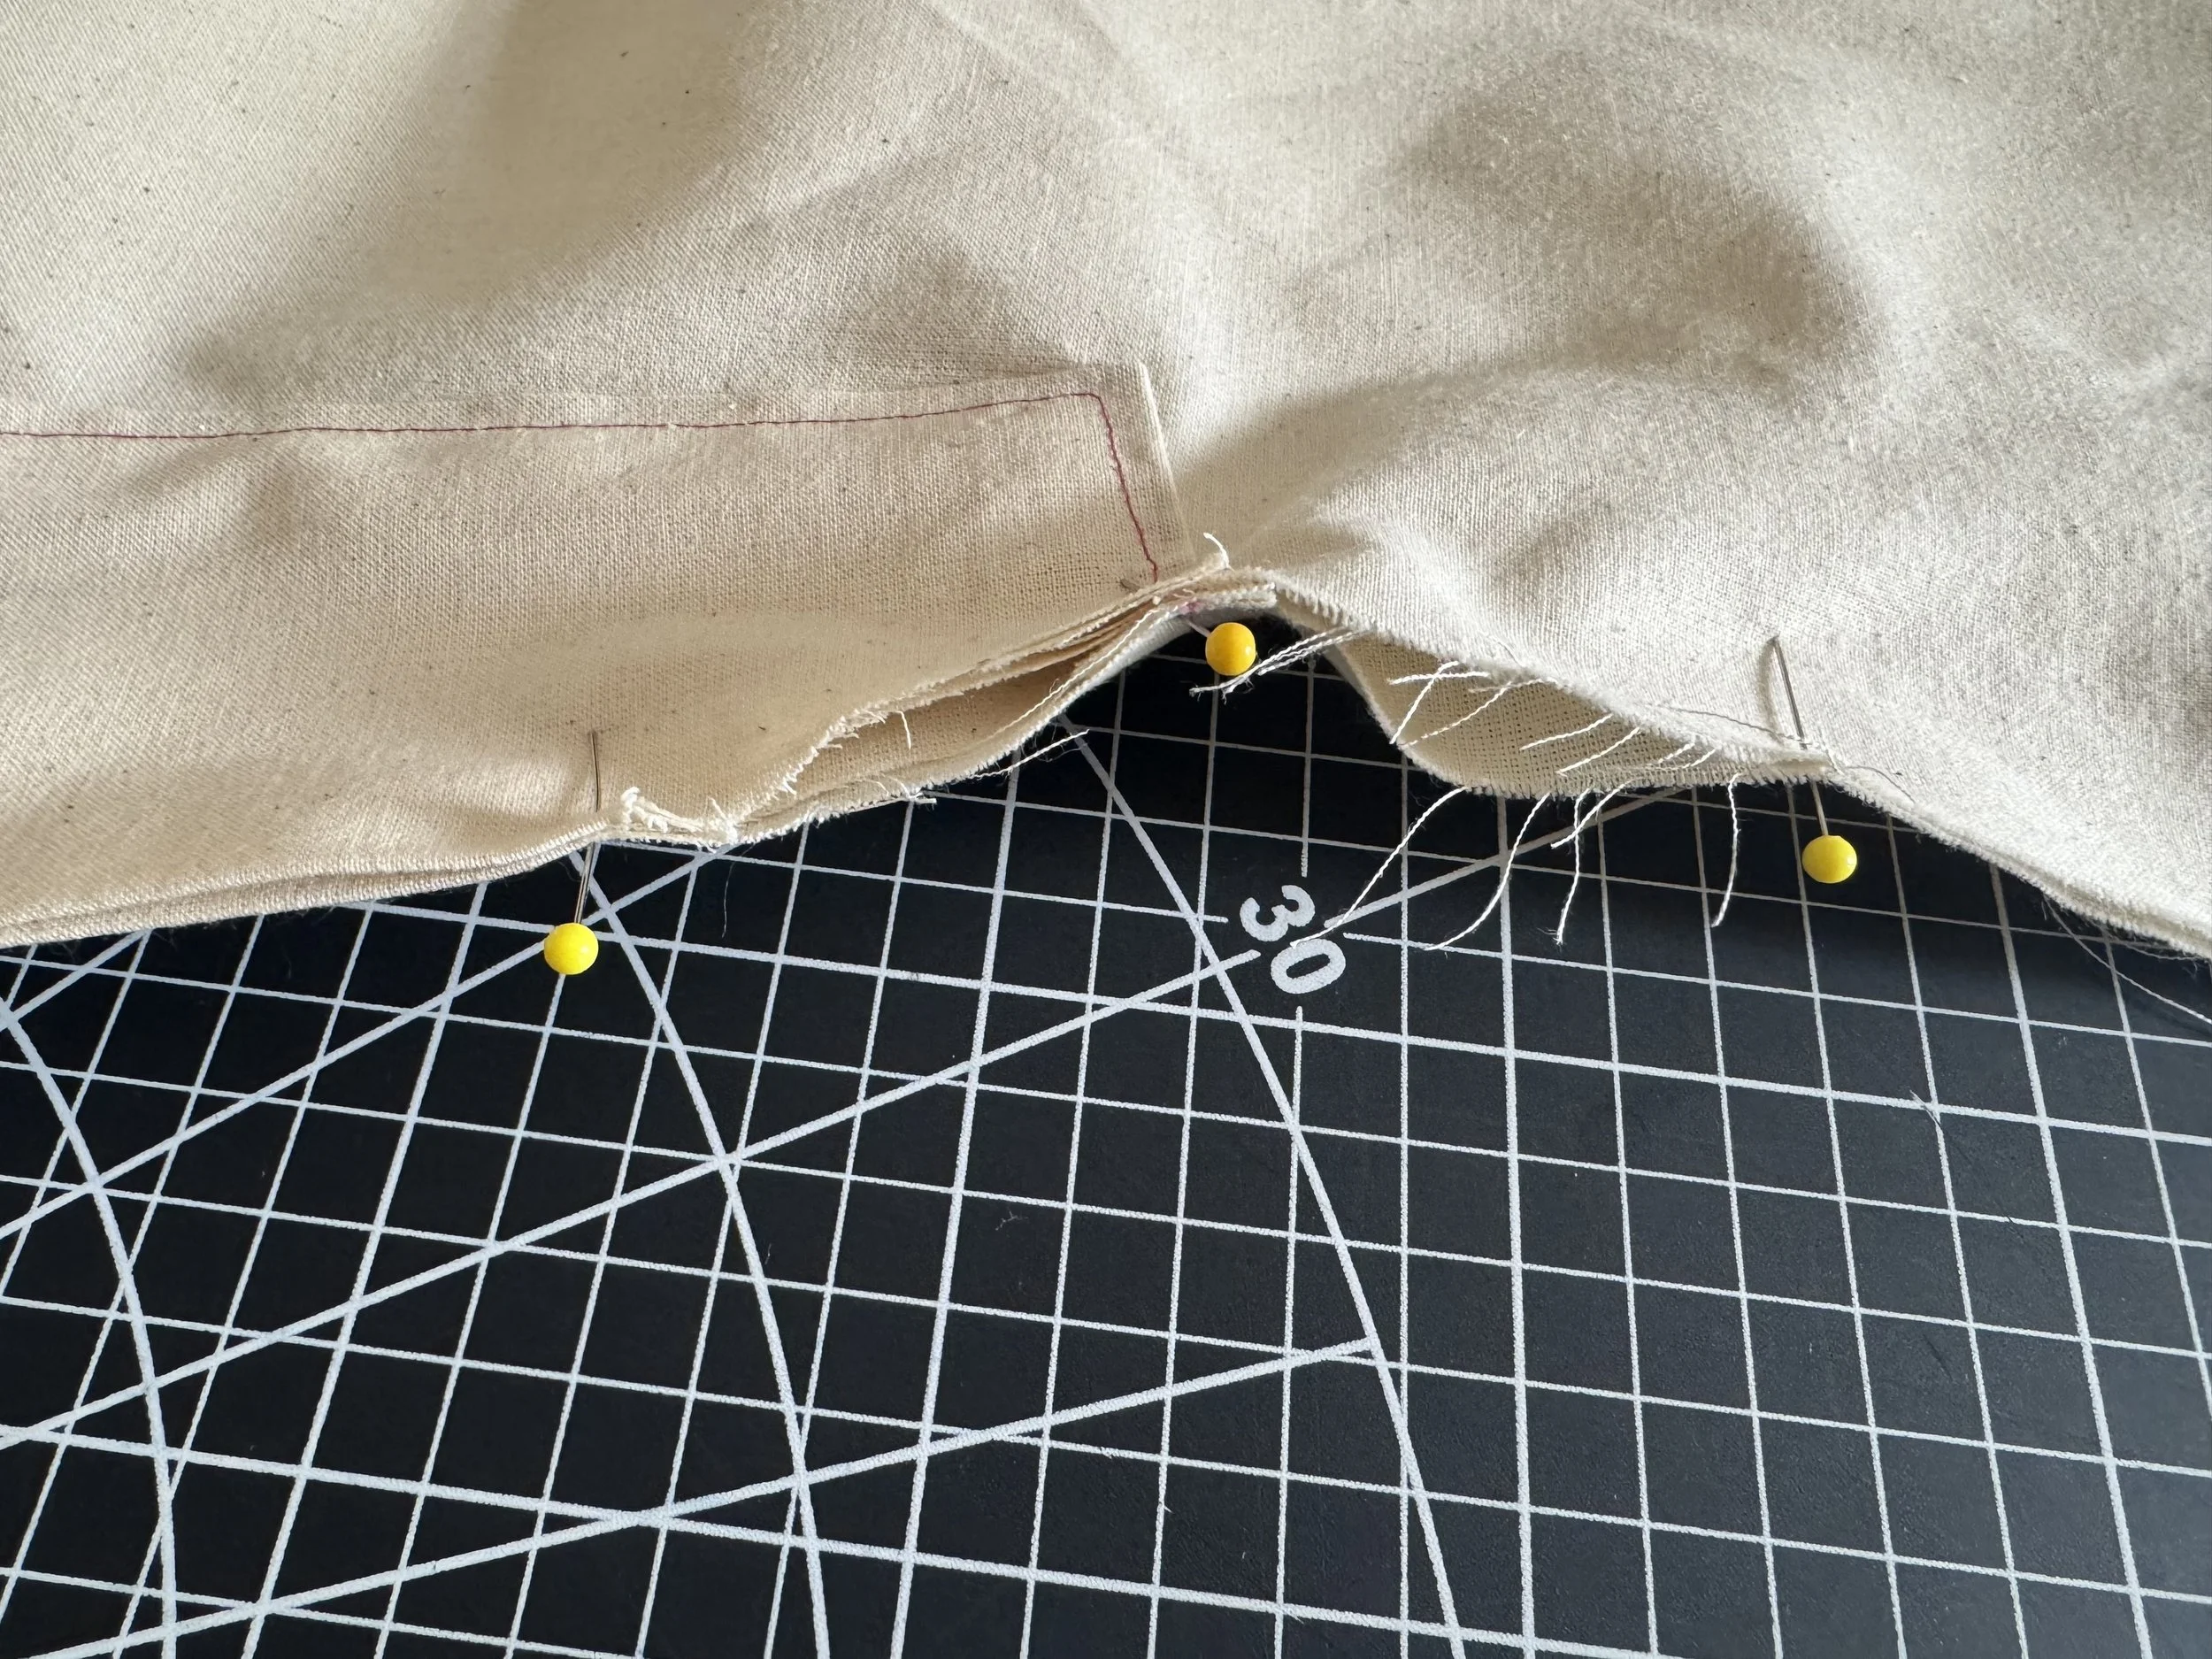
Sew from BOTTOM to TOP, one side will be easier than the other but it’s the only way to get an accurate curve on the sleeve on both sides.
If you have not finished your seams, you could press them open here and serge along the edges.
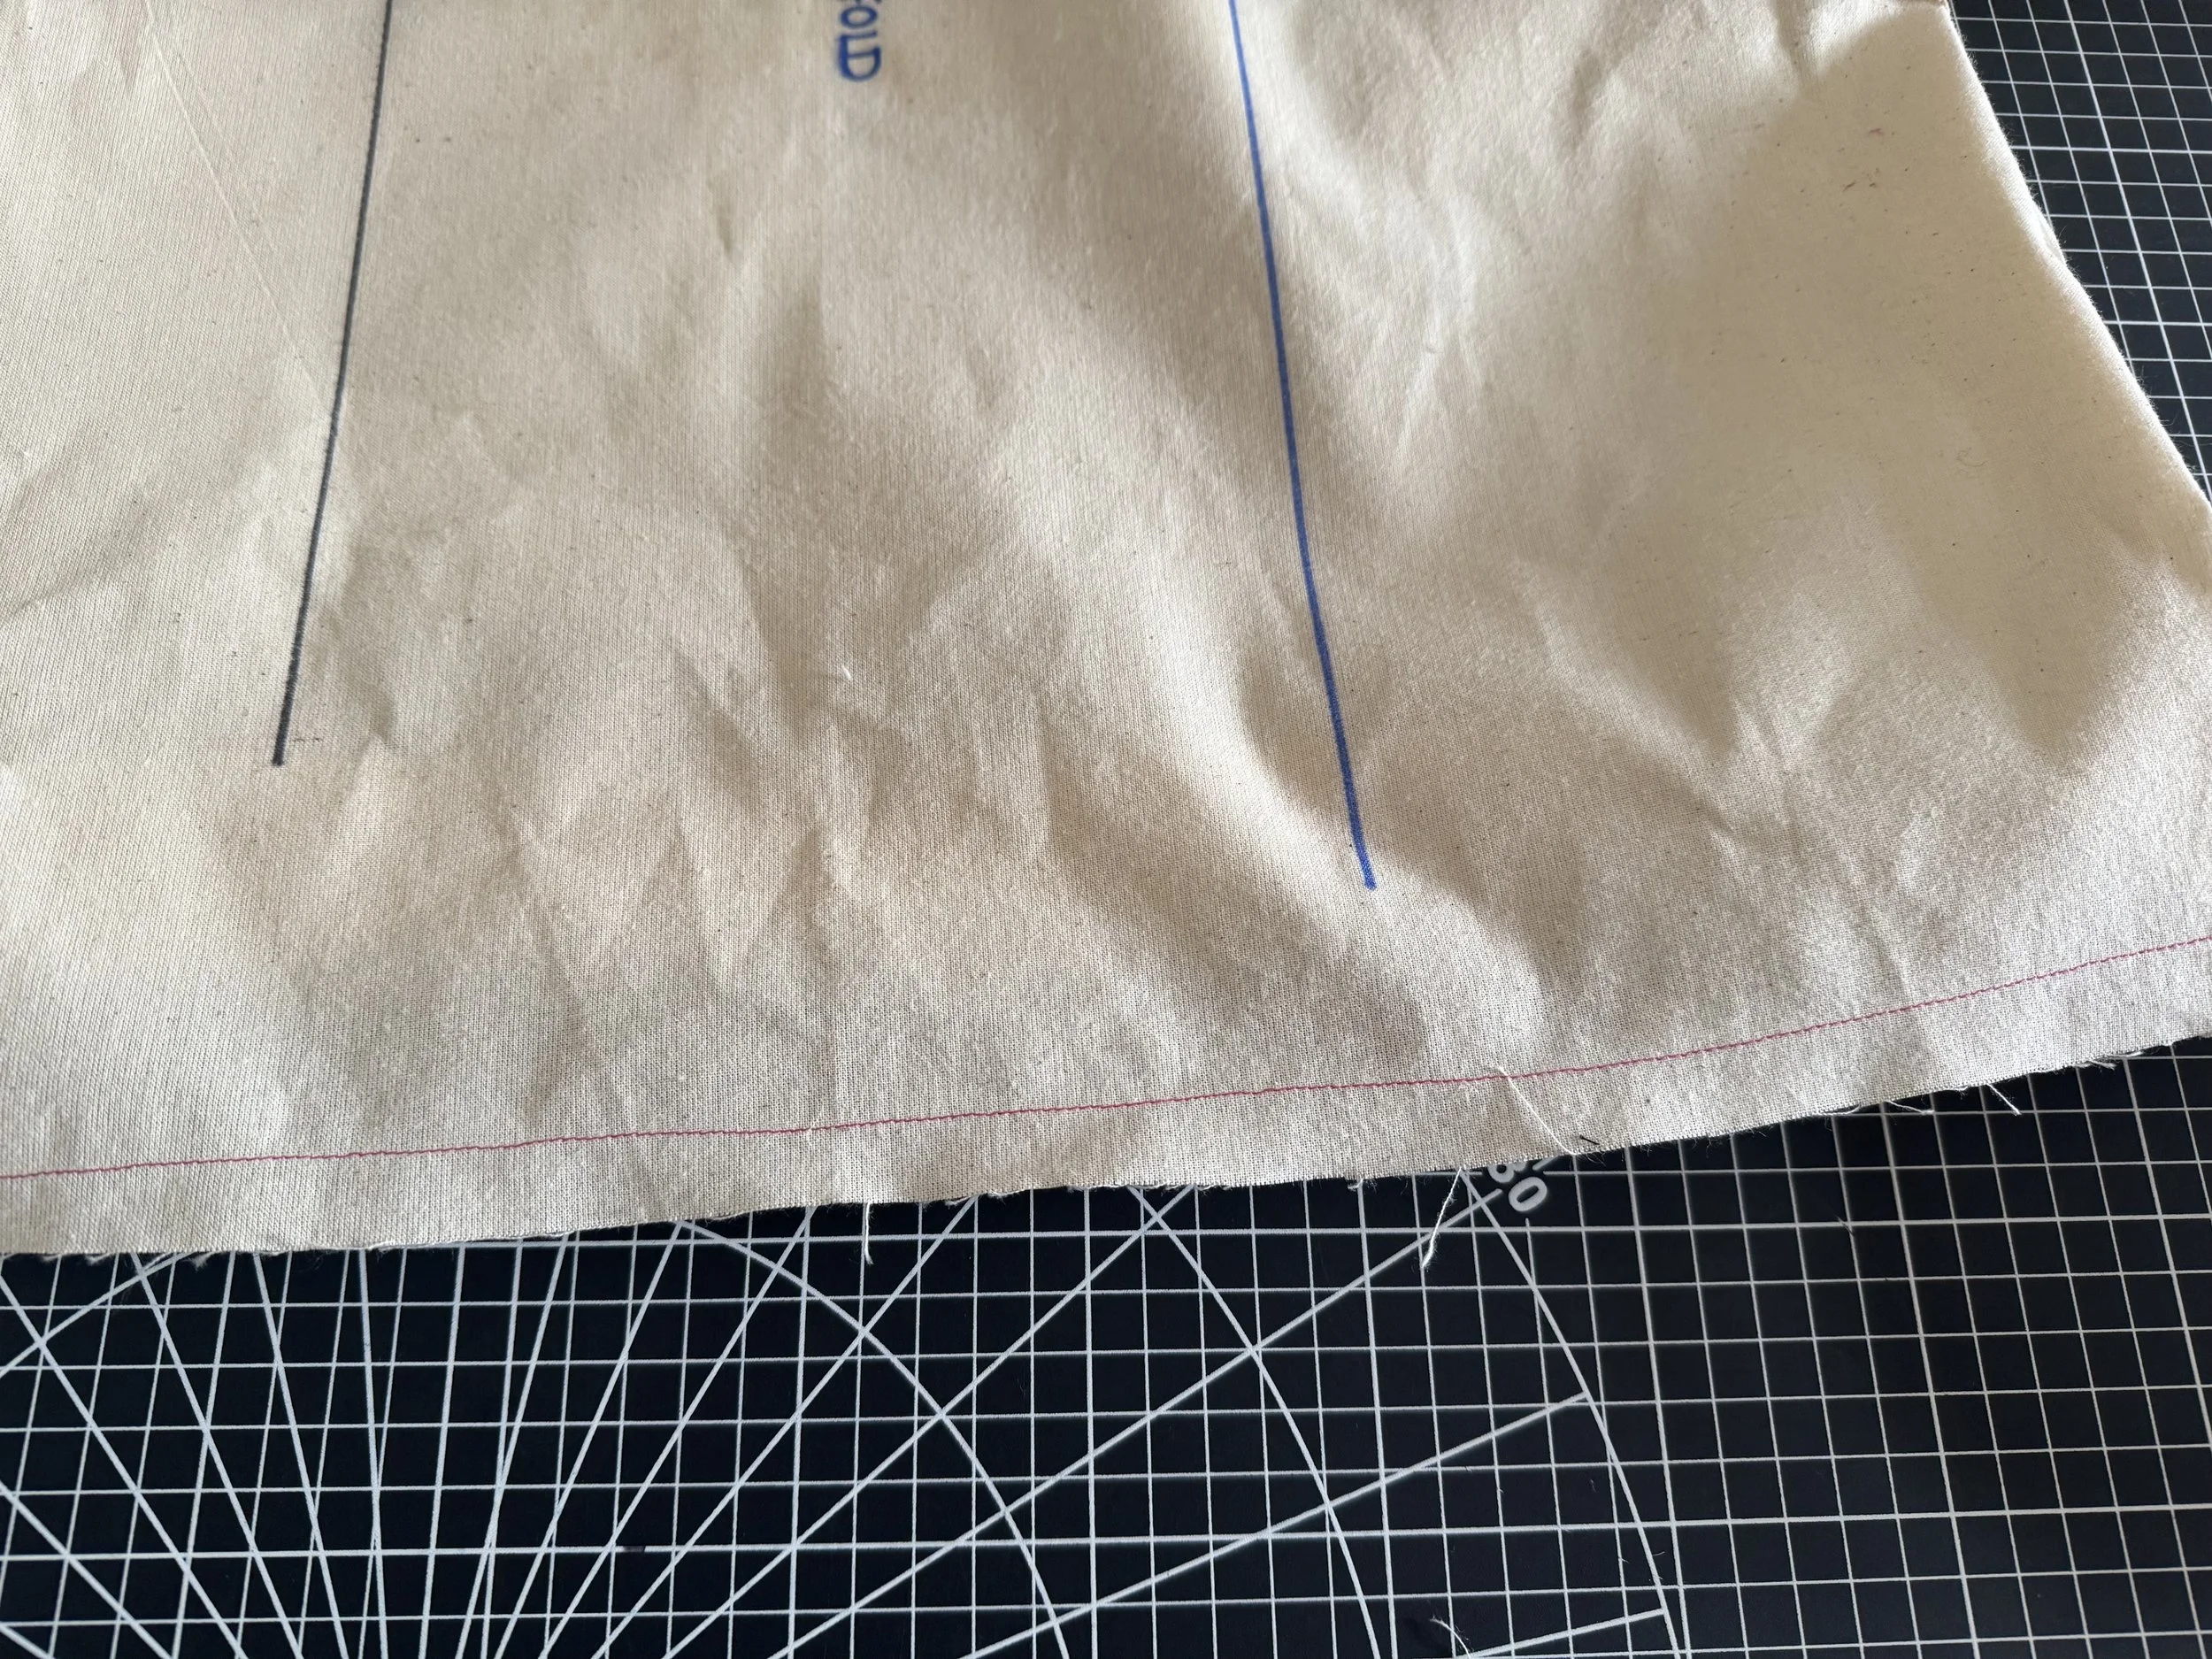
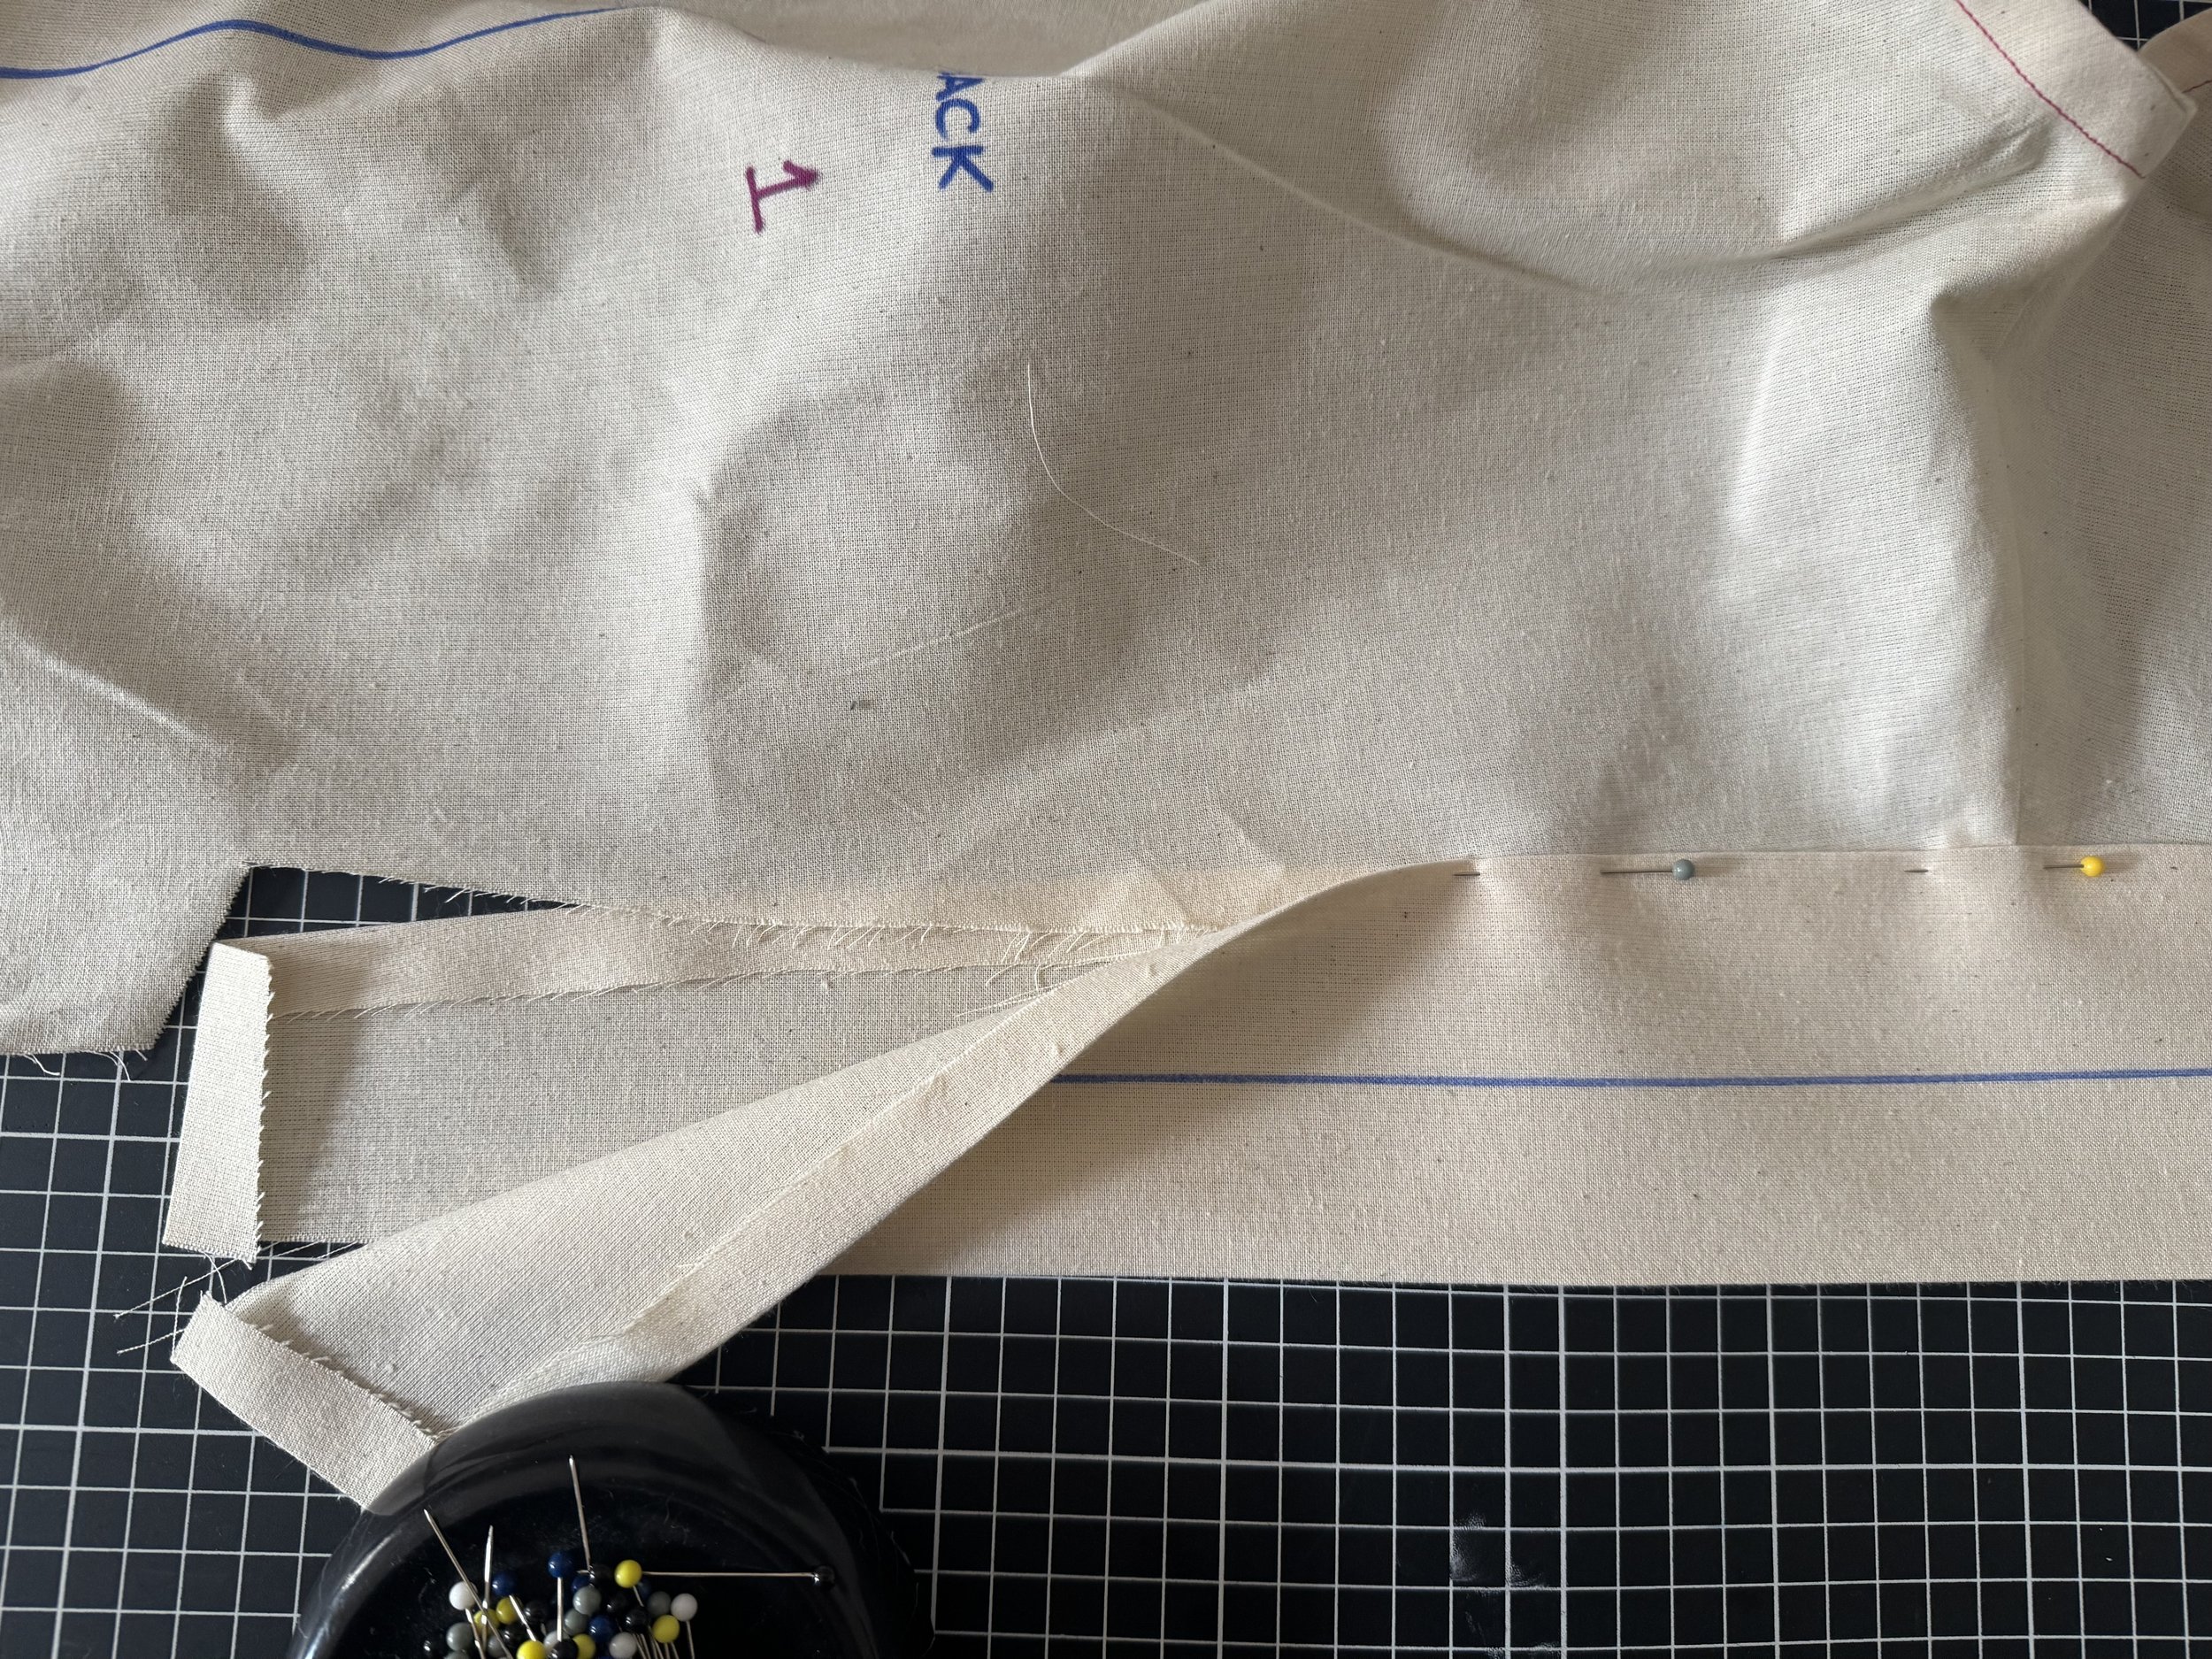
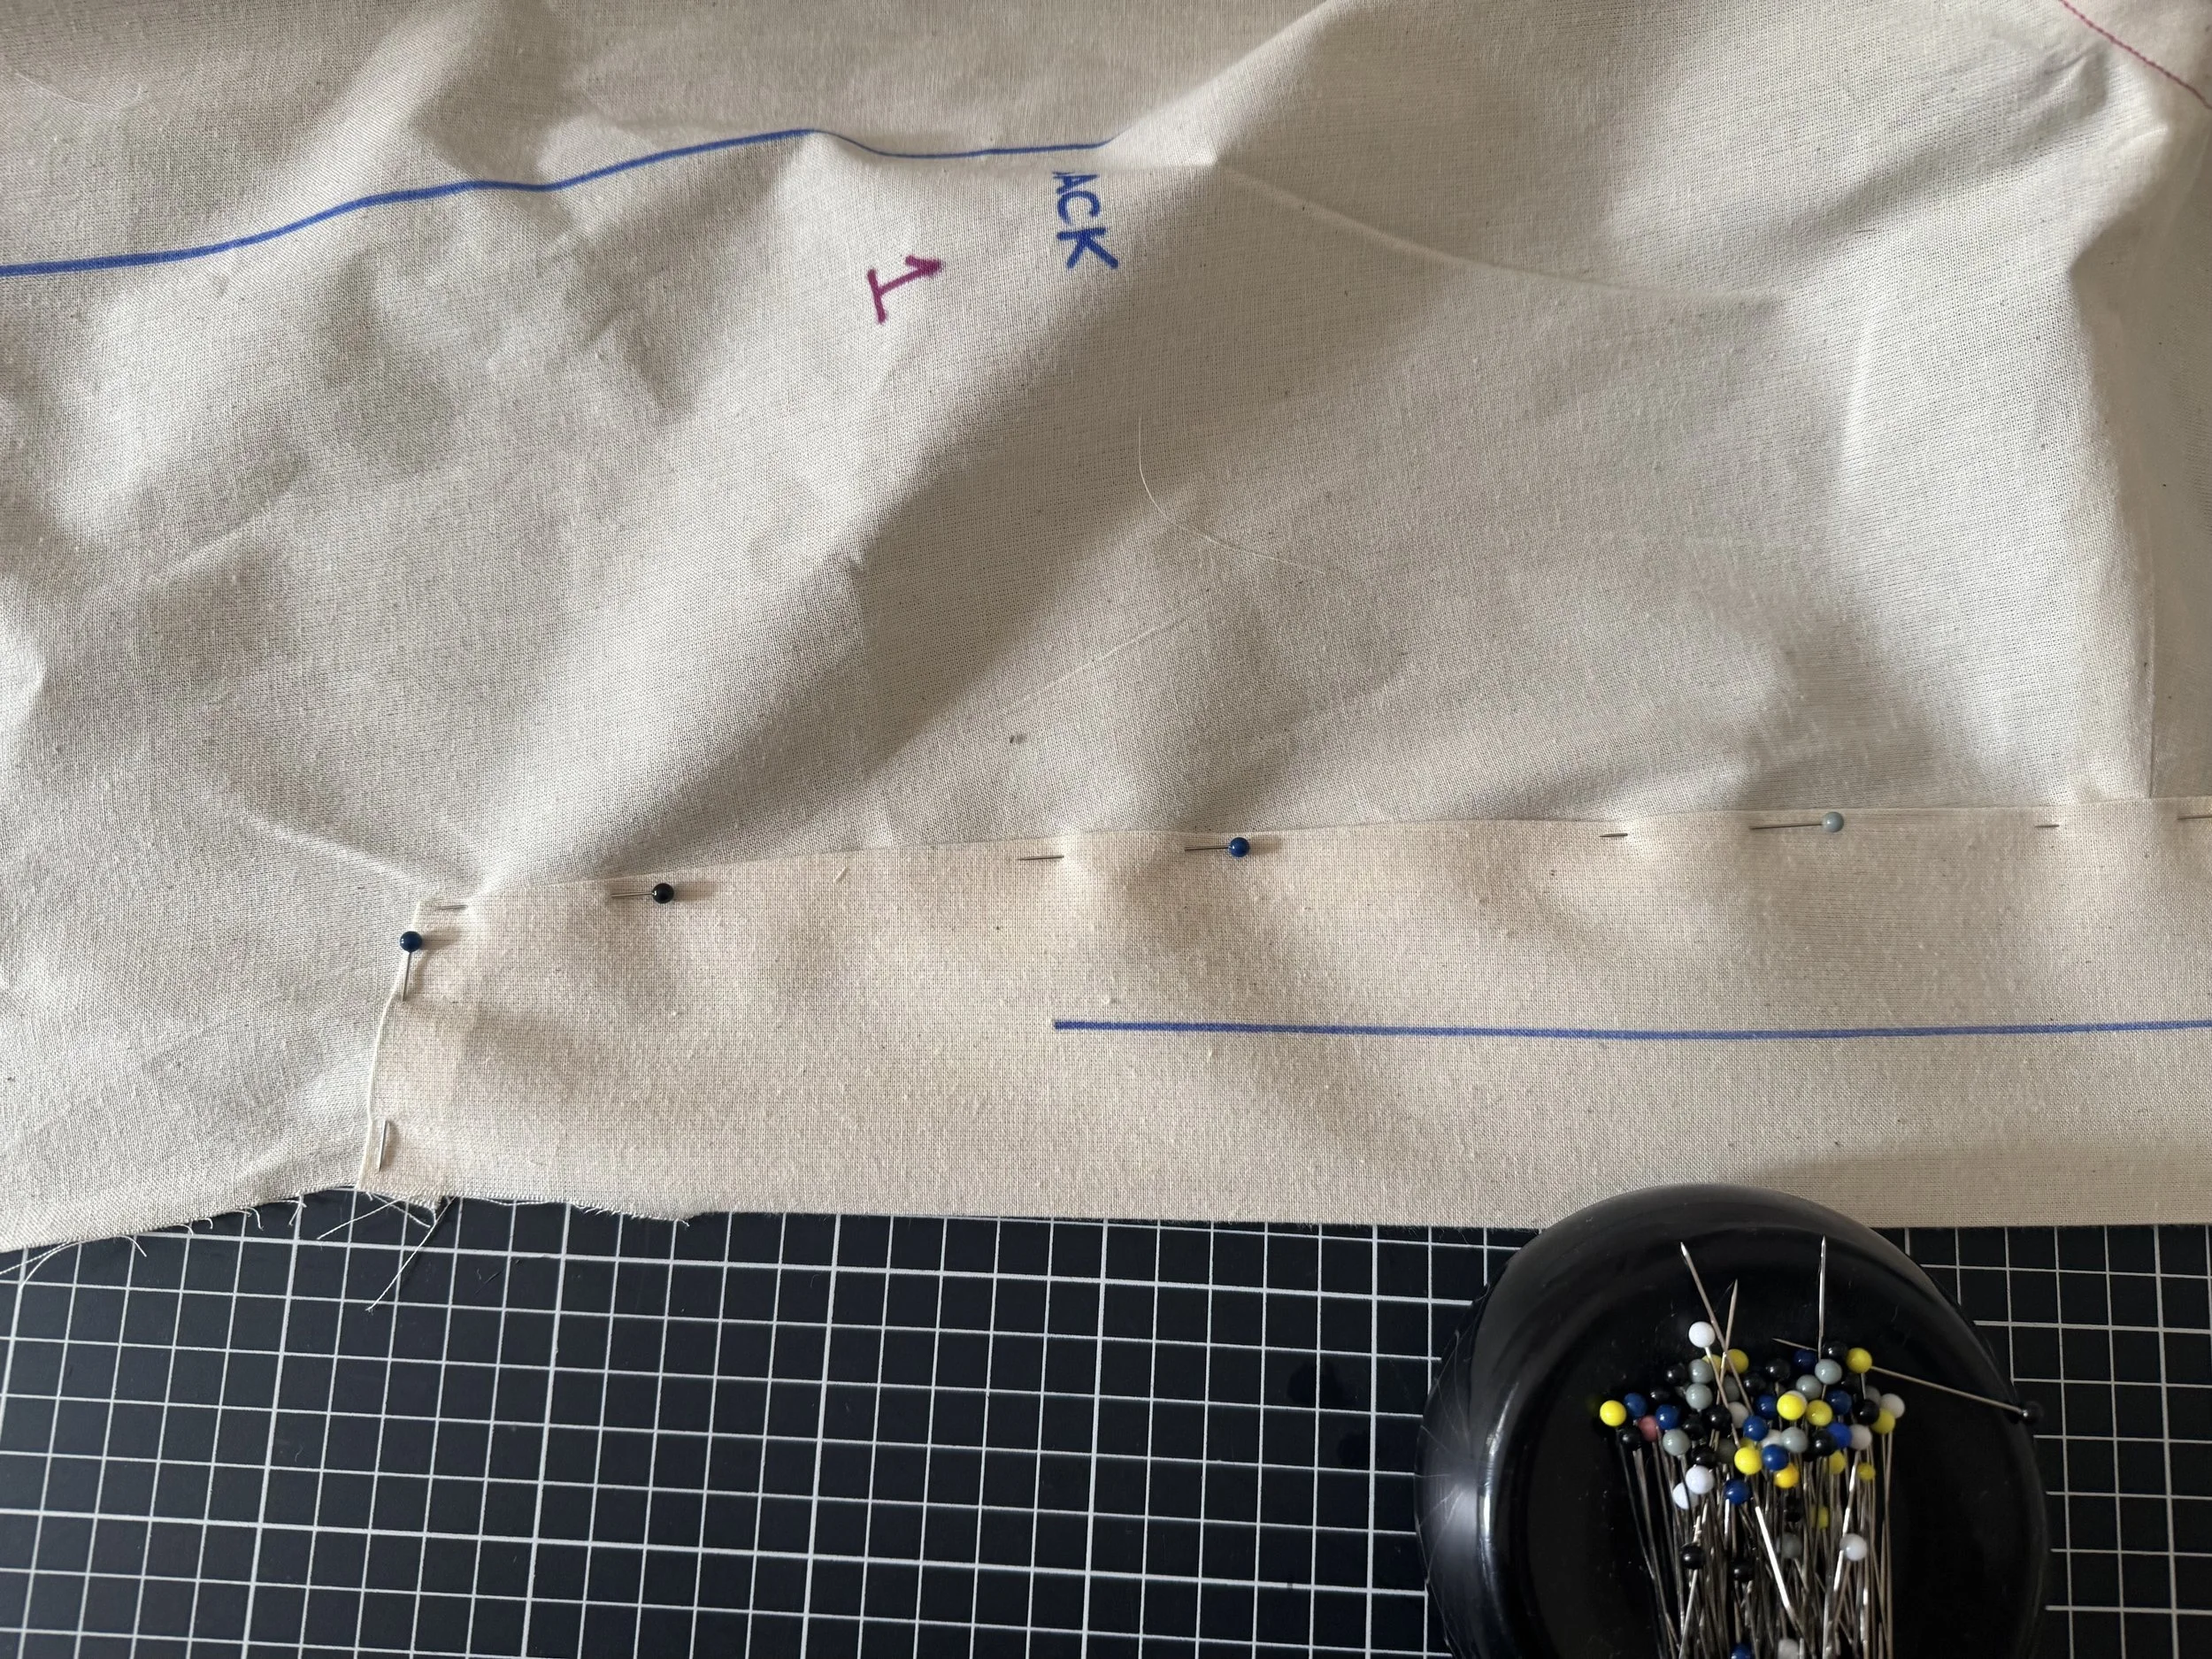
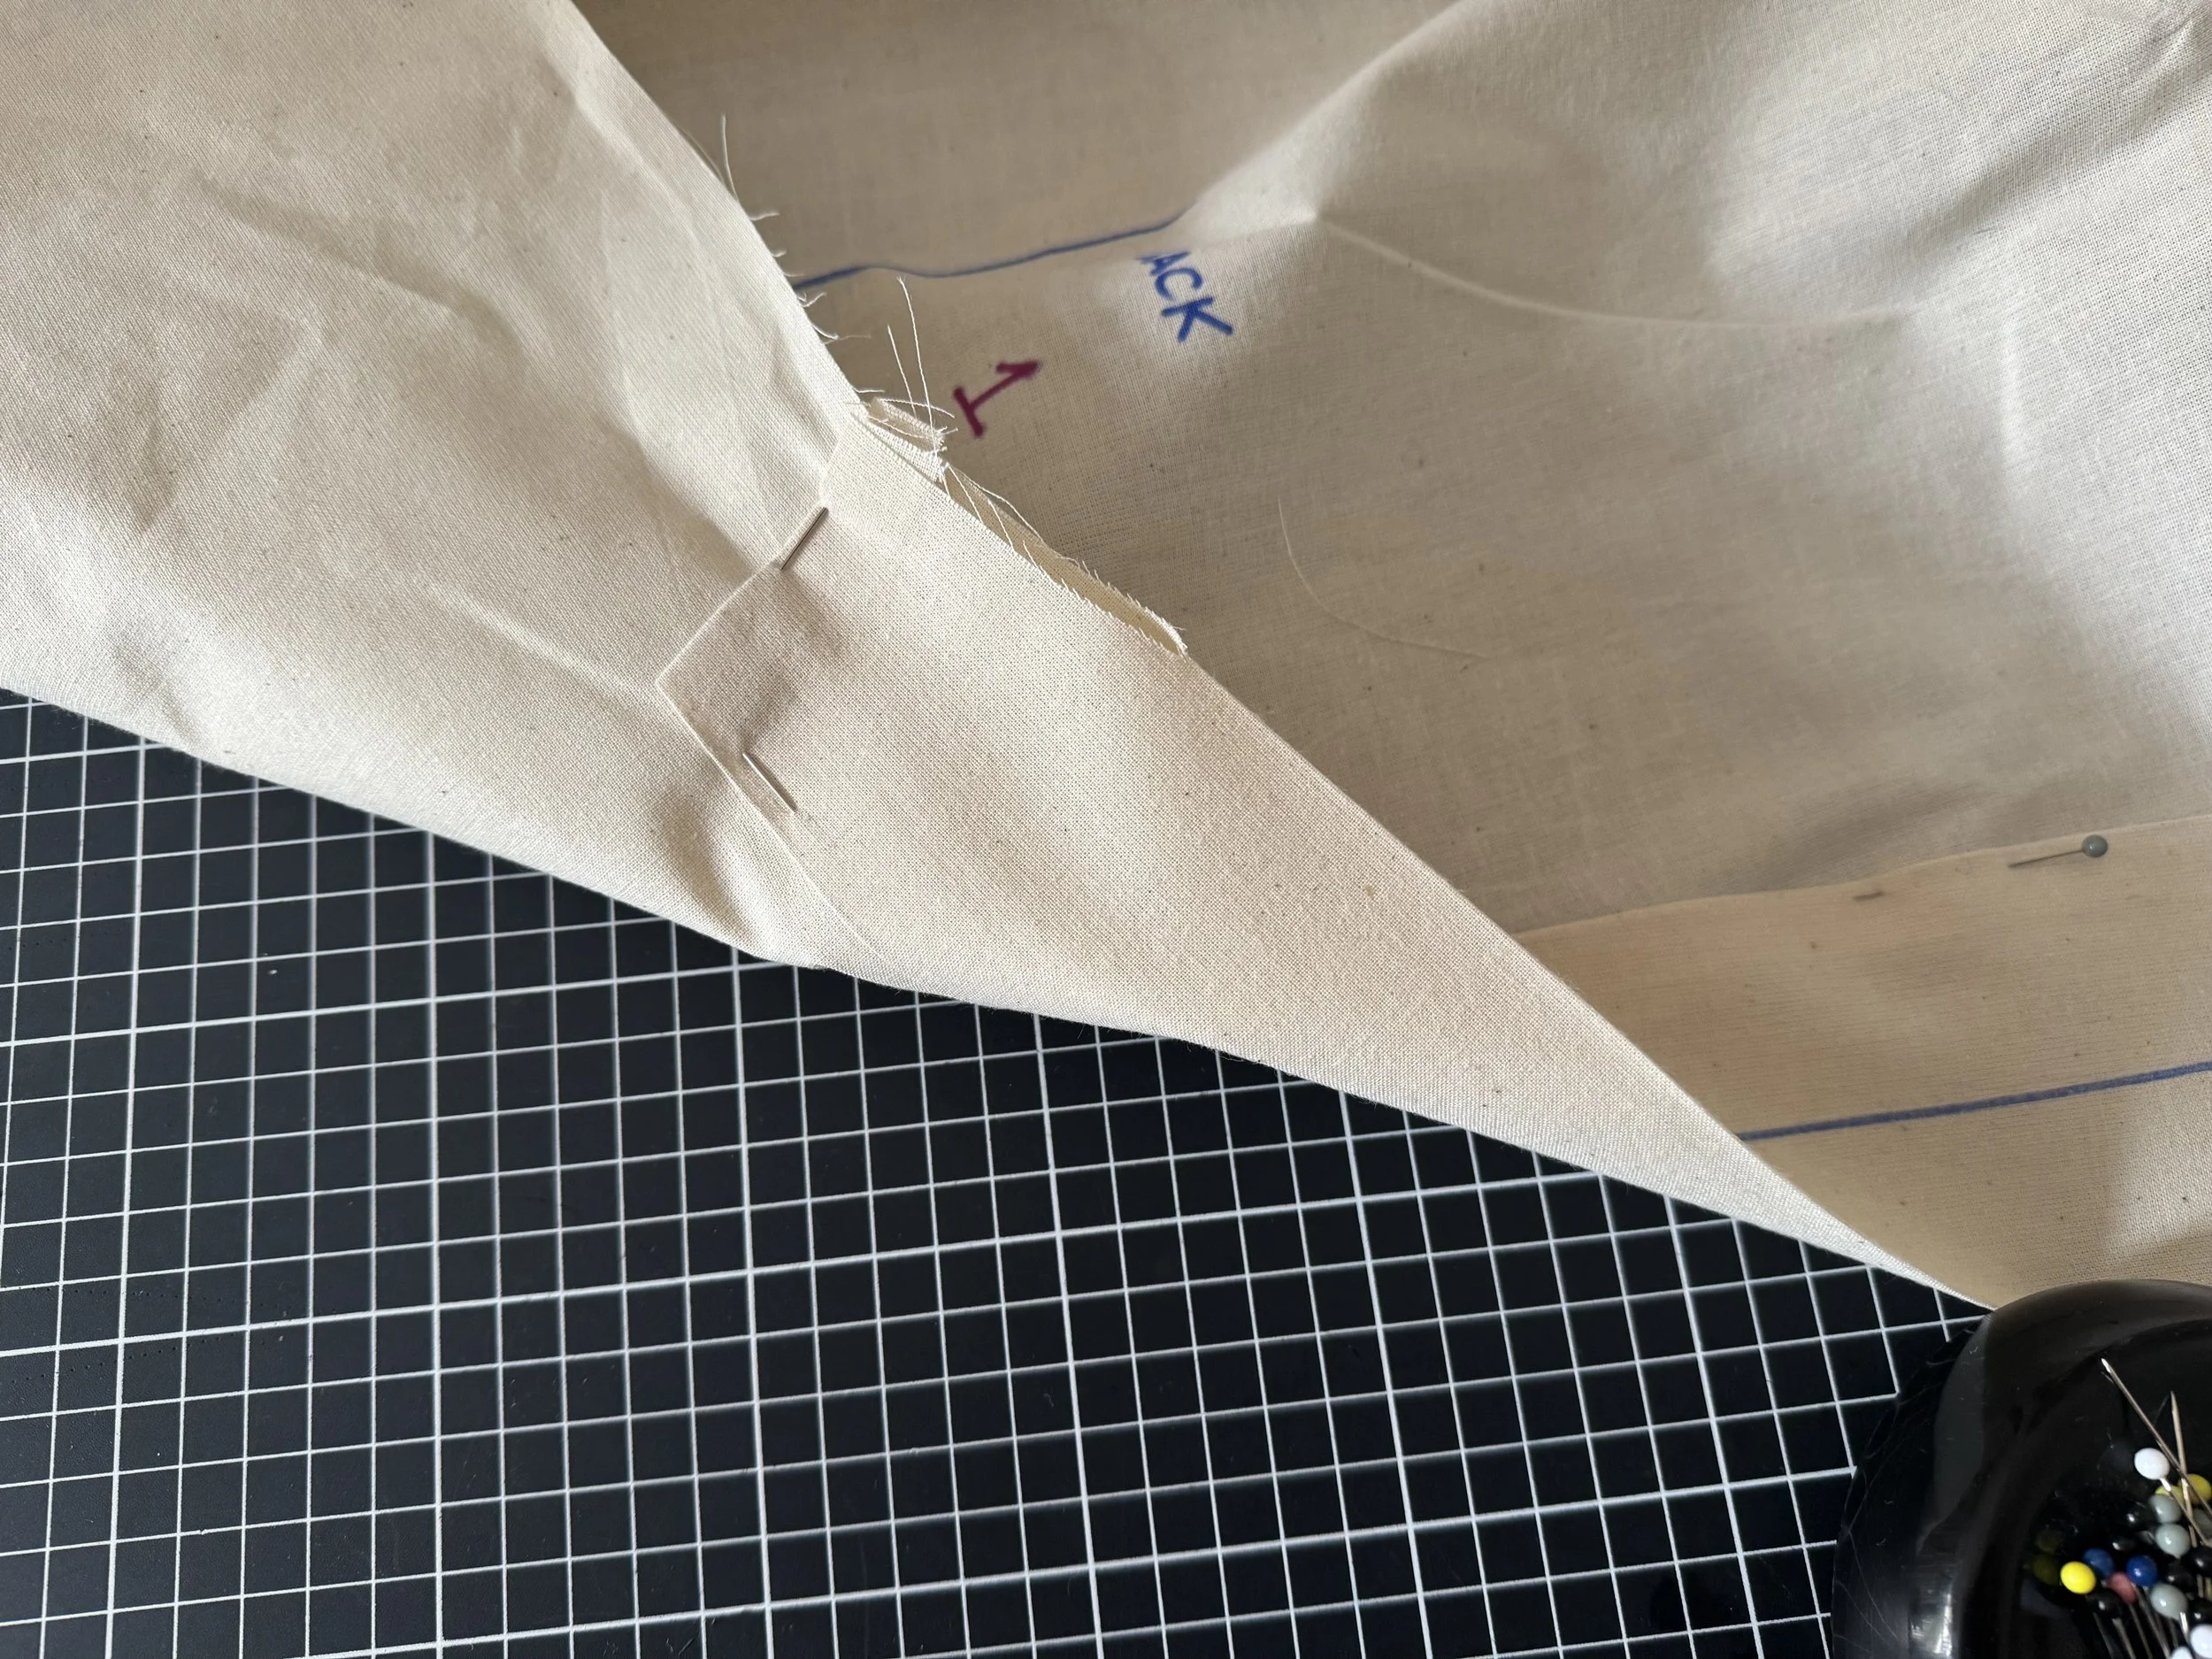
To finish the hem, stitch a 5/8” seam line along the edge as shown above.
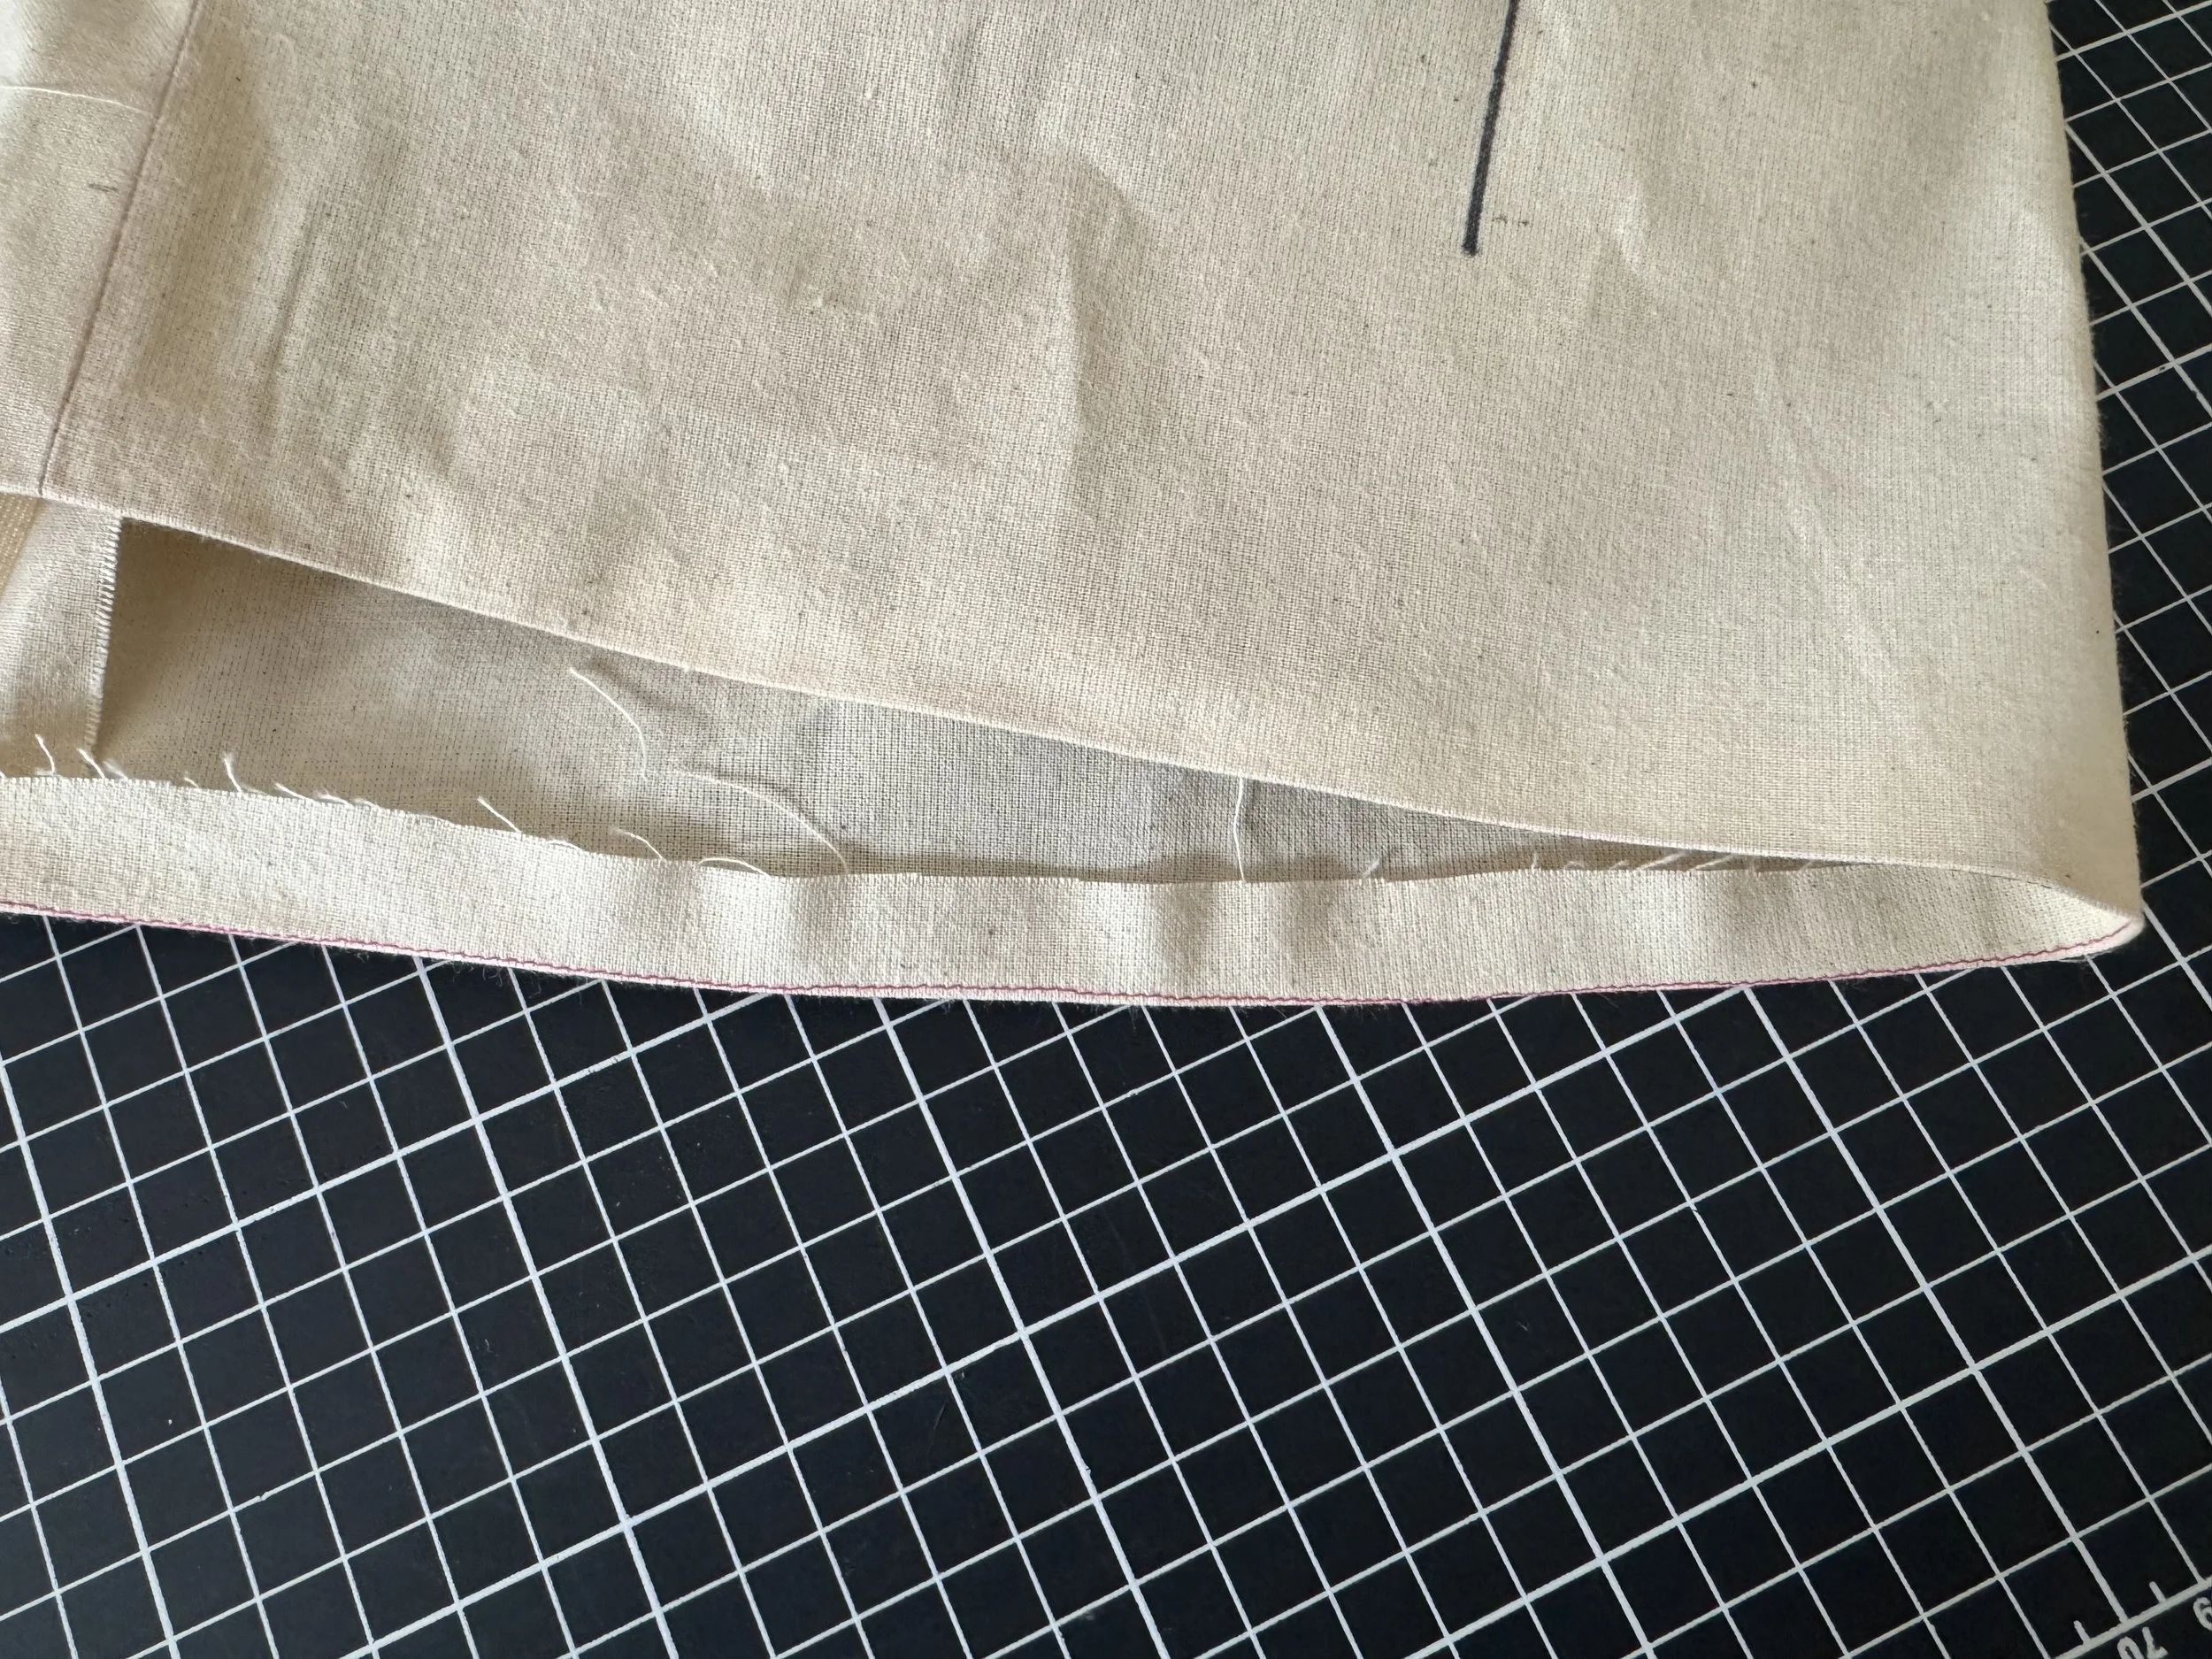
Fold and press the stitched line inside of your bodice, to create an accurate hemline.
Fold the raw edge in on itself, so you have two folds within your hem and stitch close to the edge from the outside.
Press well.
That’s it, Congratulations!
If you enjoyed sewing Iris A, Iris B as shown in muslin above, has the same sleeve method, and dress pockets, along with optional shoulder tabs and an inset corner V-point seam on both the front and back yoke for some additional skill building….