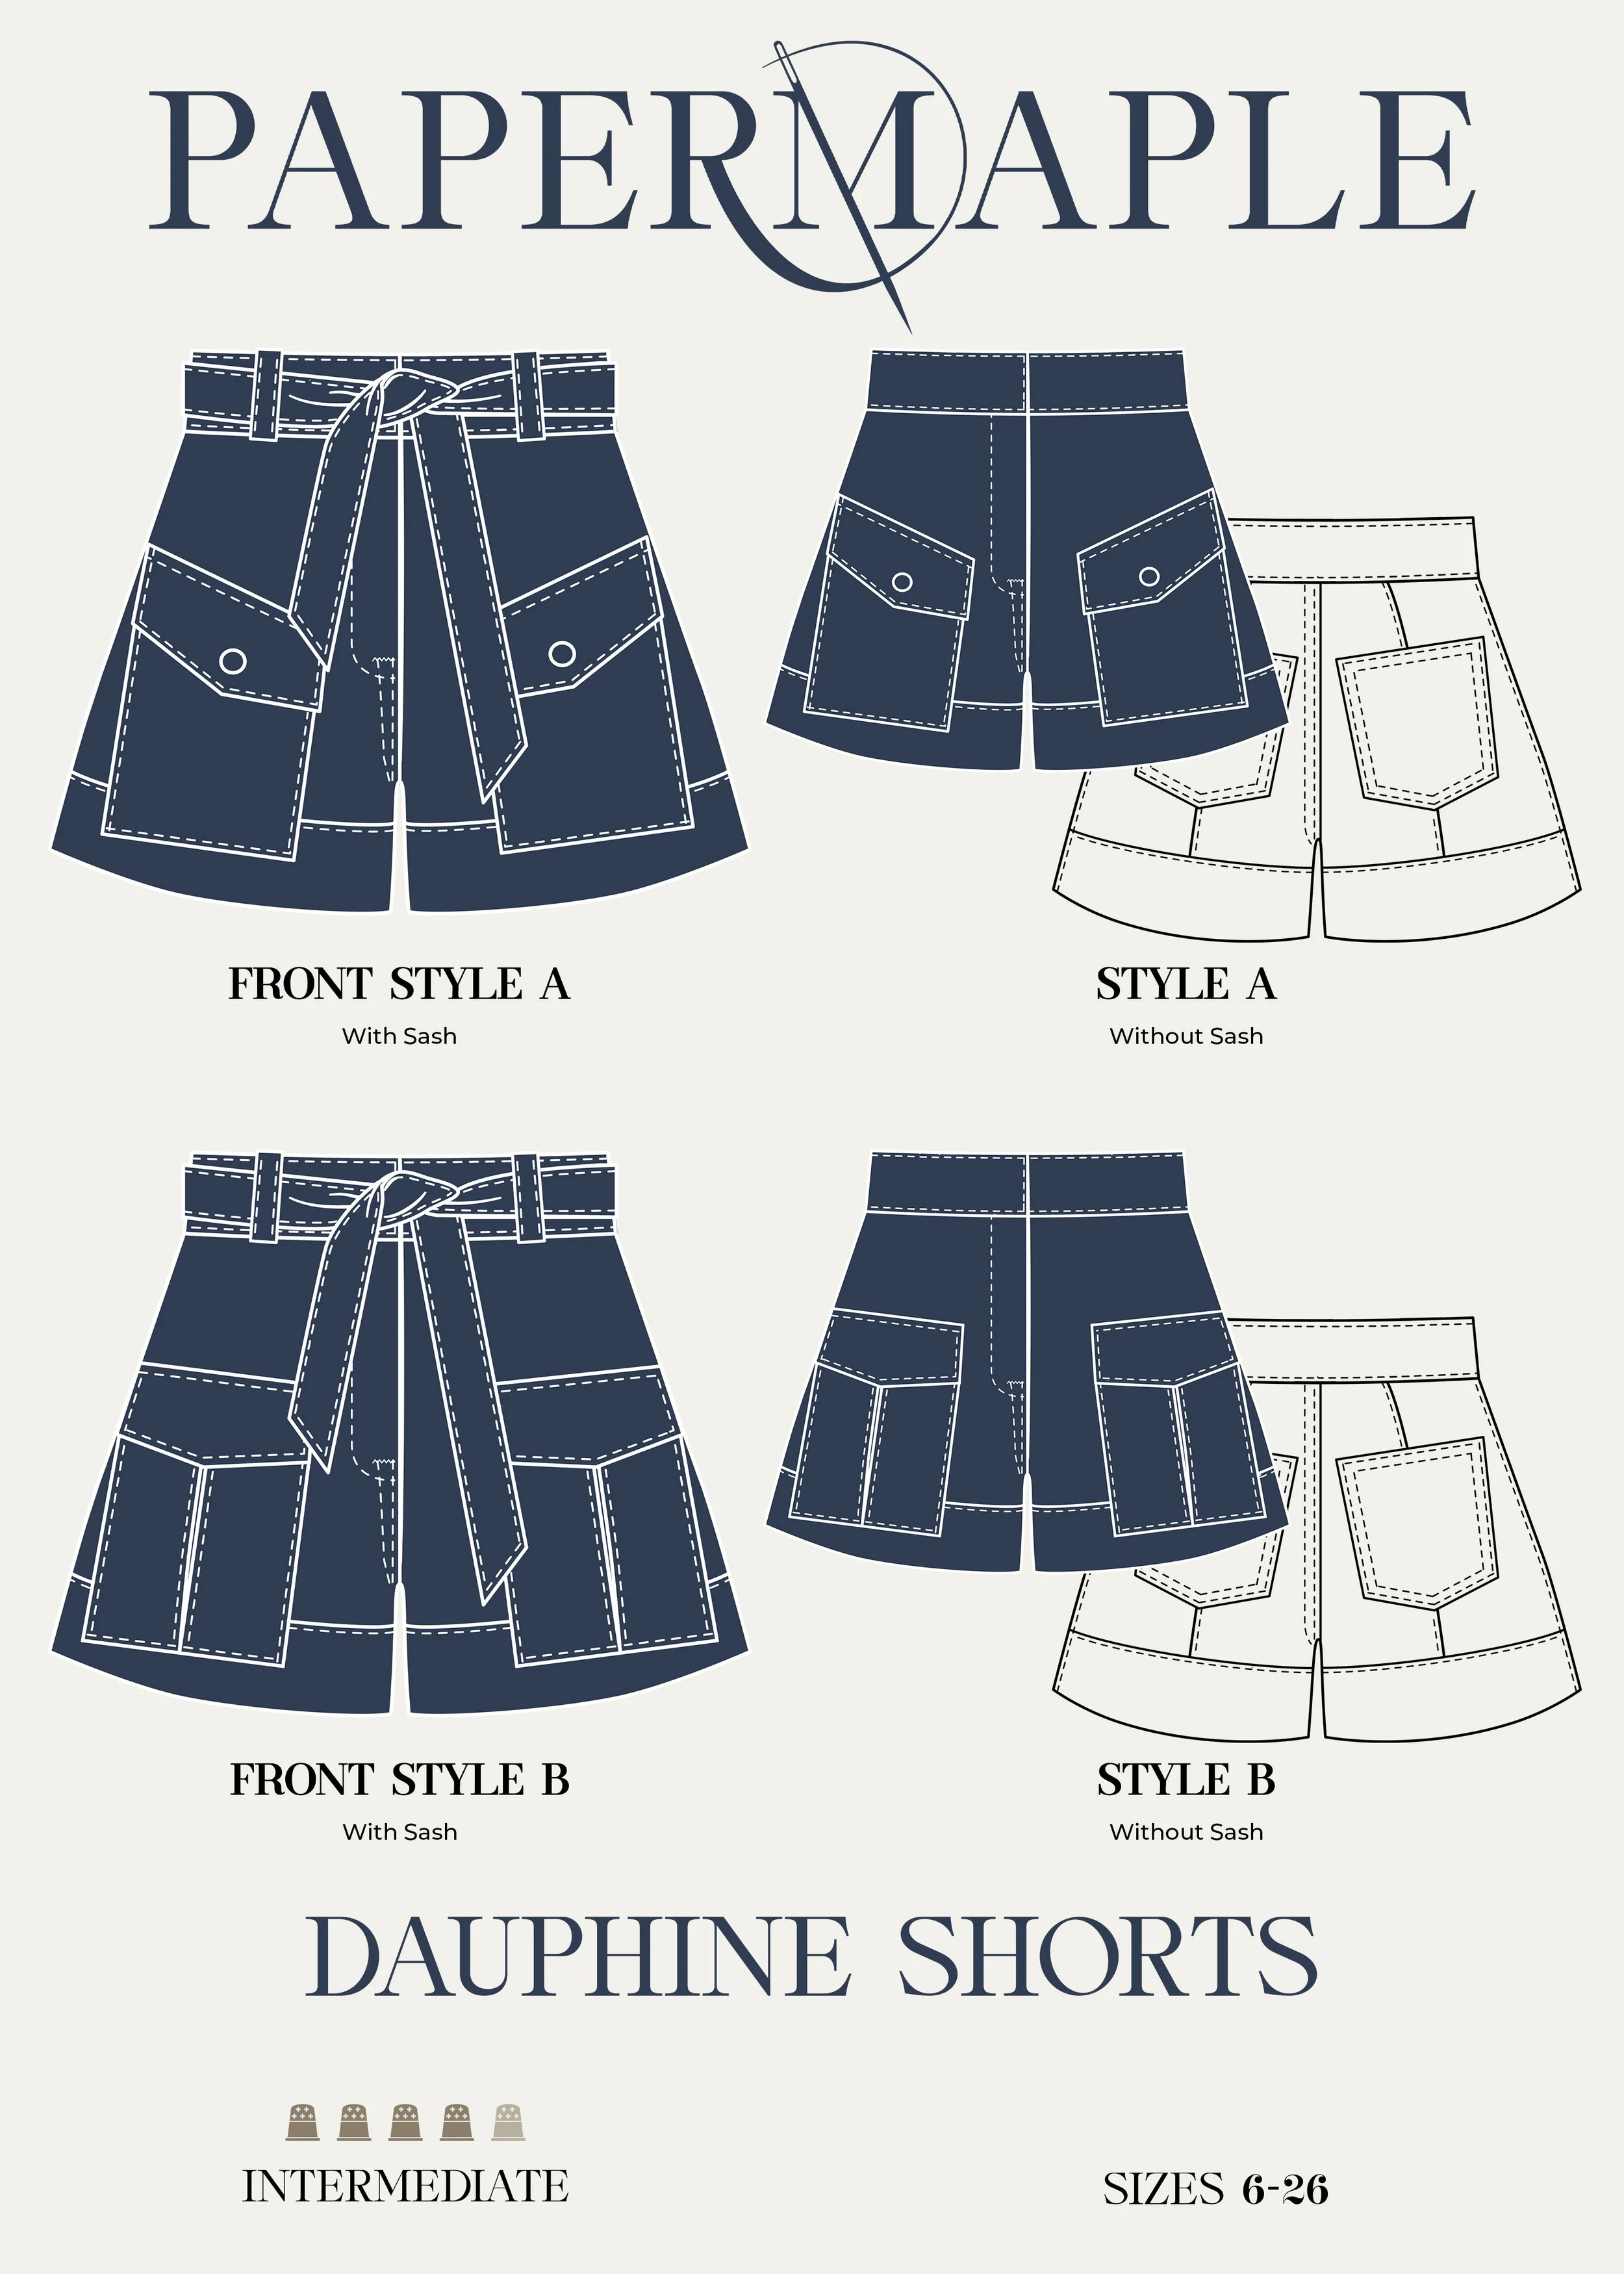
4 - The Dauphine Short - Construction - Zipper /Fronts
Here I am showing a muslin, one of many I make as we develop each pattern. I have not finished the edges, or used interfacing as my muslin is heavily starched.
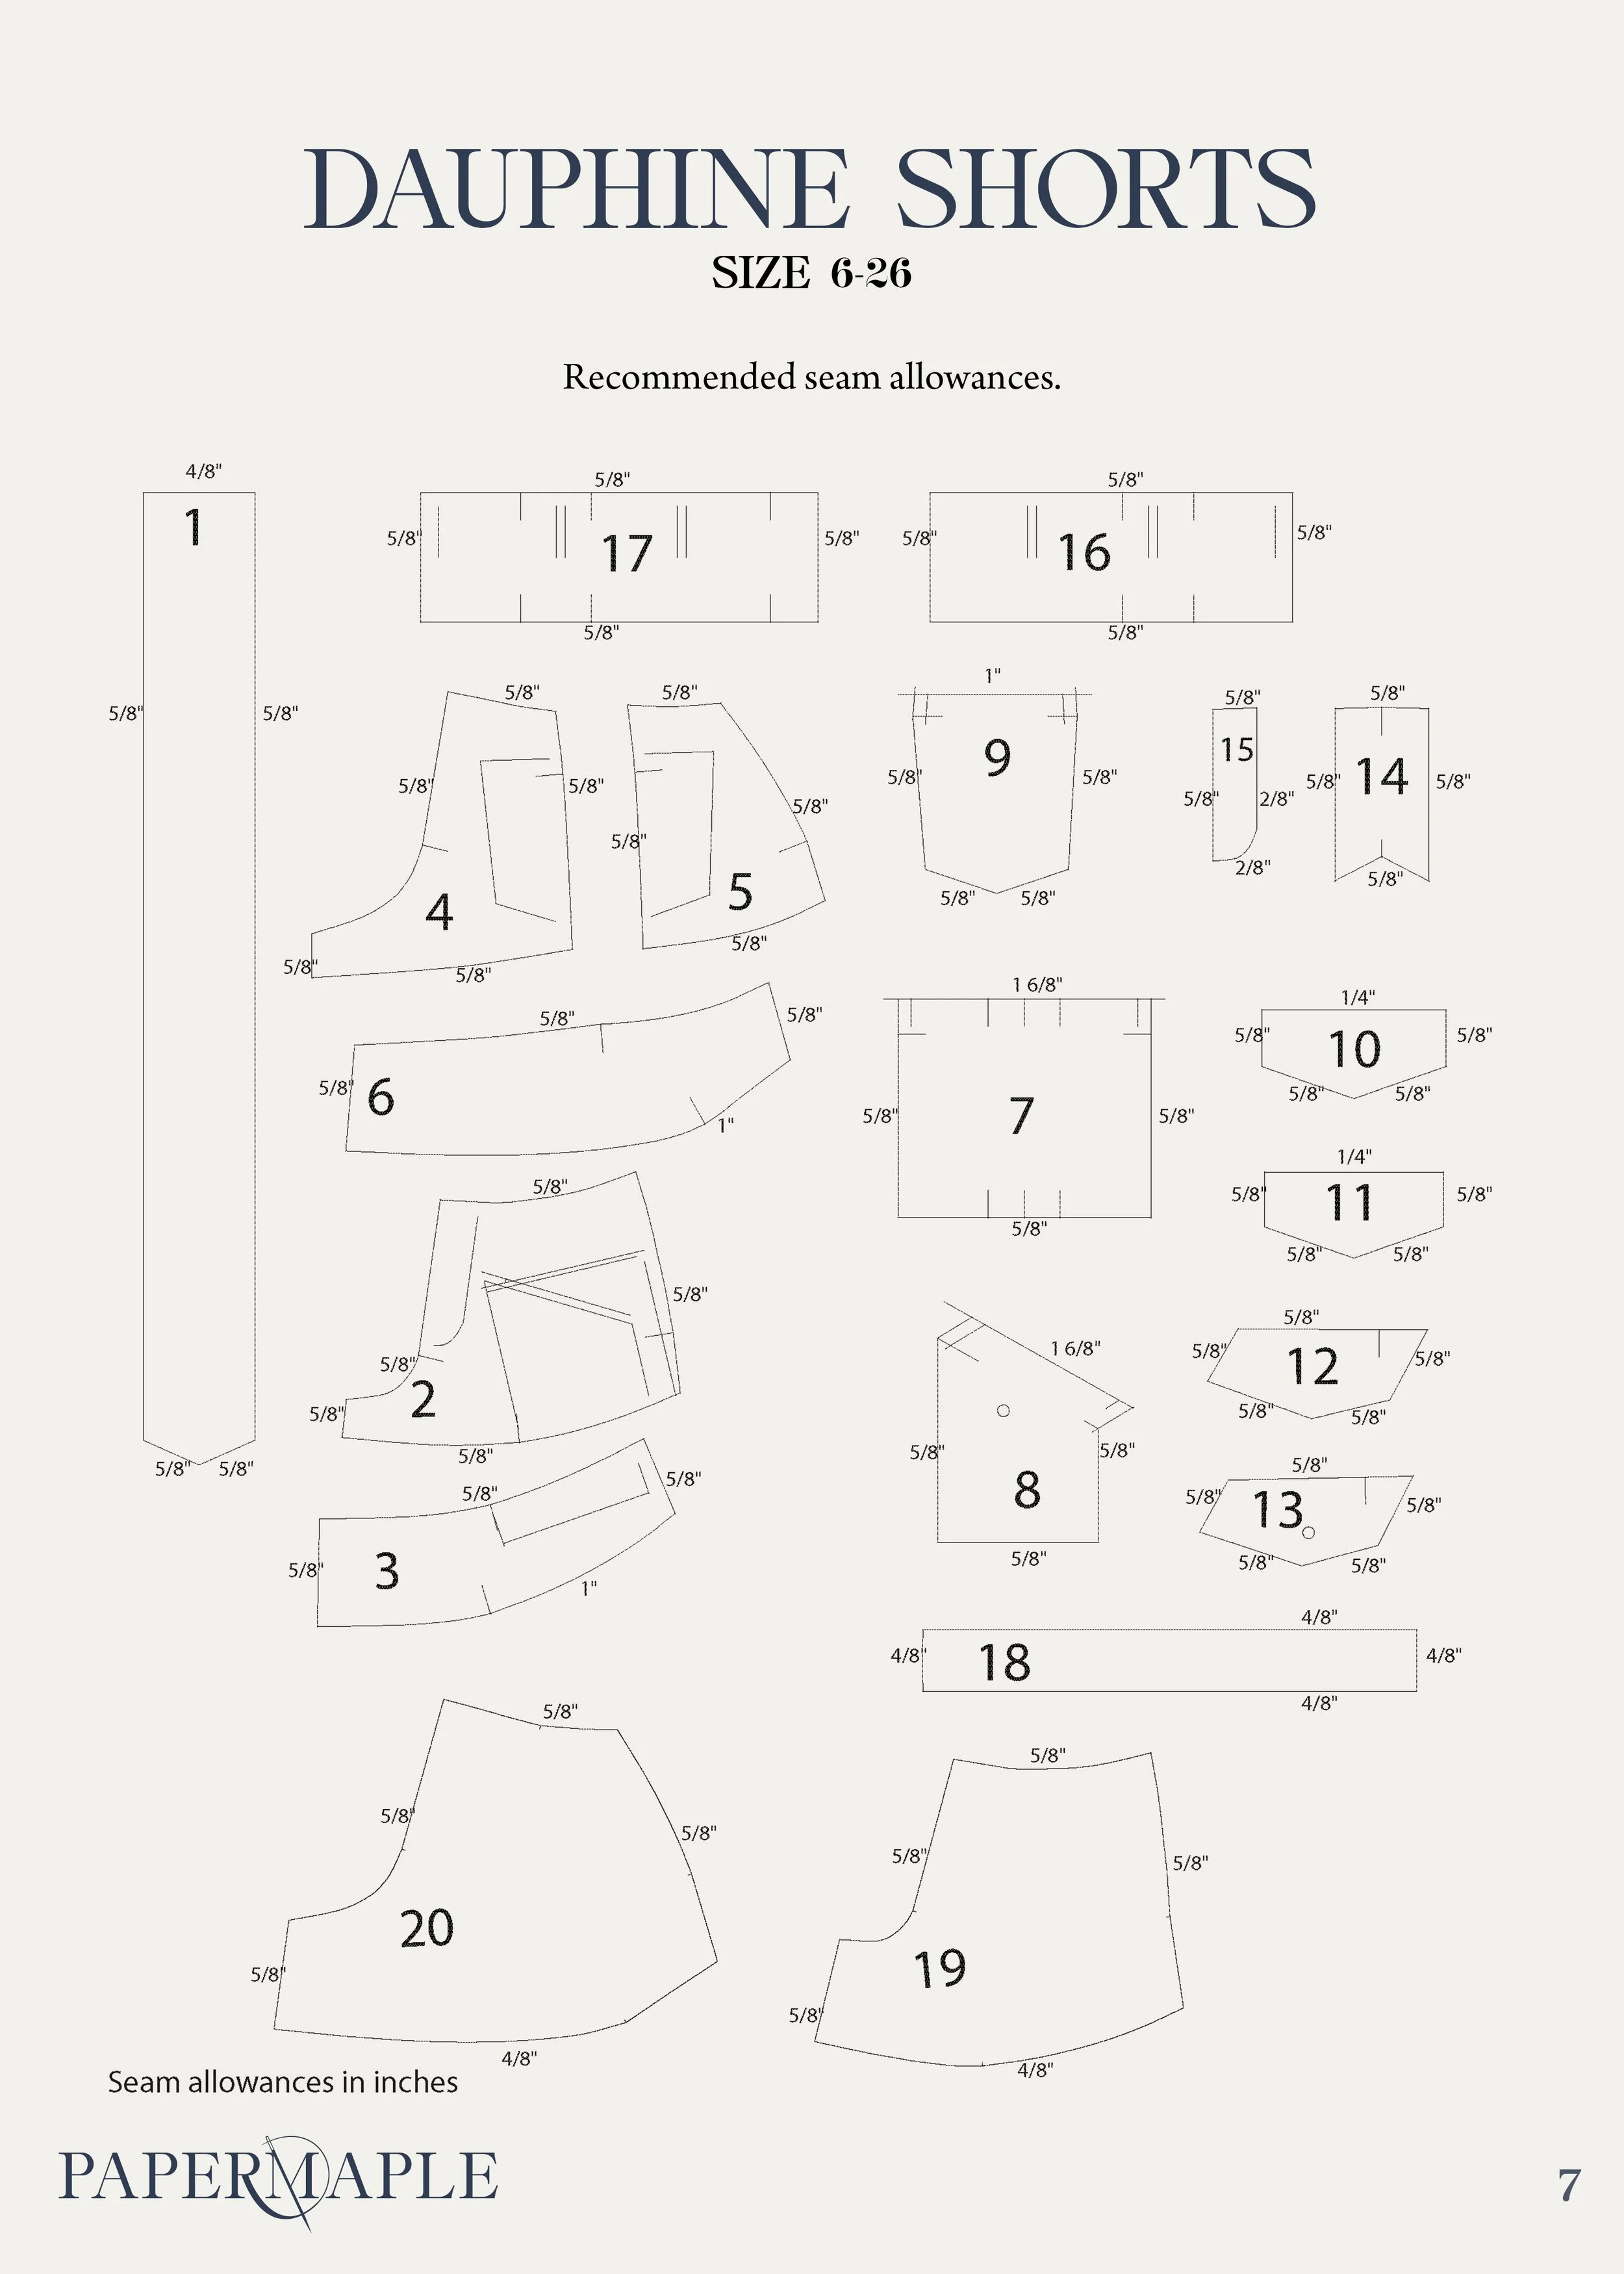
If sewing these shorts with a fashion fabric, serge or zig zag your seams before sewing, and interface your fly, fly guard, belt loops, waistband and belt tie if necessary.
Also, because of the many seams on these shorts, we have included a lining option - Pieces 19 and 20.
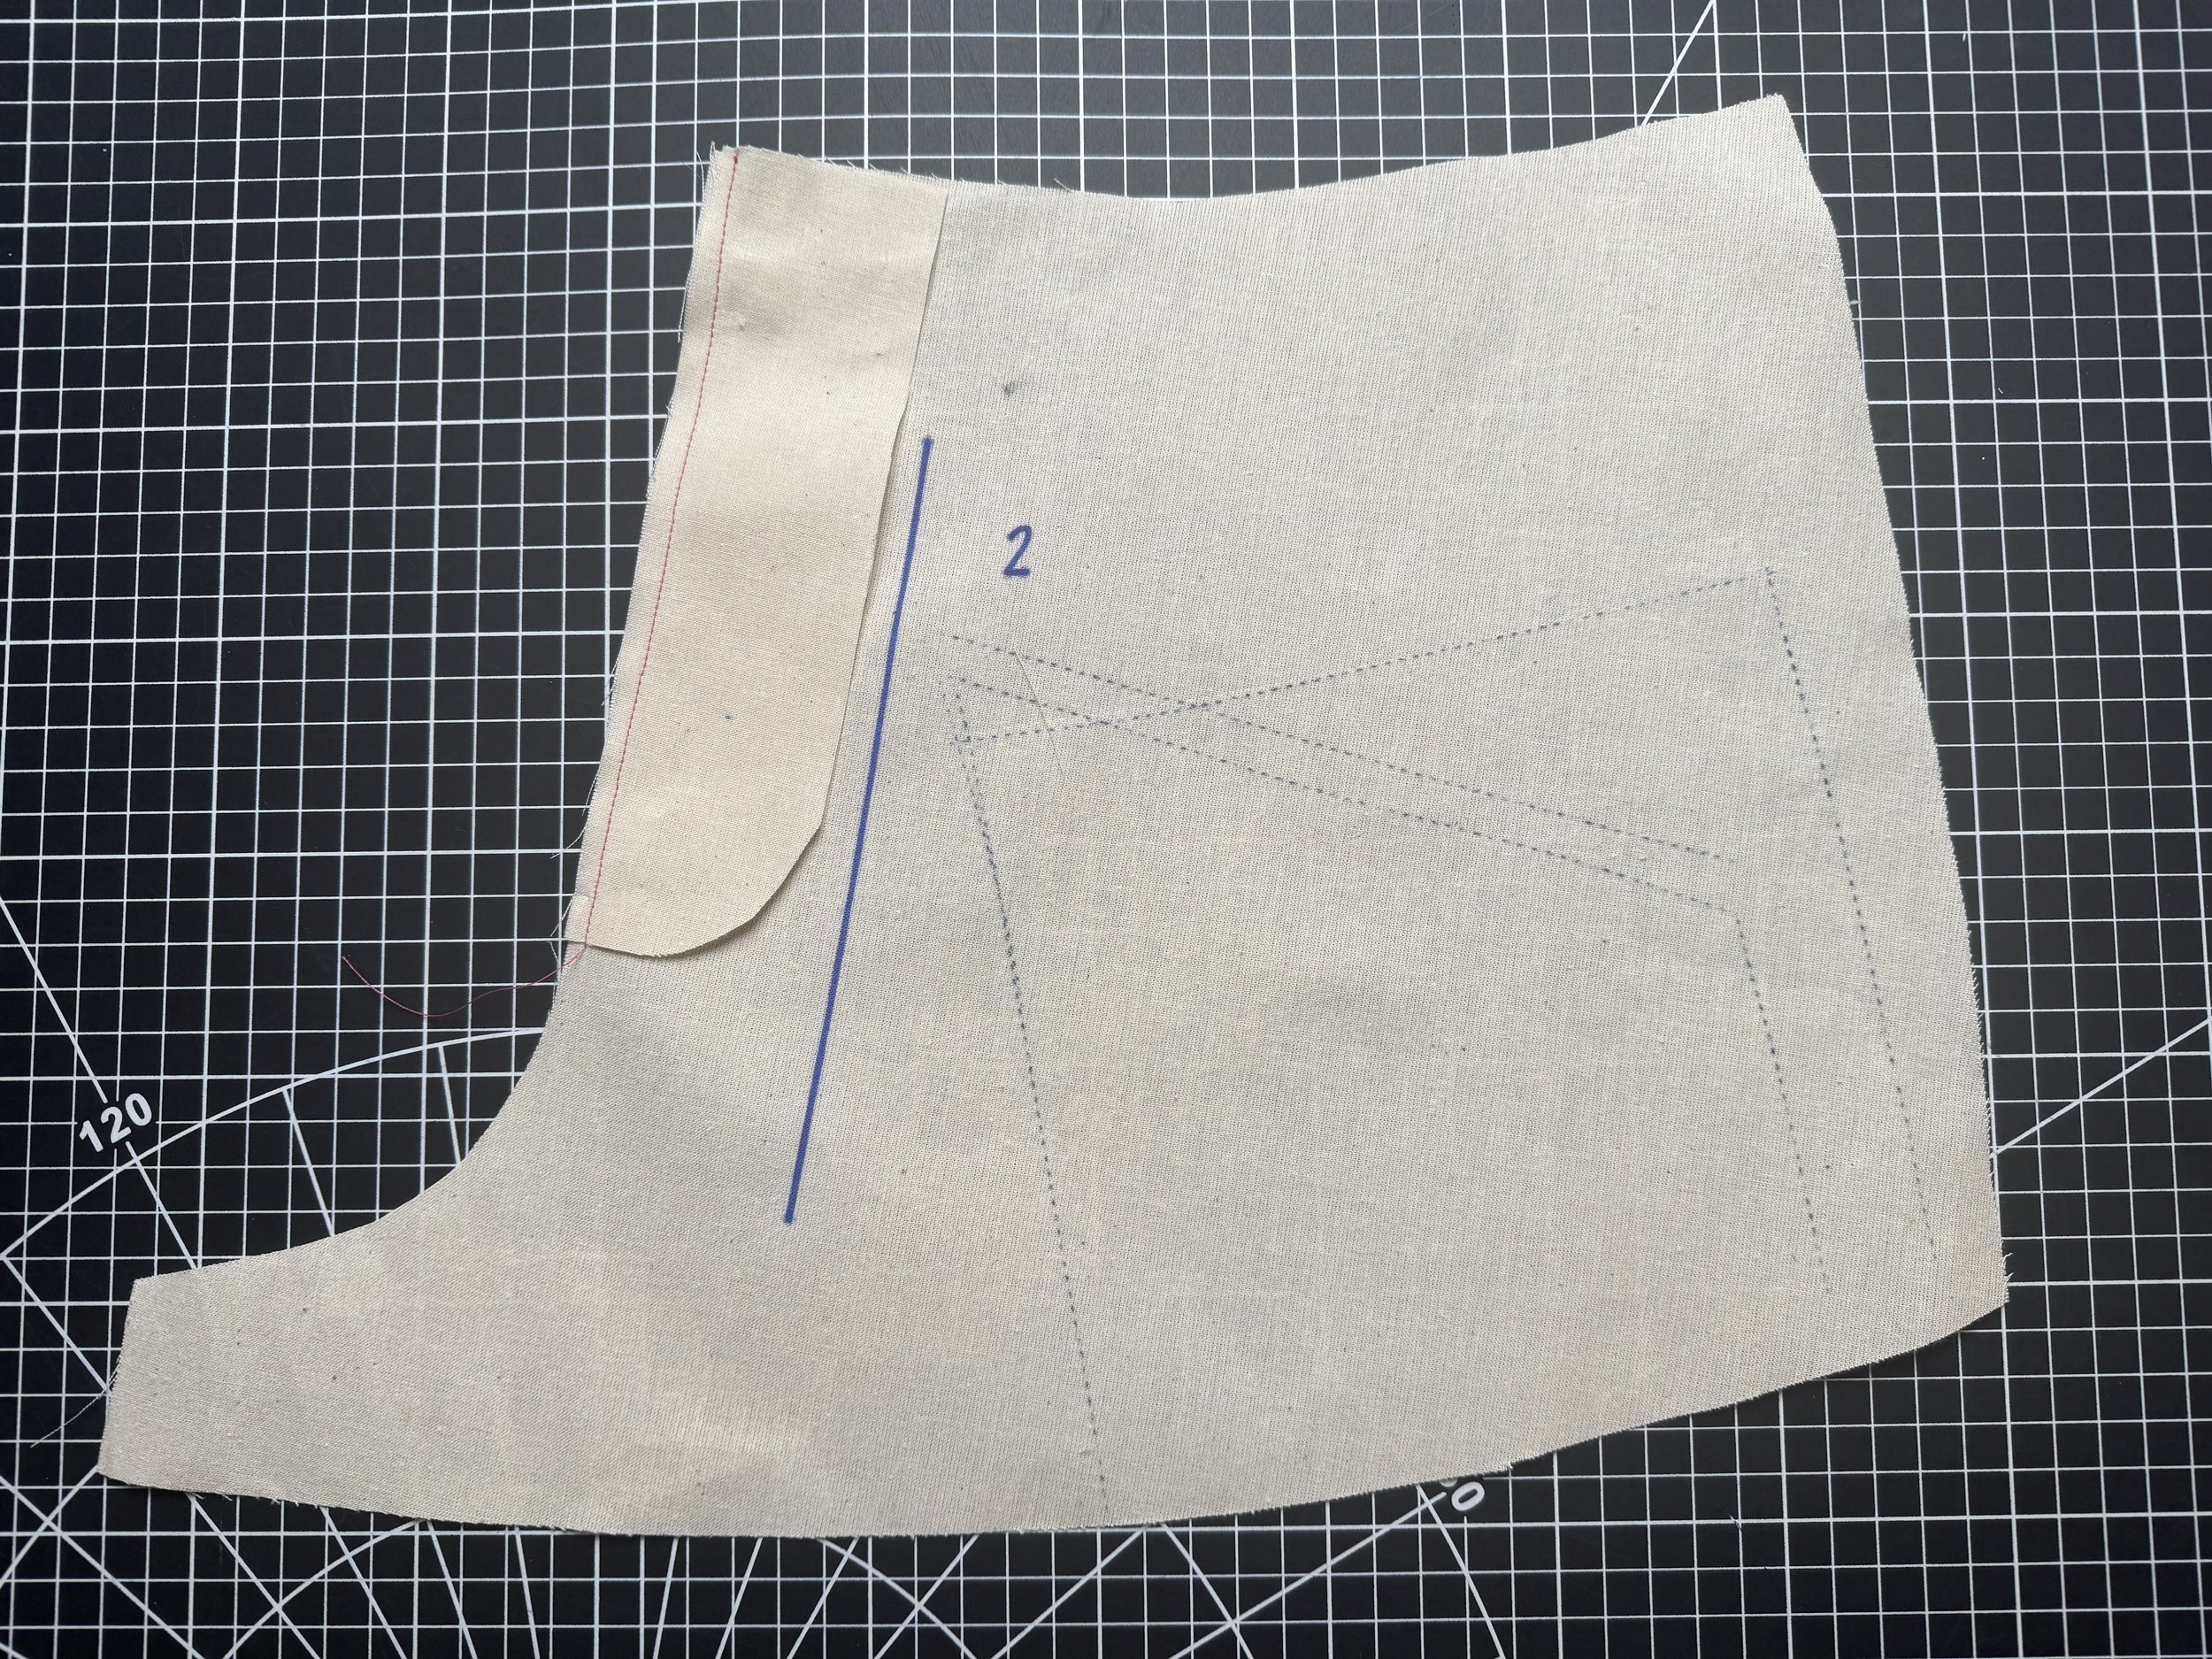
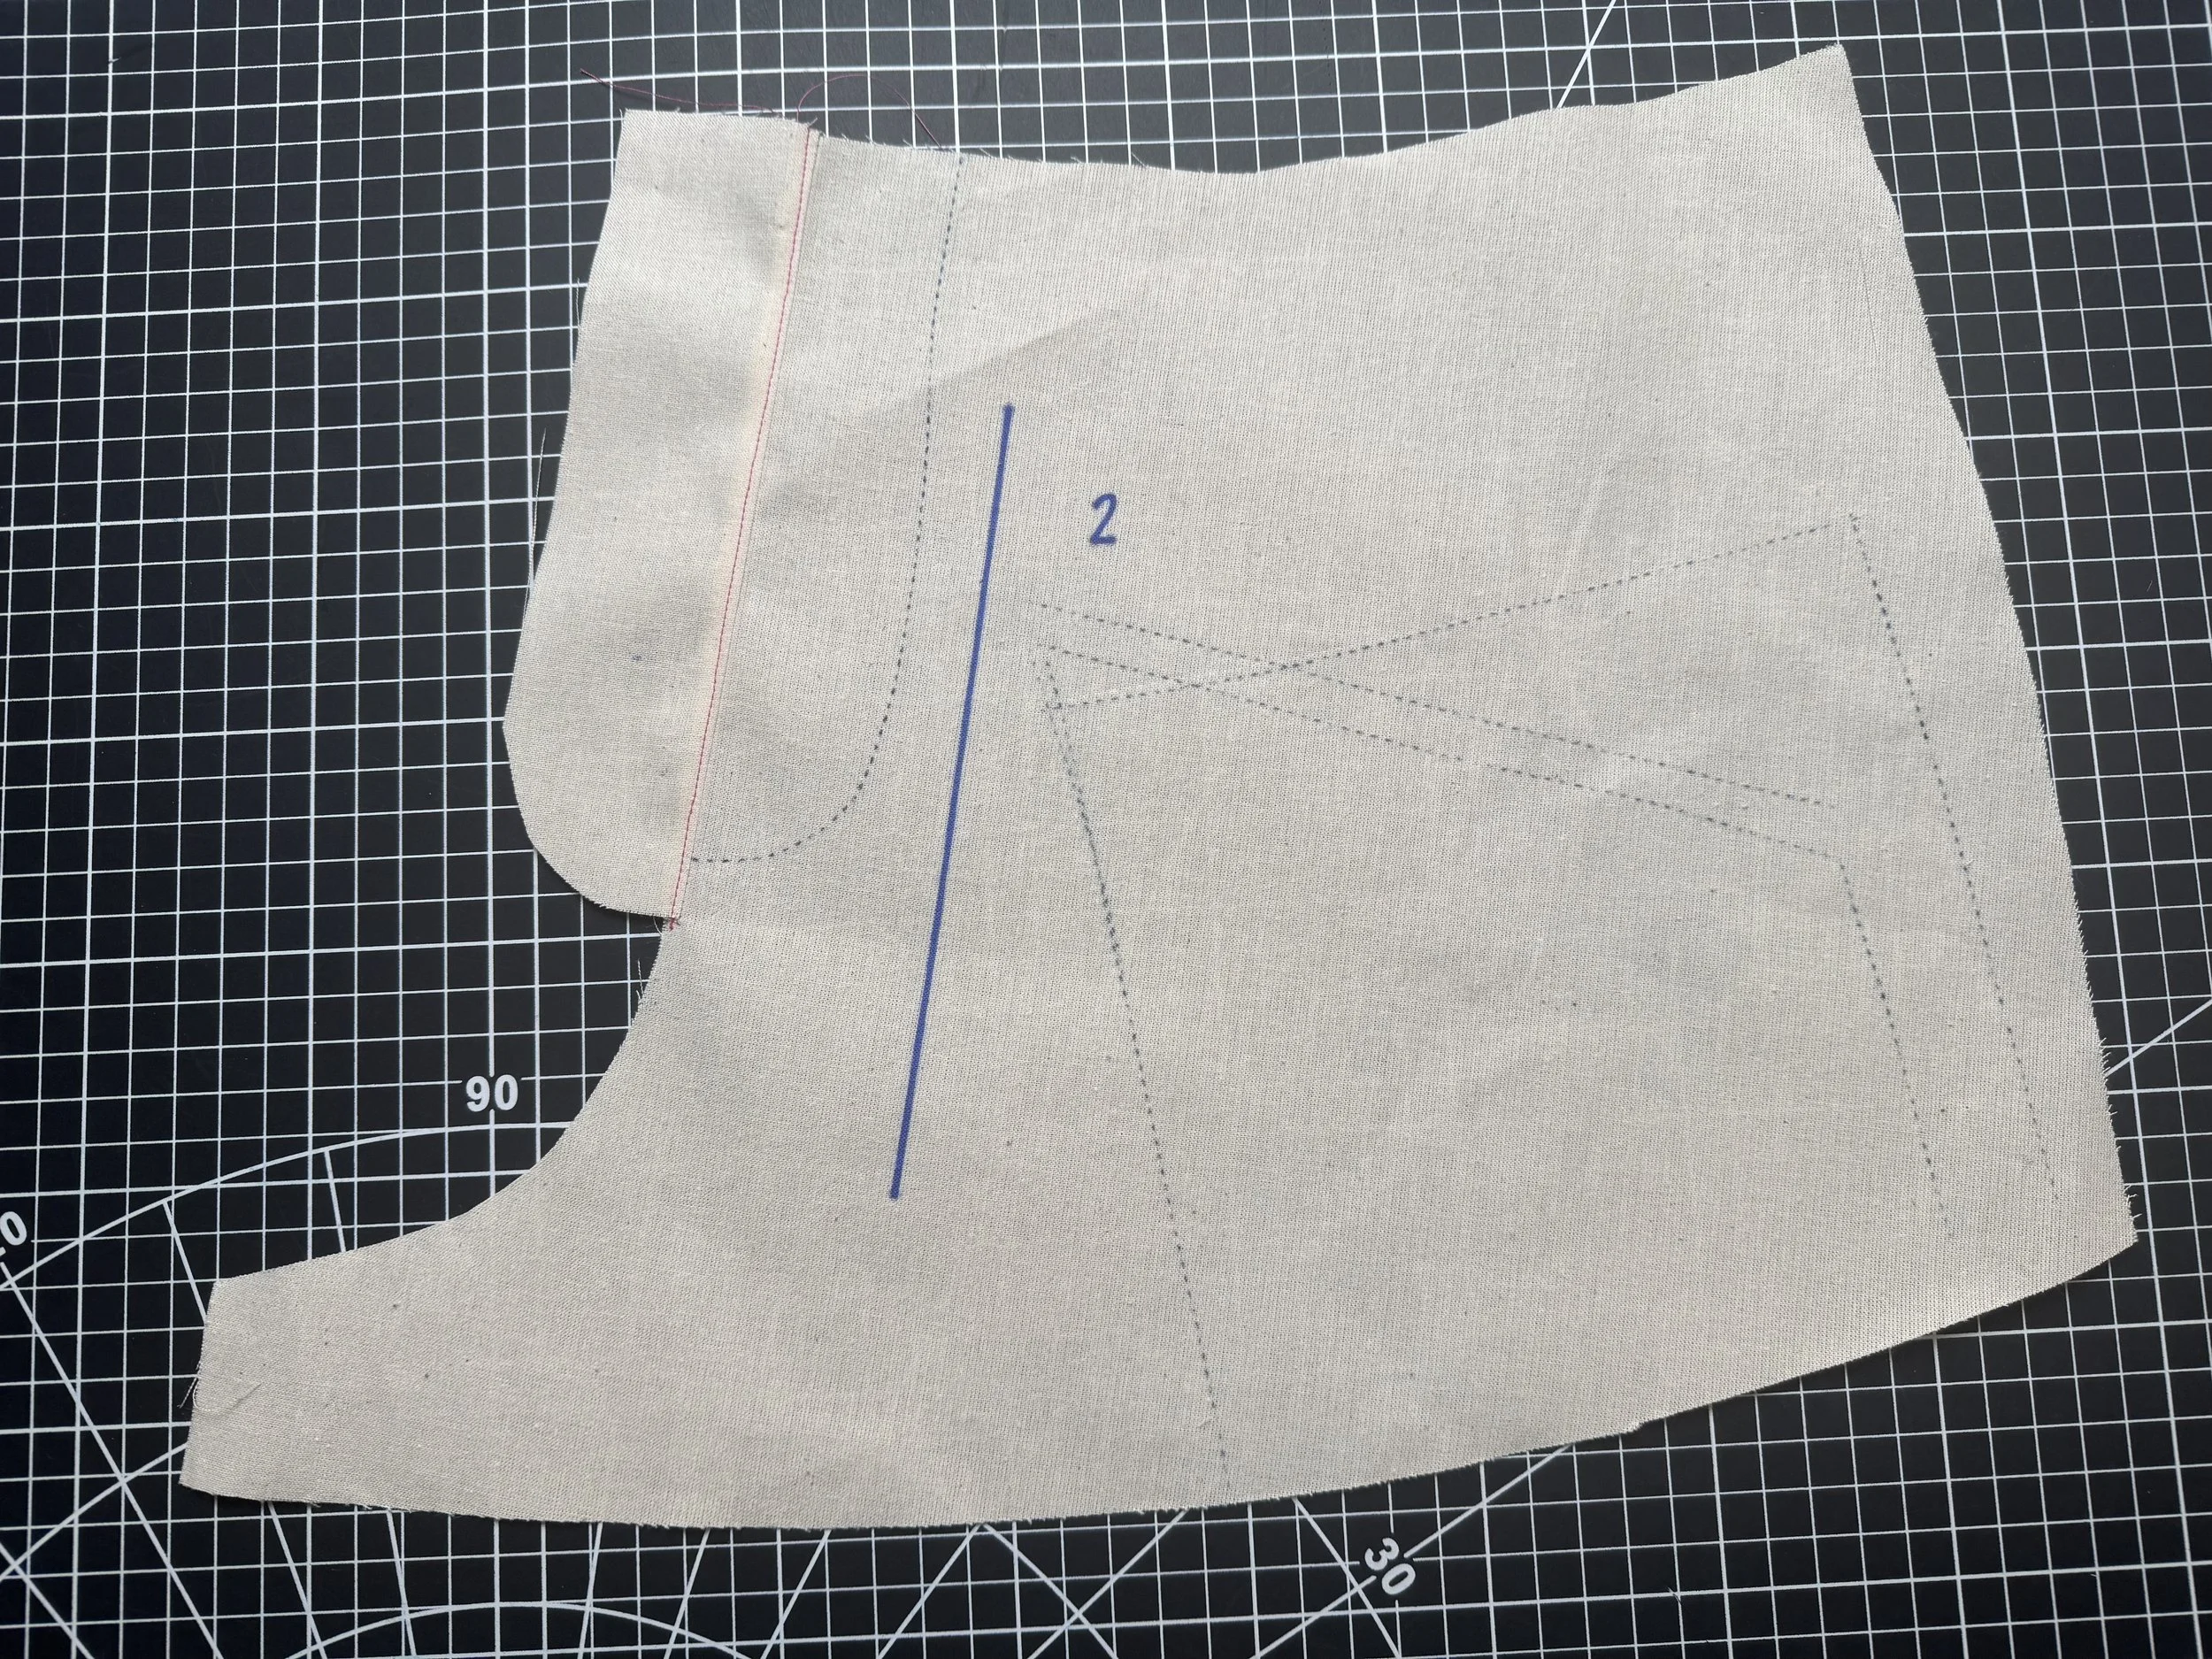
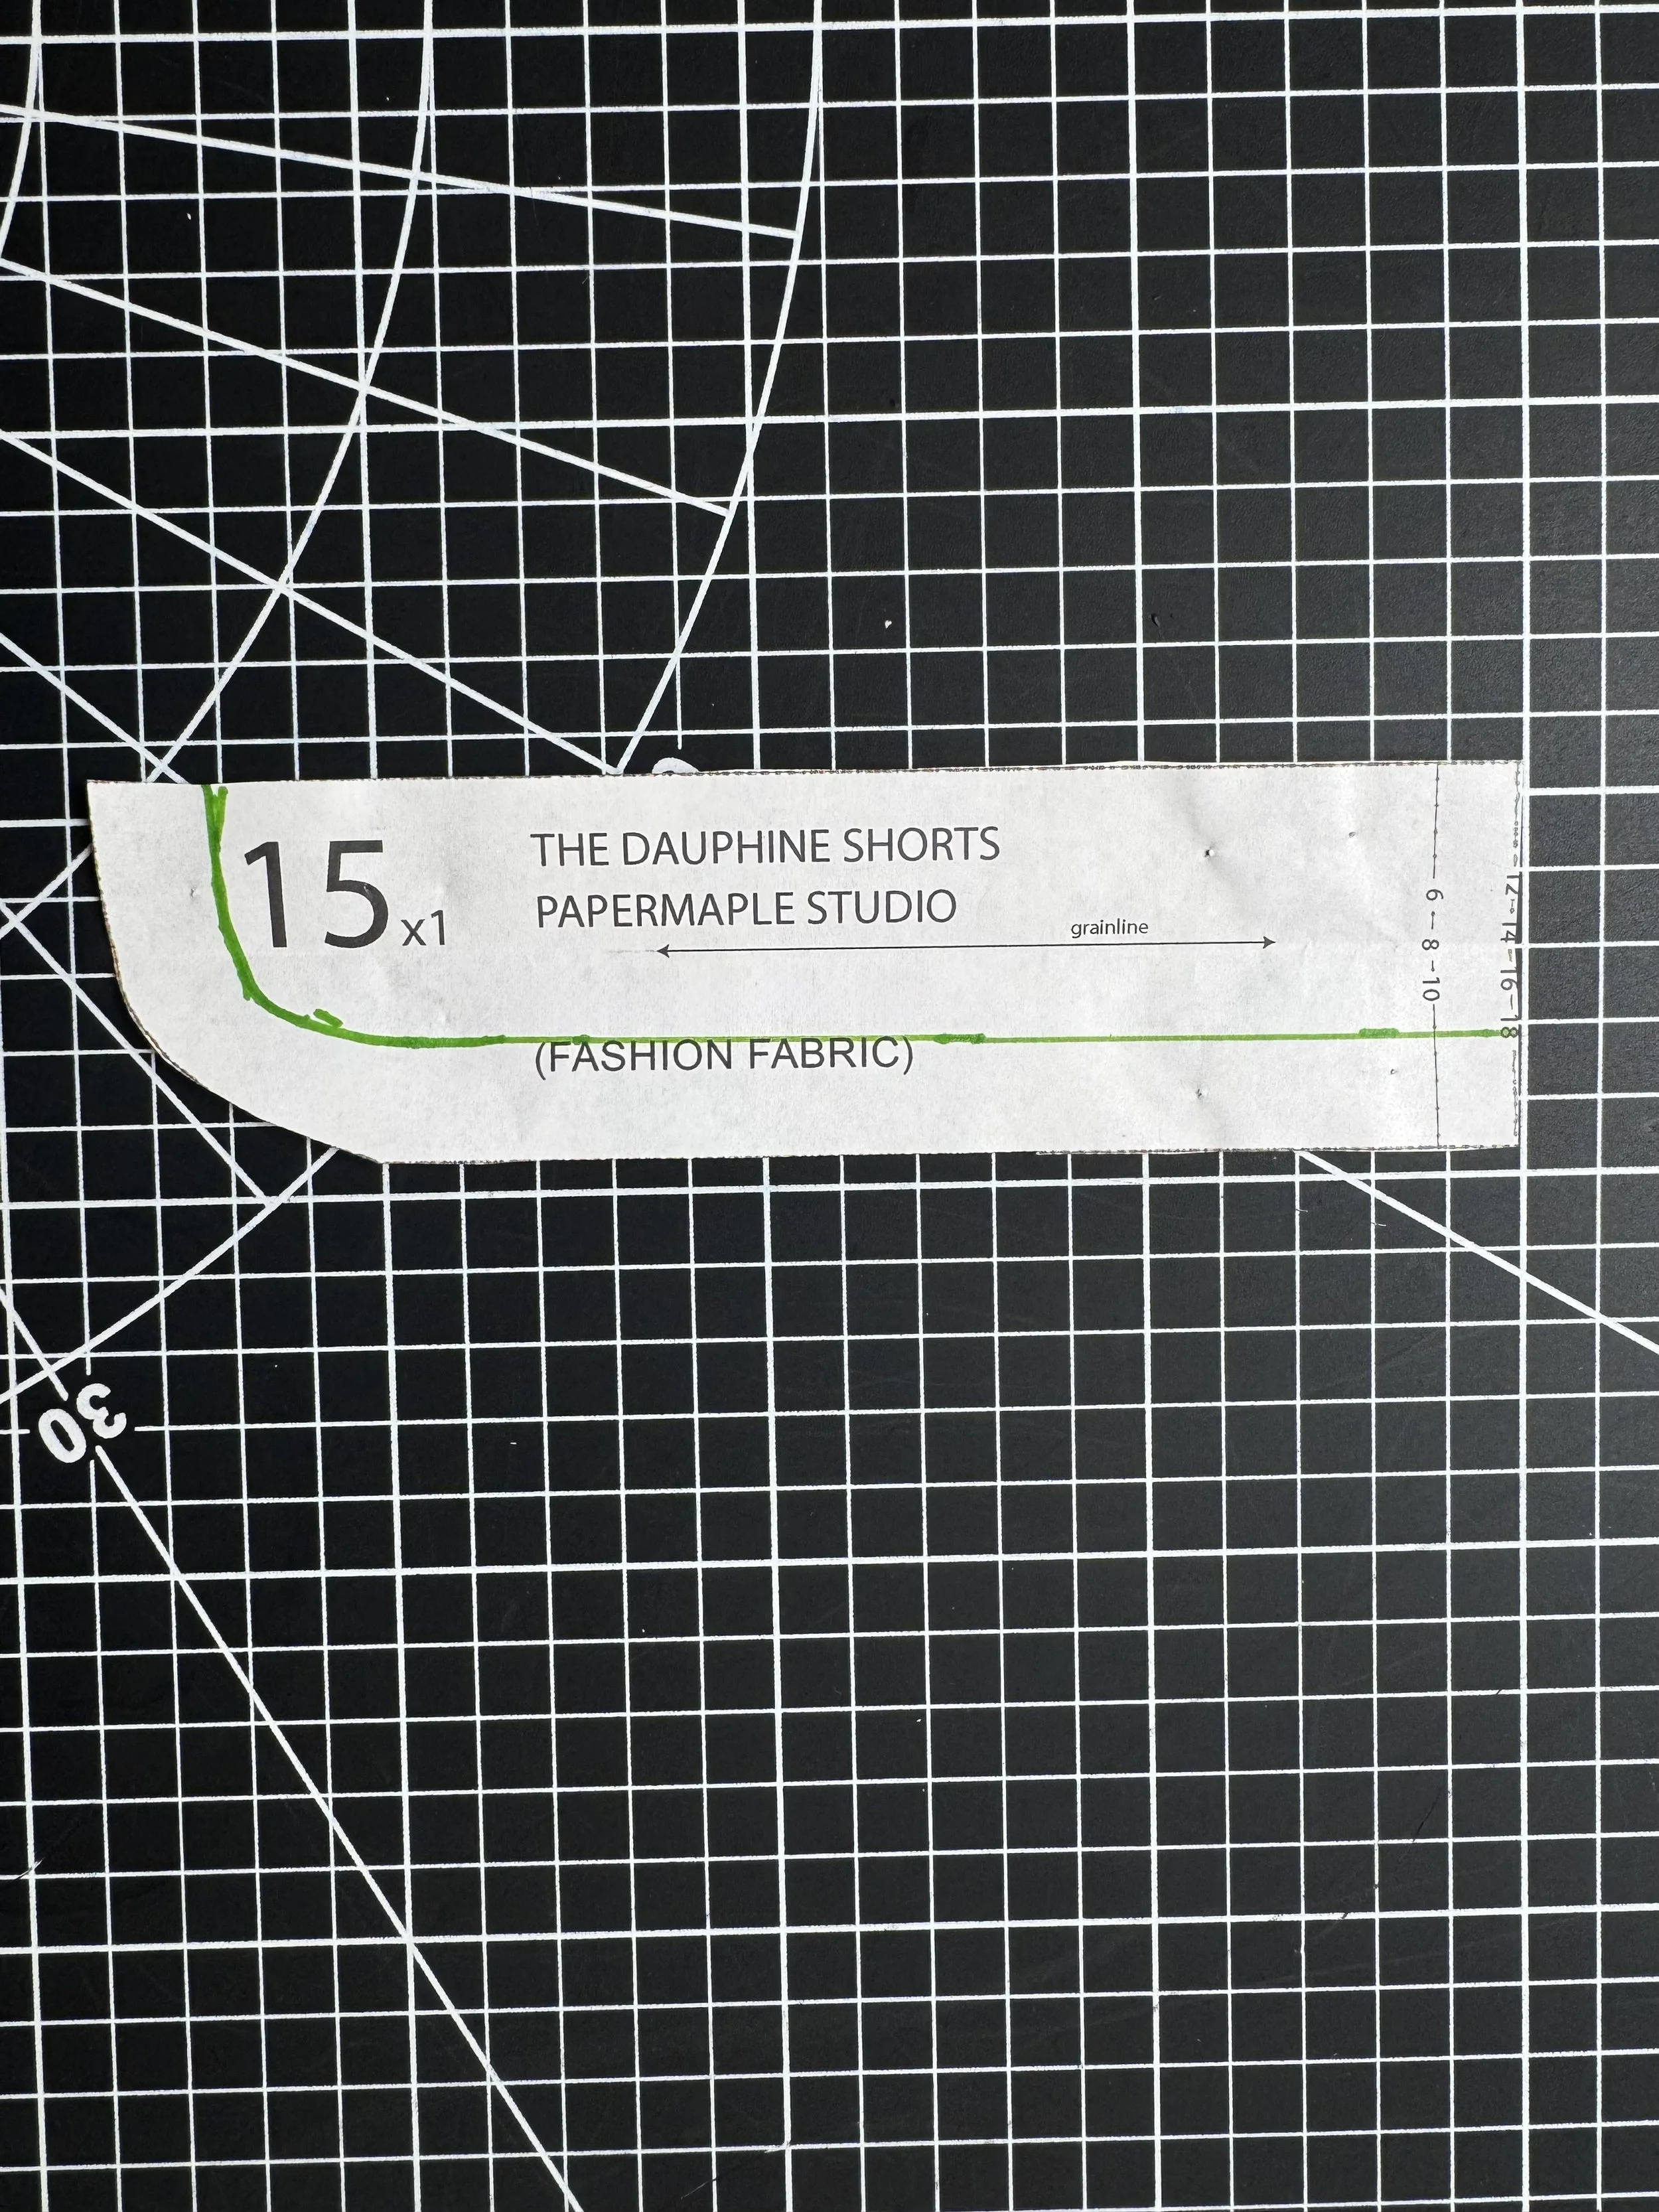
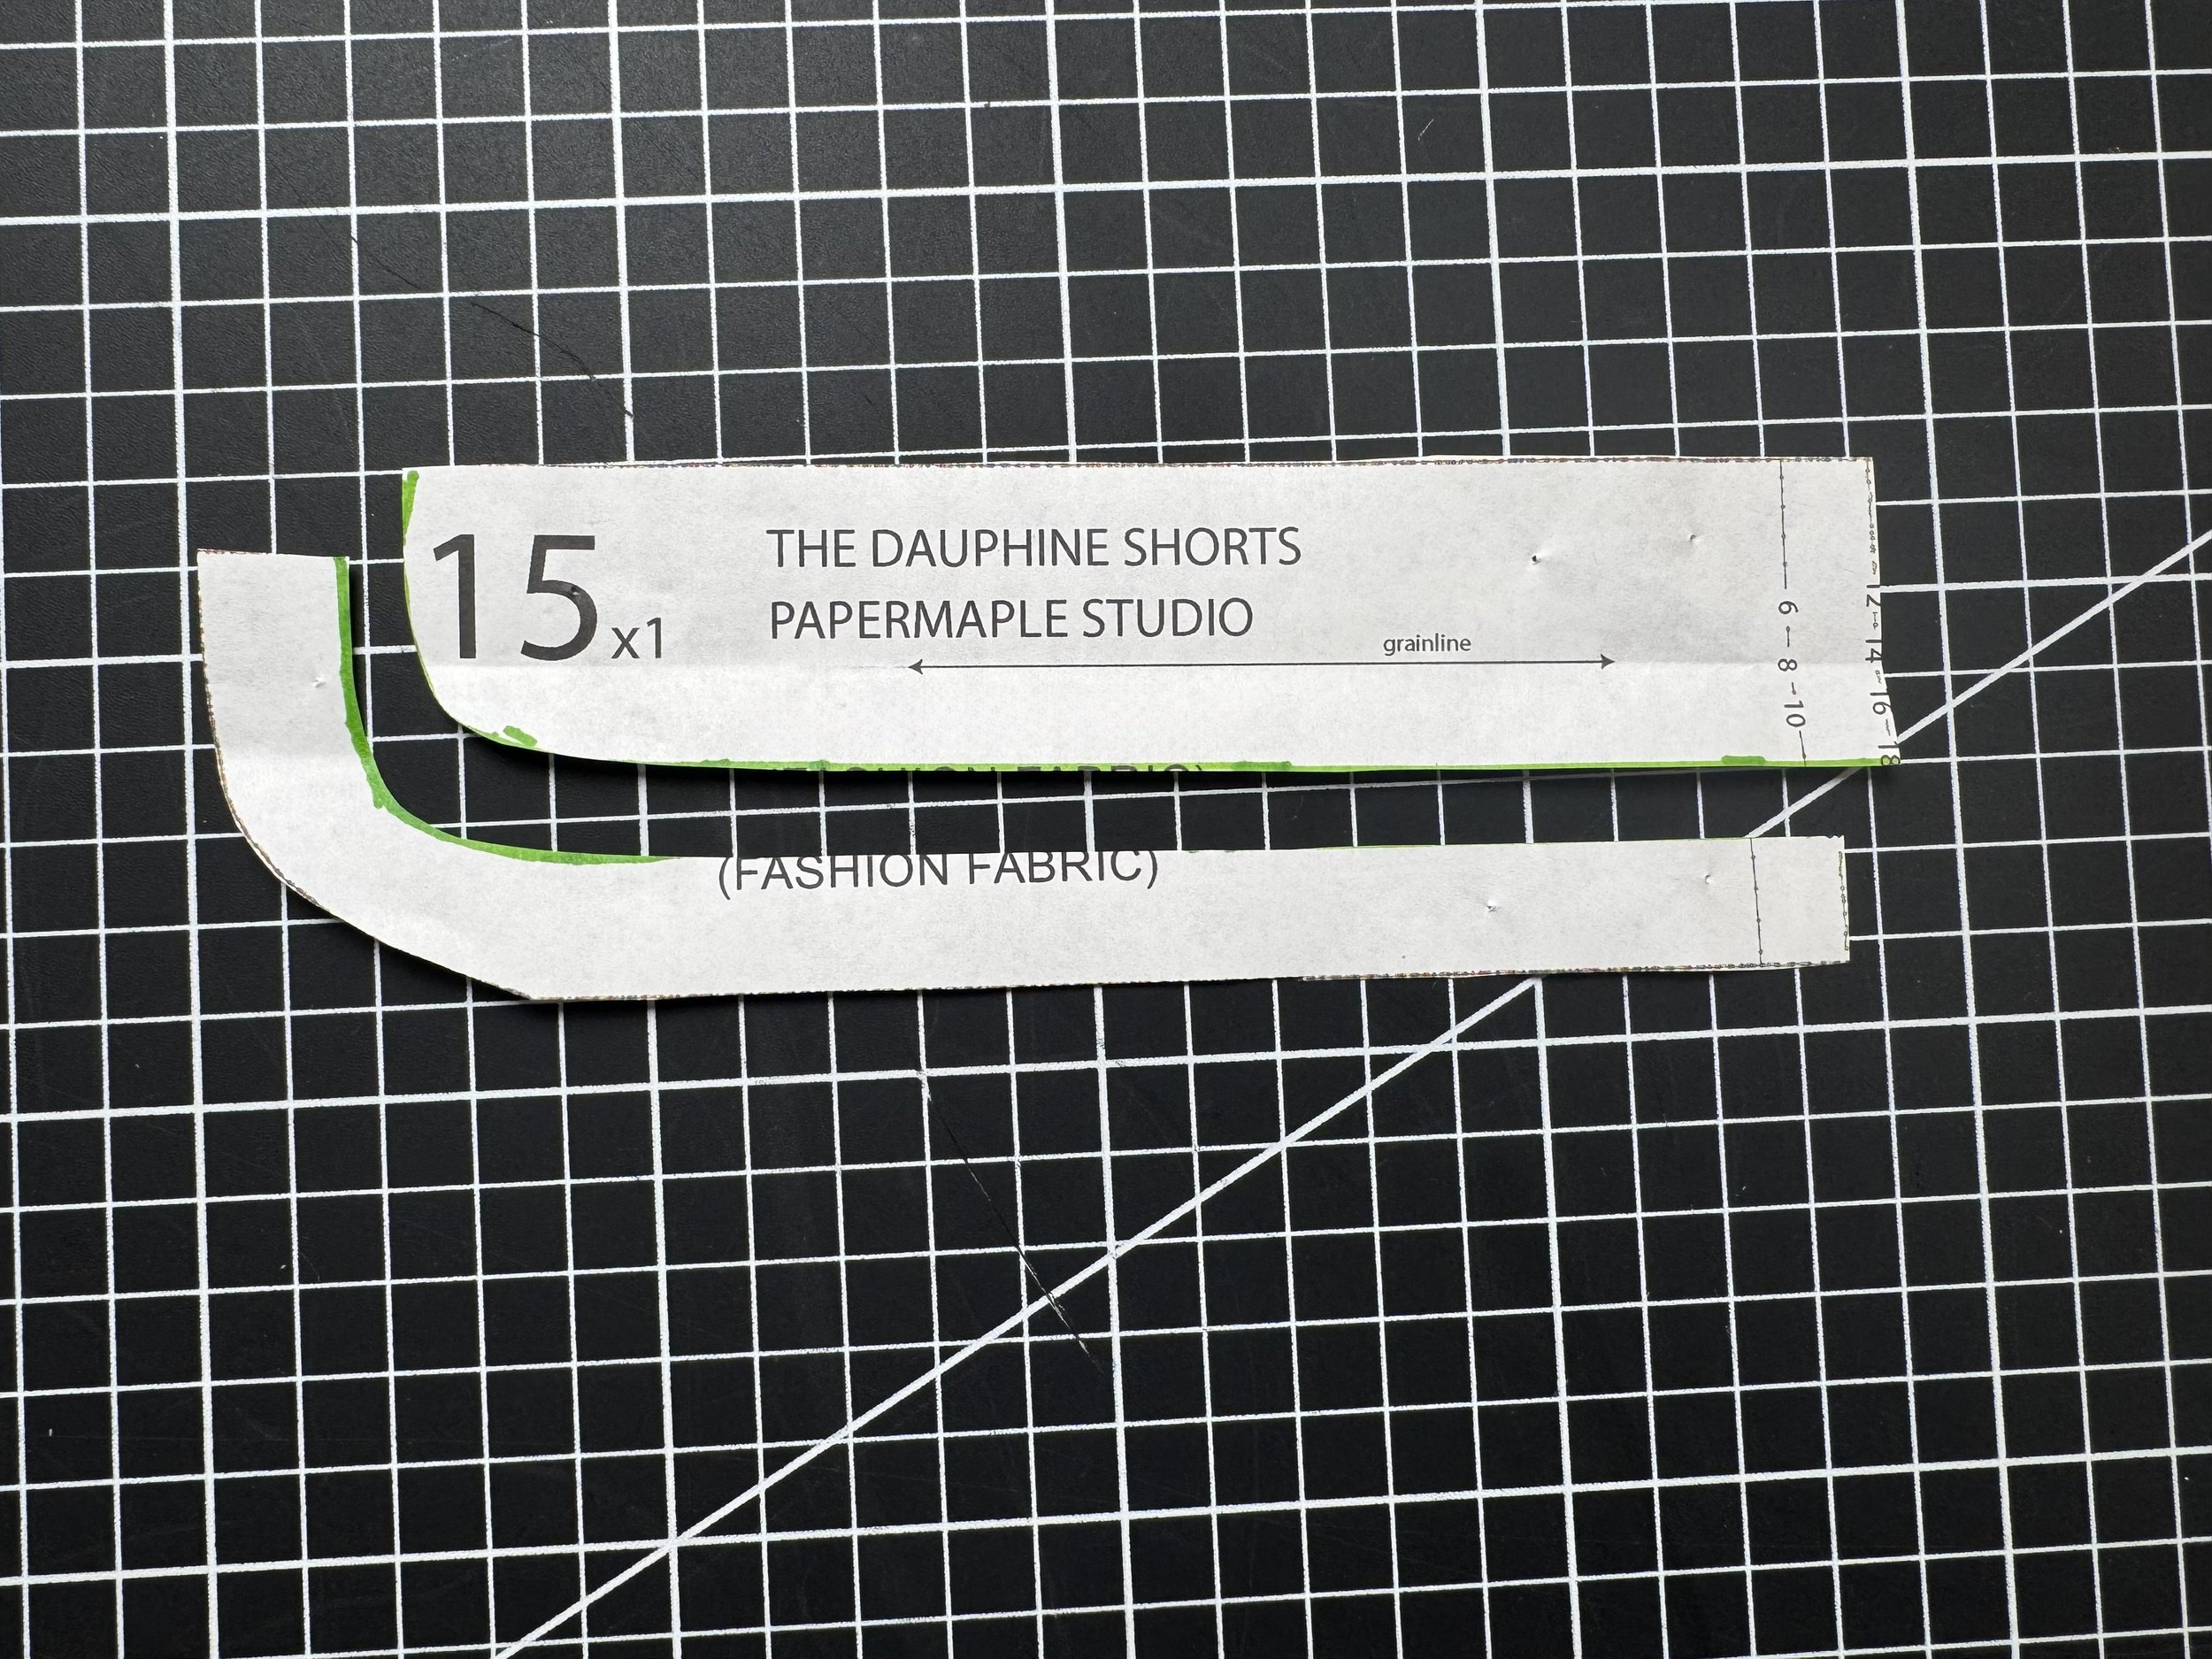
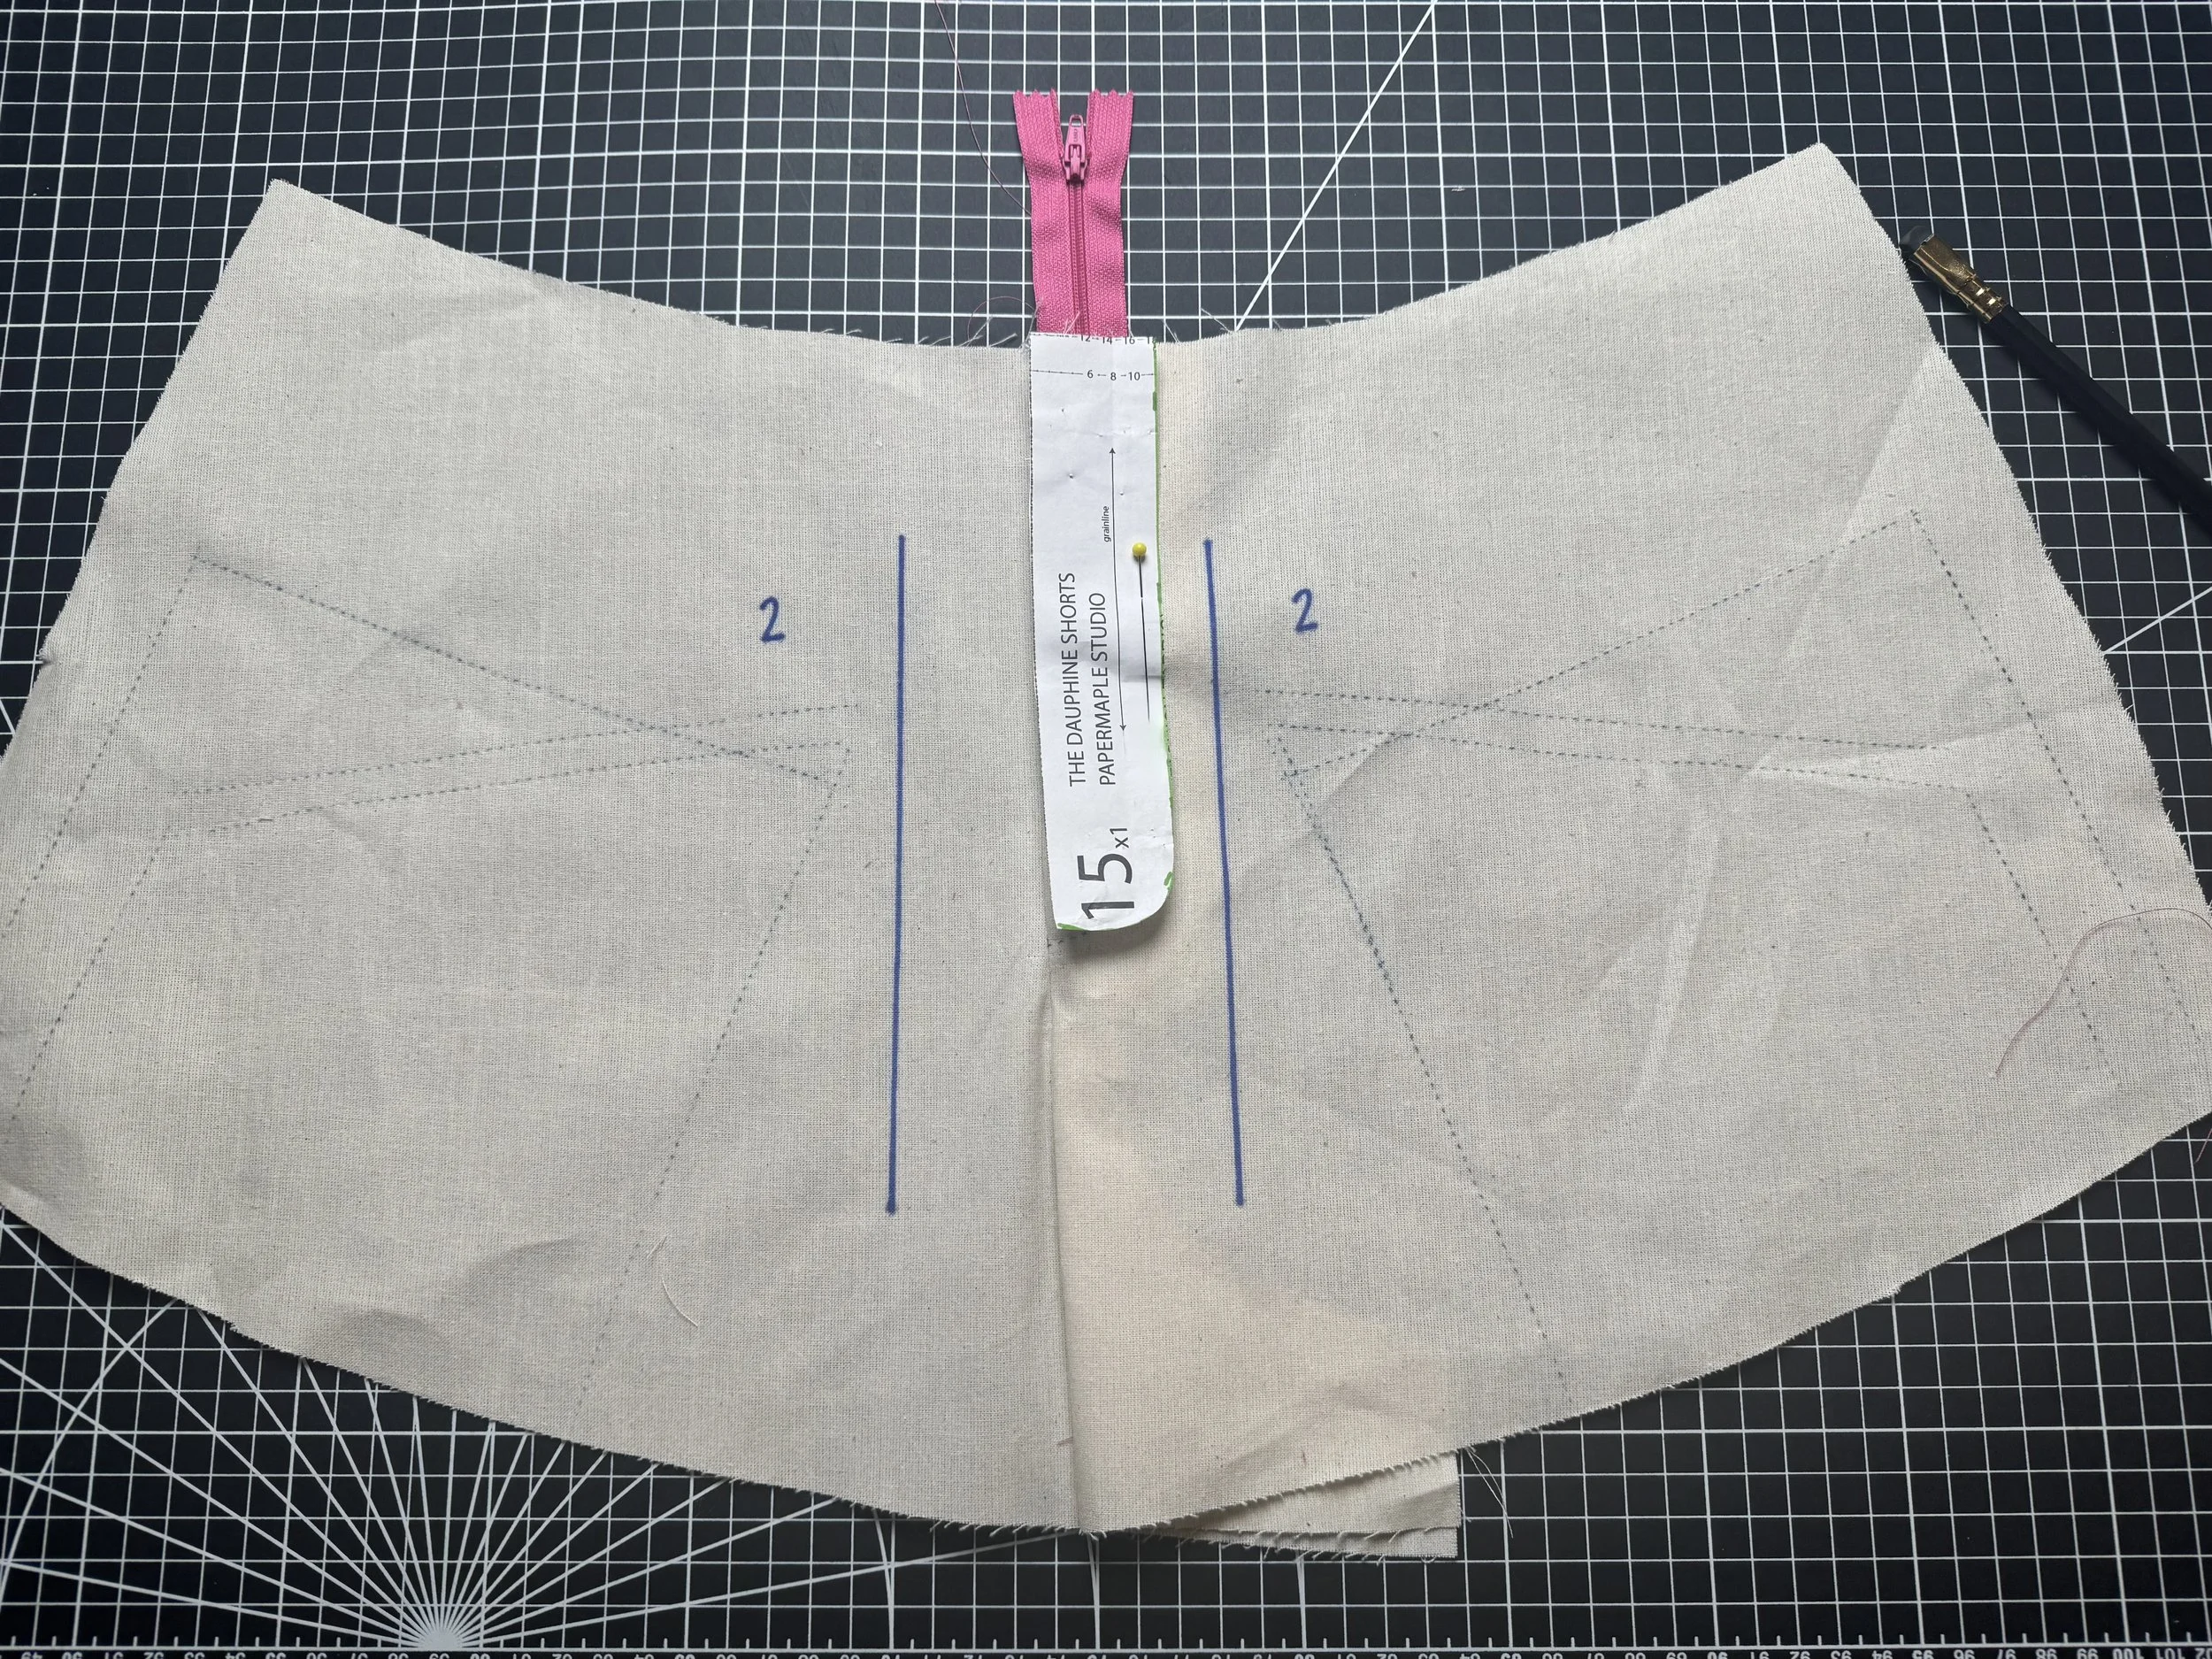
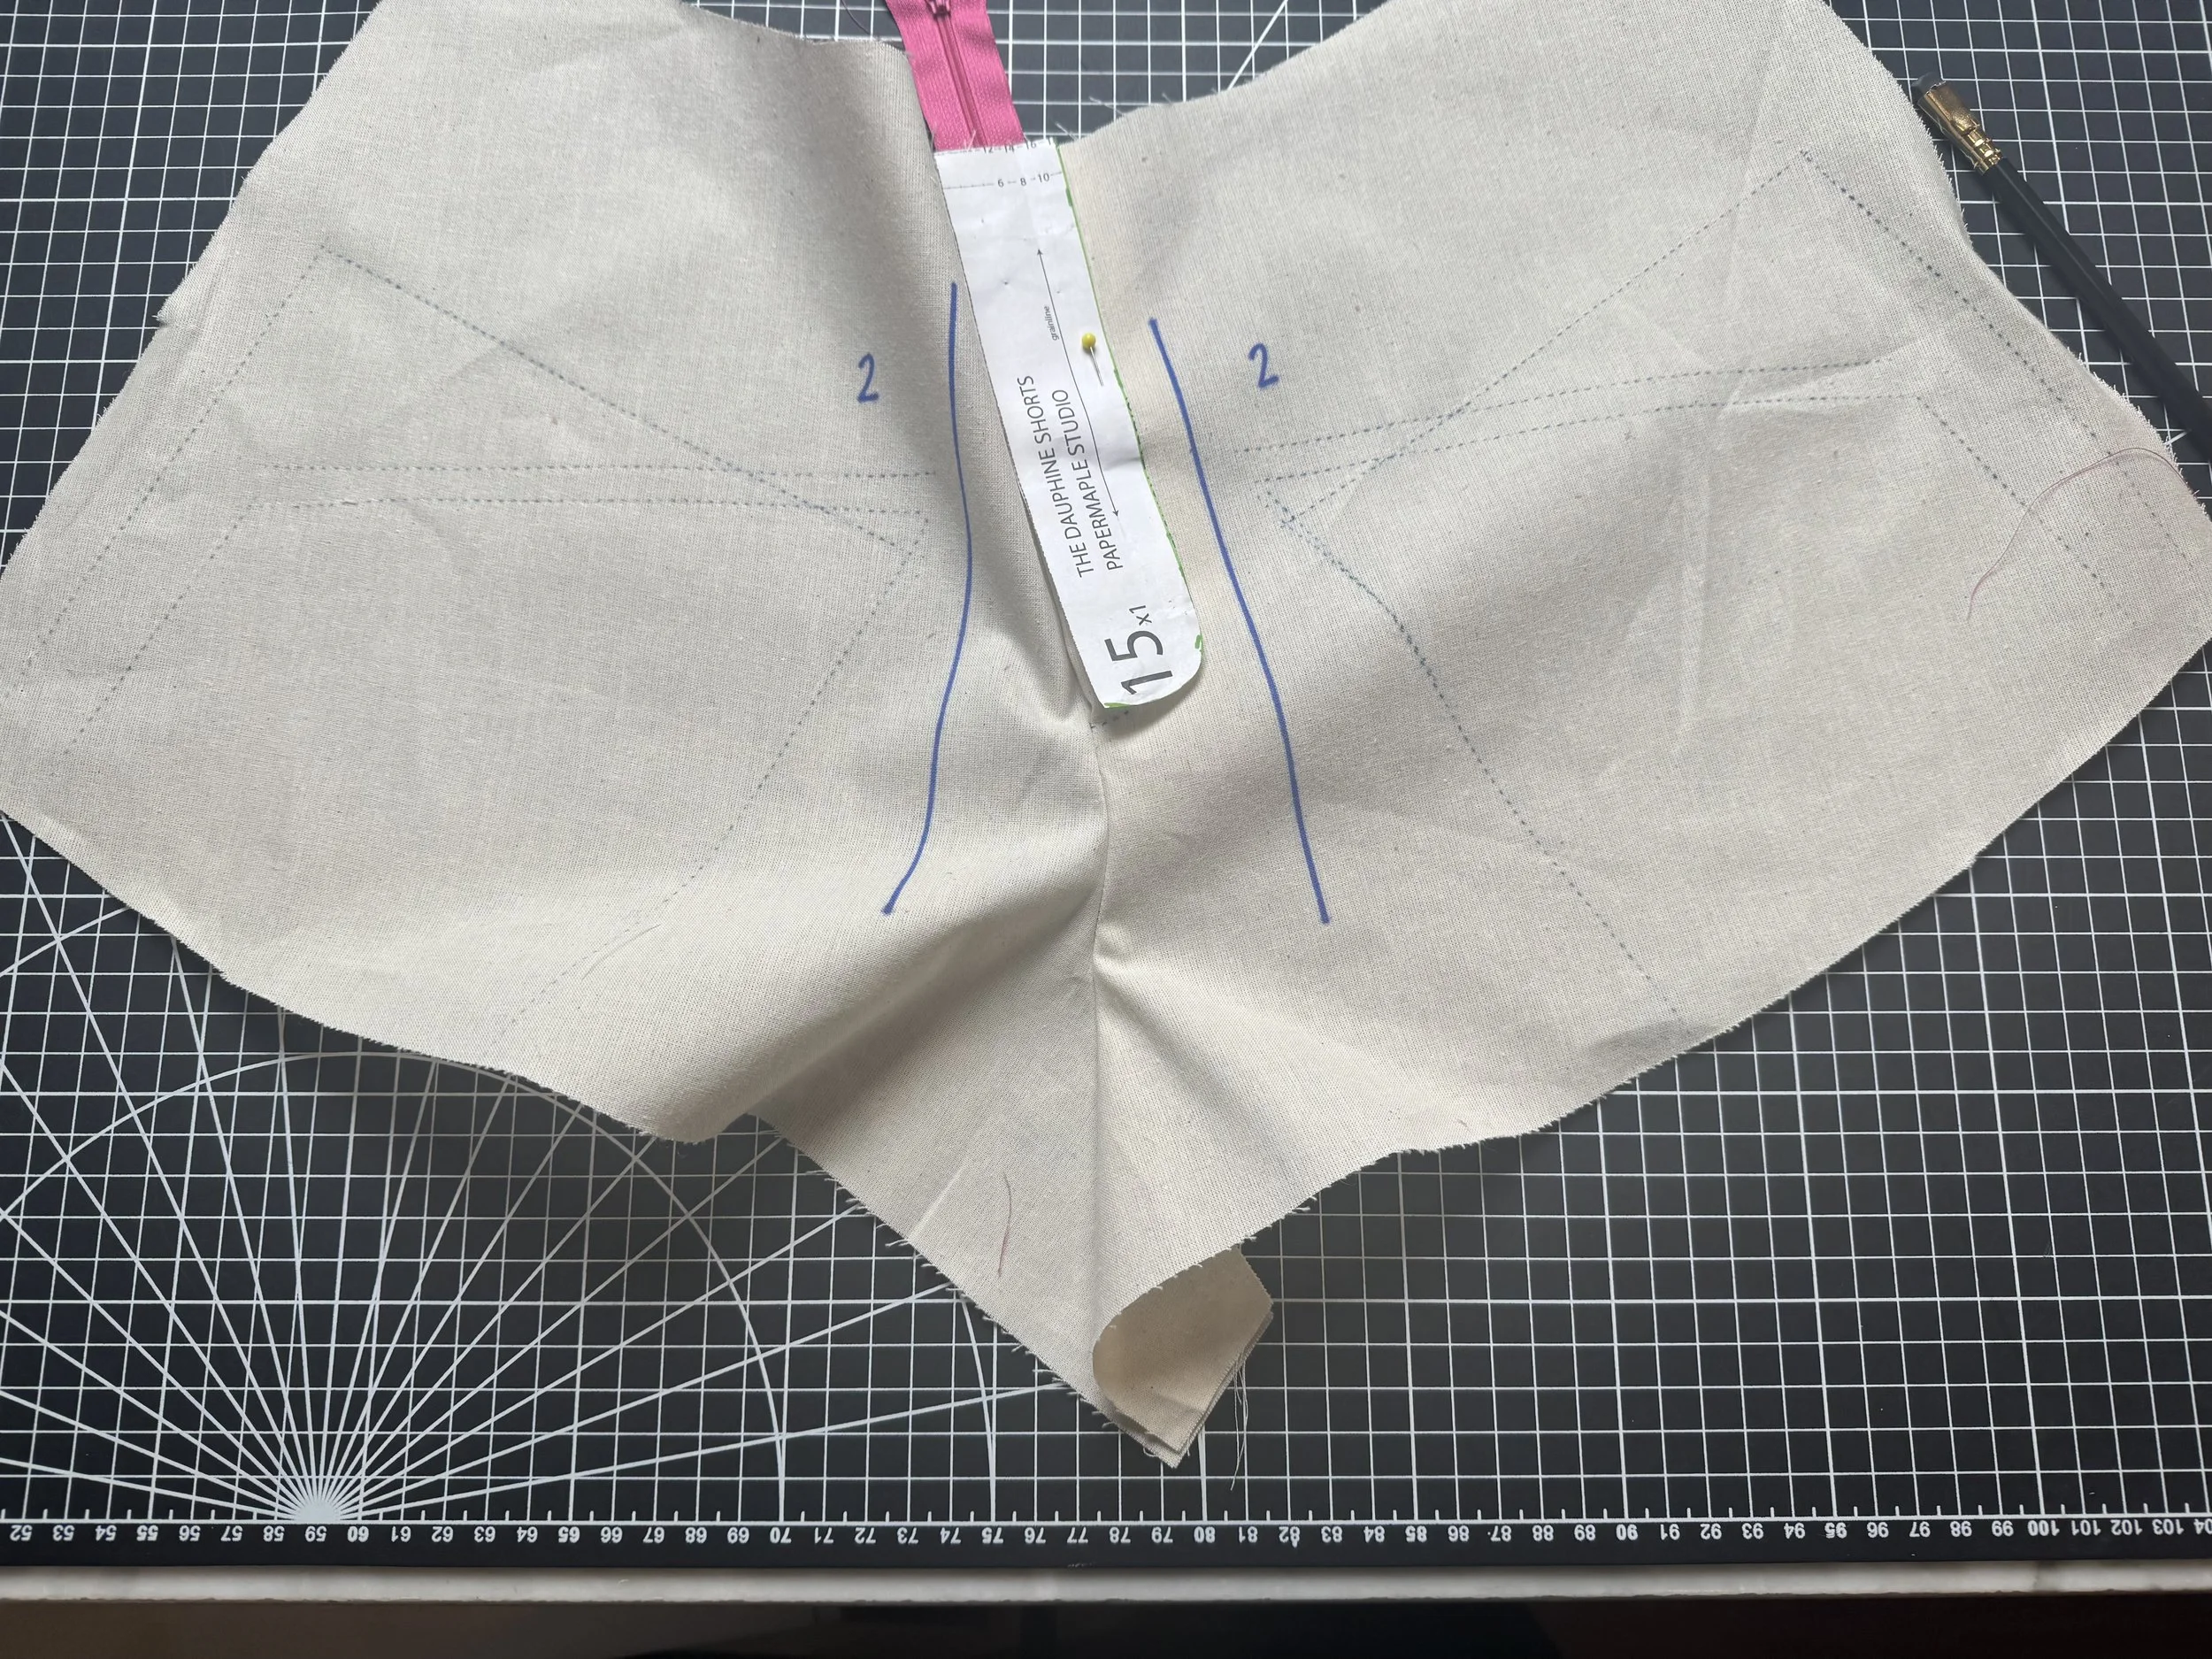
We begin with piece 2 and 15.
If your fashion fabric is on the thicker side, I would suggest using one fly (15) serged piece and some interfacing if you feel it needs additional stability, for a lighter weight fabric, double the fly pieces(15) sew right side to right side and turn before sewing, adding a light weight fusible if needed - keep bulk to a minimum here, if possible.
Sew the fly to the left side pattern piece with a 1/2” to 5/8” seam allowance - this varies depending on the method used.
*And I appreciate how difficult it is to follow zipper construction in a series of photos, so there is a video tutorial on it’s way….
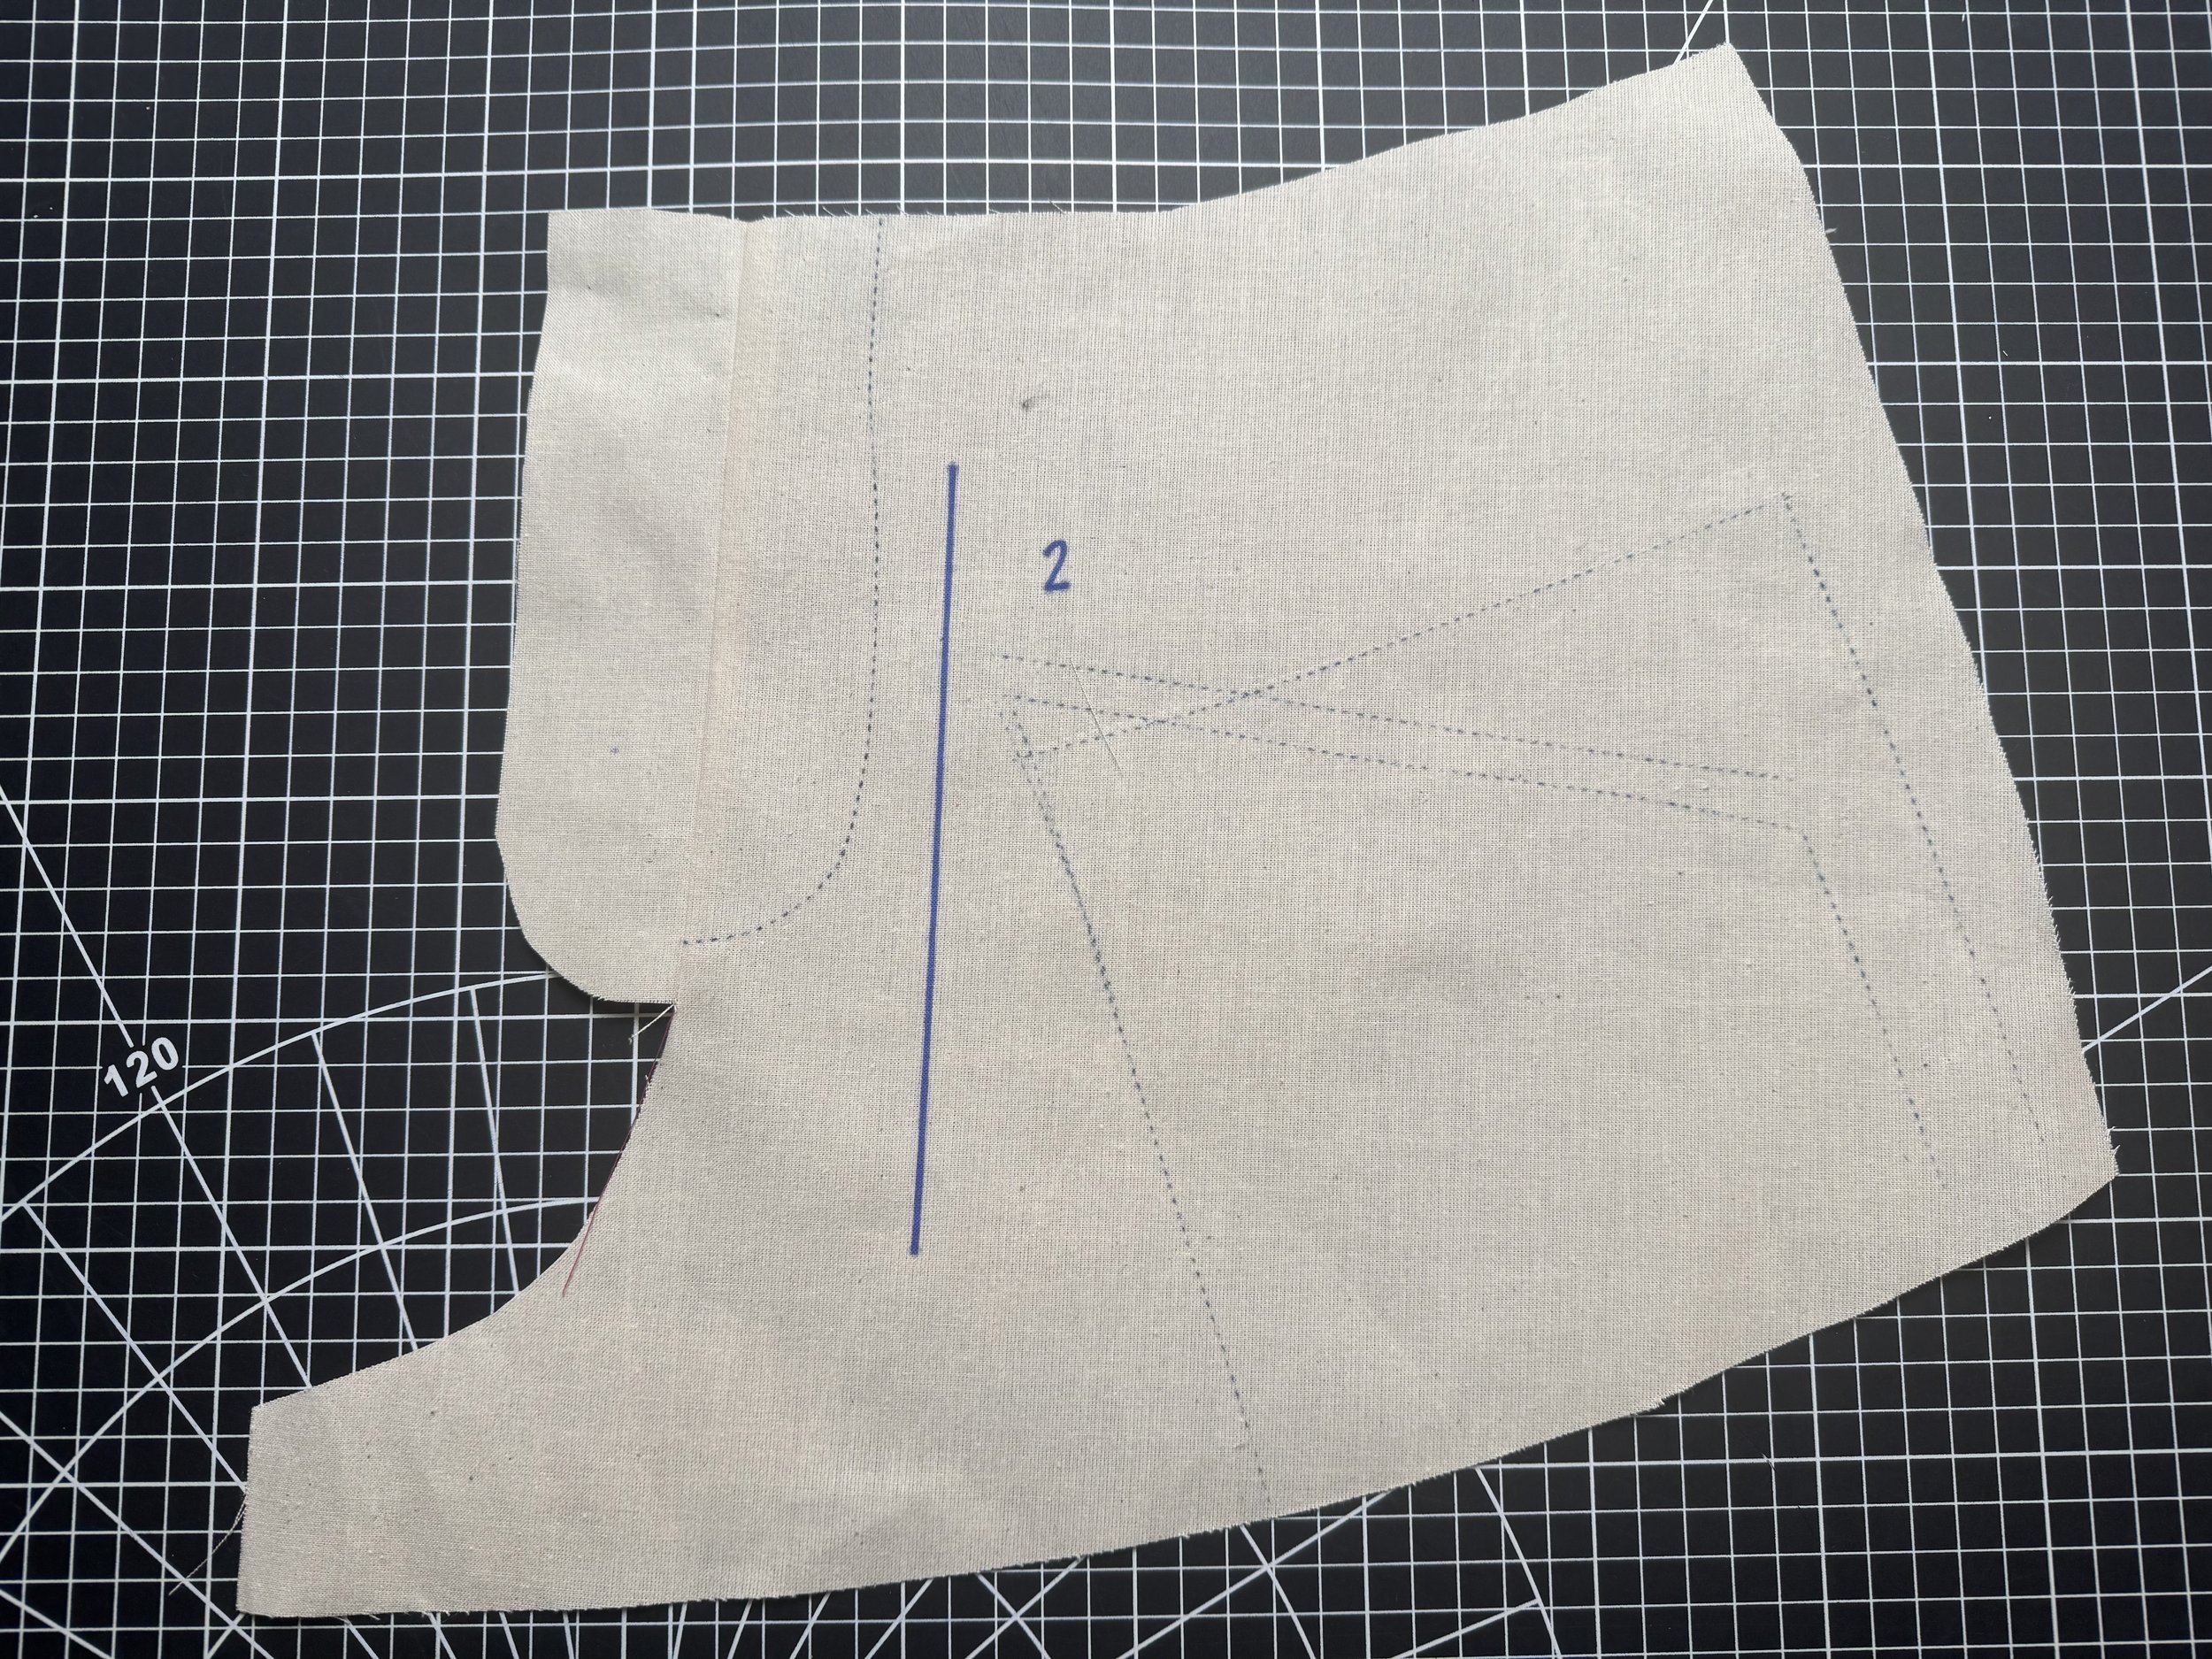
Open the fly so it lays flat and becomes an extension of the upper front piece (2)
Run a stitch on the fly side of the seam catching the seam allowances as you sew.
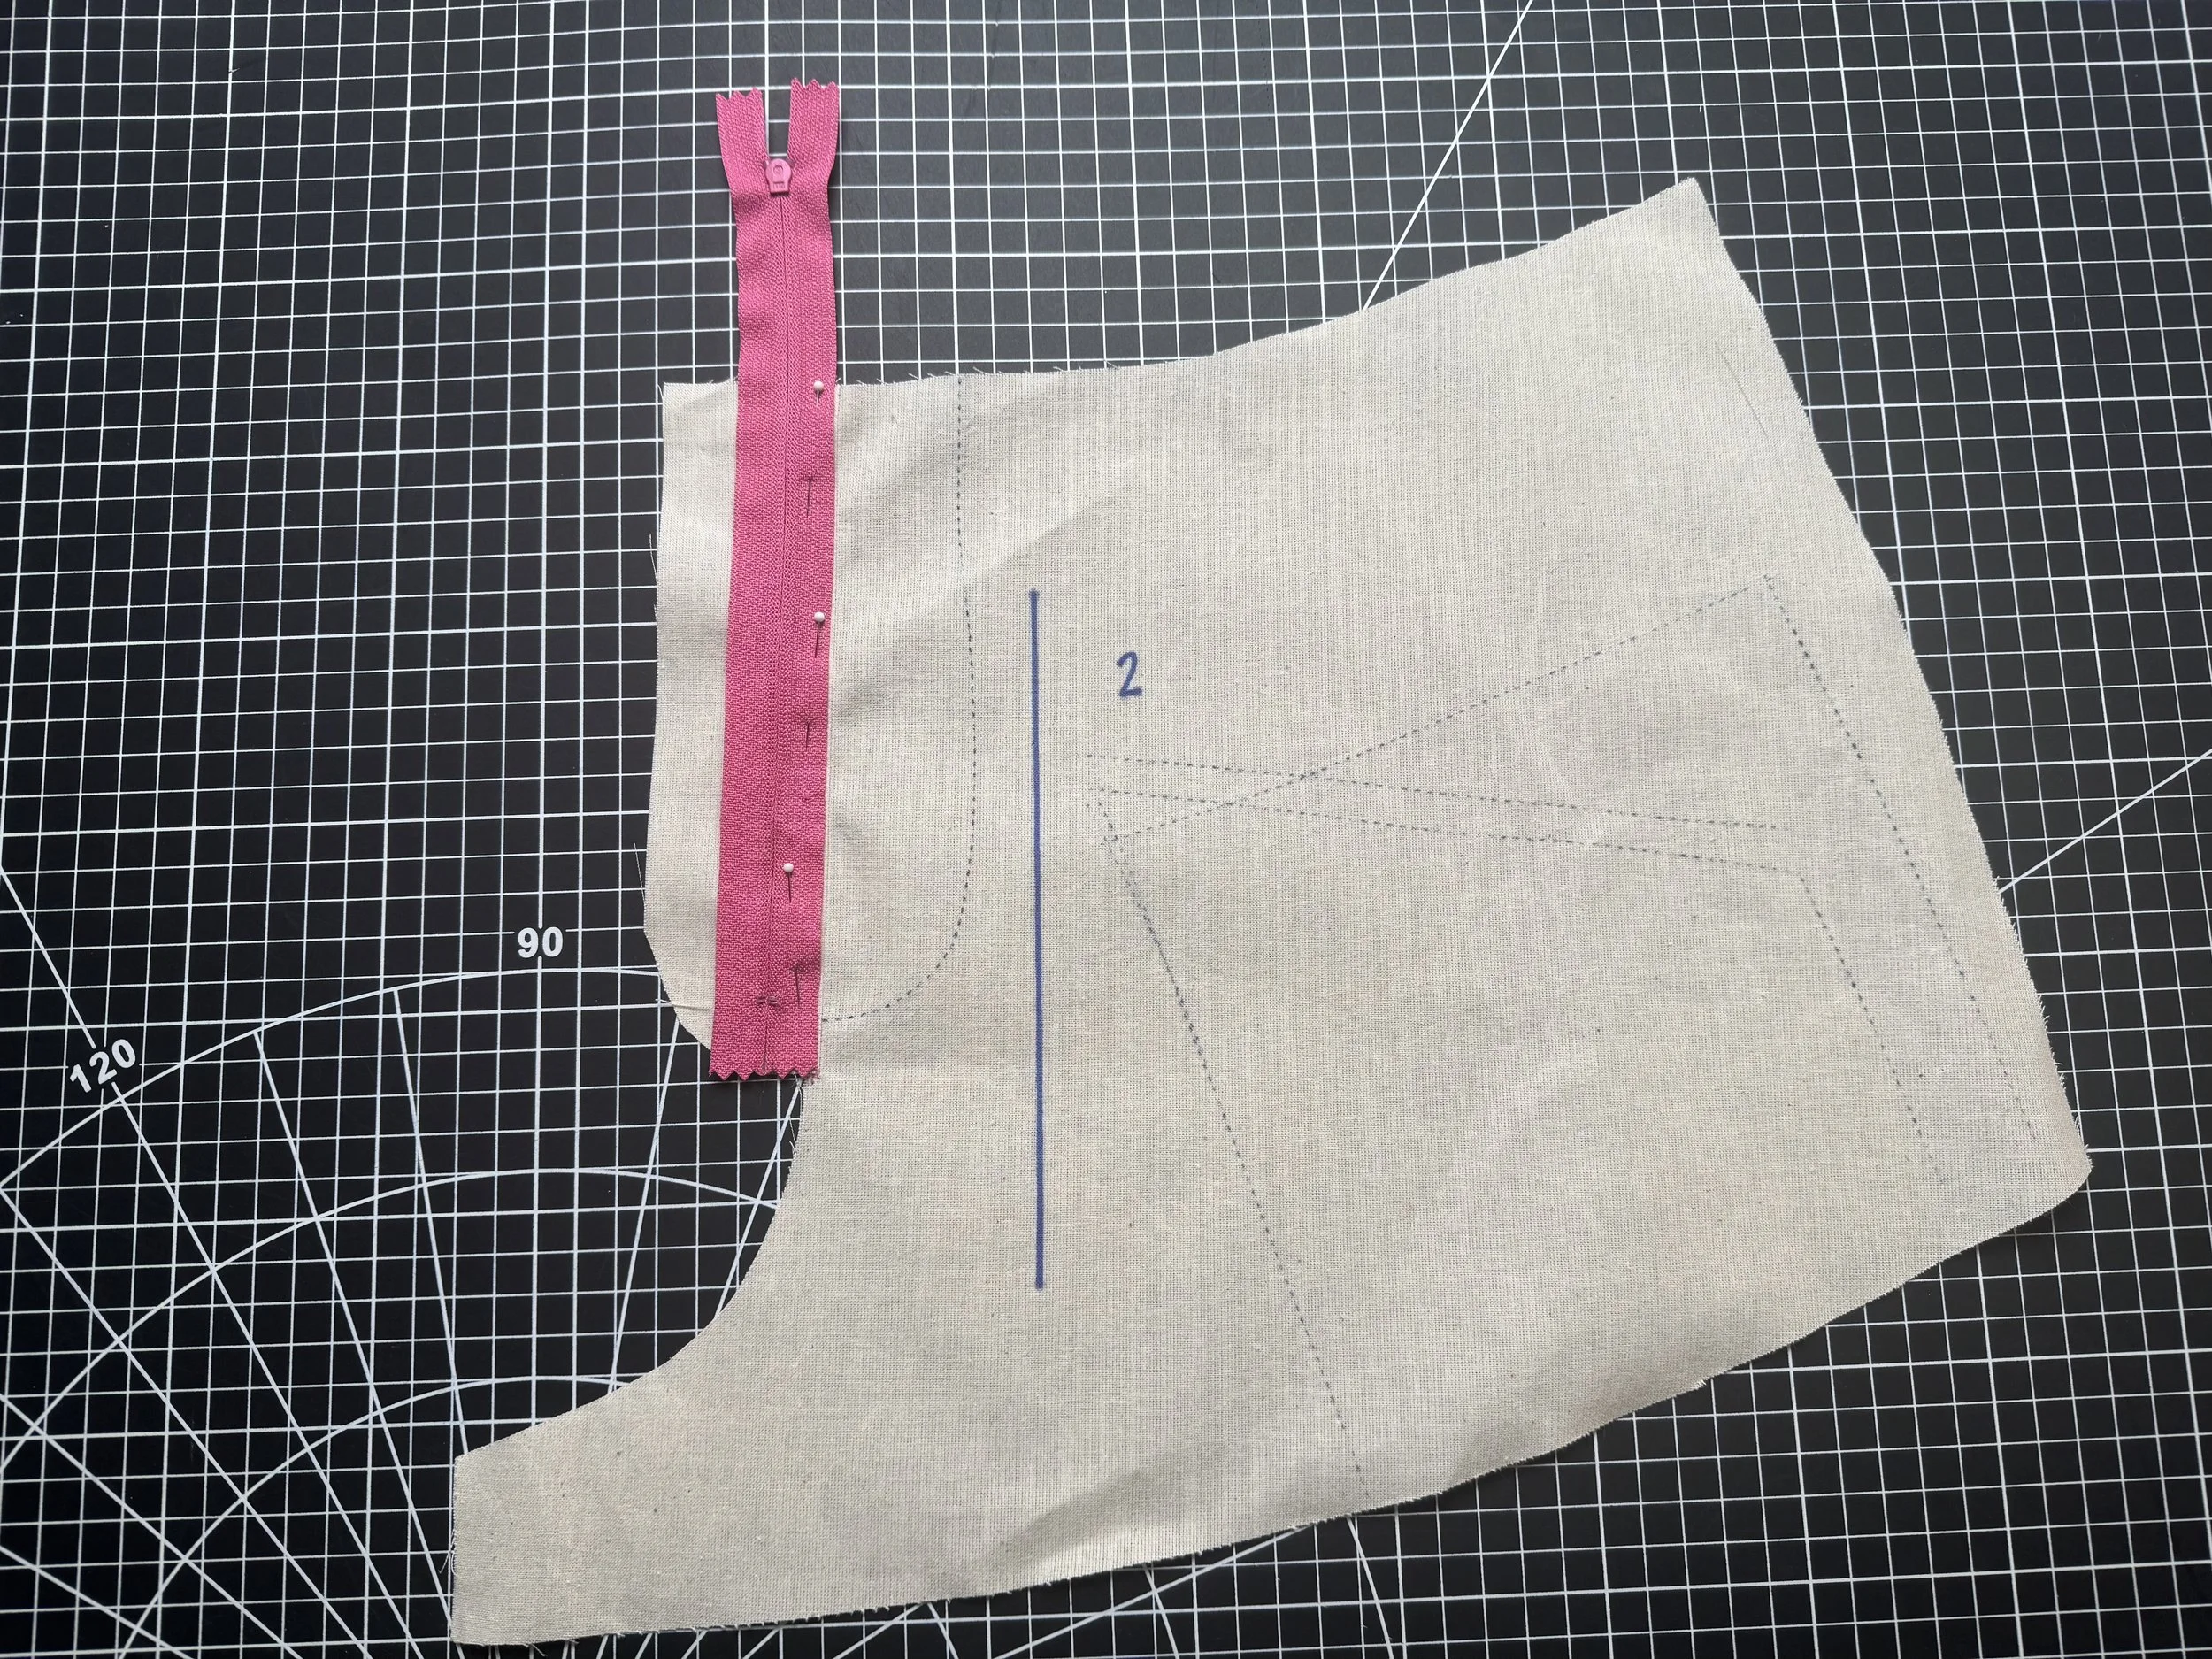
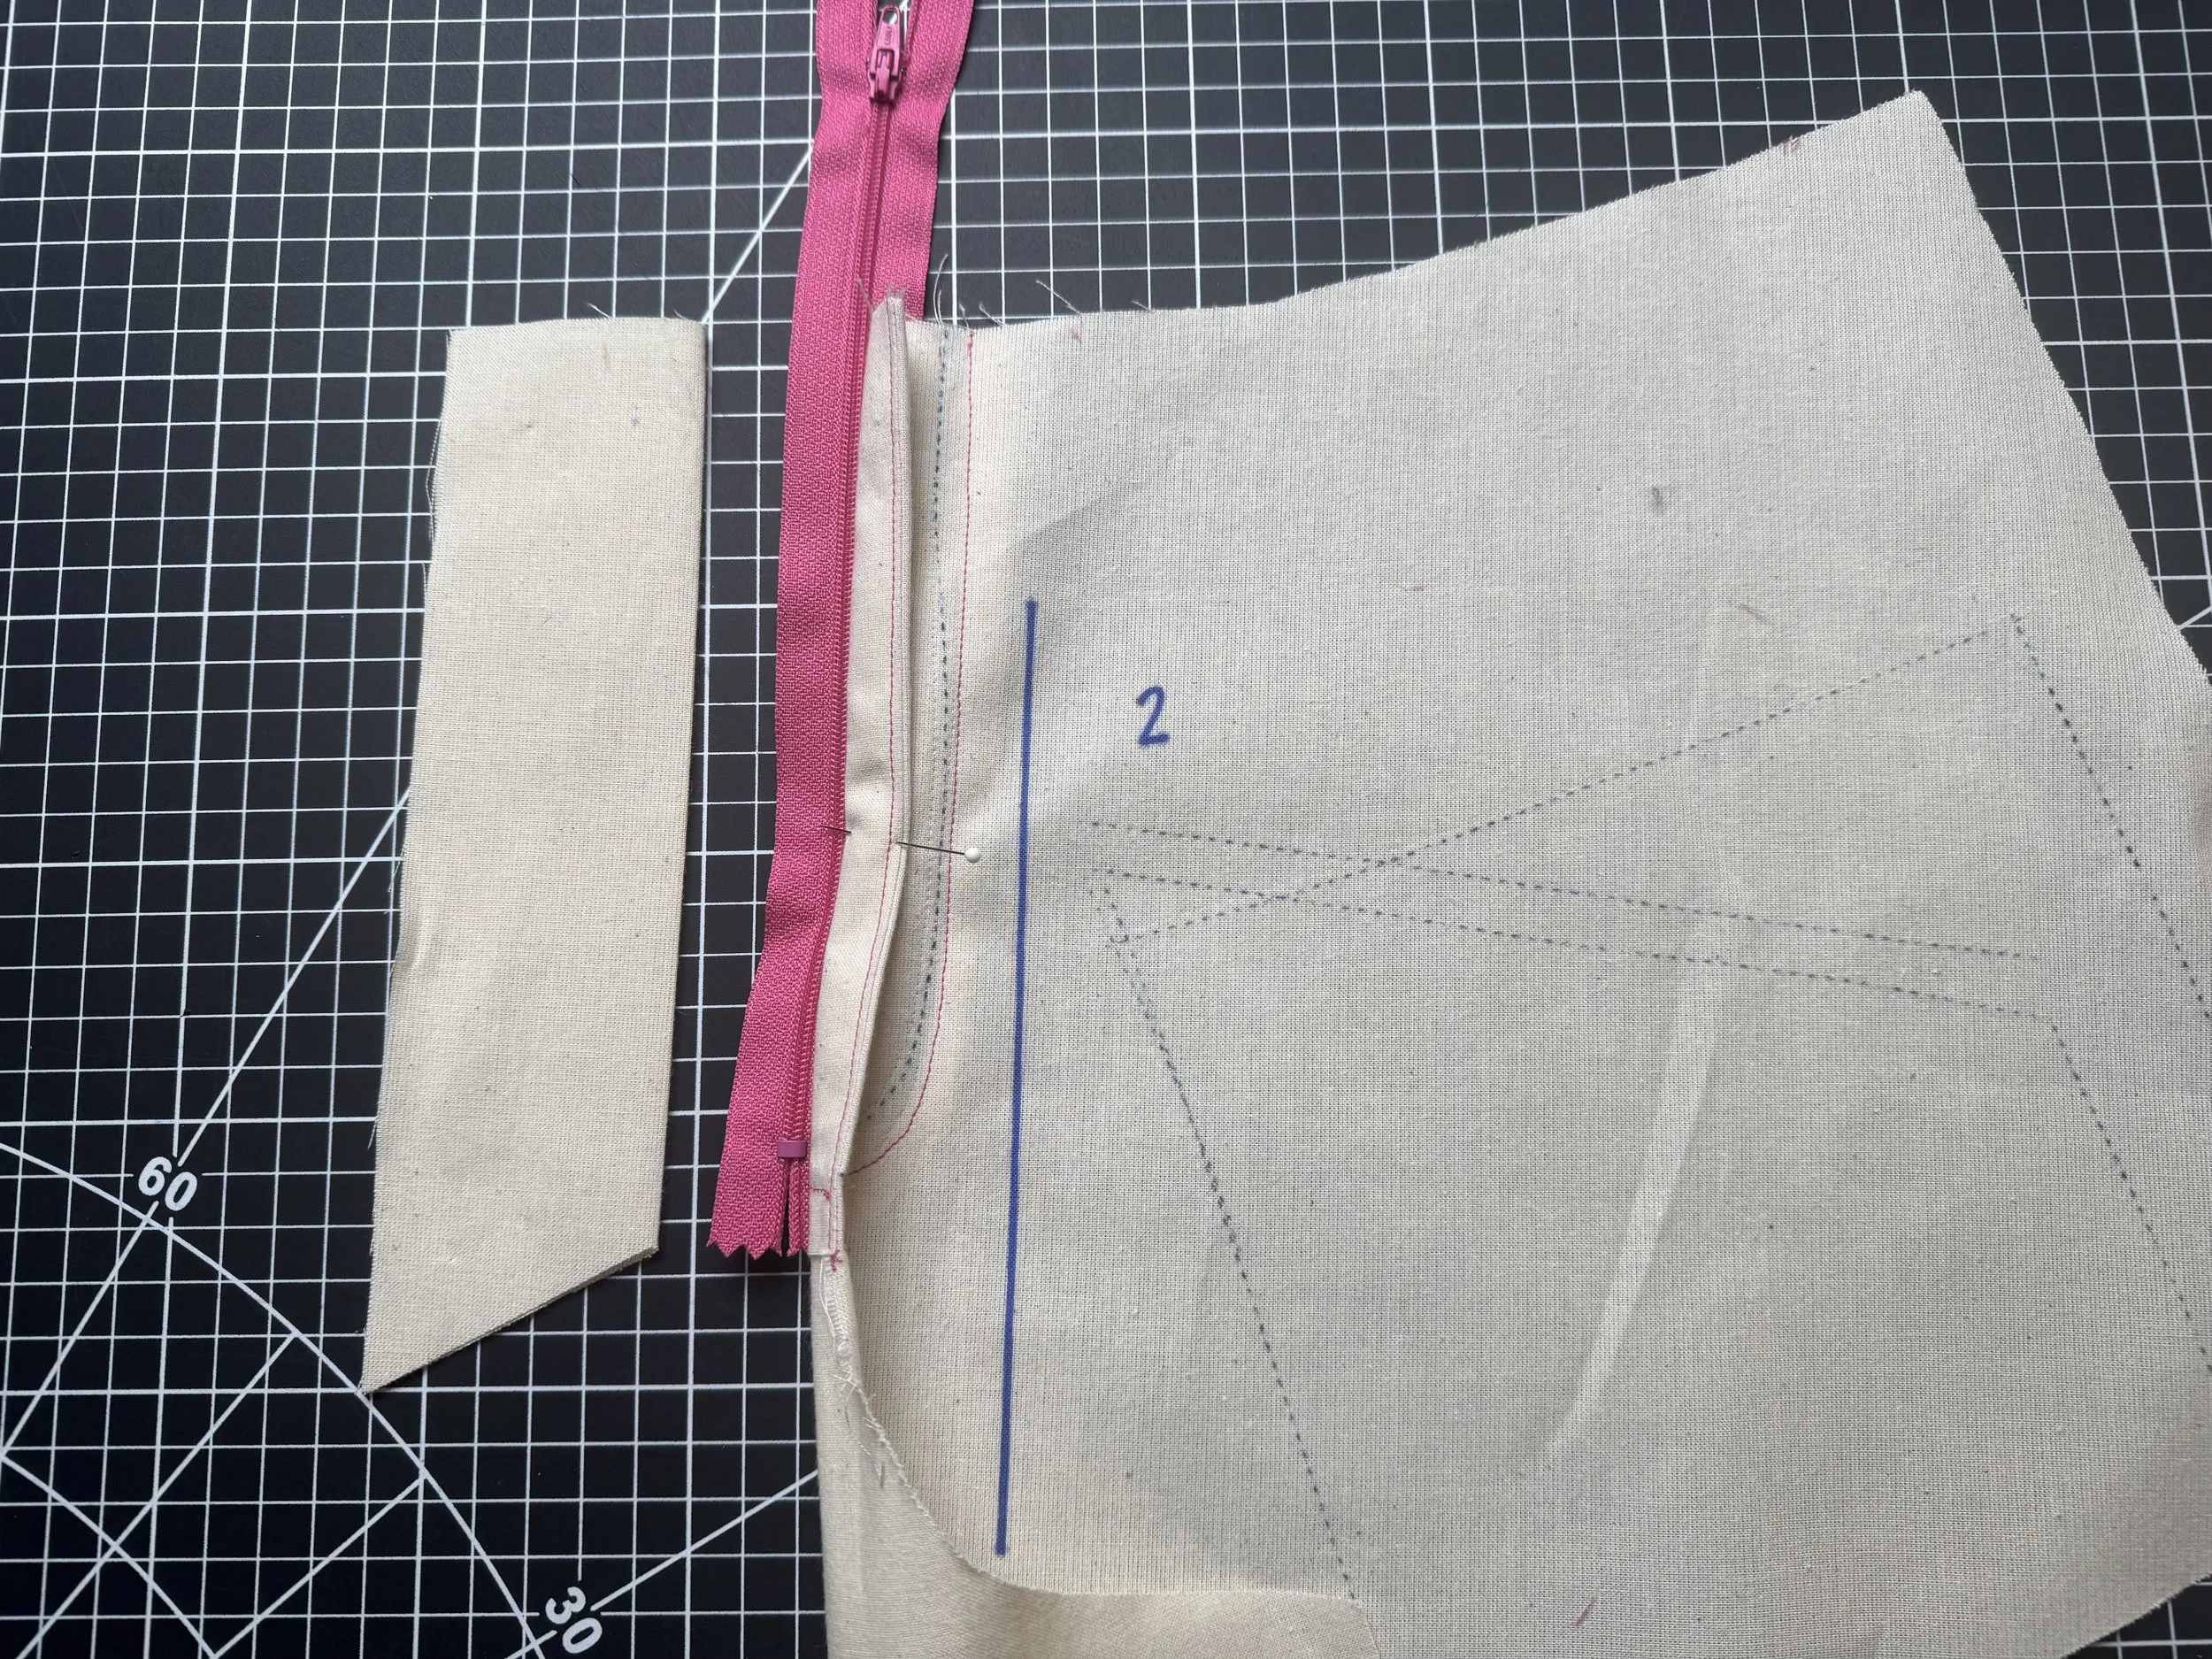
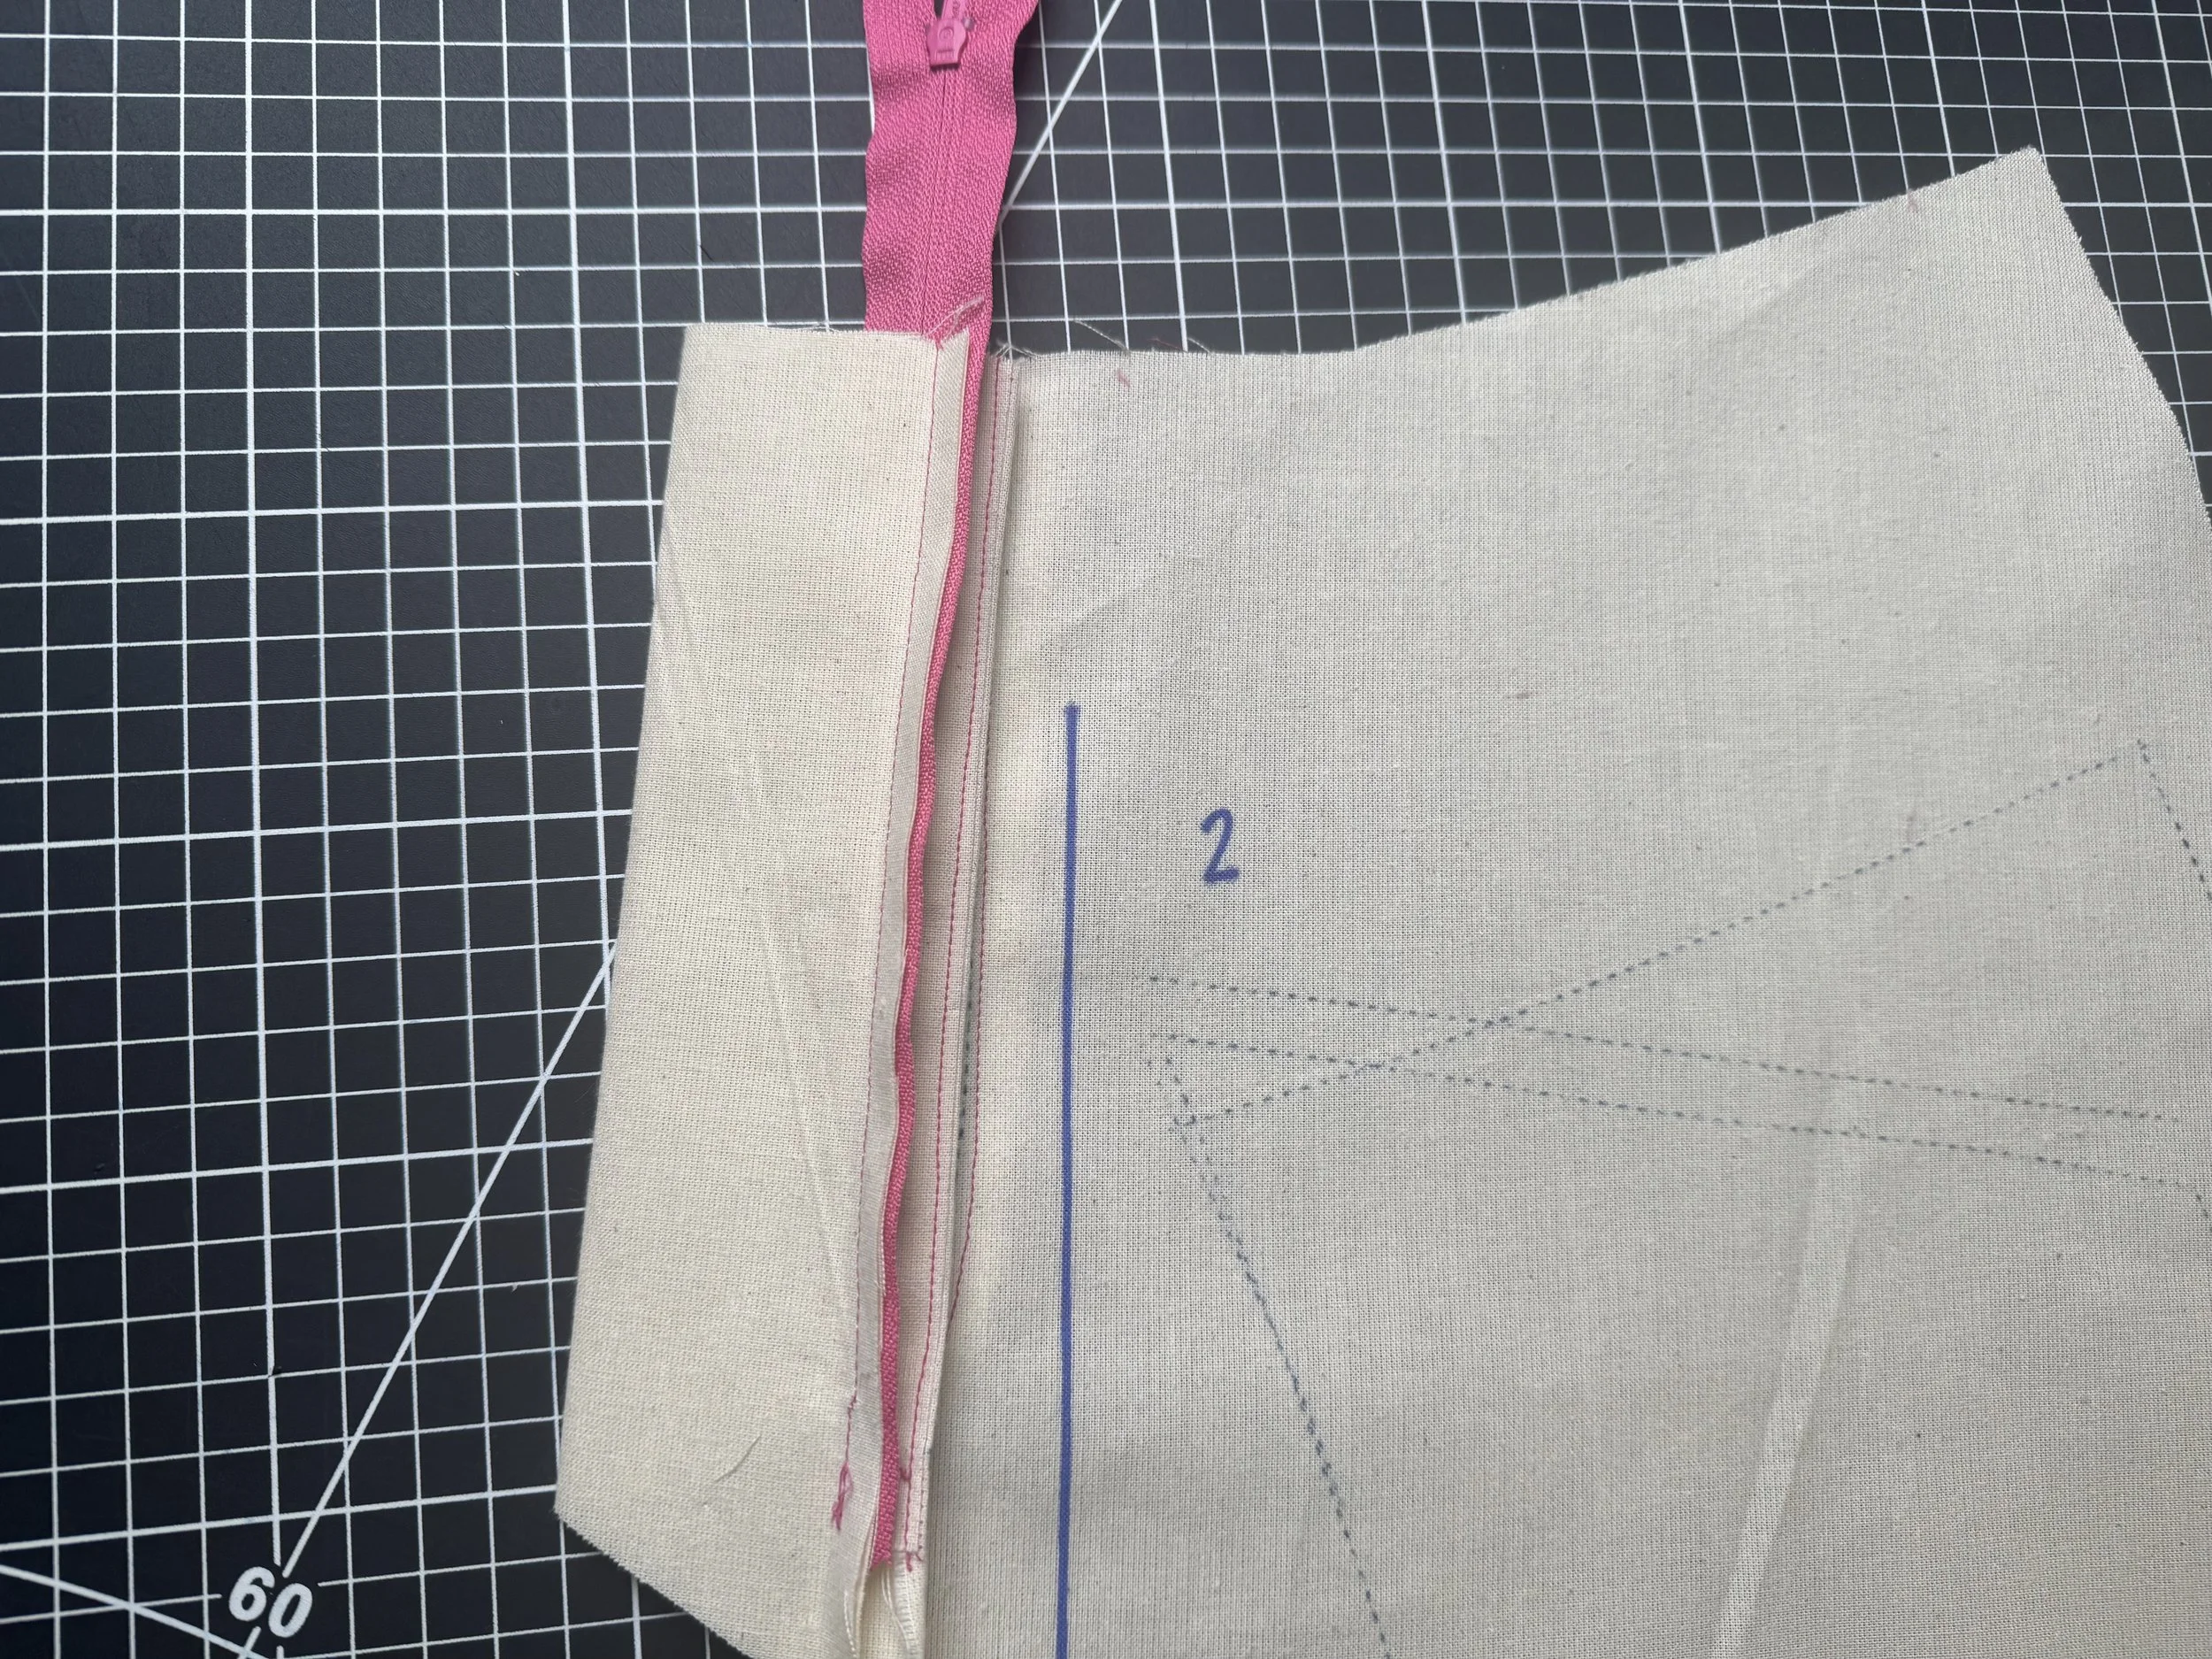
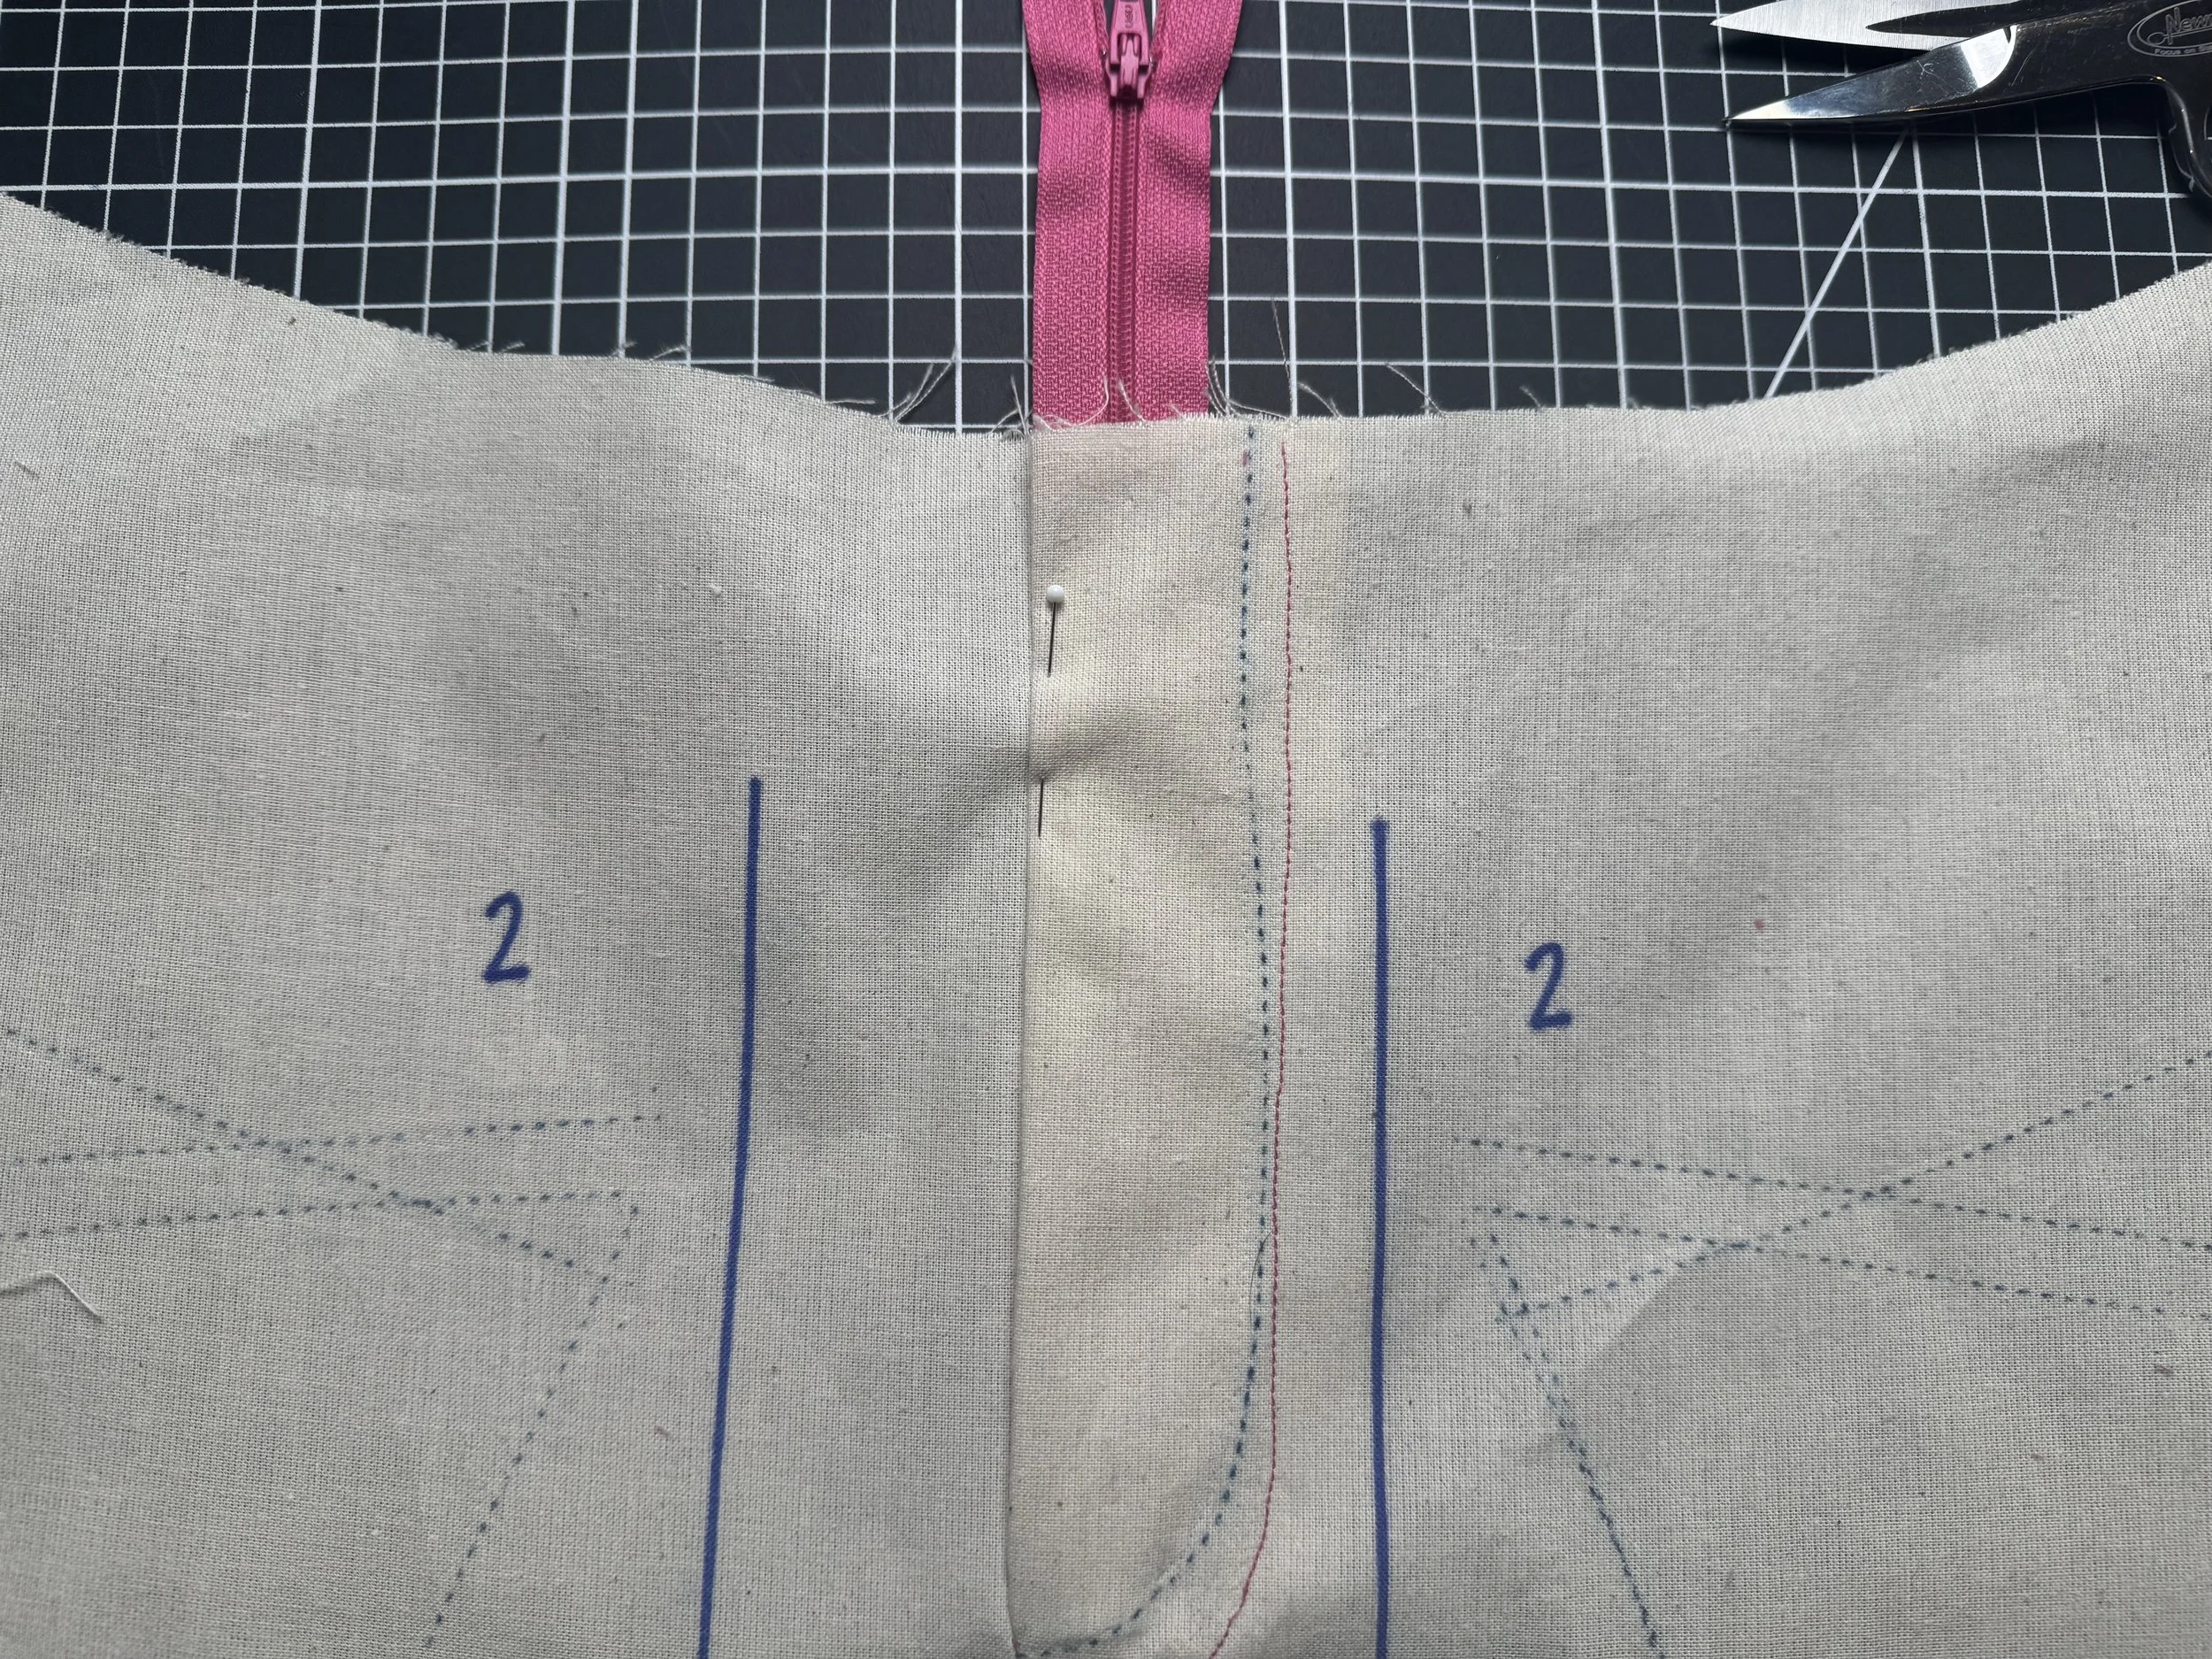
Pin your zipper as shown, face side down, lining the edge up with the seam of the fly and front panel.
I like to use a longer zipper, as you can see rather than the suggested 7” as stopping at each section to move the pull can become tricky. This method keeps it out the way completely.
We will trim the excess when the waistband is attached.
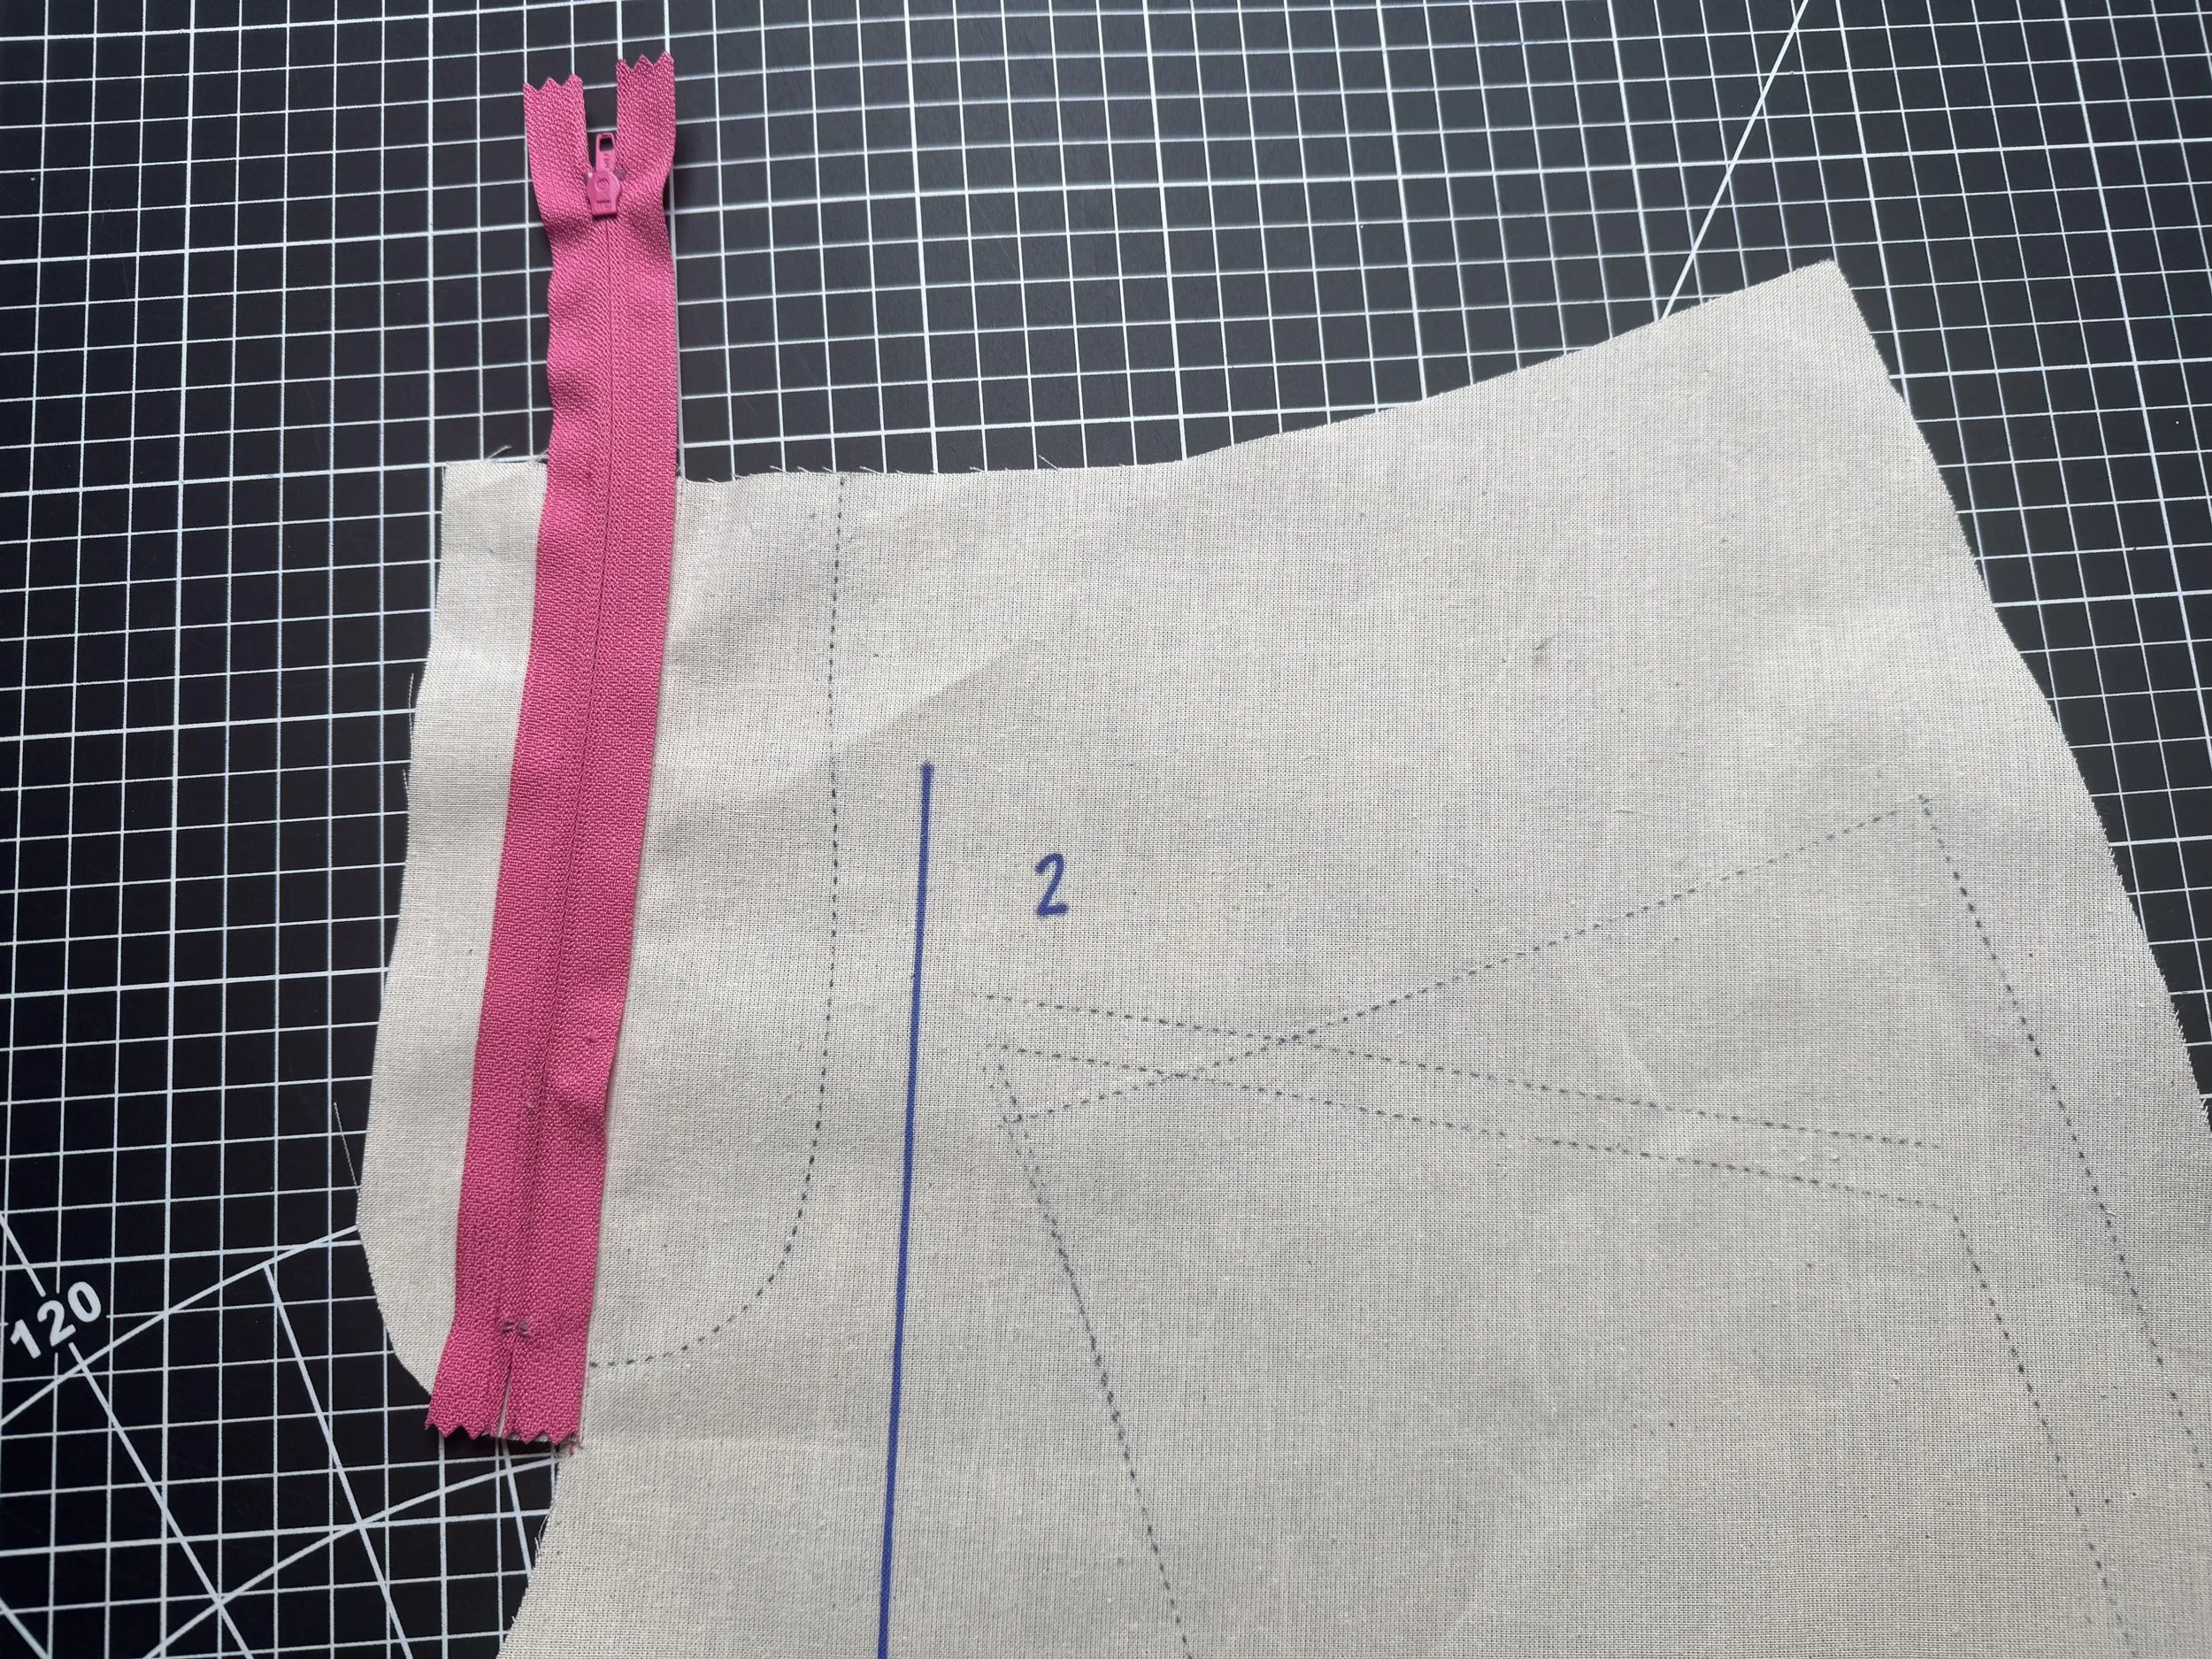

Sew close to the teeth on the left hand side, towards the fly guard, Sorry for the pink on pink!

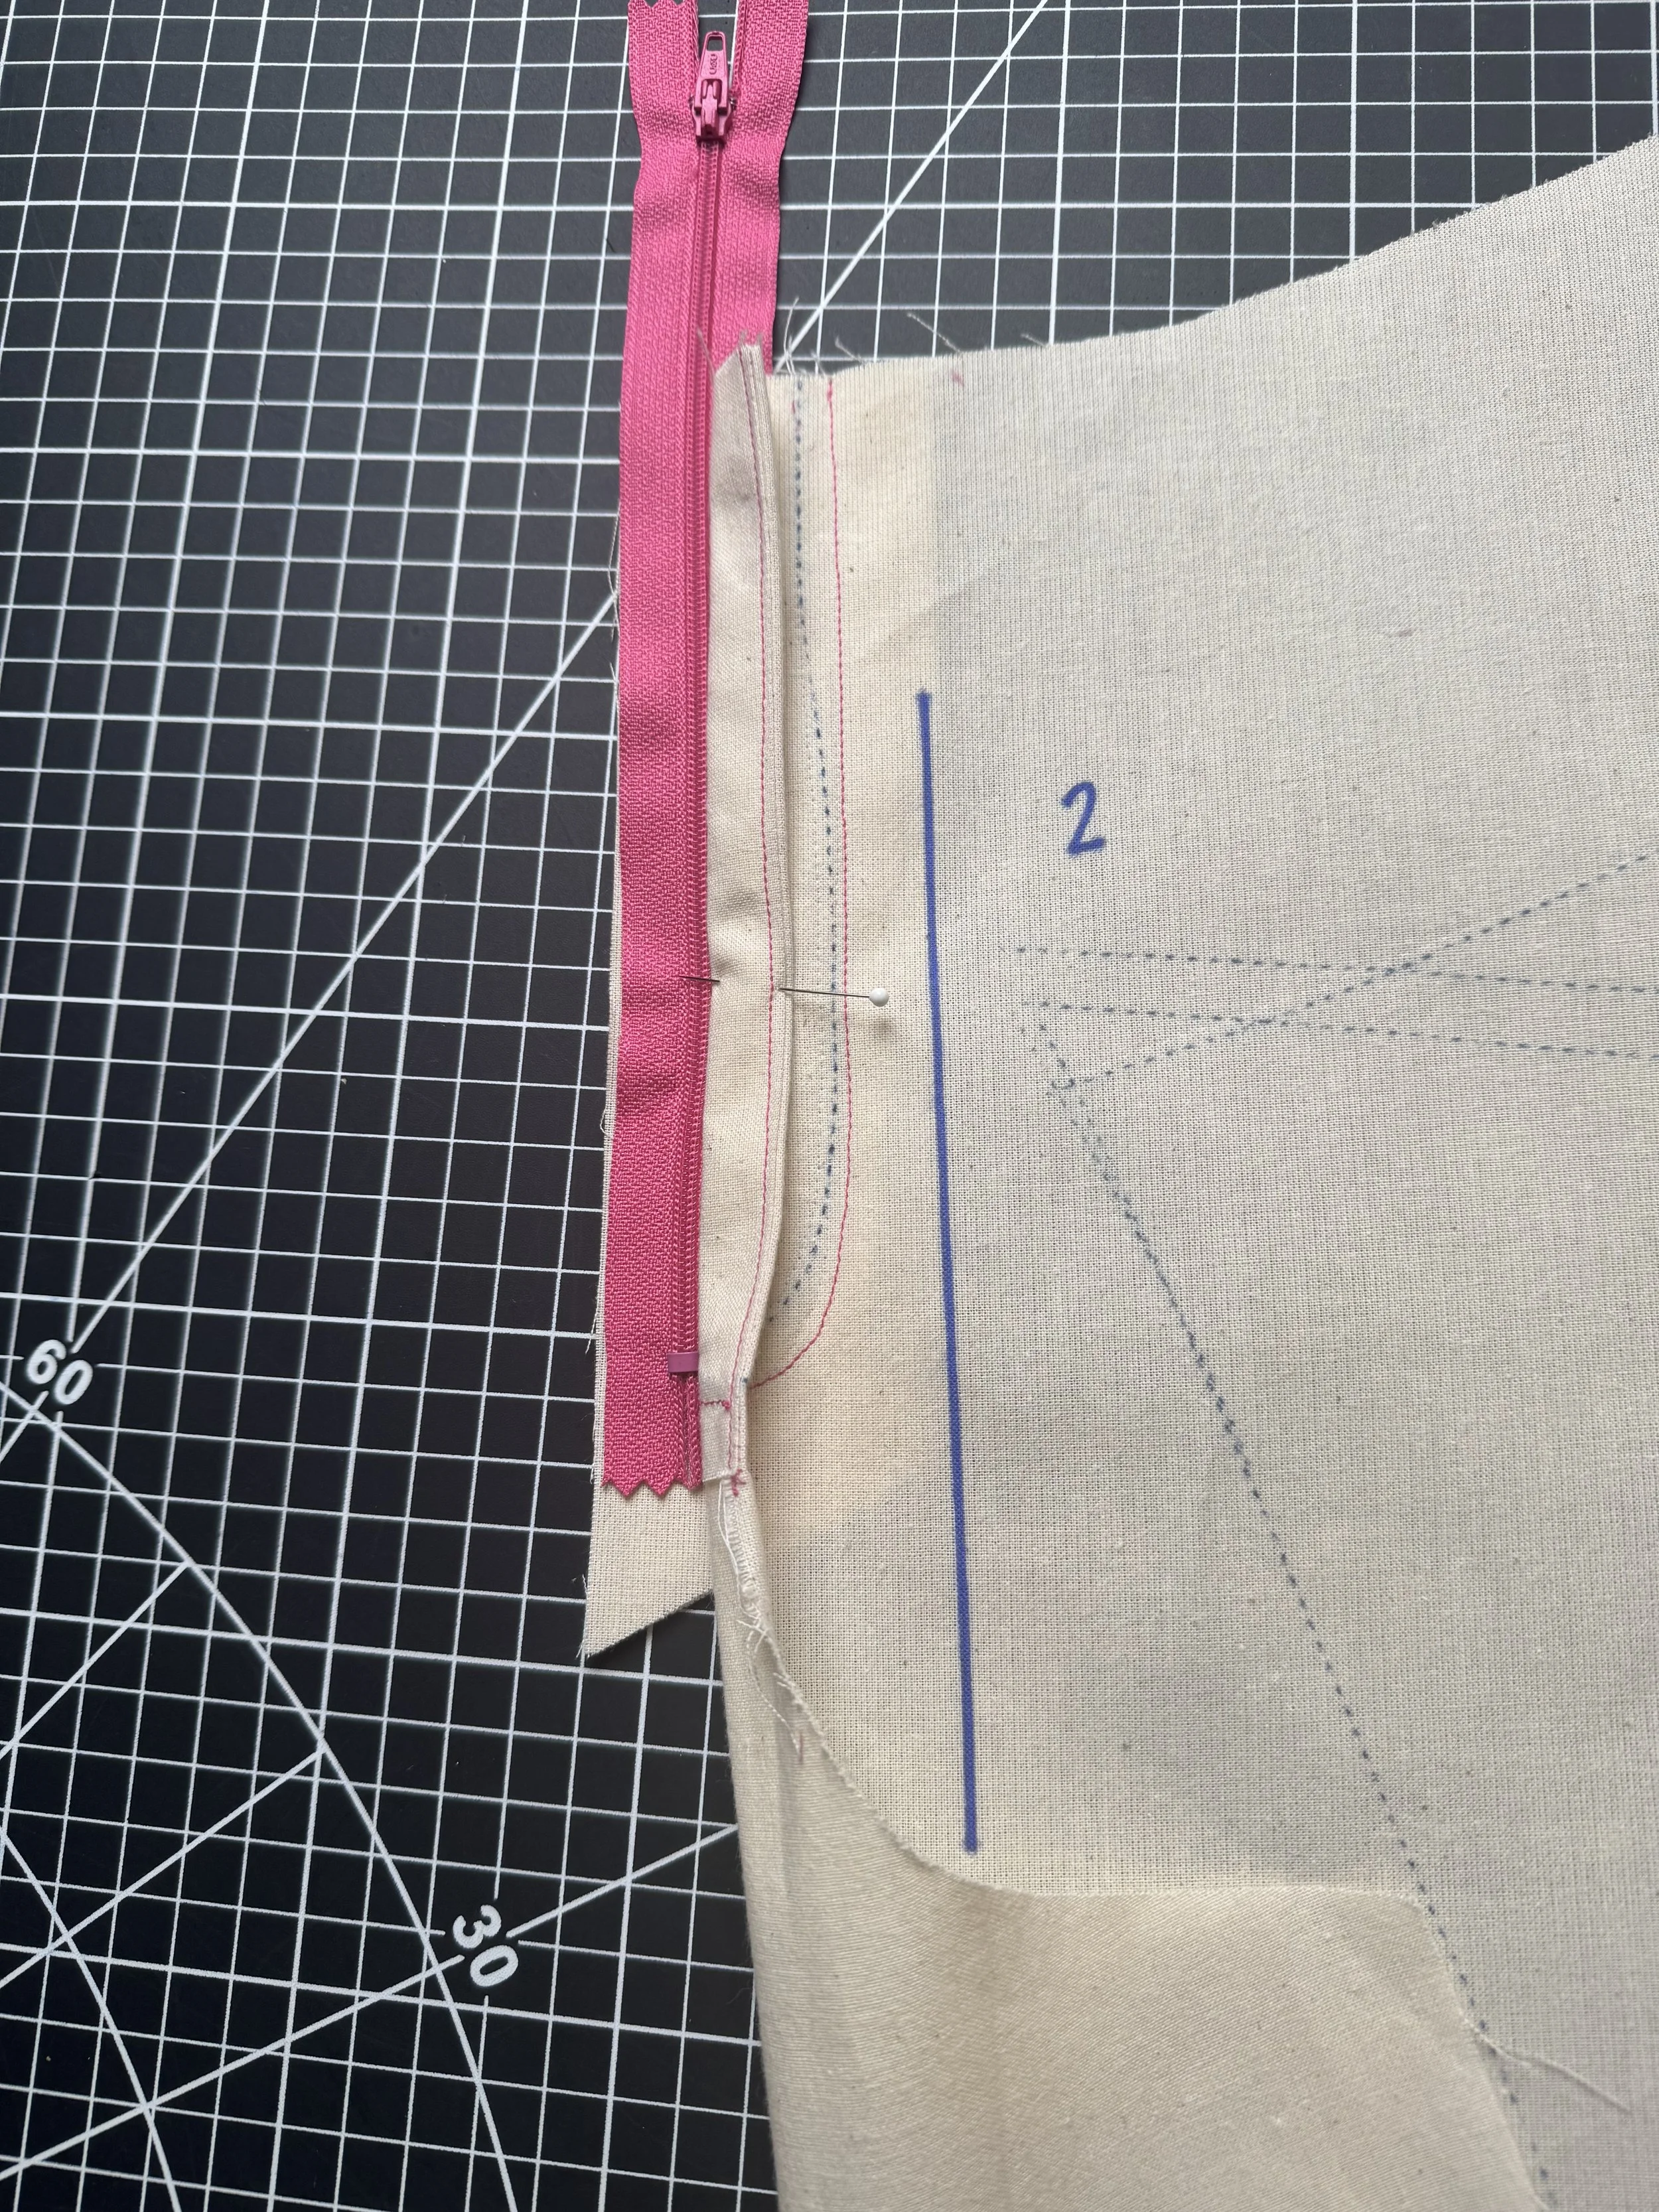
Flip your fly guard and zipper to the inside of piece 2.

Fold back the front piece to expose the left hand side of the zipper, pinning if necessary to hold.
Place your folded zipper guard with the longer angle to the left, and slide it under the zipper.
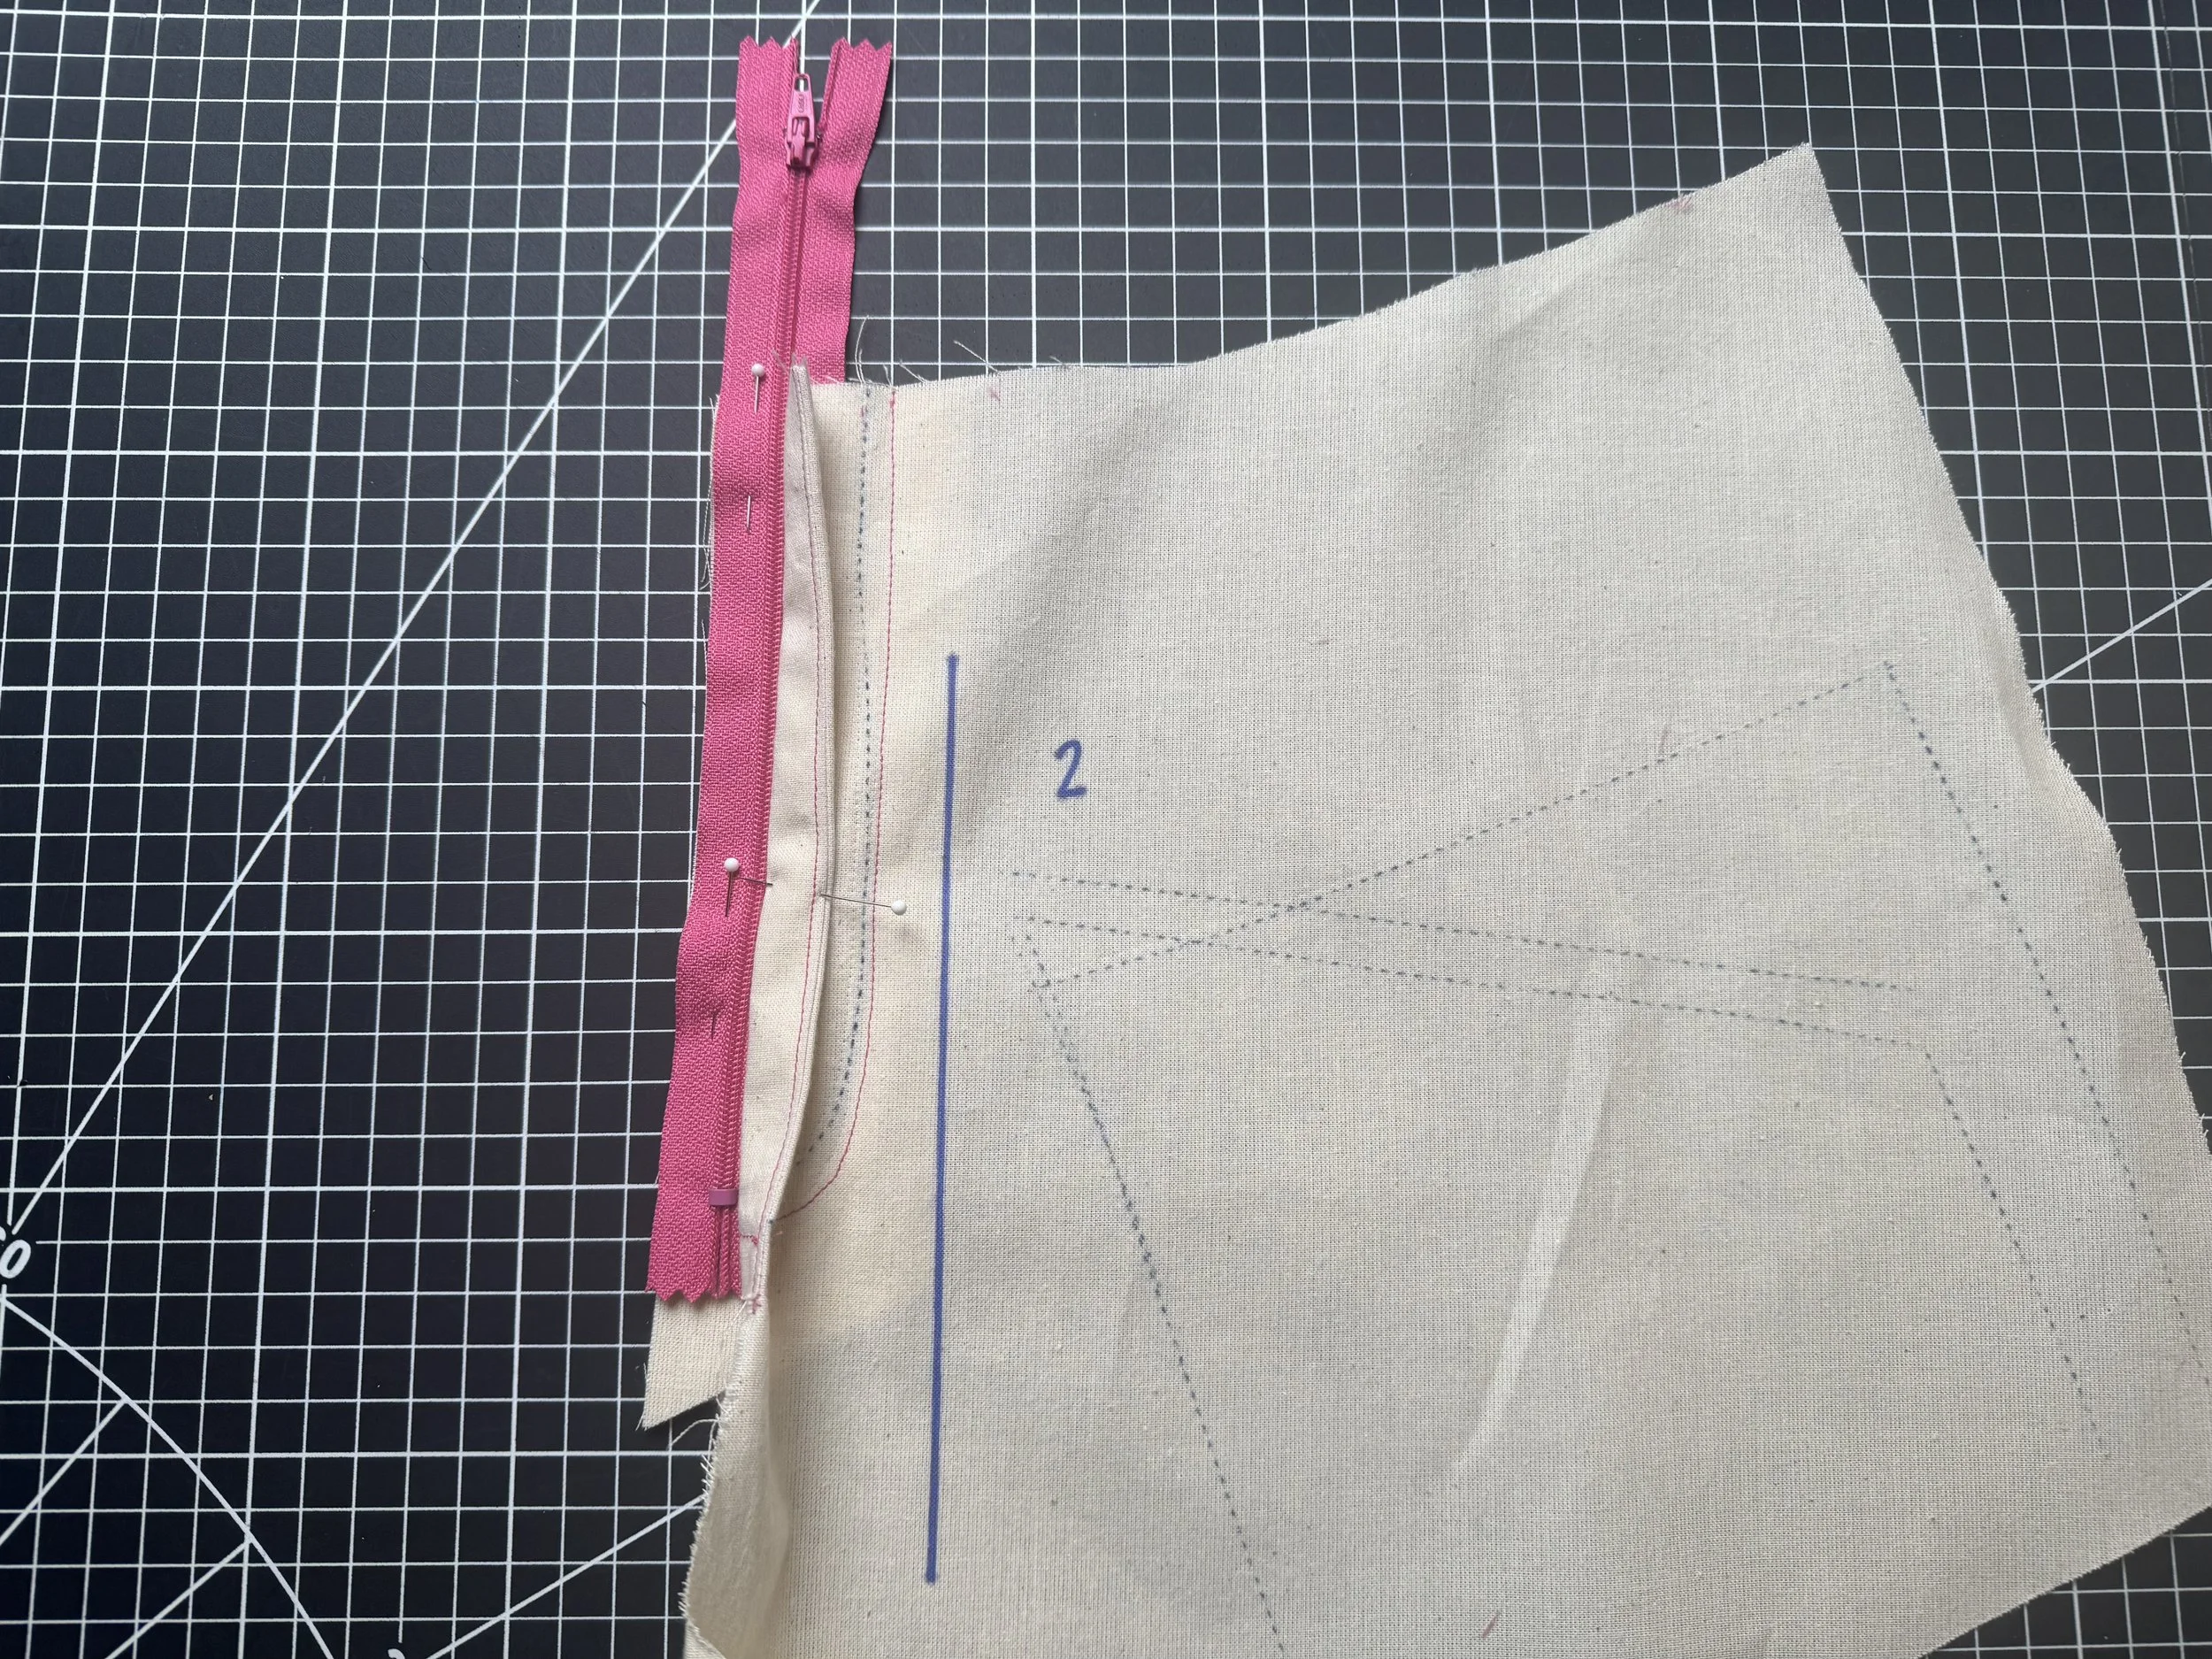
Pin to hold the fly guard and zipper in place.
Sew down the left hand side, starting at the waist and ending at the zipper stop.
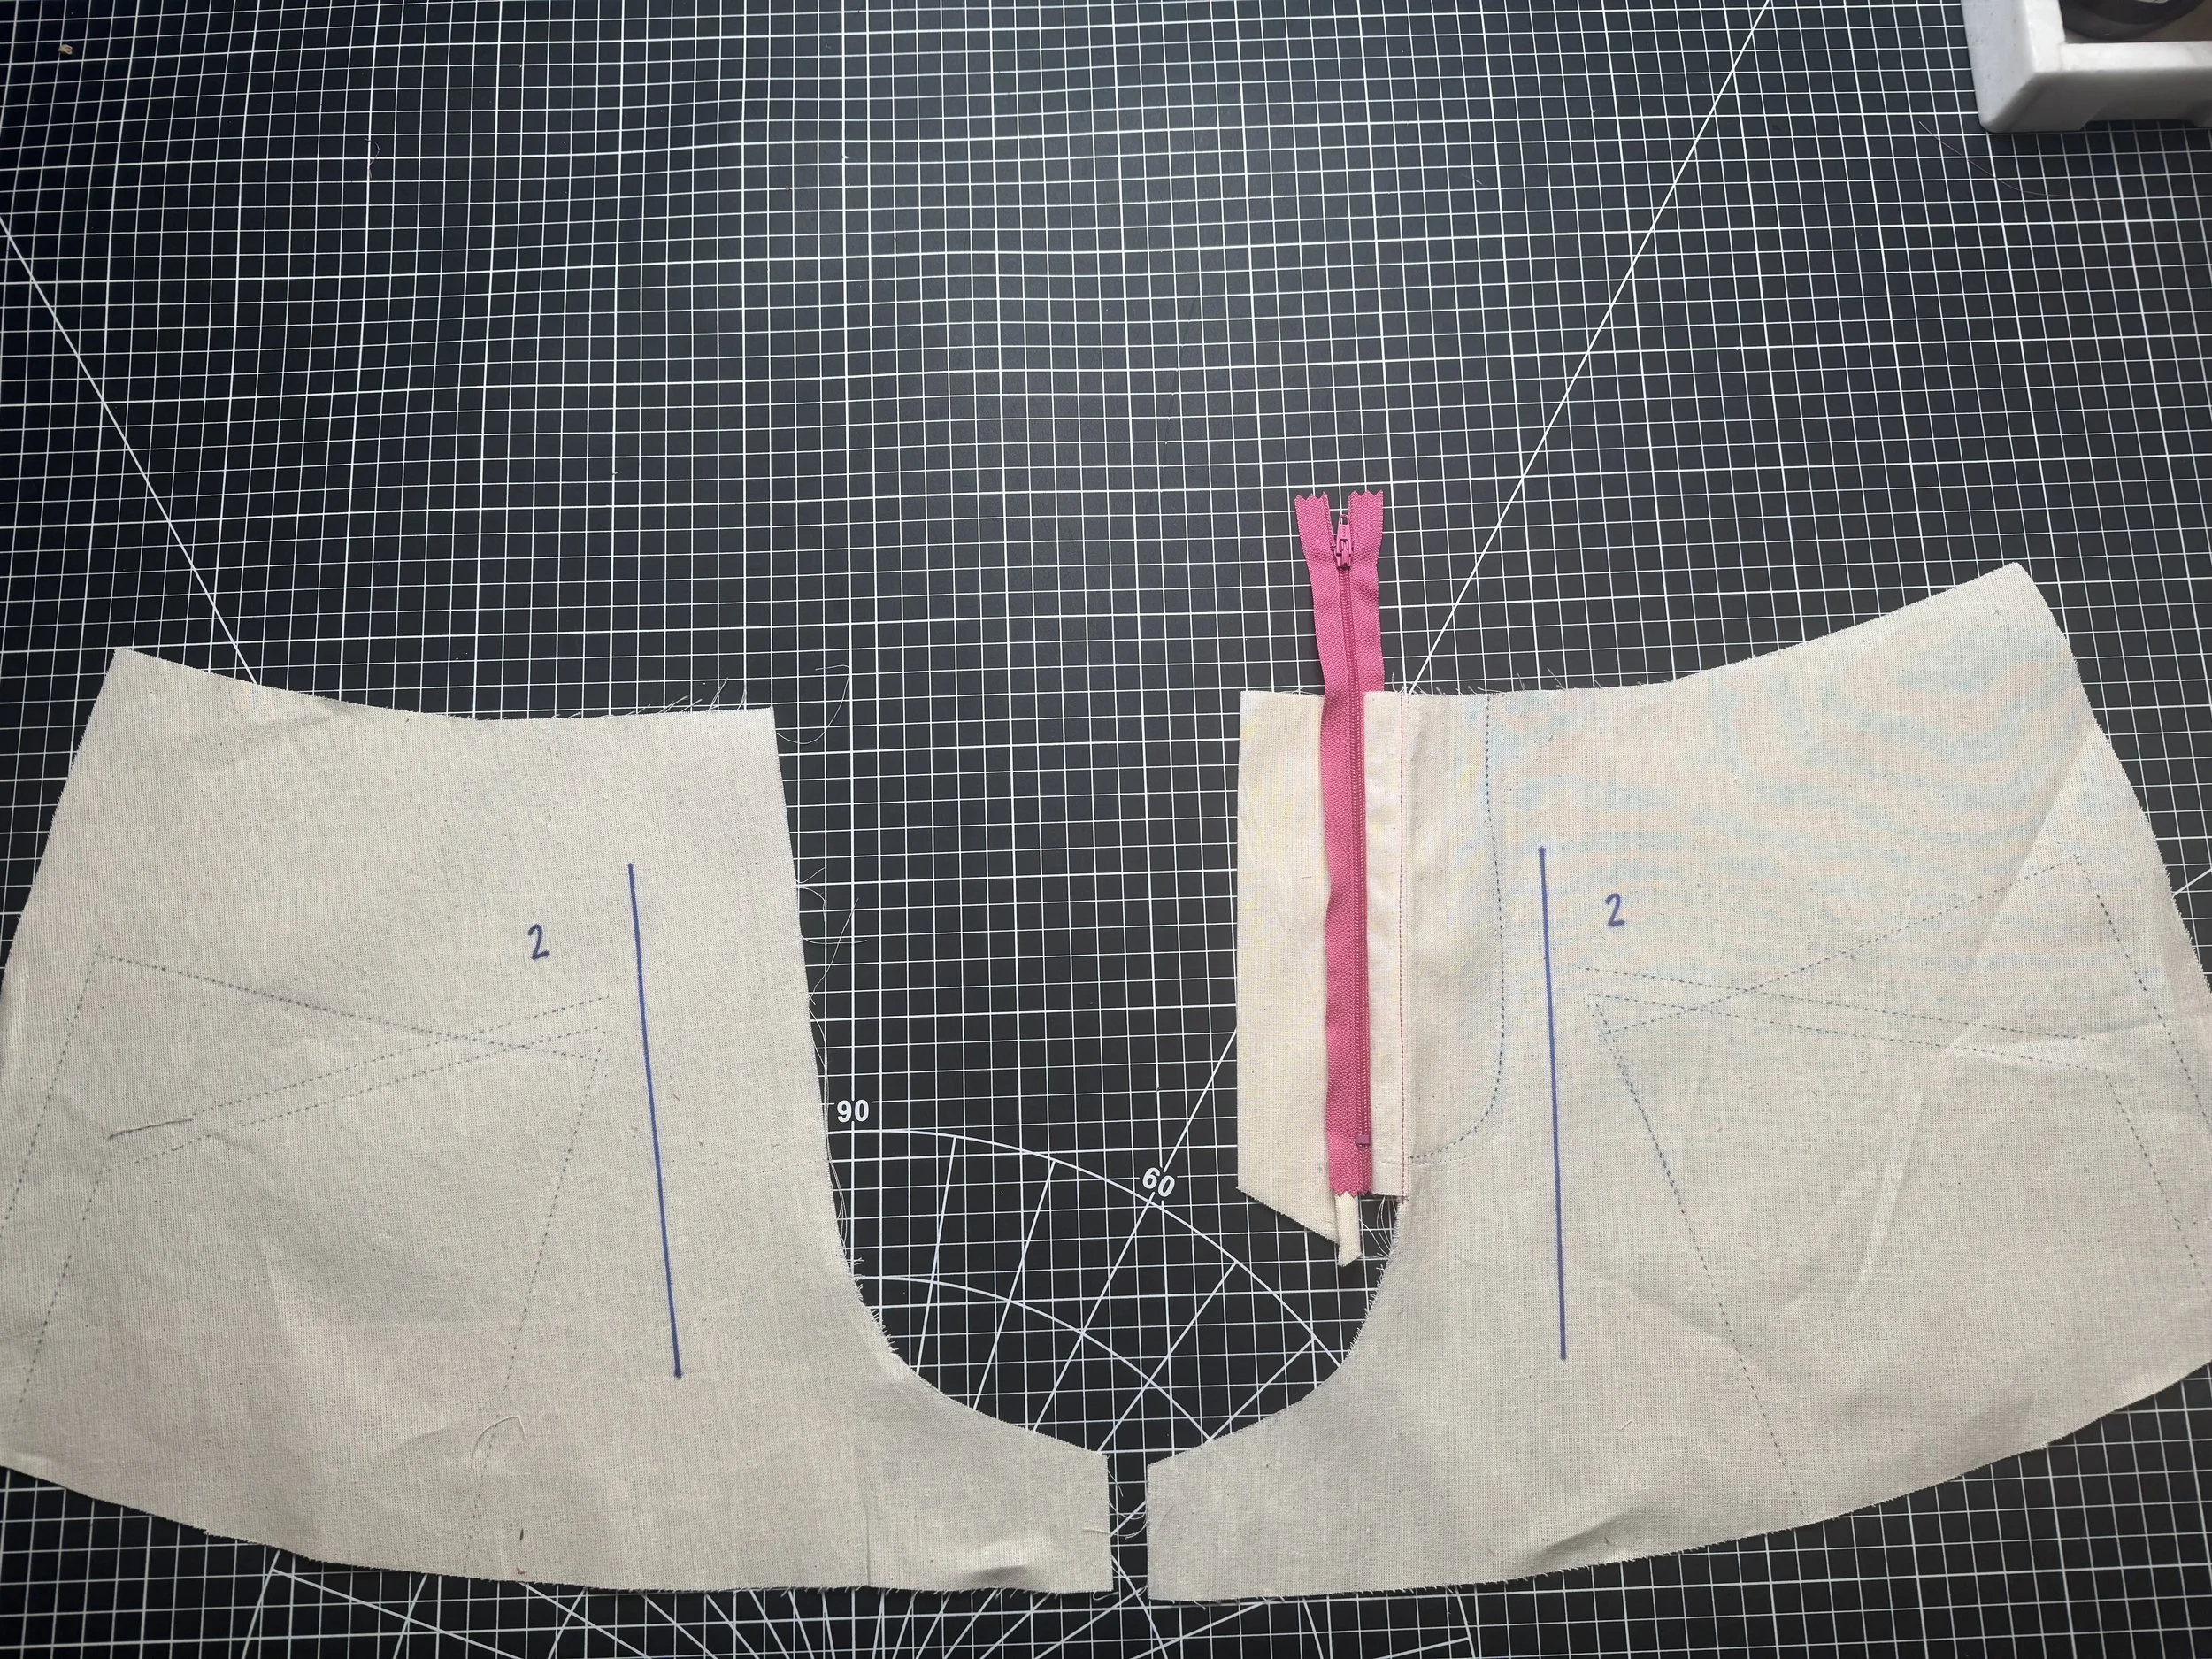
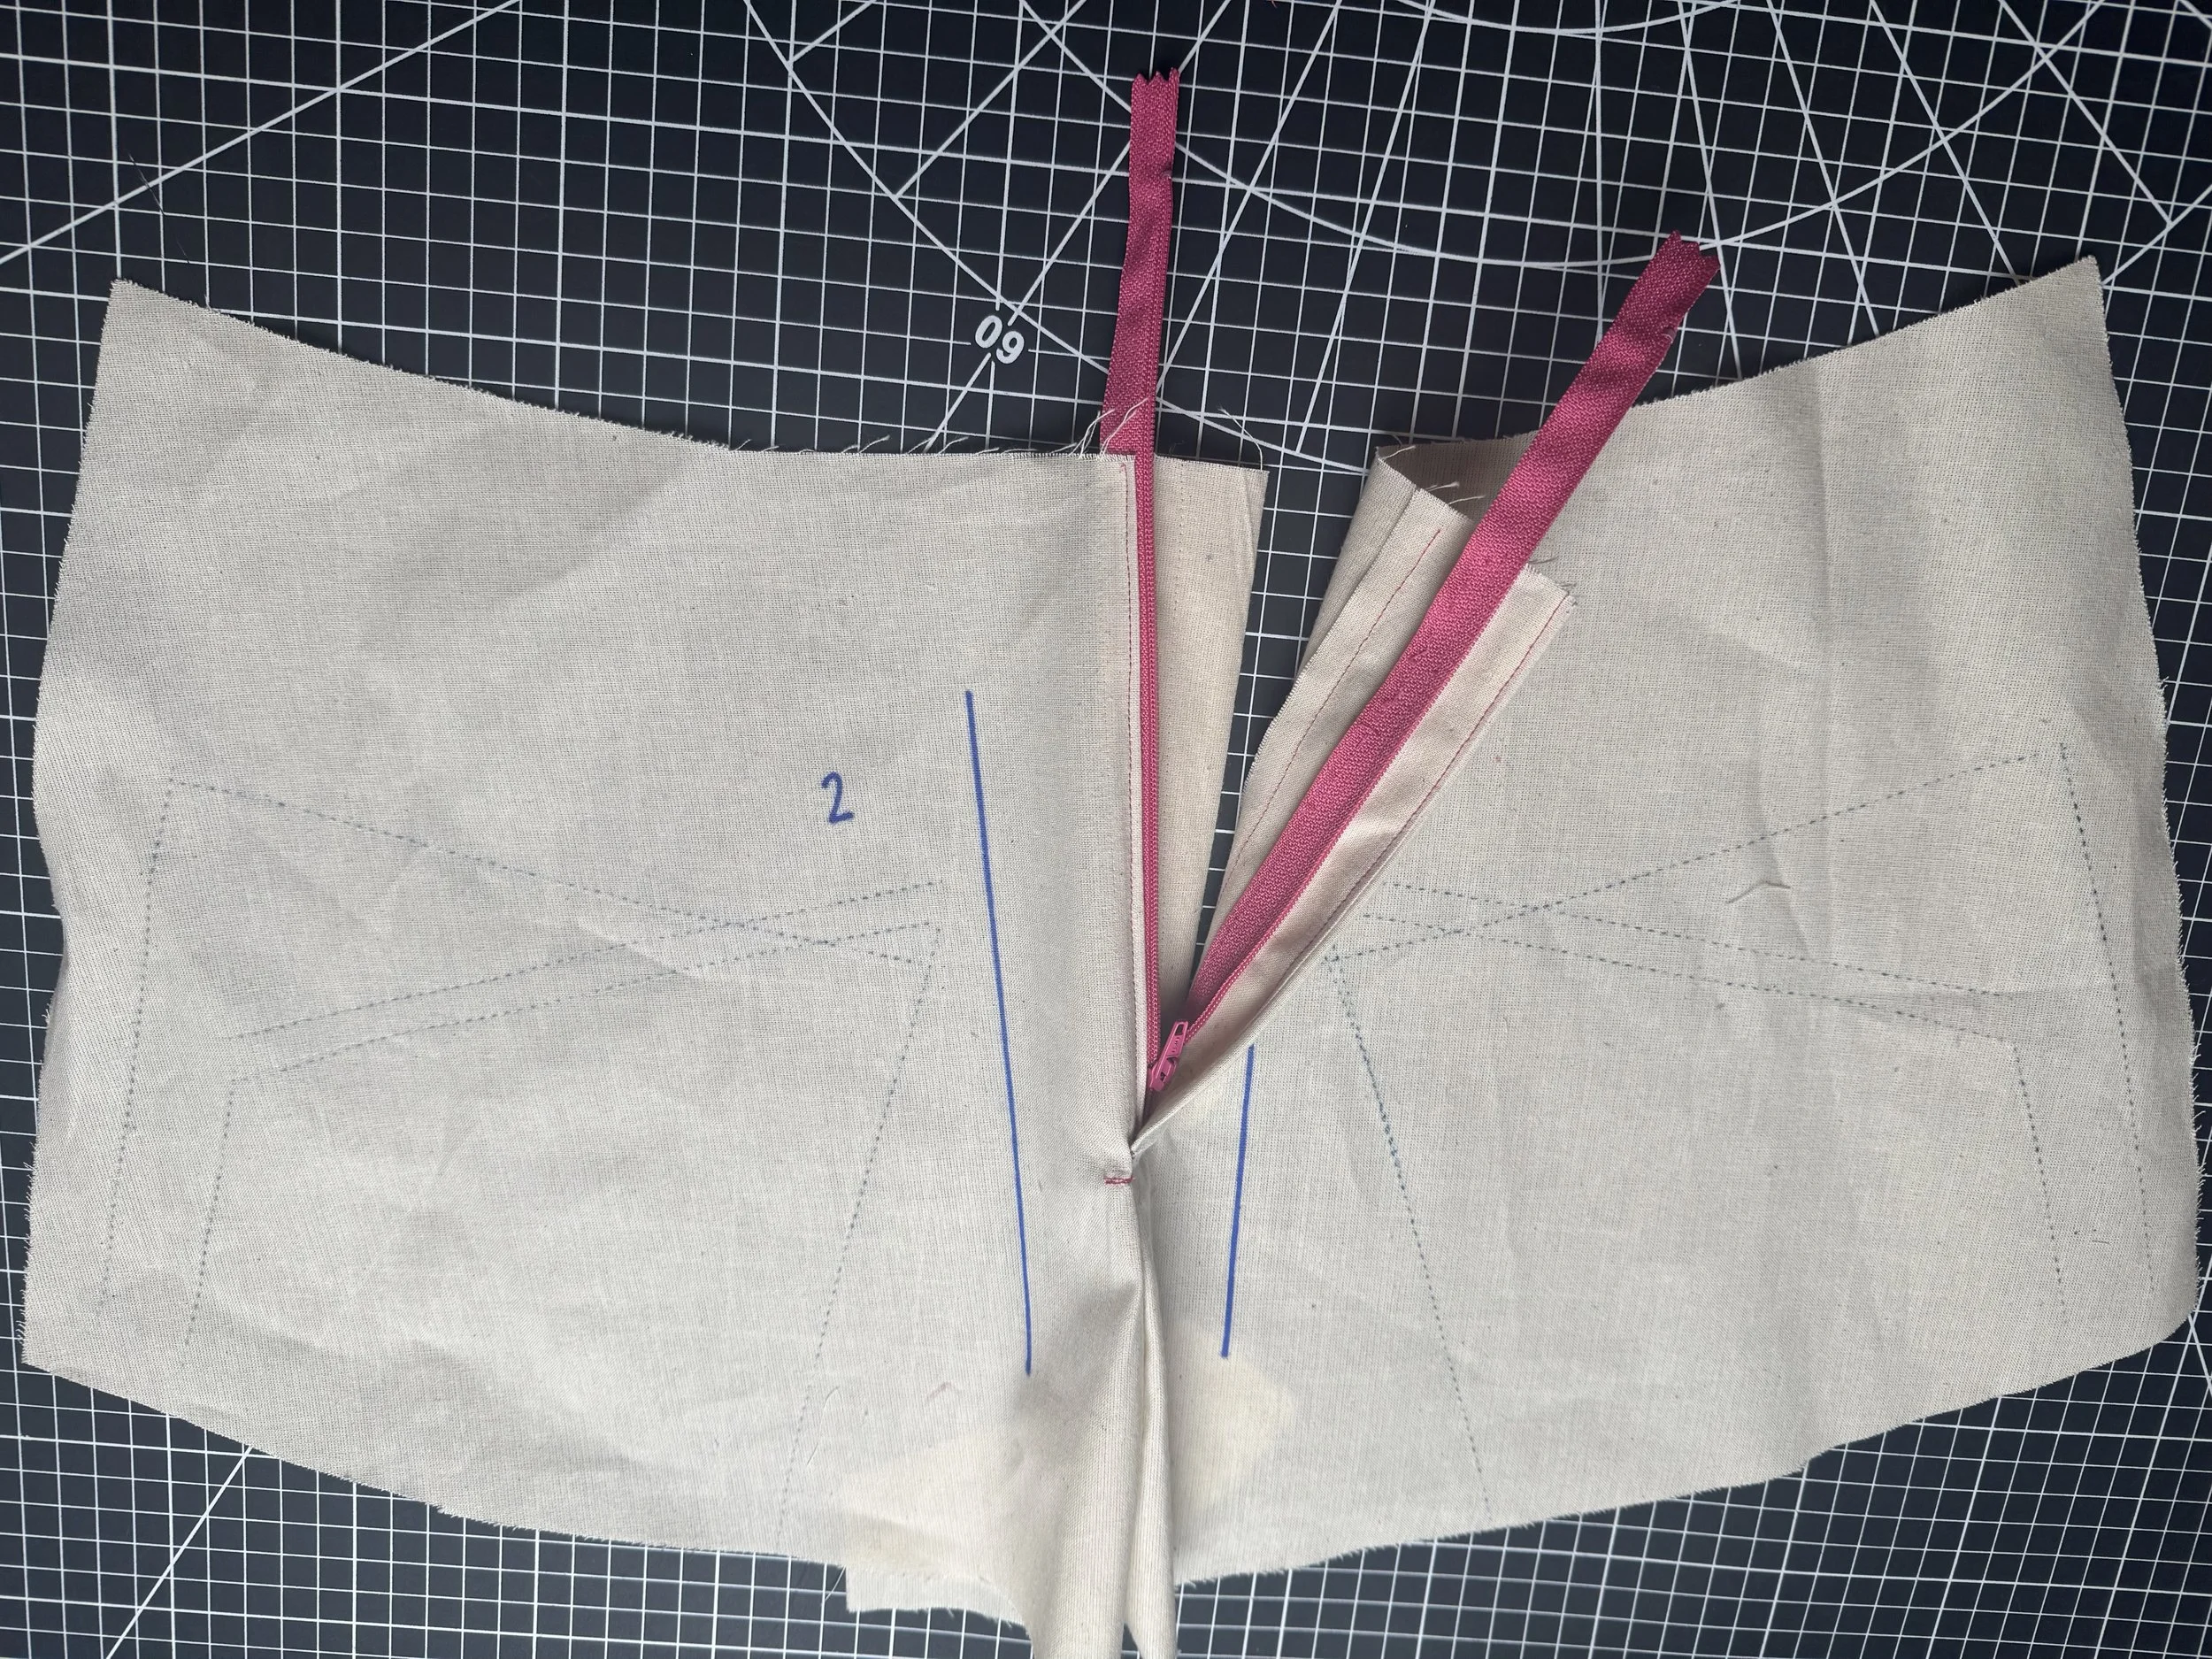
Next, we attach the second piece….
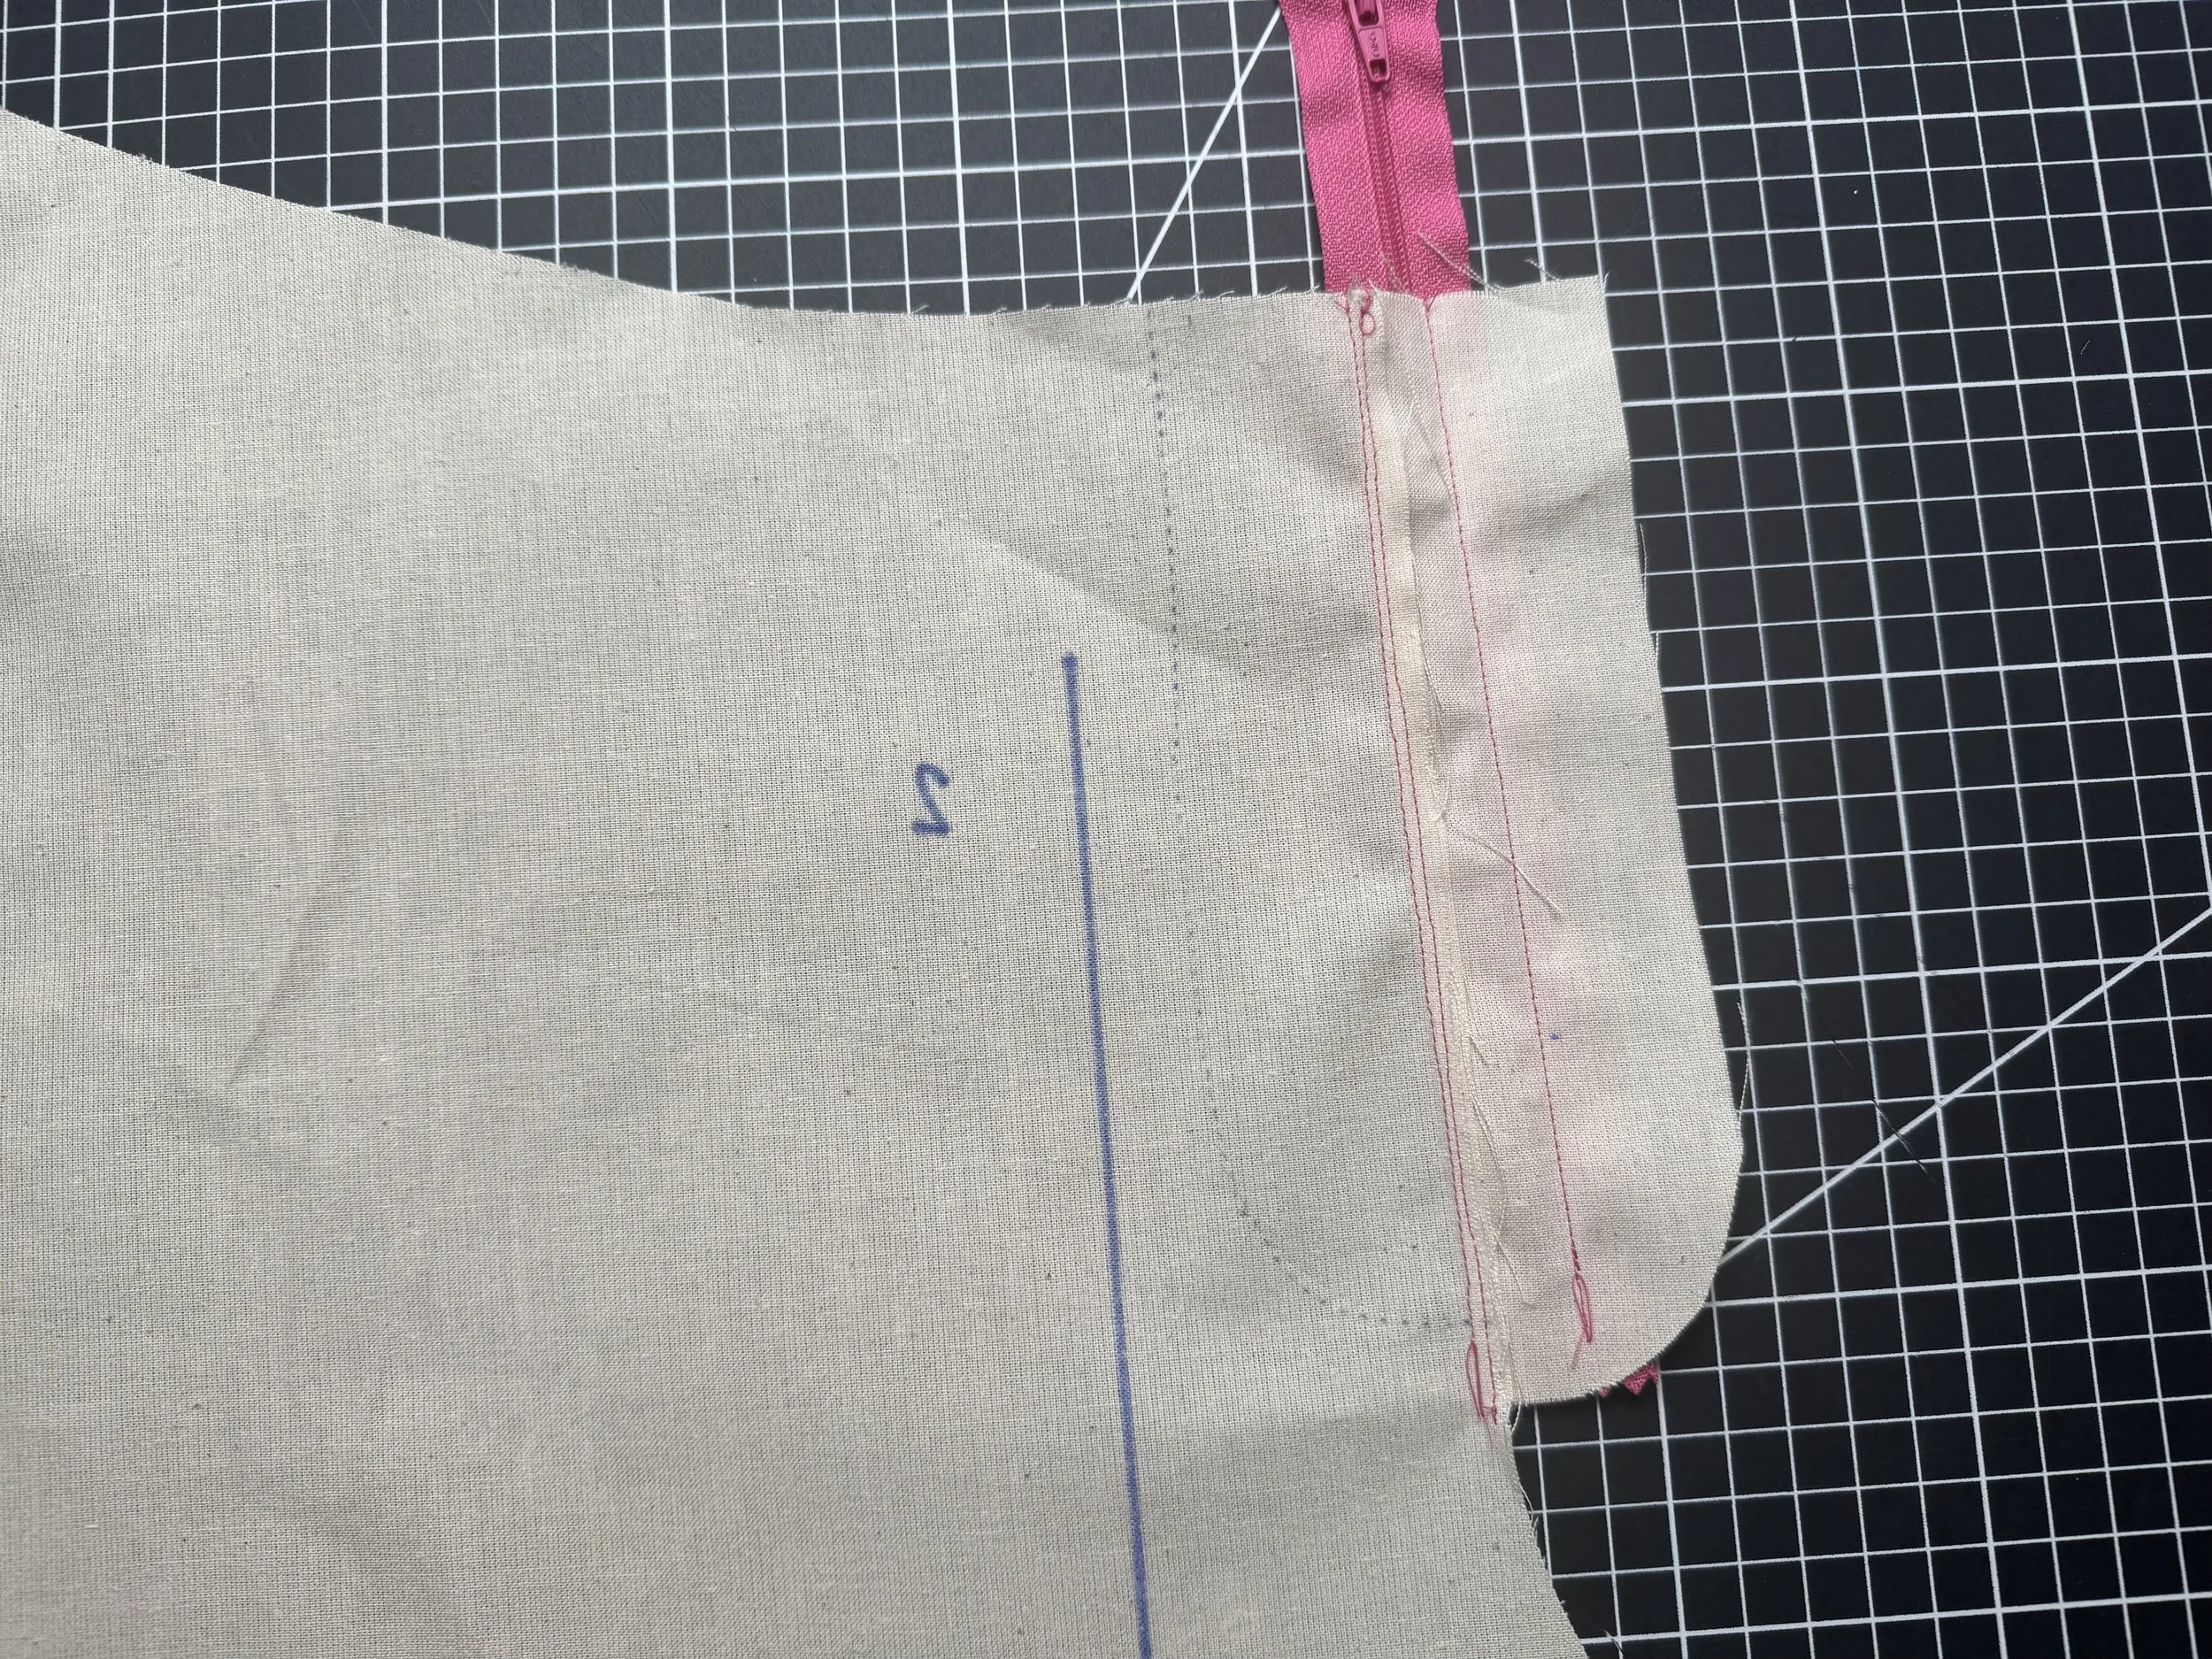
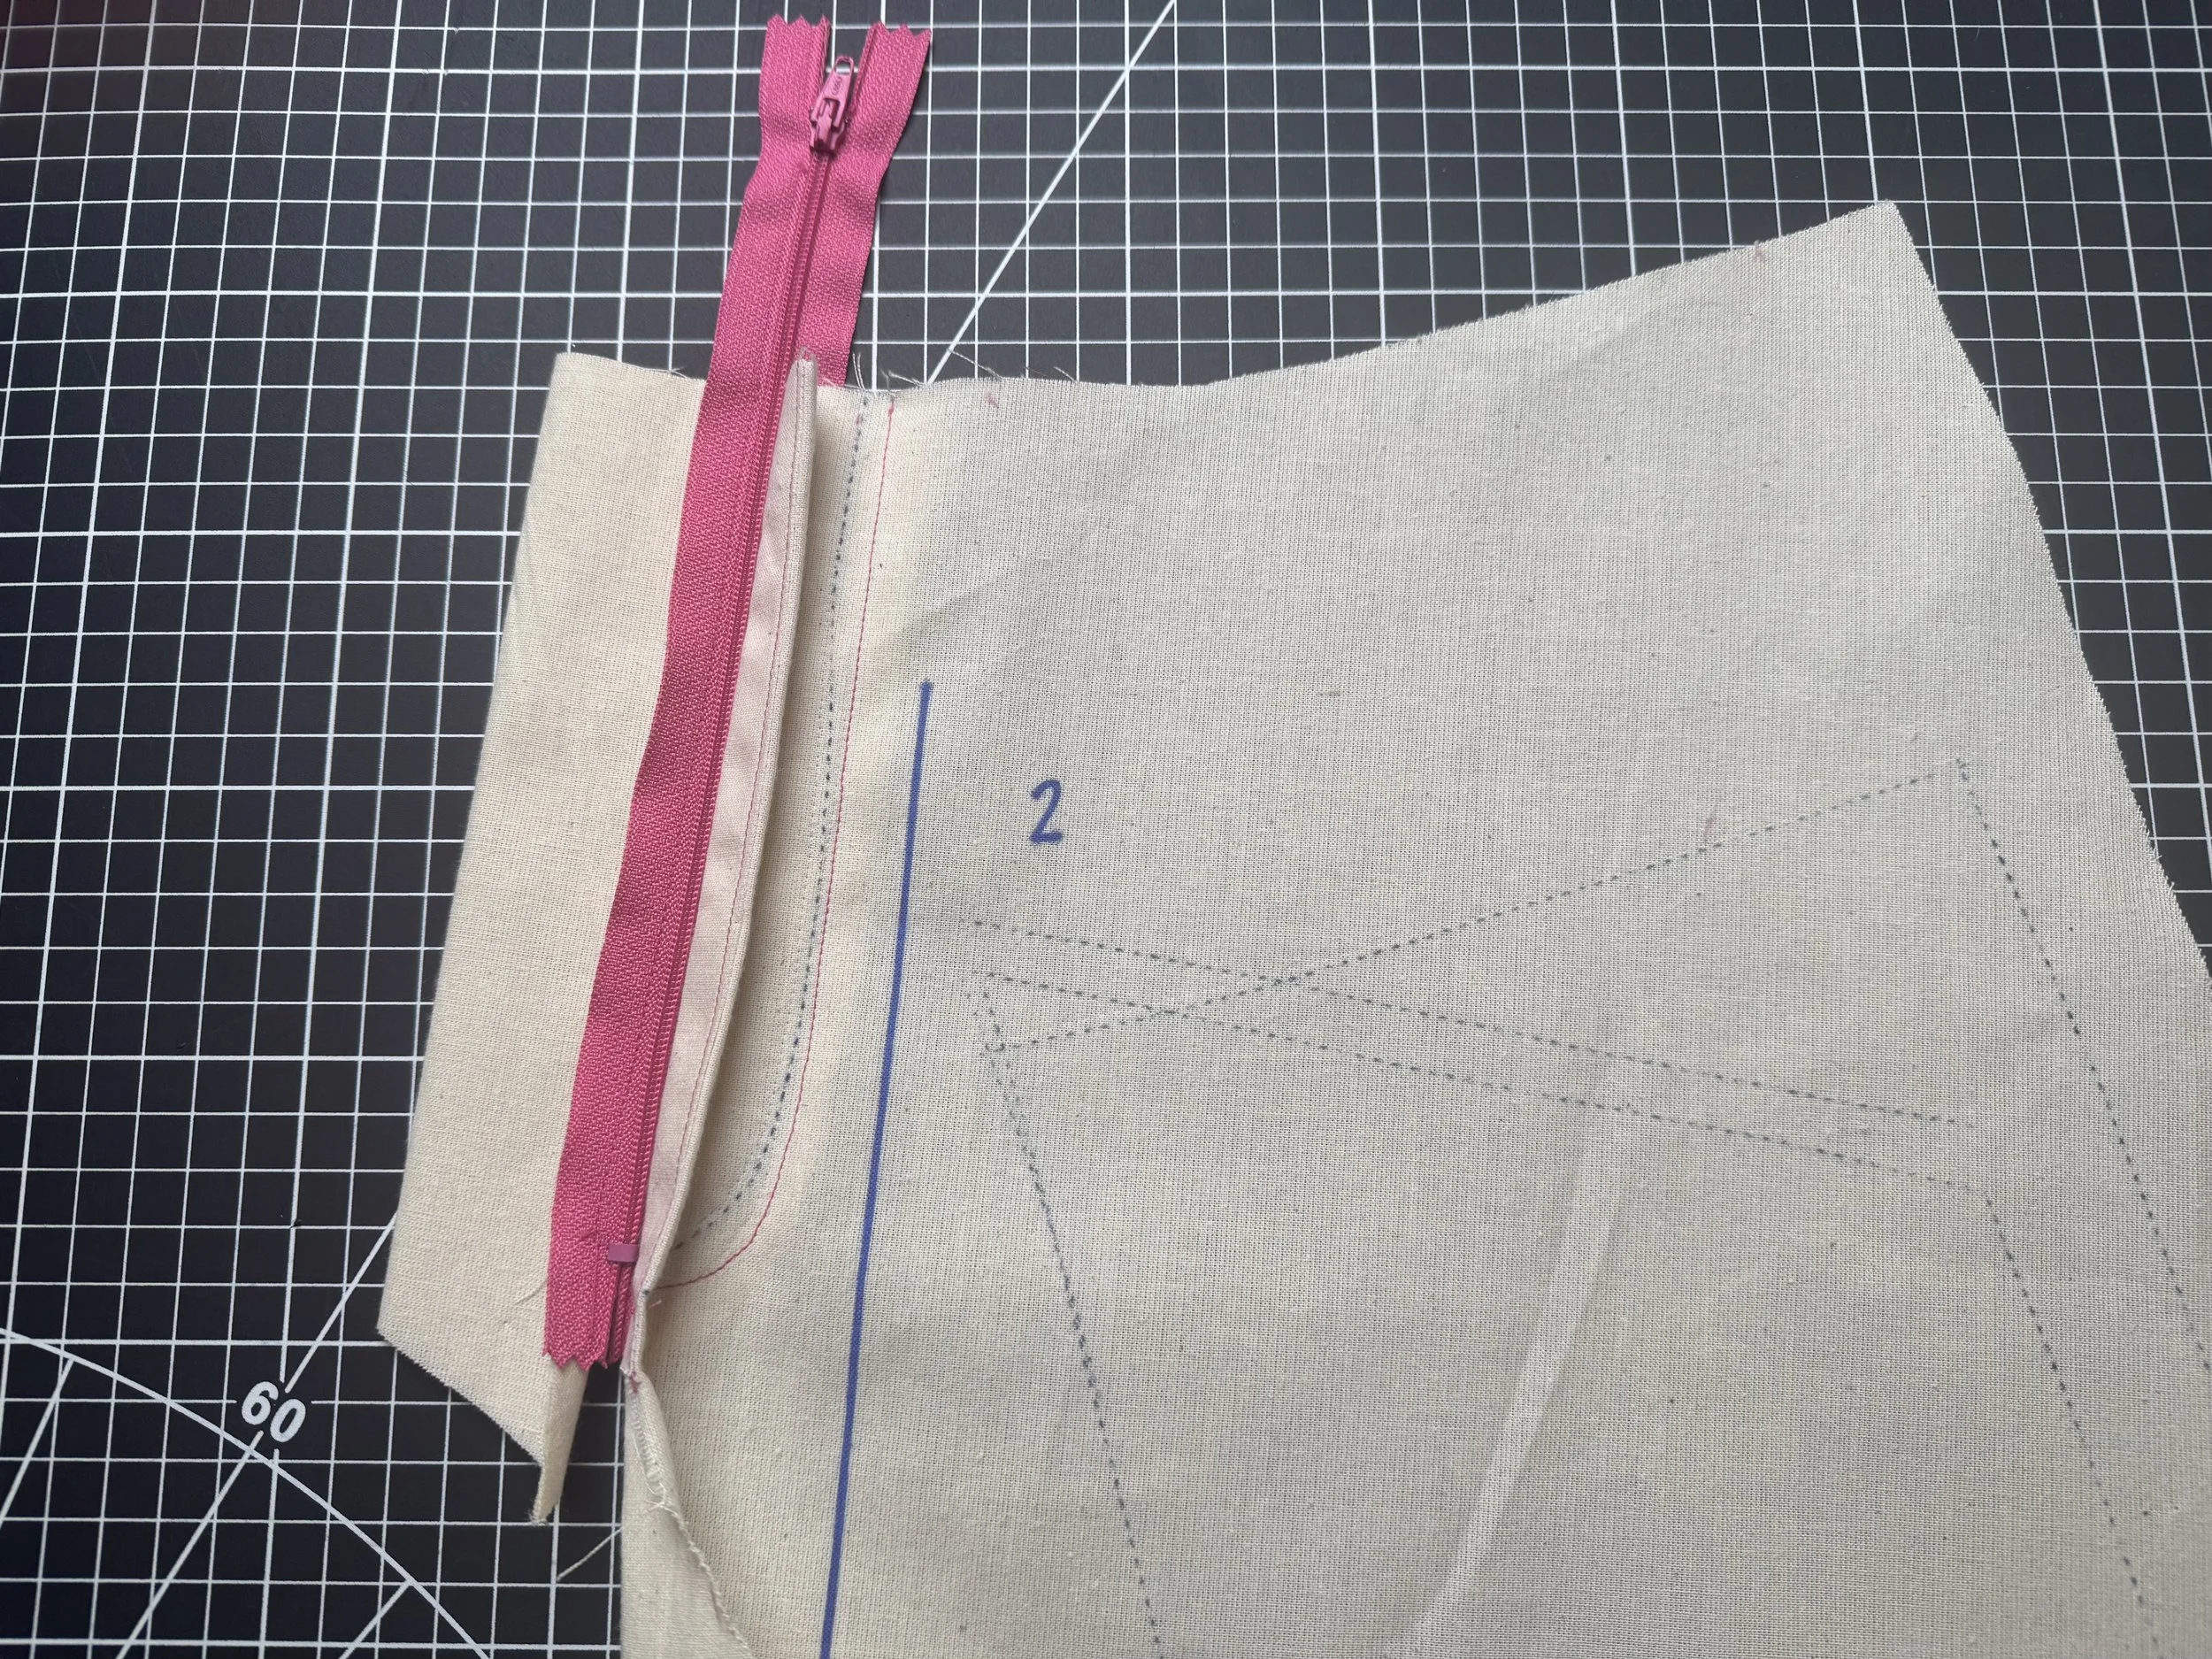
Turn your seam allowance under, and pin to the zipper as shown.

Sew the length from waist to teeth again.
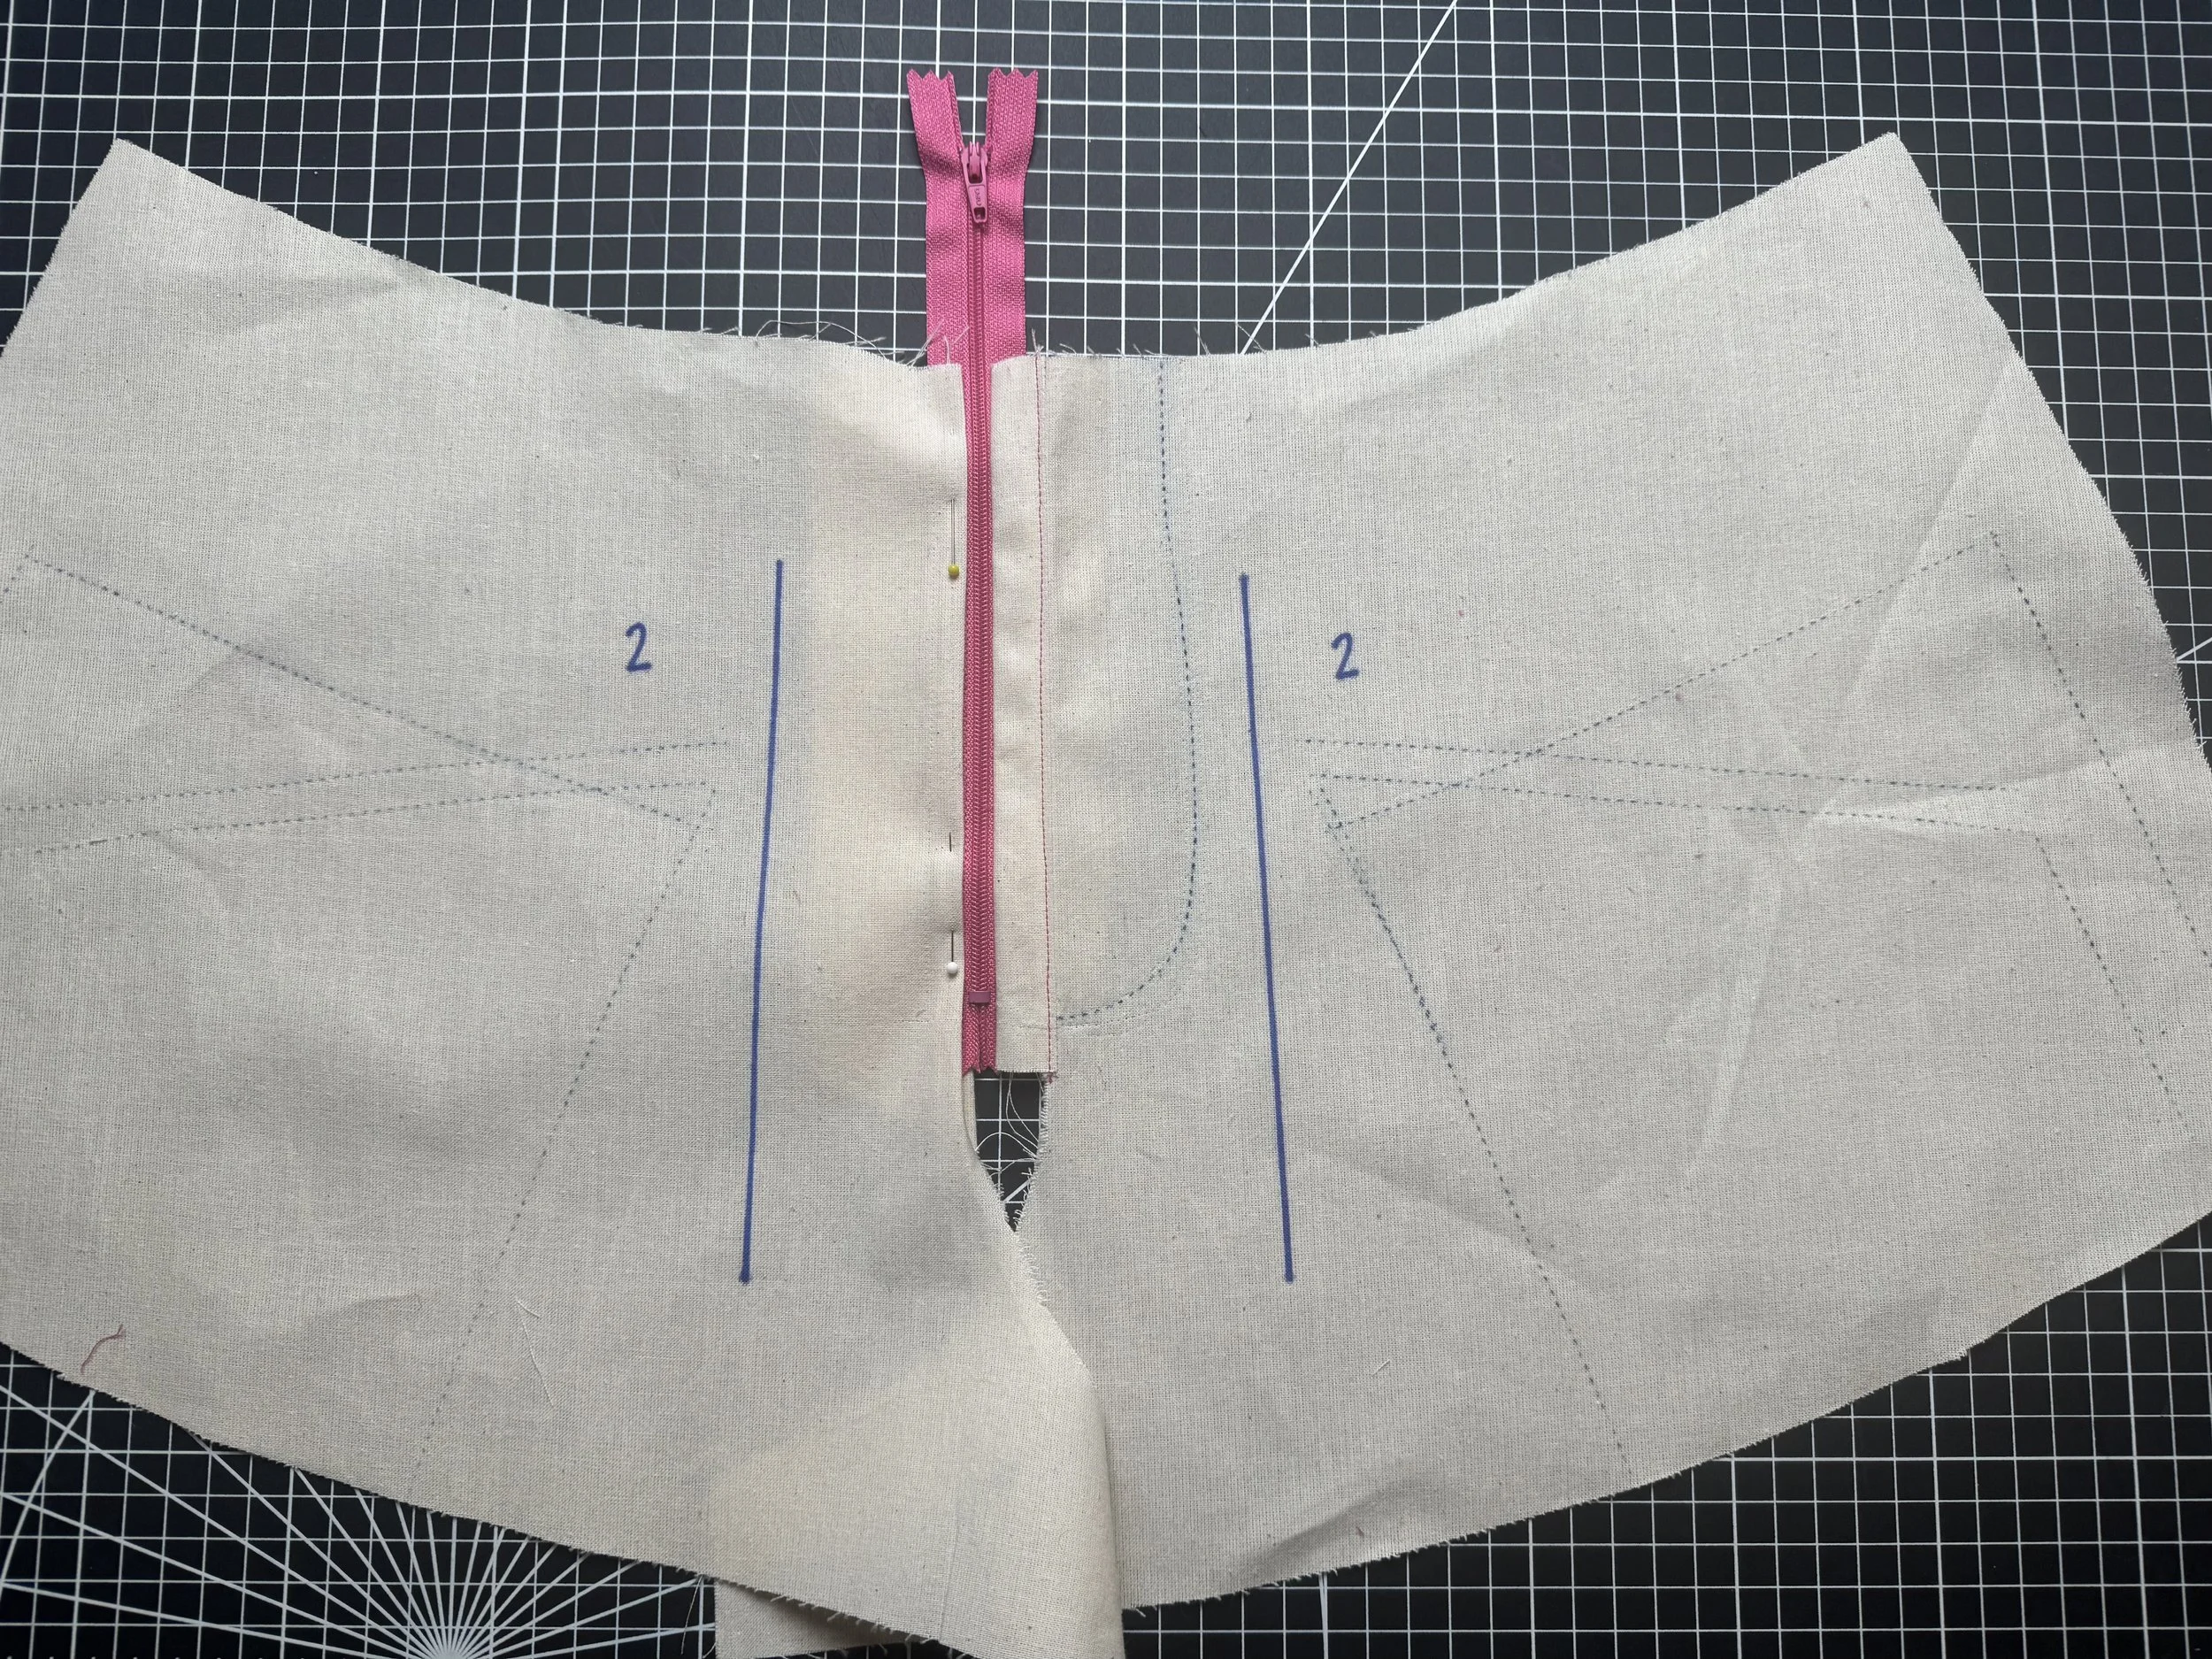
Turn the two pieces so the right side lays on the right side, and the wrong side is facing you.
Mark where the zipper stops, here you can see my pencil mark.
Sew from the pencil, down the crotch area and stop about 1.5” -2” from the end. The seam allowance here is 5/8” but depending on the method again, yours might be a 1/2” like mine. Either will not make a difference in the overall scheme of things!
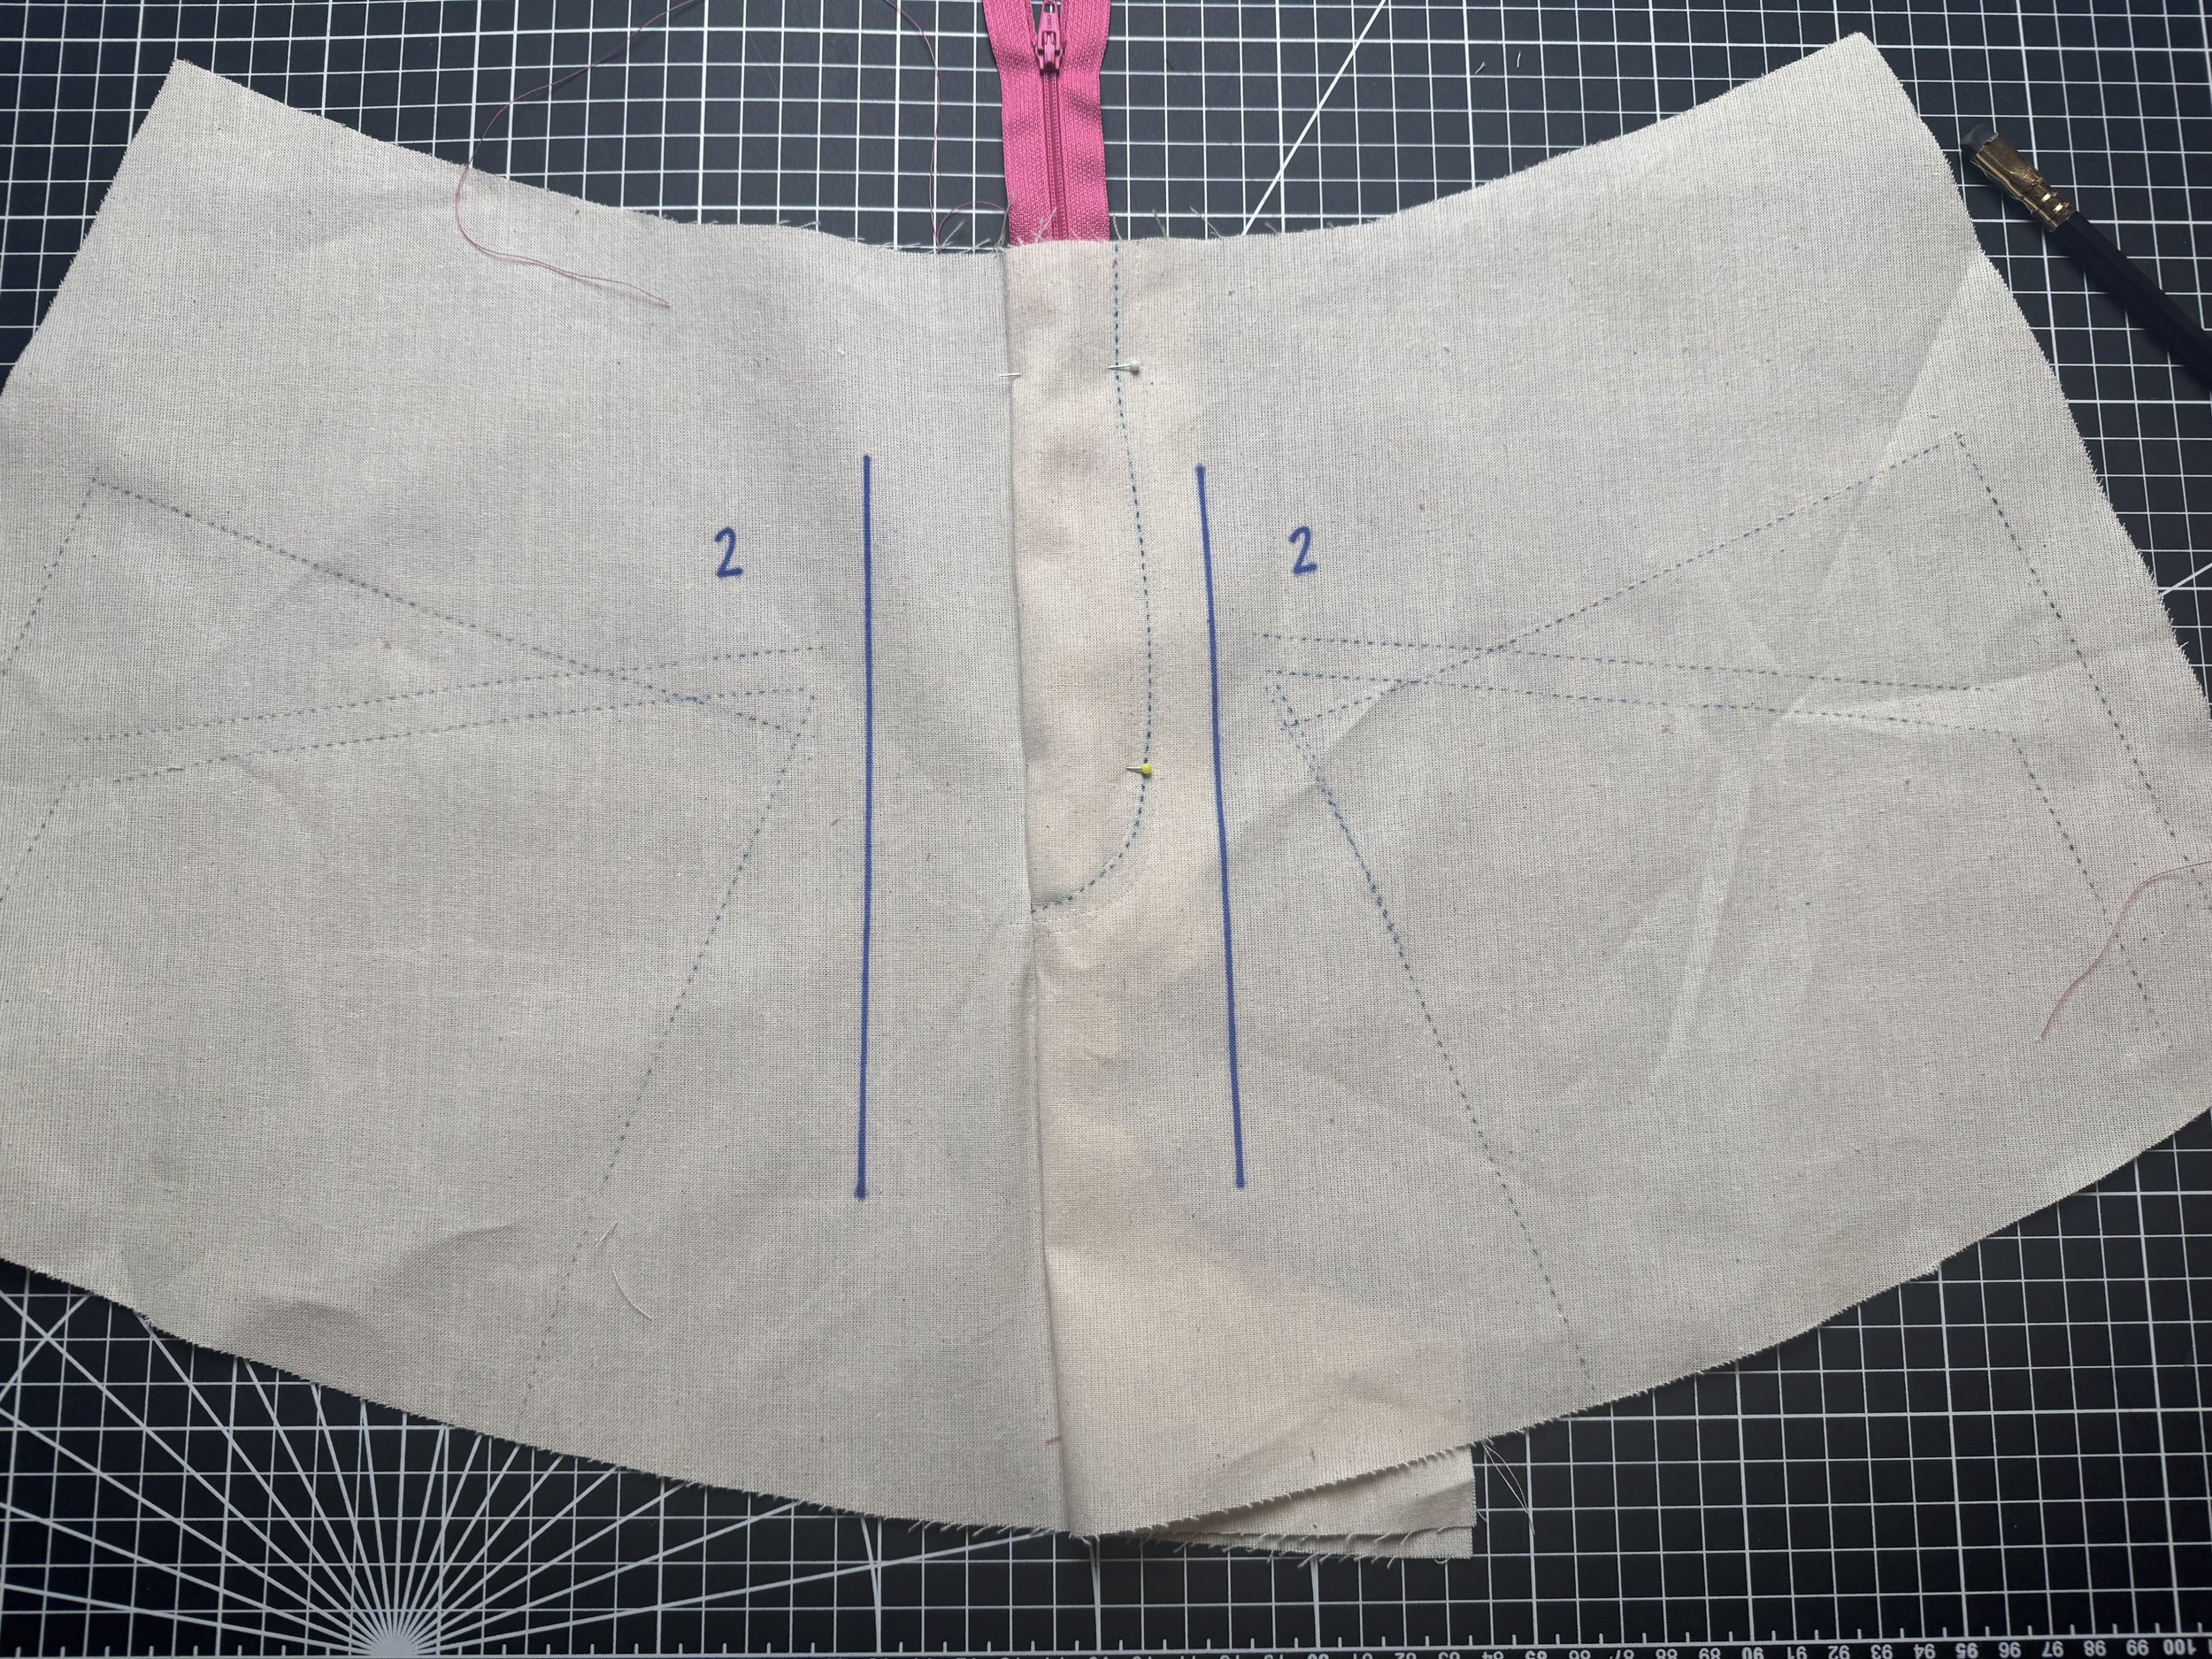
Lay your fronts, right side up and pin your fly curve to the edge of the seam as shown.
We need to add our top stitch next, and I find it easier using a guide.
I have marked the 5/8” seam allowance with the green marker.
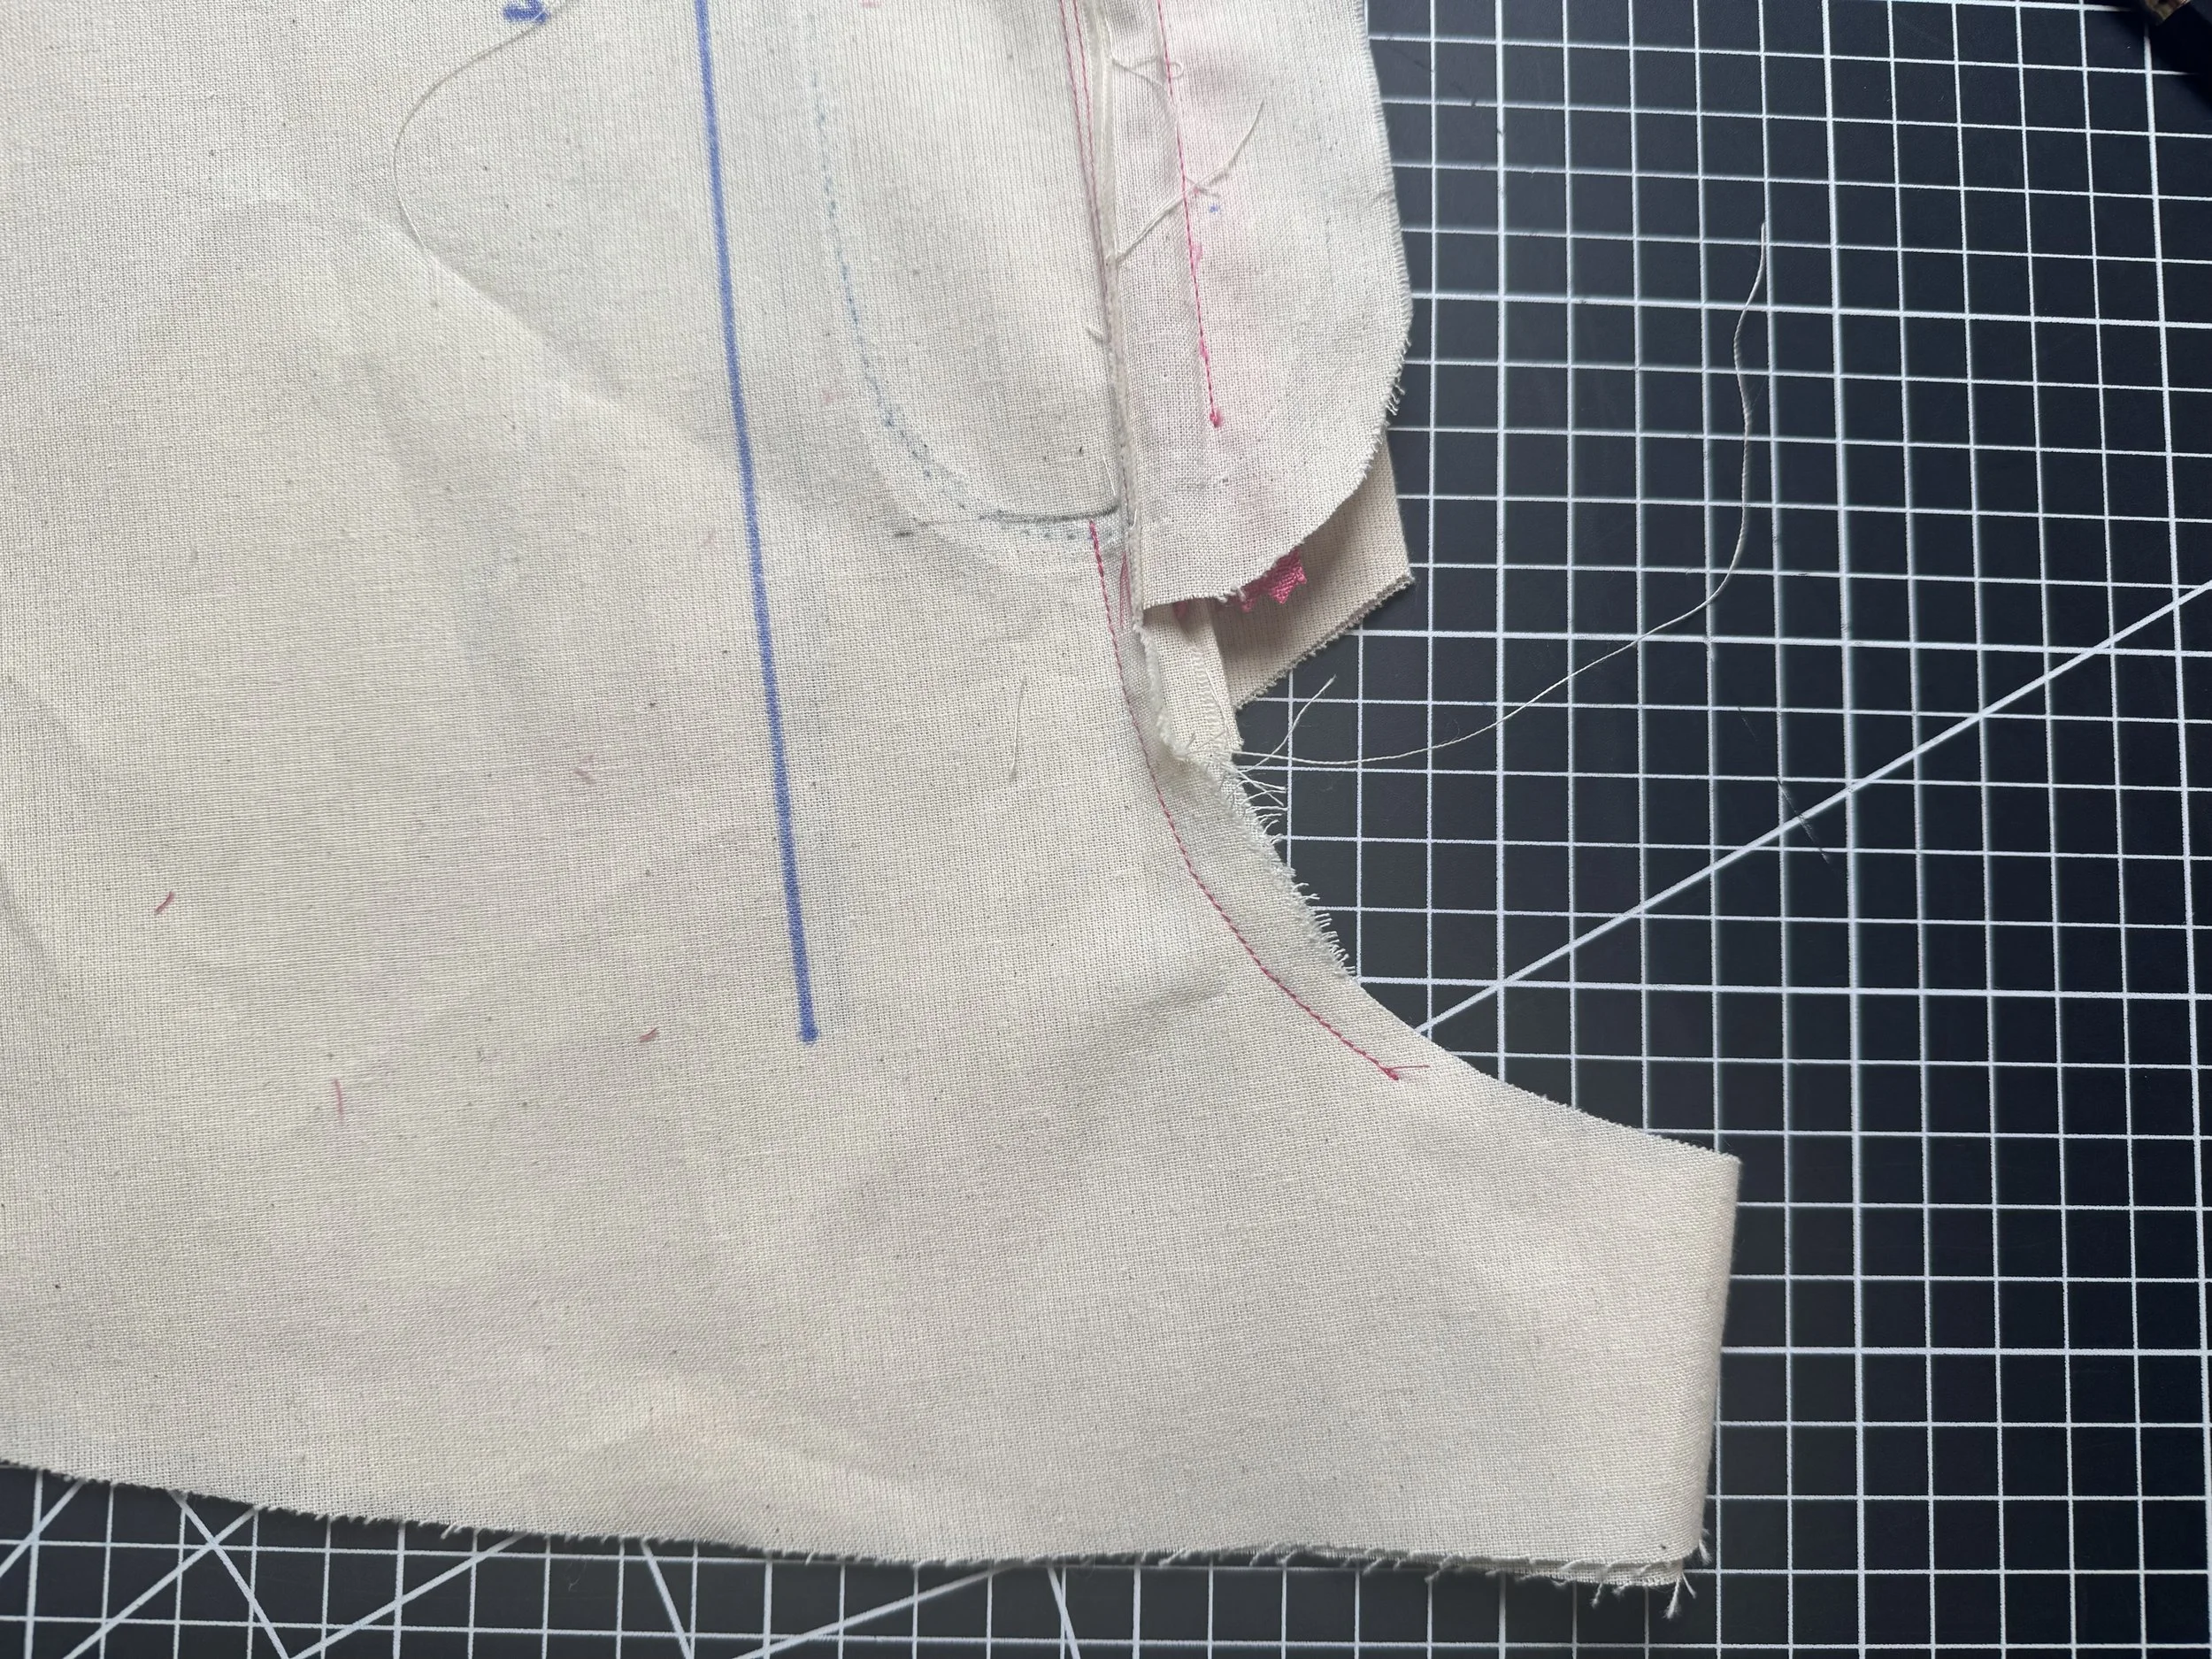
Cut the seam allowance off at the side and bottom curve, leaving the top with the seam allowance intact.
Place the template on the skirt, and sew. It gets a little tricky as you near the curve if you start at the top, so if possible work from the center seam, up the curve and then to the waistband. It’s easier to get a neat smooth line.
Open the fly shield, on the left of this image over towards the right and sew a small bar tack below the zipper to hold it in place. When we attach the waistband the upper portion will be held too.
Next up: The two lower pieces (3 ) and two pocket options.